
The current written route for Beast of Reincarnation runs reliably from Seedling through Worm Food. That means this walkthrough now covers Chapters 1–8, ending only when the forced Kunai and Kirin encounter returns Emma to the Cleanse Walker and the objective advances toward Chapter 9.
That is not the end of the campaign. It is the point where detailed, action-level route evidence currently stops. Within that boundary, the important signals are consistent: a retreating Nushi usually changes the route instead of ending it, a dead control panel always has a specific power or key dependency, and a reused boss can change the elemental answer that worked the first time.
Read the gate before you change the build
Activate every Campsite that sits beside a cave, bulkhead, elevator, or boss approach. A Camp is the shortest recovery point for a failed detour and the safest place to make a manual save before a control panel closes the route behind you. If the objective has not changed after resting, the missing action is still in the region: a second generator, a card key, a boss retreat trigger, or another panel.
Before crossing a lair threshold, make four quick checks:
- Test the element rather than trusting the boss name. Koo’s command displays Weak when the element is correct. Early Rangifer fights favor Flame, but the Lv. 32 Rangifer in Chapter 5 is documented with Lightning.
- Carry two usable Bloom Arts. Koo cannot immediately repeat the same command, so a weakness plan needs another action ready before it cycles back.
- Keep a cleanse or recovery action equipped. Lacerta builds Poison, Corvus covers the floor with Acid, and the later paired fights can make a neutral damage-only loadout expensive.
- Save before operating a central panel. Most panels simply open the next route, but the Matsukawa Colony panel temporarily removes fast travel and starts the mandatory Rangifer exit fight.
Build repair becomes available after Chapter 2. Call Mikoto from the Cleanse Walker and choose Reset Attributes for Emma or Koo. The service costs Amber and refunds Attribute Points and the lower roots of the chosen Skill Tree; points already placed in the upper Nushi branches remain invested. Use the reset to move the refundable part of the build toward the next chapter’s status plan, not to erase a Nushi branch that the system does not return.
Seedling — three keys finish what Rangifer started
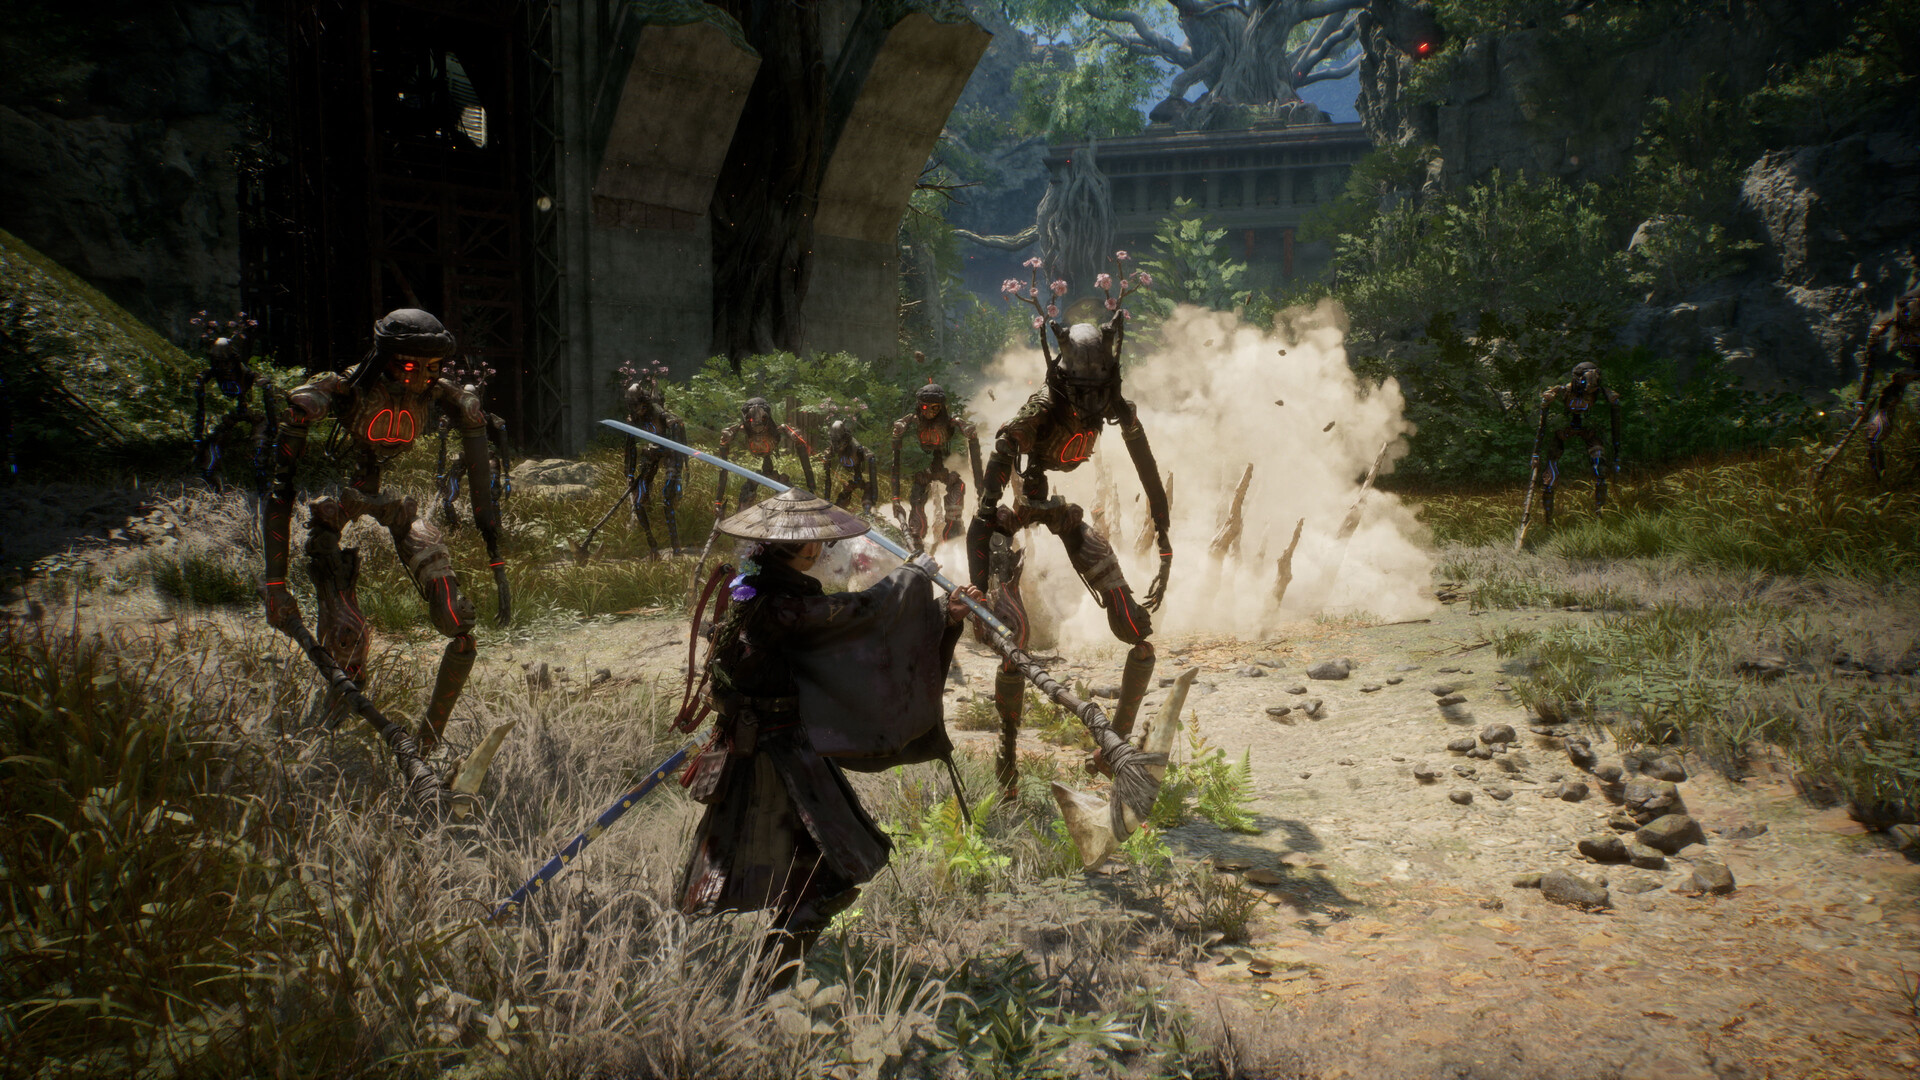
Follow the opening lesson into the ruined village, activate the Village Surroundings Camp, and speak to the broken Golem in the house. On the road to the subcity, Flame breaks the shielded Golem’s guard and Emma’s hair crosses the damaged bridge. When the path places Emma above the deer and bears, use the height to remove the Elite target first rather than landing inside the whole group.
Inside the subcity, activate the Camp and clear the six Golems at the door. The Door Golem punishes a chase: let it commit, bind it with Koo’s roots, parry the readable attack, and punish the recovery. The foreman beyond the door gives Emma the Zangetsu Bow. Complete its target lesson, then continue to Rangifer’s first lair.
At the Cliff-Facing Tower Camp, save and prepare Flame attacks. The Lv. 9 Rangifer’s antler string is the repeatable parry window; thrown rocks, ground branches, and the red landing signal are safer movement checks. This fight ends when Rangifer retreats and awards the first route rewards. Do not search the arena for a second phase yet. Return to the Cleanse Walker, complete the flashback sequence, and let the present-day objective move to Subcity 03.
Speak to the rusted Golem outside Subcity 03 before pulling the lever. Inside, the dying Golem explains the sealed lair, gives the Red Key, and leaves the Cirrus Sword nearby. The locked door still needs two more pieces:
- Blue Key: travel north toward the tower and the reddish smoke on the high ledge. Use Emma’s traversal abilities to reach the Golem remains beside the key.
- Yellow Key: take the northeast route beyond the rice fields and enter the cave. The Elite bear in the tight chamber is the real lock; keep away from the torches when its large attack commits.
Return only after all three keys are registered. At the Camp and Merchant outside the lair, buy or equip the Flame answer that shows Weak. The Lv. 12 Rangifer uses the same readable horn rhythm, but this encounter restores a full health bar for its blighted second phase. Move away from the red landing attack, wait for the full horn string to finish, and spend FP when the head drops. Chapter 1 is complete only after the second bar is gone and the Sakura rewards appear.
Creeping Tendrils — power both sides of the reservoir
The Ancient Civilization Zone begins before the game gives a strong immediate direction. Activate the nearby Camps, then climb the ruins and elevators north of the Cleanse Walker to find the Ancient Golem. It identifies the reservoir gate and the two generators that must feed it.
One generator sits on the route across the lake. Go through the double doors, activate the Camp above the Giant Golem arena, and defeat the machine below. When its blue targeting beam settles on Emma, move before the laser fires. Continue through the opened doors, clear the archers and melee group, use the floor opening, and cross the ruined trains to the first generator panel. The lift beside it returns to the central gate.
The other generator begins from the stairs opposite the Ancient Golem. Ride the lift, turn right at the top, and reach the visible panel. If the guards would only drain resources, the control can be reached with a sprint. Use the lift that arrives beside the panel, return to the center, and open the gate only after both power states have changed.
At the reservoir, activate the waterside Camp and prepare Shock plus a Poison cleanse. Lv. 13 Lacerta creates a pool that slows Emma before a large burst. Leave the pool as soon as it forms, parry the mouth and tail strings, and stop firing while Lacerta is submerged. The boss retreats after the first encounter.
Inspect the blocked route beyond the reservoir, then return to the pre-fight Camp to advance the Cleanse Walker sequence. On the next visit, climb to the destroyed Golem near the window and follow its control-room lead. Retrace the powered-gate route, defeat the mandatory Golem for the Lightning Stone and Thunderwave Sword, and bring the stone back to the panel. The opened route and elevator lead to the final lair Camp.
Upgrade the Shock option that displays Weak and keep the Poison response equipped. The Lv. 16 Lacerta rematch preserves the first encounter’s rules but adds a faster second health bar. Wait for the boss to surface, leave the slowing pool before it erupts, and do not counter early in the snapping string. The Dokuzeri rewards and the return to the Walker confirm that Chapter 2 is finished.
The Vessel and Stems — carried health, then a bell
Chapter 3 treats Nue differently from the two-bar lair bosses. Travel west of the river when Brad reports the signal and activate the Camp before the first Lv. 16 encounter. Nue leaves at roughly half health, but the damage is not reset. Cross east on the large bridge for the second fight, then continue north to the statue platform for the third. The remaining bar follows the pursuit, and the statue arena adds lightning strikes that should be allowed to finish before attacking.
The Great Wall lift is easy to misread because the machinery looks like scenery. Go to the base and approach the wrecked Cleanse Walker: the wreck is sitting on the elevator platform. Stand at the activation point and stay aboard to the top. Cross the broken bridge with Emma’s hair. At the last angled slab, use the pipe grapple; a normal jump or a long hair bridge does not close that final gap.
Use the last Camp and Merchant to prepare Poison. In the Lv. 20 finale, Nue and the Male Purifier have separate bars rather than a hidden refill phase. Follow the camera as it shifts toward the active attacker, use Nue’s changing hand string to rebuild FP, and dodge the tail root and lightning. The Purifier’s whip is a parry chance; the branch-assisted dive needs room before its small area burst. When he links to Nue to recover health, use the pause to heal or apply ranged pressure. Resolving both bars and returning to the Walker opens Chapter 4.
Pilgrim’s Rest starts with the Sunrise Sword and a Lv. 26 Taurus encounter. Use the ruined bridge for a Death from Above opener, apply Acid, and use ranged pressure while Taurus gallops. The horn swipes are the repeatable parry rhythm. Taurus retreats on low health, so follow the new cave objective instead of waiting for another bar in that arena.
Inside the cave, shoot every flaming vase from range to break the wooden barrier beside it. A sword strike detonates the vase next to Emma. Use pipes and upper platforms to remove archers before dropping into group fights. At the Stone Chamber, stay on the interior route and work toward the north tower. If Emma drops to the lower exterior levels and cannot climb back to the story floor, fast-travel to the Camp rather than trying to force an invisible return path.
The belfry puzzle expects Sun → Earth → Moon. A wrong order resets the state with nearby Golems; the correct order rings the bell and advances the route. After the belfry control opens the way forward, collect the nearby Camp and use the Merchant to complete the Acid loadout.
The final Taurus arena begins with three Golems. Bind or separate them and clear them before committing to the boss. Taurus then repeats the familiar Acid weakness and horn rhythm, but the restored second bar is much faster and can extend the swipe string. Count the live sequence instead of attacking after the old timing. The Botan rewards and the Chapter 5 travel objective are the real end of Stems.

Branching Paths — prepare before the Colony closes
Chapter 5 begins in the Matsukawa Zone. Follow the orange butterflies across the ruined buildings, then activate Ruins: Approach before exploring the lake. The route north eventually reaches a cave filled with fire. Do not run through the burning floor; use Emma’s hair to stay above it. Clear the malefact gauntlet at the far end and take the Resonance Sword before leaving for the settlement beyond.
Continue east through the water, activate Ruins: Outskirts near the first Withered Beast, and cross the steel bridge to the Colony elevator. Upper Matsukawa Colony has optional rooms and Shrines, but the required route enters the building, follows the elevators past the cells, and takes the Hazebringer Sword before reaching Matsukawa Colony: Central Area.
The central control panel is a commitment point. It opens the gate near the original entrance, disables fast travel and the return to the Cleanse Walker, and calls in a Lv. 32 Rangifer when Emma leaves the room. Save, heal, and settle the loadout before touching it.
Do not assume the Chapter 1 Flame answer still applies. The Chapter 5 route documents Lightning for this Rangifer, so test Koo’s available commands and keep the one that displays Weak. The moveset has no major new surprise, but the fight again restores a second health bar. Preserve recovery during the first bar, parry the known antler string, and clear the second to receive Sakura: Javelin 2 and the Sakura Finisher. Resting aboard the Walker ends Chapter 5.
Necrosis — the third vase is behind the vines
In Chapter 6, the Fuji Frontier route climbs rather than follows a flat road. Move past the first enemies, climb the copper pipe beside the ruined buildings, and follow the orange butterflies. At the dead end, bridge between the steel platforms with Emma’s hair and use the grapple points to cross the canyon. The Collapsed Pipes: Approach Camp confirms that the route is still correct.
Three wooden blockades follow. Shoot the flaming vase beneath the first, then the visible vase beside the second. The third barrier appears to have no trigger from the main path. Go left along the copper pipe to the shack and look through the vines on its right; the third vase is visible from there. Shoot it, return through the opened route, and continue to the huge Nushi that shifts the objective to Shidou’s malefact.
The Defense Outpost is a sequence of recoverable drops and gates. Clear the six-enemy tunnel to open both sides, climb the spiral route to Defense Outpost: Interior, and use the left-side platform when the upper path ends. Break the red vase after crossing to reveal the continuation. Later, defeat the mandatory Golem at the wall and activate Bridge Control Room: Approach. Take the Shark Cutter beside the Camp and operate the bridge panel before entering the next encounter; that shortcut removes a long repeat if Nue wins.
This Lv. 32 Nue keeps the familiar pursuit behavior and adds a short seed barrage from its tail. Dodge the new ranged signal, continue using Poison if it displays Weak, and let the boss retreat when the bar is depleted. Dokuzeri: Fang 2 and the Dokuzeri Finisher confirm that the fight registered.
Follow the retreat through the Fallen Cliffs, activate both Camps, and cross the factory interior with hair traversal. At the last bulkhead, rest at Nushi’s Lair Entrance before opening the door. Nue and Shidou return at Lv. 35 with the same separate-target structure used in Chapter 3. Resolve both bars, allow the cutscenes to complete, and the next departure will place Emma in the Giant Tree Zone.
Root Rot — two card keys, two Corvus fights
The first objective in Chapter 7 leads through Ooi Colony toward the Giant Tree. Ride the exterior elevator, use the yellow cable car to reach the lower platform, and activate Giant Tree: Root Depths. At the bulkhead, the control panel reports a missing key. Speak to the Ancient Golem, then take the nearby elevator into the ruined tower.
Use the cable cars and Emma’s hair to climb inside the tower. The Elite Golem above Ruined Tower Interior is mandatory: it drops the Giant Tree Key and the Fall Thunder sword. Return to Giant Tree: Bulkhead Entrance, use the key, and speak to the Ancient Golem beyond the door. He supplies Card Key (Line Zero).
Activate the Line 0 cable car and follow the scaffolding to Giant Tree: Feeding Grounds. The first Lv. 38 Corvus has one health bar. Equip Shock, protect against Acid, and use ranged attacks while the boss is airborne. Its three-claw stab is the repeatable parry window. When corrosive bombs leave damaging puddles, grapple to clean ground rather than continuing a combo inside the hazard.
The first victory supplies the Line 1 card and the Light Box. Returning the box to the Curious Golem is an optional reward interaction, not a chapter gate. To continue, return to Cableway — Line 1: Base Station and use the white car marked by the objective.
The Lv. 41 Corvus at Line 1 keeps the Shock weakness but restores a second health bar and can summon smaller corvid malefacts. Remove the adds before they collapse the safe space, stagger Corvus with ranged pressure, and grapple away from the Acid pools. After both bars are gone, follow the path beyond the arena to Doctor S’s Report, return when prompted, and let the Walker sequence award Corvine Memories. That return closes Chapter 7.
Worm Food — two panels open the cavern gate
Chapter 8 begins in the Crater Zone with a Purifier directly on the objective. Defeat that first opponent, then activate Ruined Highway and speak to the Ancient Golem beside it. He points to the fortress and its control system. The three large craters hold optional Skill Ambers, a Withered Beast, and Campsites, but none of them is required to open the story gate.
Approach the fortress from the southeast and activate Lake Base: Entrance. Pass the Ancient Golem, move left into the glowing cave, and follow Emma’s hair route through Lake Base: Cave Section. Clear the archers above the round chamber, continue along their platforms to Structural Section, then survive the three-Rusted-Golem gauntlet. The next route passes another archer room and reaches Lake Base: Outer Wall.
The second Purifier guards the corridor beyond Outer Wall. Defeat that opponent, take the Spring Storm sword beside the fallen Golem, and operate the first control panel. A tower rises from the water. Climb it with Emma’s hair, visit the Shrine at the top, and continue to Lake Base: Interior.
A third Purifier blocks the interior gate. After that fight, follow the objective until a large gap forces another hair crossing. In the structure beyond, go upstairs, collect the Ornate Robe if desired, and operate the second control panel. Only this second activation unlocks the cavern gate and marks the bulkhead on the map.
Activate Nushi’s Lair Entrance and prepare Acid before opening the bulkhead. The Lv. 44 Taurus uses the same core rules as Chapter 4: ranged pressure during gallops, committed horn swipes for FP, and Acid when the command displays Weak. Hazebringer, Nobudou Arts, Corrosive Fang, and Acid ammunition can all serve that plan. The Botan: Chaser 2 and Botan Finisher rewards confirm the kill.
Let the Chapter 8 loss finish
Taurus is not the final state of Worm Food. Rest aboard the Cleanse Walker and begin the trip toward the Inukami River Colony. Golems stop the Walker, so clear the road when the objective sends Emma outside. The next Kunai and Kirin encounter is designed to end early.
If the fight returns Emma to the Walker and continues through cutscenes, do not reload to “win” it. Let the story finish the transition. The route is complete when Chapter 9 becomes the next objective and the Inukami River Colony is the destination. That is the reliable stopping point for this Chapters 1–8 walkthrough; later chapters, the ending, trophies, and full collectible cleanup require a separate evidence-complete route.
Identity and launch-week availability can be checked on the official Beast of Reincarnation Steam page.