
This Still Life walkthrough follows all seven chapters in story order, from Victoria’s first Chicago crime scene to the final Tominova Bridge search. Keep a save before the Red Lantern slider and the sewer key board: the input sequences below assume untouched layouts. Mark’s lock is different; leaving that puzzle resets it.
This is the Microids game with Steam App ID 46480. It alternates between Victoria McPherson in Chicago and her grandfather Gus in 1920s Prague. It does not cover Post Mortem or the sequel; use the separate Still Life 2 walkthrough for that game. Microids dates the original release to April 14, 2005, while Steam dates its edition to June 1, 2011; the route and puzzle states below apply to the original game represented by that Steam release.

Chapter 1: finish the murder scene before chasing the exit
Take the film, camera, and forensic tools after speaking to Miller and Claire. Walking through every room is not enough; Claire needs five evidence targets before she will expose the body:
- At the wall with the nails, photograph the trace and collect the hair and fiber.
- Photograph one blood stain and take its sample.
- Spray one concealed wall message with Luminol, fit the black-light filter to the nearby lamp, and photograph the revealed word.
- Repeat the blood photograph and sample in the other evidence room.
- Repeat the Luminol, filter, and photograph process for the second hidden message.
Return the collected material to Claire, speak to her again, and photograph the body when she exposes it. The stairs collapse after that body sequence and change the exit route. If Claire still waits for something, do not leave the building. Revisit the nail wall, both floor stains, and both treated messages. A photograph without the matching sample, or a sprayed wall without the filter and photograph, leaves the set incomplete.
After the stairs fail, return to the room on the sanctuary side and take the lead pipe. Use it on the boards, try the outside ladder, and continue over the container. At the office, put the camera in the evidence chute before going to B2. Inspect the back of the security card: VODKA becomes 86352 on the keypad. Swipe first, enter the digits without lingering, take Claire’s report, and deliver it to Miller. If the keypad clears, swipe again; the reader resets while you are entering the code.
Open the attic chest from a clean state
At Pat’s house, examine Milena’s necklace, take the umbrella by the stairs, and use it to lower the attic access from Victoria’s closet. Turn on the attic light. The necklace establishes the chest target from left to right: diamond, diamond, heart, diamond, diamond.
On the untouched chest, press tumbler 2 three times, tumbler 3 once, tumbler 4 three times, and tumbler 5 three times. Then press the red button. The chest opens and the story switches to Gus’s case. If it stays closed, use the red button to reset, verify the five-symbol target against the necklace, and repeat without carrying over any experimental turns.
Chapter 2: solve the chapel safe and reach Vladanna’s boxcar
Speak to Skalnic, Stasek, Ida, and Milena, then let the route take Gus past Lingerie to the Old Chapel. Inside, speak to Korona and take the paper from the shelves. It supplies the order 74821536. At the altar safe, match each tile to its numeral by the glyph’s shape and line or angle count, place all eight in that order, and pull the handle. Do not leave with only the safe open: collect both the coroner’s report and the crime-scene photograph.
Use the photograph at the park fountain and switch attention to the changed marks on the right side of the base. Inspect the writing, then the angel and ring. Follow the raven and recover the ring from the coachman. If the park produces no chase, reopen the photograph and select the mismatch at the fountain.
Peter blocks the junkyard until a complete favor chain removes him:
- Ask Kubina at Lingerie about Peter and Roman.
- Ask Stasek to release Roman.
- Recover Stasek’s medal from Apolina at the park.
- Return the medal to Stasek, then return to Kubina.
Completing the loop releases Roman, removes Peter from the junkyard gate, and makes Kubina hand over the lock-pick kit. If one of those changes has not happened, finish the remaining conversation or delivery before returning to the junkyard.
Power the crane, then build two different crate paths
When the dog strands Gus above the yard, take the cutters and inspect the crane panel. Set it to 1-2-3 across the top and 4-5-6 across the bottom; the crane controls then become usable. If they remain dead, return to the six-number board because there is no alternate route around it.
The crates have two jobs. First, move the two free crates into a path that reaches the stacked, chained pair. Cross to the stack and cut the chain. Return to the controls and make a second layout using the newly released crates: a continuous line from Gus’s roof to the boxcars. The first layout cannot also reach Vladanna’s boxcar, so rebuild it after the chain is cut.
Chapter 3: lift one usable print and mix the cookies in stages
At the police station, check the security monitors after the morgue interruption and complete the chase. Later, take the mug from the interrogation room, fill it for Browning, collect the crime-scene photos, and visit Kolar at the campus. When Kolar steps away, take the beer bottle near his chair; it carries the print Claire needs.
At the office workbench, place the bottle down, open the powder, dip the brush, and dust the glass. Rotate it until a complete print is visible, then lift that print with the available paper strip and carry it to Claire. A partial smudge does not satisfy the handoff. If she refuses the item, return to the bench and search another side of the bottle for the full print.
Cookie recipe with its three required mix points
At Pat’s kitchen, the recipe substitutes personality words for ingredients, but the actual operation is fixed. Preserve the stage boundaries:
- Add 1/2 cup butter, 1 cup milk, and 1 cup brown sugar, then mix.
- Add 2 cups flour, 1 teaspoon cinnamon, and 1 tablespoon ginger, then mix again.
- Add 1 egg and 1/2 cup molasses, then mix a third time.
- Use the oven only after the third mix.
After the third mix, use the oven and Victoria will acknowledge that the cookies are baking. If the oven does nothing, restart the interaction and keep the ingredient groups separate. Correct quantities entered in one undivided batch do not reproduce the required preparation order.
Chapter 4: make both photo comparisons before picking Mark’s lock
As Gus, speak to Vladanna and Mark, then confront Skalnic. When Skalnic leaves, go around the station, collect the loose rope and piece of wood, combine them into a grappling hook, and use the scaffolding. Take the desk keys, open the filing cabinet, and collect its ring plus both crime-scene photographs.
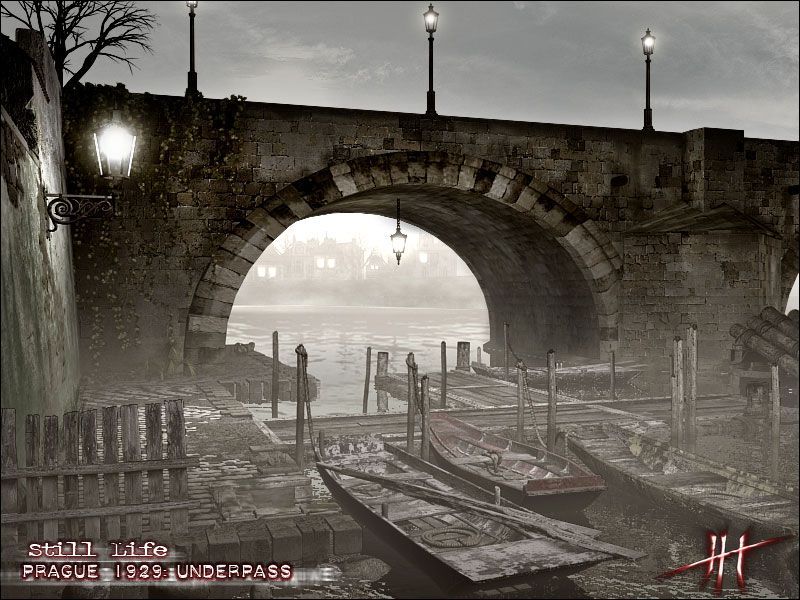
At the bridge, compare the correct photograph and mark the middle bench as the changed object. Peter can then expose the discarded benches at the junkyard; inspect them for another ring. At the burned neighborhood, use the other photograph and select the drained trough. Ask Milena at the park what that difference means, return to the burned neighborhood, and take the ring from the sewer.
If Milena does not supply the sewer lead, one of the comparisons is only visually obvious to you but not registered by the game. Reopen the relevant photograph and select the changed bench or trough inside the comparison view.
Mark’s door: reset before repeating the PC/Steam sequence
Number the top bars 1 through 9 from left to right and the bottom bars 10 through 15 from left to right. The word “switch” below means change to the other pick. Repeated numbers are deliberate even when the movement is hard to see.
1 / switch / 10 / switch / 2 / switch / 3, 4 / switch / 12 / switch / 5 / switch / 6, 4 / switch / 14, 12 / switch / 14 / switch / 7, 4, 15 / switch / 4 / switch / 6, 6, 14 / switch / 7 / switch / 13, 13 / switch / 6, 6, 8 / switch / 9
If the sequence ends without opening the door, exit the puzzle to reset the lock, relabel the two rows, and begin at 1. Do not resume from an unknown intermediate bar state. Inside Mark’s studio, inspect the paintings, take the book, examine the fresh blood on the couch, and collect the telegram before returning to Milena and Skalnic.
Chapter 5: carry every Red Lantern prerequisite into the statue room
After investigating Kolar’s room, meet Mia and attempt the Red Lantern. The refusal is expected. Visit Mia’s room and inspect the photographs, then continue to Richard’s gallery. At the murder scene, take Stephanie’s club pass and Mia’s photograph from the body. Pick up the loose chain by the lower gate, ride up, attach the chain to the hook, return below, and retrieve the silver rose from under the elevator. Before leaving the gallery entrance, also take Victoria’s photograph from Richard’s desk.
At the office workbench, cut the old pass and Victoria’s photo, combine the pieces, and laminate the result. The bouncer admitting Victoria is the test that the forged pass is complete. If he refuses it, check that both components went through the cutter before they were combined and laminated.

Decode the six-digit door instead of guessing it
The three lines beside the door point to three visual clues. “Memoirs” selects the Reminder painting and its 4-2. The instrument of suffering selects the dagger marked 3-6. The vows select Dark Wedding and its 1-5. Enter them in that sentence order: 423615. The code opens the statue chamber.
Do not start the statues with half an apple
Inside, collect the first half of the silver apple. You also need the silver mask and nail from the club, the rose from the gallery, the second apple half from Mia’s room, and Mia’s note from her photo album. Ask Mia at the gallery for her apartment key, visit the campus, take the note and apple half, and combine the two halves before returning.
Use the four offerings in narrative order, not in the order the statues happen to stand around the room:
- Silver mask on the Queen of Secrets.
- Combined silver apple on Lady Temptation.
- Silver rose on the Baroness of Blood.
- Silver nail on the Mistress of Pain.
The staircase opens after all four offerings. If it stays closed, reload before the offering attempt if necessary, make sure the apple is a single combined item, and follow the list from the beginning.
Solve the slider from its untouched arrangement
Below the club, inspect the first fireplace. Take the loose center tile and the tip of a key, and study the completed picture above that mantel. At the other fireplace, number the nine positions left-to-right, top-to-bottom. From the default layout, select positions in this order:
8, 9, 6, 3, 2, 5, 4, 7, 8, 9, 6, 5, 4, 1, 2, 5, 6, 3, 2, 5, 4, 7, 8, 5, 4, 1, 2, 3, 6, 9, 8, 5, 6, 3, 2, 1, 4, 5
Place the carried tile in the center only after the surrounding picture matches. Take the revealed key handle, combine it with the tip, return to the first fireplace, and use the assembled key. Reading the hidden ledger ends the Chicago portion of this chapter. If the center will not accept the tile, the starting board was altered; restore a save from before the slider and run the sequence without exploratory moves.
Chapter 6: count the rings before committing to the sewer boards
Leave the Prague station, go to the shore, and use the boat. Climb the waterwheel at the Old Lavatory, inspect the body, and take its ring. After Skalnic’s shot opens the way, descend to the reservoir controls.
Leave four units in the main tank
Track the tank and three-unit bucket as a pair. Starting at 0/0:
- Fill the tank: 5/0.
- Drain into the bucket: 2/3.
- Empty only the bucket: 2/0.
- Move the remaining tank water into it: 0/2.
- Fill the tank again: 5/2.
- Drain once more. Only one unit fits in the bucket, leaving 4/3.
Press the button at 4/3 to light the indicator and lower the reservoir. If nothing happens, check that you emptied the bucket at 2/3 but preserved its two units during the second tank fill.
In the sewer maze, first take the branch that leads to another body and the final ring, then return toward the entry and follow the lit route to the puzzle door. Stop and count before using the panel. You need six rings gathered across the Prague investigation; arriving with five means a body or earlier scene was skipped, not that the panel has a hidden substitute.
Six-ring panel
Number the rings 1 through 6 from left to right in inventory. “L” and “R” are rotations from the ring’s starting orientation.
| Ring | Turn | Slot |
|---|---|---|
| 1 | L once | Top middle |
| 2 | R three times | Bottom left |
| 3 | L five times | Top left |
| 4 | R five times | Top right |
| 5 | R three times | Bottom right |
| 6 | R once | Bottom middle |
When all six seat correctly, the key board remains. Save before touching it because an arbitrary intermediate arrangement has no dependable in-place recovery.
Sewer key board from the default state
Number the rods clockwise: top edge 1-3 from left to right, right edge 4-6 from top to bottom, bottom edge 7-9 from right to left, and left edge 10-12 from bottom to top. Then press:
3, 5, 7, 7, 6, 3, 11, 10, 10, 9, 6, 1, 7, 11, 8, 10, 9, 2, 1, 5, 5, 6, 6, 8, 11, 2, 3, 10, 9, 11, 1, 5, 9, 8, 7, 1, 1, 2, 2, 3, 3
The pieces should form the key across the top row. Press the metal semicircle to its left to drive it into the lock. If the pieces do not align, reload the pre-board save; corrective guesses cannot repair a sequence that assumes the original layout.
Chapter 7: reach the archives and cross the moving laser grid
After the Ackerman exhibit, take the yellow fire extinguisher before entering the office elevator. Claire explains that Browning’s clearance is required. Jam the coffee machine with a tissue, activate it, report the failure to the janitor, and take the access items he leaves available. In Browning’s office, take the taser, inspect the safe, and take his mug.
Repeat the fingerprint logic from Chapter 3 at the workbench: dust the mug, expose a complete print, and lift it. Use that print on the safe and take the security key. At the elevator, use the key to reveal B3. If B3 is still unavailable, either the safe was never examined, the print was incomplete, or the key remained inside it.
Robot one opens the route; robot two crosses the lasers
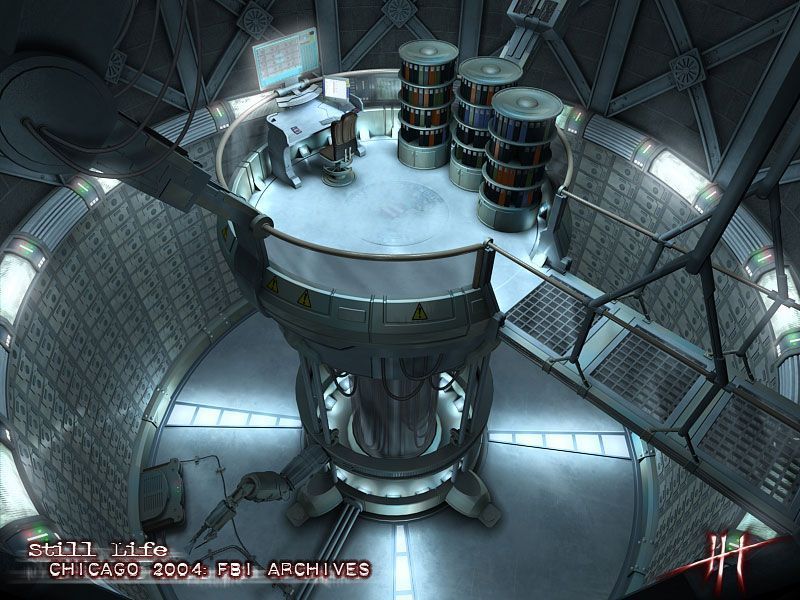
At B3, use the screwdriver on the access panel and the taser to energize the door. Open the low vent in the bomb-squad room. Deploy the first robot and send it through to the door-side control; it opens the archive approach for Victoria.
Victoria will still refuse to cross. Spray the fire extinguisher into the room; the moving beams must become visible before the second task is readable. Return to the robot console and deploy a fresh unit. Guide it to the far control panel using the floor, wall, and ceiling surfaces as the geometry demands.
The useful timing rule is local: watch the next square, wait until its beam has entered and is beginning to leave, then move. A long arrow macro is brittle because the apparent left/right orientation changes with the robot and camera. If the unit is destroyed, deploy another and resume from the start with one observed window at a time. The crossing is finished only when the far control switches off the field.
Cross as Victoria and use the archive computer. The result points to a file still tied to Gus. At Pat’s house, inspect the study painting first, then retrieve the cutting tool from the downstairs toolbox and open the bulge behind the canvas. If the painting has no active use, the archive search was not completed.
Find Tominova Bridge at Richard’s computer
After the campus emergency scene, return to Richard’s gallery. Inspect every Ackerman painting, including the extra text revealed after its initial description. At the computer, combine bridge, Chicago, and Prague. The search identifies Tominova Bridge as the final destination.
If the query does not resolve, revisit any painting whose description or concealed wording was not fully opened, then submit the same three terms. Once Tominova Bridge appears, travel there; the final confrontation, credits, and closing scenes follow without another inventory puzzle.