Armikrog is easiest to finish when you treat its four towers as one clue ledger. Three early pictures vary with the save, Tower 3 creates another three-symbol key, and the Emerald Room asks you to connect four translated words to four Octovators. Copying a fixed screenshot from another playthrough can therefore leave a correct-looking panel locked. This route tells you what to record, what visible change proves each puzzle is finished, and where to backtrack when the next machine is still inactive.
Scope: this walkthrough covers the original Steam game, AppID 334120, on the PC cursor route. Console button glyphs are deliberately omitted. It carries one save from the opening corridor through all four Heart Machines, the three P-tonium rewards, the translator, and both Emerald Room puzzles. The opening window scenes, Hall of Heroes tablets, and Hot Rod Zipkicker are included as save-safe detours because they fit naturally into the same route.

Make a clue sheet before leaving Tower 1
Keep two short lists. The first is Picture A, Picture B, Picture C. These three images are generated for your playthrough and will open the Scaley Room. The second list is for late game: write the four words servitude, family, hope, and honor, leaving space beside each for a symbol and an Octovator marker.
There is also a silhouette revealed by switching off the light near the beginning. Record it. It foreshadows the final crystal arrangement and is safer to preserve now than to reconstruct hours later.
If you want the route-relevant missables, handle them at their natural checkpoints:
- Interact with the barred opening six times before using the first lever.
- Meet AbrahANT Lincoln in Tower 1 before committing to the first long Zipkicker trip.
- Inspect all eight tablets behind the second Father Statue in Tower 2.
- Press the faint upper-cave switch in Tower 2 before trying the ceiling tube that leads to the Hot Rod Zipkicker.
Failure signal: if a later panel presents symbols you never recorded, do not try combinations. Return to the named clue station while the tower network is still open. The route below always identifies the station and the success state.
Tower 1: power, P, and the three-picture lock
Open the tower and record Pictures A and B
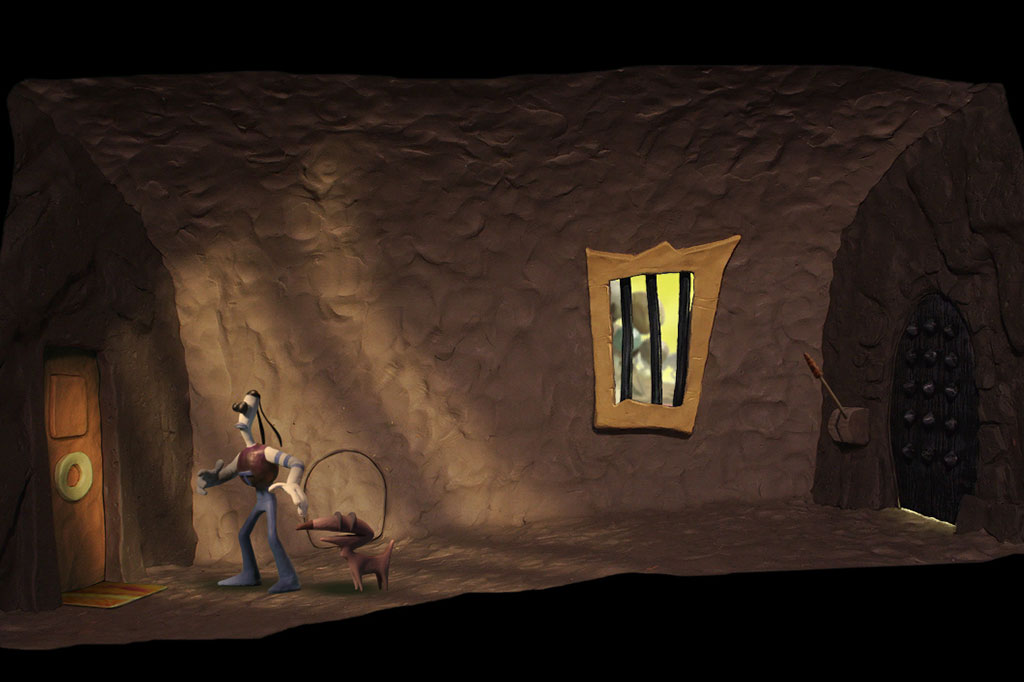
- After the window detour, take the loose lever. Put it in the socket beside the dark door; the orange door opens. Go left.
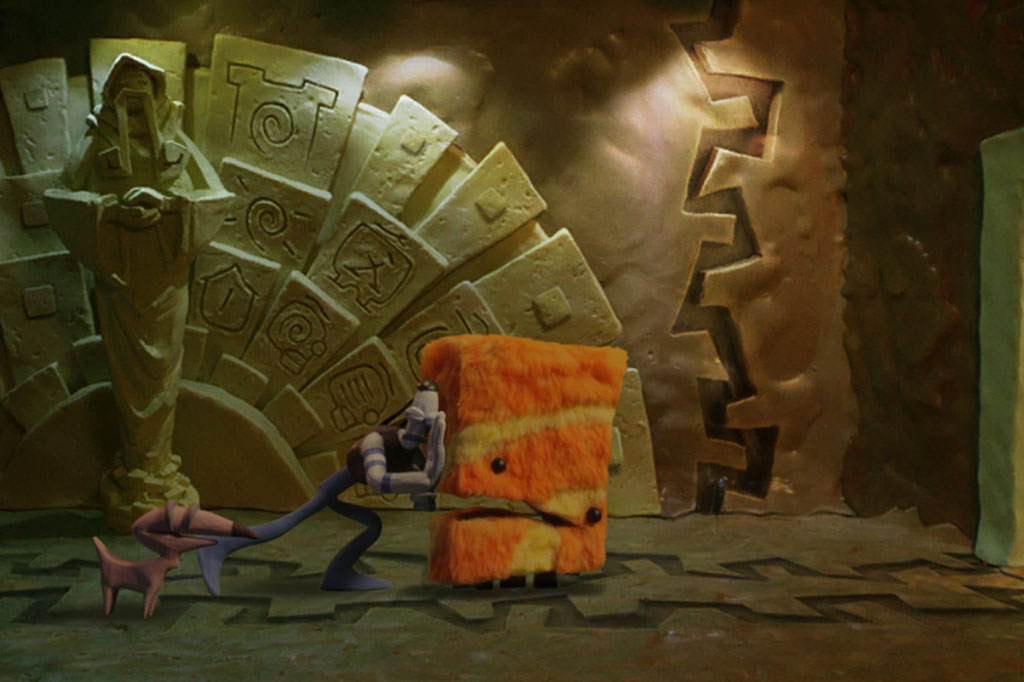
- Interact with the Father Statue if desired, then push the small orange creature into the next room. Use the red wall button to darken the room and record the revealed silhouette.
- Switch to Beak-Beak and enter the low passage. Eat the pulsing lever on the way, continue to the starting corridor, and record the wall image there as Picture A. The small order marks around the image matter.
- Return to Tommynaut. Switch characters so Beak-Beak regurgitates the lever, collect it, push the orange creature right, install the lever, and push the creature through the newly opened side.
- Ride the dropped tentacle upward. Leave it on the pink floor and interact with the circular covered opening to meet AbrahANT. His later cannon distances are 2, 3, 1.
- Ride to the highest floor, collect the crank on the right, then descend one floor. Install the crank and turn it until the red room is exposed.
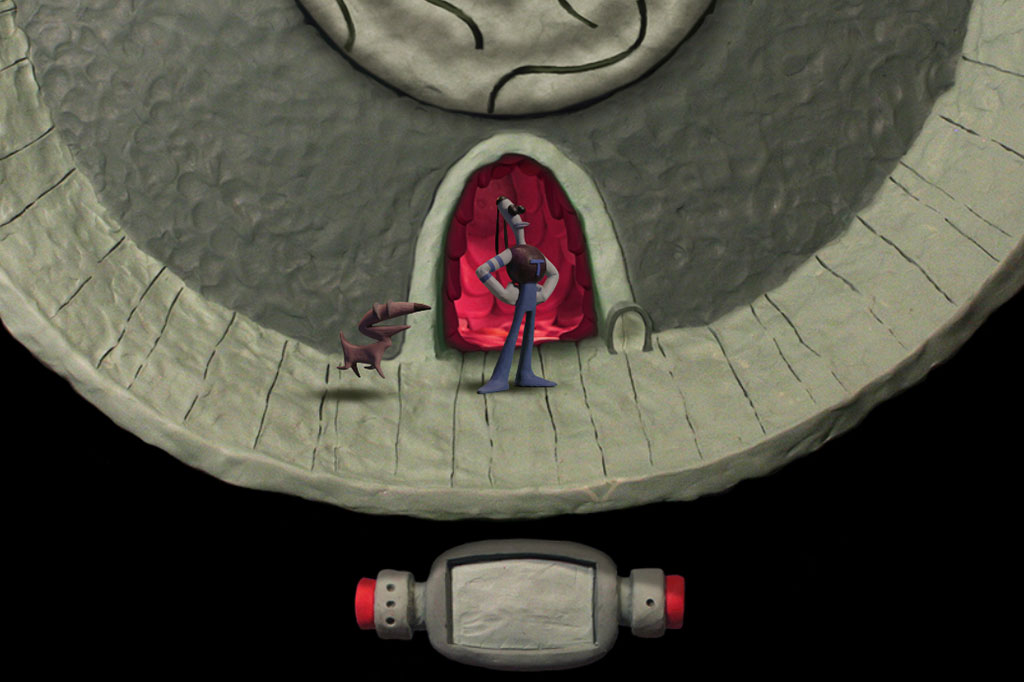
- In the red room, send Beak-Beak through the left tunnel. Record the wall image near the Octovator as Picture B. Interact with the Octovator, eat the machine part it drops, and return.
- Switch to Tommynaut, collect the regurgitated part, and insert it in the grey Heart Machine. Switch back to Beak-Beak and press the machine’s red wall button.
The observable checkpoint is a powered first Heart Machine. If the button does nothing, the yellow part is still with Beak-Beak or has not been inserted by Tommynaut.
Wake P and solve the repeating carousel
Return to the crank and rotate farther until the green nursery appears. Interact with the floor covering to find P, take the lever lying nearby, and leave. When P cries, open the toy carousel. The same order is used at all three baby stops:
| Position | Toy |
|---|---|
| 1 | Orange square-bodied creature |
| 2 | Purple snapping creature |
| 3 | Green octopus |
| 4 | Red octopus |
| 5 | Red round creature |
| 6 | Aqua rat |
| 7 | Yellow round creature |
| 8 | Grey rat |
| 9 | Purple square-bodied creature |
Start the melody only after every position is filled. The ring must complete an uninterrupted circuit; misplaced toys drop away. A full cycle makes P release a green P-tonium crystal. Pick it up before moving to the top floor.
Record Picture C and open the Scaley Room
- At the top-right dock, install the nursery lever and enter the first Zipkicker.
- Drive right, then down to the dark end of the line. Activate the endpoint and record the revealed image as Picture C.
- Return to the original dock and use its metal release until Tommynaut is back on the platform.
- Descend to the pink floor. On the panel beside AbrahANT, place Pictures A, B, and C across the middle row in that order. Press the yellow control.
A chime and an opened left door confirm the three save-specific images are correct. Inside the rotating chamber, make the stopper contact right, left, left, right, returning the room to a usable balance afterward. If the rail still cannot pass its large disc, repeat only this stopper sequence; do not disturb the picture panel.
Board the Zipkicker again, travel left, take the newly available upper track, and hit the brown-disc switch twice. Continue along the aligned rail to Tower 2.
Tower 2: planet colors, the cannon, and the Hot Rod route
Cross lock 1 and the astronaut planets
The first cross lock wants its three marked tiles on the bottom arm. Read each token as origin → destination x count:
L→B x2; L→T x1; B→L x3; T→B x1; R→B x2; R→T x1; B→R x2; T→B x1; T→R x1; T→B x1.
Enter the tower when the lock chimes. In the next room, note the astronaut targets from left to right: green, red, purple, blue, orange. Continue to the second Father Statue, use the small pedestal control, and inspect the eight tablets now if you want the Hall of Heroes achievement.
The planet mechanism can start in different orientations, so a fixed number of turns is unsafe. Use the large lever until the auxiliary far-right triangle shows yellow at its top and blue on its right. Then work the five cranks from right to left, watching the exposed planet above each astronaut rather than the hidden marbles. Stop when the five exposed colors match the recorded row. A mechanical sound is the success signal.
If changing one crank breaks a planet you already finished, continue from the rightmost unfinished position instead of restarting randomly. The mechanism rotates linked triangles; it does not replace their colored pieces.
Combine the two ant clues at the cannon
- Return to the Father Statue room. Put Beak-Beak on the large red floor control.
- As Tommynaut, go right, push the orange creature, climb it, and take the high lever. Carry it back to the tower entrance.
- Ride the tentacle down once, follow the green ledge to the cannon, and install the lever in the wall. The tower expands.
- Follow the new left route to its rotating room and meet Thomas JeffersANT. His declaration supplies the colors purple, green, yellow.
- At the cannon panel, set its three rows to purple/green/yellow from top to bottom. Advance those rows by AbrahANT’s distances: 2/3/1. Fire.
- Pick up the dropped feather, return it to JeffersANT, and study the diagram he reveals. Reproduce that diagram on the neighboring blue panel and confirm with the blue button.
Two separate signals matter: the cannon must drop the feather, and the blue panel must chime. If the shot fails, the color clue and distance clue have been assigned to the wrong controls. If the diagram fails, use JeffersANT’s visible drawing rather than a memorized face-click sequence; two written routes describe the face positions differently, while the in-game diagram is authoritative for your screen.
Build the orange-creature staircase
- Place Beak-Beak on the large green floor control and send Tommynaut through the new left door.
- At the far left, push the tall orange creature onto the red control.
- Remove Beak-Beak from green. Move the shorter creature one room left until blue blocks stop it.
- Put Beak-Beak on the blue control. Cross the lowered blue barrier and push the short creature left until green blocks stop it.
- Remove Beak-Beak from blue, return him to the original green control, and push the short creature against the tall one.
- Climb the pair as a staircase. On the balcony, collect the bug that falls.
If the two creatures cannot meet, identify the color of the blocks directly in front of the short creature. Beak-Beak belongs on that color’s control; moving him elsewhere before Tommynaut clears the barrier restores the obstruction.
Power Heart Machine 2 and take the Hot Rod route
Return to P and repeat the nine-toy carousel. Collect the second P-tonium piece. Put the balcony bug in the nearby dog bowl, switch to Beak-Beak, eat it, and fly upward. Interact with the second Octovator, take its Heart part, enter the tunnel for a lever, then fly back and regurgitate both items. Tommynaut inserts the part; Beak-Beak presses the next machine button.
On the lower floor, open the right room, use the bowl again, and fly through the cave. Take the second lever and press the faint control in the upper dark area. This control is the prerequisite for the secret vehicle.
Return the lever to Tommynaut, but do not immediately consume both levers at the ordinary dock. Ride the tentacle up and backtrack to the long corridor. In its green room, stand below the ceiling tube and interact until it pulls Tommynaut into the Hot Rod Zipkicker.
For the secret rail, strike the first flame-marked disc control three times and take the left branch. At the three-disc section, use the upper spiral control twice, the newly reachable lower control once, the upper control three more times, and the left control once. The lower discs should now form a continuous leftward track to Tower 3.
Tower 3: robot alignment and the second randomized key
Cross lock 2
This lock again builds on the bottom arm:
R→B x2; R→L x1; R→T x1; B→R x4; T→B x3; R→B x1; T→R x1; B→T x3; R→B x1; L→T x1; L→B x2; L→R x1; B→L x2; R→B x1; T→B x1.
The completed image produces a chime and opens the left entrance. Visit the third Father Statue, continue past Theodore RoosevANT, and enter the blue room. At its bowl, let Beak-Beak fly through the upper tunnel. Collect the lever and the third Octovator’s machine part, then return and regurgitate both on the grassy floor. Check carefully before leaving; the small pieces can blend into the scenery.
Make the robot egg land in the nest
Open the grey robot panel and test it once. The wall background contains several candidate figures; only one is not crossed out. That surviving figure is the target. From the panel’s initial state, press the right arrows by row:
| Row from top | Right-arrow presses |
|---|---|
| 1 | 2 |
| 2 | 1 |
| 3 | 0 |
| 4 | 3 |
| 5 | 4 |
Press blue again. The egg landing in the nest is the only useful success check. If it misses, compare each row with the uncrossed wall figure; adding more clicks without resetting the row count only drifts farther from the target.
Return to P, solve the carousel a third time, and collect the new P-tonium. Insert the Octovator part in Heart Machine 3, then have Beak-Beak press the red control near the blue doors. Ride the tentacle up, leave to the left, install the lever at the Zipkicker dock, and travel left.
Under the nest on the rail block are three symbols unique to this save. Record them in order before proceeding over the three large panels. You will see the same key near the Tower 4 approach, which is a useful transcription check. If the next panel rejects the key, return here and compare shapes rather than cycling randomly.
Tower 4: translator, fourth Heart, and the top-arm cross
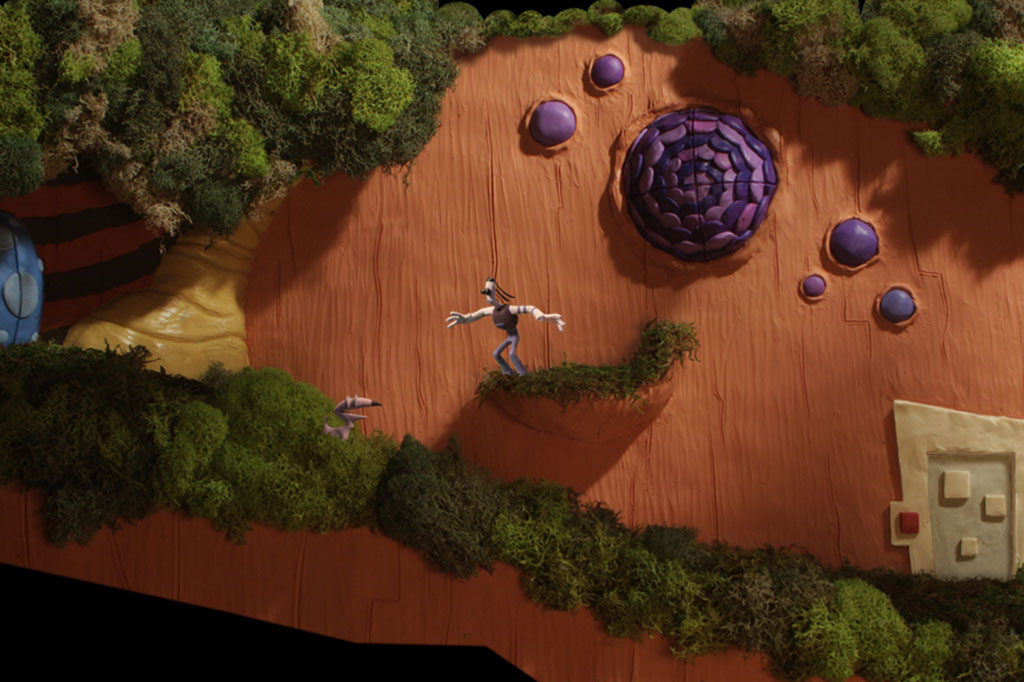
- At the Tower 4 pipe, switch to Beak-Beak and crawl left. Interact with the fourth Octovator and eat its part.
- Use the panel beside it to enter the three symbols recorded under the Tower 3 nest. Return through the pipe and give the part to Tommynaut.
- Board the Zipkicker. The accepted symbol key changes the track, allowing a lower dock to be reached. Insert the part in Heart Machine 4.
- Enter the adjacent room, collect the lever, and install it to activate the translator. Switch to Beak-Beak and press the final Heart button.
- Ride back to the upper dock and open the last cross puzzle. This time the five correct tiles belong on the top arm.
Use this transfer sequence for the top-arm image:
L→R x2; L→B x1; T→L x3; B→T x1; L→T x1; B→T x3; B→L x1; T→B x4; L→T x1; R→T x3; R→L x1; R→B x1; T→R x3; B→T x1; L→T x2; L→R x2; L→B x1; T→L x2; B→T x1; R→L x3; R→B x1; R→T x1.
The finished image raises the red approach. Press the door control, enter, watch the now-translated Octovator, and take the P-shaped piece. Descend to the broken Father Statue, interact twice, then go left to P. This sends Tommynaut back to Tower 1’s Emerald Room with the last route crystal.
Failure signal: if dialogue is still alien speech, or the fourth Heart achievement/check does not occur, do not begin the cross. The translator lever and Beak-Beak’s final red button are separate actions. Complete both, then return to the upper lock.
Emerald Room: build your own symbol answer
Revisit the four translated Octovators
The final green console is not solved by a universal four-symbol screenshot. Each translated story connects one important word to a visible symbol, and the panel labels its slots with the Octovator markers.
- From the Emerald Room, go left and climb Tower 1 to its Octovator. Record the symbol shown when the translated story says servitude, along with that Octovator’s marker.
- Use the rail to Tower 2. At its upper Octovator, capture the symbol paired with family.
- Continue to Tower 3 and record the symbol paired with hope.
- Travel to Tower 4 and record the symbol paired with honor. Descend to its teleport platform and return to the Emerald Room.
Insert the P-shaped machine piece in the large green panel. For each slot, use the Octovator marker shown beneath it to choose the corresponding word-symbol pair. When all four are correct, the glass dome over the center device retracts.
If the dome stays closed, diagnose by marker. A symbol can be correct but assigned to the wrong Octovator. Revisit only the story whose word-symbol pair is uncertain; there is no benefit in cycling all four slots.
Set the crystals by hole depth
Before using the center device, leave through the left door and turn the crank until the door shows a spiral and its lamp is lit. Return, climb onto the center platform, press red to place the crystals, and press it again to open the arrangement puzzle.
Move the round green orb to the second gap from the left. Number the loose crystals by their original left-to-right order, then place them as follows:
| Hole from left | Crystal to place |
|---|---|
| 1 | Crystal 2 |
| 2 | Crystal 4 |
| 3 | Crystal 1 |
| 4 | Crystal 5 |
| 5 | Crystal 3 |
The intended silhouette rises from low left to high right. Judge the result by the seated height after insertion, not by the loose crystal’s apparent length; the holes have different depths. Press red after the slope is visible to start the ending.
Route-state troubleshooting
| What you see | Likely missing state | Next action |
|---|---|---|
| P keeps crying and no crystal appears | The carousel did not finish one clean circuit | Replace every fallen toy, then restart the melody from the stable nine-position order. |
| A Heart button has no effect | Tommynaut has not inserted that Octovator’s part | Switch back near Tommynaut so Beak-Beak regurgitates the part; collect and install it before pressing red. |
| A Zipkicker reaches a dead disc | A room puzzle or rail switch is incomplete | Return to the last chime checkpoint. Do not rotate unrelated discs after a known-good segment. |
| The Hot Rod ceiling tube is inert | The faint upper-cave control in Tower 2 was skipped | Use the lower dog bowl, fly through the cave, and press the high dark-room control first. |
| Tower 4 rejects three symbols | The Tower 3 nest key was copied incorrectly | Ride back to the nest block and compare the ordered shapes shown under it. |
| Emerald console accepts changes but keeps its dome | A word symbol is mapped to the wrong Octovator marker | Rewatch that translated story and pair the spoken word with the symbol shown at that moment. |
| Final crystals do not form a slope | Crystal identity or hole depth was misread | Restore the original loose order and rebuild the hole mapping as 2, 4, 1, 5, 3. |
Once the final crystals form a low-left-to-high-right slope and the red control starts the ending, the route is complete. If the slope is still wrong, restore the original loose order and rebuild 2, 4, 1, 5, 3 instead of replaying the towers.
Armikrog is available on Steam.