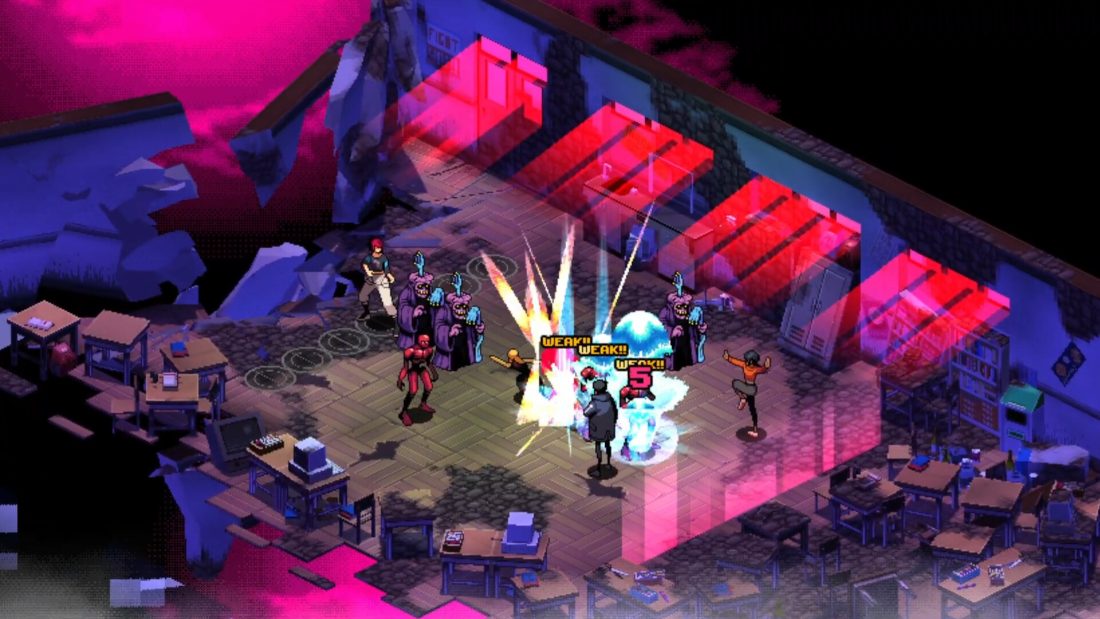
For a first Demonschool clear, follow the gold story marker from Week 11 down to Week 0, but treat each Friday as a board-state test rather than a damage race. Keep the rear barrier closed, preserve a route to the current sigil or boss object, and reserve enough action points for the contact that actually advances the encounter. This walkthrough covers the base-game first run on Steam v1.11, dated June 25, 2026. New Game+ changes roster timing, and the announced Puzzle Killers DLC is outside this route.
Use three rotating manual saves: one at the start of a day, one before the Friday-night fight, and a separate save on Tuesday morning in Week 0 before choosing an ending. Before a compulsory objective advances the calendar, clear any relationship or side-quest marker you care about. If the next relationship event does not appear, it may be story-gated; advance the main week and check again instead of spending every activity trying to force it.
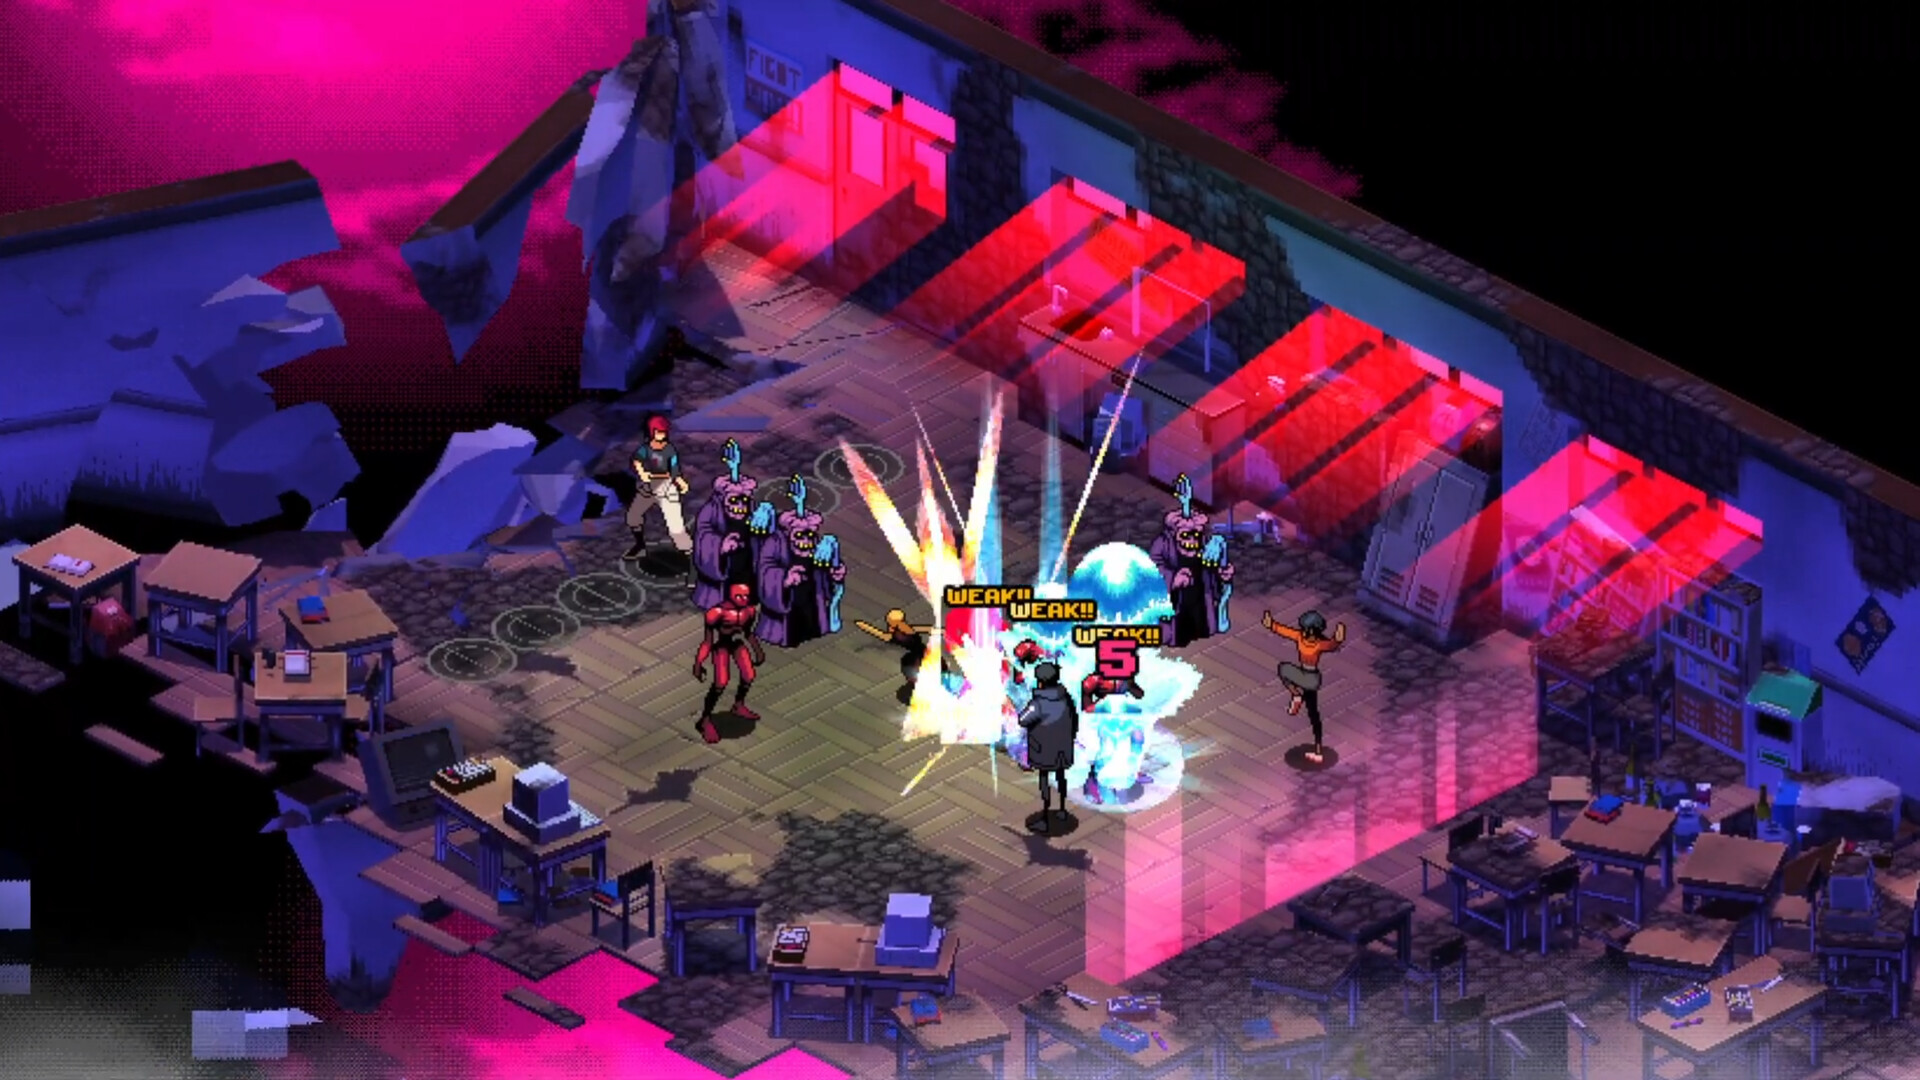
Top Marks are not a first-clear requirement. A lower rank is usually cheaper than overwriting a useful schedule state, and the semester leaves room for Opals, study slots, and selected optional chains. Rent one available movie each weekend, revisit fishing when a new location opens, take relationship events when their markers appear, and finish side quests before their later parts are due. If an ending is your only goal, keep those activities secondary to the gold marker.
What every Friday fight asks you to preserve

A movement command continues until the character reaches the chosen endpoint or an interaction stops them. An attack is therefore both damage and travel. Sidesteps change the line without consuming the same resources as a normal forward action, while rewind lets you dismantle a bad plan before committing the Action phase.
- Brawlers such as Faye and Destin turn obstacles, edges, and teammates into damage by pushing targets.
- Phasers such as Namako and Aina pass through a line of enemies, making them efficient for opening a lane or arranging a combo.
- Modifiers such as Knute do not need normal damage to matter. A heal on a full-health ally becomes a buff, and even a non-attacker can register a boss hit when the encounter counts contacts rather than normal damage.
- Later specialists solve positioning problems: Ti scatters targets, Jem attacks from range, Kestrel redirects a lane, Varka and Fossa displace enemies, Henk creates objects, and Primrose borrows an enemy technique.
Before ending Planning, inspect the preview for five failure signals: a Grunt can reach the rear barrier; a tethered student cannot leave a marked attack; a Balloon or other explosive will catch the party; your sealer is not actually standing in the sigil area; or the final planned hit pushes the next target out of reach. Rewind the first action that created the problem. Repairing a line early is usually cheaper than adding attacks at the end.
Weeks 11 and 10: learn the loop and form the club
Week 11: tutorial, combo, and seal
Talk to Namako on the boat to move the story to Friday. The tutorial then teaches the route in its smallest form: move through a line, rewind a poor order, push a target into a partner for a combo, and finish with a student on the sigils. Friday evening continues at the Town Square fountain; Friday night moves to the School Gym Assembly for the second fight.
If the final seal does not begin, do not spend another turn attacking random enemies. Confirm that the required defeat count has been reached and that a surviving party member ends on the glowing sigils. That same two-part check prevents many later apparent softlocks.
Week 10: Destin, Knute, the shop, and the CRT boss
Use Monday through Wednesday to follow the haunted-tape investigation and recruit Destin and Knute. Tuesday introduces the alley shop. Prices fall later, so an early technique purchase is optional rather than a progression gate. By Wednesday night, the Abandoned School Gate fight should end with both recruits permanently available. Thursday establishes the clubhouse route; Friday evening gives the Clubhouse Key.
The Friday boss teleports between the north and east sides, drops Possessed Students, and throws damaged monitors. Each contact removes only one boss hit, so buffs do not replace AP economy. Start moving toward the next indicated arrival zone before the teleport resolves, keep enough space to avoid the two-damage landing area, and attack with several students whenever the boss is reachable. If adds consume the whole turn, you entered the cycle too far from the next zone; restart the fight or accept a lower rank rather than trying to force the same line.
On the weekend, unlock the clubhouse and begin the Van’s movie-rental loop. This is also the first reliable time to treat the fountain, graveyard, lighthouse shrine, and rooftop visitors as a recurring sweep instead of one-off discoveries.
Weeks 9 and 8: build a flexible front line
Week 9: Mercy and Dry Bones
Keep following the story markers while using free periods for the relationship and side-quest icons that now multiply around the island. Mercy joins during the week, but her familiar options develop with story and relationship progress; an early Mercy is intentionally less flexible than her later version. In v1.10 or later, the alley also offers the new pretzel interaction from Monday of this week, but it is not required for the base-game route.
Friday night’s giant skeleton is a detector fight. Avoid its marked strike zones and keep ordinary enemies away from the barrier. When a finger remains on the field, hit it. Repeating that response exposes a weak point; striking the weak point removes a large health segment. If the skeleton never opens, you are surviving without advancing: redirect one available student to the fingers instead of clearing every add first.
Week 8: the Abandoned Wing and the spear cycle
This week pushes the party through the Abandoned Wing and adds more enemies that change form or explode. The practical rule is to preview what exists after the first kill. A Possessed Student that reveals a Scythe is two jobs, not one, and a Balloon can be a weapon if its blast is moved away from the team.
The Friday boss sends area attacks across the board, summons Grunts and Possessed Students, and knocks the party back after a successful boss contact. Do not let the whole team arrive one at a time. Rebuild the lane, bring four students into range, then spend the cycle on four hits. A fast clear needs three productive contact windows rather than constant chip damage. Meanwhile, leave one rear-capable student ready to stop a Grunt from opening the barrier. The failure signal is a split party after the knockback with no four-hit route on the next approach; use Faye’s Special or a mobile front liner to shorten that return trip.
Weeks 7 and 6: expand the roster and answer the boss mechanic
Week 7: Ti, Aina, and the zombie-head boss
Ti arrives during the week, giving you a Special that sends adjacent enemies in several directions. Put two allies in those paths to turn one scatter into a three-student combo; this is the reliable setup for One-Three Punch. Aina joins after the Friday boss.
The boss charges through a telegraphed strip and then draws strength from surviving Zombies. End each turn outside the landing strip, but do not interpret every red tile as an order to abandon offense: the charge deals limited damage, while absorbed Zombies restore the boss. Remove Zombies that lie in its route, then place your hitters near the end of the charge so the next Planning phase begins in contact range. If the health bar climbs after a cycle, your target priority was wrong.
Week 6: new specialists and the boiler
Jem and Ocean join during the week, with Kestrel arriving around the transition into Week 5. Their range, healing, and phase movement matter because the boiler is not a normal health-bar race.
Break the three small valves that appear around the room. That produces the large center valve. The first hit on the center valve advances the encounter; extra hits lower the heat and buy safety. Avoid the marked lava columns, but keep the party spread so a new small valve is never isolated behind every enemy. If the temperature continues rising after you cleared the small valves, the center valve was not hit. Do not mistake a lower temperature for victory progress either: the encounter advances through repeated large-valve cycles.

Weeks 5 to 3: manage shrinking space and instant-loss threats
Week 5: Pangxie, Varka, and the tongue arena
Pangxie and Varka broaden the Modifier and displacement choices this week. Friday’s circular arena removes safe floor as the fight continues. The boss creates tongues, the inner hole grows, and edge pushes can remove either enemies or careless party members.
Spread the party around the ring before safe space contracts. A tongue needs only a hit, so wide or penetrating Specials are more valuable than stacking normal damage on one point. Watch both the damaging zone and the separate push zone before confirming the turn. If two students are lined up to fall after the Action phase, rewind and solve the push first; trading the entire lane for one tongue is not progress.
Week 4: Henk, Fossa, and the crab
Henk joins Friday morning and Fossa joins Friday night. Henk’s objects can create cover or stall a lane; Fossa can exchange positions with an enemy. Those tools arrive just as the maps demand more deliberate board control.
The crab eats a three-row section of the dock, drops mines, and heals if it consumes an enemy. Kick a mine into the section it is about to eat to damage it, then keep enemies out of that same mouth zone. If the boss heals, check what entered the marked rows before its bite. Clearing adds beside the mouth can be more important than another ordinary attack.
Week 3: Primrose and the demon parent
Primrose joins during this week, completing the base roster. Friday’s boss drops heart-like polyps and Grunts onto a small field. Breaking a polyp hurts the boss; leaving it intact turns it into more pressure. Grunts still threaten the rear barrier.
Split the opening work: mobile students take distant polyps while the closest hitter protects the barrier lane. Do not spend AP healing harmless chip damage while an intact polyp is about to convert or a Grunt is one move from the rear. The fight can vary with spawn positions, so the success signal is not a copied formation; it is a shrinking set of polyps with a closed barrier.
Weeks 2 to 0: preserve the route to every ending
Week 2: Meat Cubes and the Ibis window
Week 2 contains two different positioning checks. In the earlier push-and-maze encounter, the boss knocks the party back behind Meat Cubes. Set up landing space and use Brawlers or created obstacles to shorten the recovery route; Phasers cannot simply pass through the cubes.
Friday night’s Ibis Eye sits behind stained glass. Its wide attack breaks a panel and leaves three glass fragments on the floor. Move students onto those fragments to repair the window while controlling the enemies in the lane. A healer is useful for Burn, but the repair pieces are the real objective. If the fight runs long, check for an uncollected fragment rather than pouring more attacks into the protected eye.
Week 1: finish long chains before committing the story
Use this week to close relationship quests, side-quest conclusions, rentals, and other long-running activities. Friday evening still has a battle, while Friday night advances the story without the usual weekly boss. The weekend presents several wrap-up events around the island and the clubhouse. Maintain a separate save before the final story transition so cleanup does not depend on an autosave that has already crossed the boundary.
Week 0: three bosses, then the ending save
The first phase is the giant hoof. Leave its telegraphed slam square, then surround the hoof while it remains on the field. The second phase divides the roster across two boards; attack the exposed guts and end near the far edge of the warning zone so the team can reach the next side after it jumps. Free a tethered student before the incoming marked hit.
The final fight rotates through fixed teams. Break every crystal, then attack when the mouth opens. Use each team’s control tool to keep enemies from delaying that window: healing for dangerous status effects, Henk’s desks for a blocked lane, and the later team’s range and displacement against scattered threats. Repeat the crystal-to-mouth cycle until Faye’s team returns for the finish.

On Tuesday morning, keep the separate ending save before entering the Town Square choice. The available routes use the center circle and conversations with Namako, Kestrel, Knute, and Fossa. You can inspect an option and back out before committing. After viewing one ending, reload this save; additional choices can appear after an ending has been seen.
Your first-clear route is closed when the Week 0 fights are finished and that Tuesday save still exists outside the chosen ending. If a Friday fight stalls before then, return to the first changed object that did not resolve: a finger, valve, tongue, mine, polyp, glass fragment, crystal, sigil, or the rear barrier. Rebuild the plan from that state instead of repeating a copied tile sequence.
Version and platform reference: Demonschool on Steam.