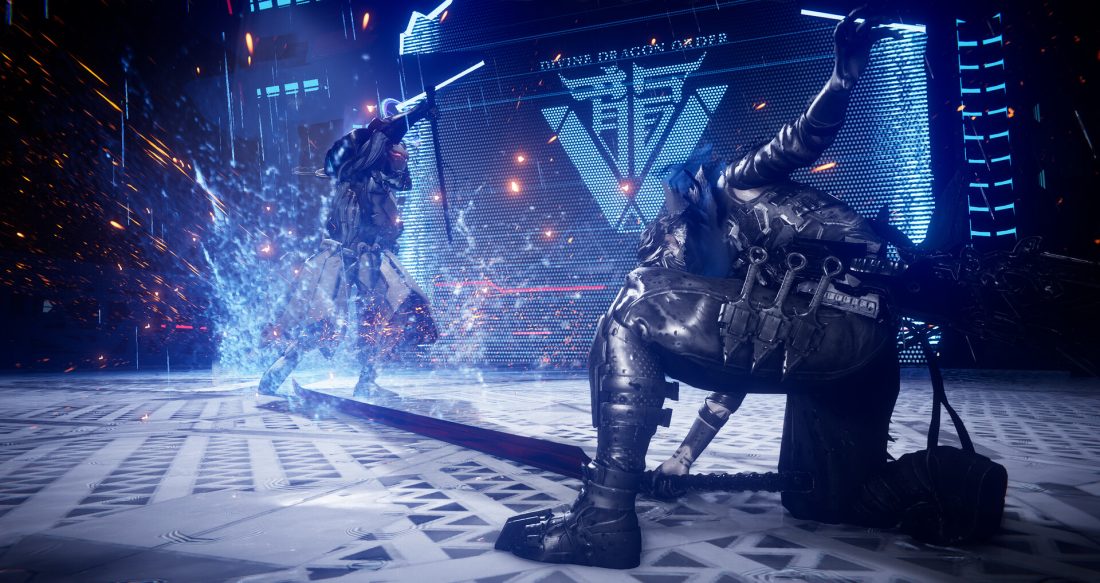
This boss guide covers the base campaign through the Dark Dragon Phantom. It is written for the current Version 1.004.000 rules dated March 4, 2026 and does not rank or cover The Two Masters DLC bosses. The practical goal is not a no-hit showcase: it is to identify the signal that should stop your combo, the response that creates a real opening, and the failure symptom that tells you which part of the exchange went wrong.
Diagnose the loss before changing weapons
Most failed attempts fall into one of four categories. If red power attacks hit during your animation, your Base string is too long or you changed form too late. If normal strings break your guard, you are treating every hit as the final hit instead of blocking through the lead-in. If the boss leaves the camera, your punish starts from too close or at the wrong side of the arena. If healing disappears without producing damage, you are using items inside neutral rather than after a knockdown, arena transition, or long recovery.
Build one reproducible answer around those symptoms:
- Approach: block, strafe, or move until the full boss model and arena escape route are visible.
- Commitment: recognize the red power cue, last hit of a fixed string, dive, landing, or charged projectile.
- Response: use the matching Bloodraven or Gleam counter for a power attack, or Perfect Block/Perfect Dodge for a normal ender.
- Conversion: take a short confirmed string, Fatal Flash, Ultimate, or weapon-specific punish; stop before the boss regains armor.
The March 2026 patch matters here. Perfect Fatal Flash now has startup invulnerability until its required timing, several weapon moves gained startup invulnerability, Twin Blades gained additional midair cancels, and Wind Run homing was increased. Those changes make current defensive conversions safer than they appear in launch-period footage. They do not make a late counter automatic: if the red attack has already reached Yakumo or Ryu, an input made after impact is still an input made too late.
Yakumo setup: spend for the window you can actually create
Before the early bosses, prioritize Flying Swallow for controlled distance closing, Izuna Drop for conversions, Fatal Flash for a defensive punish, and the Perfect Block or Perfect Dodge follow-up that matches your timing. Do not buy five long strings and then use none of them. A boss string needs an exit point; learn where you can block or cancel after the second or third hit.
Bloodraven is a resource, not a permanent stance. Build gauge with safe Base hits and time, then spend it on a powered answer or a punish that changes the phase. When the boss is off-screen or armored, stop spending. Against targets that dive or fly, Kage-Hiruko later becomes both a tracking tool and a safe interrupt. Against a boss whose punish window is close and long, Yatousen or a high single-target setup is more useful. Takeminakata’s mobility is valuable when you need to enter and exit quickly.
The opening machines: Commander and Proto-Goliath
D.D.O. Commander — Chapter 1
The commander teaches the correct distance for a red response. At close range, his ordinary weapon sequence is easy to confuse with the powered commitment. Back up until you can see the shoulder and weapon preparation, block the ordinary lead-in, then switch to the powered answer when the red cue is unambiguous. He may jump or reposition instead of committing; do not chase with a long string.
Reliable damage cycle: invite the forward commitment, answer the power cue with Bloodraven, take a brief punish, then return to a camera-safe distance. If you get knocked down while trying to change form, shorten the preceding Base sequence. If he repeatedly escapes with a sliver of health, save gauge for the next red attack rather than spending it on neutral pressure.
Proto-Goliath — Chapter 2
Proto-Goliath turns camera control into defense. Pick a rear-quarter angle where a leg and the torso remain visible. Attack the same accessible section, but leave as soon as the machine plants for a sweep, stomp, or body rotation. Staying directly beneath it hides the tell; staying at maximum range wastes every recovery.
When the machine exposes a long recovery, use the highest damage conversion you can end safely. Do not continue after it begins to rotate back toward you. If environmental clutter traps the camera, move around the outside edge and re-enter from open floor. The correct reset is positional, not a different weapon.
Daemon tells: Kitsune Courtesan, Sanzeon, and Kurobo
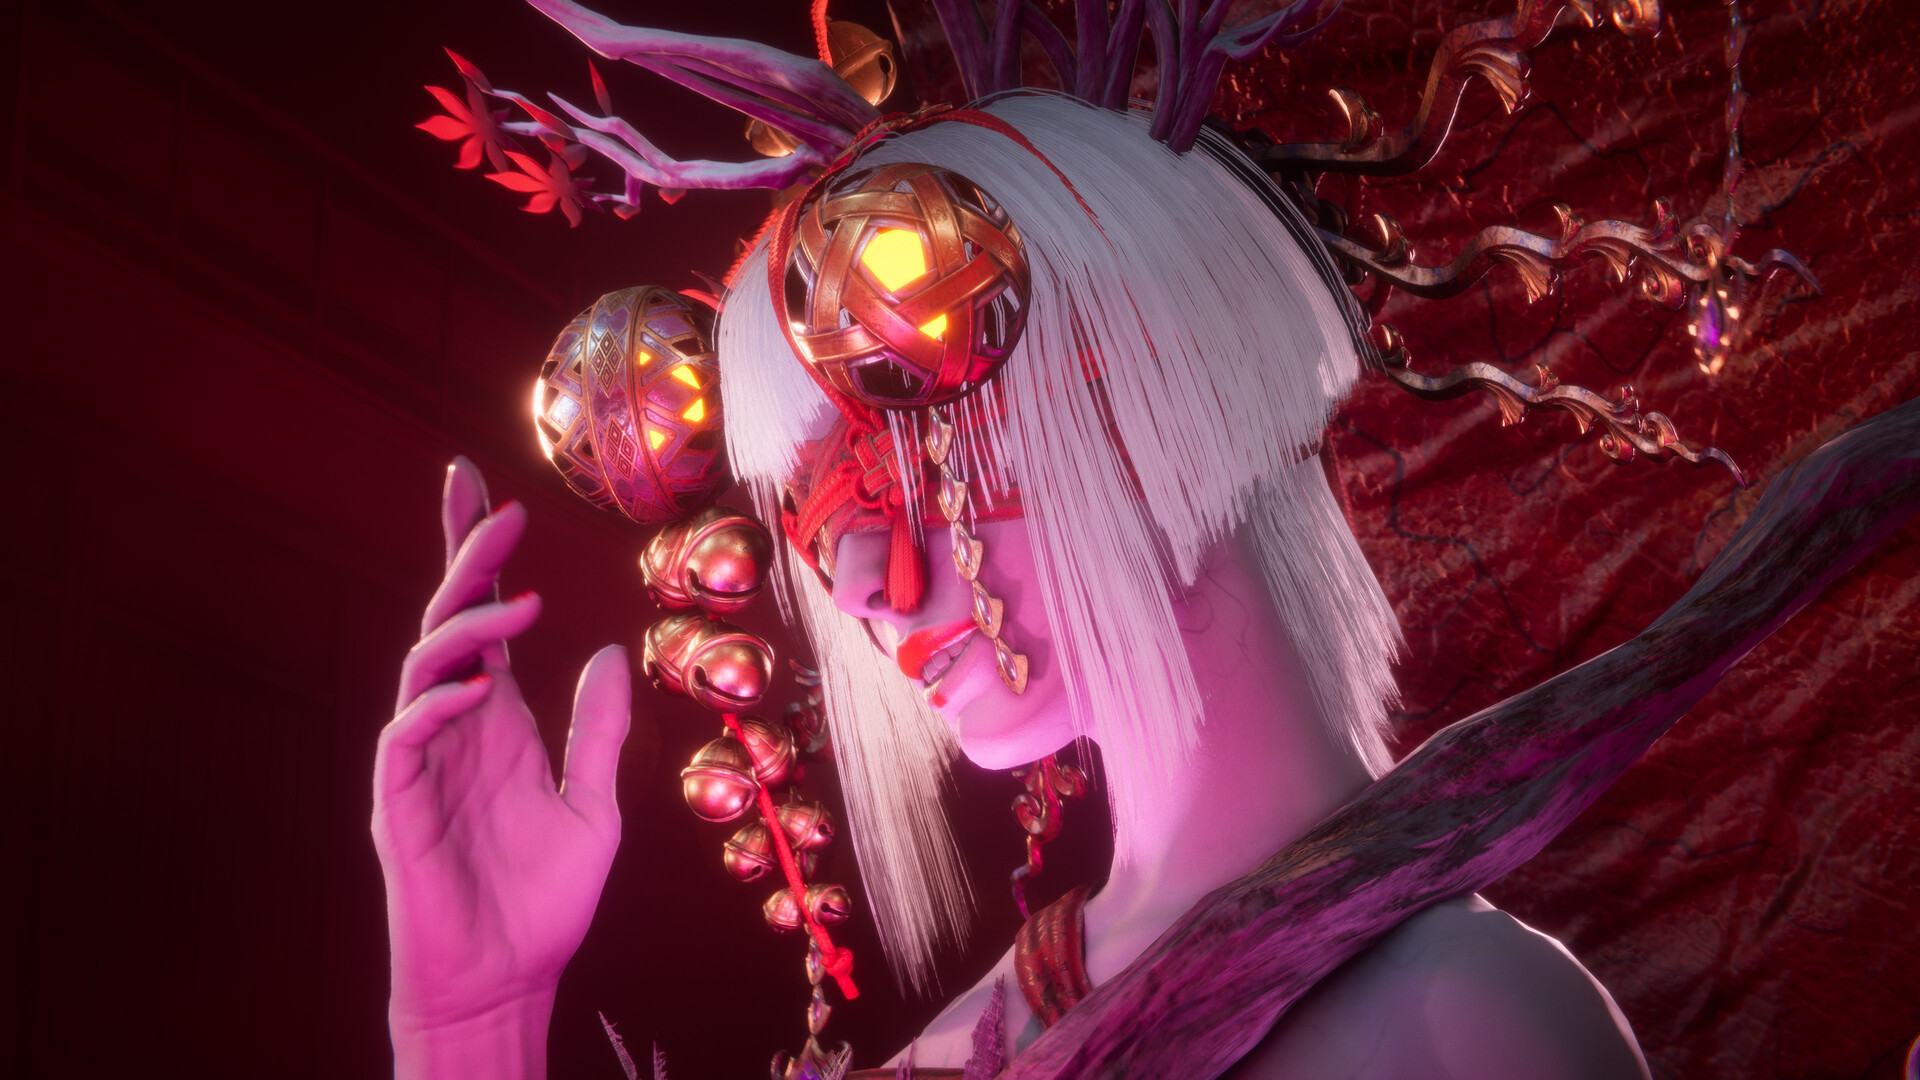
Kitsune Courtesan — Chapters 3 and 16
The Courtesan separates a visible pattern from distracting presentation. Track the real body, defend through the approach, and punish the last committed motion. Her pulse is a stop sign: disengage or use the intended defensive timing instead of attempting to out-damage it. Version 1.004.000 repaired a Chapter 3 case where the pulse could invalidate Untouchable even when it should not, but it did not turn the pulse into a safe opening.
In the Ryu rematch, preserve Ninpo for spacing or the added pressure rather than casting into a moving target. Ryu’s heavier movement makes greedy re-entry more obvious. One controlled punish after the ender is better than a second string that meets her next pulse.
Sanzeon — Chapter 5
Sanzeon’s disappearance is a camera test. The instant it vanishes, stop attacking, center the arena, and locate the return tell. The early phase mixes teleports and ranged energy; the later phase adds a more dangerous multi-arm sequence. Keep Bloodraven available for the laser or obvious power commitment, not the first harmless reposition.
If repeated teleports drain your gauge with no stagger, you are answering movement rather than an attack. Wait for the weapon or body to commit after the reappearance. When the phase transition creates a stationary moment, spend your prepared damage there, then leave before the new pattern begins.
Kurobo — Chapters 7 and 17
Kurobo’s ground sequence has a readable end: survive the wing and claw lead-in, then counter the final powered commitment. Trying to parry every visual beat produces early inputs. Hold guard through the setup and react to the ender. When Kurobo takes the fight into a glider sequence, navigation wins the exchange. Align with the air stream, pass over or clear of strafing fire, and only attack when the route is stable.
Ryu’s rematch follows the same recognition rule but gives you less reason to chase. Equip single-target damage, use his Gleam response on the committed cue, and reset after one conversion. If you are knocked out of the air, the error happened in alignment before the shot, not in your ground build.
Ryu is a spacing exam, not a damage race
Yakumo faces Ryu before the final sequence, and the duel exposes every attempt to attack from uncertainty. Ryu can close with Flying Swallow, run a grounded string into a launcher, and switch to stronger Gleam pressure. Keep him in the center of the frame and use Kage-Hiruko to check movement or interrupt the appropriate commitment. Do not heal while both characters are standing in neutral; create distance after a miss or wait for a true knockdown.
Your main punish begins after one of three events: the final hit of a blocked or parried string, a whiffed aerial entry, or a red attack you answer correctly. Take the counter and a controlled follow-up, then stop. If Ryu blocks the first hit, abandon the rest of the sequence. Version 1.004.000 fixed an out-of-bounds case in the Chapter 19 Ryu fight, so update the client before assuming a vanished boss requires a route workaround.
Large targets: Veilotl, Cetus, and D-1018 Chariot
Veilotl — Chapter 9
Veilotl occupies enough screen space to make a close camera dangerous. Fight from a diagonal that reveals the body and the lane behind you. Remove spawned or nearby pressure when it blocks your escape, then return to the boss. The safe punish follows a committed body or tail motion; attacking through the wind-up converts a readable move into an unseen hit.
If you are consistently hit while leaving, you began the punish too late or added one extra finisher. Cut the string in half. If the boss turns faster than your camera, reset along the outside instead of rolling under the body.
Cetus — Chapters 10 and 15
During Yakumo’s encounter, diving time is preparation time. Reposition so the next surface point remains visible; charge an Ultimate only if you can release or cancel before the re-entry. The missile sequence has an intended interruption: surf into the Bloodraven response rather than blocking every projectile. Smaller threats are dangerous mainly because they obscure the surface cue, so remove them before committing to a long charge.
Ryu fights Cetus without the same broad surf loop. Let the creature surface and finish the two-hit or committed action, then punish. A charge started without sight of the boss is a gamble. If Cetus repeatedly lands behind you, move nearer the center and rotate with the dive instead of waiting at the wall.
D-1018 Chariot — Chapter 11
The Chariot’s front arc contains most of its immediate threat. Circle toward a rear quarter after it commits to movement or a weapon sweep, use Kage-Hiruko while the angle is uncertain, and attack only after the chassis can no longer track the start of your string. The rear is an opportunity, not permanent safety; leave when the machine begins to rotate.
Falling from the platform or losing the camera usually means you chased too tightly around the edge. Move the fight toward the central lane, let the Chariot come to you, and create the same side angle on open floor.
Human duels: Kagachi and Achilles
Kagachi — Chapter 13
Kagachi can be staggered by disciplined aggression, but the aggression must begin with a defensive read. In phase one, his downward commitment and fixed sword strings are strong Perfect Parry opportunities. Counter, pressure while hitstun is real, and stop when he jumps back or resets his sword. A retreating shuriken is a spacing tool; do not follow it into the next dash.
At the phase change, use the brief stationary preparation for damage. Afterward, wide arena sweeps require a full movement answer or the wall hooks. A close stomp pushes you away, and a drawn-back charged slash is unblockable. When you see that long charge, evade first; a late parry experiment can wait for a run with more health. If Kagachi escapes every punish, your counter is late. If he hits you during the punish, your string is long.
Achilles — Chapters 13 and 14
With Yakumo, Achilles is safer to approach through Kage-Hiruko and missed commitments. His regular block pressure makes random front-facing strings inefficient. Draw an attack, defend or move through the end, then use a high single-target punish. Do not carry depleted healing from Kagachi into a reckless damage race.
The Chapter 14 encounter is different: it introduces playable Ryu without a normal health risk. Use it as a laboratory. Cast each Ninpo, test Base and Gleam sequences, learn how far Ryu moves during his attacks, and fill the True Dragon Sword gauge at least once. Ending the practice immediately is a self-imposed handicap for the next chapters.
Ryu’s final checks: Totyos and the return duels
Totyos — Chapter 18
Totyos has two different answers. In phase one, its claw, body, and summoned-cudgel actions have a learnable rhythm. Defend for a cycle without attacking, find the final beat, then Perfect Parry to create a long stun. Use a damage brew and Ultimate inside that stun, not before it.
Phase two adds spikes and rapid weapon changes. Purely passive play loses the resource race. Use the accessories and consumables you saved for Ryu’s last boss, maintain pressure with exits available, and engage the True Dragon Sword finisher when its condition appears. If phase two begins while you have no Ninpo, no damage item, and low health, reload the boss save and spend less during phase one.
Second Courtesan and second Kurobo
These rematches are calibration checks rather than new systems. For the Courtesan, respect the added attack and reuse the old pulse rule. For Kurobo, reuse the ground-ender and glider-alignment rules. The mistake is assuming familiarity permits longer strings. Ryu’s different movement changes where the safe exit sits even when the enemy tell is the same.
Final sequence: Dark Dragon and Phantom
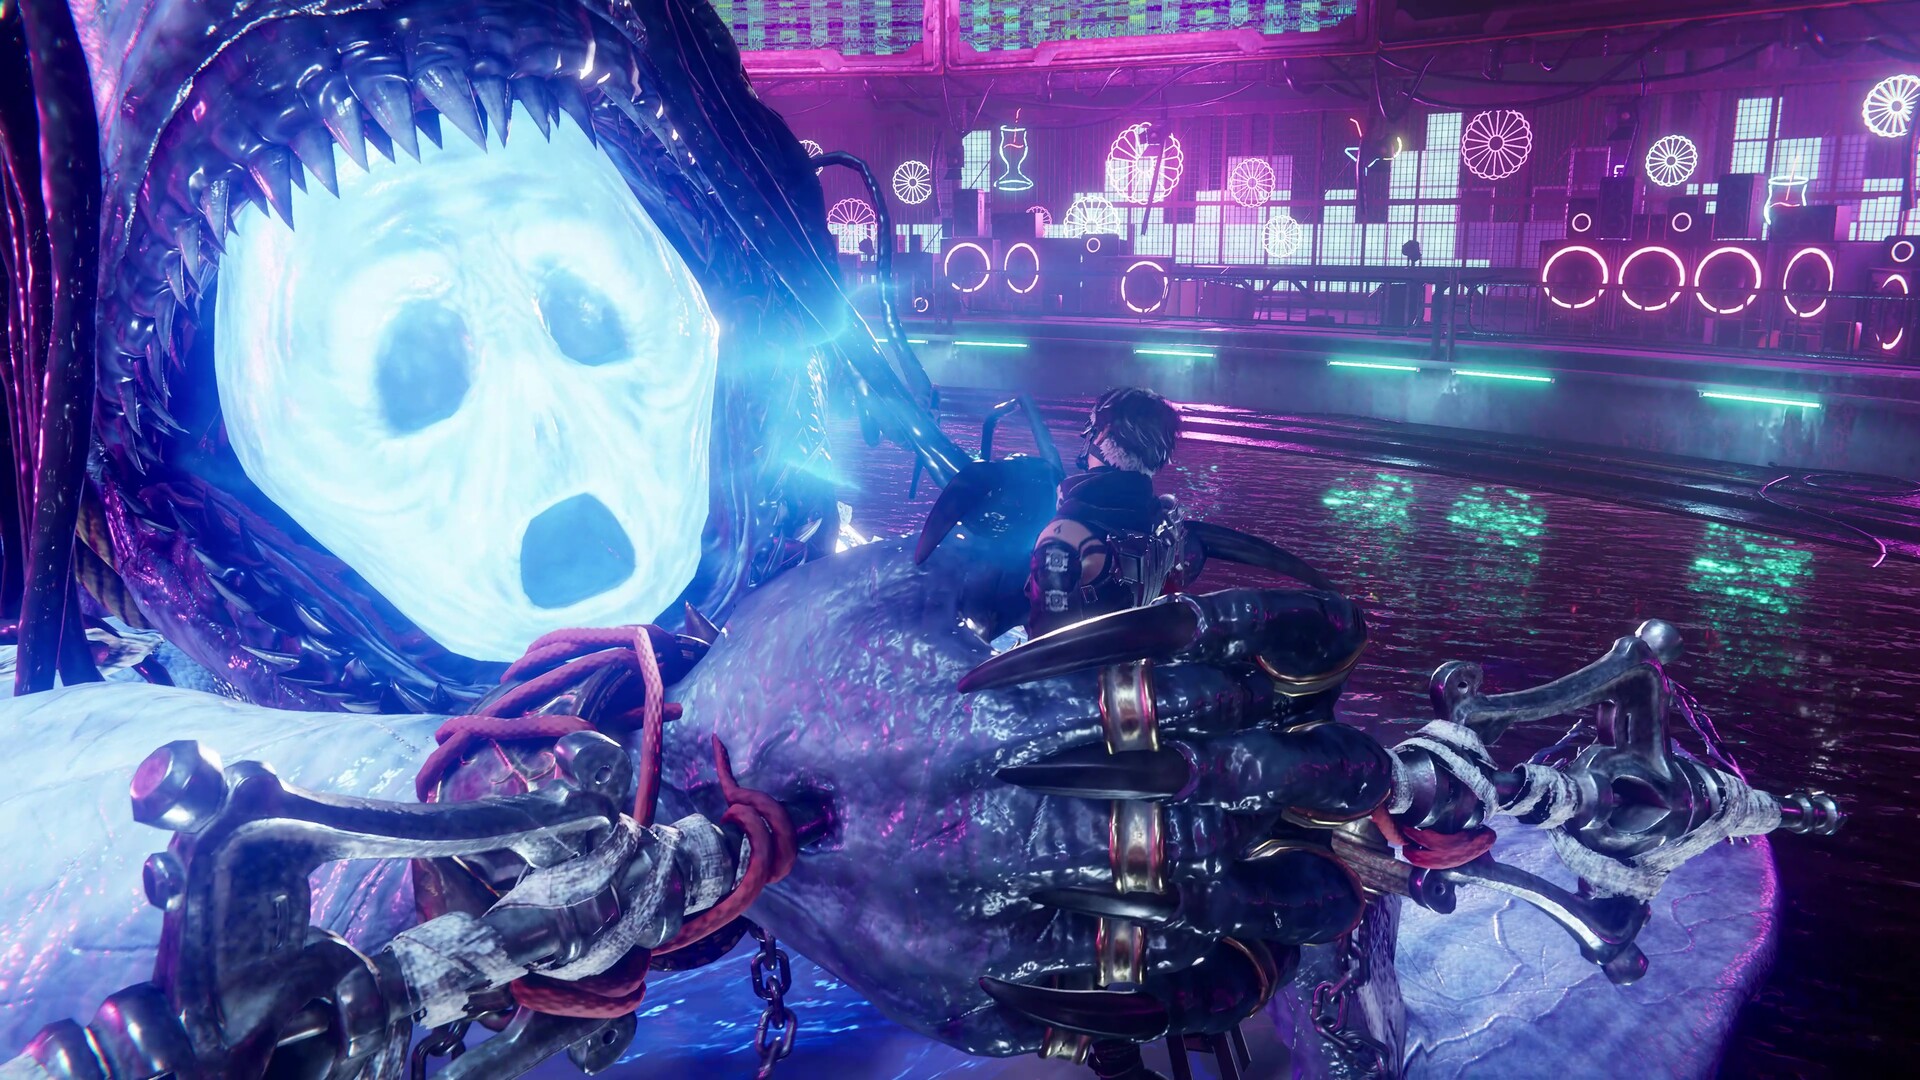
Dark Dragon
The first form asks for survival and interruption, not constant contact. Move around the large area attacks, use grapple points when the floor pattern demands it, and preserve a clear landing lane. Kage-Hiruko can interrupt special attacks at range, so there is no need to cross the arena through an active hazard merely to spend gauge. Attack the accessible target after the commitment, then leave before the arena fills again.
Later, the arena opens between platforms. Treat every grapple as relocation first and offense second. If you land beside the boss without seeing the next animation, block and reorient. Defeating this form creates a separate checkpoint; selecting Retry From Checkpoint after a Phantom death returns you to the preparation area rather than forcing another Dark Dragon monster fight.
Dark Dragon Phantom
The Phantom mirrors Yakumo and resists ordinary weapon damage. Equip and use the Dark Dragon Blade as the fight intends. Create a clean opening with a defensive answer, start a launcher only when the Phantom is actually vulnerable, and convert to Izuna Drop. If the starter is blocked, stop immediately; completing the memorized input against guard is how the Phantom deletes a full health bar.
Its blue visual language can make the pace look faster than it is. Reduce the exchange to the same four steps used against the commander: visible approach, committed attack, correct defense, short conversion. Heal only after a true knockdown or while the checkpoint arena gives room. When a run fails, name the failing step. “I need more damage” is rarely the useful diagnosis; “I attacked before the Phantom committed” usually is.
A compact retry card
- Hit during a red flash: shorten Base strings and reserve the form resource.
- Guard breaks during a combo: identify the ender; do not counter the first visual beat.
- Boss leaves the camera: reset toward center and stop chasing from the wall.
- Punish gets armored: remove the last move from your conversion.
- No healing window: create a knockdown or wait for a phase transition.
- Old video timing feels wrong: verify Version 1.004.000 changes in the official patch history.
Official references
Game identity and official screenshots were verified on the Steam store page. The move, cancel, invulnerability, camera, enemy-drop, and fight-fix boundary comes from Team NINJA’s dated update archive. Boss tells and chapter placement were cross-checked across readable chapter walkthroughs and verified boss references; conflicting late-chapter labels from thinner summaries were not used.