
Blades of Fire stops behaving like a straight road whenever progress is stored somewhere other than the objective marker. A lever must be carried out of one mechanism and reused in another. A Light, Time, or Soul Rune works only while the right weapon is drawn. Chapter 4 expects three special weapons whose Forge Scrolls were earned by fighting the same three kings across earlier regions. Even the return to the Prologue is part of the campaign, not a save-file failure.
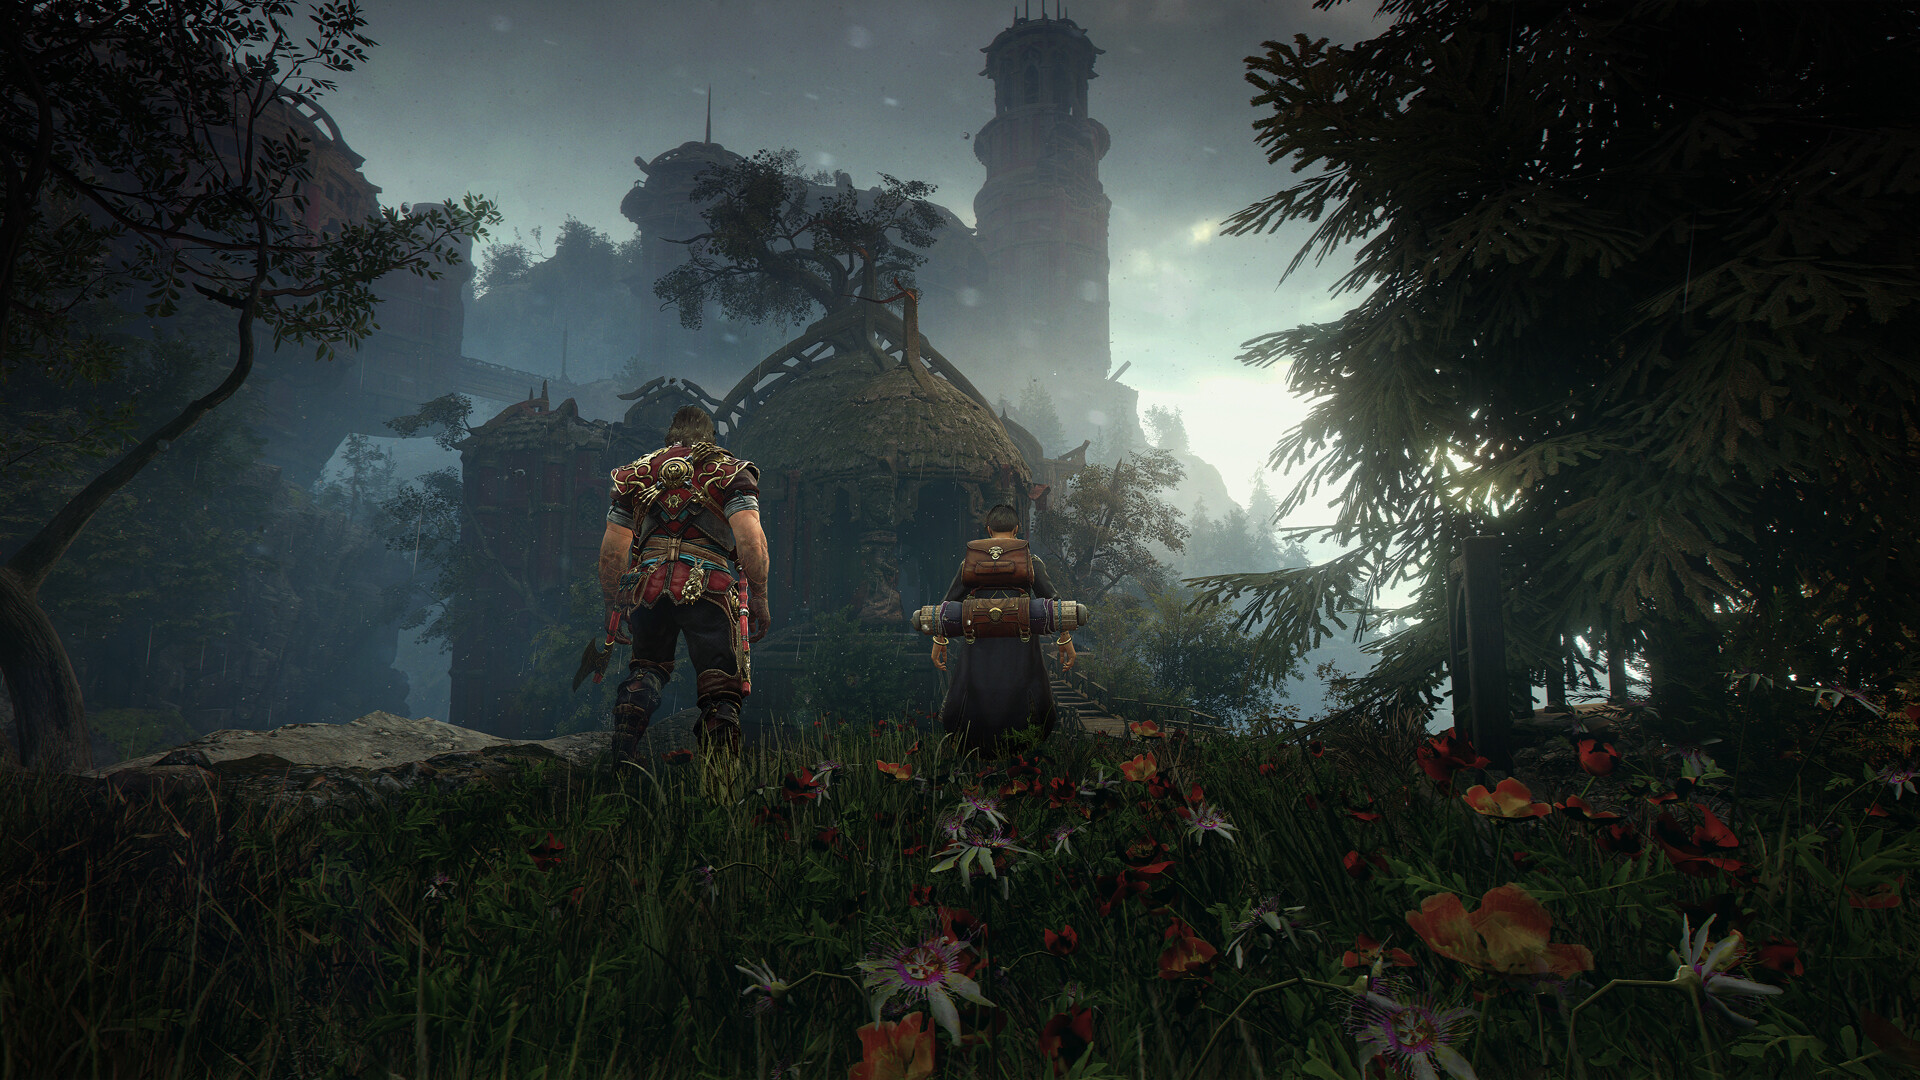
This walkthrough follows the base campaign from the Prologue through Erin and concentrates on the state changes that open the next route. It is checked against the current Steam release, Version 2.0, and the May 28, 2026 Hotfix 2.1. The room-by-room references were written for the original campaign, so current prompts and map readbacks take priority if a label moved. Version 2.0 added New Game Plus, Titanium difficulty, Anvil Trials, Arcana, Transmutation, and new NG+ statues; none of those additions is required to finish the first campaign.
Build a route out of Anvils, keys, and equipped runes
Before following any compass line, identify which of four states is blocking you:
- Travel state: activate every Forger’s Anvil you pass. It restores health and flasks, repairs the route through fast travel, and gives access to the Forge. Resting also respawns ordinary enemies, so clear a timed carry path before resting again.
- Inventory state: Soldier’s Keys, Viper Keys, Blood Keys, bells, skulls, relics, flutes, levers, and named weapons open different objects. A key-shaped prompt is not proof that the key already in the inventory matches it.
- Weapon state: a Rune gate reads the Rune on the weapon in Aran’s hands. Forge or equip a weapon with the requested Light, Time, or Soul Rune before interacting. Sprinting through a Morlock cave can sheathe the lit weapon, which removes the protection the route expects.
- World state: some paths exist only after a boss, a dialogue, a statue, or a return trip. If the destination is visible but unreachable, check the last named objective instead of searching for an unmarked jump.
Use the Anvil name as the save-state label for the instructions below. “Return to Troll River” is reproducible after a chase or a break; “go back through the village” is not.
Prologue and Chapter 1: turn the first dead ends into return points
The Prologue teaches the campaign’s permanent loop. Leave the darkness, practice on the camp dummy, cross the cave, survive the group encounter, and follow the Forge tutorial to make the first polearm. Back at camp, use the sharpening, healing, and blocking prompts, clear the attackers, then speak to Adso. If the game seems to wait after the final tutorial fight, the missing action is that conversation rather than another path.
Bessacarr Hamlet contains the first reusable-object test. Kill the Queen’s Hound near the bridge for the Soldier’s Key and open the gate. The large northern gate later has an empty lever socket. Do not search the gate itself: descend through the small tower, activate Troll River, squeeze through the damaged gate, take the lever, and carry it back up to the northern mechanism. Place it and open the road to Crimson Fort Overlook.
At Old Garrison, defeat the Mayhem Warmonger, enter the building, and interact with the Master Forger’s imprint. That interaction changes the objective to the exile in Kar-Lethel Swamp. Fast-travel to Troll River, descend past the petrified totem, defeat the next Warmonger for another Soldier’s Key, then unlock the bridge gate into the Hollow Plain.
The Hollow Plain’s critical information is split between a corpse and a sigil. Find the cursed Paladin corpse near the cave, then continue to the glowing name by the great wall. Once Adso reads the name, return to the corpse and claim the Blue Gem before going back to the wall. The cutscene there introduces Glinda and opens Kar-Lethel. If the corpse gives nothing, the name has not been read yet.
Kar-Lethel Swamp: stop chasing the Vexer in the same direction
From Kar-Lethel Wall, the main route eventually reaches Forgers’ Sanctum. A Vexer steals the mechanism part and runs around a loop. It is deliberately faster than Aran. When it raises a sealing wall, do not have Adso dispel it and continue the chase. Reverse direction around the loop; the Vexer has trapped itself on the other side of its own wall. Defeat it, recover the part, and install it at the empty slot in the central nexus.
The Sanctum also introduces timed blue flame. First clear the enemies between the source and the empty brazier, then take the flame. Do not explore while carrying it. Deposit it to create the required bridge, return for a fresh charge when another receptacle is farther away, and use opened shortcuts to reduce the timer. Light Rune walls visible here are later-return markers, not proof that the current route is broken.
Crimson Fort and Doyen Graves: preserve the route objects
Crimson Fort is built around vertical shortcuts and Cavimo Rex. Read the library text so the Bony Prince joins the route, cross the rooftops, and activate the tower Anvils. Rex drops the Key of the Lord, but he can reappear until his locked doors are opened. After the first required win, spend the key on those doors and run rather than repeatedly paying weapon durability for an enemy that has respawned. Near the Throne Room, a forced second fight closes the fort route.
Doyen Graves is the campaign’s first long dependency chain. Follow the Bony Prince’s butterflies, open the route toward the graves, and collect all three Golem’s Heart fragments rather than treating each detour as optional:
- Use the first fragment to move the automaton at Angel’s Cliff and enter the western swamp.
- Find Hurmuz’s dormant amulet, have Glinda awaken it, return to the statue, and let it reveal the Kalis pattern. Forge the Argenvadil variant by selecting the parts highlighted in purple. Present it at Daurel Mausoleum for the second fragment; the sword is returned after the gate opens.
- Use the new access at Coastal Wall, recover the stolen device, carry blue flame to its mechanism, ride down to Aurora Seashore, and defeat Vhoroo for the third fragment.
Return to the Cursed Bridge, install the fragments in the automaton, and let it burn away the infestation. Reclaim the heart pieces when it shuts down; the story uses them again.
Belitara’s Witchwood has a paired-switch gate at the water wheel. Put Adso on the lower switch, take the upper one, and activate both so the wheel stops and exposes the crawlspace. Continue through Queen’s Watch to the Iron Castle.
Iron Castle: one lever, three hearts, and an immortal wizard
Aecides flees from the first encounters instead of dying. Follow him through the South and North Tower sequence until the left courtyard opens and Shunned Templars appear. Each of the three required Templars drops a Templar’s Heart. One later gate is missing a lever: take the lever from the floor below, use it to open the gate, remove it again after passing through, and reuse it to lift Adso in the cage. Leaving the lever in its first socket is the common reason the route appears to end.
At Aecides’ Chapel, set the three Templar’s Hearts into the chapel altar; the corruption recedes. Descend to the boss chamber and survive while Adso completes the binding. Aecides refills his life during this phase, so an apparent heal is the mechanic, not a damage check. Break his stance with blunt pressure, avoid the large beam, and protect the casting window until the sequence finishes. The next map begins Chapter 2.
Chapter 2: translate the Hiss route before building the Aureus Spear
In the City of Duria, charge Hurmuz’s Amulet by defeating the three Forger Sentinels beyond the rock crack, return it to the statue, and let the beam open the locked passage. Defeat the Warmonger in the amphitheater for a Soldier’s Key, then use it at the door to the City of Curved Stones.
The southern Hiss Lair uses beam hits as progress. At the four-way crossroads, letting the green beam strike you returns Aran to the junction and opens a succession of cages. The first three releases are fights; the fourth opens the Troll cage and its reward. To advance, dodge the beam on the right route, defeat the Hiss for the Viper Key, drain the sand, and allow the blue manta-ray beam to teleport you into each cell. Unlock both cells, place Adso at one switch, take the other, and open the Inscribed Stone Room.
Have Adso read the stone beside that Anvil, then fast-travel to Serpents Amphitheater and read the matching stone there. This removes the sand blocking the northern route. In Hiss Lair North, collect the Viper Keys from enemy groups and use them on doors to build shortcuts through the village. After the collapsing-sand sequence, find the lever near the prisoner’s corpse, open the lower gate, and climb back to the blue-beam statue. Defeat King Ashkhanar, take the Sharp Fang to King Tok, receive the Novice’s Flute, and play it at the scholar statue north of Duria. Keep the Flute; Chapter 3 calls it back.
Egion’s Abbey is mostly a climb: squeeze through the courtyard gate, draw a Time-marked weapon to restore the broken stairway, take the Soldier’s Key from the half-open coffin, unlock the bridge, and reach Rogg’s Watch. In the Roggs Mountains, each Roggs’ Skull supports one zipline ride, so replace the skull after a descent before committing to another remote line.
Make Kharamuth flight-ready before entering the Citadel
The Kharamuth objective pulls ingredients from different domains. Rescue Arwen at Koko’s Hollow and take the Forger’s Steel Ingot. Activate the Light Rune by the Duria camp to reach King Tok for the Ogre’s Bone. Use the newly available Light paths for the remaining component, including the Sapphire Butterfly tied to the Bony Prince’s trail, then return the ingredients to Glinda at Dhyrias’ Forge. Once Kharamuth is restored, the construct carries the party to the Citadel of Tharas-Munda.
Inside the Citadel, first locate the empty blue-flame sockets, kill the enemies along the carry route, then transport the flame. Retrieve the Father’s Relic and insert it at the Penitent’s Gate. After the structure shifts, the second altar points back to Hell’s Bell in Doyen Graves. Travel there, activate the Light Rune, walk through the Morlock cave with a Light-imbued weapon visibly drawn, and recover the Mother’s Relic. Return it to the Citadel. The first Thalmudak confrontation ends through story state; striking him triggers the next cutscene even though normal damage does not resolve the fight.
Forge the Aureus Spear from three proven components
The counterweapon requires a new route through old places:
- Return to Dhyrias’ Forge, pursue Koko through the Roggs routes, defeat him in Koko’s Hollow, and take the Aureus Steel Ingot.
- Enter the Abbey catacombs, close the active coffins after killing their Putrids, open the lower gate, follow Thorel, and collect the Forge Scroll fragment from the altar.
- Return to Glinda for the other fragment, enter the Forge, and assemble the weapon using the purple-highlighted parts rather than a same-name approximation.
During the Titan fight, throw the spear repeatedly at one neck plate until the stone layer breaks, then hit the exposed weak point; strikes to the heads do not advance the phase. Against Thalmudak, step away when lightning coats him, dodge the ground lines and aerial bolts, then punish between the slower sword swings. Sparing him after the fight is a real decision: walking away allows him to return with aid near the endgame. Killing him still advances the campaign.
Chapter 3: carry three bells and three runes into the Palace
Winter’s Wall supplies the route into the Dryad’s Forest. Work down the village, defeat the Warmonger for the Soldier’s Key, and open the forest gate. At the first Pilgrim barrier, use the wraith statue to reveal the current bell location, collect the Bronze Bell, and return it to the Pilgrim. The forced teleport into King’s Bastion Dungeon is part of the route.
Escape the dungeon by clearing the upper room, obtaining the Acolyte Key, and opening the cell holding the Golden Bell. Fast-travel back to the forest entrance. Use the Bronze Bell again to pass the first barrier, reach Riverbank, find the wraith that marks the Silver Bell, and take that bell toward the later Pilgrim route. The bells are persistent prerequisites, not consumables to discard after one door.
At King’s Bastion, the Golden Bell opens the approach. Repair the ladder with the Time Rune, defeat King Ashkhanar for the third time if the Forge Scroll is still needed, and take the zipline to the Blue Lady to receive the Soul Rune. Equip a Soul-imbued weapon at the reaching hand, offer the Golden Bell, and open the Matriarch path. Defeat the Matriarch, use her key, and continue to the Royal Palace.
The first Nerea fight is followed by capture, so do not interpret the Abyssal Cells as a lost checkpoint. Escape, collect Blood Keys from Sanguine Lords, and use the Mausoleum route. At the Time Rune fog gate, draw a Time-imbued weapon to restore the Novice’s Statue and play the Novice’s Flute kept from Chapter 2. That clears the fog. Reach Nerea’s tomb, learn that Dharavel is the next destination, then take the southern elevator from the Throne Room route to Palace Harbour and use the boat.
Chapter 4: prove the three king weapons before following Erin
Dharavel Island checks whether the three recurring kings were defeated enough times to unlock their Forge Scrolls. The altars require purple-part variants of a Great Axe, Scimitar, and Double Krisses. If one pattern is missing, revisit its three king encounters:
| Forge Scroll | Three campaign encounters | Late recovery signal |
|---|---|---|
| Great Axe | King Ashkhanar in Doyen Graves, Hiss Lair North, and King’s Bastion | The Bastion elevator fight should be the third. |
| Scimitar | King Beltharun in Doyen Graves, Roggs Mountains, and the Royal Palace Throne Room | Recheck the Throne Room after Nerea. |
| Double Krisses | King Narameth in Crop Fields plus his Roggs Mountains and Royal Palace encounters | Crop Fields opens only after Chapter 3’s Soul Rune route. |
Forge each ceremonial variant by following the purple part highlights. Present the correct weapon at each throne on Dharavel, take the newly opened paths, carry the blue flame to the lift mechanism, and reach The Giants Place.
Entering the dark exit now returns the game to the Prologue. This is a story sequence. Replay the opening and the first portion of Bessacarr Hamlet until reaching the Blue Lady; do not start a new save or look for a New Game Plus menu. The sequence sends Aran back to Dharavel, where the next objective is to reforge the Blue Lady’s Medallion.
Erin is the final combat gate. His second phase adds fire lines, arena hazards, and aggression that make dodging safer than absorbing attacks. Magma Wrath consumes the Rune on the equipped weapon, so treat each activation as a limited attempt resource. Use it once when a win is plausible instead of stripping every prepared weapon during an early learning attempt. Defeating Erin rolls the credits and leaves free-roam and the tablet ending route available afterward.
Match the failure signal to the state you actually missed
| What you see | What it usually means | Repair |
|---|---|---|
| A gate has an empty lever socket. | The route expects one physical lever to be moved or reused. | Search the lower floor or previous mechanism; remove the lever after opening the first gate. |
| A Rune symbol reacts but the wall stays closed. | The Rune is known but not active on the weapon in hand. | Equip the correctly imbued weapon and keep it drawn during the interaction or cave traversal. |
| The Hiss crossroads always returns Aran to the same point. | The green beam is advancing the cage sequence, not punishing a wrong turn. | Read the newly opened cage, then dodge the beam only when the Viper Key route is ready. |
| The Palace fog will not clear. | The route needs both a Time-imbued weapon and the Novice’s Flute. | Restore the statue with Time, then use the Flute earned from King Tok. |
| A Dharavel throne rejects the weapon. | The weapon family may be right while the purple part combination is wrong. | Return to the Forge and rebuild the named pattern with every highlighted part. |
| The game suddenly returns to the opening. | Chapter 4 has entered the required time-travel sequence. | Replay to the Blue Lady; do not replace the save. |
Version and source boundary: MercurySteam and 505 Games identify the current Steam release as Version 2.0; the latest gameplay-affecting announcement captured for this article is Hotfix 2.1 from May 28, 2026. Official identity, current features, and media come from Blades of Fire on Steam. The main-story gate sequence was reconciled across readable walkthrough references. Collectible totals, NG+ statue routes, fixed material quantities, and a room-perfect speed route are outside this campaign article.