
Blood Dungeon has 45 public Steam achievements, but the useful order is not the order shown by global completion rate. Arena boss checks open the progression spine; character-linked goals expose new movement problems; weapon tests depend on specific tools; and several late challenges deliberately conflict with a safe clear. Separating those jobs prevents a strong run from being ruined by an unrelated stunt.
This roadmap uses the public achievement names and conditions visible on August 26, 2026. It does not assume a hidden counter, reward, or permanent shop price. When a condition can be read more than one way, the current in-game quest card and the Steam unlock popup are the final proof.
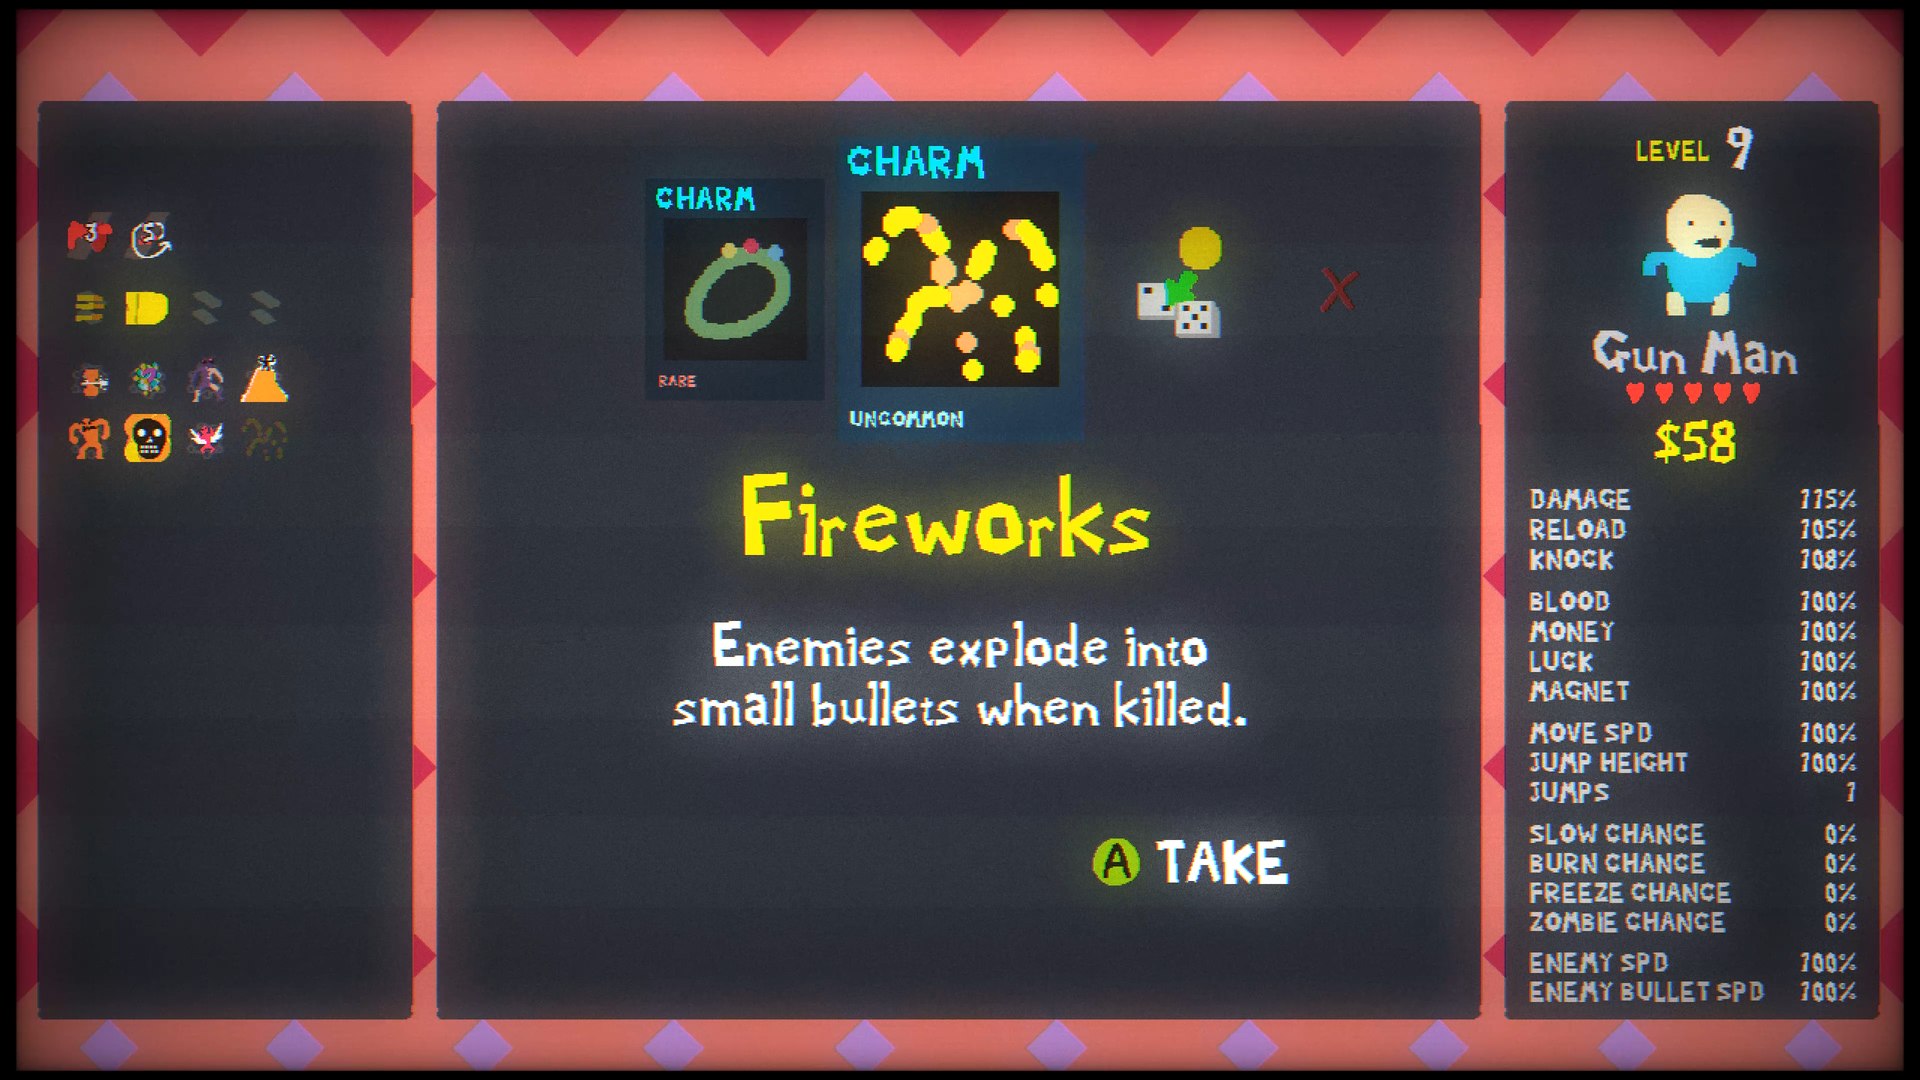
Build one clean progression spine first
Six arena names appear in a linked set of first-boss conditions: Catacombs leads to the achievement named Pit, Pit to Corridor, Corridor to Boiler, Boiler to Tombs, and Tombs to Flood. Treat the Steam popup as proof that the condition fired, then return to the lobby and verify that the expected map card or quest state actually changed. The title strongly indicates the next destination, but the article does not substitute that inference for an in-game unlock readback.
| Achievement | Current public condition | When to attempt it | Readback or failure signal |
|---|---|---|---|
| Pit | Beat the first Catacombs boss | Your first viable Catacombs run | Popup proves the boss checkpoint; check the lobby before assuming Pit is selectable |
| Corridor | Beat Pit’s first boss | After one route-learning pass through Pit | If the boss dies with no popup, confirm the selected arena and current quest wording |
| Boiler | Beat the opening Corridor boss | Once the Corridor loop has two safe exits | Verify the next arena card after returning to the hub |
| Tombs | Beat Boiler’s first boss | Before attempting Boiler’s exploration cleanup | Progress first; do not force full exploration into the same early clear |
| Flood | Beat the first Tombs boss | After the Tombs route is stable | Use the lobby card, not a guide’s assumed unlock chain, as access proof |
| Decoy | Defeat Catacombs’ final boss | After Pit has already proved the first checkpoint | Pit without Decoy means Catacombs is not fully cleared |
| Murderist | Defeat Pit’s final boss | A dedicated Pit clear | Do not confuse the Corridor popup with final-arena proof |
| Krug | Defeat Corridor’s final boss | A dedicated Corridor clear | Confirm the named achievement at the result screen |
| Kill Zone | Defeat Boiler’s final boss | After learning Boiler without an exploration detour | If time or health is lost to side rooms, split the jobs |
| Procrastinator | Defeat Tombs’ final boss | On a clear-focused Tombs run | A first-boss unlock is only the Flood checkpoint |
| Battery | Defeat Flood’s final boss | At the end of the arena-clear spine | Use the Steam popup plus results screen as final proof |
| Hypnomancer | Defeat Boiler’s second boss | On the same stable route used before Kill Zone | If Kill Zone appears later, this mid-run condition was not the final boss |
| Multiheal | Fully explore Boiler | A separate low-pressure navigation run | Unopened doors or an unmapped branch are more likely than a combat failure |
| Crystalize | Fully explore Flood | After Flood survival is already comfortable | Check the map before leaving a branch; killing the boss alone is insufficient |
Do not combine Multiheal or Crystalize with a fragile first clear. The layouts are hand-authored, while loot and keys can vary. Exploration needs a branch checklist; boss completion needs a route that stays open. Those are compatible only after the arena is familiar.
Use character-linked goals as movement lessons
The official game page promises nine bunkmates with different weapons and movement traits and specifically identifies Leggy, Bug, and Skinja. The achievement list supplies several conditions named for those characters. Complete the simple trigger first, then test the relevant character in a low-stakes run before building a long challenge around unfamiliar movement.
| Achievement | Target | Practical setup | Do not assume |
|---|---|---|---|
| Leggy | Kill 50 spiders | Use a spider-dense route and keep a manual tally until the popup appears | The public line does not say whether partial progress survives a failed run |
| Skinja | Avoid all damage for two minutes | Attempt it at the start of a familiar arena; route through open space and ignore optional pickups | A healed hit is still a hit; watch for the popup before relaxing |
| Baby | Purchase ten Bone Shop items | Count completed purchases, not saved bones; buy only upgrades that still help progression | The condition does not justify buying weak items merely to follow a fan-made price list |
| Extra Choice | Reach level 5 while playing Skinja | Prioritize safe blood collection and a route that uses Skinja’s speed without overshooting junctions | Unlocking Skinja and leveling Skinja are separate checks |
| Bug | Remain airborne for five seconds | Find a vertical space or movement state that can be sustained, then attempt it before the room crowds | The title may be a reward clue; the condition itself does not require selecting Bug |
| Vampire Ring | Play a Daily dungeon | Enter the Daily from the hub and finish enough of the attempt to see the Steam readback | Opening the menu may not count as playing |
| Lucky Chests | Reach level 15 as Baby | Protect Baby’s early route, favor a coherent weapon core, and collect blood without dead-end detours | A high score with another character cannot satisfy the named condition |
| Bunkhouse | Beat every level with every bunkhouse character | Save this for last and maintain a six-arena-by-character grid | The public page does not expose partial completion; record each result yourself |
Bunkhouse is the long-tail achievement. Do not trust memory after dozens of clears. Make rows for the six arena cards currently visible in your client and columns for every playable bunkmate currently present. Mark a cell only after a completed result. If the roster or arena set changes in a patch, compare the current in-game condition before adding or removing cells.
Pair weapon tests only when their damage jobs agree
Most weapon achievements are setup puzzles. The important distinction is between an equipment condition, a final-hit condition, a simultaneous-object condition, and a single-impact threshold. Trying all four in one run creates a build that does none reliably.
| Achievement | Required event | Setup and verification |
|---|---|---|
| Pain Gains | Lose ten hearts’ worth of health during one run | Build enough maximum health or recovery to survive repeated controlled hits. The verified demo shows the unlock popup after the condition, but retail values must be read in the current client. |
| Double Deagles | Make Machinegun fire 25 rounds before a reload | Keep upgrading Machinegun and effects that extend its volley. Count the current shots shown by the weapon panel; do not substitute overall fire rate. |
| Slow Enemies | Kill Bone Snake within 30 seconds | Enter the boss with a finished single-target weapon and reserve the clearest route for continuous contact. Restart the plan if ordinary enemies already occupy that lane. |
| Leech | Kill Wyrm within 30 seconds | Use a weapon that can hit the long body while you traverse the Catacombs loop. The demo shows Wyrm as an early boss, but the current boss bar is the timing authority. |
| Laser | Score five consecutive kills with Double Deagles | Reduce competing passive damage, enter a thin early group, and let the named weapon take five final hits without another effect interrupting the chain. |
| Defibrillator | Maintain ten zombies simultaneously with Zombie Ring | Lower incidental clearing, gather a large pack, and wait for the zombie count to coexist rather than killing the first conversions immediately. |
| Shield | Hit ten enemies with one Laser beam | Stretch a horde into a straight horizontal or vertical lane, then fire through the densest alignment. Ten total Laser hits across several beams will not prove the condition. |
| Slow Ring | Hold 25 enemies in webs at the same moment | Use a route that funnels enemies into Leggy’s climbable webs, keep other damage modest, and wait for simultaneous coverage. |
| Bullet Time | Take Machinegun to its maximum level | Commit early, preserve the weapon slot, and choose Machinegun whenever its next level appears. The max-level panel is the local proof before the Steam popup. |
| StimGun | Kill 50 monsters inside one second | Accumulate a large pack, delay the burst, then trigger overlapping area damage. A fast sequence that crosses a full second boundary may fail; use the popup as proof. |
| Grenade | Kill ten enemies with one Axe attack | Group fragile enemies, limit competing damage, and wait until the Axe path crosses the center of the pack. |
| Stagger | Deal at least 700 damage in one Magnum shot | Stack single-shot damage and condition bonuses, then test on a healthy target. Several pellets or damage-over-time ticks are not one shot. |
| Life Insurance | Have 20 Bounce balls active together | Favor ball count, persistence, reload, and duplicated projectiles; avoid effects that remove the balls before the simultaneous count forms. |
| Flippers | Retrieve 25 harpoons | Choose an open route where fired harpoons remain reachable, collect them deliberately, and count retrievals rather than throws. |
| Jetpack | Fly for 30 seconds | Use the current tooltip’s definition of flying, secure a low-threat vertical area, and avoid touching a surface until the popup appears. |
A useful pairing is Double Deagles with Bullet Time: both want repeated Machinegun investment. Another is Shield with a high-density route that can later support StimGun, although the final actions should be attempted separately. Laser conflicts with uncontrolled area damage because its five-kill chain depends on final hits, while Defibrillator and Slow Ring require enemies to remain alive together.
Isolate the runs that deliberately create danger
The final group asks you to preserve bosses, refuse power, manipulate remaining health, or survive with a specialized inventory. These should not share a run with a first clear unless the condition happens naturally.
| Achievement | Risk | Controlled attempt |
|---|---|---|
| Artillery | Keep two bosses alive at once | Build survival and movement without excessive boss damage, stop attacking the first boss where possible, and preserve an escape circuit for the overlap. |
| Airbound | Collect 20 different upgrades in one run | Prefer new icons over duplicate levels, expand choice count if the current client offers that path, and record uniqueness rather than total level-ups. |
| Freeze Armor | Finish a level with every heart filled | Protect recovery for the final section. The wording checks the ending health state, so watch the heart row immediately before the result screen. |
| Jumps | Remain alive for 13 minutes | Use the safest known arena loop and a sustain build; the timer, not wave number or score, is the condition. |
| Escape Artist | Finish with exactly one heart left | Reach the final phase healthy, take controlled late damage only when recovery and boss behavior are predictable, then avoid accidental healing. |
| Explosionist | Refuse five level-up offers during one run | Use the current refuse control five separate times and count confirmations. Do not assume closing the screen or leaving a slot empty counts. |
| Protection Drone | Recover 20 weapons from drop sites in one run | Prioritize map access, keys, and safe return paths early; keep a manual count and avoid a boss-rush route that skips branches. |
| Candlemaker | Return after dying | Acquire a clearly described revive effect, verify it is armed, then let a controlled hit consume it. A normal paid continue may be a different system, so require the popup. |
Freeze Armor and Escape Artist are direct opposites at the result screen. Artillery asks you not to kill a boss; the speed achievements ask you to kill one immediately. Airbound favors breadth; Bullet Time favors repeated investment. Those conflicts are the reason a planned cleanup list outperforms one overloaded run.
Four run plans cover most of the cleanup
- Progress run: clear the next arena checkpoint, open doors early, and ignore stunt conditions. Mark first and final boss achievements separately.
- Focused weapon run: choose one named weapon target plus one compatible secondary condition. Remove other sources that can steal final hits or erase the required crowd.
- Movement/survival run: attempt Skinja, Bug, Jetpack, Jumps, or a full-heart finish on a familiar route. Stop adding risk once the target fires.
- Hazard run: reserve Artillery, one-heart completion, five refusals, revive, or twenty drop-site recoveries for a run whose only purpose is that requirement.
After every run, compare four pieces of evidence: the in-game quest card, the Steam popup, the result screen, and your manual grid. If a counter does not fire, repeat the exact condition once before changing the build. Changing character, arena, weapon, and route together hides the cause.
Current-version boundary
The supplied fan wiki cannot support this roadmap. Its roster, tier list, shop prices, boss names, and wave schedule conflict with current official material or the game UI. Eight supplied Steam guides are also unrelated: every one belongs to Blood: Fresh Supply. They were fetched and retained in the evidence report, but none supports a Blood Dungeon achievement.
The July demo recording is useful only as a visual cross-check for Wyrm, Machinegun upgrades, the Dogmancer area, and the Pain Gains popup. The retail Steam achievement page supplies the 45 current public conditions. If a patch changes a counter or description, follow the current quest card and narrow the plan rather than forcing an old number.
If Catacombs itself is still the blocker, use the Blood Dungeon beginner guide to establish the two-exit route, upgrade diagnosis, and first-versus-final boss readback before starting cleanup.
Sources and credits
The official Steam listing supplies the current count and release metadata; Messhof’s game page confirms arena/character scale and the image origin. Conditions come from Steam’s public tracker, while every route recommendation remains subject to retail UI readback.