Spoilers: the fastest way to finish CARIMARA: Beneath the forlorn limbs and the safest way to earn all 16 Steam achievements are not the same route. Keep your first save for the story, card sweep, moon cycle, tower, and hidden cellar. Only press ERASE after that cleanup is finished, because the four-minute achievement requires a clean file.
The main mystery has one fixed answer set: Lavender was the spirit, the Dead Dormouse killed them, and the Owl Statue was the object that killed them. Do not rush those cards into the Forlore on the first visit. One deliberate failure opens the house route, and the evidence you collect on the way also unlocks most of the story achievements.
Divide the completion into one living save and one clean sprint
Use three passes through the same small map. The first two can remain on one save. The last cannot.
| Pass | Job | Achievements handled | Stop condition |
|---|---|---|---|
| Investigation | Meet the Forlore, fail once, collect the three solution cards, and finish the normal ending. | PASSING OUT, 10 CARDS, THE DORMOUSE, THE SHED, THE KEY, “They were good friends” | Click the symbol on the normal ending screen before leaving it. |
| Secret cleanup | Finish the card sweep, moon events, tower, hidden cellar, repeat counters, and out-of-bounds task. | ALL CARDS, PASSING OUT A LOT, IN THE SHADOW OF THE MOON, THE PERCHED LETTER, THE STRANGE SYMBOL, THE SECRET DOOR, OOPS…, FACIAL PROFILING, FALLING THROUGH THE MAP | Steam shows 15 of 16 unlocked and only NO TIME TO LOSE remains. |
| Clean sprint | Erase the finished file and take only the cards needed for the answer. | NO TIME TO LOSE | The achievement appears just after the correct three-card answer; the ending movie is not required. |
This order protects the expensive work. ERASE is not a retry button; it deletes the investigation state needed for cleanup. The October 9, 2025 hotfix changed card saving so a card is recorded when acquired rather than only at the end of a session. That makes the current reload shortcut in the sprint practical, but it does not make an erased save recoverable.
First descent: make the wrong answer useful
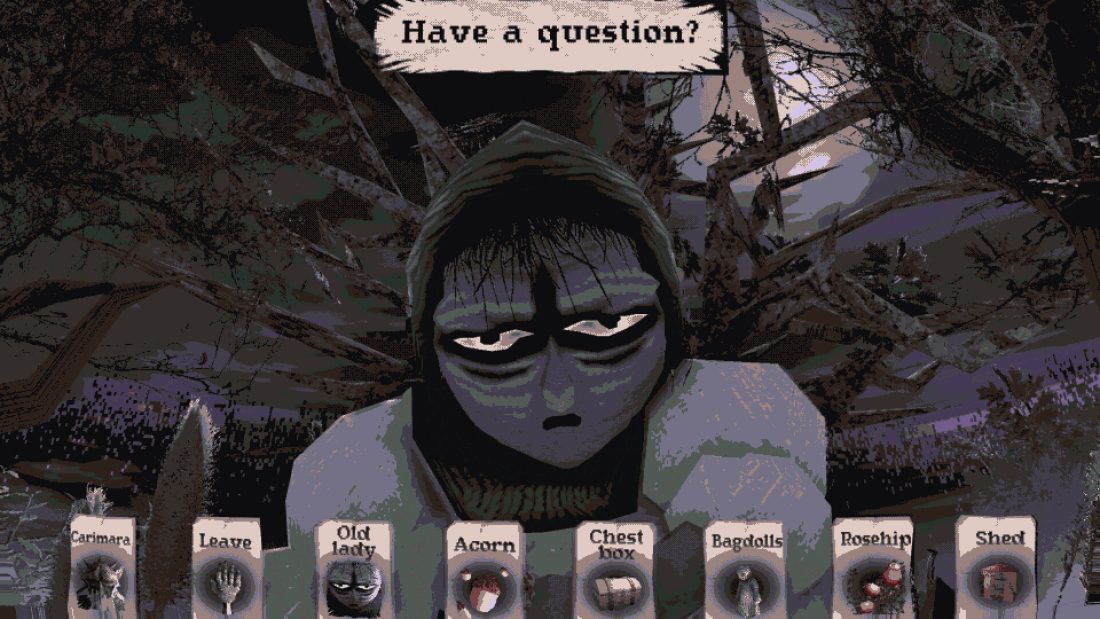
- After the opening, take the Bagdolls subject above and to the right of Violet. Present it to her, then exhaust only the lines you want to read. The Leave card ends a conversation.
- Enter the cellar through the door under the stairs. The useful route goes left. Continue past the tall bird carving, turn at the frog carving, and cross the shallow water to the Forlore.
- Collect the Forlore card at the end of the path. Ask about Violet or Bagdolls, then give three answers that do not solve the identity, culprit, and weapon questions.
- The Forlore dismisses you and Violet returns you to the couch. This earns PASSING OUT and changes the route from questioning to evidence collection.
If the spirit simply continues the conversation, you have not completed a three-answer attempt. If you wake on the couch but the achievement does not appear, check Steam before repeating; the current client may display the notification a moment after the transition.
Read the house vertically, because three important subjects sit above eye level
The glowing interaction treatment is more reliable than the center of the screen. Sweep the room from floor to rafters before leaving it.
- Fireplace: the Key is on the shelf above it. Jump and aim at the glint if the prompt does not appear from the floor. Taking it unlocks THE KEY.
- Cellar entrance: inspect the chest beside the route down to add Chest Box. Use the Key on it and take Lavender. This is the answer to the Forlore’s first question.
- Upstairs bed: the strange mark above the bed gives Suspicious Hole. Touching it directly produces a hand and another knockout; presenting Rosehip is the productive interaction.
- Sleeping room beams: look high near the wall and rafters for the Axe subject. It is easy to miss because the pickup is not at normal walking height.
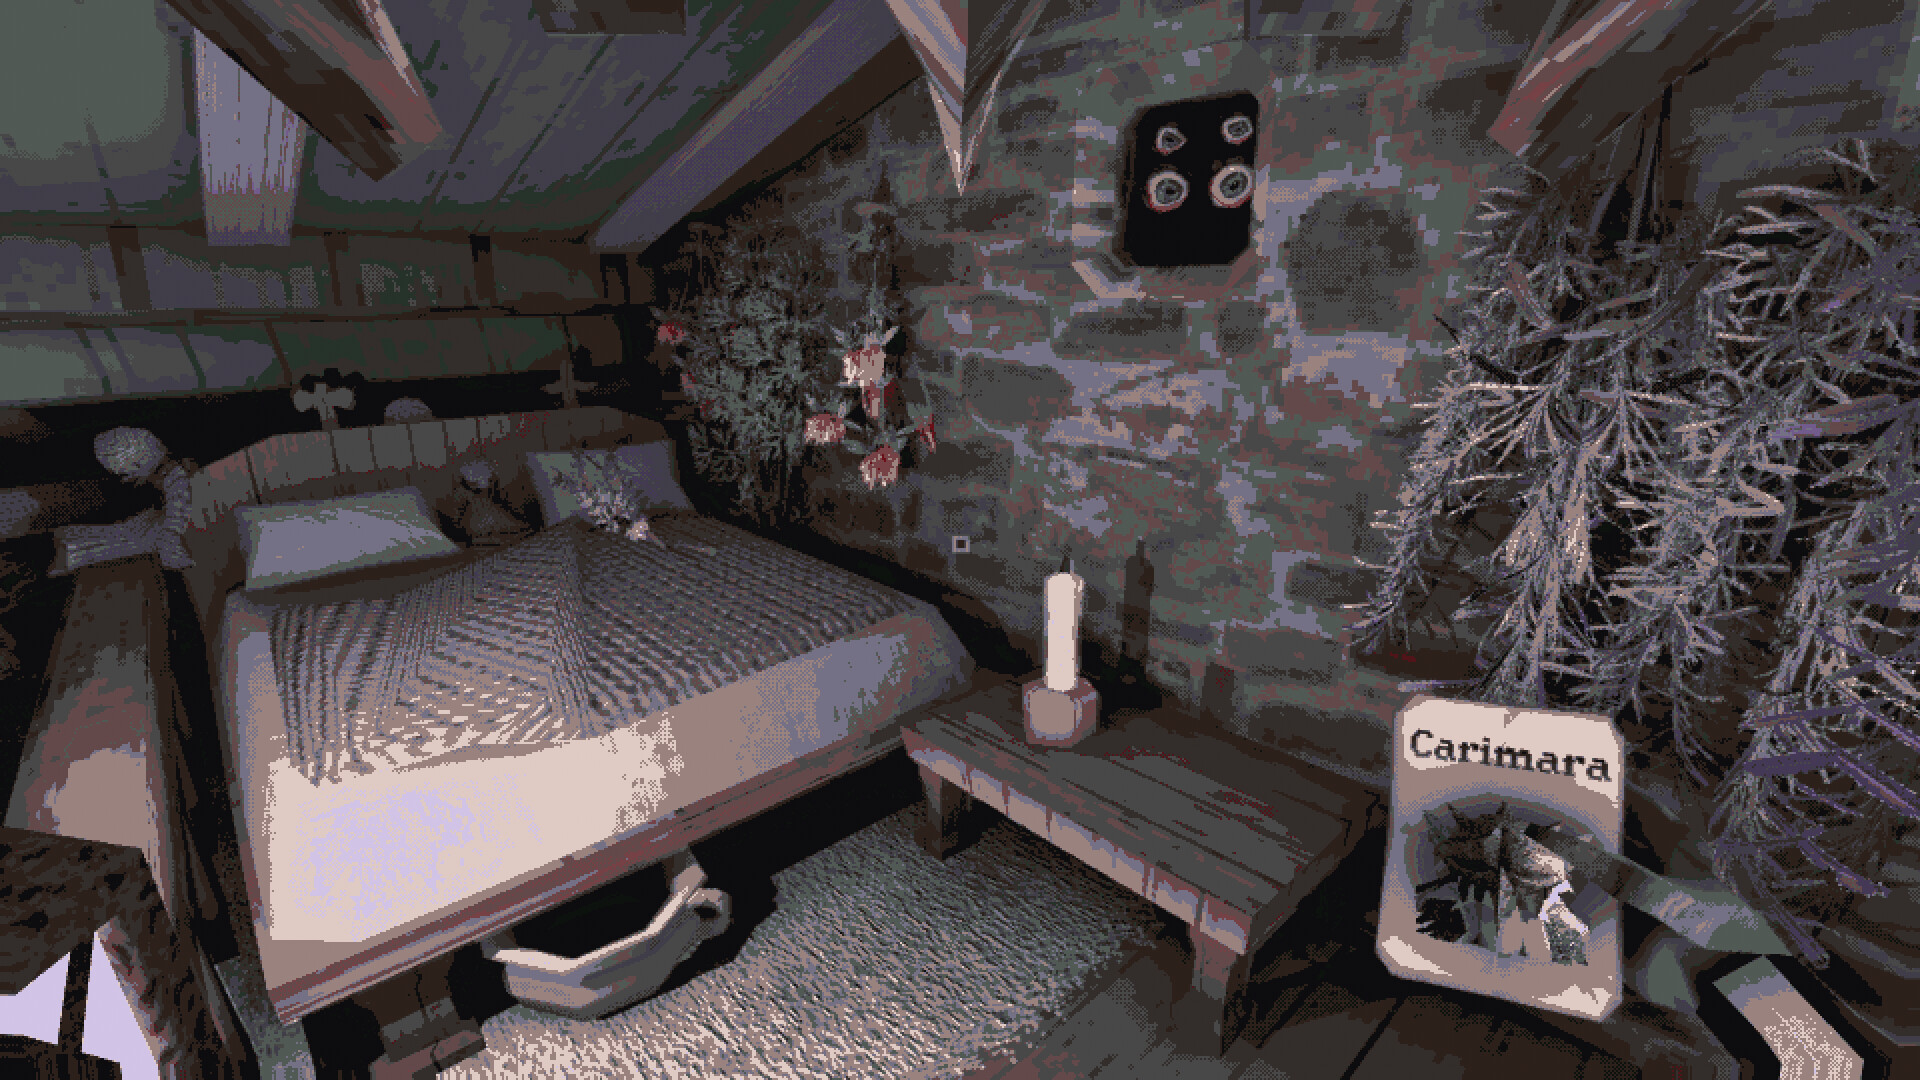
The Key can be physically collected before Violet explains it. On a story-focused first run, asking her about the evidence beyond the shed supplies the reason it is there. On the timed run, skip that dialogue and take it as soon as you wake.
Use Rosehip to turn the dormouse clue into access to the shed
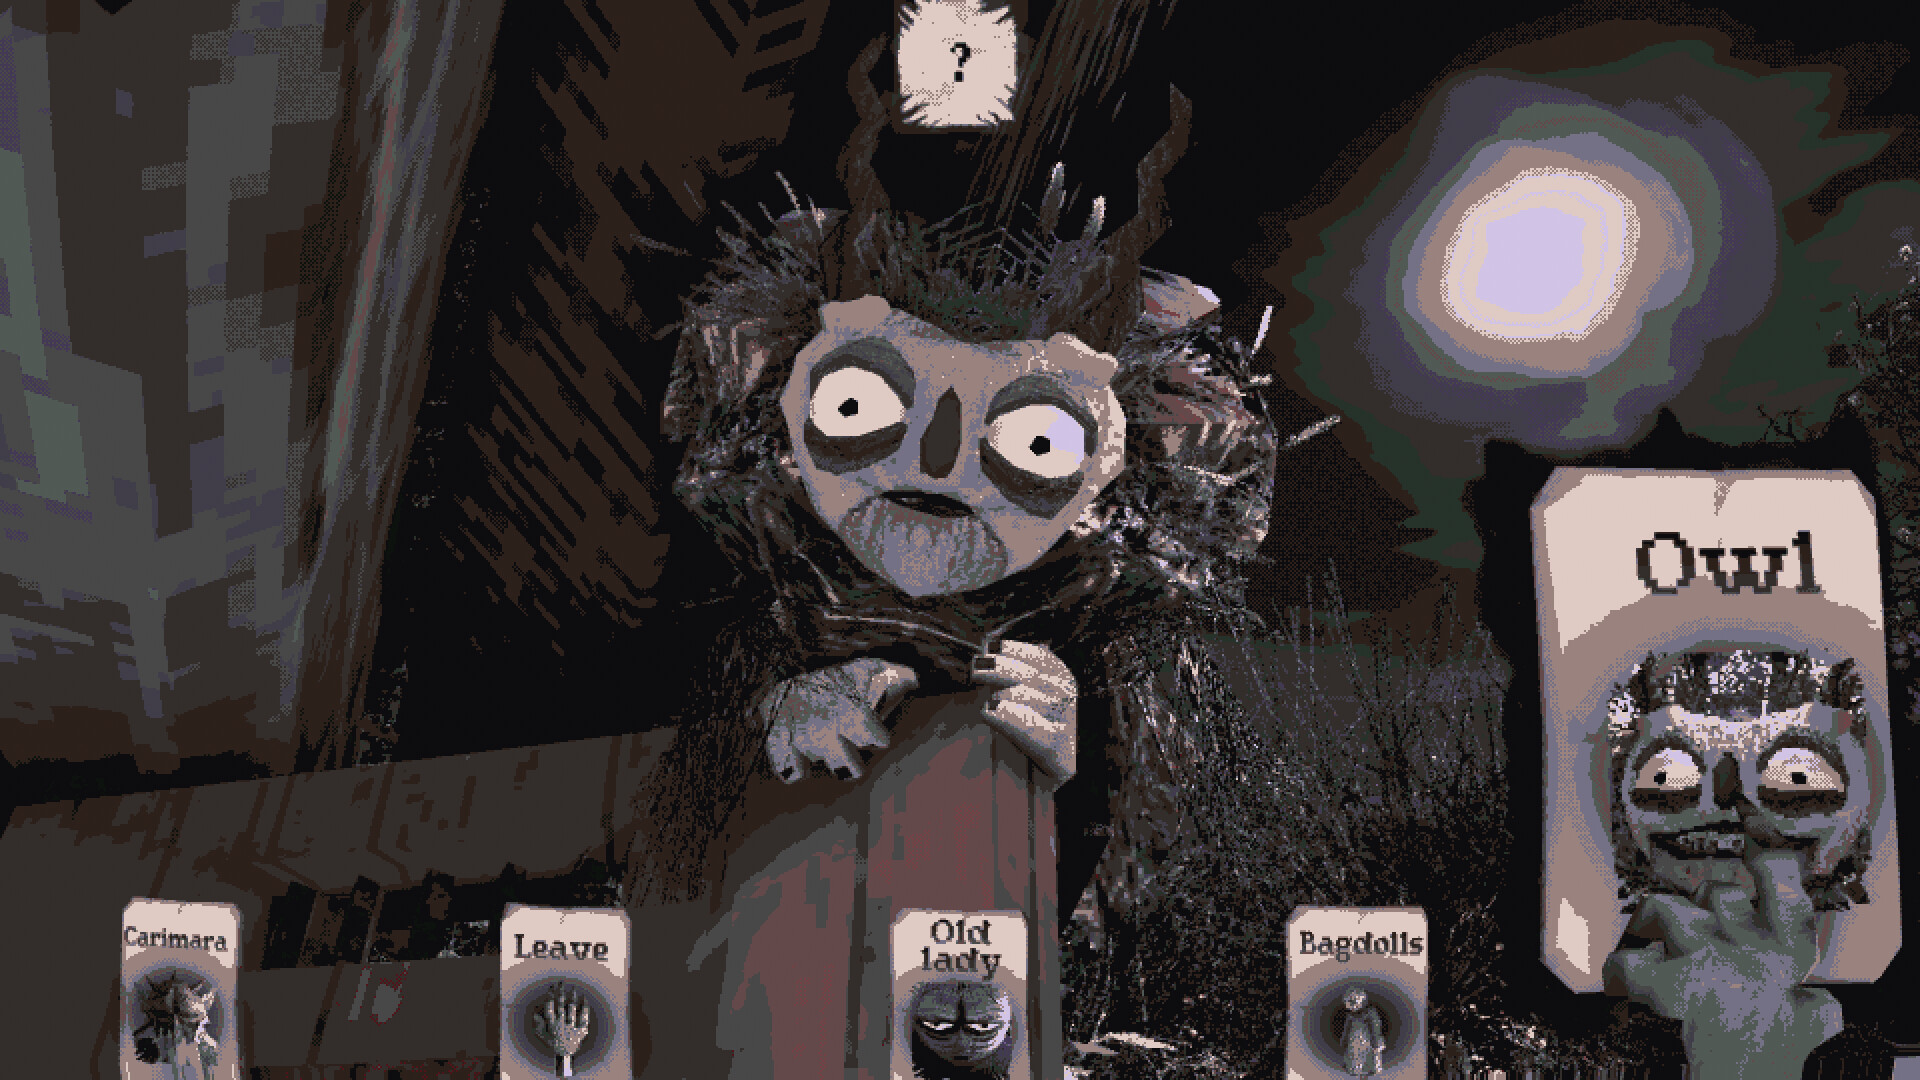
Outside, collect Shed from the building and Rosehip from the bushes to its left. Look above the outside doorway for Owl. Ask the Owl about Violet, Rosehip, and the Shed. Its answers establish three usable facts: the old woman is Violet, the Owl is Pansy, and dormice are drawn to rosehips.
Return upstairs and present Rosehip to the Suspicious Hole. Take the Dormouse card when the creature appears. This unlocks THE DORMOUSE. The card is also a dialogue key: ask Violet about it if you want the in-world hint for entering the shed.
Do not keep pushing the shed’s front door. Face its left side, walk into the bushes, and find the missing section of wall. Squeeze through that side passage. Crossing the boundary earns THE SHED.
The shed and riverbank contain the culprit and the weapon
Inside the shed, collect the body on the floor as Dead Dormouse and take Gardening Tools. Continue through the back and approach the river. The discarded carving supplies Owl Statue; the grave beneath the large tree supplies Grave. If the Axe is still missing, return to the sleeping room and aim up at its wall beams rather than searching this shed.
The important distinction is between the living Dormouse and the Dead Dormouse. The living one opens the shed route. The dead one is the answer to “Who killed me?” The Owl card and Owl Statue are also separate subjects; the statue, not the creature, answers “What killed me?”
Ask Violet and the Owl about the new cards if you want the chain of reasoning rather than only the solution:
- Lavender is the identity tied to the spirit.
- The dormouse habit of stealing and throwing objects explains how the culprit could act.
- Violet’s discarded heavy carving identifies the object that caused the death.
Return with exactly three proof cards
Go back through the cellar, pass the bird carving, turn at the frog, and enter the water corridor. When the Forlore asks its three questions, choose:
- Who was I? Lavender.
- Who killed me? Dead Dormouse.
- What killed me? Owl Statue.
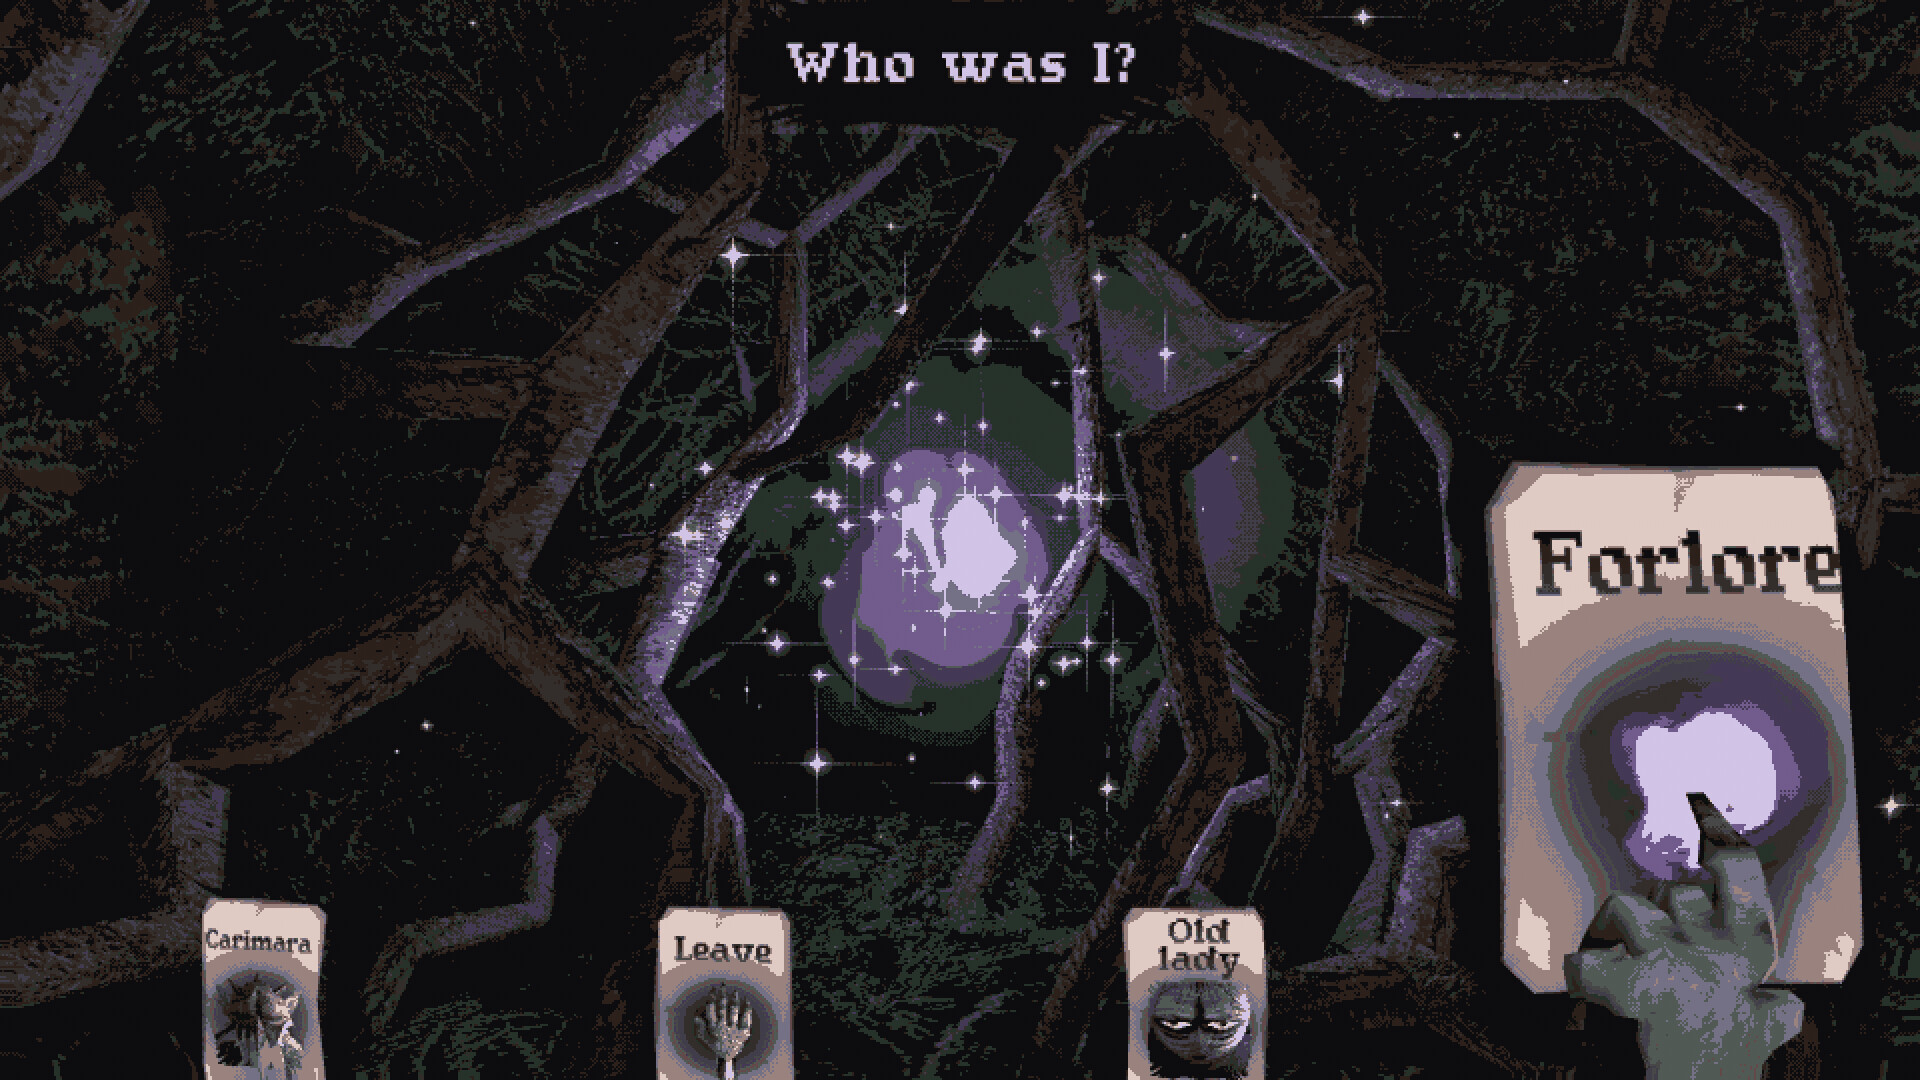
The correct sequence unlocks “They were good friends” and starts the normal ending. A wrong second or third card does not ruin the save; it advances a failure attempt and returns you to the house. That is useful later, but on this pass the goal is to reach the ending screen with the evidence chain understood.
Do not leave the normal ending screen without its hidden subject
When Violet and Lavender appear together, move the pointer to the upper-right corner. Click the small mark there. The pickup awards THE STRANGE SYMBOL and places the Strange Symbol card in the continuing save.
This is the dependency that several short achievement lists obscure. The frog passage in the cellar can be found earlier, but its door needs the symbol obtained after the normal ending. If you miss the mark, finish the ending and revisit the normal solution rather than searching the basement for a substitute card.
Make one full moon pay for a tree, a card, and the altar
Sleeping advances the moon. Repeat sleep until the sky shows a full moon, then go outside and interact with the moon itself to collect the Full Moon card. Do not spend the phase by sleeping again until both moon-dependent jobs are done.
- Pass through the shed and cross toward the grave. Speak to the face in the large tree during the full moon. The waking conversation unlocks IN THE SHADOW OF THE MOON.
- Keep the Full Moon card for the altar beyond the hidden cellar door. The moon phase shown around that altar is an instruction, not decoration.
If the tree remains inert, check the sky rather than repeatedly presenting random cards. If the sky is full but there is no Full Moon card in your hand, look up and interact with the moon before returning to the tree.
Reach the tower from the roof and translate flowers into card labels
Near the house and wood pile, climb onto the chimney structure, gain the roof, and cross to the fenced side of the yard. The tower entrance is around the far side. Its three plant marks refer to the characters’ flower names. In terms of the labels visible in your hand, present:
Old Lady, then Lavender, then Owl.
The underlying name order is Violet, Lavender, Pansy. Reading the letter at the top unlocks THE PERCHED LETTER. If the door ignores the sequence, verify that all three cards were selected in a fresh attempt and that the middle card is Lavender, not Bagdolls.
The frog carving is a wall, not a waypoint
Return to the cellar and stop at the frog carving before the water corridor. The boundary beside that carving can be pushed through. Follow the concealed passage until you reach a sealed door, then present the Strange Symbol. Opening it earns THE SECRET DOOR.
Inside, approach the central altar while the full moon is still active and present the Full Moon card. This is the trigger for OOPS… and the secret ending. If the door opens but the altar does nothing, diagnose the two prerequisites separately: the symbol opens the route; the live moon phase plus the moon card activates the altar.
Pair the two five-count achievements before deleting the save
PASSING OUT A LOT counts five dismissals by the Forlore. FACIAL PROFILING counts five accusations of the Old Lady. Combine them instead of building two loops:
- Reach the Forlore and start an answer attempt.
- For “Who killed me?”, select Old Lady.
- Finish the attempt with answers that keep the solution wrong, then let the dismissal return you upstairs.
- Repeat until both achievement notifications have appeared.
Your first story failure may already count toward PASSING OUT A LOT, but it only helps FACIAL PROFILING if that failed set accused the Old Lady in the correct question slot. Treat the counters independently. If one achievement appears first, continue the combined loop until Steam confirms the other rather than assuming both reached five together.
Audit ALL CARDS by rooms, not by one disputed total
The official achievement page confirms separate 10 CARDS and ALL CARDS achievements, but it does not publish a required number. Current walkthrough evidence also shows that secret subjects such as Strange Symbol and Full Moon are not required for ALL CARDS, and one guide reports that the trigger behaves like a collection threshold. Use a location audit instead of claiming a fragile total.
- Starting conversation: Carimara, Leave, Old Lady, Bagdolls.
- House: Chest Box, Key, Lavender, Suspicious Hole, Dormouse, and the high Axe pickup. Also take Acorn if its sparkle appears in the current room layout.
- Cellar: Wooden Statues and Forlore.
- Yard: Shed, Rosehip, and Owl.
- Shed and riverbank: Dead Dormouse, Gardening Tools, Owl Statue, and Grave.
If ALL CARDS has not appeared, revisit the above-eye-level subjects first: Bagdolls, Key, Suspicious Hole, Owl, and Axe. Then sweep the cellar carvings and shed interior again. Do not use the secret door or out-of-bounds route as a substitute for a missed ordinary subject; those branches add unusual dialogue cards but do not prove the normal sweep is complete.
Use the tower balcony for FALLING THROUGH THE MAP only after secret cleanup
Climb the tower and step onto its upper balcony. Turn right and descend onto the branches wrapping around the structure. Follow them into the fenced deer area. Once inside, turn left, keep close to the fence, and jump into the narrow space between the fence and the bush. Get onto the bush, move behind it, and press forward into the unsealed ground. The drop awards FALLING THROUGH THE MAP.
This is an intentional achievement built around leaving the playable surface, but it is still a poor place to carry unfinished work. Do it after the normal ending, tower letter, moon tree, and altar. If the first jump leaves you standing on foliage, adjust toward the outside of the fence; if the screen drops without an achievement, reload the scene and approach the same bush from the fence side.
Erase only when the four-minute route is the last remaining task
NO TIME TO LOSE requires the ending answer in under four minutes on a clean save. At the main menu, press Escape and use ERASE. This removes the save you just cleaned up, so verify Steam shows the other 15 achievements first.
- Let the opening cutscene finish. It cannot be skipped.
- Take Bagdolls, interact with Violet, tap Ctrl repeatedly to advance text, choose Leave, and go straight to the cellar. Holding Ctrl is slower than repeated presses.
- Take the left route, turn at the frog carving, cross the water, and reach the Forlore. Choose any three wrong cards quickly and skip the response until you wake on the couch.
- Jump for the Key above the fireplace immediately.
- Go outside, use the gap on the left side of the shed, collect Dead Dormouse, continue just far enough to take Owl Statue, then pause.
- Choose Reload Scene. On the current post-hotfix build, the acquired cards are saved immediately and the reload returns you to the house spawn, removing the walk back.
- Open the Chest Box near the cellar entrance with the Key and take Lavender.
- Run to the Forlore and answer Lavender, Dead Dormouse, Owl Statue. Keep tapping Ctrl through the response.
The achievement should appear within moments of the correct answer. You do not need to watch the ending. If it does not appear, abandon that attempt and erase again; do not spend time trying to repair a run that already crossed the limit. The common time losses are holding Ctrl instead of tapping it, walking back from the river instead of reloading the scene, collecting optional cards, and missing the Key prompt above the fireplace.
All 16 achievements and their dependency checks
| Achievement | Reliable check | Dependency or risk |
|---|---|---|
| PASSING OUT | Complete one wrong three-answer Forlore attempt. | Required by the normal route and the speedrun route. |
| 10 CARDS | Collect ten subjects. | Should occur during the first house-yard sweep. |
| THE SHED | Enter through the missing wall section on the left. | The front door is a false approach. |
| THE DORMOUSE | Use Rosehip on the Suspicious Hole upstairs. | Touching the hole without Rosehip only knocks you out. |
| THE KEY | Take the Key above the fireplace. | Jump and aim high if the prompt is absent. |
| “They were good friends” | Answer Lavender, Dead Dormouse, Owl Statue. | Use the dead creature and the statue, not their living counterparts. |
| ALL CARDS | Sweep all ordinary subjects by room. | Secret cards are not a dependable replacement for a missed normal subject. |
| PASSING OUT A LOT | Receive five Forlore dismissals. | Pair the attempts with FACIAL PROFILING. |
| IN THE SHADOW OF THE MOON | Speak to the large tree beyond the shed at full moon. | The tree must be awake in the live moon phase. |
| THE PERCHED LETTER | Open the tower with Old Lady, Lavender, Owl and read the letter. | Reach the tower by the roof route. |
| THE STRANGE SYMBOL | Click the upper-right mark on the normal ending screen. | Needed to open the hidden cellar door. |
| THE SECRET DOOR | Push through the frog wall and use Strange Symbol. | Cannot be completed before the normal ending supplies the card. |
| OOPS… | Use Full Moon on the altar beyond the secret door. | Preserve the full-moon phase until the altar is done. |
| FACIAL PROFILING | Choose Old Lady as the killer five times. | The accusation and dismissal counters can finish at different moments. |
| FALLING THROUGH THE MAP | Drop past the fence-side bush in the deer area. | Do this after the tower and secret ending work. |
| NO TIME TO LOSE | Solve the Forlore in under four minutes on a clean save. | ERASE is mandatory and destructive. |
Use the verified longplay as a landmark check
For the route video below, the supplied file, YouTube metadata, runtime, and sampled frames all resolve to ID HRb5sK5MqQQ: FoxPlay’s CARIMARA: Beneath the forlorn limbs – ALL Endings & Secrets + Full GAME Walkthrough (Showcase). The 43:05 local copy reaches the normal ending at roughly 30:15, begins its secret-route replay around 34:02, shows the secret ending around 39:35, and takes the Other Grave detour near 41:58.
A second supplied recording was matched to KeeTee’s 18:11 ALL Secrets & Achievements (Behind The Scenes). Its chapter list names all 16 achievement demonstrations and its frames independently match the same house, card UI, Forlore, moon, tower, hidden room, and out-of-bounds tasks. FoxPlay is embedded because it preserves the continuous route; KeeTee is used as the achievement-state cross-check.
Current-build boundary: Hotfix #1
This route was checked on August 31, 2026 against Steam App 3570370 and the latest mechanics-changing official note found, Hotfix #1 from October 9, 2025. That patch saves cards at acquisition, fixes abnormal tower-door behavior, and addresses movement and localization problems. Later official posts add Steam community items but do not describe a new puzzle route.
The official Steam page lists 16 achievements and a single-player Windows/macOS release by Bastinus Rex, published by CRITICAL REFLEX on October 6, 2025. The route does not use store prices, achievement percentages, an assumed card total, or the inaccurate claim that the secret door sits beneath the shed. If a later build changes saving, moon cycling, the tower boundary, or the reload spawn, follow the live client and current official patch notes.