
Choose the achievement run before Poirot walks onto the dance floor. Two conditions watch the whole playthrough: never spend a hint and never submit a wrong answer in a confrontation. The other work—100 golden moustaches, 16 vinyl records, 21 character profiles, two epilogues, and the museum door—can be checked chapter by chapter, but relying on cleanup is riskier than keeping one clean route from the prologue.
This spoiler-heavy route is for the 2025 Microids Studio Lyon game, Steam AppID 3150480, not the older hidden-object game with a similar title. Steam lists 30 achievements. The public build number is not exposed by Steam’s store data, so install the current update before starting. Developer replies confirm that early profile and progression bugs were patched after launch; the instructions below use the current menu labels recorded in post-launch PC walkthroughs and two full no-commentary videos.
Protect the two conditions Chapter Select may not restore
My little grey cells did not let me down requires every chapter to be completed without using hints. Lie detector requires the game to be completed without a confrontation mistake. The Chapter Select screen exposes totals for hints and errors, as well as collectible progress, but community reports conflict on whether every run-spanning achievement always recombines correctly after replaying isolated chapters. Treat Chapter Select as a diagnostic tool, not as permission to experiment.
- Update first. Do not begin a completion file on an old launch build. Version 1.2.1 fixed the missing Andrew Pennington profile, and a later developer reply points affected players to version 1.3.0 for a progression fix. Those are historical fix boundaries, not a claim that 1.3.0 is still the newest build.
- Keep a manual save at the start of every chapter. Do not overwrite the previous chapter until the new chapter’s collectible count, profiles, and confrontations have been checked.
- Never open the hint. If a puzzle stalls, pause outside the hint interface and use the relevant checkpoint below.
- Save before every confrontation. A wrong statement, fact, person, hotspot, or sequence can break the clean counter. Reload immediately rather than continuing to see whether the game forgives it.
- Run Jane’s lawful branch first. It leads to her epilogue, where the 52-link evidence wall and three achievements are resolved. Then load the alternate epilogue for Poirot and finish the remaining moustaches, vinyl, confrontations, and final choice pair.
Check these totals before ending each chapter
Do not leave a chapter merely because the story objective updates. Compare the Chapter Select counters with this table. The moustache sequence is global from 1 to 100; the vinyl sequence is global from 1 to 16. The confrontation column counts completed encounters, not the number of questions inside a final accusation.
| Checkpoint | Golden moustaches | Vinyl records | Clean confrontations | Achievement-specific action |
|---|---|---|---|---|
| Prologue: Chez ma Tante | 8 total | 3 total | 1 / 20 | Open Blondin’s clock and make the first lawful Jane choice. |
| Chapter 1: Imperial Nile Hotel | 15 total | 4 total | 3 / 20 | Finish the jukebox route and speak to Andrew by the pool for his profile data. |
| Chapter 2: Majorca | 24 total | 5 total | 3 / 20 | Choose the answer that rejects rogue methods. |
| Chapter 3: The Nile | 35 total | 6 total | 4 / 20 | Complete the optional clean navigation and ring the restaurant bell correctly. |
| Chapter 4: New York | 44 total | 7 total | 6 / 20 | Beat 2,000 in Sky at War; report Changming. |
| Chapter 5: Abu Simbel | 51 total | 8 total | 7 / 20 | Redirect the completed light mechanism to the moustache stone. |
| Chapter 6: Cairo | 62 total | 9 total | 7 / 20 | Finish the souk tailing unseen; call the police with the gathered information. |
| Chapter 7: The Karnak | 70 total | 12 total | 11 / 20 | Search the required cabins before advancing the murder reconstruction. |
| Chapter 8: The Village | 77 total | 13 total | 11 / 20 | Help Richetti to keep Jane on the lawful track. |
| Chapter 9: The Final Activity | 85 total | 14 total | 12 / 20 | Submit the full final accusation without a mistake. |
| Epilogue B: Jane Royce | 92 total | 15 total | 16 / 20 | Complete all 52 evidence-wall links and Jane’s final confrontation. |
| Epilogue A: Hercule Poirot | 100 total | 16 total | 20 / 20 | Reload the last choice once to earn both verdict achievements. |
The automatic story awards, in route order, are Panic at the disco, Not the Mrs Doyle I was expecting, The Spider weaves its web, A crunchy verrine, New York, New York, The power of the sun in my hand, Walk like an Egyptian, The two make a pair, Whatever it takes, A fool’s game and we’ve lost, Cornelian dilemma, and No one mourns the wicked. A story award appearing does not certify the collectibles or clean-run counter for that chapter. Golden moustache enthusiast belongs to the 100-item track; Seventies enthusiast belongs to the 16-record track.
A mismatch tells you where to reload. If Chapter 6 closes at 61 moustaches, the missing item is in Chapter 6—not somewhere in the two epilogues. If the error counter rises during Chapter 9, collecting the remaining 15 moustaches will not repair Lie detector.

Prologue and Chapter 1: establish a clean file
The prologue carries more completion risk than its length suggests. Pick up three vinyls before leaving Chez ma Tante: left of the DJ booth, on the storage-room shelf behind the bar, and on the railing immediately after the double doors leading away from the dance floor. The eight moustaches are on the toilet paper-towel unit, behind the bar, in the upstairs vase, inside Blondin’s clock, behind the reception lamp, on the black car, on the railing beneath the bridge, and on the bollard across from the red mailbox.
Open the glass clock without a hint
Inspect the desk clock in Blondin’s office. The three hands must finish on III, VII, and XI. Rotate the inner ring three positions counter-clockwise, leaving X on the right. Rotate the outer ring four positions counter-clockwise. When III sits at lower right, VII at upper right, and XI at left, take the moustache before backing out. That awards Right on time.
The safe code is 1957, supported by the dated photograph and other room clues. Complete the timeline and confront Harry with the exact lie/fact pair in the confrontation section below. After control moves to Jane and the outside route is clear, choose “Give it to the police, I trust the judicial system.” That is lawful choice 1 of 5.
Chapter 1 adds seven moustaches: the lobby corner sofa, pool-table area, statue beside Adele Allerton, wicker chair under the yellow parasol, gazebo floor by the plant, lower-garden table, and the baggage trolley outside. The only vinyl is on the lobby floor to the left of reception.
The jukebox is the chapter’s long mechanical gate. Get a coin from reception, learn that “Midnight Storm” is Jackie’s song, and inspect the right-side knob directions before unplugging the machine. Rearrange the gear blocks, make the wiring a straight powered path, copy the knob directions to the other side, recover the key, open the selector, insert the coin, choose the song, press play, and raise the volume. The completion route’s wiring sequence is D; A twice; F three times; C three times; E once; D once. In the selector, swap A with C, slide B upward, and rotate the picker.
Talk to Andrew Pennington while he is drinking by the pool during the cocktail reception. A launch bug once prevented his character card from registering; the developer says it was fixed in update 1.2.1, but making this conversation explicit protects older saves and gives the profile its normal story trigger.

Chapters 2 and 3: clear Majorca and the Karnak carefully
Majorca contains nine moustaches. Sweep the kitchen pan first, then operate the coffee grinder and open its lower drawer. Continue with the floor pot opposite the green statuette, the balcony egg chair, the flower pot in Mei Leech’s bathroom, the poolside cool box, the rear of the sun lounger outside her bathroom, the bidet in Vikram Kapoor’s hut, and the palm leaf to the left of the garage. The vinyl is tucked among books on the shelf near the indoor rock.
After examining the bedroom window, bracelet, camera, and the overnight timeline, Jane is asked whether she would finish the investigation by any means. Choose “Certainly not, I would never stoop to such rogue methods.” That is lawful choice 2. Avoid a manual save during the opening “New Mystery” overlay; if the stolen-bracelet branch fails to appear despite the documented inspections, restart Chapter 2 from Extras.
Chapter 3 places eleven moustaches across the Karnak: behind the restaurant bar in the ice bucket; on the kitchen scales; on the upper shelf in storage; twice in the engine room, once in coal storage and once on a wall shelf; on a box in the second storage room; in the gold pot beside the top-deck bar; on the captain’s bed frame; in the second stall beyond the unnumbered door beside cabin 110; in the left stall beyond the unnumbered door beside cabin 100; and inside the restaurant bell puzzle. The top-deck bar front holds the vinyl.
Bank both Chapter 3 optional achievements
- Initial P: complete the normal steering section, then ask the captain to pilot the Karnak again. The optional run is longer. Slow down early, use the horn deliberately, and pass the late small boat on the right side of the route map. Any collision voids the achievement, so reload the chapter save rather than finishing a damaged attempt.
- This is the rythm of the Nile: inspect the ship model in the captain’s cabin for the clue, then ring the restaurant bell left, left, left, right, left, right. Take the moustache from the bell after the pattern registers.
John Fleetwood is the fourth clean confrontation. Do not improvise because his dialogue sounds harmless; select the black-smoke statement and invalidate it with the machinery-problem fact.
Chapters 4 to 6: handle the three action checks before the story moves
New York’s nine moustaches begin on the white car outside The Backstreet Spirit, a seat inside, and a barrel just beyond the back door. Three are inside the Will-following route: first-alley barrel, a box beyond the left corner after Will crosses the gate, and the balcony in the next building after the vinyl. The final three are behind the bins to the left of the gambling den, on its jukebox, and on the chair opposite. The chapter’s vinyl sits in the barbecue on the upper floor of the ruined building near the stairs.
Play Sky at War in the bar before leaving the area. Score more than 2,000 for King of the arcade machine. Repeated fire is safe; avoid the balloons because they subtract points. During the investigation, choose “Report Changming to the police.” for lawful choice 3. The Changming and Marcus confrontations bring the clean total to six.
Abu Simbel holds seven ordinary-route moustaches: broken statue near Cornelia, right entrance torch, behind the second large statue on the left, on a torch in the second small right-hand room, on the right statue in the central four-statue chamber, behind the puzzle stone inside the temple’s first small chamber on the right, and on an upstairs statue. The vinyl is fixed to the right wall in the farthest small room on the temple’s left side.
Do not finish the light puzzle and immediately leave. After collecting all five mechanism pieces, send the beam into the first small room on the right and strike the moustache-marked stone. Recovering the hidden item awards Shine On Crazy Moustache. Andrew Pennington’s confrontation is number seven.
Cairo adds eleven moustaches: an upstairs chair at the start, watermelons at the first stall, a tree opposite the blue building, that building’s fan, a bucket atop the small structure right of the scarab building, the post-tailing stall near two men, the upstairs washing pole, a nearby chair farther along the same route, the shelf in the small room right of the hideout entrance, the windowsill beyond the stair room, and the crates behind the basement mirror. During the escape, the vinyl is on the fan placed on a ground-floor corner table before the stairs.
Finish the souk tailing without being seen
Begin from the roof opposite the two men. Let them circle below and complete the first eavesdrop before descending the yellow stairs. Follow closely to the next level and turn right as soon as the path allows; waiting in the exposed approach lets them turn and spot Jane. Climb the stairs on the left for the second listening point. Return down, enter the alley, wait for both men to disappear behind the blue building, then take the next stairs so Jane is above them for the third listen. On the last phase, remain at the top until they pass, descend behind them, and use ground-level corners rather than another staircase. If the detection state fills at any point, reload for Hide in plain sight.
After recovering the files and solving the telex phrases, choose “Call the police right now.” rather than waiting to stop the Spider alone. That is lawful choice 4.
Chapters 7 to 9: search first, accuse second
Chapter 7 returns to the Karnak and adds eight moustaches: cabin 202 bed frame, lounge bookcase, cabin 101 bed, cabin 111 bed, cabin 210 sofa, cabin 211 shower, cabin 212’s painting over the bed, and one of four objects recovered with the clam trap near Guido Richetti. The three vinyls are on the lounge dartboard, under the plate on a small circular restaurant table, and on the floor ahead of cabin 100’s bed.
Search the cabins while each remains open. This chapter contains four confrontations—Elizabeth Bowers, Rosalie Otterbourne, Tim Allerton, then Rosalie again—and the two Rosalie encounters deliberately use the same lie with different evidence. The first fact concerns the revolver at 1:10 a.m.; the second concerns her mother’s bottles at the same time. Choosing the right lie with the wrong fact still counts as a mistake.
The Village in Chapter 8 has seven moustaches: clothesline behind the light-blue building by the water, post-office wall fan, employee-room shelf, spice barrel at the market, crate by the large tree, crate by the blue jeep, and railing of the red building near the village exit. Reach the last one by using the rear stairs. The vinyl is on a tyre of the blue jeep. When the decision about Richetti appears, choose “Help Richetti.” That is lawful choice 5 and keeps the first full run aligned with Jane’s Epilogue B.
Chapter 9’s eight moustaches are on the lounge table under the dartboard, on the shelf behind Tarek, on the light fixture outside cabin 214 once the third murder has occurred, in the deck-2 ice bucket between loungers, in the gold pot near Pennington at the cocktail bar, on the yellow chair near Jackie, on the deck-1 metal rod at the bow, and on the deck-1 railing near the restaurant and fishing interaction. The vinyl is on the small table beside the green cocktail-bar chair.
Submit the Chapter 9 accusation as one chain
Make a save immediately before the final act. Use these answers in order:
- The crime was premeditated: Yes.
- The person left alone for five minutes: Simon Doyle.
- The manipulation of Cornelia and Yamao: Simon Doyle wasn’t injured.
- What Simon does after returning to the lounge: He shoots himself in the leg.
- The sound muffler: Marie Van Schuyler’s scarf.
- What happens to the revolver: He throws it out the window.
- Simon is connected to the other murders: Yes.
- Louise’s implication: Louise Bourget wanted to blackmail Simon Doyle.
- How Simon participated: He has an accomplice.
- Point to Jacqueline de Bellefort, then confirm she is the accomplice.
- Simon’s alibi: The gunshot fired by Jacqueline de Bellefort.
- Jackie’s alibi: Simon Doyle insisted strongly that she be properly watched over.
- The witness who saw Simon enter Linnet’s cabin: Louise Bourget.
- Why Simon lost his temper with Salome: He wanted to alert Jacqueline de Bellefort.
- As Jane, zoom in and select the bullet hole near Andrew Pennington.
A completely clean submission awards Love can be a very frightenning thing. Finishing the chapter then supplies the normal story achievement.
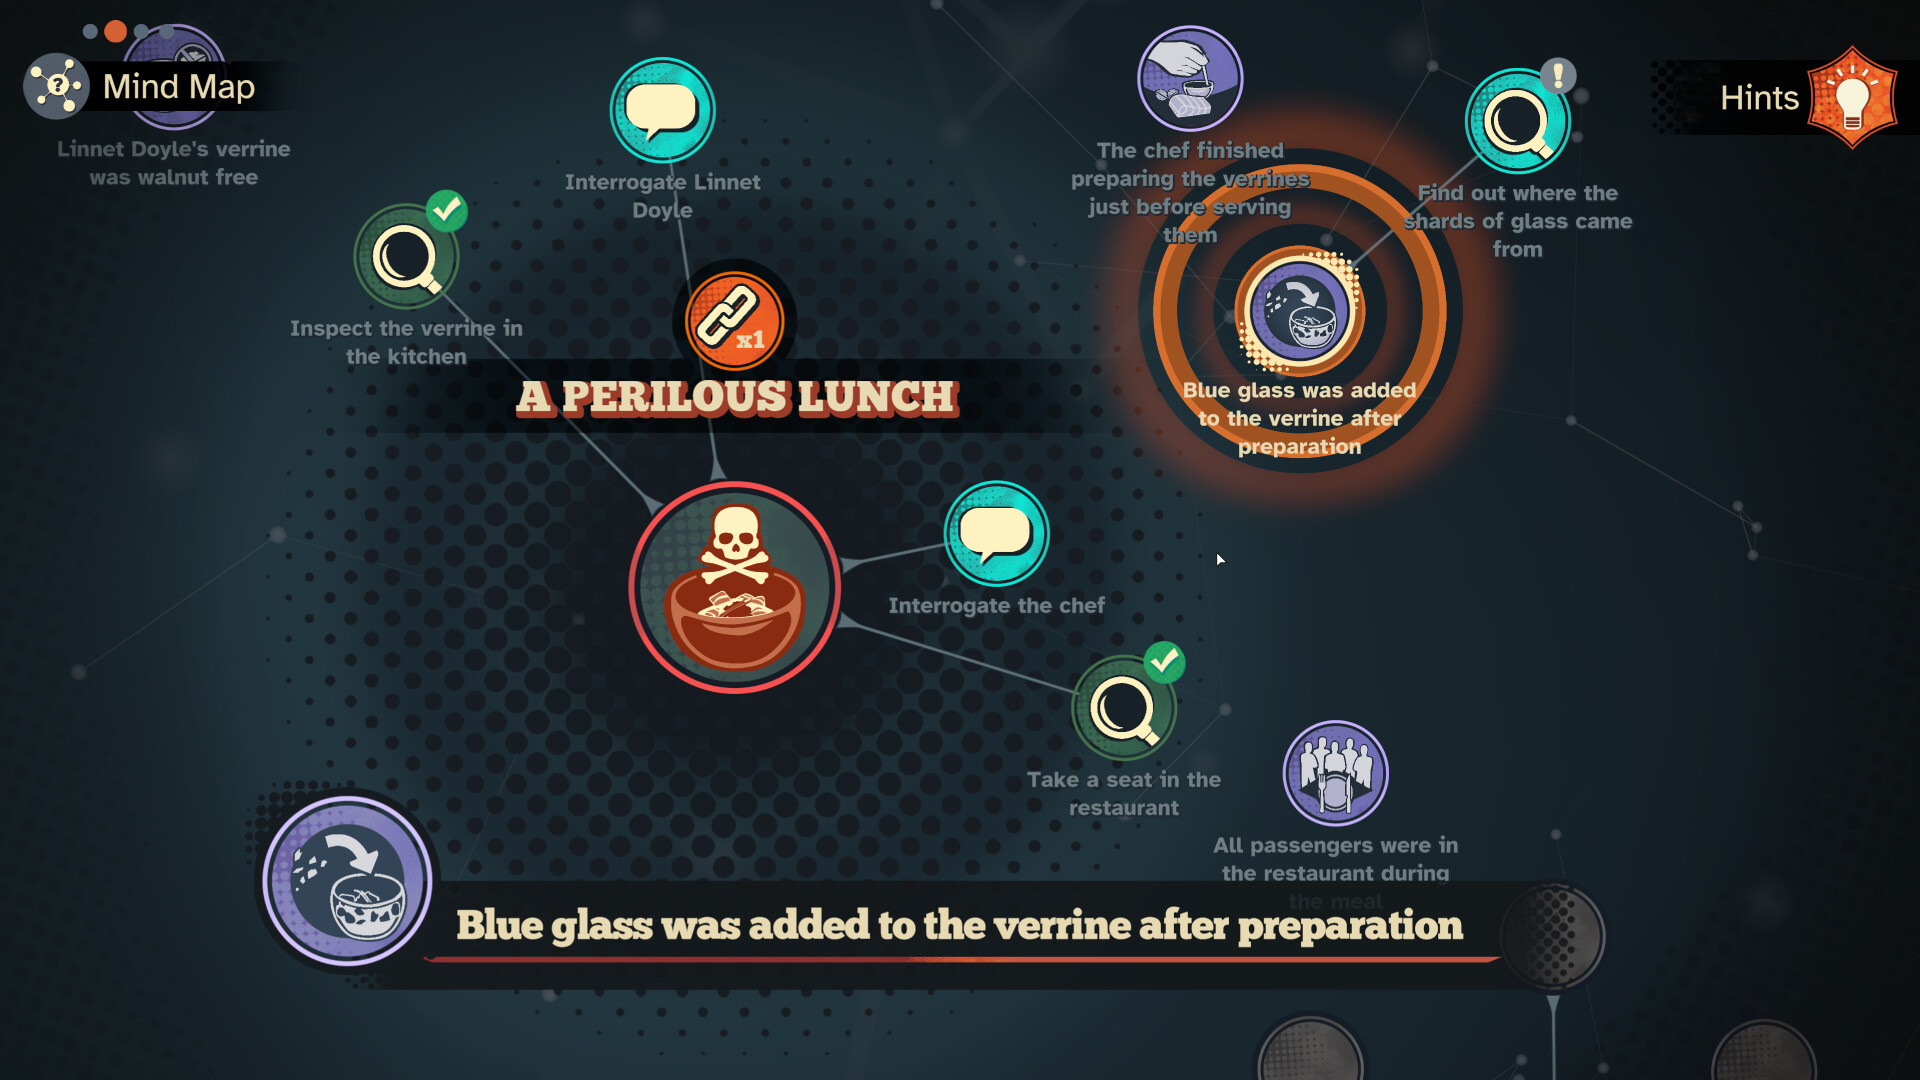
Reach Jane’s epilogue first, then complete its evidence wall in three passes
The five lawful choices are: send Emmy’s file to the police, reject rogue methods in Majorca, report Changming, call the police from Cairo, and help Richetti. The verified route uses those choices to reach Epilogue B with Jane. If your first ending is Poirot’s, do not continue as though the collectibles share one physical map; load the branch point or use Chapter Select and choose the lawful texts consistently.
Epilogue B contains seven moustaches: ground beside the garden pool ladder, nearby sun lounger, plant halfway up the hotel’s right staircase, the photograph inside the camera in room 107, cabin 111 headboard, room 112 right nightstand, and the puzzle box on room 110’s right nightstand. The last box repeats the four mechanisms solved in Chapter 7. The vinyl is on the hotel bin beside the pool table.
Everything’s clear appears only after the wall contains 52 valid connections. Do not try to create all of them at once. Jane adds evidence after each investigation block, so submit the currently available group, leave the wall, collect the next evidence, and return. The labels below reproduce the in-game evidence names because paraphrased labels are not selectable objects.
Evidence-wall wave 1: initial material, connections 1–20
The King+Contract No. 22Contract 22+Emmy eliminatedEmmy eliminated+ the face onCCTV Surveillance of EmmyThe Logistician+ the seal onCCTV Surveillance of EmmyThe King+Contract No. 24Contract No. 24+Journalist eliminatedJournalist eliminated+Audio cassette of the journalistThe King+Contract No. 25Contract No. 25+Tyrone eliminatedThe King+ the lion mask onThe photo of “The Spire”- The lion cane on
The photo of “The Spire”+ the cane onPhoto of Linnet and her father The King+ Linnet’s father’s face onPhoto of Linnet and her father- Linnet’s father’s face + the man on the poster in
Photo of a funeral The Logistician+Audio cassette of Vikram Kapoor- The squid mask on
The photo of “The Spire”+The Marketer - The jaguar mask on
The photo of “The Spire”+The Treasurer The Killer+A stamp with a sealThe Killer+ Guido Richetti inPhoto of a funeralThe Killer+Audio cassette of Richetti and “The Bear”The Guard+Audio cassette of Richetti and “The Bear”
Evidence-wall wave 2: hotel-room discoveries, connections 21–48
The Treasurer+Jaguar tattoo- The jaguar mask on
The photo of “The Spire”+Jaguar tattoo The Killer+Contract No. 22The Killer+Contract No. 24The Killer+Contract No. 25The Guard+ the bear mask onThe photo of “The Spire”- The seal on
CCTV Surveillance of Emmy+Audio cassette of Vikram Kapoor - The windows in
Photo of Linnet and her father+ the windows inPhoto of Cornelia and her father - The coat of arms in Cornelia’s photograph + the upper-right arms in
List of coats of arms of wealthy families - The man on the left in
Old photo of Pennington and friends+ Linnet’s father’s face - Linnet’s father’s face + the lion mask on
The photo of “The Spire” - The man on the left in the old photograph +
The King - The man on the left in the old photograph + the lion mask on
The photo of “The Spire” - The man on the left in the old photograph + the man on the funeral poster
- The man in the middle of the old photograph +
The Treasurer - The man in the middle of the old photograph +
Jaguar tattoo - The man in the middle of the old photograph + the jaguar mask on
The photo of “The Spire” - The woman’s missing arm in the old photograph + the missing arm in
The photo of “The Spire” - The woman’s face in the old photograph + Isabel Flint’s face in the newspaper article dated 3 March 1972
Audio cassette of Richetti and “The Bear”+ the crashed car in the Isabel Flint article- The date 3 March in that article + the date in
Photo of a funeral - The man on the funeral poster +
The King - The man on the funeral poster + the lion mask on
The photo of “The Spire” - The woman’s face in the old photograph +
The number 2 - Isabel Flint’s face in the newspaper article +
The number 2 - Guido Richetti in the funeral photo +
Audio cassette of Richetti and “The Bear” Photo of an eliminated man+Contract No. 12The Guard+Photo of an eliminated man
Evidence-wall wave 3: final four connections
Contract No. 12+Audio cassette of Richetti and “The Bear”Contract No. 12+The KillerPhoto of an eliminated man+Audio cassette of Richetti and “The Bear”Drawing of the coat of arms on Ferguson's signet ring+ the center arms inList of coats of arms of wealthy families
If the achievement does not appear, count the visible lines rather than rebuilding the board. A connection that uses the correct document but the wrong hotspot—face instead of seal, cane instead of face, one coat of arms instead of another—does not satisfy the missing relationship.
Finish Jane’s four confrontations
Use the lie/fact table below for Richard, Cornelia, and Richard again. The final joint confrontation asks when the trap was set: choose the day before the boat departure. Inspect the reception register, compare the two entries for room 106—Andrew Pennington on 20 February 1975 and Cornelia Robson on 24 February 1975—select Cornelia Robson as the murderer, and conclude that the rooms were swapped. A clean result awards The new greatest detective in the world; finishing the branch awards Cornelian dilemma.
Switch to Poirot’s epilogue and make one controlled reload
Epilogue A contains the last eight moustaches: wall near the pool shed, ice bucket between the loungers, lower-garden wall by the torch, table right of the hotel entrance, brown lobby sofa, behind the sofa by the chessboard, under the left pillow in room 106, and the bathroom towel in room 102. The final vinyl is behind the chair at the bottom of the lower-garden stairs.
Yamao supplies confrontations 17, 18, and 19. After reconstructing the bottle-and-salt delay, save at the bottom of the stairs before speaking to Jane. The last accusation uses this order:
- Jane Royce is the murderer: Yes.
- The bottles were filled with salt to delay the discovery of the body.
- The delay was needed to build an alibi.
- The alibi witness was Richard Ferguson.
- Jane became enraged because of what she discovered in Guido Richetti’s papers.
- The discovery was that Andrew Pennington is linked to the murder of Emmy Dunnes.
Hand Jane to the police once for The end of the journey. Reload the pre-confrontation save, repeat every correct answer, and choose not to hand her over for When love speaks, Poirot listens. The clean confrontation awards Still the best; finishing the epilogue awards No one mourns the wicked. When the no-hint and no-error counters are both still zero, the two run-long achievements should close here as well.

Keep the 20 confrontation answers beside the save file
The final accusations above contain several questions but count as one confrontation each. For the shorter encounters, select the listed lie first and then the listed invalidating fact. Text may wrap differently by platform; match the meaning and named evidence, not the line break.
| No. | Speaker / chapter | Lie to select | Fact that invalidates it |
|---|---|---|---|
| 1 | Harry, Prologue | He says he did not leave the bar all evening. | The barman brought a bottle to Linnet Ridgeway. |
| 2 | Jacqueline, Chapter 1 | She hates Linnet but does not want to hurt her. | Jacqueline threatened Linnet Doyle with death. |
| 3 | Linnet, Chapter 1 | Jackie was only a crush for Simon. | Jacqueline and Simon Doyle were engaged. |
| 4 | John Fleetwood, Chapter 3 | Black smoke does not necessarily mean a problem. | There is a problem with the machinery. |
| 5 | Changming, Chapter 4 | He stays away from murders and is only a handyman. | The victim identified Changming through the username “L4W.” |
| 6 | Marcus, Chapter 4 | Nobody cheats there because he prevents it. | Marcus cheats at the shell game. |
| 7 | Andrew Pennington, Chapter 5 | He changed rooms, then heard a faint boom in the distance. | Andrew was on the cornice when the statue fell. |
| 8 | Elizabeth Bowers, Chapter 7 | She claims there is nothing more she can say. | Linnet’s necklace was found in Elizabeth Bowers’ cabin. |
| 9 | Rosalie, Chapter 7 | Her cabin was stifling, so she went on deck around 1 a.m. | Rosalie may have thrown the revolver into the water at 1:10 a.m. |
| 10 | Tim Allerton, Chapter 7 | He did not know the necklace had been stolen. | The fake necklace was hidden in Tim’s hollow book. |
| 11 | Rosalie, Chapter 7 | Select the same stifling-cabin statement again. | Rosalie threw away her mother’s alcohol bottles at 1:10 a.m. |
| 12 | Final act, Chapter 9 | Use the 15-step accusation chain in the Chapter 9 section. | |
| 13 | Richard Ferguson, Epilogue B | He needed to be alone to collect his thoughts. | People were talking in the room next to Adele Allerton’s. |
| 14 | Cornelia Robson, Epilogue B | Her father’s poor investments ruined the family. | The Robson family was ruined by “The Spire.” |
| 15 | Richard Ferguson, Epilogue B | His signet ring is perfectly ordinary. | Richard hides aristocratic origins and comes from a wealthy family. |
| 16 | Cornelia and Richard, Epilogue B | Choose the day before departure, compare room 106 in the register, identify Cornelia, and conclude that the rooms were swapped. | |
| 17 | Yamao Hayashi, Epilogue A | He went out at about 10:30 p.m. and saw nobody. | Yamao should have seen Andrew before Elizabeth found the body. |
| 18 | Yamao Hayashi, Epilogue A | He thought Andrew would get out of the pool, but Andrew drowned. | Andrew died when his head hit the edge of the pool. |
| 19 | Yamao Hayashi, Epilogue A | Andrew had been in the pool for hours. | Tim and Rosalie saw nobody at the pool from 9:30 to 10 p.m. |
| 20 | Jane Royce, Epilogue A | Use the six-answer salt-bottle accusation chain in the Poirot section. | |
Complete all 21 profiles without guessing spellings
Profile fields unlock as dialogue and observations expose them. Fill only a field the game has made available; entering a final answer early is less useful than confirming the story trigger that produced it. The compact answer set is:
| Character | Activity | Secret | Required relationship fields |
|---|---|---|---|
| Jane Royce | Private Detective | Hercule Poirot Idolater | None |
| Linnet Doyle | Business Woman | Wears Contact Lenses | Simon Doyle’s Wife; Jacqueline de Bellfort’s Ex-Friend |
| Simon Doyle | Manager | Greedy | Linnet Doyle’s Husband; Jacqueline de Bellfort’s Ex-Fiancé |
| Jacqueline de Bellfort | Archivist | Hides her true personality | Simon Doyle’s Ex-Fiancée; Linnet Doyle’s Ex-Friend |
| Tim Allerton | Translator | Jewel thief | Adele Allerton’s Son; Joanna Southwood’s Cousin |
| Adele Allerton | Annuitant | Film Critic | Tim Allerton’s Mother; Joanna Southwood’s Aunt |
| Cornelia Robson | Student | Ruined Family | Marie Van Schuyler’s Cousin |
| Marie Van Schuyler | Annuitant | Kleptomaniac | Cornelia Robson’s Cousin |
| Elizabeth Bowers | Nurse | Covers someone’s secret | Marie Van Schuyler’s Employee |
| Andrew Pennington | Business Man | Embezzlement | Linnet Doyle’s Advisor |
| Yamao Hayashi | Notary | On a surveillance mission | Linnet Doyle’s Employee |
| Salome Otterbourne | Writer | Alcoholic | Rosalie Otterbourne’s Mother |
| Rosalie Otterbourne | Student | Covers someone’s secret | Salome Otterbourne’s Daughter |
| Guido Richetti | Hitman | Hides his true profession | None |
| Richard Ferguson | Unemployed | Noble Family | None |
| Carl Bessner | Doctor | Former Opera Singer | None |
| Louise Bourget | Maid | Blackmailer | Linnet Doyle’s Employee |
| Joanna Southwood | Unemployed | Jewel Thief | Linnet Doyle’s Friend; Tim Allerton’s Cousin |
| Vikram Kapoor | President | Had one of his employees murdered | Emmy Dunnes’ Boss; Mei Leech’s Friend |
| Emmy Dunnes | Accountant | Investigate Her Business | None |
| John Fleetwood | Mechanic | Attempted Murder | None |
The profile guide and the full walkthrough contain a few typographical inconsistencies in names and occupations. Use the option shown by your client if punctuation differs. What matters is selecting the exposed canonical field, not reproducing a typo from a web page. True physiognomist should appear after all 21 cards are complete; on an old build with Andrew missing, update the game and revisit his Chapter 1 pool conversation.
Open the museum only after the collectible totals read 100 and 16
The museum is under Extras on the main menu. Walk to the double door at the end and open it after all 100 golden moustaches have registered; this awards The truth behind the door. The vinyl achievement is separate and should already have appeared on the final record in Epilogue A.
If one collectible remains, use the chapter totals rather than replaying the whole story. The interaction-based moustaches deserve the first check: Blondin’s solved clock, the operated coffee grinder, the restaurant bell, the Abu Simbel light-wall stone, the fourth clam-trap item near Richetti, the camera photo in Jane’s room, the reused puzzle box in room 110, the pillow in room 106, and the towel in room 102. Each requires more than looking at ordinary scenery.
When progression stops, verify the trigger before repeating the puzzle
| What goes wrong | Likely missing trigger | What to do |
|---|---|---|
| A Mind Map says a link is available, but no useful pair works | An object has multiple hotspots or a conversation added only half the evidence | Reinspect faces, seals, dates, marks, and objects inside the relevant document; then revisit every blue dialogue topic. |
| Chapter 2’s stolen-bracelet branch never appears | The launch-era opening-save bug or an unregistered window/bedroom inspection | Update first. If all required objects were inspected, restart Chapter 2 from Extras rather than saving over the previous chapter. |
| Andrew’s profile is absent | His Chapter 1 cocktail-reception conversation did not register on an old build | Use the current update and speak to him while he drinks near the pool. |
| Lie detector remains locked after an apparently correct final answer | An earlier short confrontation recorded an error, or the two Rosalie facts were swapped | Read the Chapter Select error total. Restore the earliest clean chapter save; do not assume the last accusation caused the failure. |
| My little grey cells did not let me down remains locked | A hint was opened in an earlier chapter or isolated cleanup did not recombine | Check per-chapter hint totals. Replay from the first nonzero chapter on a continuous clean route. |
| Only one epilogue appears in Chapter Select | The five Jane decisions were mixed or the branch state did not persist | Reload before the earliest conflicting choice and keep every decision consistently lawful or revenge-aligned. |
| The evidence wall stops below 52 | A later evidence batch has not been added, or a hotspot-level link is wrong | Progress the hotel-room investigation, return after Jane pins new items, and compare the three numbered waves above. |
Verified Part One and Part Two walkthrough footage
Both local files match their YouTube oEmbed metadata. They are by Adventure Vault, use the exact game title, and are labeled as complete, no-commentary gameplay. Part One is dated September 25, 2025 and runs 4:46:53; Part Two is dated September 26, 2025 and runs 8:06:58. Local inspection confirms 854×480 H.264 video with AAC audio at 30 fps. The sampled frames show the Chez ma Tante investigation, Majorca, Karnak puzzles, Mind Maps, temple scenes, late confrontations, both epilogue states, and the final choice. Use the videos to check routes and UI, but remember that later platform patches may behave differently.
Release boundary and official sources
This guide was checked on September 3, 2026. Steam and Microids identify Microids Studio Lyon as developer, Microids as publisher, and September 25, 2025 as the release date. Official material confirms the dual Poirot/Jane structure, Mind Map deductions, confrontations, profiles, stealth, inspections, and the story extension beyond the original novel. Steam currently exposes 30 achievements, but its public schema endpoint rejected the unauthenticated request. Hidden achievement names and exact action routes were therefore checked against Steam Community guides, the two gameplay videos, GameSpew’s puzzle walkthrough, and chapter guides from Into Indie Games. The ReviewGeek URL returned a 403 verification page and was not used.
Official links: Agatha Christie – Death on the Nile on Steam · Microids game page · Microids launch announcement