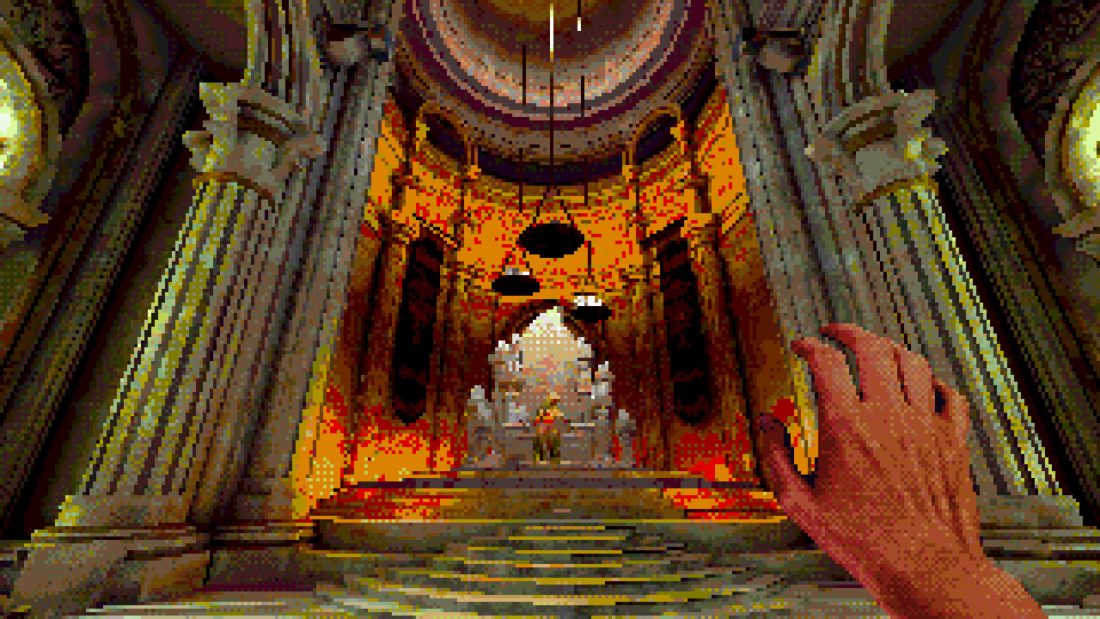
Eleven achievements sit on the same journey through Eclipsium, but only three ask you to step away from the route. Take one deliberate fall soon after entering Eclipsium, solve the small cube puzzle when the hospital-like waiting area appears, and inspect all three paintings before leaving the mirrored castle. The remaining eight achievements follow the original campaign’s major sacrifices and tools.
This is a spoiler-heavy checkpoint walkthrough for the original campaign spine released in 2025. It was reviewed against the September 2026 client boundary, after Chapter Select, remappable keyboard controls, a sprint button, and The Dark Tar update were added. That update inserts four Princess interludes and a new location; the supplied launch-era walkthroughs do not document those additions closely enough for a step-by-step route. When an interlude interrupts the sequence below, finish its live objective and rejoin at the next named tool, sacrifice, or location rather than forcing an old landmark onto new content.
Mark the three detours before the first sacrifice
The achievement list is short enough to track during one run. Eight are tied to the story: Deeper into Greater Pain, Key to the Bottomless Pit, With Eyes Unclouded, Cold Fire, Wrong Organ, No Turning Back, Facing Fear, and End of Eclipsium. These need no extra work. If one is missing after its story transition, first verify that Steam is online and that the game displayed a save transition. Continue to the next major checkpoint before deciding that the trigger failed.
The other three need a conscious action:
| Achievement | Decision point | Proof to obtain before moving on |
|---|---|---|
| What a Curious Feeling | The early platform section after you have entered Eclipsium | Step off into the void once and let the death/reset complete. Confirm the achievement before finishing the wooden structure route. |
| Passing Time | A hospital-like waiting area with a small tabletop puzzle | Transfer all three cubes to the opposite side while obeying the puzzle’s placement rules. The achievement should register when the arrangement is finished. |
| Schjerfbeck | The late building where turning the camera mirrors or splits the view | Look at all three wall paintings. Two sit along the path; the last requires turning around near the end before entering the larger room. |
Passing Time deserves a warning. One general walkthrough dismisses a toy on an early table, while the dedicated achievement guide places the three-cube puzzle in a waiting area. Treat the achievement description, “Anything but moving forward,” and the dedicated guide as the actionable evidence: do not assume every object in the opening bedroom is the puzzle. If the object has no movable cubes or no completed-state feedback, keep following the hospital sequence until the actual tabletop interaction appears.
Match each Instrument to the obstacles it opens
The world is deliberately hard to map, so navigation by compass direction breaks down whenever a room folds. Navigation by capability is more reliable. The original campaign gives you three Instruments in a fixed dependency chain:
- Cutting Instrument: breaks marked wood, thorns, tentacles, chains, vents, glass, and other cuttable obstructions. If a barrier has no readable cut mark or reaction, another Instrument or a nearby mechanism is probably required.
- Optical Instrument: exposes concealed routes and the correct object among decoys. Use it when several wires, handles, fish, chains, or paths look equally valid.
- Burning Instrument: supplies light and fire. It opens dark growth, ignites ritual fixtures, and handles the fire stage of multi-tool gates.
Later doors test the order rather than the mere possession of all three. Read the obstacle that is currently visible, apply one Instrument, wait for the model or lighting to change, and only then select the next. Repeatedly cycling tools against an unchanged surface makes it harder to see which state failed.
Take the early fall before the blade makes the route permanent
You wake in a ward facing a sealed exit and a scale. Search behind the screens beside the bed for the drawer containing scissors. Bring them to the blocked door and complete the tongue sacrifice; the corridor beyond changes as you walk. Passing through the next doorway is the campaign’s entry into Eclipsium and should award Deeper into Greater Pain.
Beyond the fence, either side of the first lantern reconnects near the same bonfire. The useful signal is the staircase visible when you turn away from the fire. It leads into a field of tall wooden structures, moving platforms, a crane, and a long descent. This is the safest place to take the intentional fall for What a Curious Feeling: do it while the platform landmark is unmistakable, allow the reset to finish, and then cross normally.
Climb the second wooden tower and pull the crane lever. Ride the collapsing lift, take the sloped platform down its cable, and climb the short stairs at the landing. The thorned tree ahead is the real objective. Interact with it to receive the Cutting Instrument, cut the trunk, and use the fallen wood as the bridge forward. Key to the Bottomless Pit belongs around this tool acquisition and first cut.
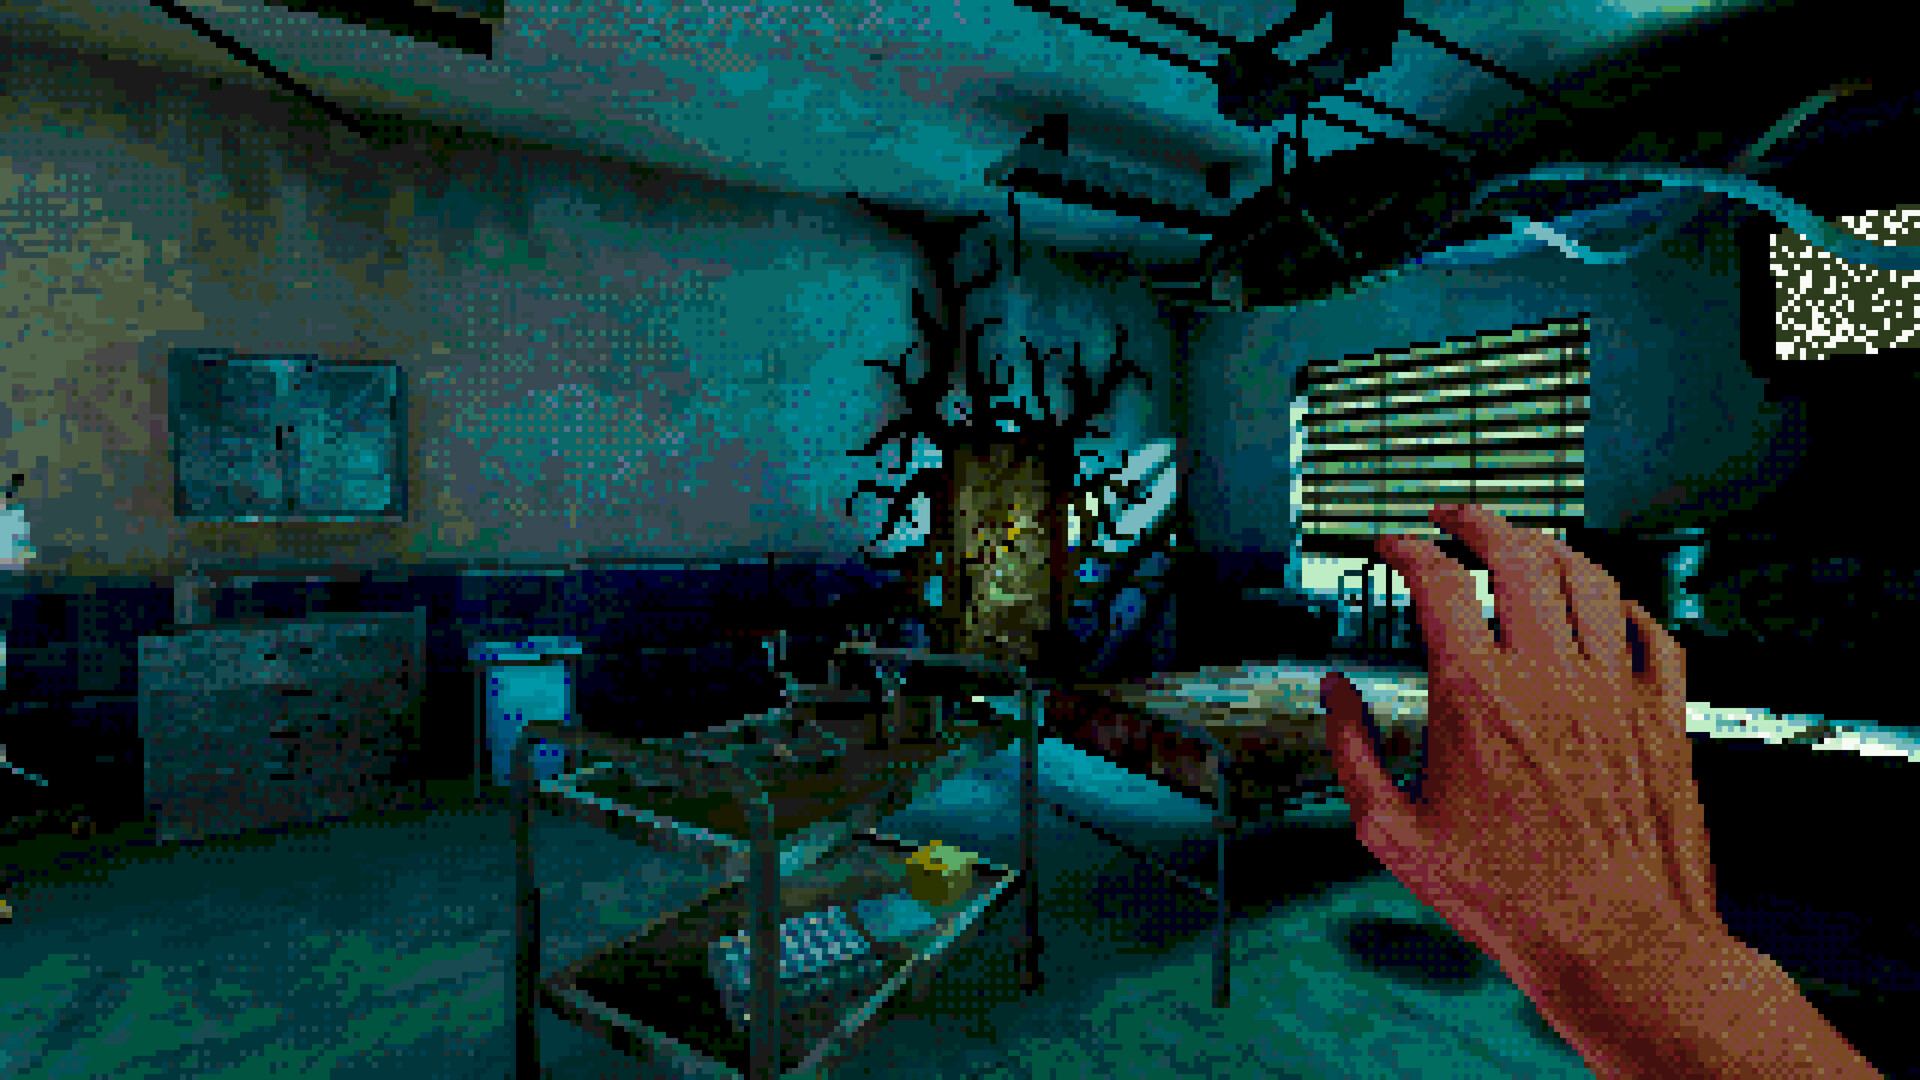
At the next lift, cutting the jammed plank is the trigger; simply standing on the platform does not release it. After the fall into water, surface at the rear edge, follow the rising passages, and cut both the living growth and the boarded gate. A lever beyond the gate wakes the first rotating spotlight. That lever, not another blind jump, is the handoff into the mines.
Build a light relay through the mines
The dark organisms retreat only where the light path is complete. Rotate the first lamp until it exposes the next fixture, then use that newly reached lamp to reveal the one behind the rock. Do not leave a useful lamp aimed down an already crossed corridor: each reflector needs enough incoming light to make a safe circle around itself.
- Use the entrance lamp to uncover the lamp beyond the first dark patch.
- Turn the lamp behind the rock until another source becomes reachable.
- Aim that source at the first reflector, return to the previous lamp, and add its beam to the same reflector. Proceed only when the reflector’s surrounding floor is visibly clear.
- From the next position, expose the following lamp, then the second reflector. A nearby final lamp supplies the beam that clears the second circle.
- Pull both switches in the lit area. The stable outcome is an illuminated route toward the planetarium.
If the organisms still occupy the floor, the puzzle is not asking for faster movement. A beam is ending at another lamp instead of the reflector, or a source was rotated away after you crossed it. Walk back only as far as the last dark boundary and trace the light in reverse.
Inside the planetarium, interact with the central mechanism. The Wanderer gives up the heart, the bodies above align, and a shadow appears on the wall behind the device. Walk into that shadow. On the other side, the red point on the glass apparatus grants the Optical Instrument; With Eyes Unclouded should follow this acquisition. The correct use of the new tool is immediate: activate it to distinguish hidden geometry, follow the small luminous creature through the forest, and allow the next transition to carry you into the village.
Return each village key through its own hatch
The village is not a three-key scavenger hunt with one long return path. Each key area connects back to the underground door through a nearby hatch. Insert a key as soon as you find it. That turns the three locks into independent checks and prevents an apparent missing key from actually being an item that was collected but never seated.
| Branch | What opens it | Key action | Return proof |
|---|---|---|---|
| Waterwheel house and barn | Cut the three boards across the house door | Pass through the broken wall and take the key beside the dead cow | Cut the chains over the house hatch and insert the key below |
| Fisherman’s hut | Cut the boards, then cut the rope holding the boat | Row into the lake and use the Optical Instrument to identify the fish containing the key | Return to the hut and use its underground route to the locks |
| Forge and well | Enter the forge from the rear ladder and broken roof | Take the well lever, attach the bucket and lever, raise the water, and extinguish the hot coals before lifting the key | Break the chains on the forge-side hatch and fill the final keyhole |
The opened door leads to the eye-statue passages. When the gaze locks your camera, movement rather than camera control carries you around the obstruction. The first route bends left and back; the next brings you close before moving right and behind the statue. At the final close viewpoint, walk into the eye instead of trying to turn away. Close the door after the statue sequence to restore normal looking, then descend through the altered hospital corridors.
A giant key appears on the hospital bed. Take it back into the village and use the raised keyhole platform to unlock the church. Climb to the bell and ring it. The burning key or hand-shaped object appears outside near the large lock mechanism; touching it grants the Burning Instrument and should produce Cold Fire. Return to the iron gate and use the new fire state on the darkness beyond it.
Read the slaughterhouse by conveyor direction
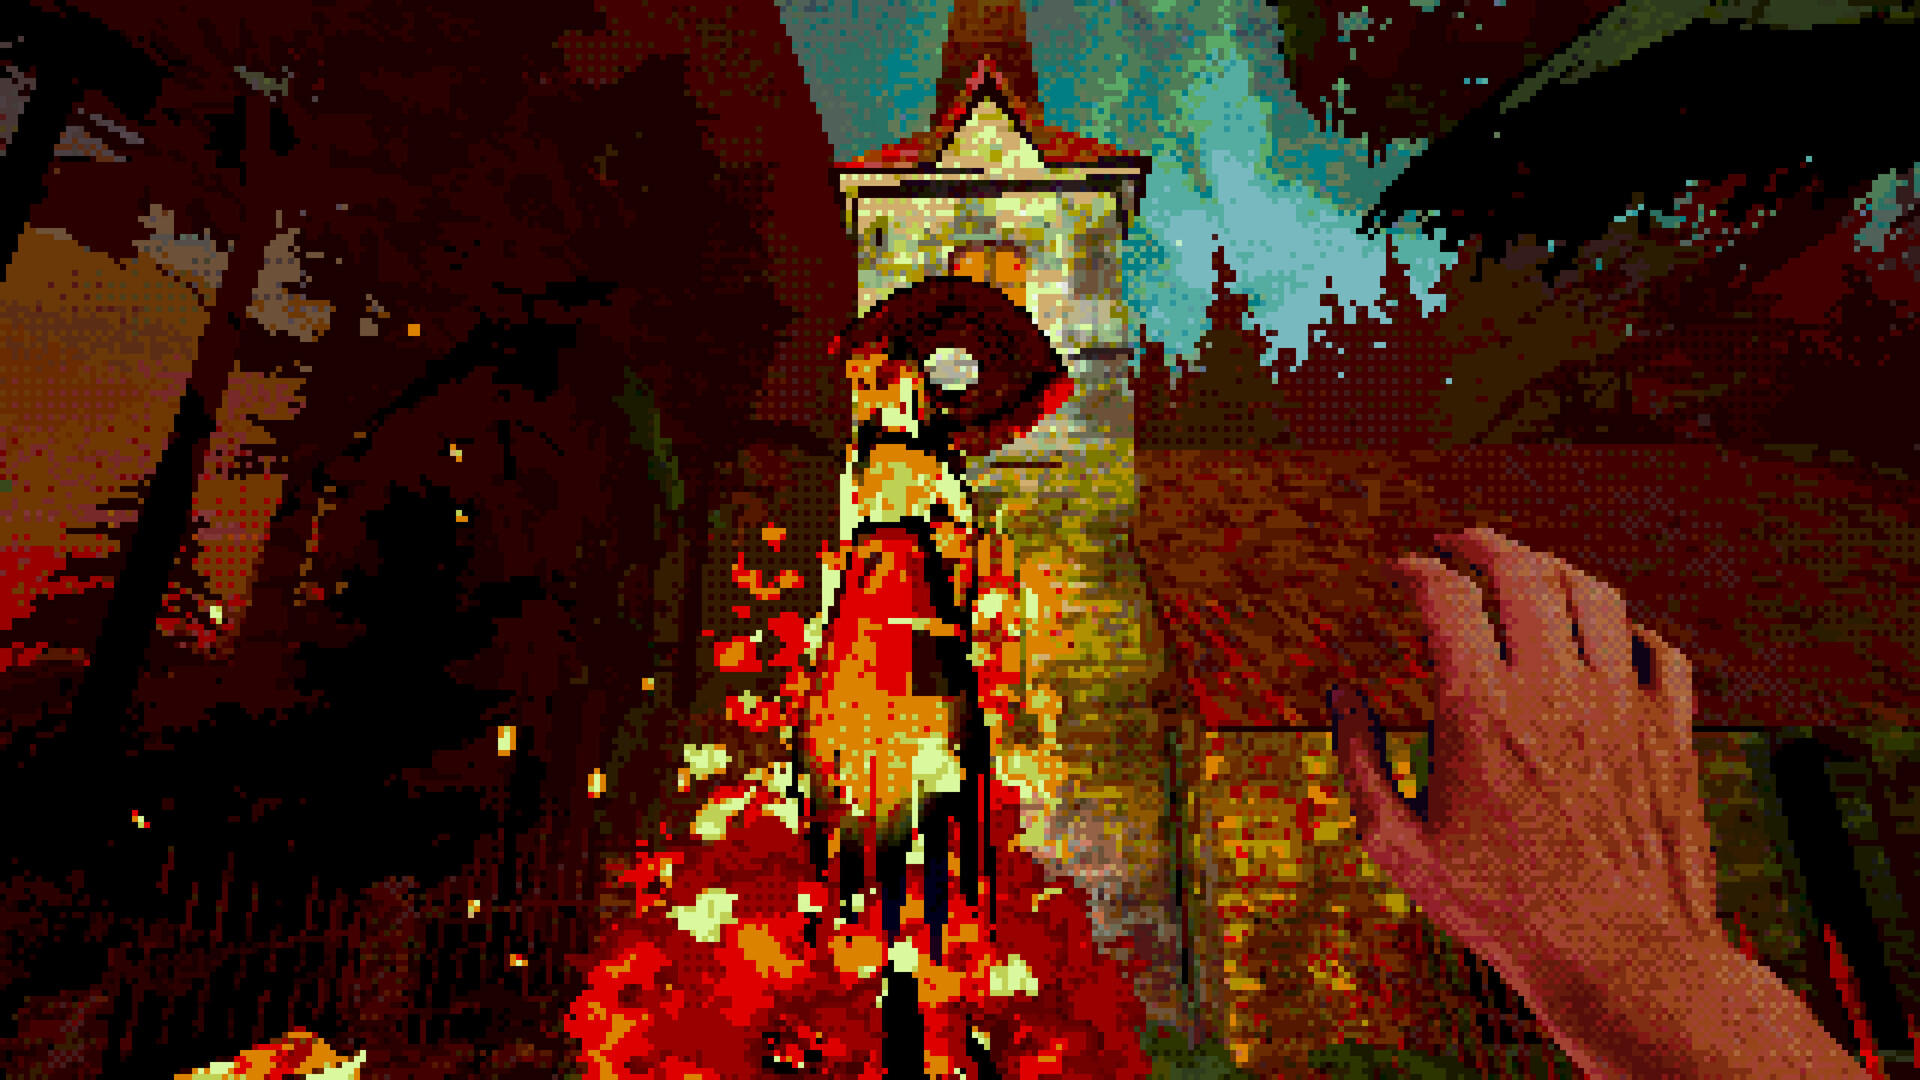
The slaughterhouse’s vertical clutter makes “keep climbing” unreliable. Track the direction of the hanging carcasses and the last lever you touched. First reach the chamber with two banks of candles and ignite the unlit side. Past the opened door, a broken balcony leads onto pipes and then to the first conveyor. Travel in the empty spaces between loads, leave at the next platform, and use the rising machinery to gain height.
The important trap comes after cutting open a vent. A conveyor carries you past a side exit before it reaches a lever. Ignore that exit on the first pass. Continue with the belt, pull the lever to reverse it, then ride the newly useful gaps back toward the exit. Higher up, choose the farther of the paired belts—the one carrying its gaps toward the continuation. Taking the nearer belt simply returns you to familiar machinery.
In the pipe section, fire is for visibility and the marked obstruction; the Cutting Instrument still handles the grate and other physical breaks. Cross the last moving loads, pull the lift lever, and interact with the open pipe. A hook appears beyond the pipe, but it is reached by backing away and circling around rather than by grabbing from the control point.
The hook delivers you into the creature below. Leave the pool and follow the passage to the blood-filled altar. The sacrifice there changes the removed eye into a yellow orb. The achievement list treats Wrong Organ as story-related but its public Steam description is hidden, so use the altar and the following transition as a checkpoint rather than claiming one exact animation is the trigger. Confirm the achievement after the scene; if it is still absent, continue until the orb has performed its next job and a save transition has completed.
Drain the lake before splitting the submarine into circuits
Follow the light bridge out of the altar and take the upper route. A wooden structure holds an empty bottle or vessel. Present the yellow orb there; the cutscene drains the lake and exposes the descent toward the submarine. Going down first leaves you searching a flooded boundary that has no usable entrance.
Inside the submarine, separate the opening puzzle into two electrical circuits:
- Follow the wire that enters shallow water. It ends at glass; cut the glass and press the first red control.
- Return through the vent, cut the chains holding the torpedo, and let it break the sealed passage.
- Follow the remaining wire. When it divides into several identical lines, activate the Optical Instrument and stay with the revealed route. Break the second control’s glass and press it.
Only after both controls have changed state should you enter the tilted section. Climb to the orientation lever. Moving it to the opposite side shifts the water and opens the route near the large fan. In the disordered room beyond, use the Optical Instrument and change your viewing angle until the digits align as 2-5-4. Return to the lever, level the submarine, then use that code at the keypad. The opened lift leads to two separated levers; stand at one and pull it so the apparition at the other can mirror the action.
The urn beyond returns you to the submarine. Squeeze through the partially opened doors and keep your footing while the interior rotates. The crawlspace is a small lit gap on the left; after it, follow the increasing heartbeat to the boat. At the door on the far side of the rotating landscape, perform three distinct reads: cut the tentacles, burn the revealed eyes, and use Optical vision to select the true handle from the false ones. A door that still shows the previous obstacle has not accepted that stage.
Follow luminous chains when the geography starts repeating
The next hospital return introduces the late-game chain sequence. In the original room, look behind the screens for the giant nail and cut its chain. The walls unfold into a much larger space. From this point onward, activate the Optical Instrument before committing to a jump: the next chain glows against scenery that otherwise looks decorative.
The environments repeat the same rule under different gravity and scale. In the floating-house area, find either the Optical-revealed key or a roof opening, then cut the chain inside. The rail-and-plank region has another exposed target. Curved stone steps rotate your walking plane around planet-like spheres; locate the glowing chain on the sphere before choosing which bending stair to follow. The slaughterhouse echo ends the sequence with a chain reached through pipes and rotating gears. Falling in the floating section normally resets or loops the attempt, so use the last stable platform as your orientation point instead of treating every fall as a new route.
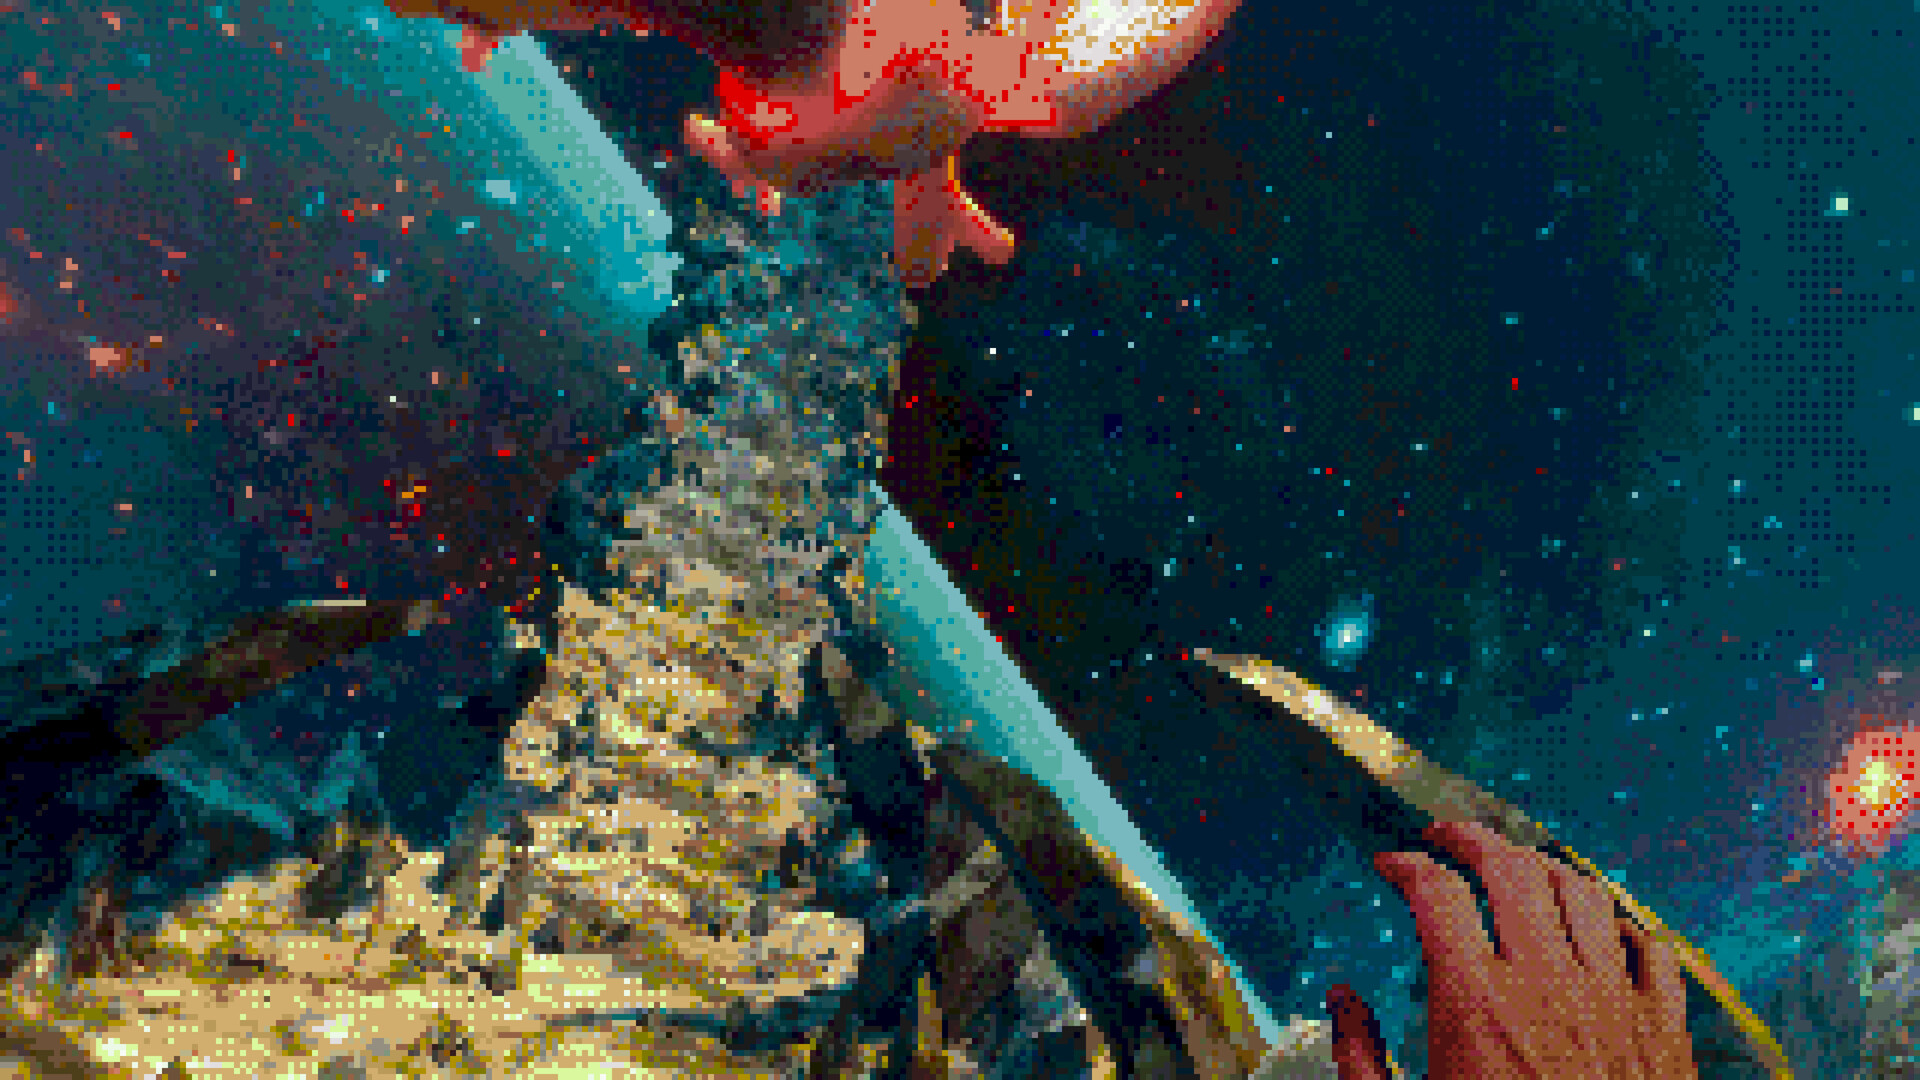
After the final chain, step onto the short bridge facing empty space and wait for Her to appear. Ride the finger upward, step onto the island behind you, take the giant key, and drop back to its lock. The key mechanism reverses the usual relationship between player and object: moving backward drives the key forward, while moving sideways turns it. Make one adjustment at a time until the structure seats, then cut the marked side of the enormous hook that joins the platform to its chain. No Turning Back should register during this late transition, but the public sources do not isolate a more precise frame.
Stop at the mirrored exit for Schjerfbeck
The small wooden box leads into the castle with a split or mirrored camera effect. Follow the blue lights and use short camera movements; rapid panning makes the two halves of the view harder to reconcile. The dedicated achievement evidence identifies three paintings that must be viewed in this section. Two are naturally visible while climbing. The third is the missable one.
- Inspect each painting long enough for the view to settle; merely passing its edge may not count.
- At the end of the distorted corridor, before entering the broad room that restores normal vision, stop.
- Turn completely around and approach the painting behind the route. Move closer if the achievement does not appear immediately.
- Do not cross the final threshold until Schjerfbeck is visible in the Steam overlay or achievement list.
Current Eclipsium includes Chapter Select, added officially in December 2025, so this missable is less punishing than it was at launch. The available official note confirms individual level replay but does not promise how every achievement trigger is recombined across replayed chapters. Use the menu as cleanup support, and verify the unlock before leaving the replay rather than assuming the selection alone repaired it.
Move weather between paintings to assemble the sword
Approaching the throne breaks the floor and returns you to the hospital. Wait for the pigs to arrive, follow them back, and stand at the gap while they fill it. The serpent interrupts the approach. On the next return, paintings become movable portals; the solution comes from carrying one painting’s climate or materials into another.
- Blood and the unfinished canvas: place the completed painting, enter its snowy scene, and remove the arrow from the wounded deer. Use the blood on your hand to finish the blank canvas outside. Re-enter the deer scene after that state change and collect the first sword piece.
- Fire and the swan: enter the room with the cat and hearth, take the smaller swan painting, and collect wood from its lakeside. Cut the wood, carry it back to the hearth, and ignite it with the Burning Instrument. Then place the swan painting inside the cold deer scene. The transferred cold freezes the lake, allowing the swan sequence to produce the second piece.
- Warmth and the deer: move the deer painting into the heated cat room. Spring replaces the snow and exposes a route to the final sword fragment.
Every step has a visible receipt: a canvas becomes complete, the deer recovers, the hearth burns, the lake freezes, or the snow melts. If the expected change does not happen, check where the movable painting currently sits and whether its source scene has already been altered. Repeating the interaction inside an unchanged world will not advance the chain.
Carry the restored sword to the serpent. Defeating it is the reliable checkpoint for Facing Fear. Climb along the remaining skeleton until it carries you out of the castle, drop to the path on the right, and use the roots as the next climb. At the giant structure surrounding the heart, keep to one side until the faint blue figure becomes visible. Approach and interact to complete the reunion and reach End of Eclipsium.
Try current-version fixes before replaying a chapter
Eclipsium received several post-launch fixes, so an old report of a blocked gate is not proof that the same defect remains. Official notes say the October 2025 patches addressed softlocks in the Planetarium, Metal Bridge, Painting, Mines, and Church of the Pigs; repaired the gate after the fire scene; added Submarine savepoints; and displayed “Saving…” at checkpoints. Later updates added Chapter Select and the September 2026 client includes the free Dark Tar content.
Use that history as a recovery order:
- Confirm the client is current and let any “Saving…” message finish.
- Return to the last object that visibly changed. Check the Instrument, lever, wire, reflector, painting placement, or gate state tied to that change.
- If movement became abnormally slow, restart from the latest checkpoint; the first hotfix specifically addressed interaction slowdowns that could persist and block timed movement.
- If a fire gate, Submarine transition, or looping room fails after the correct state is visible, reload the checkpoint once.
- Use Chapter Select only after a checkpoint reload fails or when cleaning one of the three optional achievements. Record the chapter name shown by the current menu because The Dark Tar interludes can make old launch-era numbering ambiguous.
Before replaying a route, identify what failed. A dark reflector means the light relay is incomplete; three identical wires mean Optical vision is missing; an unchanged canvas means the climate transfer was not registered; and an old obstacle still on a multi-tool door means the previous Instrument did not complete its stage.
Keep the Dark Tar boundary separate from the original route
Housefire and CRITICAL REFLEX released The Dark Tar on August 20, 2026. The official announcement describes four new interludes following the Princess through the sea of Dark Tar, one new location, visual and performance work, Steam Deck support, movement adjustment, and sprint. It does not publish the exact interlude trigger order or puzzle solutions. This article therefore uses the original tool-and-location chain as a dependable spine and does not label the new content “complete” from inference.
The embedded video was independently resolved through YouTube oEmbed and a live watch-page metadata check as ECLIPSIUM Gameplay Walkthrough FULL GAME – No Commentary + ENDING by Zhain Gaming, video ID -xYm3QEawI4. It is the video attached to the supplied Steam guide and is useful for visually locating an original-campaign landmark. It predates The Dark Tar, so it must not be treated as footage of the four new interludes.
Official game links and guide scope
Research closed on September 3, 2026. Steam AppID 2419670 identifies Housefire as developer, CRITICAL REFLEX as publisher, September 19, 2025 as the release date, and 11 Steam achievements. The official Steam News feed establishes the December 2025 Chapter Select and control improvements plus the August 2026 Dark Tar update. The public achievement page verifies the current names and visible descriptions; its completion percentages are intentionally omitted because they change.
The detailed walkthrough sources all describe the 2025 original campaign. They agree on the permanent Instrument order, three-key village, slaughterhouse, lake and Submarine, chain sequence, mirrored castle, painting puzzle, sword, serpent, and ending. Their chapter labels and a few location names differ, so the route above keys every handoff to an observable object or state rather than pretending one old chapter number is permanent.
Official links: Eclipsium on Steam · official Eclipsium site · CRITICAL REFLEX game page · official update history