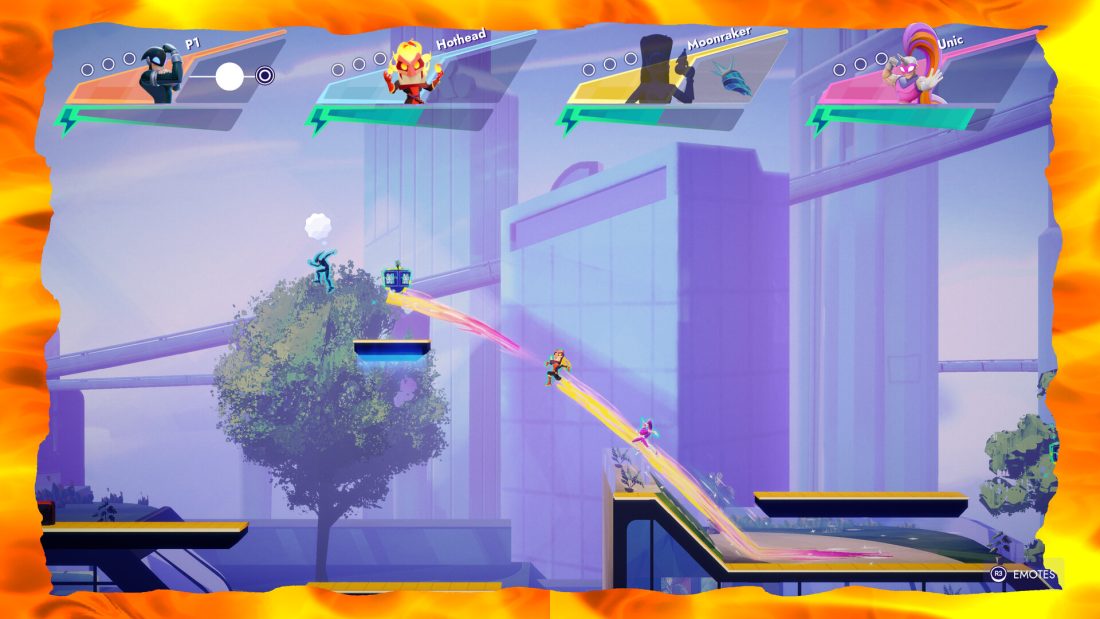
Four achievements in SpeedRunners 2: King of Speed hide both their descriptions and their triggers: Free Ticket to Nowhere, The “S” Marks the Spot, Royal Flush, and Museum Heist. They are not four versions of the same pickup. Metro asks you to reverse into a wall pocket, SS Royale moves the route above the obvious deck line, Casino withholds its marker until a lap has been completed, and Museum rewards a low passage that is easier to enter while protected.
This guide treats each unlock as a small state test. First match the map or layout shown by the landmarks. Then reach the departure point, take the non-racing line, touch the secret, and wait for the Steam popup before resetting. That order matters: if the achievement does not appear, it tells you which condition to inspect instead of asking you to repeat an entire run blindly.
The route sheet: what must change before you touch the secret
| Hidden achievement | Map checkpoint | State or route change | Confirmation |
|---|---|---|---|
| Free Ticket to Nowhere | Metro B, outdoor roof with a car | Continue right, then reverse under the dark overhang and grapple left into the wall pocket | Touch the blue object and wait for the popup |
| The “S” Marks the Spot | SS Royale, transition from the low interior to the bright outer deck | Climb and take the overhead grapple line across the exposed gap | Reach the concealed “Hello Again!” panel |
| Royal Flush | Casino, return to the start-side upper structure | Complete one lap before searching; the purple marker is a return-pass target | Touch the marker after it has appeared |
| Museum Heist | Museum, dark-blue lower gallery beneath a sloped overhang | Enter the low hidden passage; invulnerability makes the approach faster and safer | Touch the green object in the exhibit compartment |
Do these separately. A race mindset encourages you to hold the fastest visible line, but every route here requires a deliberate break from it. Remove unnecessary opponents if your chosen mode permits that, and make one unlock the purpose of the run. The official materials identify Practice as the game’s solo training mode, yet the evidence used here does not establish achievement eligibility for every mode. If your route is correct but the popup never arrives, repeat it in a standard local or custom match before assuming the geometry has changed.
Metro B — use the roof car as your turnaround marker
Free Ticket to Nowhere is tied to Metro B in the supplied walkthrough and is independently corroborated by a Steam discussion that places a hidden gem behind a Metro B wall. The important detail is not simply “go through a wall.” Most walls on the course are irrelevant, and attacking them at racing speed gives you no stable way to diagnose a miss.
- Confirm Metro B before committing to the attempt. The verified run reaches an outdoor city stretch with a stationary car on top of a long, dark roof. If the route never presents that silhouette, stop searching random walls and recheck the selected layout.
- Run past the car and continue toward the right edge of the overhang. Keep enough control to turn around; raw speed is less useful than arriving at the entry height cleanly.
- Reverse direction under the dark structure. The secret line goes back left, against the normal flow of the run. Use the grappling hook to carry the runner into the recessed wall pocket rather than dropping to the open route below.
- Touch the blue object inside the cavity. Do not leave the area the instant the sprite overlaps it. Hold the run long enough to see the achievement notification.
The car is the reliable decision point. Before it, you are still navigating the course; after it, you are setting up the reversal. If you hit solid collision, change the approach height and grapple timing rather than searching a different district. If you enter the cavity but see no blue object, the stronger suspects are the wrong layout or a secret state changed by a patch.
The clip is useful as a movement reference because it shows the ordinary line, the turnaround, the leftward grapple, contact with the secret, and the resulting popup in a single 42-second attempt. Match the roof and overhang first; copying only the final button inputs without matching those landmarks is the common way to attack the wrong wall.
SS Royale — leave the racing line for the overhead swing
The “S” Marks the Spot uses a more visible destination but a less obvious approach. The verified SS Royale run starts by following the lower interior route, exits into a bright exterior section, and then stops treating the deck as a floor race. The target sits on the high outer line reached by consecutive grapples.
- Use the interior-to-exterior transition as the reset point. You should emerge from a low corridor onto a sunlit deck. If the surrounding structure does not match, compare the layout with the video before spending time on grapple attempts.
- Climb the exposed deck instead of settling onto the lower line. Preserve upward momentum. The route is preparing you to cross open space, not to continue the fastest grounded lap.
- Attach to the overhead anchors and swing across the gap. Let the hook carry you toward the outer structure. Dropping early returns you to the ordinary course and puts the concealed panel above or behind you.
- Enter the small high recess. The visual proof ends at a panel reading “Hello Again!”; arrival at that panel is followed by the Steam achievement popup.
This is the route where familiarity with the first SpeedRunners may help, as the supplied community guide hints that returning players will recognize it. That hint does not replace the sequel’s actual landmarks. New players should reduce the task to two checks: did you leave the low corridor onto the bright deck, and did you remain on the overhead line until the outer recess? If both are true, you are testing the trigger rather than guessing at the map.
Do not use the two nearby blue pickup icons as the objective. In the inspected frames they are route furniture near the destination; the meaningful confirmation is reaching the hidden panel and then receiving the achievement. That distinction prevents a failed run from becoming a search for an item that was never the trigger.
Casino — the secret is a second-pass objective
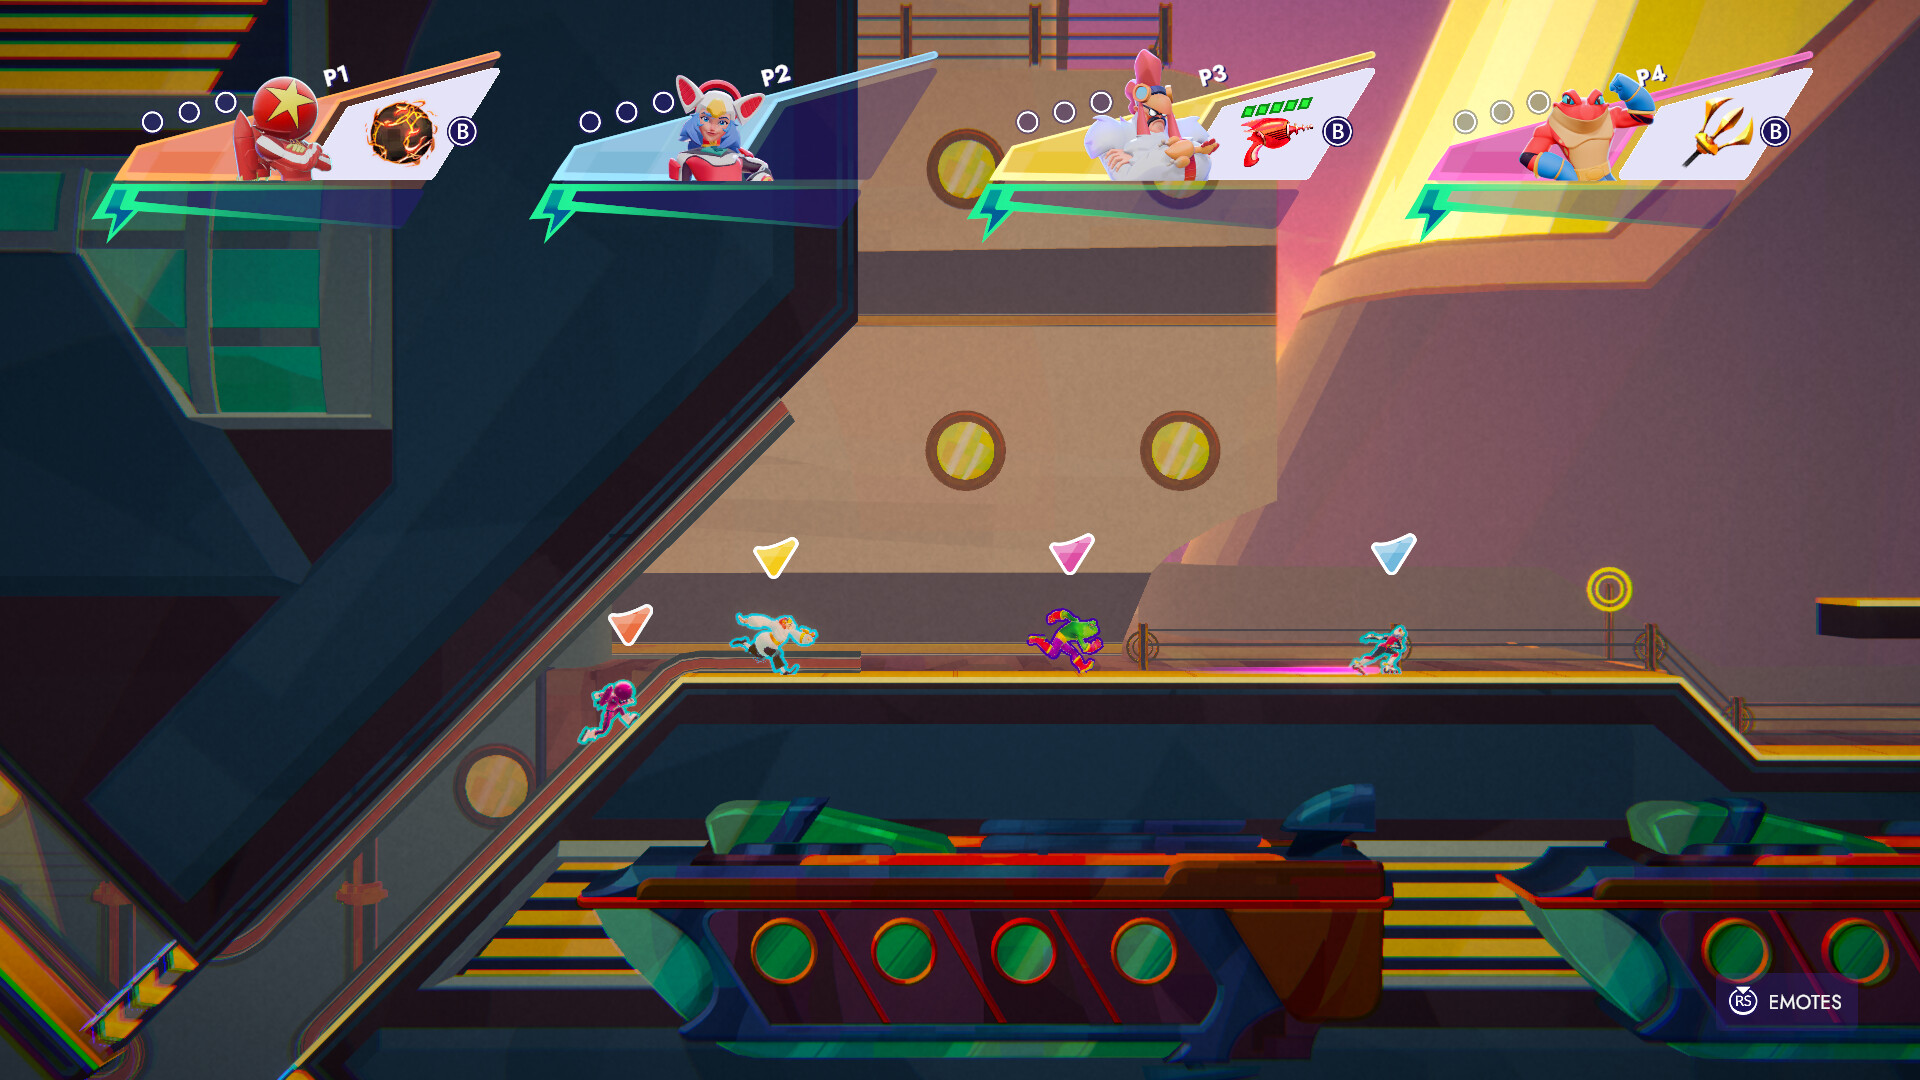
Royal Flush is the only one of these four routes with a verified state gate before the final contact. The supplied guide says the target is not present immediately, and its linked gameplay demonstrates the solution: complete a lap, return through the start-side section, then collect the purple marker on the upper-right return line.
- Treat lap one as setup. Follow the circuit through its black ramps, illuminated wheel, jackpot signage, lower passages, and vertical transitions. Do not abandon the attempt because the secret is absent on the opening pass.
- Finish the circuit cleanly. The objective is to advance the map’s lap state. Cutting the run short or resetting near the end discards the condition that makes the second search meaningful.
- Watch the upper-right side as you return to the start structure. In the verified run, a purple secret marker is visible only on this return pass. Approach it as a pickup rather than continuing down the ordinary line.
- Make contact and wait. A visible marker without a popup means the last step, not the lap, needs repeating. Pass through its center and keep the run alive long enough for Steam to register the unlock.
The failure signal here is unusually informative. A blank wall on lap one is expected and should not send you to a different Casino landmark. A blank wall after a completed lap points to one of three narrower problems: the circuit did not credit the lap, you returned on a different vertical line, or the live build moved the marker. Finish another uninterrupted lap before changing the rest of the route.
The video lasts about 75 seconds because it preserves the prerequisite lap. Skipping directly to its last few seconds hides the most important part of the solution. When comparing your run, first verify that your return follows the same full circuit; only then compare the final position of the purple marker.
Museum — push through the low gallery with protection ready
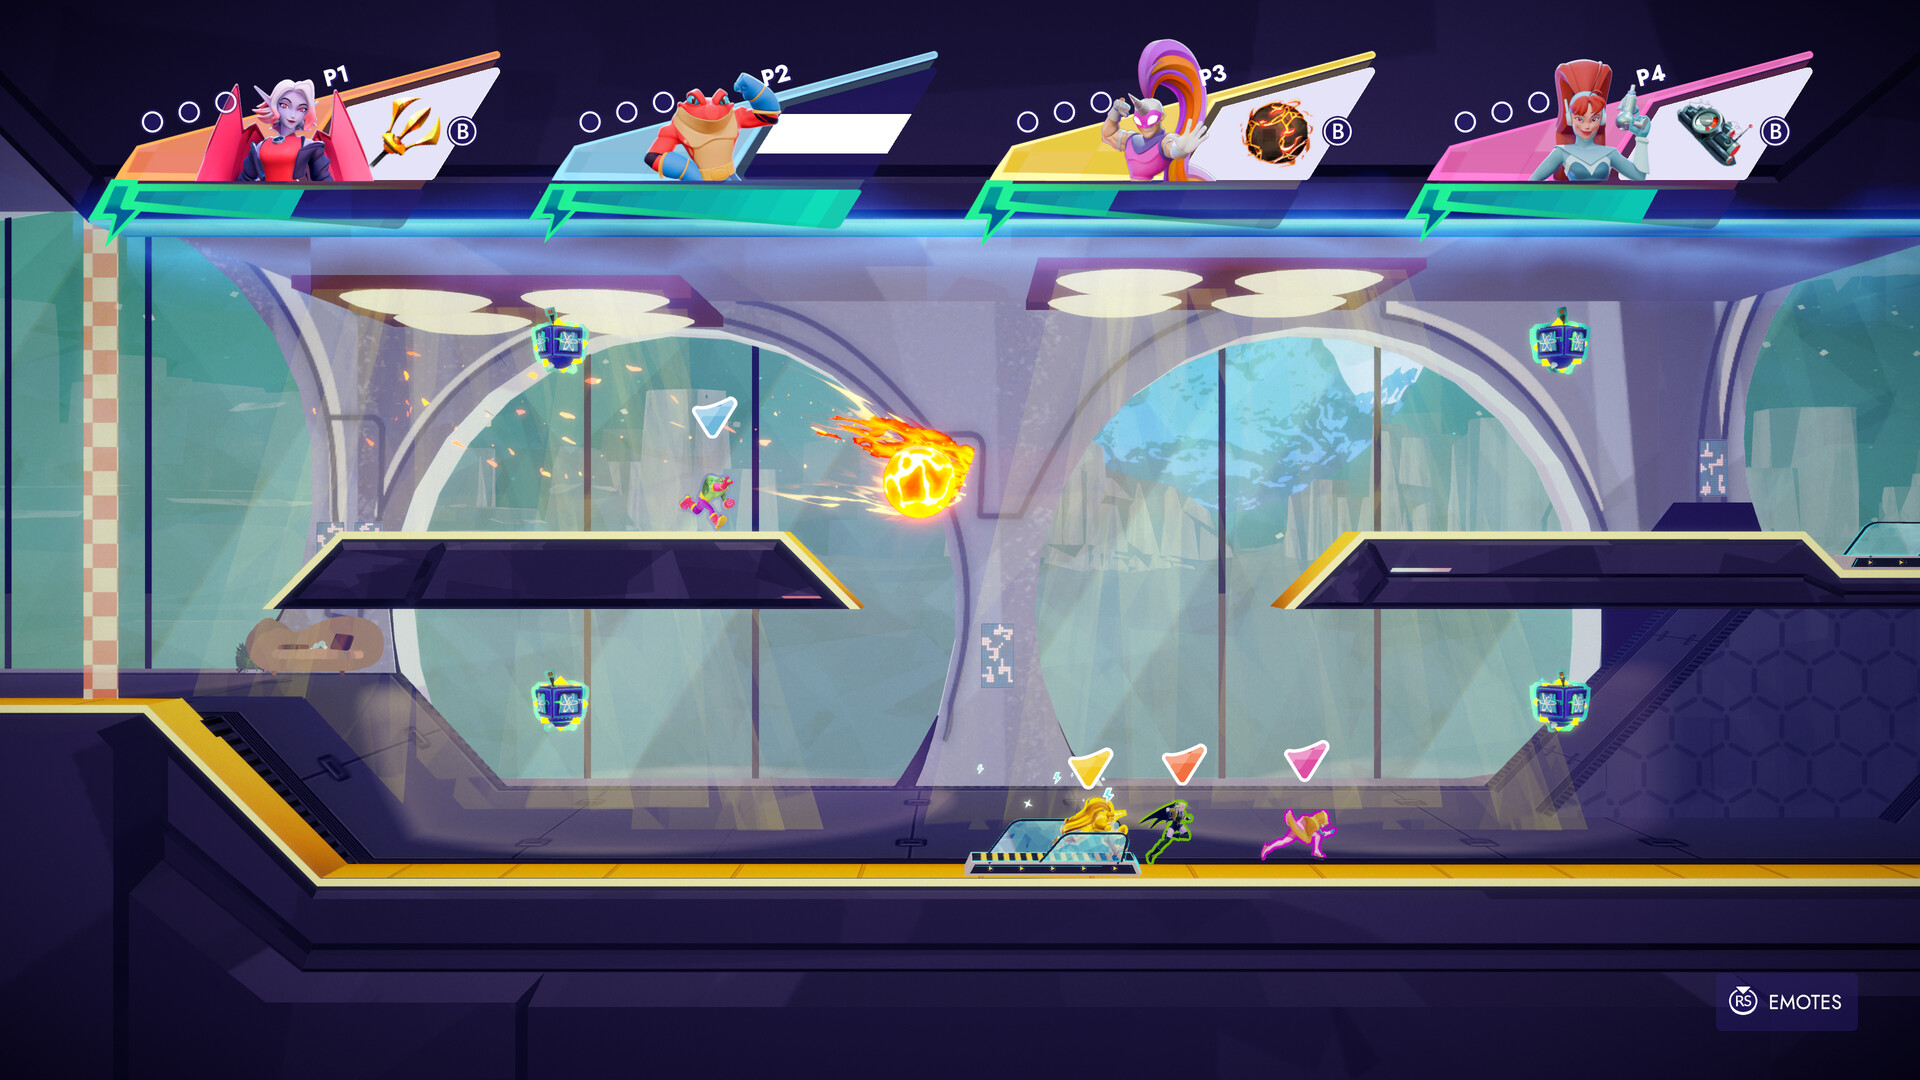
Museum Heist is a short route once you know which surface is permeable. The proof run activates an invulnerability effect, drives into the lower dark-blue structure beneath a sloped overhang, and ends inside a display alcove where the green target waits. The supplied guide describes invulnerability as the faster method; it does not establish that the pickup is a mandatory key.
- Keep an invulnerability pickup if the run offers one. Do not spend it on an ordinary obstacle immediately before the gallery. The effect reduces the cost of forcing the low entry and makes the demonstrated line easier to reproduce.
- Find the lower dark-blue corridor near the checker-style marker. Use the sloped overhang above it as the anchor. The target is not in the open display lane.
- Drive into the low concealed opening under the structure. Commit horizontally instead of bouncing back to the floor route. The protected example passes through quickly enough that the hidden entrance can look like solid scenery at full speed.
- Continue into the exhibit compartment and touch the green object. The achievement notification follows contact in the verified footage.
If the wall rejects you, do not conclude that invulnerability is a formal requirement. The evidence supports it as a routing advantage only. First retry with the effect active and match the entry height shown in the video. If that works, you have isolated a timing or collision problem. If it still fails, recheck the Museum layout and current patch state before testing unrelated walls.
The 18-second clip is a checkpoint reference, not proof of every possible entry method. It confirms the protected low line, the hidden exhibit space, the green target, and the popup. That is enough to recommend the reliable reproduction without turning an untested shortcut into a rule.
If contact produces no popup, identify the failed condition
A silent trigger does not mean all four routes are obsolete. Diagnose the attempt at the narrowest level. Each row below pairs a visible failure with the next check that changes only one condition.
| What you saw | Most useful next check | What not to assume |
|---|---|---|
| The Metro roof and car never appeared | Verify Metro B before testing collision | That every Metro wall shares the secret |
| You crossed the SS Royale deck but stayed low | Repeat from the interior exit and hold the overhead grapple line | That the nearby pickups are the achievement target |
| No Casino marker on the opening pass | Complete an uninterrupted lap and inspect the return line | That the secret has been removed |
| The Museum surface bounced you back | Carry invulnerability and match the low entry height | That protection is proven to be the only valid key |
| You touched the visible object but Steam stayed silent | Wait several seconds, verify online achievement status, then retry in a standard match | That a different secret is required |
Also separate map failure from platform failure. Steam lists 32 achievements for the game and displays these four with blank descriptions. If none of them can trigger despite matching the videos, check whether other achievements are updating, whether the client is online, and whether a new patch has introduced an achievement issue. If only one route fails, keep the investigation local to that map.
Once a popup appears, mark that map complete and move on. Re-running a successful secret while debugging another one adds no information. The four-achievement order is flexible, but Metro and SS Royale are the cleanest first tests because their destinations are present on the initial pass. Casino is best attempted when you can preserve a full lap, and Museum is least frustrating when you can carry the protective pickup into the gallery.
Scope and launch-day boundary
This is a route guide for the four hidden-description map achievements, not a claimed 100% achievement roadmap. Steam’s public page identifies 32 achievements in total, while the supplied community source and its four independently checked videos provide game-specific evidence for these four secrets. The available evidence does not support inventing routes for the remaining campaign, ranked, tournament, character, or progression achievements.
The identity and release boundary are official: Steam AppID 3183760, developed by Fair Play Labs and published by tinyBuild, released on September 3, 2026. The launch announcement describes eight maps with two layouts each, which is why matching the visible layout is part of every checkpoint above. That announcement also lists Practice, local play, online play, and crossplay, but it does not document a universal achievement-mode rule. Mode advice in this guide is therefore framed as troubleshooting rather than a guarantee.
Sources and credits: game identity, release metadata, and screenshots come from the official Steam store page; the launch boundary and map-layout count come from the official launch announcement; hidden names were checked against the Steam achievements page. Route mapping and the four embedded clips were checked from a community guide and verified walkthrough references by Plastic Shitlord. The official JPGs are reproduced without conversion or recompression.