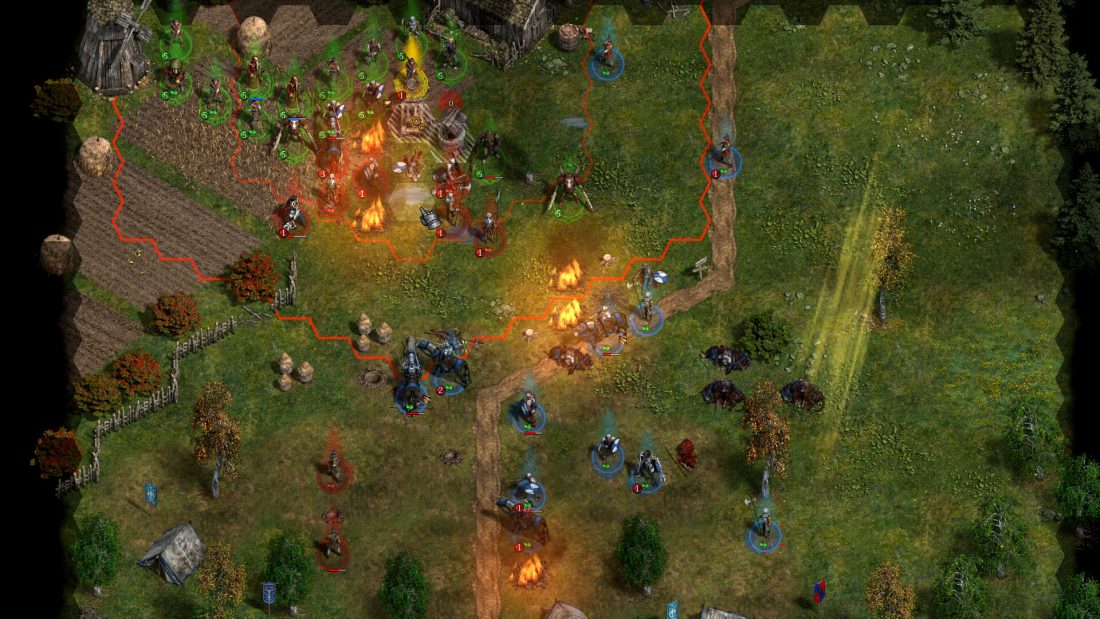
Veterum gives you freedom to roam, but the safest high-difficulty opening has two clear army targets. Reach 12 units before the first story mission against the undead, then build toward 16 active fighters as soon as your money and recruitment options allow. The developers say the handcrafted missions are generally balanced for 16, so rushing the story with the small squad that survived the tutorial creates a problem that better tactics alone may not fix.
This guide is for a new campaign with demanding overall or custom difficulty settings. The game left Early Access on September 7, 2026, and this guide was updated for Veterum 1.0.2 after Crasleen Games reviewed it and clarified roster handling, five-skull missions, random-mission scaling, and Adaptive Difficulty. Because quests, city conditions, recruits, and shop inventories can vary between saves, use the current skull rating and the information shown in your game instead of expecting an identical route or roster.
Build the army before the undead mission
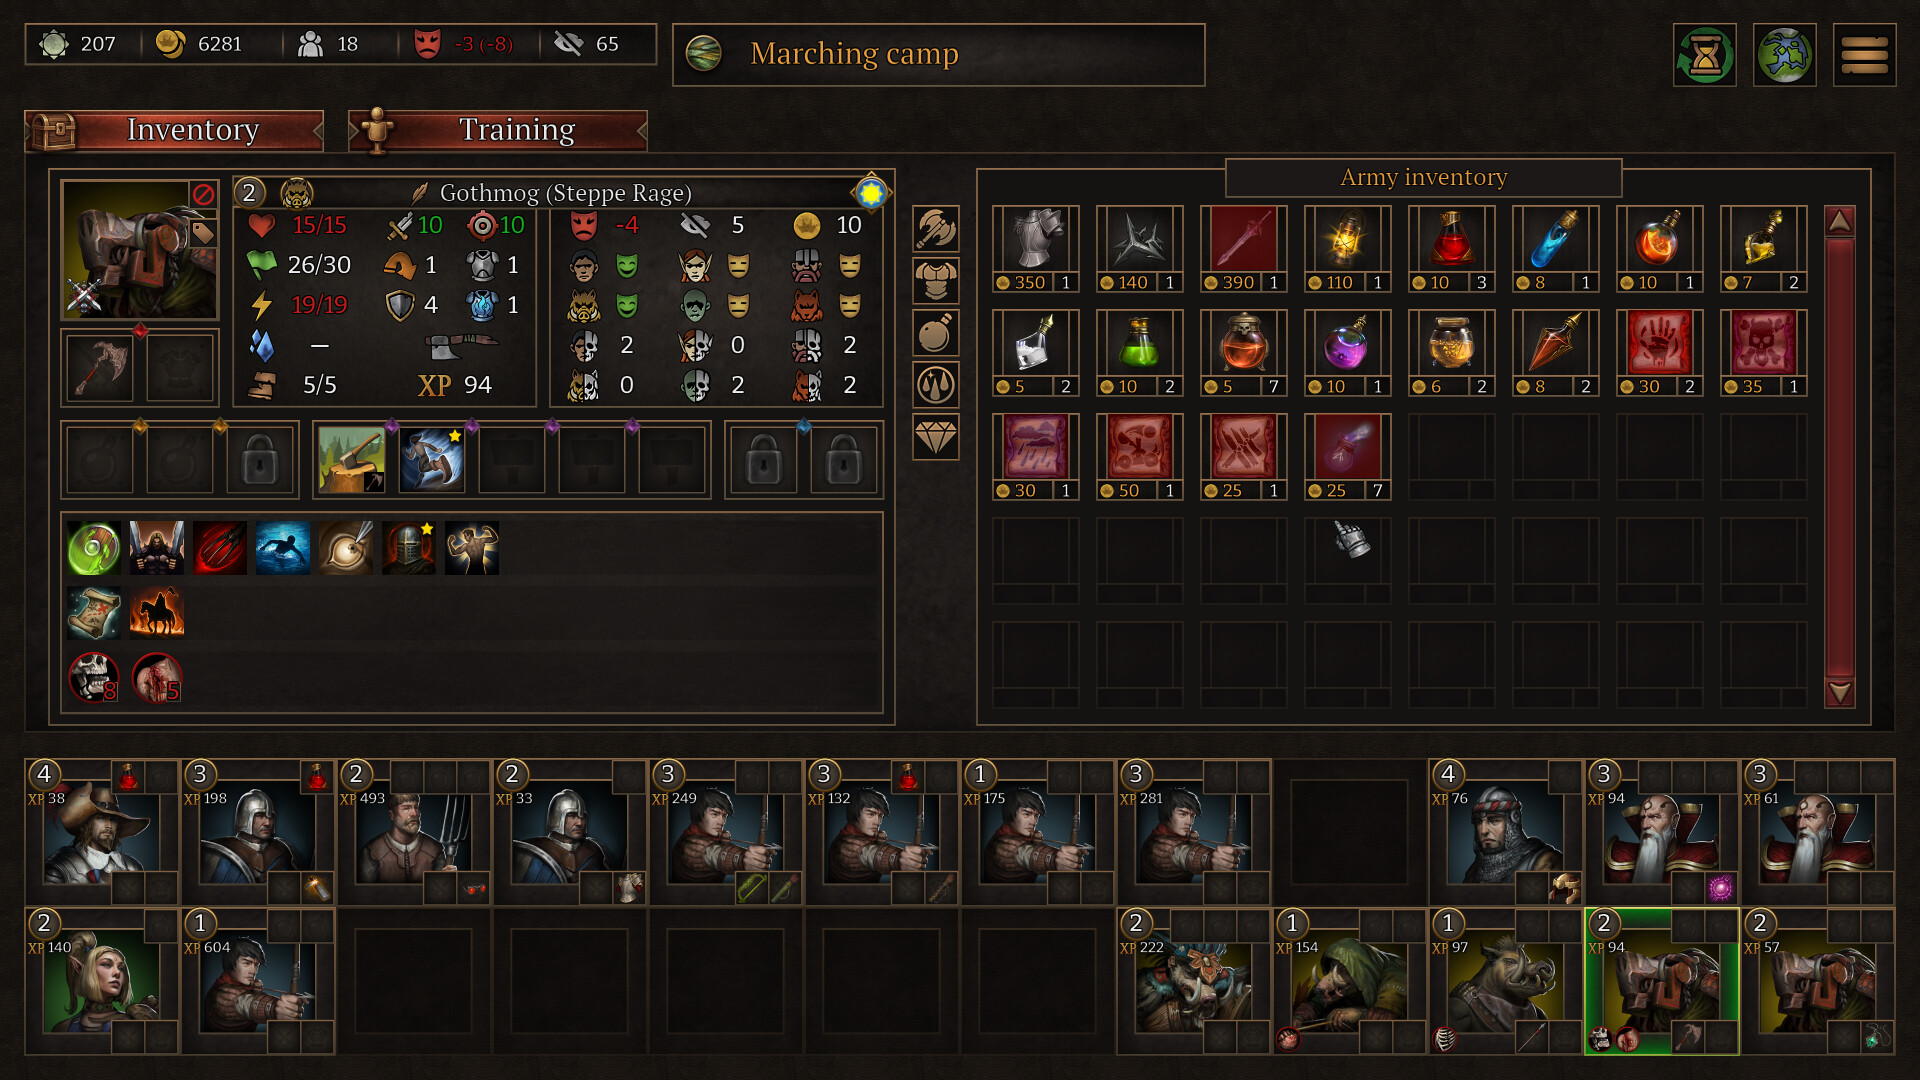
The first important story gate is a readiness check. Do nearby work, visit towns, and recruit until the army screen shows at least 12 available units. That number comes from the developer’s own starting advice; it is not a promise that any 12 recruits will win. Wounded fighters, poor equipment, and a roster with no answer to the enemy in front of you can still turn the mission into a wipe.
After that battle, continue toward 16 rather than treating 12 as a permanent cap. Sixteen is the normal deployment size the developers used when balancing most handcrafted missions. You may own more units than you can field, which is useful when an injury or a bad matchup makes one recruit a poor choice for the next map.
Keeping one roster slot free is enough for an event recruit. If the roster is full when a recruit event appears, the current game lets you enter the marching camp immediately and dismiss an older unit to make room. An open slot is still convenient because it avoids making that decision on the spot, but a full roster no longer forces you to lose the newcomer.
Recruit with the next fight in mind. Open the unit panel, read the skills and equipment, and compare the candidate with the jobs your current army cannot cover. Veterum asks you to choose fighters for particular opponents; a larger number on the roster does not make every lineup suitable. If the next mission punishes a unit type, leave that fighter in reserve and field someone who can work on that map.
Use skull ratings to choose the next job
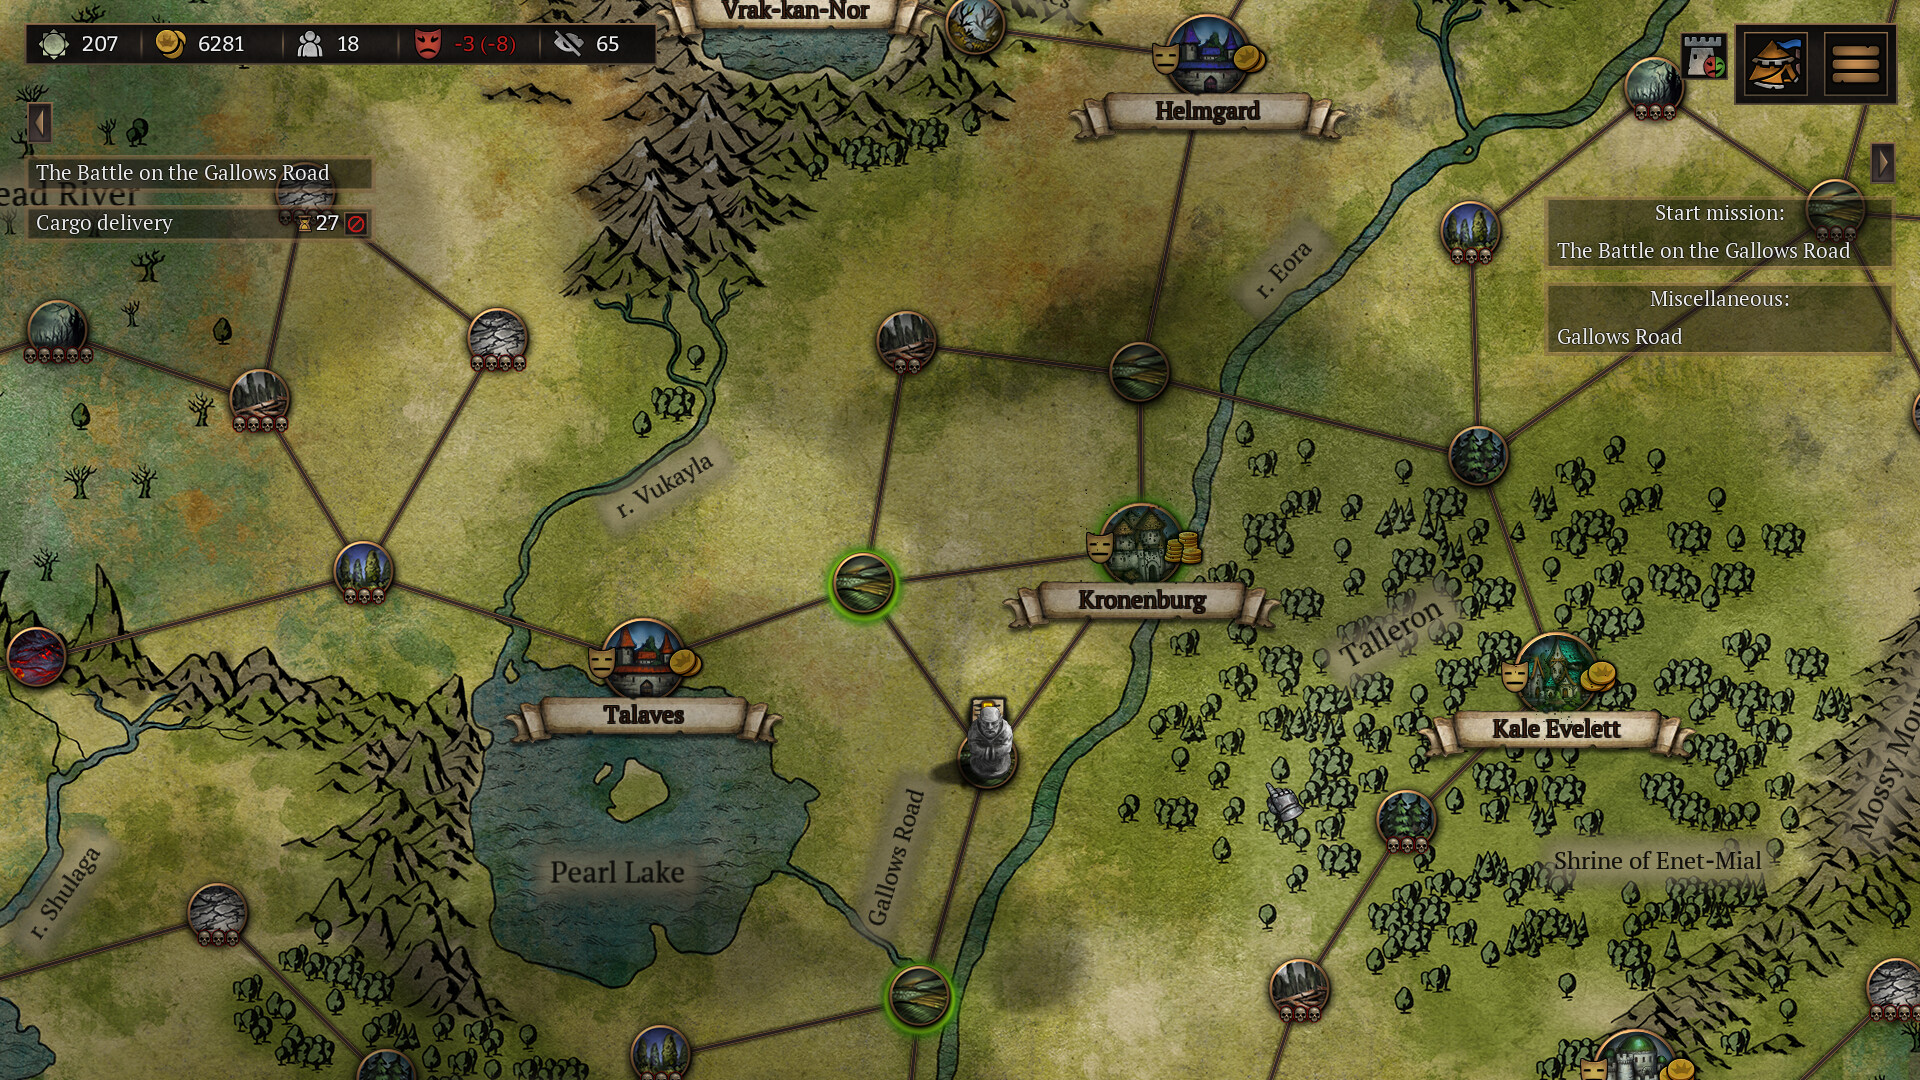
Treat a five-skull mission as a stop sign at any stage of the campaign, not only during the opening. Crasleen Games recommends avoiding these missions because they are designed to be extremely punishing and may be completely unbeatable for your current army. Four-skull missions can still be difficult but manageable, so inspect the lineup, equipment, and battlefield before accepting one.
Check the rating again after recruitment. When a random mission is generated in town, the game locks a power-rating baseline for that contract based on your army’s strength at that moment. It does not lock every enemy unit: the exact composition can vary slightly within that fixed budget. If you hire several capable units before starting the mission, its skull rating may fall because your army improved while the contract’s baseline did not.
This does not apply in the same way to every story encounter. Handcrafted missions use a fixed enemy composition, although enemy level can vary. If a story battle still looks severe after you add troops, do not assume another town visit will replace its opponents. Improve the lineup, equipment, and plan instead.
The skull rating is also more useful than an old list of exact enemies. Random jobs are generated, and the full-release announcement says the city and mission systems changed substantially during Early Access. Read the mission card in your current save. If a contract remains at five skulls after recruiting, leave it alone; even a developed army can face a mission its current setup cannot beat.
Make travel pay for the army
Delivery, exploration, and caravan-escort jobs are poor choices when they send you across the map for their reward alone. The developer advice is to take them when they already lie along the route to another objective. Stack travel this way and the same days, wages, and supplies move more than one task forward.
A useful early circuit looks like this:
- Choose the town where you already need to recruit, trade, or advance a safer mission.
- Look for travel work that shares most of that road instead of selecting the largest-looking payout.
- Recruit toward the 12- and 16-unit targets before returning to a dangerous story marker.
- Recheck every accepted mission’s skull rating after the army changes.
- End the trip in a town where your Relations make hiring and shopping worthwhile.
Town Relations affect shop prices and which mercenaries you can hire. Profitable trading also depends on strong Relations, and unusually high Relations gradually move back toward 50. Use the advantage while it exists: buy important gear and inspect recruits during the same visit instead of assuming today’s favorable town will remain your permanent discount stop.
Prosperity and temporary city conditions also matter in the full-release city system. They affect the missions and services a town can offer, so two campaigns can reach the same place and see different opportunities. When a planned hire or contract is missing, work with the available towns rather than waiting for a copied route to reproduce another player’s result.
Check enemy movement before spending Action Points
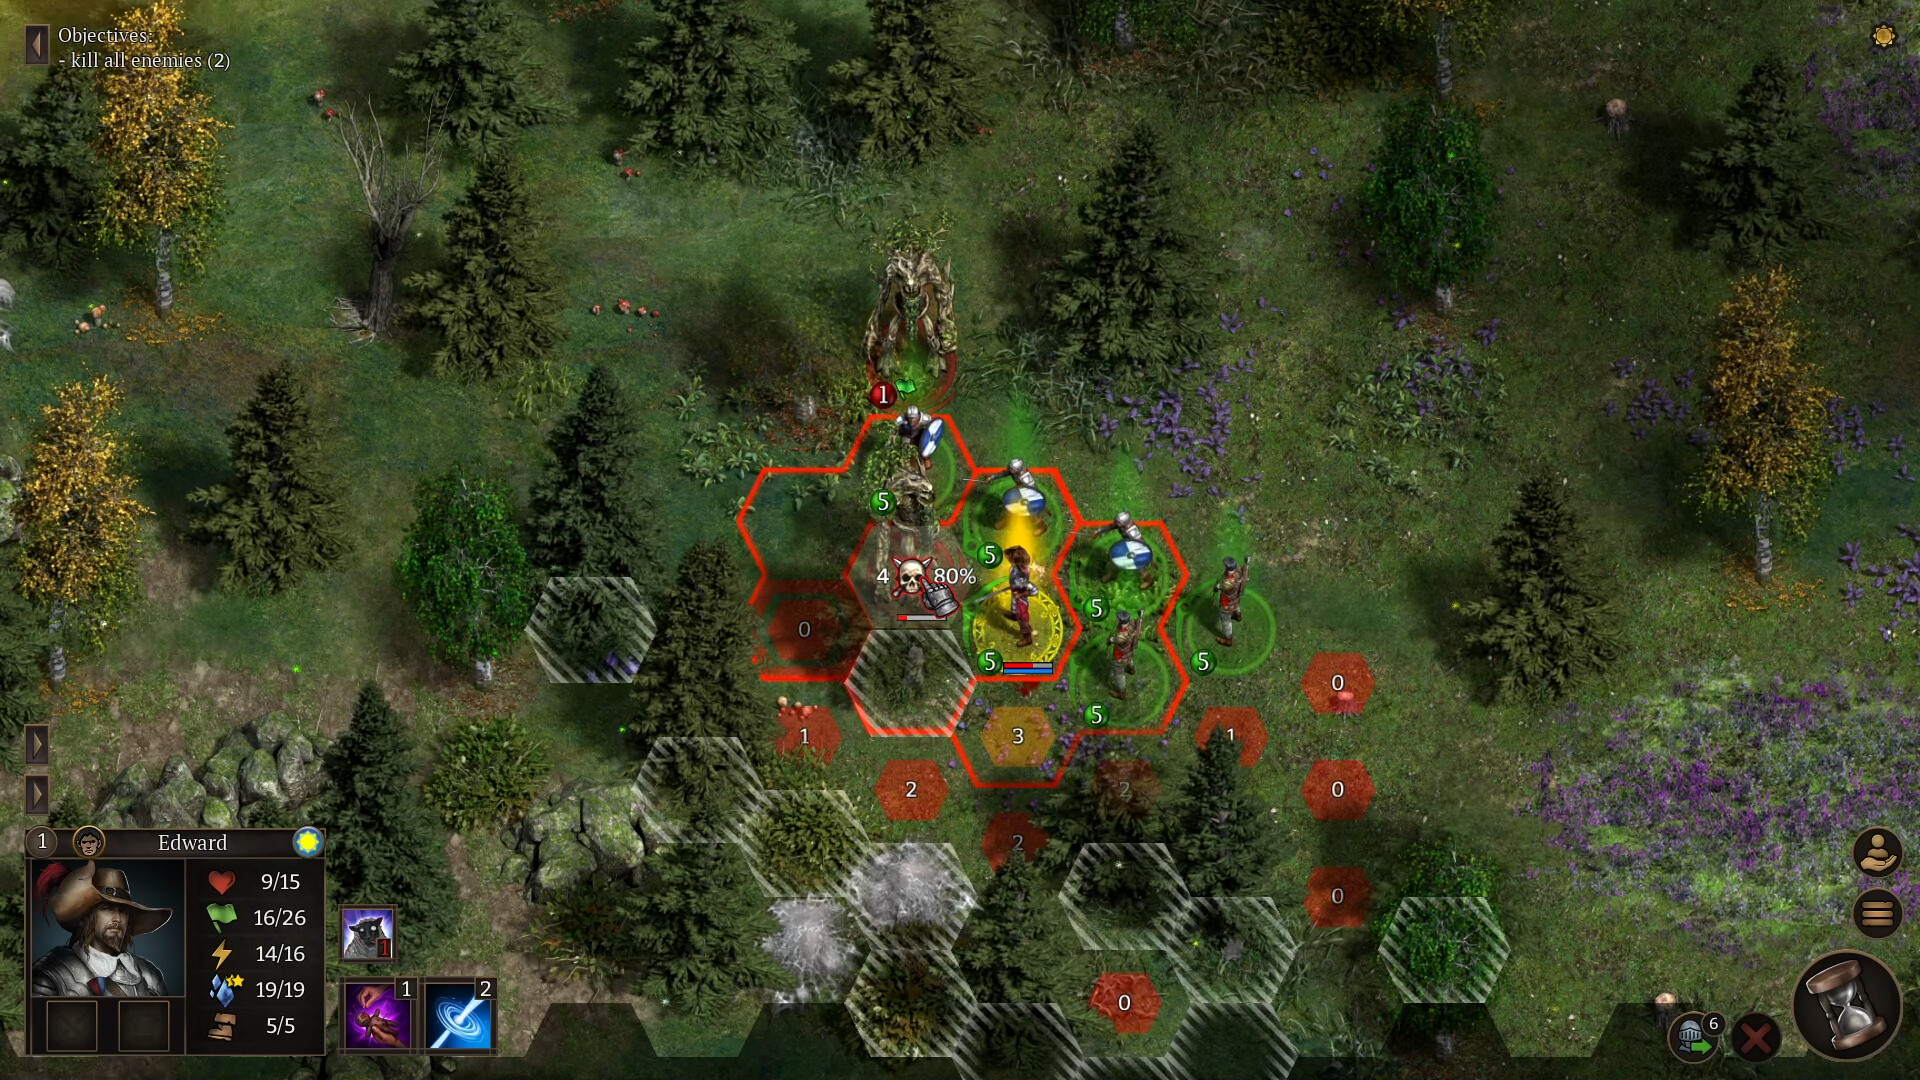
On the battlefield, hover over an enemy and hold Ctrl or Shift. The game will display the cells that unit can reach. It calculates that range from maximum Speed, not only the Action Points left right now, so plan around the full overlay.
The final pre-release update added seven-hex units to this display, so check their range the same way. Use the red movement area before moving the first soldier. If a fragile fighter would end a turn inside it, either pull that fighter back or put a sturdier unit and a terrain obstacle between the two.
Movement range is only one part of the attack. Facing, line of sight, morale, fatigue, light, and weather all affect combat. Before you confirm a move, look at the hex where the unit will finish:
- Can the unit face the likely attack instead of exposing its side or back?
- Does a tree, wall, elevation change, or another object block the shot you want?
- Will the move leave enough Action Points for the attack, skill, or retreat you planned?
- Is a tired or low-morale fighter being asked to hold the most dangerous part of the line?
- At night, is the fighting area lit well enough for the units you selected?
Answer those questions during deployment and at the start of each turn, not after an enemy slips around the formation. On Hard, one exposed unit can pull healers and front-line fighters out of position for several turns.
Change the map when a fair fight is too expensive
The environment is part of your toolkit. Units can dig ditches, raise barricades, cut down trees, freeze water, and start fires. Those actions matter most when they reduce the number of enemies that can attack at once or open a line your ranged units can actually use.
Start with the route the enemy must take. A barricade or ditch is valuable when it delays an approach or forces attackers toward the soldiers prepared to receive them. Freezing water can create a crossing, but opening a new lane can help both sides, so check the enemy movement overlay before committing to it. If a tree blocks the shot or passage your plan needs, remove that specific obstacle rather than clearing the map without a purpose.
Light deserves its own check in battles against night creatures. The official game description specifically points players toward making fire and lighting the battlefield. Place the fight around that light instead of chasing enemies into darkness one unit at a time. Fire can also reshape the safe area, so leave your own formation somewhere to move if the flames spread through the route you expected to use.
Before some battles, one-use scrolls can change the opening conditions by calling rain, poisoning enemies, or providing a catapult. Read the effect before spending it. A consumable that solves the current map is more useful than one burned on a battle your 16-unit force could already control.
Keep experience on soldiers who come home
After a victory, the participating units receive experience according to how active they were. Attacks, spells, and being targeted can all contribute. The total pool depends on enemies killed or routed, but experience assigned to a unit that died or fled is lost.
That makes the last turns of a hard battle important. Do not leave a badly exposed veteran in place simply to squeeze out one more action. Protect the units that have already done the work, finish or rout the remaining enemies with the formation still intact, and keep the earned experience in the army.
Battle activity can also award medals. A unit can hold up to three, and medals cannot be removed or replaced. The developers do not publish the exact requirement for each medal, so there is no reliable reason to feed a soldier unsafe actions while chasing a particular reward. Play the battle you need to win and treat the medal as a bonus.
Between fights, rotate out a recruit whose condition or matchup makes the next mission risky. The point of growing beyond one fixed lineup is to avoid carrying a weak fit into every map. A reserve does not waste a roster slot when it prevents the active 16 from entering a battle with an obvious hole.
Decide whether Adaptive Difficulty belongs in this run
Adaptive Difficulty is separate from choosing a hard overall setup. It is disabled by default and does nothing until Day 30. Once active, the difficulty level rises when your army’s Health loss across battles is below 50% and falls when the loss exceeds 65%. The farther the results are from those thresholds, the faster the system adjusts.
The system has 12 adaptive levels, and the game cannot move to the next one until at least five battles have passed. One easy encounter therefore does not mean the option failed, and one terrible encounter does not make it an instant rescue setting.
Crasleen Games recommends Adaptive Difficulty only for true hardcore veterans. For most players starting a hard campaign, leave it off and tune the normal difficulty settings first. If you enable it, do not judge its effect before Day 30 or from a single fight.
If the campaign is already collapsing, Adaptive Difficulty is not the first repair. Avoid the five-skull contract, rebuild to the next army-size target, take work along a useful travel route, and use the movement overlay before deployment. Those changes affect the next battle immediately.
Recover from a weak opening without restarting
A small army, poor cash flow, and a dangerous mission can reinforce one another, but the save is not automatically lost. Return to the last town where Relations give you useful access. Take only work that your present force can handle or that shares the road to another objective. Add recruits until the undead mission’s 12-unit threshold is covered, then keep expanding toward 16.
When an accepted random mission drops in skull rating after recruitment, it can become the next source of money and experience. If it remains at five skulls, leave it on the map. For a handcrafted mission, expect the same enemy types and solve the problem through unit selection, equipment, terrain, and formation rather than waiting for a new roster to generate.
Before pressing Start the battle, make one final pass across the deployment:
- The first undead story mission has at least 12 usable units available.
- You have a plan to reach a full 16-unit deployment before later handcrafted battles.
- One roster slot is open for an event recruit, or you know which unit you would dismiss from the marching camp if needed.
- No fragile unit begins where an enemy’s maximum-Speed movement range can reach it for free.
- The army has a lit position or a way to make fire when night creatures are present.
- Any one-use scroll answers a real problem on this map.
That preparation is the real high-difficulty advantage. You arrive with enough soldiers, choose a mission whose danger matches the current army, and make the enemy cross a battlefield you have already read.
Official game link
Veterum on Steam. Screenshots belong to Crasleen Games.