
The four major fights in SPRAWL zero do not all ask for more firepower. Seraph is a running air battle in Buried, Colossus is beaten with the corridor’s power equipment, the Tsuchigumo Multi Ped Tank is a short heavy-weapons duel, and the final confrontation with Silas becomes a three-stage Synapse defense. Bring the right ability to each problem and these encounters stop feeling like damage checks.
This guide covers the PC launch build available on September 9, 2026. The developers describe most large enemies as mini-bosses that may return later as regular threats. Health values and weapon spawns can vary with difficulty or a later patch, so use the objective text and the behavior on your screen as the final word.
Ending spoilers begin with the Silas section. The earlier sections name the encounter and the chapter where it appears, but avoid story details.
Match the counter to the fight
MAETH says every boss has at least one counter involving Gravity Gloves, Bullet-Time, another ability, or a combination of them. That is a useful way to read the campaign. A long health bar tells you that an enemy matters; it does not mean standing still and emptying rifles is the intended answer.
| Encounter | Where it matters | Main answer |
|---|---|---|
| Seraph | Buried | Fight from cover, keep moving through the ground objectives, then finish the wounded aircraft when it returns |
| Colossus | Maeth | Carry the highlighted power equipment forward and catch Colossus between the powered wall emitters |
| Tsuchigumo Multi Ped Tank | Acrophobia | Strafe across the open platform, spend the heavy weapon while the tank approaches, then throw it when dry |
| Silas | Zero | Protect the first, second, and final Synapse from successive elite waves |
Prepare for a one-gun boss run
You only carry one firearm, and guns are disposable. There is no reason to enter a boss area clinging to a nearly empty favorite. Fire the remaining rounds in the next useful window, throw the weapon, and pull a fresh gun with the Gravity Gloves. The launch campaign places replacements around its larger arenas because swapping is part of the fight.
Fill health and adrenaline before crossing an obvious threshold. Bullet-Time, Gravity Shield, and Rushdown share the same resource. Spending the whole bar to finish one weak enemy can leave you without Shield when a helicopter or heavy unit opens fire. If a checkpoint gives you a quiet moment, look around the room before walking straight at the marker.
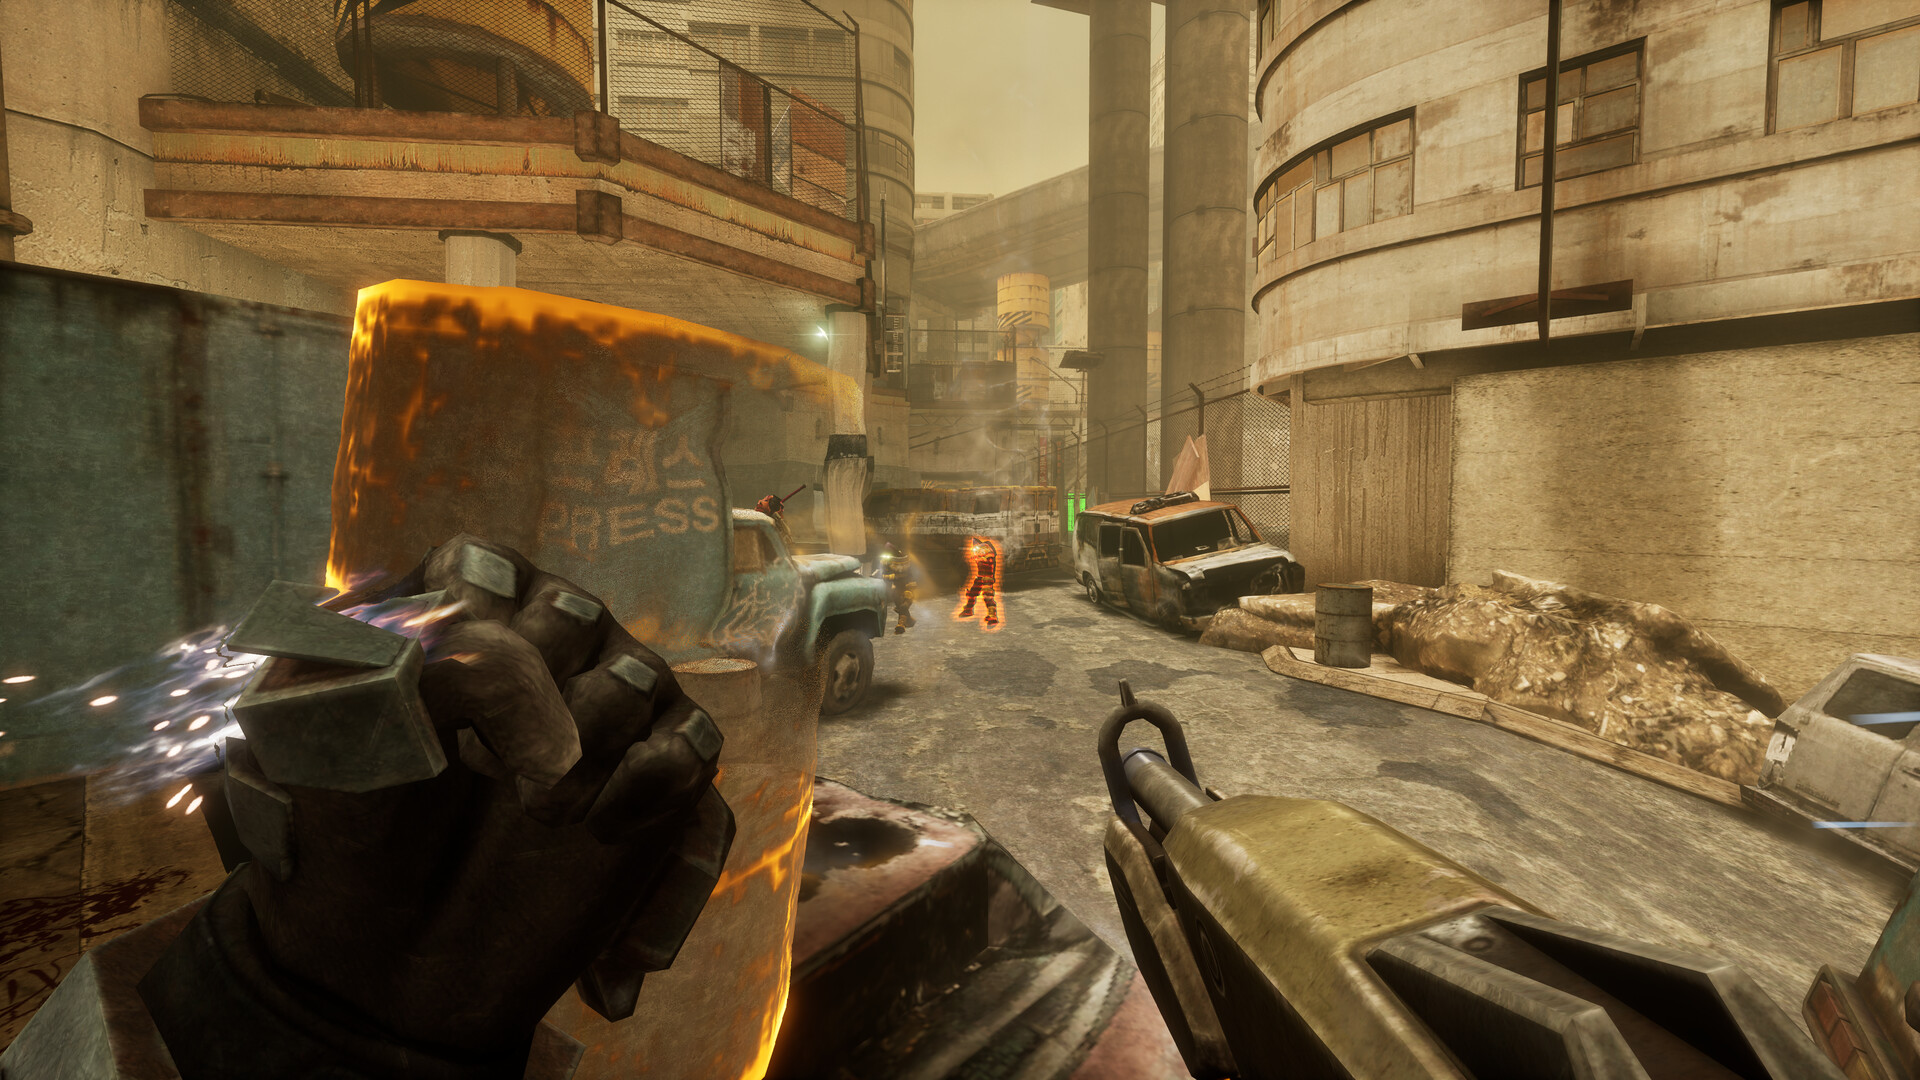
Keep the abilities in their simplest jobs. Shield buys safety against a visible volley. Bullet-Time lets you place shots while the target is moving or exposed for only a moment. Rushdown closes distance after you already know where the danger is. Gravity Gloves handle the objects, empty guns, and environmental pieces that the encounter expects you to move.
How to defeat Seraph in Buried
Seraph Down is the Steam achievement for defeating a helicopter in Buried. The important clue is that the aircraft does not stay in one neat arena. Seraph appears above the road, takes damage, leaves, and returns later while the mission continues across streets and rooftops.
Use the first appearance to wound it
When the health bar appears, stay under the bridge frame or beside solid cover. Lean out for a burst when Seraph is visible, then break its firing angle. Do not walk into the middle of the road just to keep the crosshair on it. The aircraft can move out of view, and the mission gives you another chance.
Gravity Shield is strongest when you can see the incoming burst. Catch the fire, return it toward the aircraft, then step back behind the structure while the ability ends. If your weapon runs dry during this opening, throw it before Seraph comes back into view. The ground section ahead supplies more guns.
Clear the street instead of chasing the sky
Laida warns FIVE about hostile air support, but ground soldiers still occupy the route. Deal with the enemies beside the vehicles and inside the next passage before searching the sky again. They can drain the same health and adrenaline you need for Seraph’s return. Take their weapons as you advance so you reach the later roof ready for the next exchange.
If the helicopter disappears with health left, continue the current mission objective. This is not a failed attempt. The fight is staged across Buried, so standing at the first road and waiting will not bring the target back.

Finish the later exchange from the edge of cover
The later fight gives Seraph more room to move above the city. Start near the railing or a solid upright instead of running to the center of the roof. Track the aircraft during its pass, fire while its movement settles, and duck out of sight when the return fire fills your lane. A rapid weapon helps because each exposure window is short, but the route does not require one named gun.
More than one aircraft can be visible in the final stretch. Keep your shots on the target tied to the active health bar rather than spreading damage across the skyline. If a fresh weapon is lying nearby, use it. Saving ammunition for a later room has no value when the current target is the one blocking the achievement.
When the tracked Seraph falls, Seraph Down should unlock. If the achievement does not appear, make sure the helicopter actually died rather than leaving at the end of an earlier exchange.
How to beat Colossus with the power corridor
Colossus is the clearest example of a fight that should not be treated as a normal shootout. Select the Gravity Gloves and work through the facility’s power steps while the armored enemy follows. The objective bar, highlighted electrical equipment, and wall emitters are the fight.
Keep Colossus behind you while you restore the route
Move through the open doorway as soon as the encounter starts and look for equipment marked with the electrical symbol. The large power pieces can be carried and thrown with the Gravity Gloves. Take one step of the objective at a time, then put a wall or doorway between FIVE and Colossus before grabbing the next object.
Colossus is wide enough to fill the corridor, which makes straight retreats dangerous. Do not back into a closed energy barrier while watching the boss. Turn long enough to confirm the next doorway and the next highlighted device, then face Colossus again. If a barrier changes color or a checkpoint appears, move forward; the route is telling you that the previous power step is complete.
Throwing random debris at Colossus may create space, but it is not the main damage plan shown in the launch route. Keep the useful power piece with you until you can place or throw it toward the marked equipment. If nothing in the corridor responds, check the current objective and retrace only to the last powered device.
Use the two wall emitters for the kill
The final chamber has a round electrical unit on each side of the corridor. Bring the power step online, then retreat far enough that Colossus advances between those units. Do not stand in the middle with it. Use the doorway and the room beyond it to keep the enemy moving down the center.
When both sides are active, they throw a strong electrical arc across the passage. Let Colossus walk between the emitters so the arc empties its remaining health bar. If the boss reaches the space without the arc firing, one of the power steps is still incomplete. Leave the kill lane, find the highlighted component, and try again instead of punching the armor.
How to beat the Tsuchigumo Multi Ped Tank
The Tsuchigumo Multi Ped Tank appears on the exposed approach to the Spire in Acrophobia. Unlike Colossus, this is a compact weapon fight. The tank advances on several legs, fires a bright red shot from the front, and can close the gap quickly if you stay on its center line.
A Kurogane HMG-7 with 20 rounds is a strong way to open the exchange, but it is not a required loadout. Begin firing while the tank is still crossing the platform and strafe across the wide side of the arena. Moving sideways makes the front shot easier to read and keeps more floor behind you when the machine lunges forward.
Spend the heavy weapon while you have a clear view; the tank can lose most of its health before it reaches you. When the gun is empty, throw it immediately and switch back to Gravity Gloves or pull another weapon from the ground. Waiting for a reload that does not exist gives the tank the close-range hit it wants.
Use Shield if the red projectile is already coming down your lane. Catch or survive that burst, return the attack if the timing allows, and resume the sideways move. Do not hold Shield until the tank is on top of you; at that range its body and legs make the camera harder to control.
Arachnophobia unlocks as the Tsuchigumo dies. If the health bar is gone and the objective changes to approaching the Spire, the encounter is finished.
How the Silas finale works
Full ending spoilers start here. Reaching Silas completes the Confront Silas objective, but the man inside the central chamber is not a target you simply shoot. The game replaces that order with Protect the First Synapse. Later checkpoints advance to Protect the Second Synapse and Protect the Final Synapse.

Protect the First Synapse
Start by learning the room. Silas is held in the orange cylinder at the center, ramps rise around it, and weapon pickups sit near the outer walls. The first named elite arrives almost immediately. Meet it on the open ring where you can move sideways, rather than letting it pin you against the cylinder.
Keep one eye on the Synapse objective. An enemy that breaks away from FIVE and moves toward the center matters more than a distant target already chasing you. Cut across the ring, interrupt that enemy with gunfire or an ability, then lead it back toward the outside. The central chamber is useful cover, but circling it so widely that an attacker reaches the objective defeats the purpose.
Use the checkpoint before the Second Synapse
A checkpoint separates the first and second defenses. Use those few quiet seconds to take a full weapon, find health, and refill as much adrenaline as the room allows. The next wave adds tougher named enemies, so keep moving until one gives you a clean line. Then use the opening instead of spraying into the crowd.
Do not try to preserve a strong gun for the whole finale. Rifles, an SMG, a shotgun, and a minigun all work here, but each one eventually empties. Finish the current elite, throw the dry gun, and take the closest usable replacement. Crossing the arena for a preferred weapon can expose the Synapse for longer than the swap saves.
Gravity Shield handles a committed burst. Bullet-Time helps finish a fast target before it returns to the center. Rushdown is safer after you have pulled the fight away from the Synapse and can see where the charge will end. Every ability competes for the same bar, so keep enough resource for the attack that is happening now.
Hold the Final Synapse without leaving the ring
The final objective arrives after another checkpoint. Intercept the named enemy, move around the central structure, fire a weapon dry, replace it, and use an ability to stop the most dangerous approach. Stay near the active Synapse instead of chasing a wounded enemy into an outer alcove.
Colossus and other elite types can return during the defense, but this time the room supplies firearms and the objective is survival rather than rebuilding the earlier power trap. Respect the health bar, use the ramps to change the angle, and keep the enemy’s attention away from the center. A low-health elite is still dangerous if you abandon the objective to finish it.
When the final wave ends, the game moves directly into the closing scene. There is no dialogue wheel or ending choice on screen, so let the sequence play through to the final title card.
Quick fixes when an encounter will not progress
- Seraph left with health remaining: follow Buried’s current ground objective. The helicopter returns later; the first road is not the entire fight.
- Colossus takes almost no damage: stop treating it as a gunfight. Check the highlighted power equipment and the objective bar, then lure it between the two active wall emitters.
- The Tsuchigumo reaches you with health left: start firing earlier, strafe across the platform instead of backing straight up, and throw the empty weapon at once.
- The Silas room keeps resetting: stay close enough to intercept anything moving toward the Synapse. Restock at each checkpoint and use the nearest workable gun rather than crossing the room for a favorite.
- An old video shows different damage: compare the difficulty setting and current patch. Follow the same counter and objective, but do not expect identical health loss per shot.
These fights reward reading the room more than carrying a perfect weapon. Wound Seraph without giving up cover, power the trap for Colossus, spend the HMG window against Tsuchigumo, and treat Silas as three defenses instead of one enormous health bar. Once the objective changes, change your plan with it.
Official game link
SPRAWL zero on Steam. The images above are official screenshots from the store page.