
The main Deep North route is a three-part loop. Find an Intricate Key mould, blast Petrified Tissue from a Gammeltroll’s remains, smelt it into Bloodgold, and use the finished key to start a Jotun Invasion. Complete that loop three times and you can open the Aesir Passage for Valheim’s final boss, Kall Fimbulbringer.
The 1.0 release arrived on September 9, 2026, so older preparation pages no longer describe the live biome. This guide follows the released item names and progression path. It gets you from an existing Ashlands-ready world to the final boss door without turning every new weapon or food recipe into a detour.
Make sure your world can generate the new biome
You can keep an old world and character in 1.0. The important restriction is terrain generation: Deep North content appears properly only in northern areas that were not explored before the update. If you already uncovered most of the far north, sailing farther around the same empty coastline may not solve the problem.
Check the northern edge of your map before loading the ship. If most of the north is still hidden, you can use that world for the expedition. If the entire region is revealed, keep the old world as a backup and consider making a fresh world for the 1.0 route. Iron Gate recommends a new playthrough for the fullest experience, but it is not mandatory.
Finish the Ashlands first. You need Fader’s relic for the crafting chain, and your first few fights in the Deep North are much safer in a settled Ashlands loadout. Pack your best food, healing and stamina meads, Frost Resistance Mead for the first landing, a black metal pickaxe, and materials for a portal and a small shelter.
Put 15 Iron on the expedition plan as well. The Frost Foundry requires it. If your portal settings do not allow metal transport, the iron belongs on the ship rather than in a chest beside your home portal.
Land slowly and protect the return trip
The far northern coast is lined with ice and wrecked ships. Reduce speed before you reach the flat ice instead of driving the hull into it. Once you can step ashore, place the portal somewhere you can defend and repair the landing area before carrying every valuable item away from the coast.
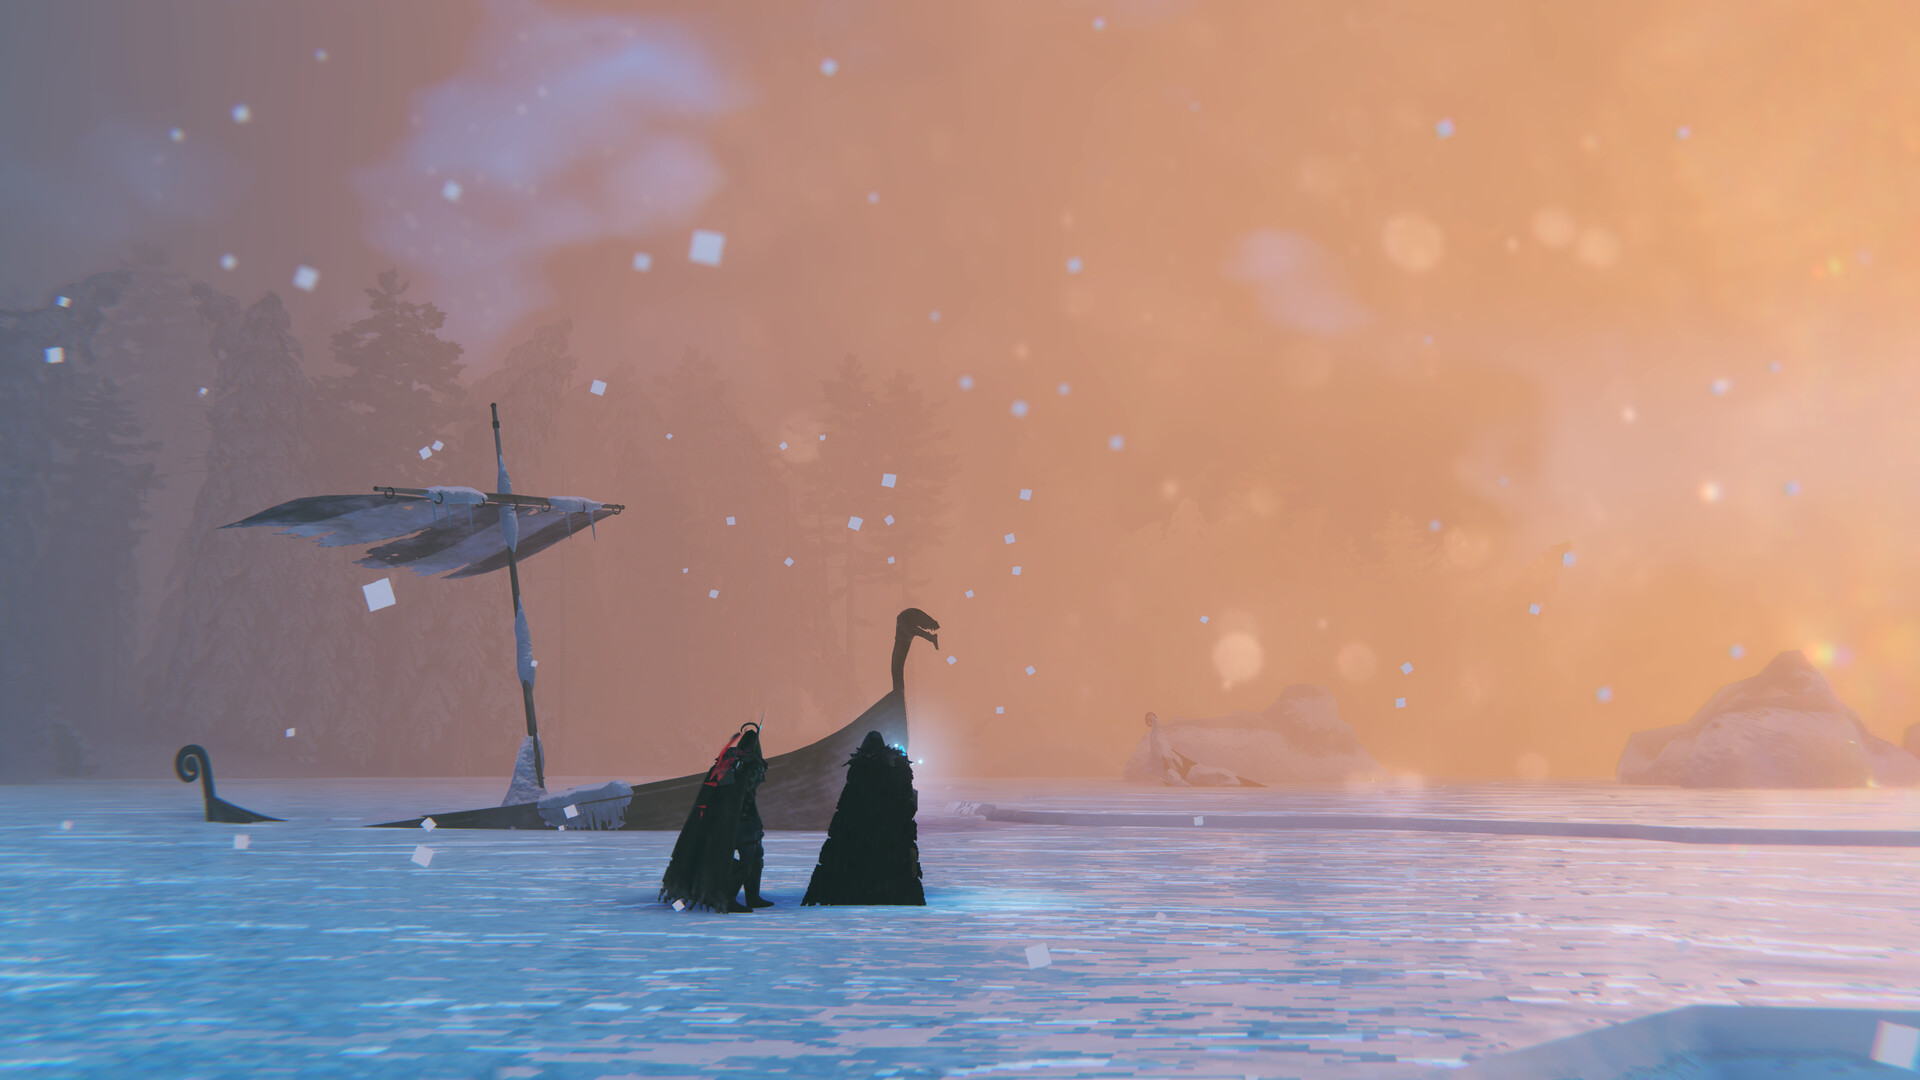
Break or mine a little ice while you establish the foothold. Ice is fuel for the Frigid Kiln later, and picking it up reveals part of the new production chain. You will need at least five Ice to build the kiln, plus more to turn into Liquid Frost.
Do not make a Gammeltroll your first objective just because it is easy to see. Killing one before you can make Ember Charges leaves you with a petrified body that you cannot harvest yet. Look for an Abandoned Village instead.
Use an Abandoned Village as your first base
Abandoned Villages give you walls, roofs, and a landmark you can find again in bad weather. Patch one building, add a fire and bed, and connect it to your portal network. The ghostly residents are part of the village story; the immediate danger is usually what followed you in from the snow.
The largest building in the settlement is the one to search carefully. A hole in its floor can lead into the Winding Tunnels. Village layouts vary with the seed, so do not assume the entrance will face the same direction as a screenshot or another player’s map.
Your compact Deep North staging list should now look like this:
| Keep at the village | Carry into the tunnels | Keep safe at home |
|---|---|---|
| Portal, bed, fire, food, spare arrows, workbench materials | Best combat loadout, healing, stamina food, light, black metal pickaxe | Replacement gear, a second portal kit, spare food and meads |
| 15 Iron and at least 40 Stone for the two new stations | Empty inventory space for Frostcores and moulds | Anything you cannot afford to lose on the first dungeon run |
Leave the Winding Tunnels with cores and key moulds
Winding Tunnels are tight, dark, and easy to circle through twice. Take each branch methodically and clear the enemies before smashing every debris pile. The key moulds can be hidden in breakable rubbish, while Frostcores glow blue and may hang above eye level.
You need 20 Frostcores to build both production stations: ten for the Frigid Kiln and ten for the Frost Foundry. You also need three Mould: Intricate Key items for the full boss route. A mould is consumed when you turn it into a cast, so one lucky drop cannot make all three keys.
Do not leave the first dungeon just because one Frostcore unlocked a recipe. Sweep the remaining branches and look up. If you find enough cores but only one key mould, bank what you have and search another tunnel rather than carrying a rare mould through repeated risky fights.
The tunnels normally contain Elaking and Eyeless One enemies. Fight in cleared sections where you can back away, and avoid charging through a new corner while another enemy is still behind you. The maze becomes much easier when each retreat leads to a room you already emptied.
Build the Frigid Kiln and Frost Foundry
The two stations do different jobs. The kiln turns Ice into Liquid Frost. The foundry takes a prepared cast and uses that liquid to make the finished item.
| Station | Build cost in 1.0 | What it does for this route |
|---|---|---|
| Frigid Kiln | 10 Frostcores, 20 Stone, 5 Ice | Processes additional Ice into Liquid Frost |
| Frost Foundry | 10 Frostcores, 15 Iron, 20 Stone | Turns a Cast: Intricate Key into an Intricate Key when supplied with Liquid Frost |
Place them at a base you can reach reliably. The Abandoned Village works if your portal and defenses are secure. A developed home base also works if your world settings let you move the required materials there. Either choice is better than leaving the stations exposed beside the first tunnel entrance.
Feed spare Ice into the Frigid Kiln before you go hunting Gammeltrolls. That prevents a frustrating extra trip after the key cast is ready.
Use Fader’s relic to make Ember Charges
The Fader Relic now unlocks an important part of the Deep North route. Use it with a Stonecutter and 10 Stone to place the Eternal Pyre. The pyre produces Embers, one of the ingredients for Ember Charges.
The other ingredient comes from seals in the Deep North. Collect Seal Pelt, combine it with Embers to make a supply of charges, and keep the explosives out of your normal weapon rotation. They are for breaking a petrified Gammeltroll after the fight.
If the Eternal Pyre recipe is missing, confirm that you defeated Fader in the current progression and still have the relic. Do not substitute a decorative fire or ordinary bomb; neither advances this material chain.
Mine the Gammeltroll after you defeat it
Gammeltrolls are enormous and can throw whole tree trunks across the snow. Fight with room to move, keep trees or terrain between you and a long wind-up, and avoid burning all your stamina while closing the distance. The goal of the first kill is access to a material, not a fast damage record.
When its health is gone, the Gammeltroll turns into a Petrified Gammeltroll. That is the resource node. Throw Ember Charges at the stone remains until chunks break free, then collect the Petrified Tissue.
Take the tissue to a Blast Furnace to produce Bloodgold. Each Intricate Key cast needs five Bloodgold, so the three-key route requires 15 Bloodgold in total. If storage or corpse recovery is a concern, process enough for one key and finish that loop before making the next.
Turn each mould into an Intricate Key
An Intricate Key takes three stations and two intermediate products. If you try to put the raw mould directly into the Frost Foundry, nothing useful happens.
- At the Black Forge, combine one Mould: Intricate Key with five Bloodgold to make Cast: Intricate Key.
- Place the cast in the Frost Foundry.
- Run Ice through the Frigid Kiln to make Liquid Frost.
- Supply the Frost Foundry with Liquid Frost and collect the finished Intricate Key.
Repeat the process for the other two moulds when you have enough Bloodgold. You can carry all three finished keys and clear the remaining dungeons in one expedition, or finish one key-invasion loop before committing more rare materials. The second option gives a solo player more recovery points.
Enter Mörkhalla and break the Malicious Ice
Mörkhalla is the tall Deep North fortress with a chained inner door. You cannot simply walk through a front entrance at ground level. Use the Grappling Hook to reach the upper structure; a catapult is another way over if your group already has one staged nearby.
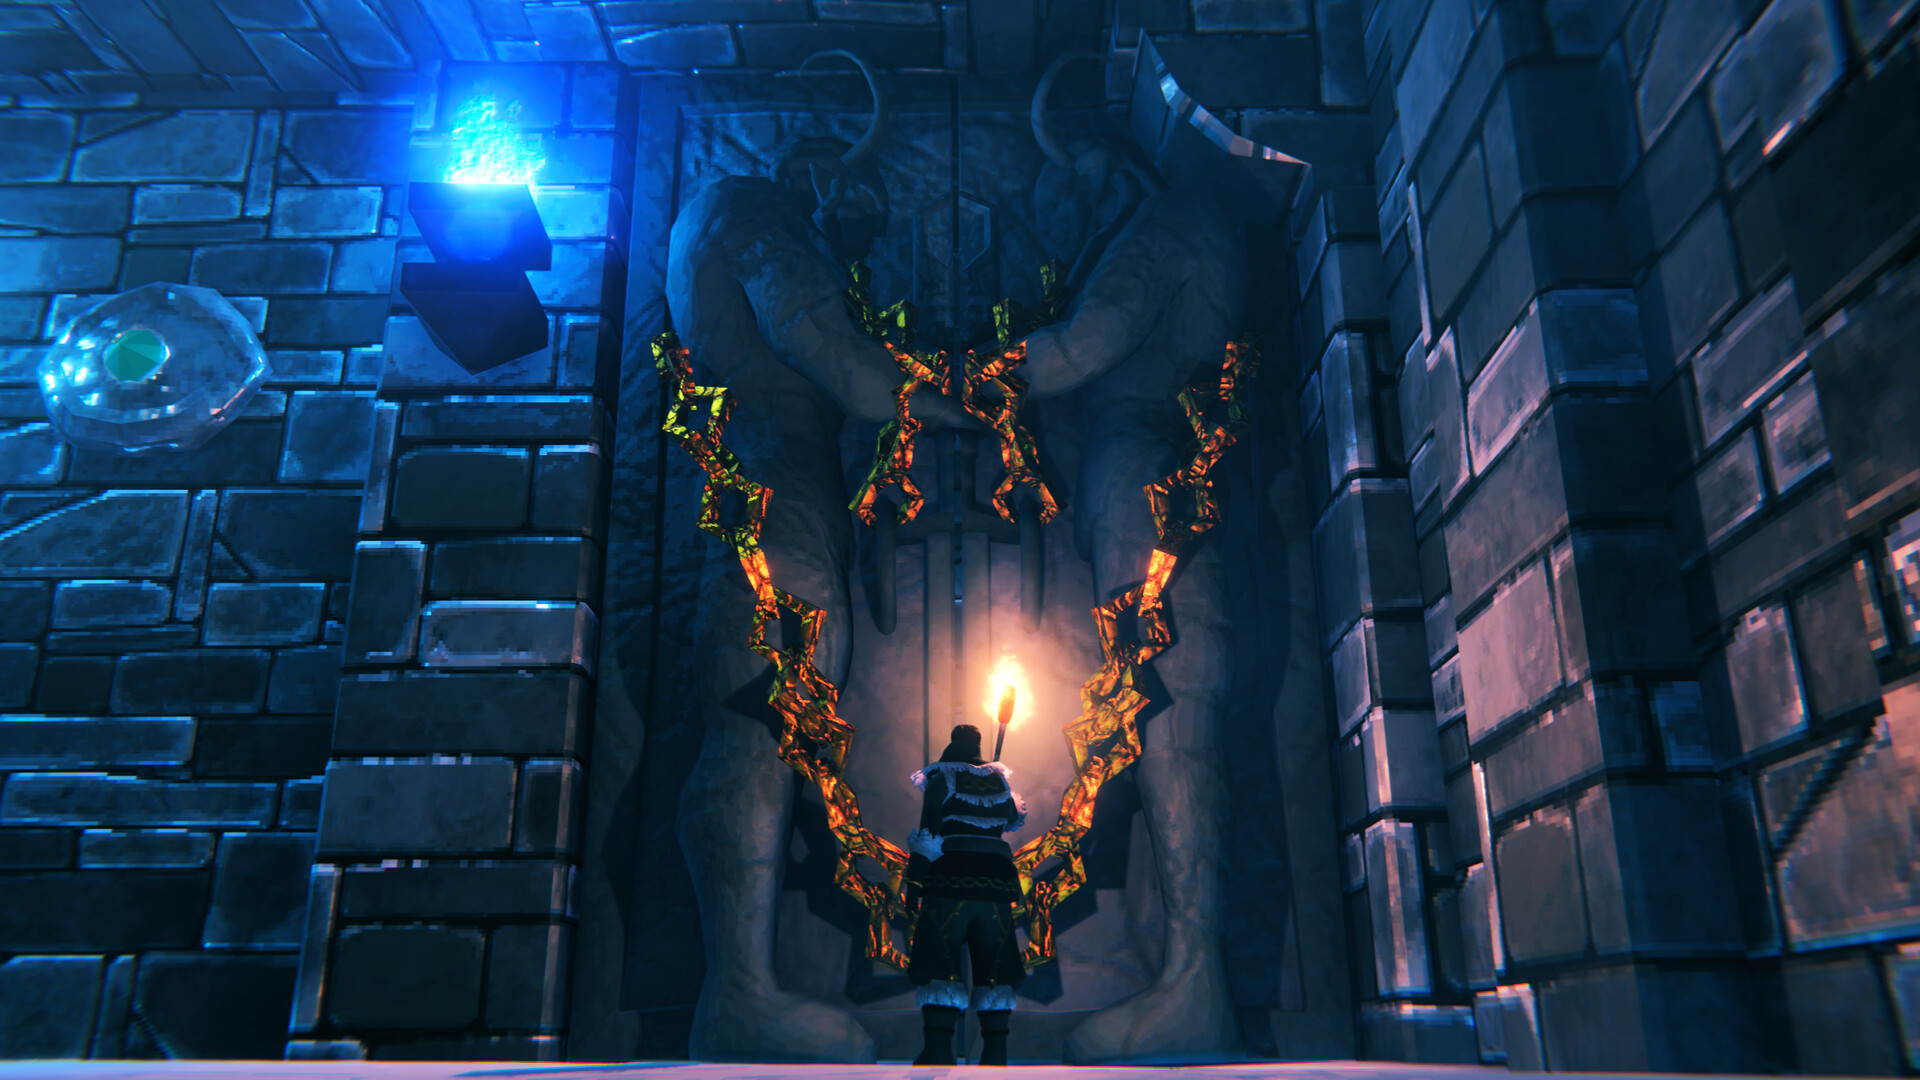
Descend through the fortress after using the Intricate Key. Krigen and the different Pulp creatures make narrow rooms dangerous, so clear a return path instead of dropping through every opening at once. Your target is the mass of Malicious Ice near the bottom.
Break the ice until the central section is destroyed. The game then announces that the Jotun are advancing. Before you leave, search the lower area for a Vegvisir. It can mark the Aesir Passage, the location you will return to after collecting all three offerings.
Follow the Jotun Invasion marker across the world
Open the map after the message appears. A red Jotun Invasion marker should be flashing somewhere outside the Deep North, often in one of the older biomes. This is why the portal network matters: the next step may be far from the northern base you just built.
Travel to the marked circle and fight toward its center. Krigen and Hexen appear away from their usual home during the invasion. At the center, destroy the Malicious Ice and collect one Malicious Blood.
That blood completes one loop. The other two offerings require two more Intricate Keys, two more Mörkhalla clears, and two more invasion sites. Keep each finished Malicious Blood at a safe base until you are ready for the boss door. Losing the first one during the second dungeon only adds an unnecessary recovery trip.
Open the Aesir Passage with three Malicious Blood
Return to the Aesir Passage after the third invasion. Put the three Malicious Blood in an accessible inventory slot and use them at the Strange Bowl. The passage opens onto Kall Fimbulbringer, the final Forsaken named in the 1.0 patch notes.
Treat the boss attempt as a separate expedition. Refresh food and meads, repair everything, leave replacement gear behind the nearest safe portal, and bring the Deep North weapon set that suits the damage types you can deliver consistently. The key-and-invasion route opens the encounter; it does not make a rushed loadout safe.
Kall drops Sacrificial Blood. Carry it back to the Sacrificial Stones in the Meadows, complete the final altar, and follow the new ending sequence.
If the route stops moving
- No villages or 1.0 locations appear: you may be exploring northern terrain that was generated before the update. Move into untouched territory or use a fresh world.
- You found Frostcores but cannot build both stations: count them again. The kiln and foundry use ten each, and their Stone costs are separate.
- The Gammeltroll left no normal loot pile: its petrified body is the next step. Break it with Ember Charges and collect Petrified Tissue.
- The mould will not work in the foundry: use five Bloodgold with the mould at the Black Forge first. The foundry accepts the cast, not the raw mould.
- No invasion marker appears: confirm that you destroyed the central Malicious Ice at the bottom of Mörkhalla, then reopen the world map and look for the red event circle.
- The Aesir Passage remains closed: one dungeon clear gives only one invasion and one Malicious Blood. The Strange Bowl needs three.
Most Deep North delays come from leaving one ingredient behind. Secure a village, collect twenty Frostcores, build both new stations, and keep the mould-to-key steps in the right order. Once that setup is finished, each Mörkhalla run leads cleanly into its invasion.
Official game links
Read the official Valheim 1.0 patch notes for the full launch item list, and use the Valheim Steam page for current platform and release information.