
If this is your first Touhou clear, begin in New Classic’s Challenge Mode, choose Reimu, and spend one run learning when the screen becomes dangerous enough to bomb. Once the stage order and boss rhythms feel familiar, start a Normal run with the same character and shot type. Changing your setup every attempt makes the hard sections feel new again.
The 2026 release contains two distinct versions. New Classic has redrawn 1080p visuals, rearranged music, new systems, and an infinite-life challenge option. Classic Version preserves the 2002 game as closely as possible and keeps its text in Japanese. The route below uses current New Classic features for practice, then labels the old rules that are confirmed only for Classic.
Use Challenge Mode to learn the full run
Infinite lives will not help much if you rush straight back into the same bullets. After a hit, take a moment to work out what happened. Did you follow an item upward, cross the screen too late, or save a bomb until the gap had already closed?
On the next life, change one action. Start the dodge earlier, remain on the same side, or bomb before the pattern reaches the bottom quarter of the playfield. Repeat the response until it works on purpose. By the end of the run, you should know which attacks deserve practice and which ones you can already pass without thinking.
Stay on Normal while you learn the route you intend to clear. An easier setting is useful for learning the controls, but Classic Version ends Easy after Stage 5. Classic also ties its good ending and Extra Stage unlock to a no-continue clear on Normal or above. The official launch pages do not spell out whether every New Classic unlock follows those same rules, so read the unlock text in your current client before planning an achievement run.
Pick one character and keep that choice for several runs
Reimu is the friendlier first pick. The current official description gives her a wide attack range and makes her harder to hit, so you can spend more attention on dodging while her shots cover enemies that drift away from the center. Marisa trades that comfort for higher firepower. She can shorten fights when you stay lined up with the boss, but moving far to escape a pattern also moves that damage away from the target.
The shot and bomb choice at character select matters too. Each type behaves differently, and Classic changes some of Patchouli’s spell cards according to both character and shot type. Pick one combination and leave it alone while you practice. A route learned with Reimu’s wide coverage will feel different if you switch to Marisa’s narrower attack on the next attempt.

Before the first serious run, open Key Config and make sure movement, Shot, Bomb, and Focus are comfortable without looking at your hands. The current Steam release allows gamepad button changes. Do not copy an old keyboard layout blindly: the 2002 PC version used arrows, Z, X, and Shift, while the modern release supports different devices and remapping.
Move with short taps and watch the space around Reimu
Hold Shot while enemies are present, then use Focus whenever a wide movement would carry you through a neighboring bullet. Focus slows your character for fine control. That is especially useful near the bottom of the screen, where a small correction is often safer than sweeping across several columns at once.
Look at the bullets nearest your character instead of staring at the boss. You only need to know where the boss is well enough to keep shooting. The dangerous information is the next two or three gaps approaching your position. Choose one gap, move into it, and settle before choosing the next. Constant circling creates extra crossings and can turn a readable pattern into a scramble.
Aimed streams should be moved deliberately. Let the enemy aim at your current position, tap sideways after the shot is committed, and keep enough room to repeat. If you drift across the entire bottom edge too quickly, the next aimed stream can pin you against the wall. When that happens, a bomb is the clean escape.
Spend bombs before a hit, not after the run is lost
Bombs are limited and powerful. Use one when you have lost the gap, when two patterns overlap in a way you have not practiced, or when an upward item grab leaves you exposed. Waiting for the tiny moment after contact is a poor beginner plan.
Classic Version gives you three bombs at the start and again after a respawn. That makes dying with bombs in stock especially costly: the unused stock disappears along with the life. A simple first-clear rule is to choose two or three attacks per stage where you will bomb as soon as the setup looks wrong. If you pass one safely, keep the bomb. If the pattern starts badly, spend it without debating.
Exact bomb timings may differ between New Classic and Classic Version. Learn the warning signs instead: you are walled off, you cannot see the next gap, or you have reached a planned danger point with no safe exit. Bomb as soon as one of those situations develops.
Build power without chasing every falling item
Power items improve your shot, so the opening stages are the time to collect them while the screen is still manageable. Move up after a wave has ended, gather what is safe, and return before the next aimed volley. A dropped item costs less than a life.
Classic Version has an important restriction: automatic item collection near the top of the screen works only at maximum Power. Reaching maximum Power also cancels the bullets currently on screen. Until then, crossing the collection line will not pull every item toward you. New Classic still shows a Power gauge and familiar item icons, but it also changes parts of the game. Check its own UI before relying on an old numerical threshold.
For a survival run, score matters mainly when it earns another life. In Classic, the first score extend arrives at 10 million; the next three arrive at 20, 40, and 60 million. Stage 3 also contains a fixed 1up after the midboss. You do not need risky grazing to reach useful score. Clear enemies, collect point items when the route is open, and keep the guaranteed Stage 3 life in mind when judging whether an early mistake has ruined the attempt.
Give each stage one job during practice
The original patterns provide useful landmarks for the first three stages. Because New Classic includes new systems, use these as checkpoints rather than a frame-perfect script. They still give each practice run a clear purpose.
Stage 1: collect power and stop oversteering against Rumia
The early red fairies release slow spreads and power items. Shoot them before their volleys fill the lower screen, collect along the side you are already using, and avoid crossing underneath a second wave just to grab one item. Rumia’s first spell is handled with small moves between the layered wings. Her movement can pull your shots away, but chasing her is less important than keeping a clean gap.
Stage 2: reach full power and wait for Cirno’s aimed shot
Stage 2 is where the Classic route expects you to finish building Power. During Cirno’s pattern that freezes bullets in place, find open space before the aimed spread arrives. Move out of the spread, then reassess the frozen field when it starts moving again. Trying to dodge both parts at once usually causes the panic move.
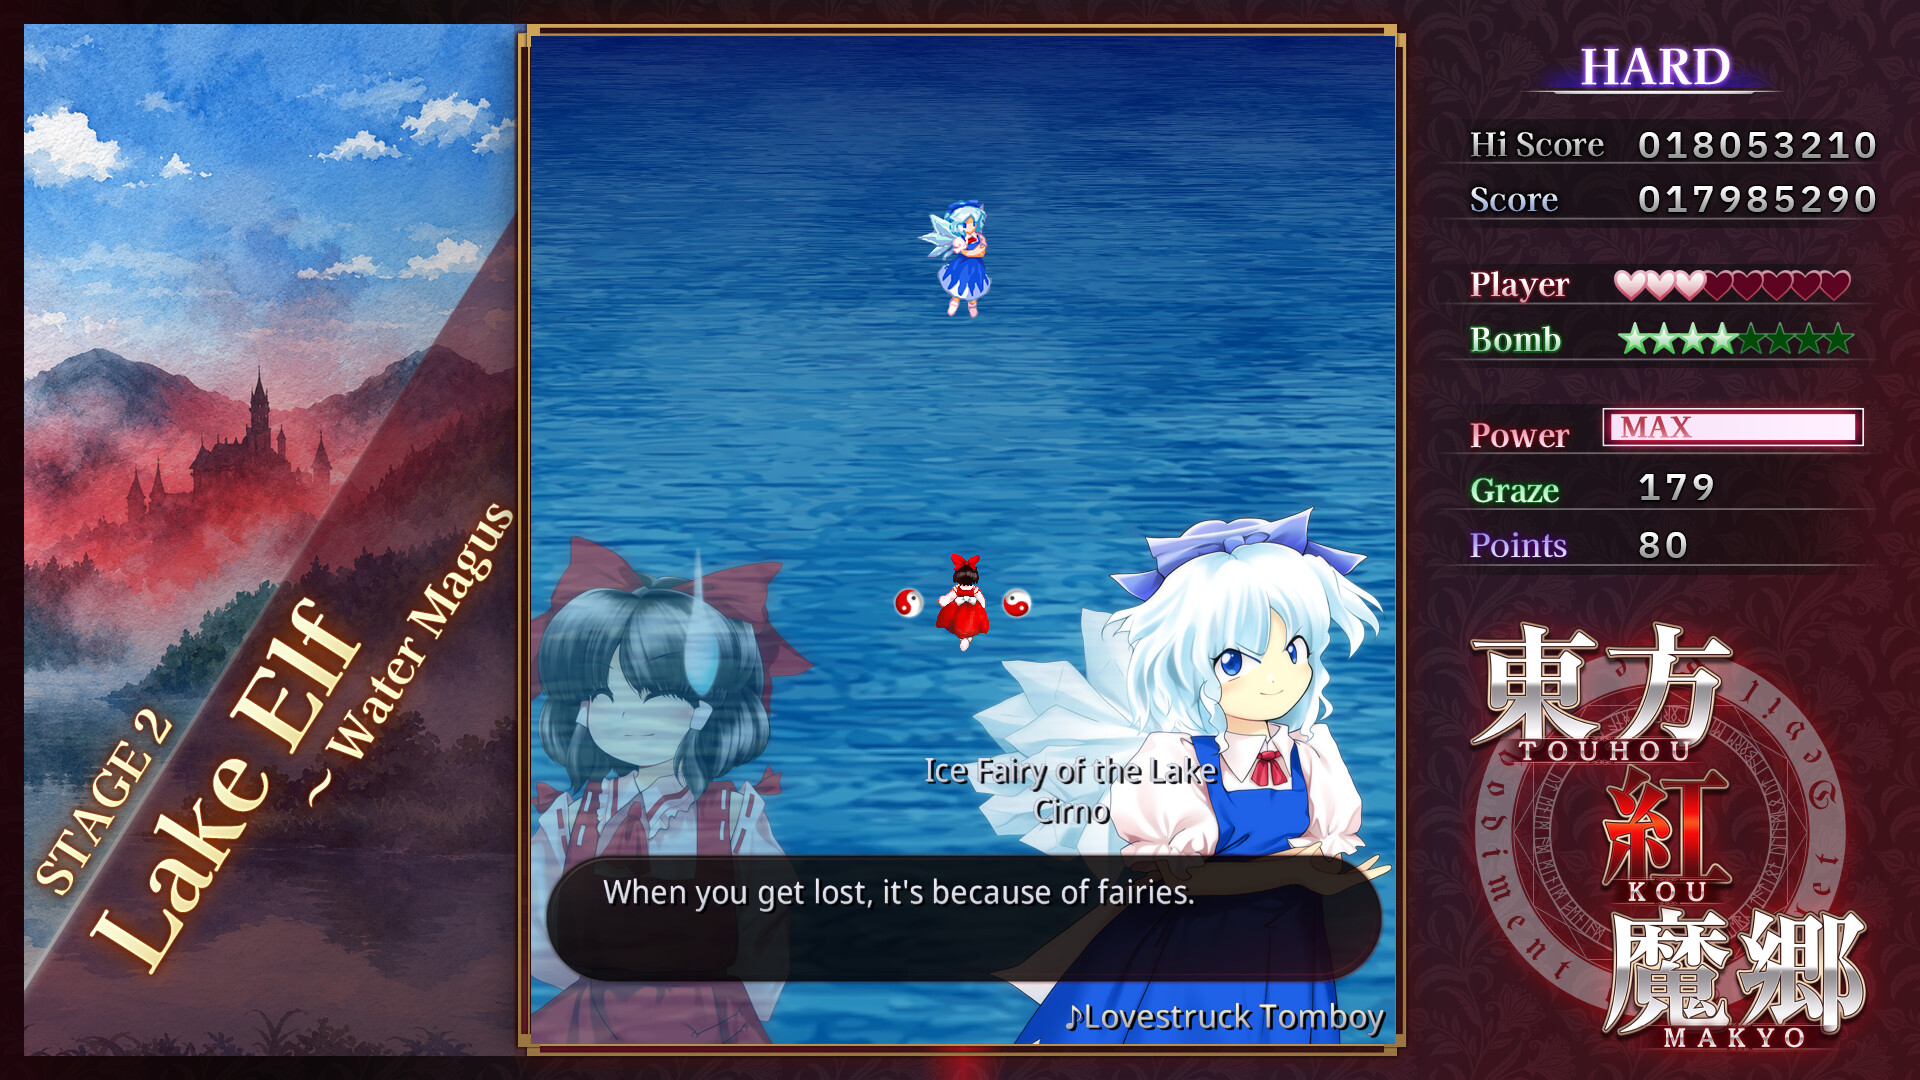
Stage 3: protect the midboss 1up and read Meiling’s spirals
Defeating the Stage 3 midboss drops a 1up in Classic, so make space to collect it instead of drifting to the opposite edge as the fight ends. Meiling’s attacks mix rings, spirals, and aimed fire. Choose a gap in the spiral and follow its change of direction; do not try to outrun the whole pattern along the bottom border.
Stage 4: expect Patchouli to change with your setup
Patchouli’s Classic spell sequence depends on difficulty, character, and shot type. This is the clearest reason to keep one setup while learning. Mark the first spell that consistently takes a life, practice the same route, and plan a bomb there on the next full run. A video made with a different shot type may show a spell you will not receive.
Stage 5: keep a bomb for the crowded recovery after the midboss
After the Stage 5 midboss, it is easy to become trapped at the bottom while items fall out of reach. Do not move upward just because the items are visible. Clear the next wave first, and bomb if the screen closes before you have a route back down.
Final Stage: arrive with a plan for Sakuya and Remilia
The opening enemies arrive quickly, followed by another dangerous group before Sakuya. If these waves have ended previous attempts, assign a bomb to one of them instead of carrying every resource toward Remilia. A first clear is built by reaching the last boss with lives and bombs left, not by saving everything for a fight you rarely see.
Turn a Challenge Mode finish into a Normal clear
After the first complete Challenge Mode run, write down only the three places that caused the most hits. Replay with the same character and fix the earliest one first. Later practice is wasted if Stage 2 still takes several lives every attempt.
- Make Stages 1 and 2 routine. Aim to reach Meiling with most of your starting resources.
- Secure the Stage 3 1up in Classic. Treat that pickup as part of the route, not a bonus you sometimes notice.
- Choose planned bombs for Patchouli and Sakuya. Use the same character and shot type so the patterns remain consistent.
- Accept an imperfect Remilia fight. A bombed spell still advances the run. Spell-card bonuses belong to scoring attempts, not your first survival clear.
- Keep a damaged run going if it can reach a section you still need to see. A continued Classic run cannot produce the good ending, but it can still unlock stages in Practice Start for that exact difficulty, character, and type.
Save a replay when the option is available and review the first mistake, not only the final death. Check where you were standing as the pattern began. A better starting position can remove the hardest dodge entirely.
Know what a clear unlocks before you chase Extra
In Classic Version, finishing on Normal, Hard, or Lunatic without continuing gives the good ending. It also unlocks Extra for the character and shot type that earned that ending. Clearing with Reimu does not automatically make Marisa’s Extra route available under the old rules.
Extra is a separate survival problem with no continues in Classic. Do not make it the measure of your first week. Build one Normal route, learn to spend bombs, and reach Remilia often enough that the final stage stops feeling rare. Extra practice becomes much more useful after those habits are stable.

Finish one Challenge Mode run with Reimu, then stay on Normal with the same shot type. Practice short movements and assign bombs before the screen becomes unreadable. When the first three stages stop draining lives, you will reach the mansion often enough to learn the rest of the run instead of merely reacting to it.
Check the current New Classic pages
Check the Touhou Koumakyou: New Classic official site for the differences between New Classic and Classic Version. The Steam store page lists the current PC controls, languages, system requirements, and release information.