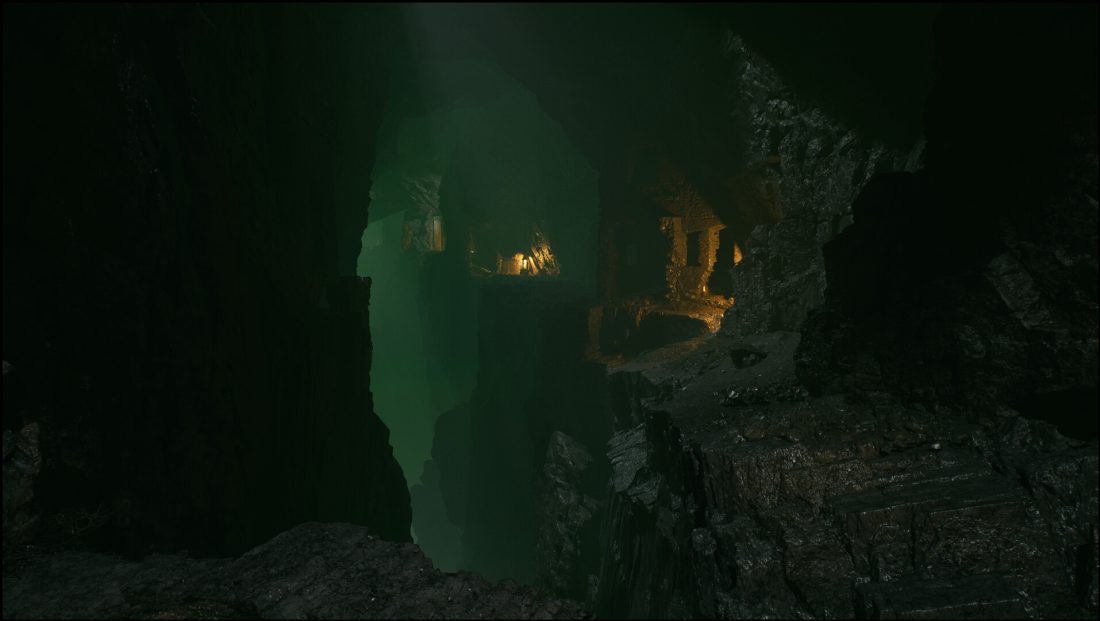
Cosmic Fear hides its extra Chapter 5 path behind two passes. On the first playthrough, finish the story while collecting the glowing statuettes called Secrets. After the ending, use Chapters on the main menu to revisit each area, open five circle-marked briefcases, and carry their puzzle pieces to the locked red door in Chapter 5.
This spoiler-heavy route follows the PC launch build released on September 9, 2026. It puts the main path, all 53 listed Notes, all 14 listed Secrets, and the briefcase cleanup in one route, so you can grab each item as you pass it instead of retracing every chapter later.
How the Secrets and briefcases unlock the hidden path
Secrets are small statuettes with a faint colored glow. There are three in Chapter 1, three in Chapter 2, five in Chapter 3, and three in Chapter 4. The exact number needed to unlock the marked briefcases is unclear in the launch build. Collect all 14 and finish the game before starting chapter replay, and you will not have to guess whether you found enough.
Once the briefcases can be opened, revisit the Prologue and Chapters 1–4. Each area contains one briefcase and one puzzle piece. The fifth piece completes the set needed for the optional red door in Chapter 5. You do not need that door to reach the regular ending: the normal route bends around its left side.
Prologue: leave the office with all four Notes
Stay on the forest path and use the lampposts as your guide. Inspect the body when the trail reaches it, then continue toward the next hanging light and cross the fallen tree. A flash sends Benedict back to his office 24 hours earlier.
Pick up Thorne’s Letter from the chair beside Benedict’s computer. Before leaving this floor, walk around the corner into the archive room and take My Obsession from the floor beside the mattress.
Go downstairs to reception. Alien Abduction Report is beside the computer on the reception desk, while Lake Entity Report lies on the front side of that same desk. Enter the room behind reception and take the key hanging in the white wall cabinet. Return to the stairwell, unlock the back door near the circuit-breaker boxes, and step outside.
Replay briefcase: when chapter replay makes the marked cases available, look on Jakob’s desk around the corner from Benedict’s starting computer.
Chapter 1: reach the church without losing the Thorne route
Walk away from the car and turn right through the open entrance gate. Check the mailbox beside the gate for Unknown Letter. Secret 1 is already close: once you pass through the gate, turn left and search inside the pillared structure.
Follow the road, jump the chain barrier, and inspect the first small building on the left. Dark Discoveries is on its desk. Continue along the main road. When it splits, ignore the locked branch on the left and keep straight toward the Thorne property.
Find the boathouse and bunker keys
The front door of the main house is locked. Read the paper pinned beside it, then go through the open garage at the back. Take the Old Key from the rear workbench and collect Stuff to Take from the metal barrel near the garage doorway.
Leave the garage through the gate on its left and follow the path to the boathouse. The Old Key opens it. The Creature of the Lake is on the counter to your left. From there, keep the lake on your left as you walk along the shore to the cave. Take the Small Key from the table after the scene there.
Return to the property. The Small Key belongs to the bunker door between the garage and house, not the main entrance. Downstairs, pick up The House on Top of the Hill near the wall map. On the right wall, interact twice with the metal slab beside the light. It slides away from another locked door. You cannot open that door yet, so inspect the map and return outside.
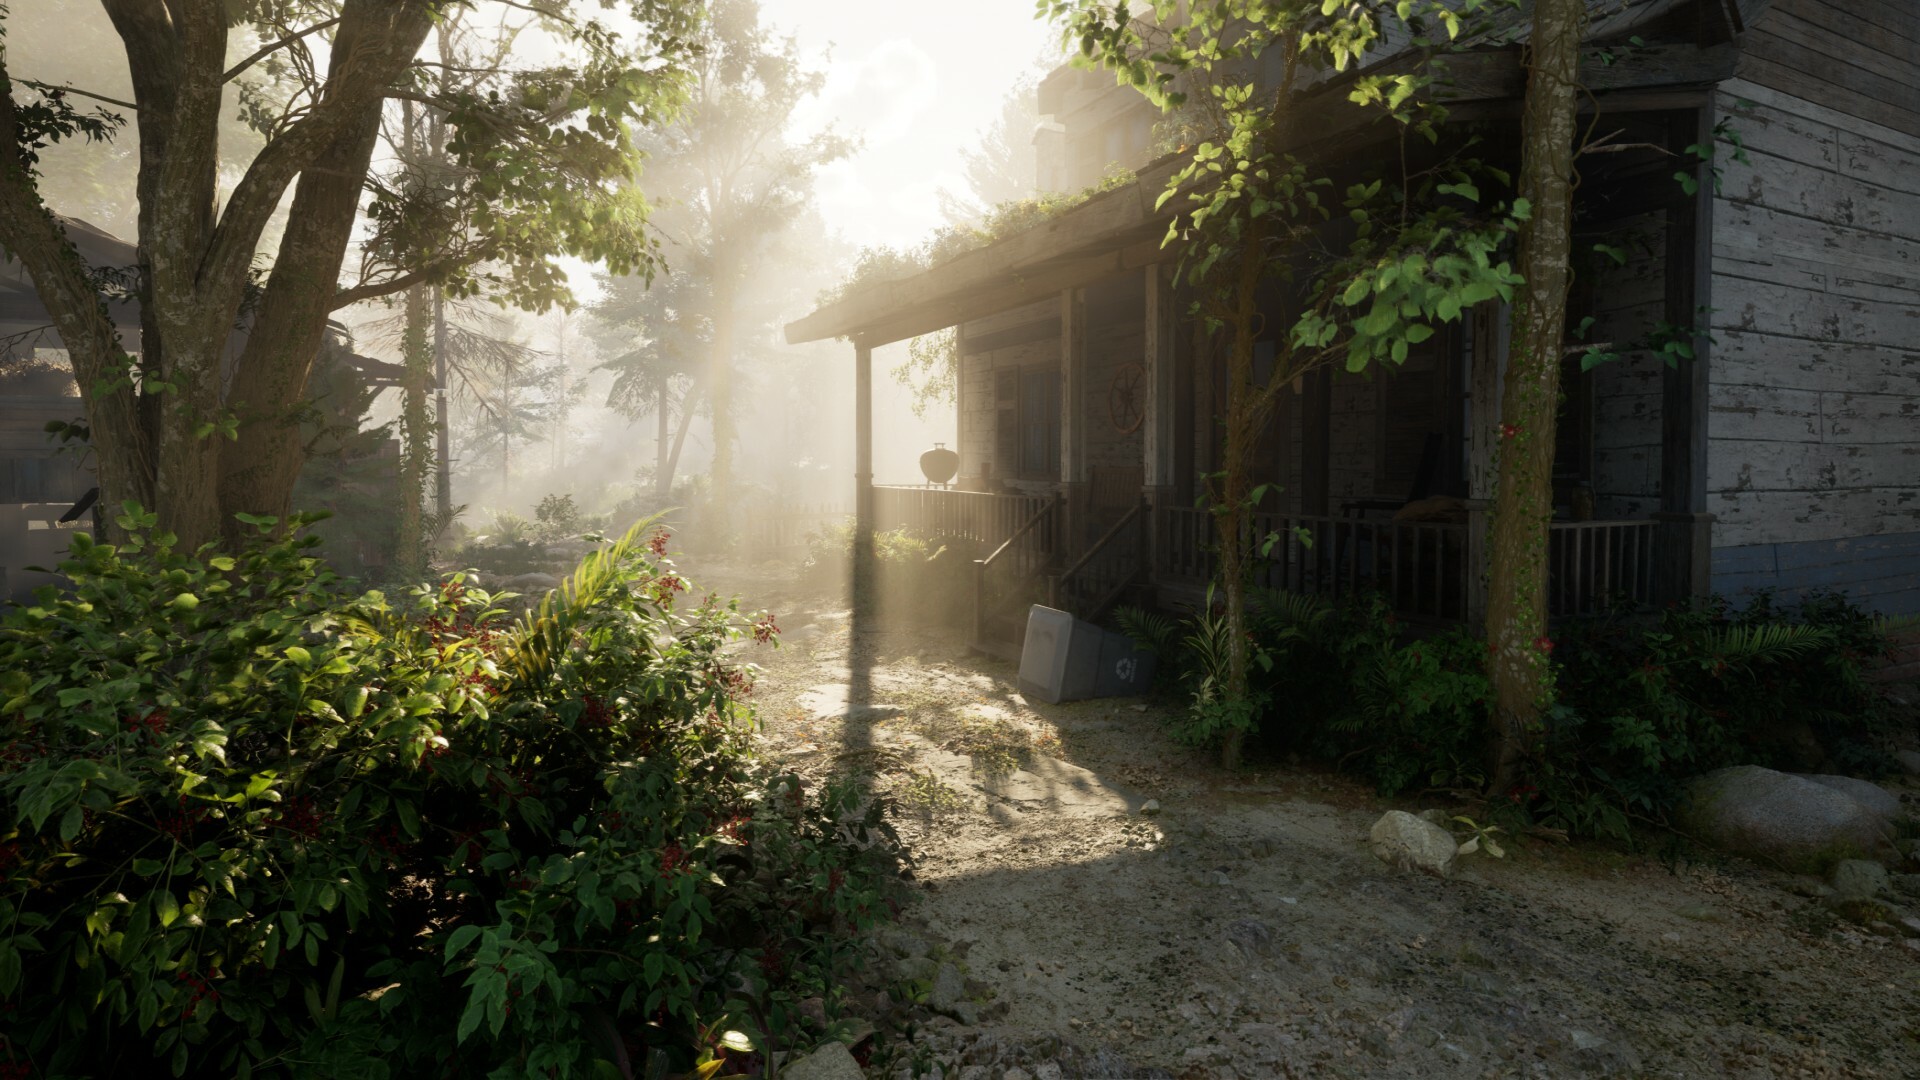
Power the house on the hill
From the bunker, take the path past the pig pen and cross the small wooden bridge. Immediately after crossing, turn left for Secret 2. Follow the ledge and look among the rocks on the right. Return to the bridge, continue past the well, and follow the hanging lanterns uphill.
At the hill house, visit the overlook beside the small shed. The Small Key is on the table by the telescope. Use it on the shed, take the flashlight, and collect The Sound of the Horn. When you leave, the main hill house will be accessible.
Inside, Observations After Dark is near the computer monitors. The bedroom contains Disturbing Discoveries and a car battery on the desk. Take both, then walk behind the house, pick up the jumper cables, fit the battery to the generator, and start it. Check the monitors again. When a blue ring appears on them, return to the telescope.
Return through the cave and call Jakob
The path back is blocked after the flash. Drop from the trail on the left, follow the distant light, and enter the cave. Before taking the main passage, check the smaller opening on the right for Secret 3. Continue to the ladder and climb out through the well near the bridge.
The Thorne house is now lit and open. Pick up The Ambush from the kitchen table and try the telephone beside the stairs. When it fails, go upstairs for The Mysteries of the Lake on the desk and the Old and Rusty Key in the cabinet by the bed.
Take that key back to the bunker. Open the door that was hidden by the metal slab, collect The Thing in the Cellar, and inspect the cage around the corner. Leave the bunker after the light in the sky appears.
Follow the departing UFO. When fallen trees block the road, take the branch on the right and then the gate on the left. Pass the military campsite and keep following the lamps until the church and phone booth come into view. Call Jakob from the booth, climb the church steps, and collect The Shadow of the Apocalypse from the left side of the church before walking back outside.
Replay briefcase: return to the military campsite on the route between the Thorne property and the church.
Chapter 2: open the village tunnel and cross Vancaster Factory
Walk out of the fire circle and follow the lampposts into town. Stop at the first house on the right, identified by the blue car. The Hatch in the Cellar is on the outdoor worktable near the car. Inside the house, take Emergency Evacuation from the table near the colorful tricycle, then go upstairs for Emily’s Drawings on the dresser beside the bed.
Collect the gear and flat stone before opening the hatch
Continue to the bar and read Notice for Benedict West on the counter. The Toilets door cannot be opened from this side. Go outside, circle behind the building, climb the crates, and crouch through the bathroom window. The open drawer on the left holds an Old and Rusty Key. The Plaster Masks is on the floor near the couch.
Leave through the window and use the open wooden gate nearby. Take a left, then a right to reach the cult house. Unlock it with the bar key. In the first room on the left, collect the Small Key and The True Form of Things. Back in the hall, open the final door on the right and lift the face-shaped flat stone off the altar.
Look for the factory to the bar’s right. The gear rests on a crate in its yard. Before leaving, follow the arrow around the green shipping container and go inside for Secret 1.
Return through the alley behind the bar. The open house at the far end contains The Secrets of Vancaster. Back on the main road, continue to the military jeep and road-closed signs. Ground Forces Command is in the jeep’s passenger seat.
Enter the house beside the roadblock. Take The First Sign from the table and The Passage Below from the crate beside the empty gear slot. Insert the gear, then use the wall switch to reveal the stairs.
At the bottom, the patterned door is on your right. Explore the left passage first and climb through the open hatch into a bedroom. The Recognition is on the desk. Go back downstairs, place the flat stone in the basin beside the patterned door, and pass through. Outside, follow the lamps. When the creature crosses the path, turn left toward the shack to collect The Blue Flash, then return to the main trail and climb the plank over the collapse.

Use D-21 to get the F23 code
Turn right when the trail returns to the road. Jakob’s van is parked before the police car. The Arrival – Rose H. is in the back of the van, and Medical Report – Urgent Access 4-C is by its driver’s seat. Search the police car’s driver side for Operations Center – Urgent Notice.
Enter the first open warehouse to the left of the police car and take The Last Days – E. Thorne, 1992. Then circle the large excavation hole. After passing it, turn left into the storage container for Secret 2.
Continue past the keypad door and through the open gate. Walk to the bridge to speak with Jakob. The guard booth on the right holds a key labelled D-21. Use it on building D-21 and inspect the open locker. No Chance – E. Thorne, 1992 contains the code for F23: 2408.
Return to the keypad and enter 2408. Go downstairs, turn right along the corridor, and enter the first lit room on the right. Take the Magnetic Keycard from the desk along with The Old Section – 1992.
Open the labs and Generator Room
Use the Magnetic Keycard on the reader door by the stairs and descend. At the bottom, enter the room on the right and circle around the docked alien craft. Climb to the control station and press the button labelled LOCK. One file beside the console is Operation Contact Horizon Technical Report 07-B. The other is Operation Contact Horizon Technical Report 07-C.

Leave the ship room through the newly open sliding door. In the next hall, enter the room on the left first. This lab holds two files: Operation Contact Horizon – Biological Report 12-A is the first, while Operation Contract Horizon – Biological Report 12-B is the second. Cross to the room on the right and operate its console to open the next sliding door.
Take the key from the severed arm on the floor. The alarm releases the creature seen in the lab, so return to the main floor. Pass the room where you found the keycard and unlock the Generator Room at the end of the corridor. Use its console to open the tunnel.
Follow the pipe overhead as the corridor bends, then go downstairs. Before leaving through Tunnel B, enter Tunnel A and walk to its end for Secret 3. Return to Tunnel B, crouch under the low door, climb the stairs, and go through the final door.
Replay briefcase: after using the Magnetic Keycard, enter the room with the docked alien craft. Go up the stairs on its right side and turn right at the top.
Chapter 3: rebuild the alien device and find the plaster mask
Take the replacement flashlight beside the victim at the end of the warehouse tunnel. Before climbing away from the building, circle its left side and enter the shipping container. Secret 1 is inside a crate there.
On the other side of the building, use the stacked crates and exposed pipework to reach the roof. From there, land on the red shipping container and cross the fence. Follow the orange lamps through the repeated forest sequence. Once the blue flash appears, the creature can kill you with a single hit and send you back to the last checkpoint.
Take the stool to the flat-stone altar
Keep following the lamps until a locked house comes into view, then walk around the back. Secret 2 is tucked into the wood pile. Continue along the rear path. At the fork, turn right and then immediately climb the steps on the right. Keep left to reach the shack.
Take the stool in front of the desk and collect Guard Duty – Part 3. Return to the fork near the locked house, but take the other branch this time. The small castle has a short ladder you cannot reach from the floor. Place the stool beneath it, climb up, and take the flat stone from the central altar. Guard Duty – Part 2 is on the table to the left of the statue.
Climb down and stay on the path beyond the steps. At the cliff edge, collect Guard Duty – Part 1 near the shed, then put the flat stone into the basin beside the patterned door.
Find both purple cylinders
Follow the lamps around the cliff. Take the right branch and continue to the town center, where the device at the top of the stairs is missing two parts. Before entering the mine, take Work Log – Part 1 from the first open house to the left of those stairs. Go down the stairs, follow the left-hand path, and visit the open house on the right for Work Log – Part 2.
Enter the mine building on its ground level. The desk holds a key and Excavation Report. Outside, find the mine cart and follow its rail into the shaft. Pick up the first glowing purple cylinder at the dead end.
Use the key on the upper mine door. Supervisor’s Log is on the desk under the red light, and the gear assembly nearby is missing a lever. Before continuing, search along the mine’s left exterior wall. Secret 4 is in an opening there.
Take the path leaving the mine on the right side of the town center. The bathroom of the open house on the right contains Work Log – Part 4. Leave, cross the route, and turn toward the graveyard.
Beyond the graveyard, pass through the arch, turn right over the bridge, and enter the shack. Take the lever and Work Log – Part 3. Secret 3 is directly behind this shack. Return to the mine’s upper floor and fit the lever into the gear assembly. Pull it, and the drawbridge will drop.
Open the four-statue door
Cross the drawbridge into the fortress. The second purple cylinder rests at the base of the central statue. The Great Ceremony is in the crypt on the statue’s right, near the green pool.
Bring both cylinders back to the mechanism in the town center. Slot them in, then press each cylinder already attached to the machine. Take the newly exposed device from the alien figure, return across the drawbridge, and place it into the matching statue beside the sealed door.

Inside, pass the bubble-protected bed and use the red console on the wall to lower the field. Inspect the bed, then look behind that same console and pull the concealed lever. It opens the gated room on the lower floor; skipping it blocks both Secret 5 and the Chapter 3 replay briefcase.
At the three-way hall, visit the jail cells on the right. Jakob Crawford 14/03/2000 is in the first cell on the left and My Final Research – Rosa H. is in the second. Then take the left-hand route from the junction to a door guarded by four statues. One statue has no mask.
Go outside and descend to the corpse on the lower level. Pick up the plaster mask beside it. If you pulled the lever behind the console, the gate behind the corpse is open; enter and look into the left corner for Secret 5. Return upstairs, place the mask on the bare statue, and pass through the unlocked door.
Replay briefcase: use the same lower gated area behind the corpse. The hidden lever behind the wall console opens it.
Chapter 4: cross the drained lake route and reach the ship
Follow the tunnel until it opens at a cliff. Hold Shift for the run-up and press Spacebar to clear the gap, then continue along the ledge. Before leaving the first cavern, turn right and circle the wall with the window to find Secret 1.
When you can see the distant bridge, stay on the right and climb the slope. Continue beyond the Thorne boathouse and pig pen, then use the next left-hand trail to reach the lake cave. The lake has drained. Circle the cave on the right to find the next path of lamps. Make a sharp right before joining that path; Secret 2 waits in a small alcove between two candles.
Get past the creature in the field
Follow the lamps until the route opens into a field. Move to the large rock near the center and wait behind it for the creature to pass. Once it moves away, run along the marked path to the save point at the cliff. If it catches you, the checkpoint keeps the retry short.
Turn right at the cliff and follow it around to the house surrounded by cages. The Keeper of the Abyss is on the table near the front door. Go behind the building before entering; Secret 3 leans in an open rear window.
Carry the cylinder through both doors
Enter the house through the open cellar door. The Day of Xal’Ruun-Tahar is on the table beside the marked briefcase. The normal door is locked, so take the tunnel on the right and collect the cylinder device in front of the altar.
Put the cylinder on the pedestal by the first door. That opens the first door but starts closing the second one. Remove the cylinder as soon as the first door moves, then hurry through both openings before the second one shuts.
This passage returns to the cavern where the chapter began. Turn right, jump the gap again, and climb the slope to the Thorne property. Enter the bunker/cellar entrance still standing beside the missing house. Continue into the cave and through the gate that is now open.
Use the cylinder on the next pedestal. Beyond the slab door, Ethan Thorne – 12/09/2000 is on the desk opposite the mechanism. Take the left-hand path, follow it to the outdoor ledge, and walk up the open ramp into the alien ship.
Replay briefcase: it is on the table to the left inside the prisoner-house cellar. The same room also contains The Day of Xal’Ruun-Tahar.
Chapter 5: finish the regular route or open the puzzle-piece door
As soon as you board, turn left and enter through the blue door. Activate the panel next to the red door ahead. Around the next corner on the right, press the blue console, then return to the center of the room and drop through the square opening.
Let the red triangles guide you across the broken section and onto the ledge beyond it. The figure watching from a distance does not start a chase. The trail ends at the locked red puzzle-piece door.
If you are on the first playthrough or do not yet have all five pieces, walk around the door’s left side and go downstairs. Pass the blue-sphere pillar, cross the bridge on the left, and operate the alien console. Return over the bridge and remove the blue sphere from the pillar.
Take the sphere downstairs, passing the pair of statues on the way. Place it in the pillar next to the force field. Continue through the lowered barrier, walk between the two red triangle lights, and follow the slope to the bottom. Use the wide doorway on your left, then follow the platform to its end to finish the game.
Open all five briefcases on chapter replay
- Prologue: check Jakob’s desk around the corner from Benedict’s starting computer.
- Chapter 1: search the military campsite on the final route to the phone booth and church.
- Chapter 2: after opening the keycard door in F23, enter the alien-craft room, climb the stairs on the right, and turn right at the top.
- Chapter 3: pull the lever hidden behind the red wall console in the fortress. The opened lower gate behind the plaster-mask corpse leads to the case.
- Chapter 4: enter the prisoner-house cellar and inspect the table on the left.
With all five puzzle pieces collected, replay Chapter 5 and return to the red door after the ledge with the triangle lights. The piece slots are on the door’s right. Fit the set there to open the additional path.
Chapter 5 has no listed Note or Secret pickup. Finish the regular path on your first visit, then come back with all five pieces when you are ready to open the side door.
Official game and launch information
Cosmic Fear is a first-person Lovecraftian horror adventure by Alessandro Guzzo. The official Steam page lists the September 9, 2026 release and current PC requirements. The developer’s Cosmic Fear page has the official overview, trailer, and gallery. This guide was checked against two walkthroughs on September 10, while both were still being updated. If a patch moves a pickup or door, check the game’s chapter selector before retracing the whole route.