
To finish the campaign in STAR WARS: Galactic Racer, win The Qualifier against Sebulba, reach Derven Acos for your first championship challenge, then complete Kestar’s new tour and beat his podracer. The first championship victory ends Act 2 and leads into Act 3. Your route through each planet can change, so choose events by their rules and rewards rather than trying to reproduce someone else’s list of races.
This walkthrough follows the launch campaign available on October 7, 2026, from the opening tutorials through the final championship and ending. Campaign spoilers follow.
The opening races and your first tour
Complete the opening driving sequence before building a campaign vehicle. Practice Accelerate and Afterburner, then the maneuver introduced for your speeder: landspeeder drift, a speeder bike’s Kinetic Burst, or a skim speeder’s Knife Edge. Choosing another vehicle later changes what the maneuver input does. The table below groups the controller prompts used in this walkthrough; follow your current prompts if you have remapped the controls.
| Controller | Actions and buttons |
|---|---|
| Xbox-style tutorial prompts | Hold RT to accelerate; hold A for Afterburner; LT plus X performs the vehicle’s drift, Kinetic Burst, or Knife Edge. |
| Default PlayStation Ramjet controls | R3: Arm Ramjet. X: Ramjet Boost. |
After the introductory scenes, customize Shade’s outfit, helmet, and voice, then speak to Darius Pax in the paddock. His conversation leads into the Jakku tour map. Select a connected event node to begin. A finished event opens the next choices along that branch; you cannot complete every branch during one tour. At the end of a planet’s route, travel to the next planet and visit the paddock before racing again.
A landspeeder is a sensible first choice if you are still learning the corners. Spend early Upgrade Pack choices on Cornering when you are running wide, Afterburner when you need more acceleration, and Resilience when impacts are causing trouble. Resilience concerns damage and malfunctions; it does not make an Eliminator’s position requirement disappear. A faster build still has to finish ahead of the racers being cut.
Collect your credits after an event, then choose the offered upgrade, part, or ability. An Upgrade Pack presents alternatives and asks you to install one. Read the selected card’s description before confirming. Hibi also sells parts and packs at the paddock, so keep some credits available for purchases between planets instead of spending everything on the first shop visit.
Which events can end a tour?
Highlight a node on the map and read its event card before selecting it. An ordinary Race, an Eliminator, and a Field Test have different failure rules. In particular, finishing below third in a standard Race is not the same as being eliminated. The event card also lets you compare the upgrade and part rewards before committing to that branch.
| Event | What you need to do | Failure consequence |
|---|---|---|
| Race | Finish the race. Better positions improve the credit payout. | Wrecking costs a token; the standard Race card pays rewards at any finishing position. |
| Eliminator | Avoid being the last racer as eliminations occur, then finish in the top three. | Elimination or wrecking costs a token. |
| Field Test | Meet the displayed target in a supplied experimental vehicle. | The map explicitly states that you cannot lose a token here. A failed test gives no rewards. |
| Galactic Gauntlet | Survive both knockout phases, then win the one-lap race among the final three. | The event card lists failure as Knocked Out. |
| Qualifier or championship | Win the head-to-head race. | Both the Qualifier and championship cards list failure as Knocked Out. |
For a first clear, take a Field Test when its alternative is an Eliminator you do not know. You can still move on after a failed test: in the early Jakku Ramjet test, missing the distance target leads back to the map and onward to Lantaana. The cost is the missed reward. Do not abandon a tour simply because the result screen says Field Test Failed.
Eliminators offer stronger rewards, including Epic Parts, but the race keeps removing competitors until three remain. Watch the At Risk of Elimination display while racing. Getting out of the bottom positions is urgent even if there are many laps left. When the HUD switches to Race to the Finish Line, hold a top-three place until the finish; surviving an earlier elimination does not end the event.
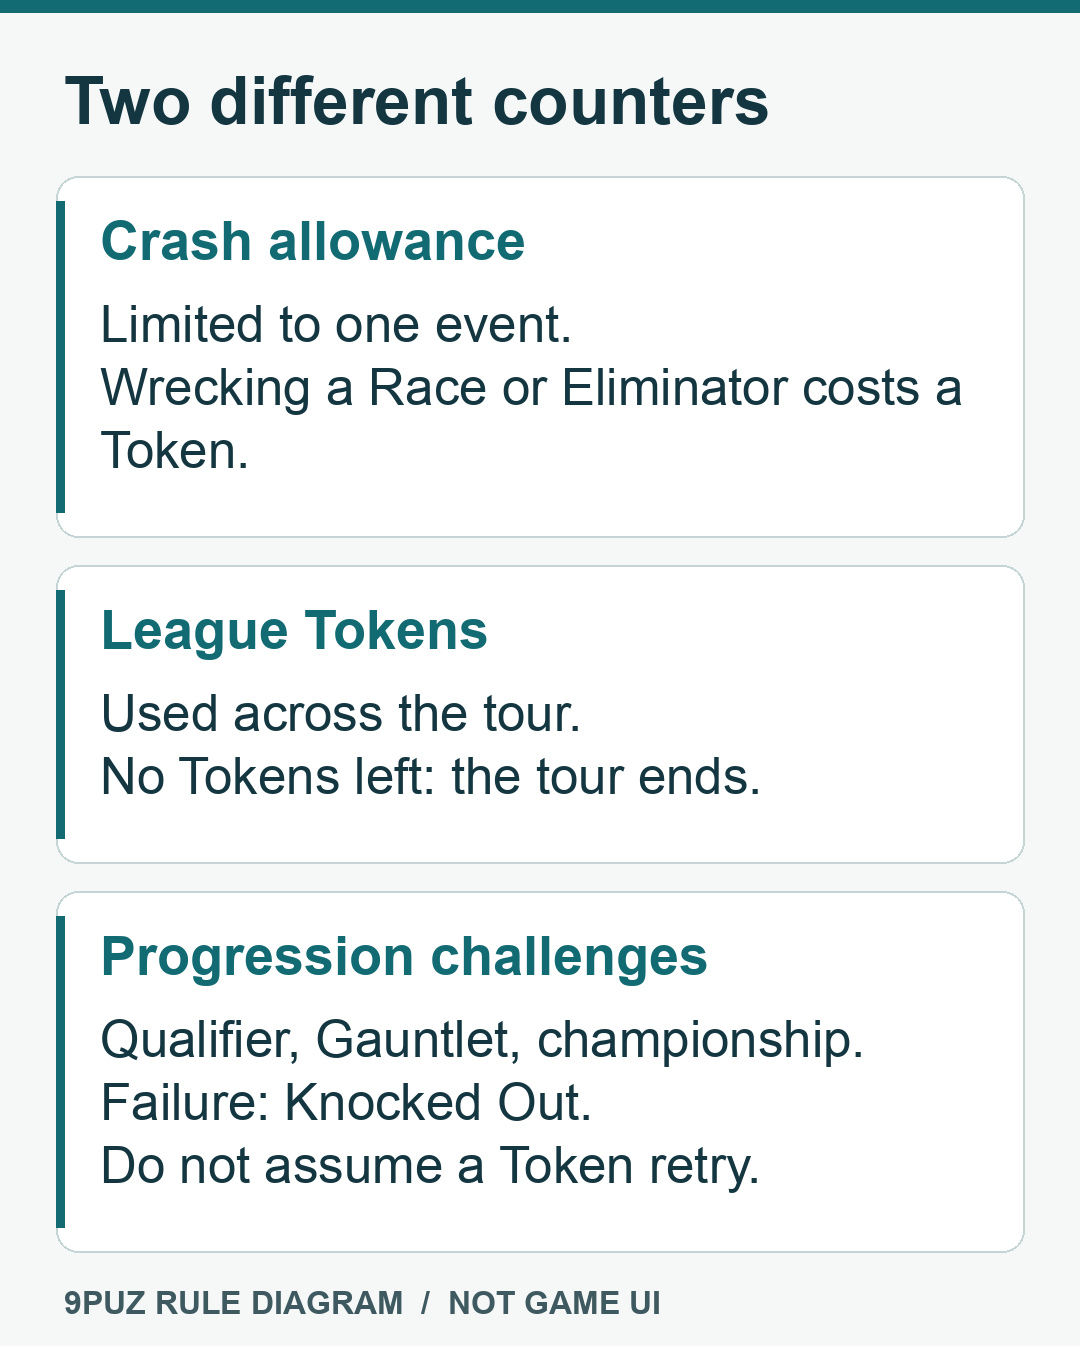
Crash allowance applies to one event; League Tokens cover the tour. Individual crashes use the event’s allowance. Wrecking out of an ordinary Race or Eliminator costs a League Token, as does elimination from an Eliminator. Your tour ends when its Tokens run out. Count the remaining crash icons before committing to another pass: a collision can also drop you into an Eliminator’s At Risk positions. On your last available crash, pass on a straight instead of forcing a takedown beside a wall. If the tour ends, prepare another run of that act.
The Qualifier, Galactic Gauntlet, and championship use the separate Knocked Out failure label. A spare League Token does not establish that you can immediately retry one of these events. After a knockout, use the continuation options offered on the result screen; the failed Gauntlet and championship restart menus are not covered here.
Act 1: The Qualifier
The first act runs through Jakku, Lantaana, and Ando Prime before The Qualifier on Derven Acos. Debris Dunes and The War Fields are early Jakku races; the branching map can also offer a Ramjet Field Test or an Eliminator such as Star Destroyer Speedway. Clear one connected path through the planet. You do not need to visit every named event to reach Lantaana.
The Ramjet Field Test measures distance covered using Ramjet, rather than your final position against rivals. Activate Arm Ramjet, then use Ramjet Boost on a straight where you can hold your line. Use the platform-specific prompts for those actions; the PlayStation buttons are grouped in the opening controls table. Watch the distance counter and heat gauge together. Ordinary driving alone does not fill the required Ramjet distance. If you miss the target, continue from the results screen and use the next planet’s events to build your vehicle.
On arrival at Lantaana, finish the paddock conversation with Kestar Bool and visit Hibi. Her shop introduces parts that affect Ramjet cooling, heat generation, and Afterburner refills. These do different jobs: a shorter cooldown helps you use Ramjet again sooner, while lower heat generation helps during the boost itself. Choose the effect that addresses how your last event went instead of treating every Ramjet part as another speed upgrade.
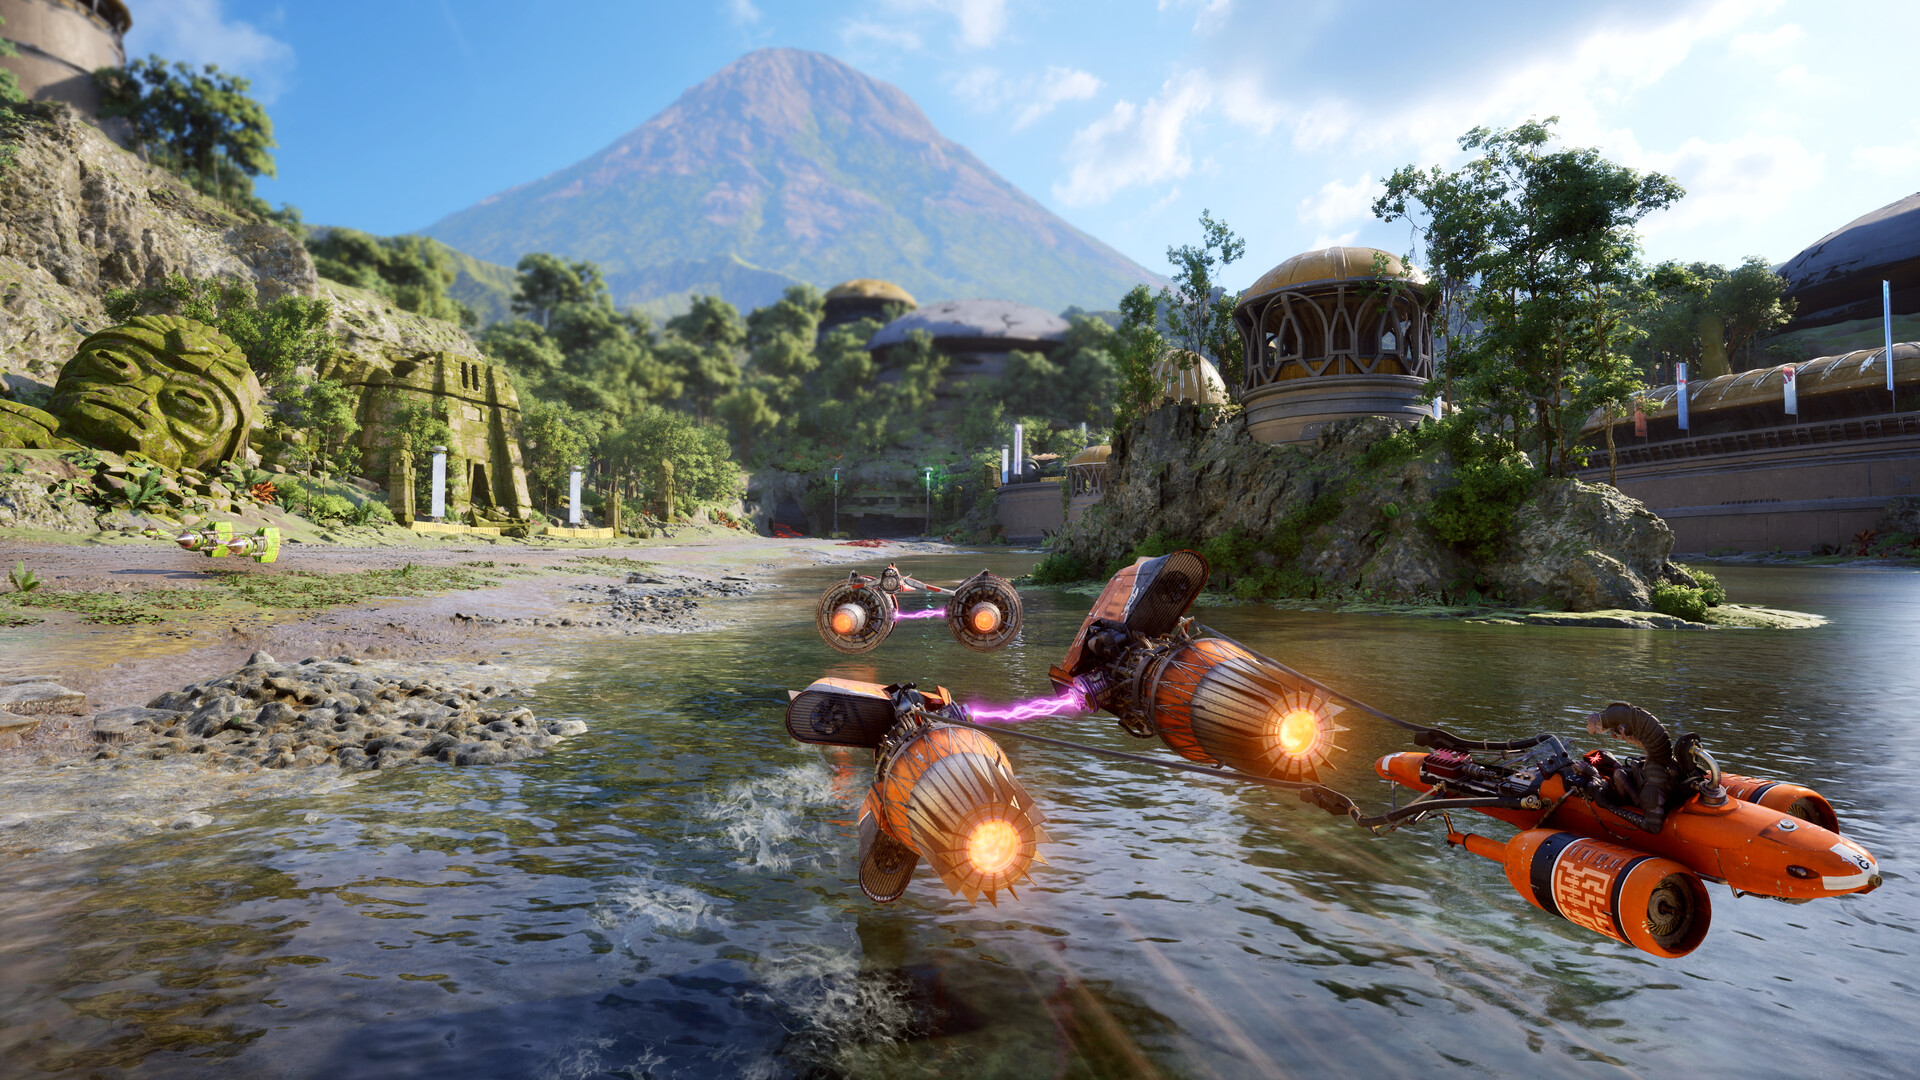
Lantaana combines lava with cooler water sections. Use the Cooled status when it appears: Ramjet recharges faster and builds heat more slowly while cooled. A boost that was manageable in water can become dangerous after leaving it. Release the boost before the heat gauge reaches its limit, especially when the next turn hides a wall or a volcanic section.
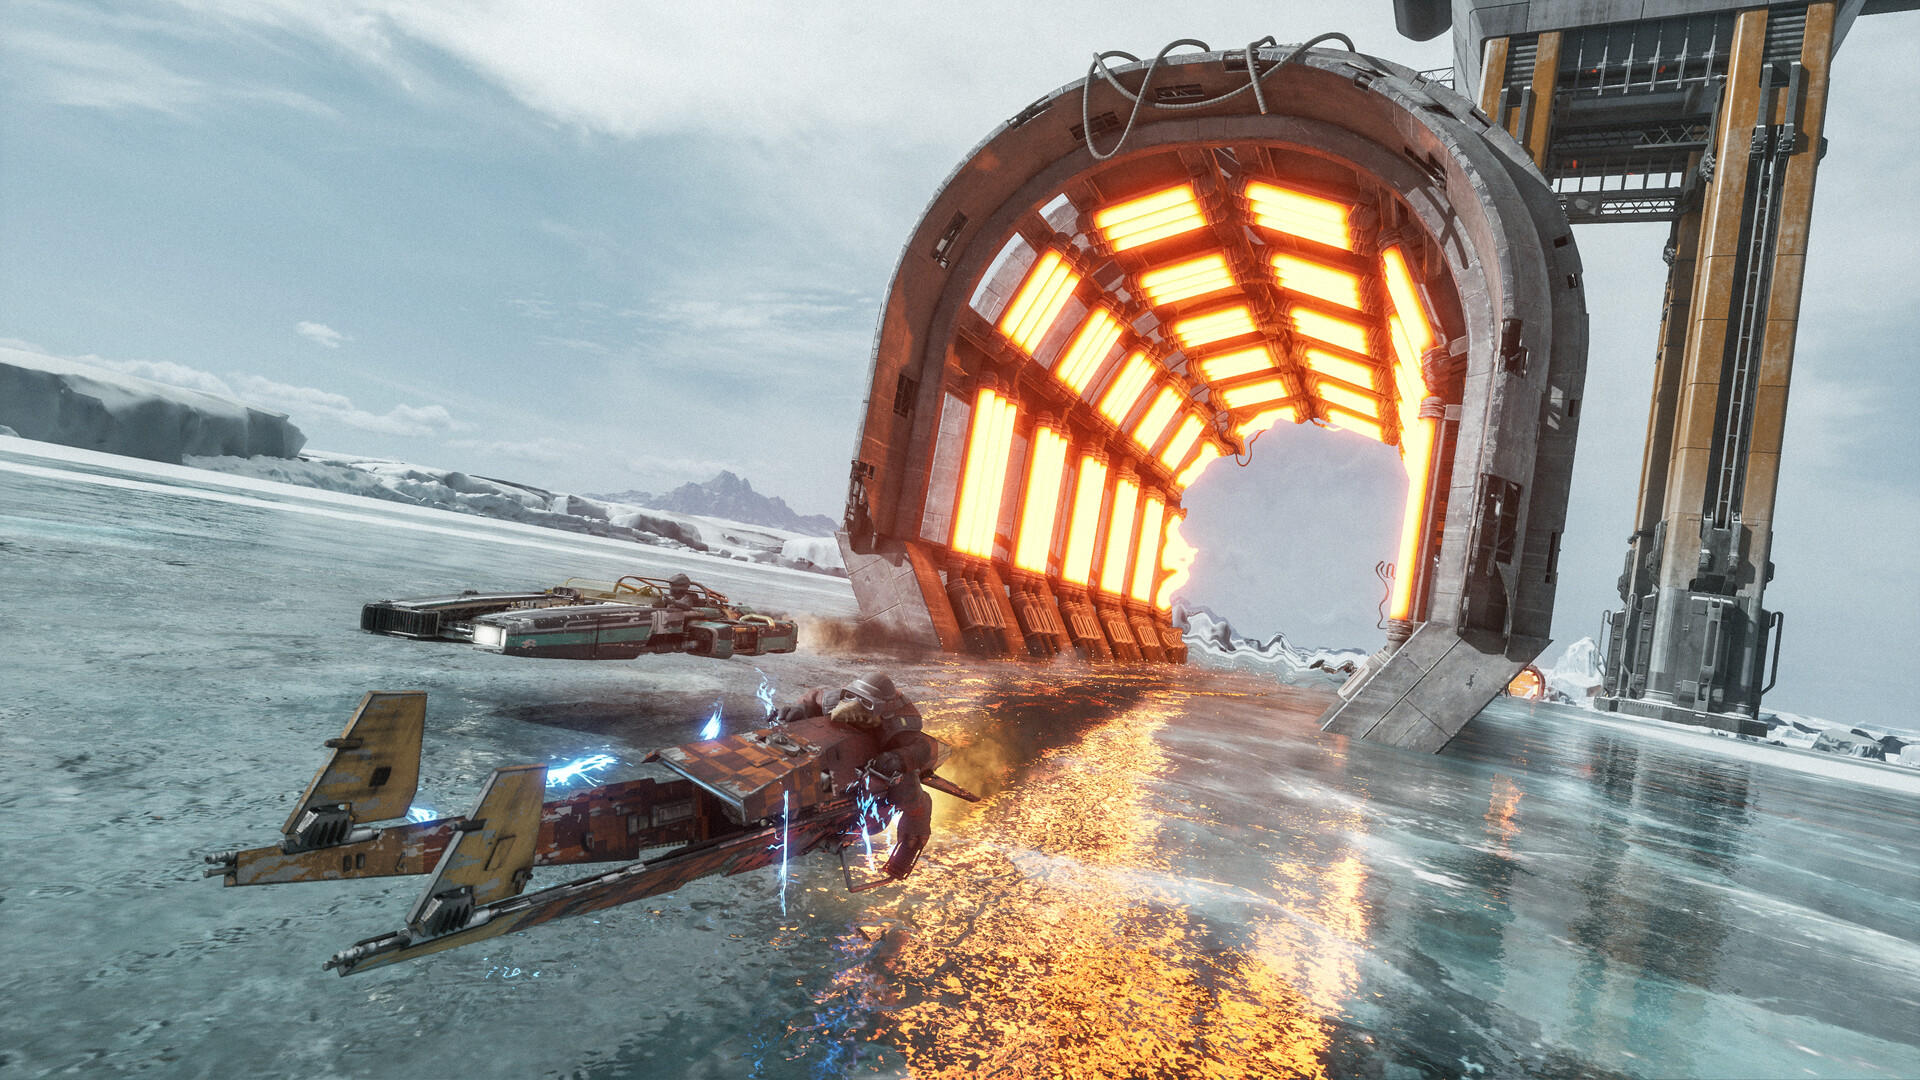
Continue through the Lantaana route, then travel to Ando Prime. Its snow and tunnels introduce Cooled and Frozen conditions. Do not judge Ramjet safety from the snowy scenery alone. Some passages contain hot structures, and your status can change while you are still racing on an ice planet. Use the status labels beside the HUD to decide whether another long boost is safe.
At Derven Acos, choose The Qualifier and beat Sebulba. This is a four-lap head-to-head race in the launch route. Second place is insufficient here: the map’s goal is to defeat the qualifier champion. Keep your boost available for the stadium exits and broad sections of the snow route, and lift before the tighter tunnel bends if you cannot hold the line at full speed. Cross the finish first to receive the victory summary and induction scene.
The next story transition explicitly identifies Shade as an official Galactic League racer and takes you to Sentinel I. Act 1 completion also unlocks Clandestine Aid. Mad Genius becomes available after the first two planets of Act 1. Check those Favors when preparing the next tour; they can help you protect a run that now has more planets to cover.
Act 2: backers, Sentinel I, and the Galactic League
Prepare a new vehicle at Hibi’s workshop on Sentinel I, then speak to Pax and use the nearby Backer Contract terminal. The Hutt, The Pirate, and The Broker offer different tasks. Choose the action you can perform with this vehicle. The Hutt can ask for overtakes; other cards include Redlining and time spent airborne. These tasks are printed on the contract, so a contract associated with the same backer can ask for a different action on another planet.
Before starting the tour, open Upgrade Vehicle and spend the Tuning Points earned from earlier events. These upgrades improve the base stats of that vehicle type for later runs. If your landspeeder kept running wide, add Cornering here before selecting your next tour vehicle. Credits buy the parts and Upgrade Packs used during a tour; Tuning Points go into this separate vehicle upgrade screen.
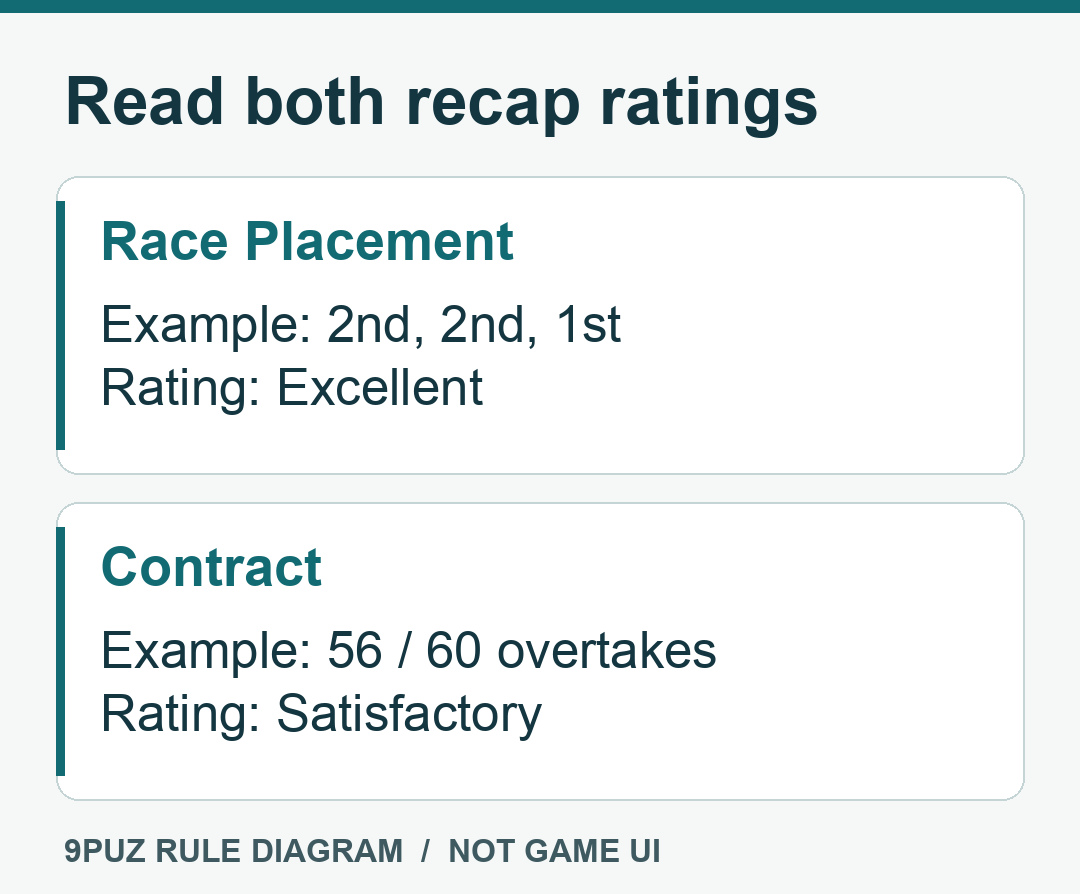
Sign the contract and complete the conversation with the backer. The signing screen supplies credits and a League Token. Backers judge both race results and their contracted action, then review your performance when you reach another planet. A good podium record can coexist with only a Satisfactory contract rating if you have not done enough of the requested action. Read both lines on the performance recap before choosing the next contract.
Take a contract that fits what you already intend to do. With an overtake contract, pass other racers during the events. A Redlining contract asks you to push Ramjet close to overheating, where the alarm sounds. If you are already struggling to keep the heat gauge under control, the latter adds a risk to every attempt. Credits from a contract help buy parts, but chasing its target does not excuse being eliminated.
The Act 2 planet order is Sentinel I, Jakku, Crait, Ando Prime, and Derven Acos. On each planet, follow a connected path across the event map, collect its rewards, and take the next travel node. Mystery Encounters and Scrap Dealer stops can appear between races. Choose from the nodes connected to your completed event. If the next choice is a Field Test instead of a familiar race, compare its target and rewards before moving along that branch.
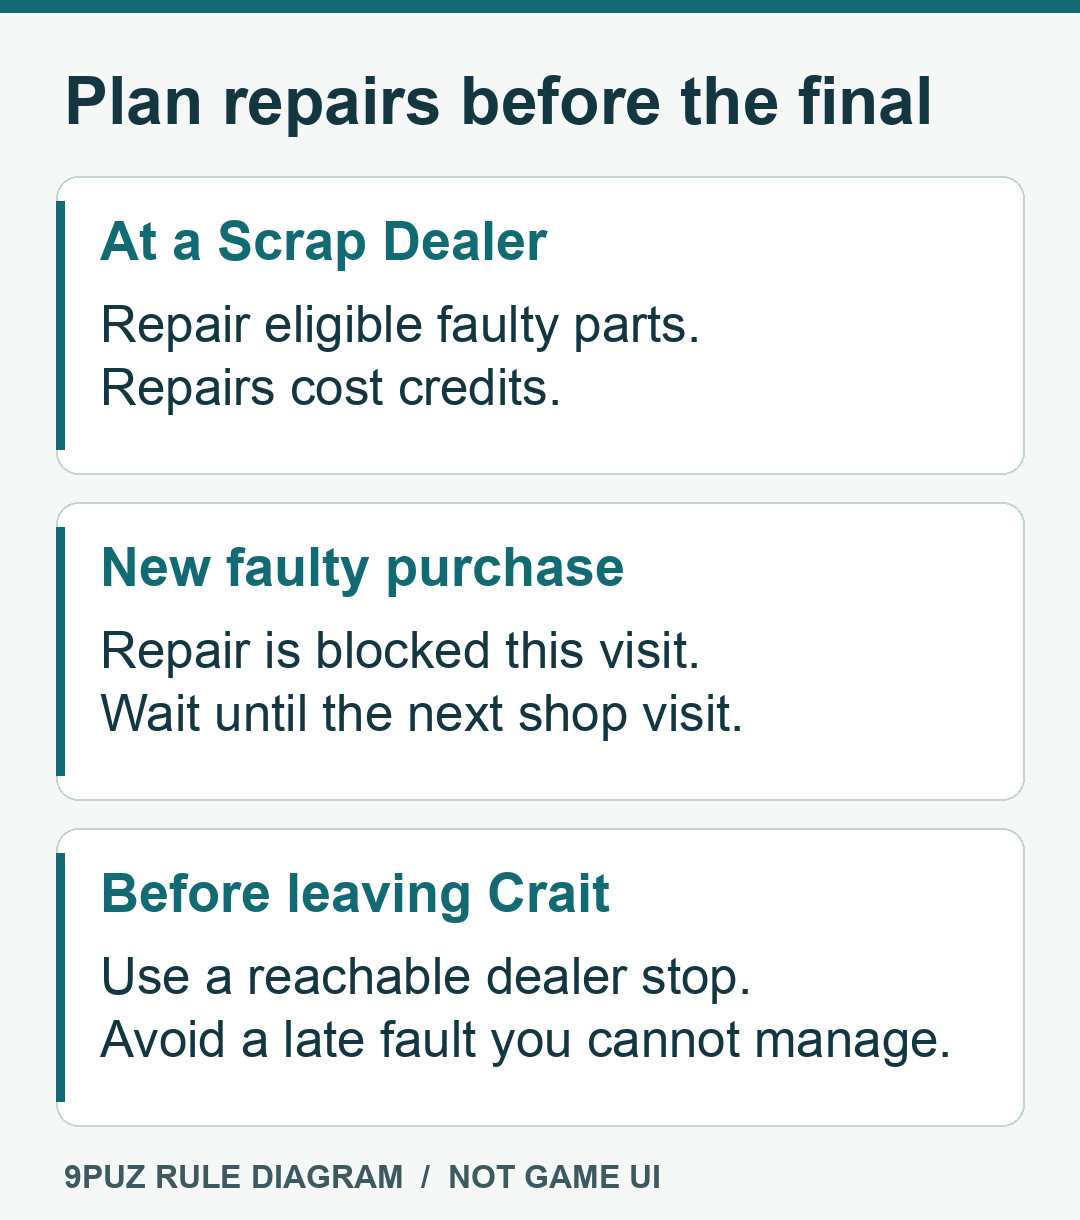
At the Scrap Dealer, inspect both the part effect and its fault before spending credits. A faulty part cannot be replaced until repaired, and the dealer charges for repairs. A newly purchased faulty part cannot be repaired until your next shop visit. Buy one only if you can handle its fault through the events before that next stop. A cheap Afterburner part that gradually makes you Frozen while slipstreaming can impair your steering just when you are lining up an overtake.
If you encounter Ori and Per between events, their repair trade is another option. The offer can remove one Cornering upgrade to repair up to two faulty parts. Compare that steering loss with the faults you would remove before accepting. You can keep your scrap and continue without taking a trade.
You can also accept a pre-race sidebet. You and the other racer contribute credits, and the one who finishes ahead takes the pot. This is a comparison against that rival, separate from the event’s own requirement. Beating your betting rival in fourth does not save an Eliminator that requires third or higher. Decline a bet if losing the stake would prevent a needed shop purchase.
Talk to Sebulba in the paddock for Tales of Podracing. These events let you drive a podracer before the final campaign showdown. Completing the first one unlocks Feet First; completing all twelve is the separate Old Greats Favor objective. For the main story, the first event is useful practice. The full twelve-event chain does not need to be finished before continuing your speeder tour.
Derven Acos: the Gauntlet and first championship
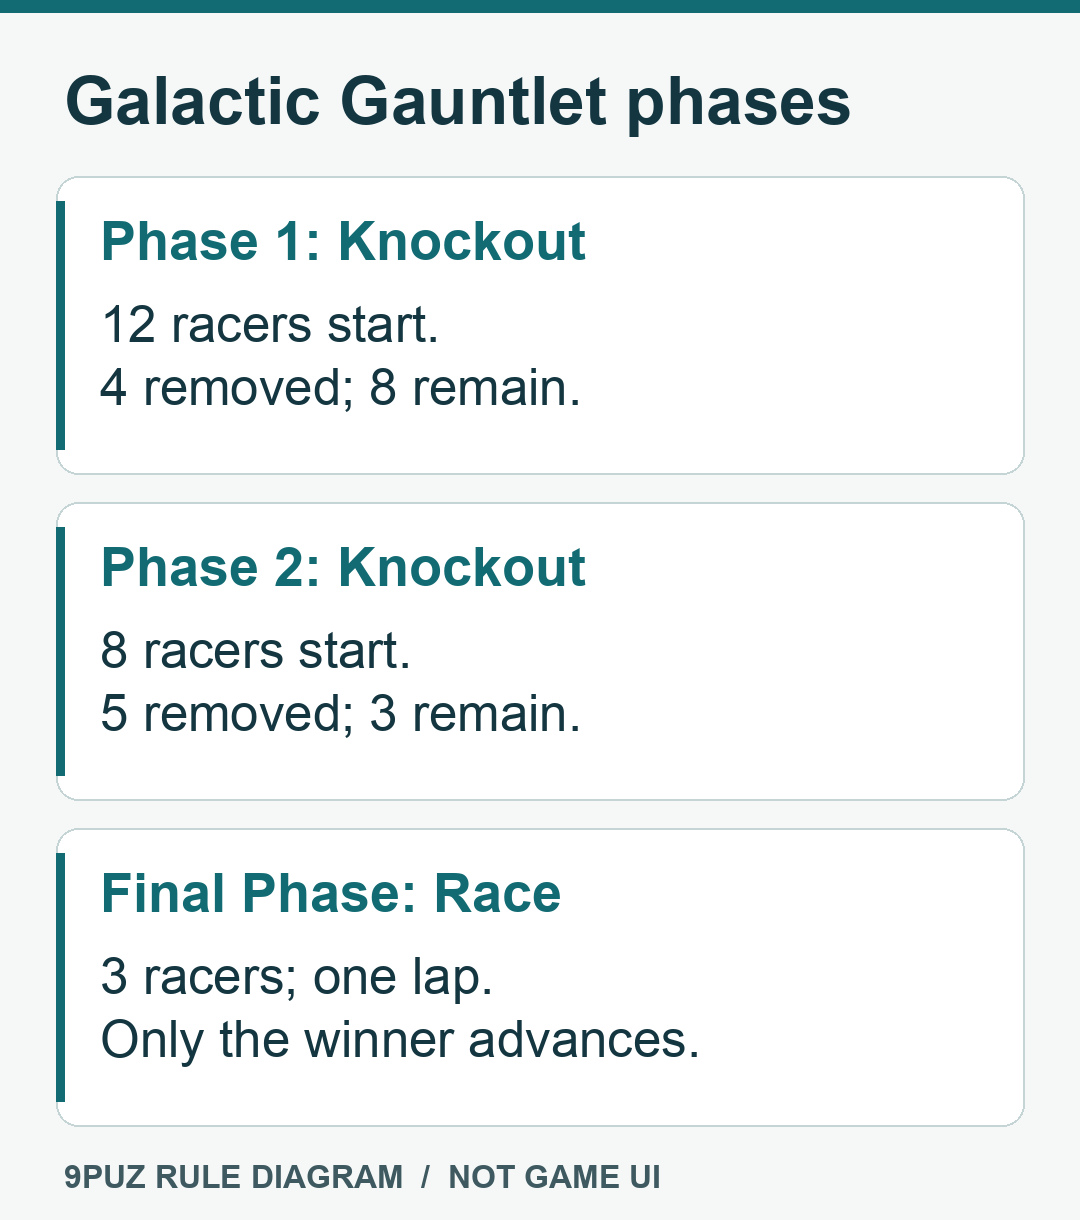
Visit Hibi and speak to Pax before entering the Galactic Gauntlet on Derven Acos. This is the selection race for the challenger, followed by the championship itself. The Gauntlet starts with twelve racers. Phase 1 removes four, Phase 2 removes five, and the final three race for the championship place. Watch each phase’s elimination display and stay out of the positions being removed. When Final Phase: Race appears, you have one lap and only the winner advances.
Save enough of your vehicle’s crash allowance for that final lap. Takedowns are useful when you can force an opponent into trouble without hitting the scenery yourself, but the transition to the race phase changes your immediate goal to finishing first. Use Afterburner on the stadium banking, then align your vehicle before the snow route narrows. Ramjet’s larger boost is most useful when the road ahead is visible and you have room to correct a turn.
Win the Gauntlet, collect the rewards, and enter the championship race against Kestar. The Act 2 championship is a six-lap speeder race. Finish ahead of Kestar to claim the title. Follow the lap counter rather than mistaking an early stadium crossing for the end. The course continues through snow, heated arches, tunnels, and back into the arena.
Perfect Landings give a temporary speed boost when you land with the vehicle’s pitch parallel to the ground. Use that reward on the jumps instead of immediately adding a hot Ramjet boost to an unsettled landing. Parts such as Cooling Dampers can also add Cooled after a Perfect Landing, making the landing itself part of your boost plan. The part must be installed for its listed effect to apply.
Finish first for the championship victory screen. Continue through the following scenes: Kestar challenges the result, Pax is taken into custody, and Kestar takes over the League. This is the scripted transition into Act 3. The new act does not mean that the six-lap race was secretly lost, and repeating Act 2 is not the way to restore that result.
Act 3: Kestar’s Galactic League
Talk to Hibi, choose your vehicle and Favors for the new tour, then speak to Kestar outside the ship and arrange another backer contract. The Act 3 tour moves through Lantaana, Ando Prime, Sentinel I, Jakku, and Crait before returning to Derven Acos. Continue using speeders during the tour. Kestar’s announced podracer changes the final championship vehicle, not every earlier event.
You can use a speeder bike for the Act 3 tour, then switch to the podracer for its championship. Keep Cornering and Resilience in consideration alongside Afterburner and Ramjet. The bike’s acceleration is helpful when an Eliminator removes racers quickly, but a narrow volcanic bend can still cost you a crash. Use its Kinetic Burst where the course gives you space, then prepare for the next corner before stacking another boost.
You can equip up to three Favors for a tour, and cannot change them until the next tour. Choose them before entering the route. Favor upgrades come from completing planets with the relevant Favor equipped. Clandestine Aid starts a tour with an extra League Token, and its next rank asks you to finish two planets with it equipped. Team Vranki requires reaching Derven Acos with a Satisfactory Hutt rating. Choose the Hutt early enough to work toward that rating as you travel, then inspect the recap at each planet.
Later Field Tests ask for different things. A Precision test has checkpoint gates that subtract time from your run when crossed. Aim through the next gate and keep the vehicle aligned for the following one, even if the shortest-looking line would skip it. A Time Trial asks you to beat the target time; a Ramjet test counts boosted distance. Read the opening target before spending the first lap pursuing the wrong objective.
Finish the Lantaana route and continue to Ando Prime. Take another Sebulba event when offered if the podracer still feels unfamiliar. Mawhonic Speedway is one of Sebulba’s opportunities here, with another podracing event at Tatooine later in the tour. These are practice and reward detours. Your main tour map still leads onward to Sentinel I and then Jakku.
On Sentinel I, expect the acid courses and another set of eliminations on the branch you choose. At Jakku, the wreckage routes return with faster builds and Eliminator variants. Event type matters more than recognizing the track name: Debris Dunes can be an ordinary Race earlier and an Eliminator later. Check the event label before deciding that a familiar course has the same finishing requirement.
Continue through Crait’s mines and caverns. If a Scrap Dealer is reachable on your branch, use that stop to repair troublesome faults before leaving Crait. A part bought there with a fault cannot be repaired during the same visit, so inspect the fault before buying. After the final Crait event, travel to Derven Acos and visit Hibi for your last workshop purchases. Choose parts whose effects and faults you can handle through the Gauntlet; do not count on another repair stop before it. You can enter the Gauntlet with a faulty part installed. With a fault that gradually makes you Frozen while slipstreaming, limit your time behind rivals and leave room to steer when preparing to pass.
The final championship and campaign ending
Clear the Galactic Gauntlet again. Survive its knockout phases, then win the one-lap final race to earn the championship place. Once only three racers remain, take first place through the final lap. Collect the resulting rewards and proceed to Kestar’s head-to-head race.
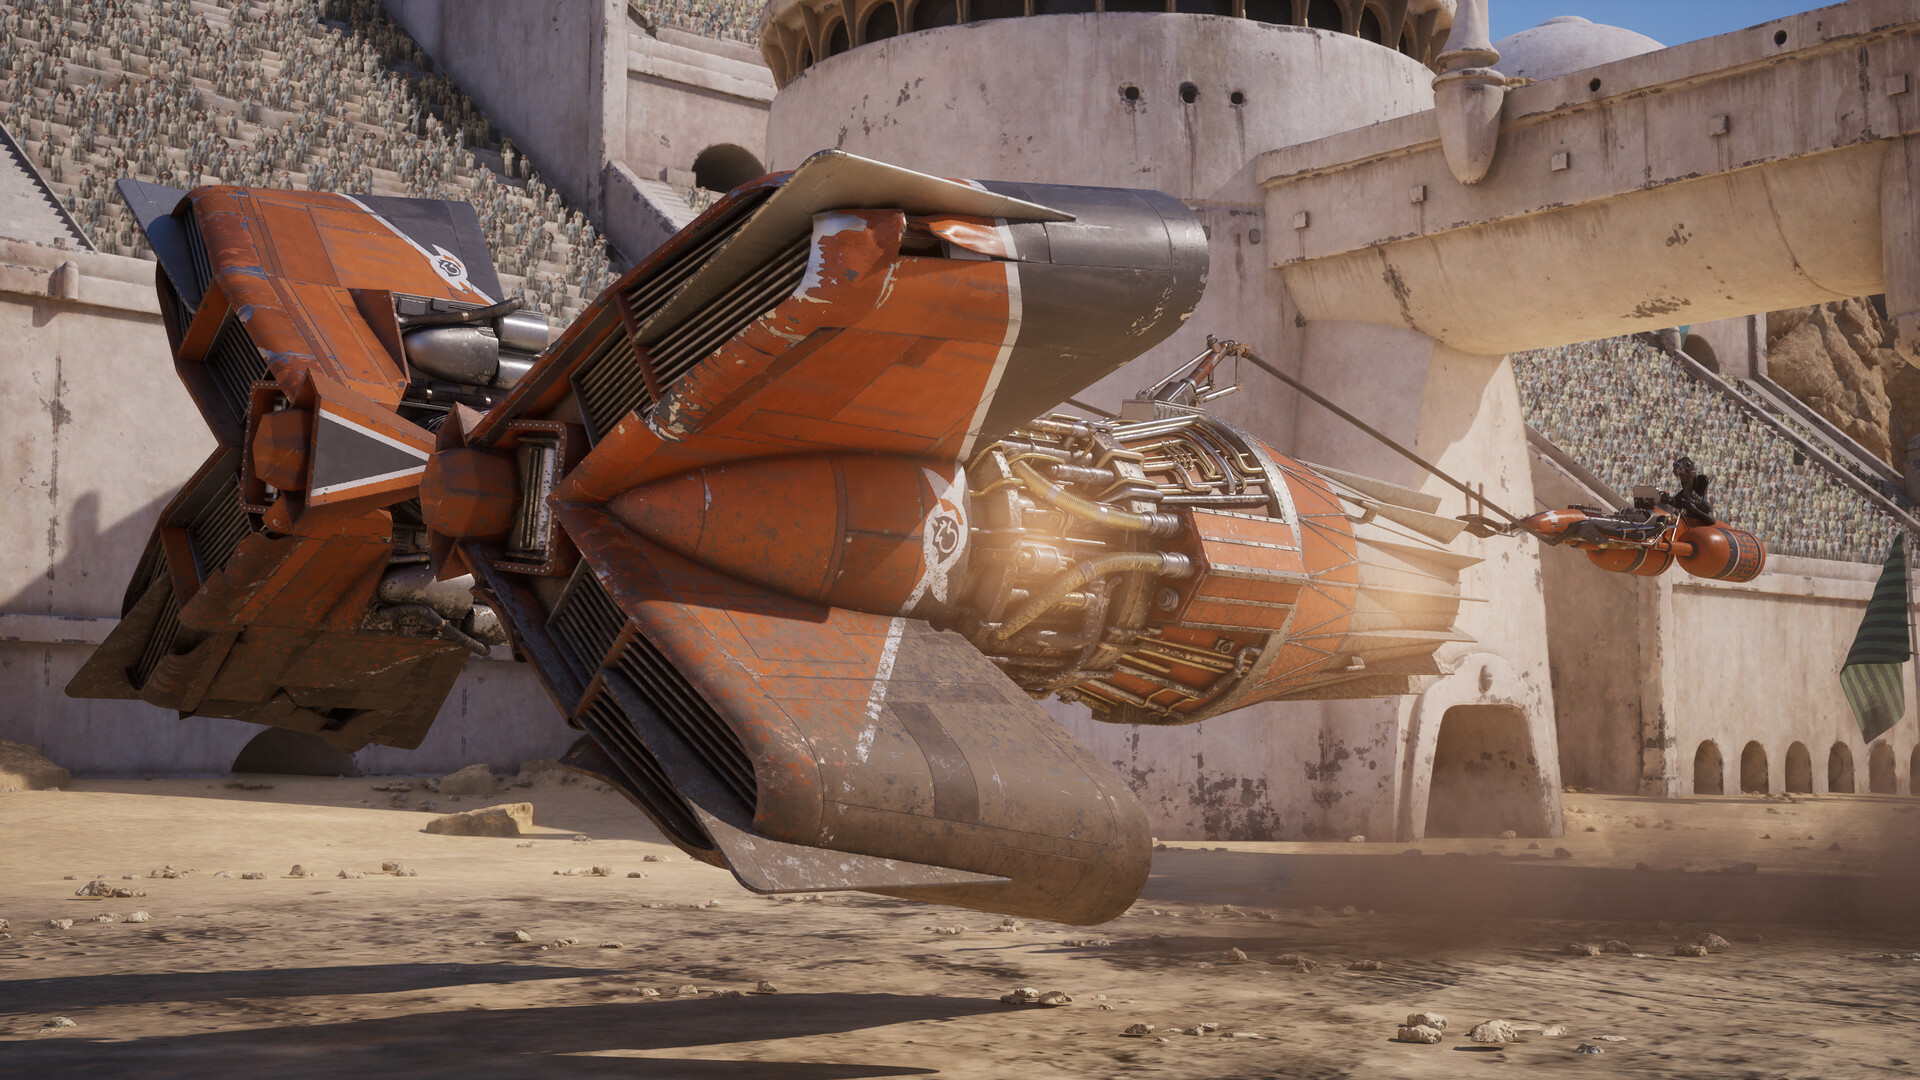
The final championship is a two-lap podracer race. The start sequence places Shade behind the two engines, so your earlier speeder’s handling is no longer the right guide to how much space a turn needs. Keep both engines clear of the tunnel walls. Ease off for a blind corner, straighten through the opening, and use the longer snow sections to build speed again.
The course passes through the heated arch and enclosed tunnels between stadium sections. Use the first lap to recognize those entries, then brake before the narrowing section on lap two rather than trying to correct after an engine has hit the wall. Keep watching Ramjet heat when Cooled ends. Extra speed is useful only if the engines can clear the next opening.
Finish the second lap ahead of Kestar to trigger the final victory and ending scenes. Continue through the result and unlock screens to see the story’s resolution with Pax and Hibi. That completes the three-act campaign route. If you continue playing for Favors or achievements, return to the specific remaining objective, such as more Tales of Podracing or a particular Field Test, rather than assuming the story clear completed those separate challenges.