
Start in the damaged ship, work the paired controls together, and check beneath the toilet seat when the next yellow door stays locked. Before you can reach the Moon, both spacesuits must be calibrated. You then need to lift the laboratory lockdown, cross the hidden platforms and force open the broken training-room door to reach Impact Crater.
This early-game walkthrough follows the two-player route from the damaged ship to Impact Crater in Together: Moon Escape. It covers the ship password, both suit calibrations, pipe valves, the laboratory lockdown and the training rooms. It ends when you reach the outdoor crater; later antenna, wasteland and L.U.N.A. puzzles are beyond this route. Hidden-stash detours and the optional 512-slime grind are separate from the steps below.
Damaged Ship: the toilet switch and first password
Put one player at each of the opening controls and interact together. Both players need to operate a control. When the circular hatch opens, go through it into the next compartment.
In the toilet room, look beneath the seat for the hidden switch and interact with it. The lamp above the yellow exit turns green when the door can be opened. Go through to the room with shelves and bunks. You can collect the small yellow box on the low shelf, but that stash does not unlock the next door.

In the next room, the password panel has four columns with blue, red, green and purple arrows. Use the arrows to enter 3, 6, 1, 0 from left to right, then press the red square beside the display. The small screen reads CORRECT and the white door opens. Stop adjusting the arrows after the answer is accepted. It is possible to change the displayed numbers while the unlocked door remains open.
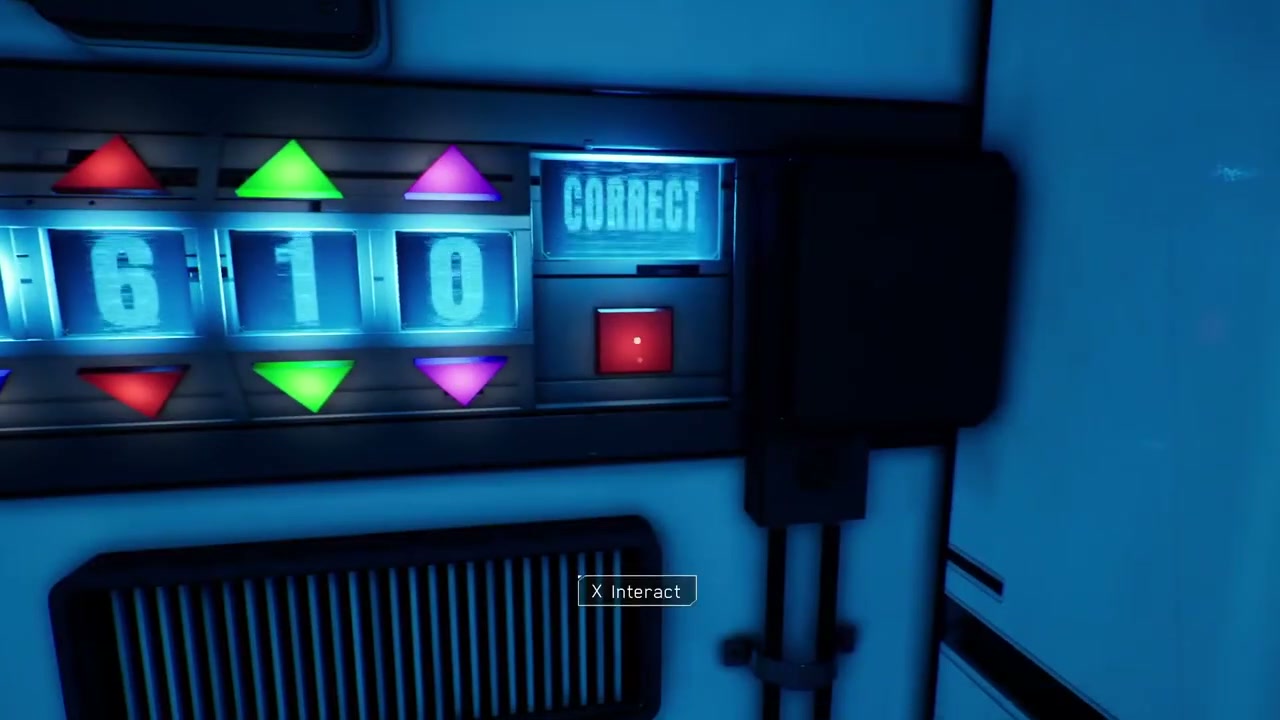
If the panel rejects the code, read all four columns again. The arrows adjust individual digits; the red square submits the answer. Once the white door opens, go through to the suit station.
Spacesuit calibration: one player watches, one adjusts
The calibration screen tracks Oxygen, Brown Solids, Sweat and Yellow Stuff. Each cyan bar has a white target band, and the symbol at the end of the row changes from a cross to a check when the bar reaches that band. All four rows must show checks before the screen says Suit Calibrated.

One player enters the suit station using its red lever. The other works the colored up and down controls between the suits. Ask the player at the monitor to call out which bars move, then adjust in short presses. A control can change several readings at once, including a row that was already inside its target band.
Release the control after each short adjustment and check the monitor. Aim for the white band on each row: the Oxygen band sits near the middle, so filling that bar will overshoot it. When all four rows show checks, leave the station and swap places to calibrate the other suit.
At the airlock, check the separate Suit One and Suit Two panels. Both must be green. Enter together, close the inner door and open the outer one. If L.U.N.A. refuses, check that the inner door is closed and that both suits have been calibrated.
Lunar Surface and Moon Caverns: power the doors and replace missing valves
Open the surface airlock
Outside the ship, follow the black pipes around the rocks to the white airlock. The pipes have lever-operated valves with red or green indicators. Put one player at each valve on the line leading to that entrance and hold the interactions together. A working line produces bright blue sparks. Check the entrance lamps before leaving the valves: green lamps mean you can use the door controls.
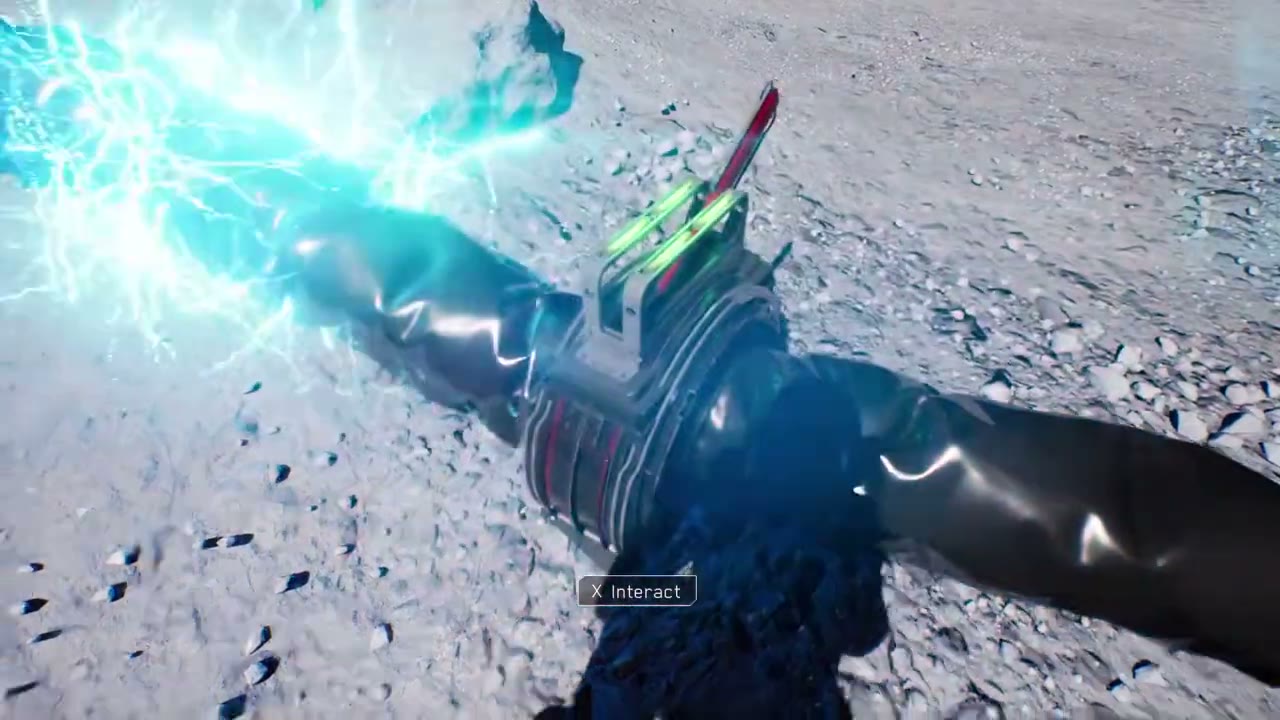
Bring both players into the airlock, close its outside door and then press the inside-door button. If L.U.N.A. refuses, check the outside door first. Repeatedly pressing the inner button while the outer door is open will not advance the route.
Recover the cavern wheel and blue lever
In the cavern, use the isolated toilet booth and the scaffolded building as landmarks. A small open compartment at ground level contains a red wheel. Carry the wheel out to the empty wall mount marked with inward-pointing red arrows. Its interaction reads Valve Missing before a wheel is fitted. Install the wheel there; its lamp turns green. This is a missing control to replace, not a pipe end to drag across the ground.
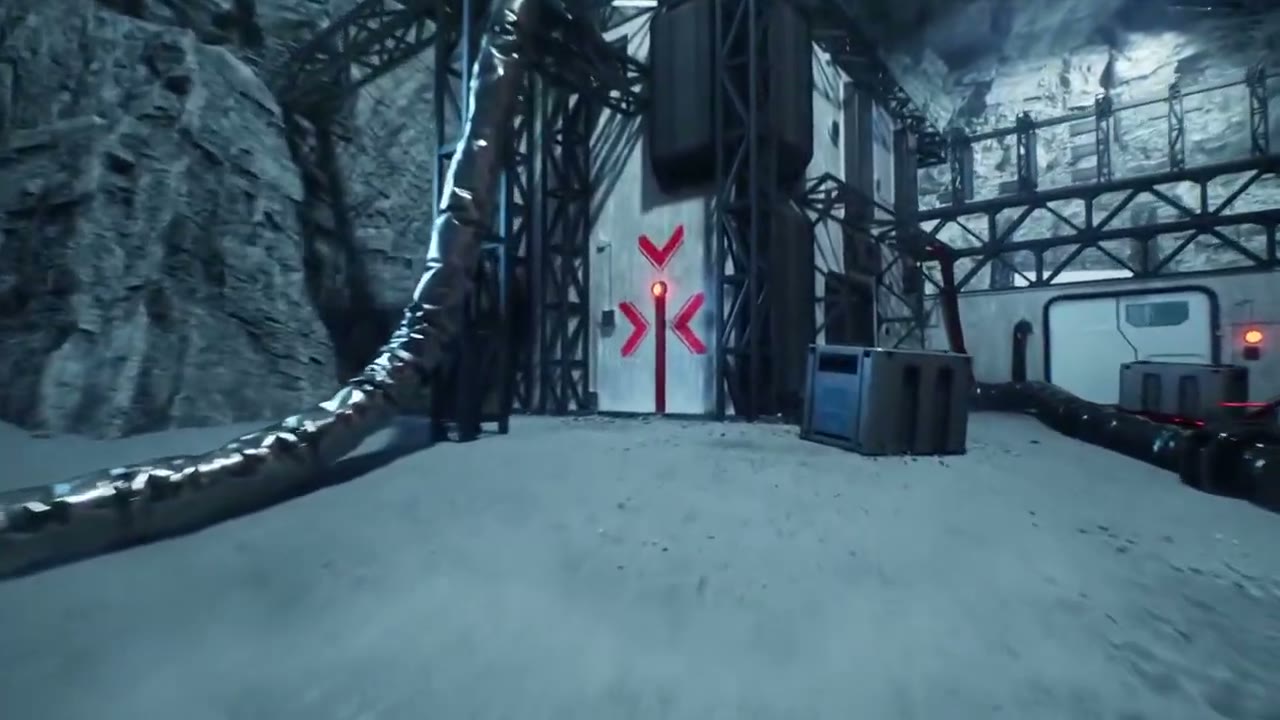
The ground pipes have paired lever valves. Trace the pipe from the entrance back to its controls, take one lever each and hold both. Look for blue sparks, then check that the door lamps have turned green. One green valve indicator does not confirm the door is ready. Go through the nearby red side door to the blue maintenance-error monitor.
Read that monitor before tackling the final white-door airlock beneath the MOONTELLA sign. It says the blue levers shake and fall off when held for too long. Hold a blue pipe lever through the shaking animation until its handle detaches. Your astronaut will carry the handle in both hands. The object you take away is the lever, not the black pipe.

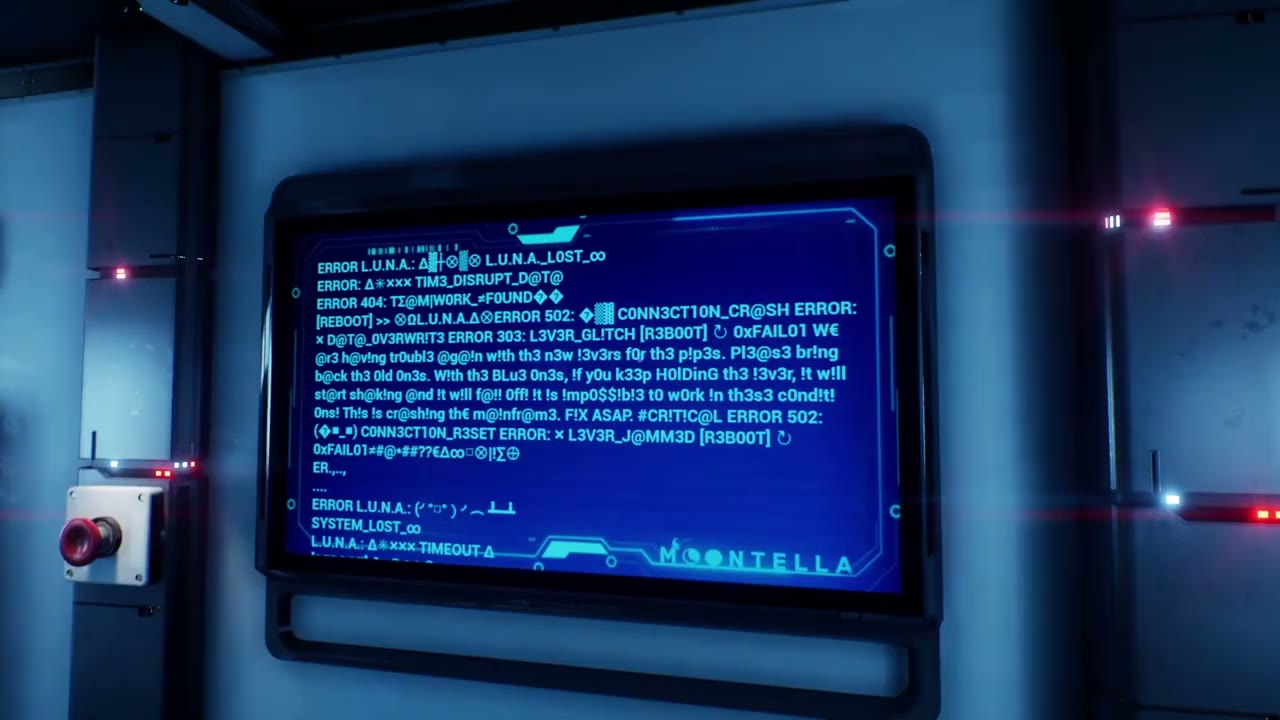
Carry that blue lever to the missing control beside the white airlock door and fit it to the wall mount. Interact with the fitted lever to open the outer door. Get both players inside, close the outer door, then use the inner red button. The inner lamp turns green and the route leads to the laboratory. If you arrive without the handle, return to the blue pipe lever and keep holding through the shaking animation; a short press only operates the valve.

Contaminated Lab: lift the lockdown at 64 slimes
Pick up a SlimeFryer from the wall rack before entering the combat room. Holding the trigger fires repeatedly. The green ammunition boxes have a Grab Ammo interaction; use them when your reserve runs low. The weapon’s lower-right display shows the rounds remaining in the current magazine separately from the reserve.
The large round exit starts under lockdown. The consoles around the room show the extermination count and the gas timer. Press the gas-release buttons, then shoot the slimes while the gas is active. Killing slimes extends the available gas time. If the timer runs out before you have enough kills, use the release controls again and resume the fight.
Kill 64 slimes to lift the lockdown. L.U.N.A. then announces that you can open the big round door. The room also lists optional milestones at 16, 32, 256 and 512 kills. Leave when the lockdown lifts if you are following the escape route; the 512-kill achievement is an optional detour.

Reload and collect ammunition before opening the round exit. Beyond it, take the purple viewer from its rack. You will need it to locate the hidden platforms in the following passages.
Slime Hallways: the purple viewer reveals the platforms
Raise the purple Slime Scanner to look across each gap. Pale slime-covered stepping stones appear through its lenses even when the same space looks empty with the tool lowered. Locate the first landing, face it squarely and jump onto it. From there, raise the viewer again to find the next stone.
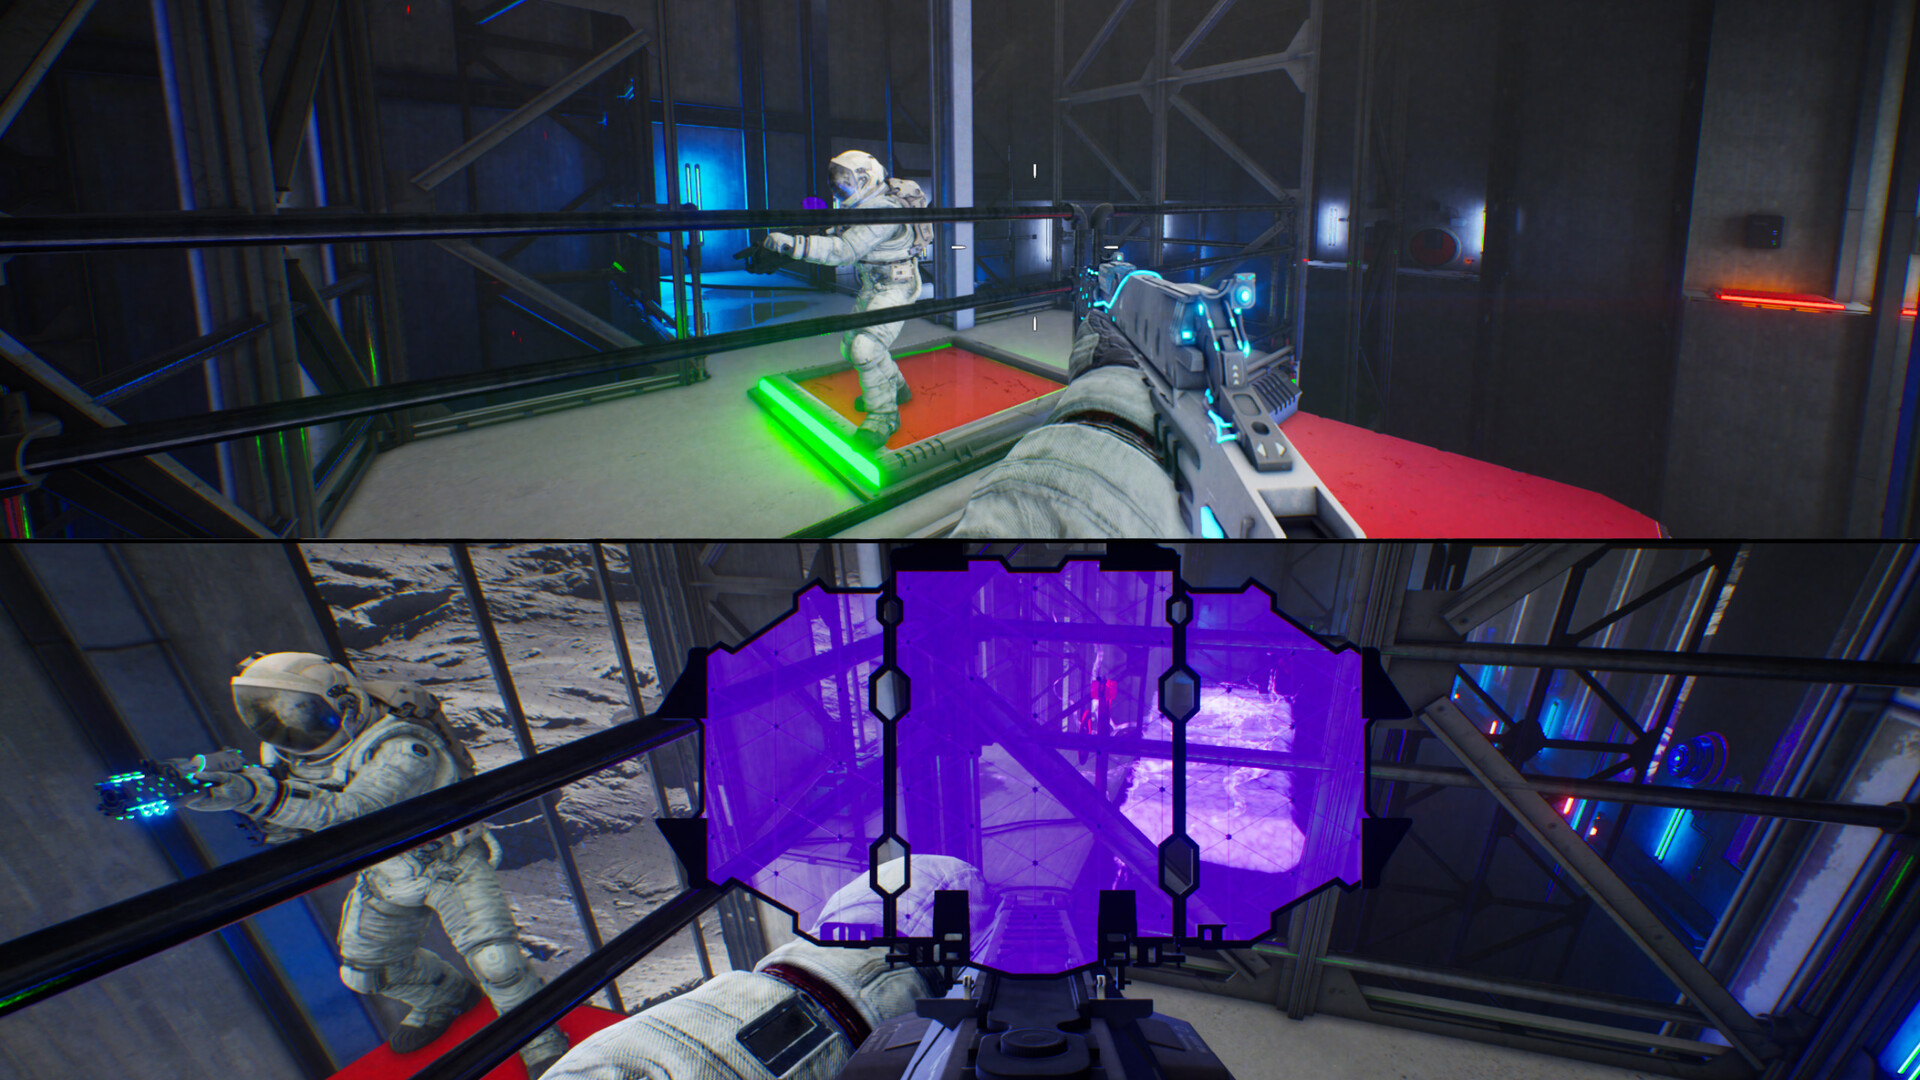
For the crossings with rectangular red plates, leave one player on the plate while the other jumps across. Keep it pressed until the jumper reaches a solid ledge or the next control. Releasing it during the crossing can change the platforms beneath them.
If you miss a landing, let the respawn finish and locate the red plate and solid ledge again. The partner at the plate should wait there while the jumper returns. Raise the scanner before the next attempt; jumping toward the visible exit door can miss the hidden stone between you and the door.
Several crossings lead into narrow ventilation passages. Enter the vent, follow it to the next platform and look through the scanner again before jumping out. A visible door across the gap is your destination, but it does not tell you where the invisible intermediate stones are.
At the last crossing, help the second player reach the exit and enter the red-door airlock together. Close the door behind you, then open the next one. This takes you into the circular room with the tall purple slime tank.
The pressure chamber: push all four gauges past the red line
The circular chamber has raised round red pads around the central slime tank. Its wall screens show four pressure gauges, each with a red threshold near the right end. Jump onto the round pads to increase pressure, then move between them while your partner works the other side of the chamber.
Check the wall screen between jumps. Pressure falls when the pads are left alone. Give each player two neighboring pads and repeatedly jump between those two, leaving the other half of the ring to your partner. Keep working until all four bars are beyond their red thresholds at the same time.
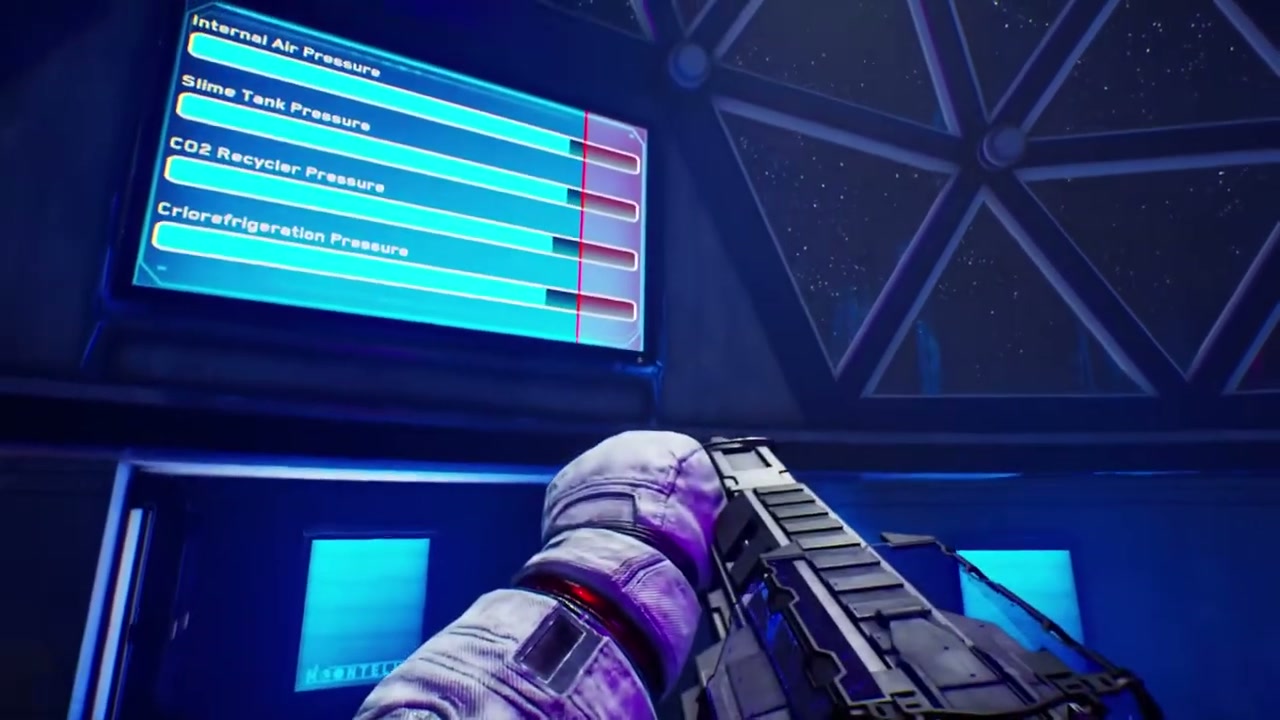
The lights turn red as pressure rises. Continue until the central tank breaks apart in a bright discharge and the red exit unlocks. If the alarm sounds while the tank is still intact, check whether either player has stopped cycling between their two pads.
Training rooms: memory targets, raised ledges and partner crossings
Repeat the four-target sequence
Switch back to the SlimeFryer for the blue bullseyes. In the four-target room, watch the targets’ flashes and repeat the displayed sequence by shooting them. The green progress lamps show accepted hits. Let the display finish its sequence before firing, and take one shot at a time. Do not copy a fixed sequence from another run.
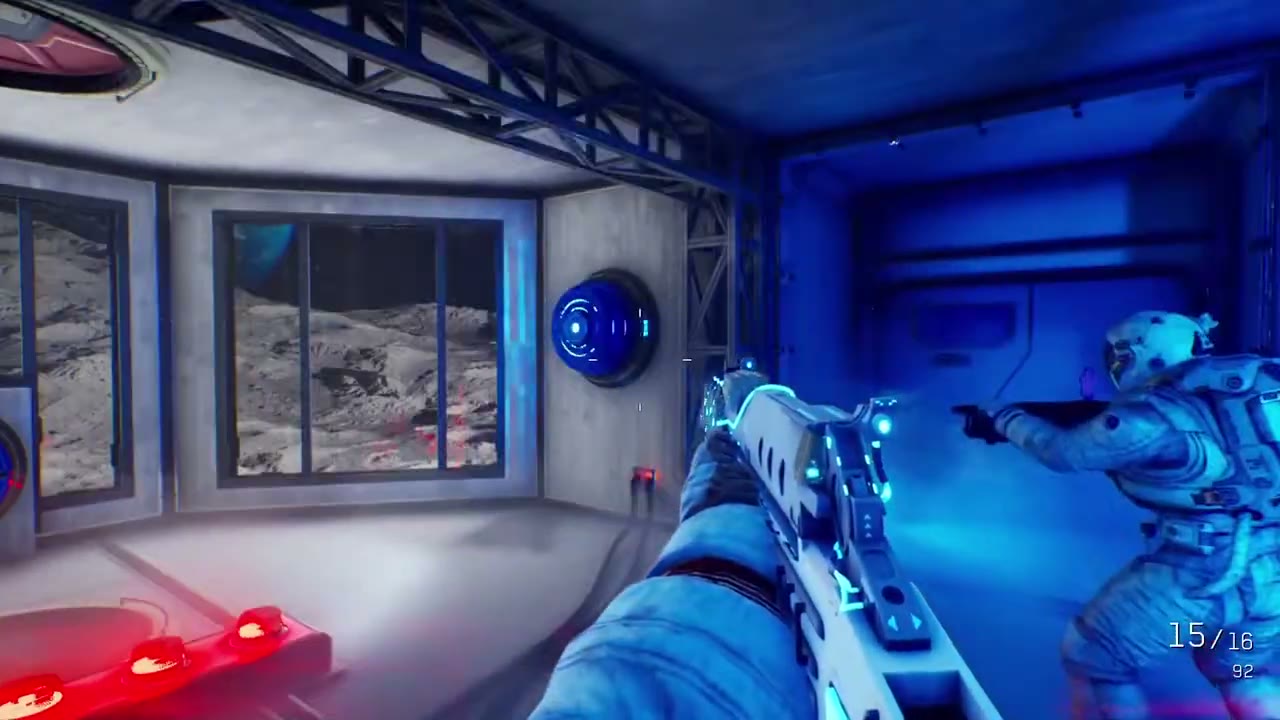
For an ordinary wrong hit, stop shooting and watch for the next prompt. If the controls remain unresponsive, the host’s pause-menu Restart is a last resort: it restarts the current level, so expect to repeat earlier rooms in that level. There is no reason to use it for a missed platform jump.
In the following slime room, release the gas and eliminate the remaining enemies until the room’s indicator permits the exit. Refill your ammunition from the green box before the target passages. Keep access to both the SlimeFryer and the purple scanner; the upcoming rooms mix shooting with hidden landings.
Fill the lamps in the short shooting passage
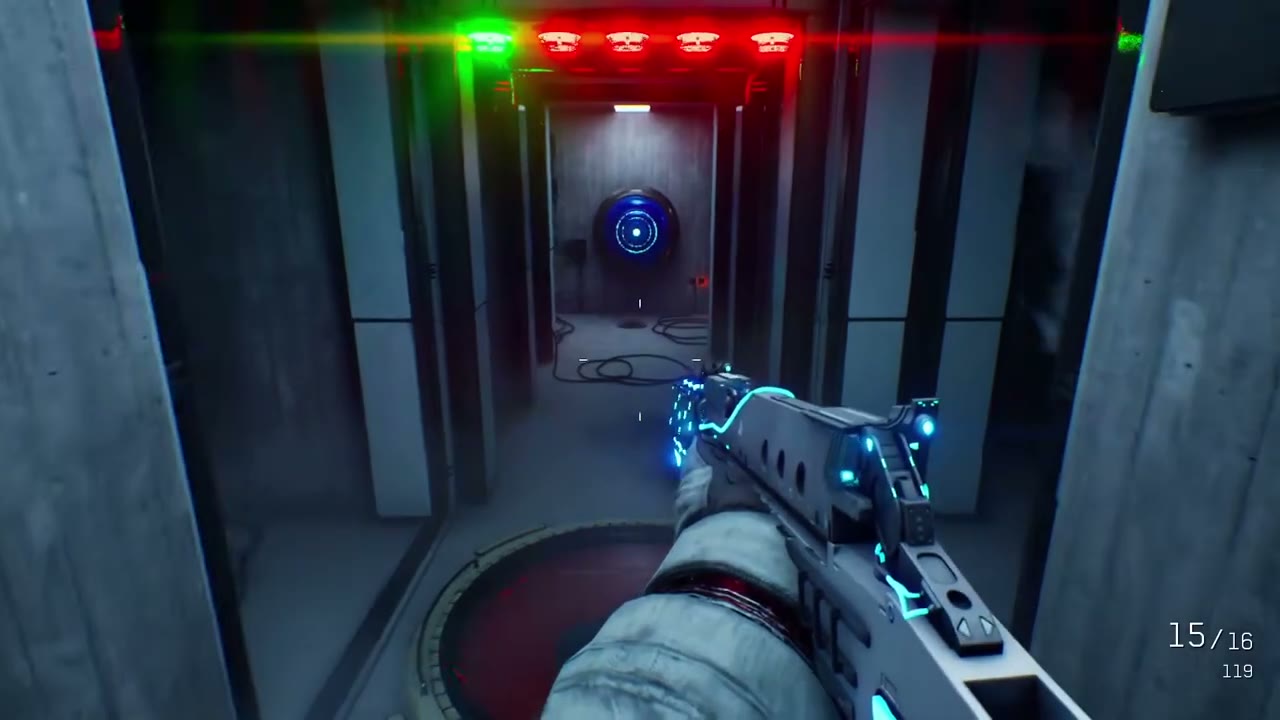
Look for the round red floor pad in the next narrow passage. Bullseyes face the passage from its ends, and five lamps sit above the doorway. Take the pad at your end while your partner works from the opposite end. Shoot the blue bullseye visible ahead, then check for a green target and another green lamp above the door. Turn to the other end when the target there is blue. Continue responding to the blue targets until the lamp row is green and the door opens; this room is a shooting trial, not a jump across a pit.
Cross the passage with red wall ledges
Beyond that door, locate the three blue bullseyes and the red shelves projecting from the passage walls. Shoot a blue target and check the nearby shelf before moving. Jump between the extended red shelves, stopping on each one to aim at the next blue target. A green bullseye confirms a hit. Keep the SlimeFryer ready to activate the targets beside these visible shelves.
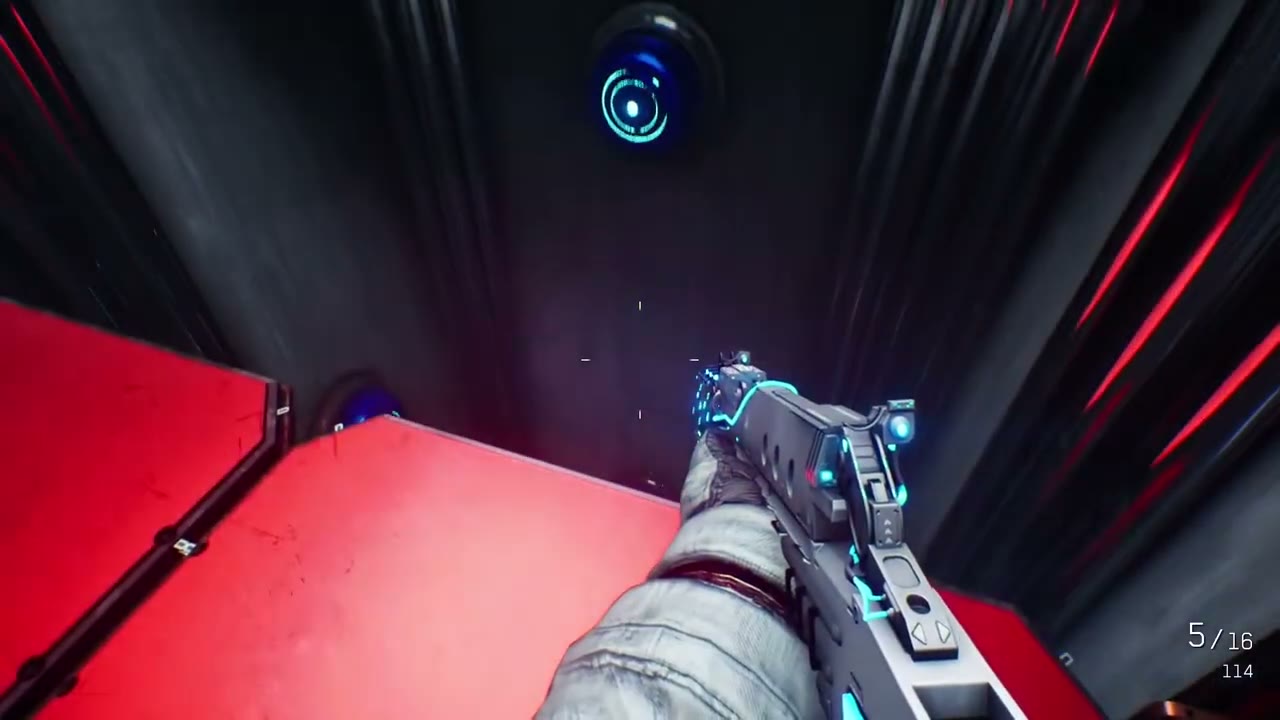
Wait at the far landing for your partner. If a shelf is absent, aim from a secure landing and activate its target before attempting the jump. After a fall, let the respawn finish and repeat the shelf crossing. Continue into the scaffolded room with rectangular red pads.
Trade places at the rectangular pads
The first scaffold crossing has a rectangular red pad on the starting ledge and another beside the door across the gap. One player stands on the starting pad, whose edge lights turn green. The other crosses using the supports projecting from the side wall. Keep the starting pad occupied until the jumper reaches the far pad; then the jumper stands on that pad to provide the return handoff for the player who stayed behind.
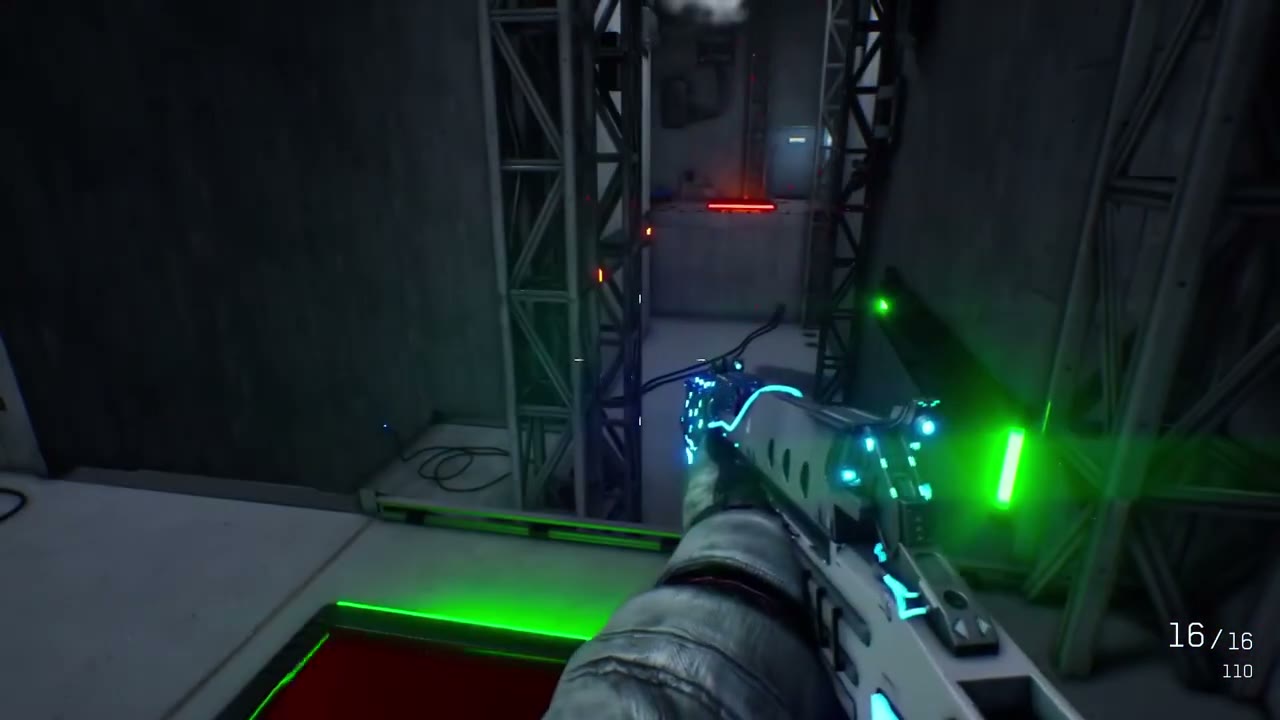
The far door leads into a brighter room with low equipment crates, windows and a red wheel on the opposite side. Check the blue bullseye through the window with the SlimeFryer. A hit turns it green and changes the circular door’s status. Bring both players through the opened doorway before continuing to the taller scaffold passage.
Cross the tall scaffold and reach the wheel
In the taller passage, the route runs between the windows and metal uprights. One player remains on the rectangular pad while the other takes the projecting red landing. Look for its green edge lights before stepping onto it. Where the next gap appears empty, raise the purple scanner to find the hidden landing instead of jumping straight toward your partner.
Work toward the ledge with the red wheel, stopping at the next pad whenever you can take over the support duty. The second player then crosses to join you. Keep the player on a pad in place until the crossing player confirms a solid landing; the narrow red shelves retract when their support is lost.

From the solid ledge beside the wheel, one player uses the SlimeFryer to support the partner crossing the row of wall platforms. Aim at the bullseye above the partner’s next landing. A hit turns the target ring and the landing’s edge lights green. These targets turn blue again, so shoot the same one again if the platform retracts before your partner is clear. Move your aim along the row as your partner advances toward the blue-lit exit.
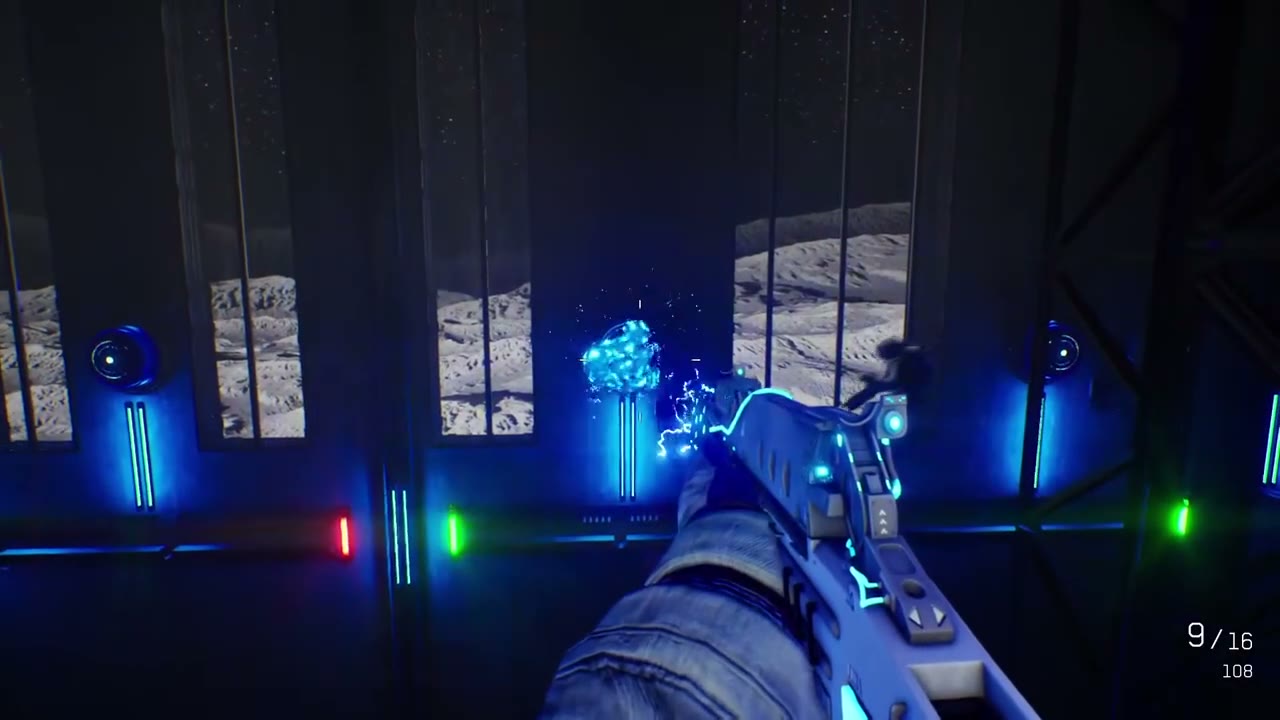
When the first player reaches the exit ledge, the player who stayed by the wheel follows the same wall route with the SlimeFryer ready. Shoot the target above the next landing whenever its support is missing, then jump while the edge lights are green. Clearing one target does not leave the whole row extended. Get both players to the far ledge before using the next airlock, which leads to the numbered password room.
Use 0069 to trigger the broken door’s override
The last training room has number clues on the walls and a password panel. Enter 0, 0, 6, 9 as L.U.N.A. suggests, submit it and wait for her to explain that the lock is broken. This failed entry is part of the puzzle. She will prepare an overload. When she tells you she is ready, press the red submission button again and stand clear. The override opens the door; adjusting more digits will not repair this lock.

Go through the opened door and the next airlock together. The route emerges into Impact Crater, where the next set of outdoor lifting-platform puzzles begins.