To open the HxM gold room in Order of the Sinking Star, unlock the golden mirror through The Mirror Isles, open the downward path in Heroes 3: Bard, Druid, and reposition the yellow crystal to open three barriers. Inside the room, the Trader and Wizard must build a crossing, rearrange three monsters, and reach separate teleporters. Two more puzzles beyond the room open the routes to Heroes and Water and Heroes and Mirrors.
Begin after completing every puzzle series on the second Mirror Isles screen and opening the blue barrier in Heroes 3: Bard, Druid. The directions below take you through the remaining mirror chain, the northern access puzzle, HxM itself, and both exit puzzles. Earlier rooms in the two starting campaigns are prerequisites.
Before heading toward the gold room
The Mirror Isles lies east of the Crossroads. The Hearty Heroes of Hauling lies north, with Heroes 3: Bard, Druid on its fourth screen. You need progress on both routes: opening the golden mirror from the east leaves the northern approach to clear, while the northern path leads to a shore opposite that mirror.
For the directions below, left, right, up, and down refer to the screen’s grid. An instruction such as “right four” means four squares. “To the wall” means keep moving until that wall stops you. Start each puzzle from its original arrangement; if you have already moved its mirrors or crystals, restart that room before following the sequence.
The hero colors identify the characters used here: the Warrior wears red, the Thief green, the Wizard purple, and the Trader orange. The Warrior pushes, the Thief pulls, and the Wizard swaps places with the object or character in the indicated direction. The Trader sends himself or objects through mirrors. Walking to a square and performing a swap are separate instructions in the Wizard sections.
The east route: unlock the golden mirror
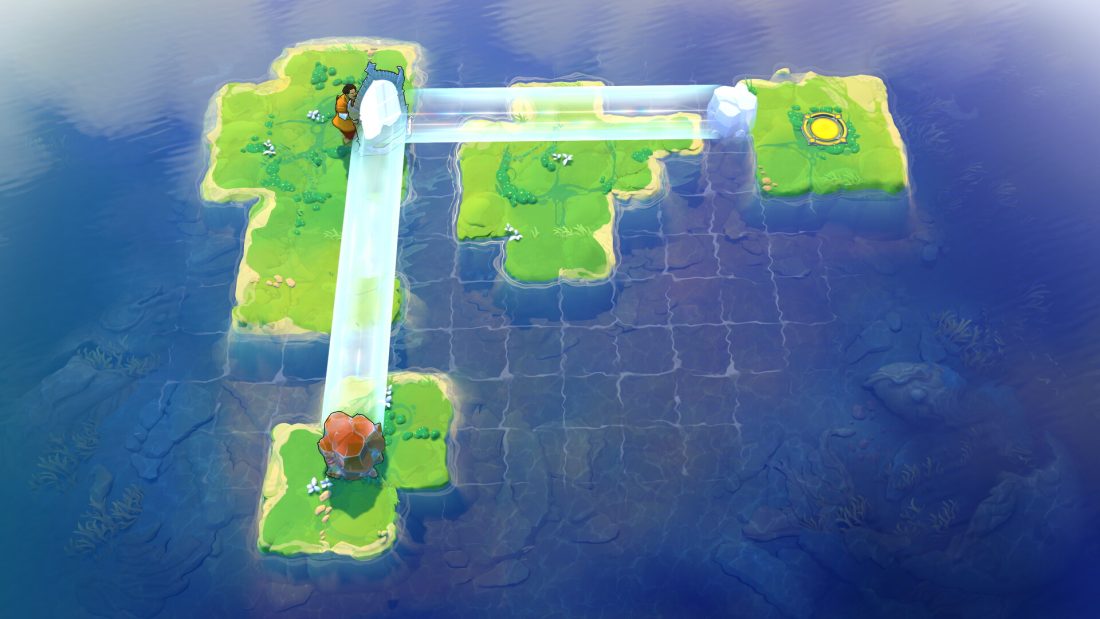
Completing the second Mirror Isles screen’s puzzle series releases the pink crystal on the lower island. Move that crystal left, down, right two, down, then right four. It should now sit below the mirror on the lower island’s middle prong. Reflect the crystal from there. Next, take the Trader to the tip of the island’s upper prong and reflect him across. An upward push of the crystal connects this island to the next screen.
The first puzzle on that screen releases another mirror on the overworld. Its two mirrors then let you reach the island to the left. Travel left into the next screen, where the remaining three puzzles release the golden mirror.
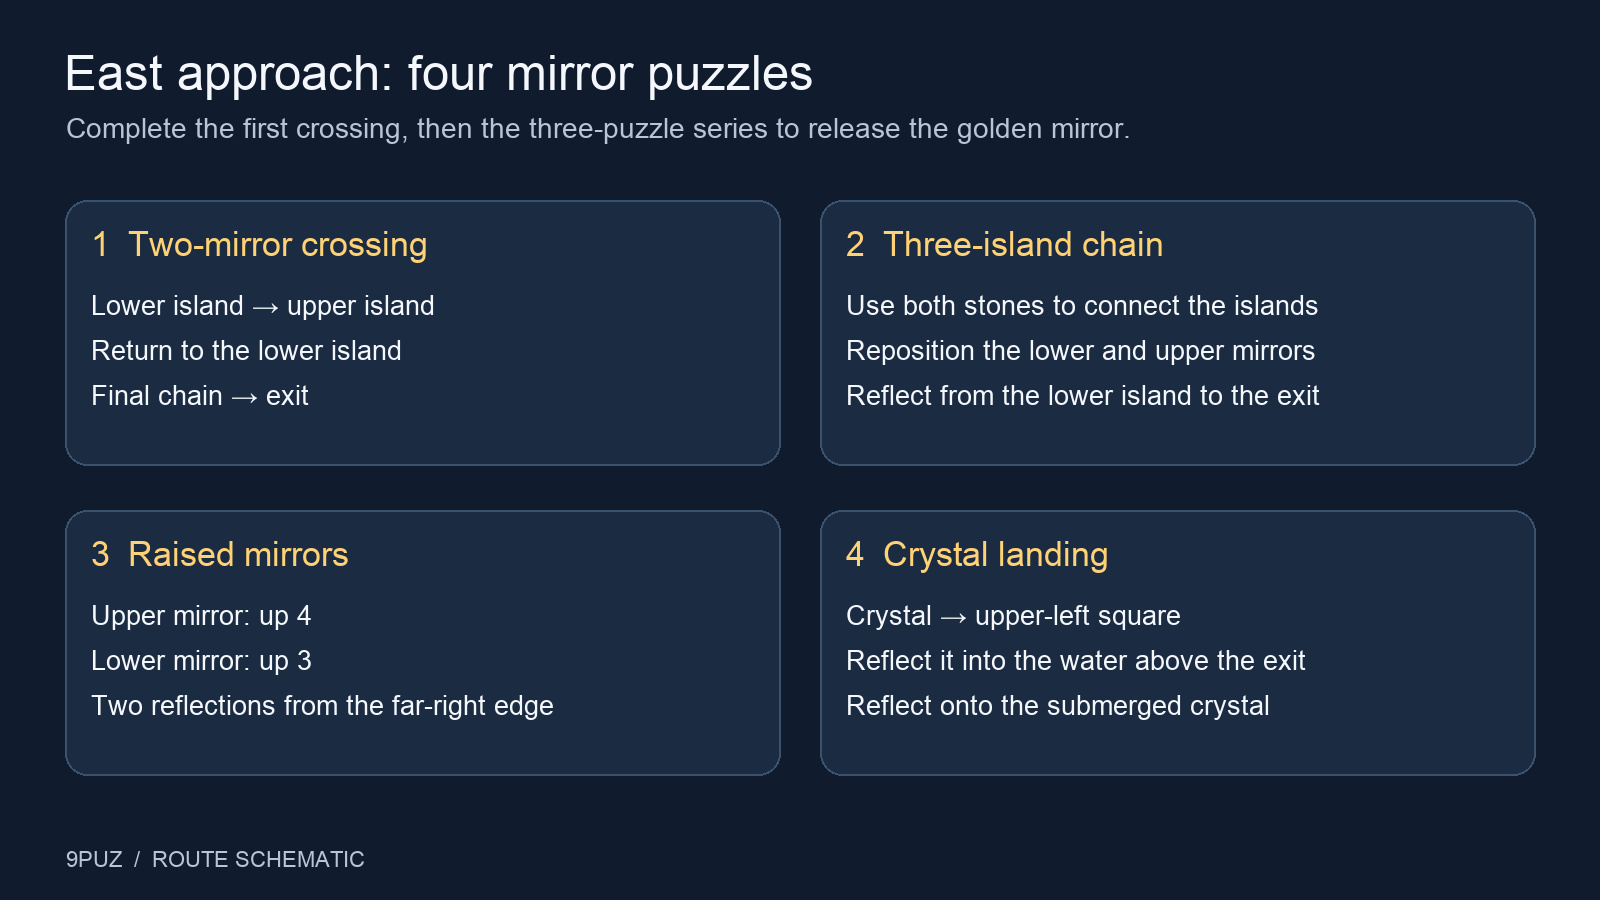
The first two-mirror crossing
- Move the lower platform’s mirror one square right, upward to the wall, then one square right. Step left and reflect to the upper platform.
- On the upper platform, move its mirror up one, left one, downward to the wall, then left to the wall. Walk two squares right, then reflect through both mirrors to return to the lower platform.
- Walk down one, left six, and up one. Use the chain again, this time arriving on the platform with the teleporter.
The second reflection is a return trip. Keep the upper mirror in its new position when you move back down; the final approach uses that same arrangement from a different square.
The three-island puzzle
- Move the middle mirror up four and left four. Walk six squares right. Reflect through the mirrors to arrive beside the lower one.
- Push the stone upward to join the lower and middle islands. Move the lower mirror right five, up six, and left one.
- Return to the lower island. Stand in the middle mirror’s column and use the chain to reach the upper island.
- Push the upper stone downward, joining the upper and middle islands.
- Move the mirror that began on the lower island down one and left to the wall. Move the mirror that began on the upper island right one, down three, and left to the wall.
- Return to the lower island, line up with the middle mirror’s column, and reflect through the chain to the teleporter.
Keep track of the mirrors by where they started. The lower mirror changes islands during this sequence, so its later instruction still refers to that same mirror, even after you have carried it upward.
The two raised mirrors
- Walk up one and reflect to the middle island.
- Walk left five, down three, and left two. Use the mirror to reach the left island.
- Push the upper mirror up four squares and the lower mirror up three.
- Stand in the upper mirror’s row and walk right to the edge. Reflect back to the middle island.
- Again line up with the upper mirror’s row, walk right to the edge, and reflect to the teleporter.
Both mirrors move before you leave the left island. Raising only the upper one leaves the return arrangement unfinished, so check the lower mirror’s three-square move before taking the first reflection back.
The crystal landing beside the exit
- Move the upper mirror left one and down four. Move the other mirror left one and down one.
- Stand in the first mirror’s column, walk upward to the edge, and follow the mirror chain to the island with the crystal.
- Move the crystal up one, left two, and up two. It belongs in that island’s upper-left square.
- Stand in the second mirror’s column. Reflect back along the chain to the island you came from.
- Push the left mirror down one. Move the other mirror up one and left one, then reflect the crystal through it. The crystal sinks into the water immediately above the exit island.
- Move the upper mirror left one. Walk upward to the edge and use the other mirror to land on the submerged crystal. From there, reach the teleporter.
The submerged crystal is the landing square for your final reflection. Before sending the Trader across, confirm the crystal is in the water above the island containing the teleporter. Completing this series unlocks the overworld’s golden mirror.
The north route: open the path beneath the ranged monster
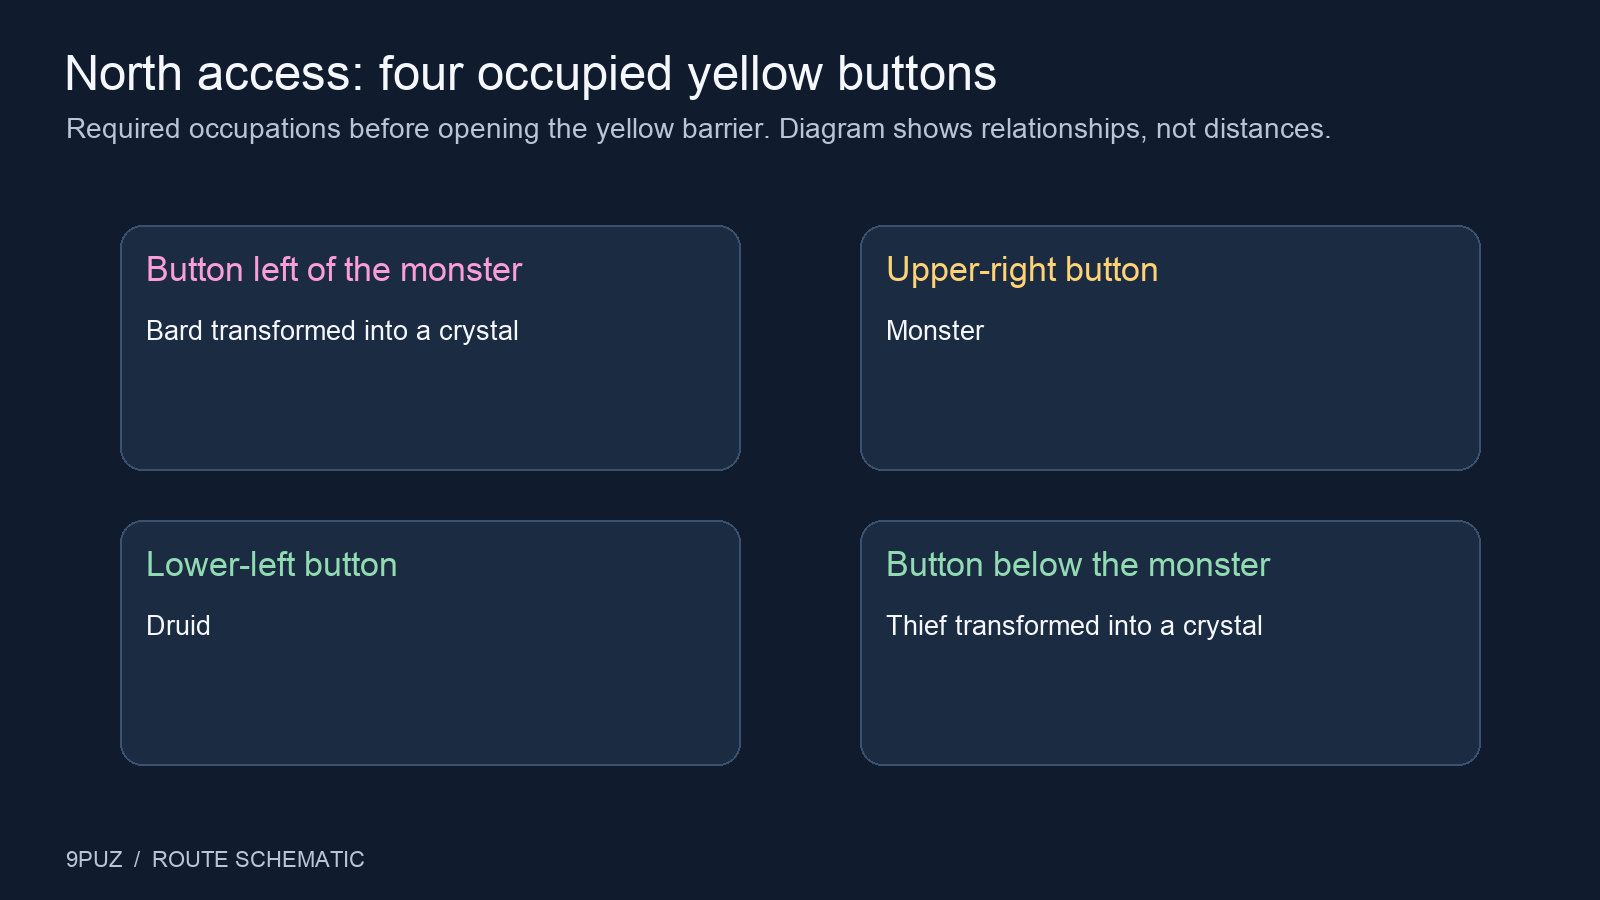
On Heroes 3: Bard, Druid, find the ranged monster on the right and enter the single puzzle beneath it. Solving it opens the downward path to the shore facing the golden mirror. If the ranged monster still blocks your approach, move the red overworld crystal from the upper-left corner: enter the alcove beneath it through the upper opening to take the Bard’s power, travel right to the wall and back left, then push the crystal down past the left series. Take it right along the bottom series and upward through the blue barrier, ending beside the monster on its right.
Inside the bottom-right puzzle, begin by parking the Warrior, Thief, and Druid in the upper-right corner. Control the Bard and walk down two, right two, up one, then left three. Her movement places the monster on the upper-right yellow button.
- Use the Druid to turn the Thief into a crystal. With the Warrior, push that crystal onto the yellow button directly below the monster.
- Turn the Bard into a crystal too. Push her crystal onto the yellow button to the monster’s left.
- Put the Druid on the lower-left yellow button. The yellow barrier opens. With the Warrior, move the crystal beyond the opened yellow barrier onto the pink button.
- Push the crystal beneath the monster upward two squares. Restore the Bard from the crystal above the Druid.
- Move the Bard down one square, shifting the nearby pieces downward. Push the crystal-and-monster stack up one square with the Warrior.
- Move the Bard down one more square. The remaining crystal separates from the monster. Use the Druid to restore that crystal to the Thief.
- Move all four heroes onto their teleporters.
The last part recovers the two heroes you temporarily turned into crystals. Leaving either of them as a crystal prevents the four-person exit. Restore the Bard before the two downward Bard moves, and restore the Thief after the pieces separate.
Move the yellow crystal through the three barriers
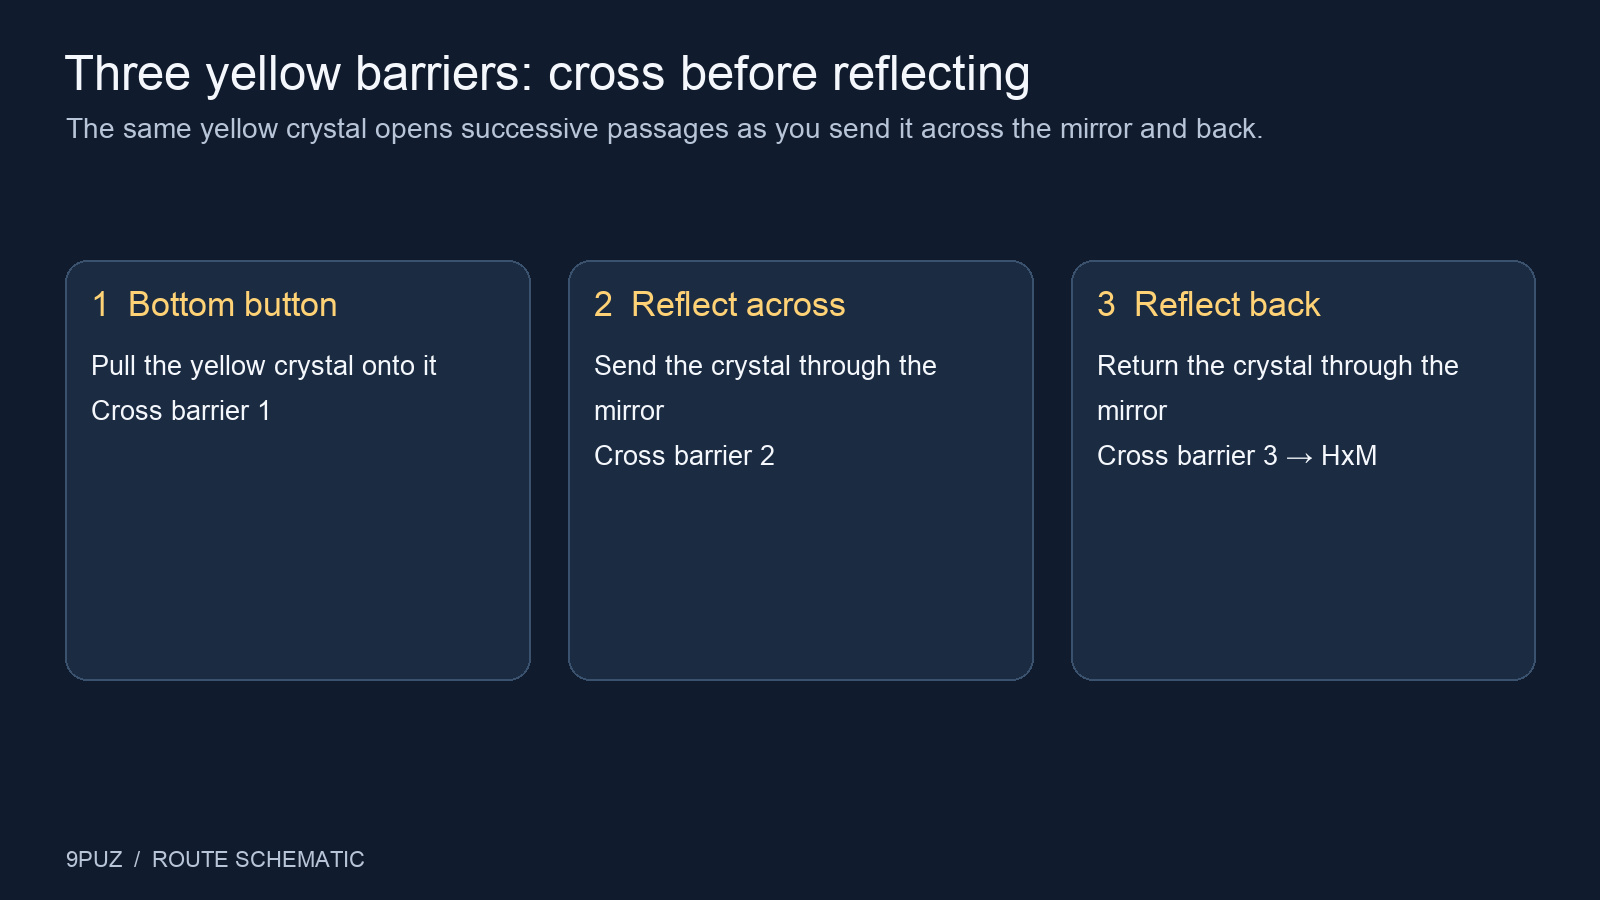
After opening the northern path, follow it downward to the shore opposite the golden mirror. Pass through the opening containing the green robe. With the pulling power, bring the yellow crystal down three, left one, down one, and right one onto the bottom yellow button. The first of the three yellow barriers above the robe entrance opens.
- Walk through that first opening, then reflect the yellow crystal through the mirror. Its new position opens the second barrier.
- Walk through the second opening and reflect the yellow crystal back through the mirror. This opens the third barrier.
- Follow the cleared path to the HxM gold room.
Cross each opening before moving the crystal again. You use the same yellow crystal for each opening. If you send it back while still below the second barrier, undo that reflection, pass the second opening, and then send it back.
Inside HxM: prepare the crossing with the Trader
Begin with the orange Trader. The purple crystal and movable mirror create the crossing needed for the Wizard’s monster sequence.
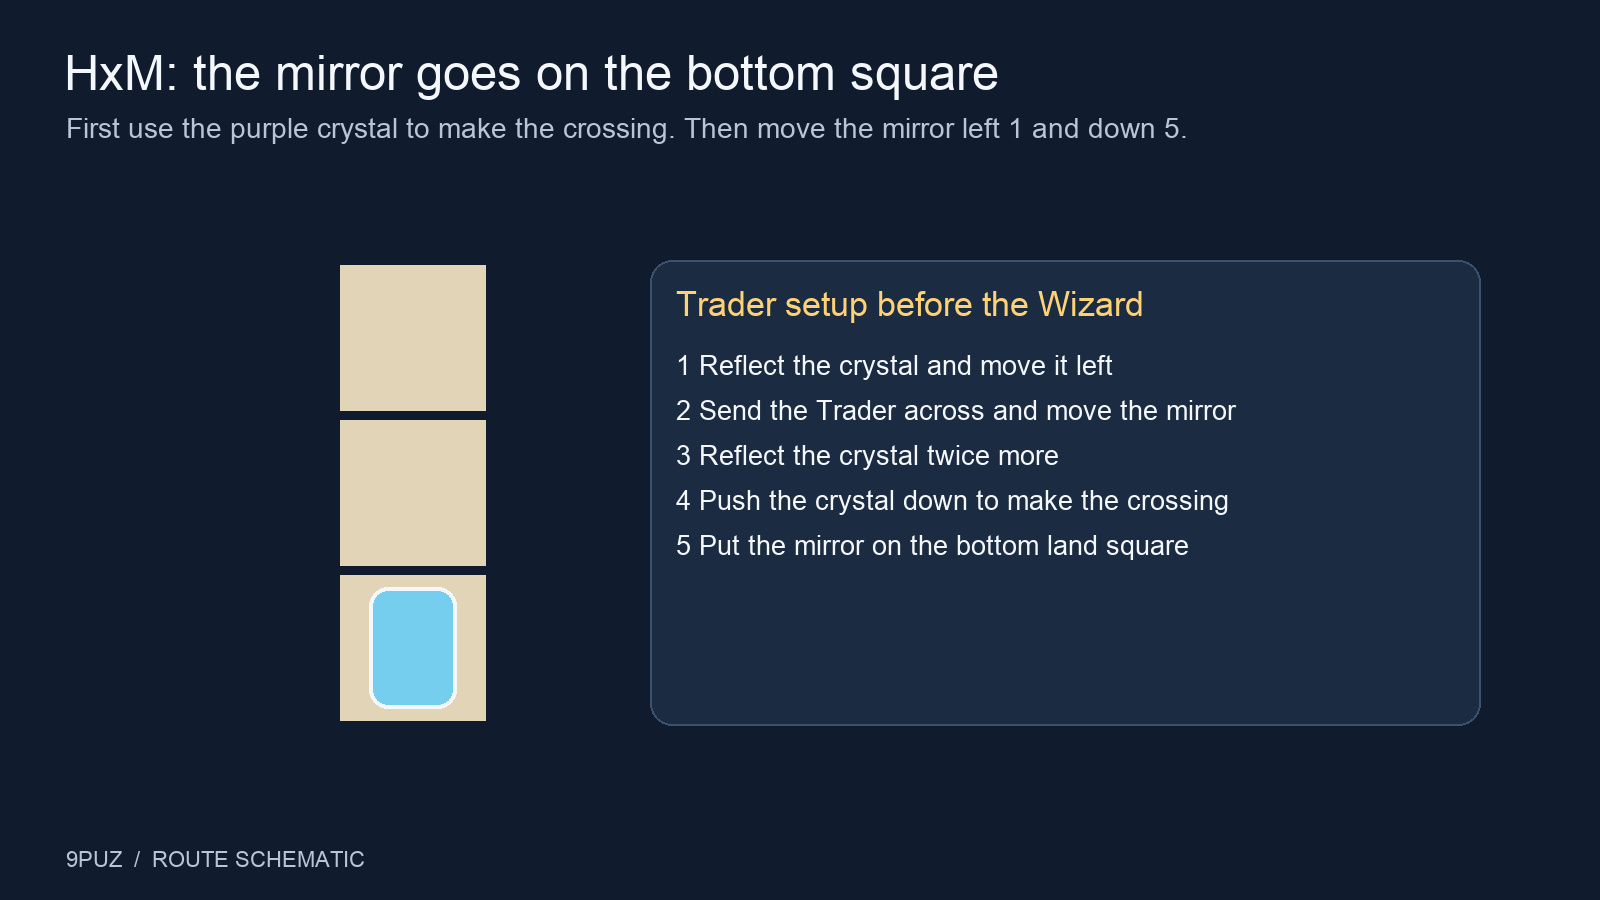
- Reflect the purple crystal through the mirror, then push the crystal left one square.
- Reflect the Trader across. Move the mirror left two, down one, and right one. It now sits above the purple crystal. Reflect the crystal through it.
- Move the mirror left two, placing it on the crystal’s right, and reflect the crystal again.
- Move the mirror right one. Push the crystal downward so you can reach the three land squares beneath it.
- Move the mirror left one and down five, placing it on the bottom square of that three-square strip.
Finish positioning the mirror before switching to the Wizard. The monster you send away next needs this arrangement, and the same mirror will later return it to the room.
Line up the monsters with the Wizard
Switch to the purple Wizard. Identify the upper, middle, and lower monsters before moving any of them. The lower one leaves through the mirror first; the other two must be rearranged before it returns.
Send the lower monster away
- Walk down to the edge and right two, stopping below the lower monster. Swap upward.
- Walk right to the edge, then down to the edge. From the monster’s right, swap left.
- Reach the right side of the post opposite the mirror by walking left one, up two, right four, and up two. Make these walking moves without swapping.
- Swap down with the monster, then send that monster through the mirror.
Move the middle monster
- Walk left three to stand below it, then swap up.
- Walk right one, down one, right two, and down three to the lower-right corner. Swap left.
- Walk left one, up three, and right four without swapping. You should be above the monster you just moved. Swap down.
Bring the upper monster into the same column
- Walk left to the edge, up to the edge, and right three. Swap down with the upper monster.
- Walk left three and up two to the upper-left corner. Swap right.
- Walk down three and left three to stand below the monster. Swap up.
- Walk right to the edge, down three, and right one. Swap left with it again.
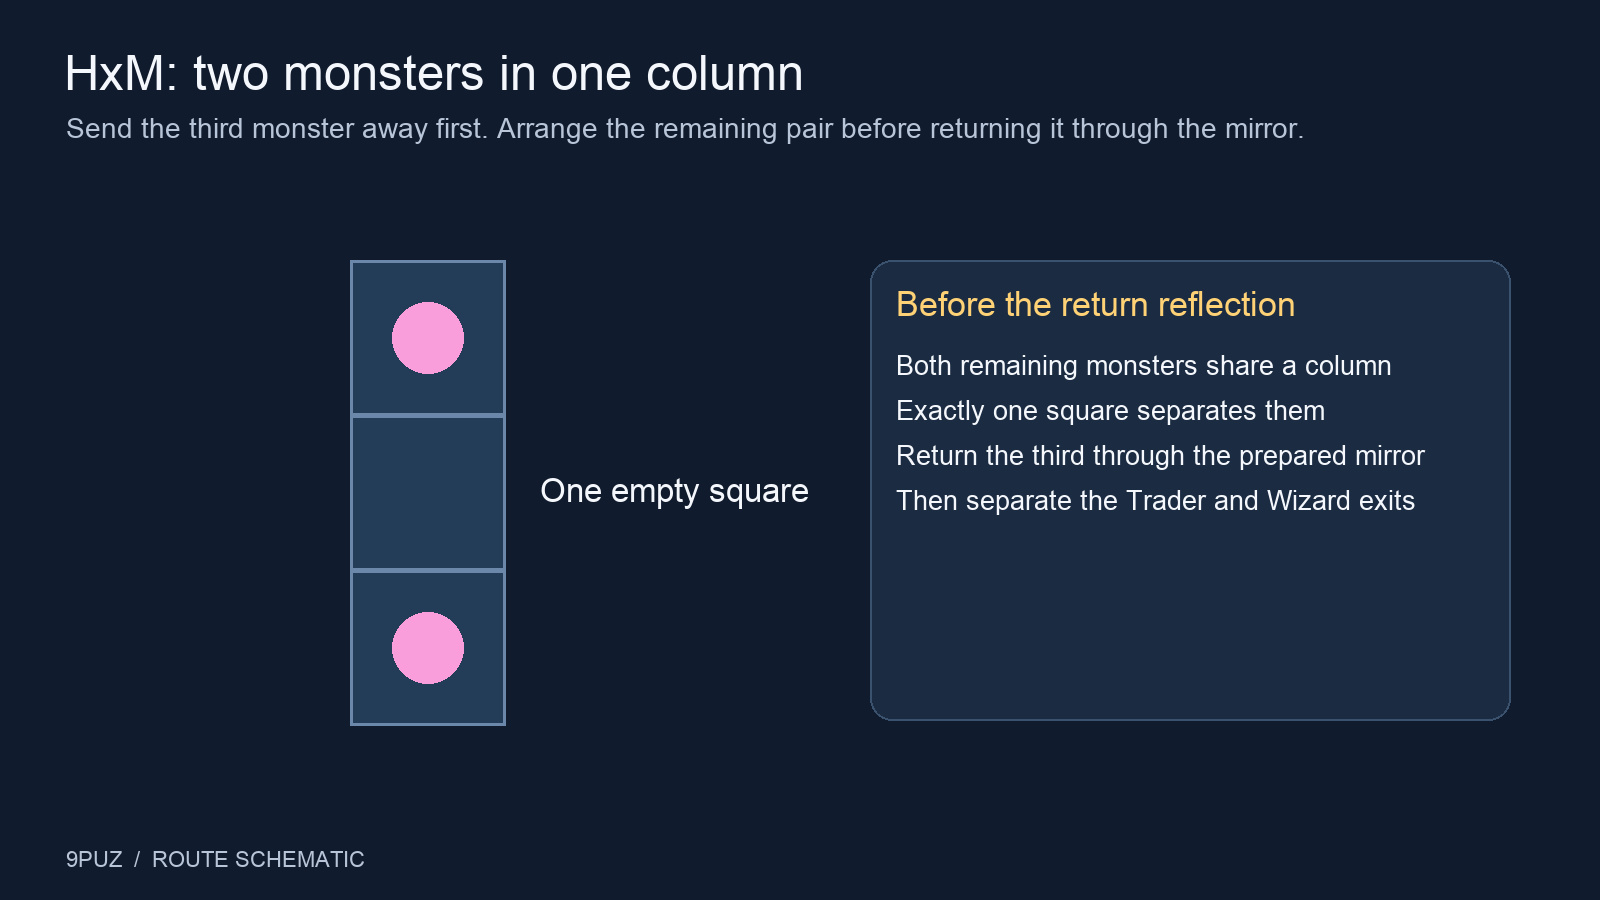
The two monsters still in the room should now occupy the same column with one empty square between them. Confirm that spacing, then return the third monster through the mirror. The three monsters destroy one another.
Switch to the Trader and push the mirror down one square. Then place the Wizard to the right of the pillar on the platform and swap right with the Trader. The Trader can now use the teleporter on the left. Finally, walk the Wizard to the lower-right corner of the upper island and swap down with the crystal beside the lower-right teleporter. Move him onto that exit to finish the room.
Finish the two puzzles beyond the gold room
Completing the main HxM puzzle releases a crystal on the overworld. Push it upward to bridge the upper platform. Enter the two-puzzle series there; both puzzles are needed before you can access Heroes and Water and Heroes and Mirrors.
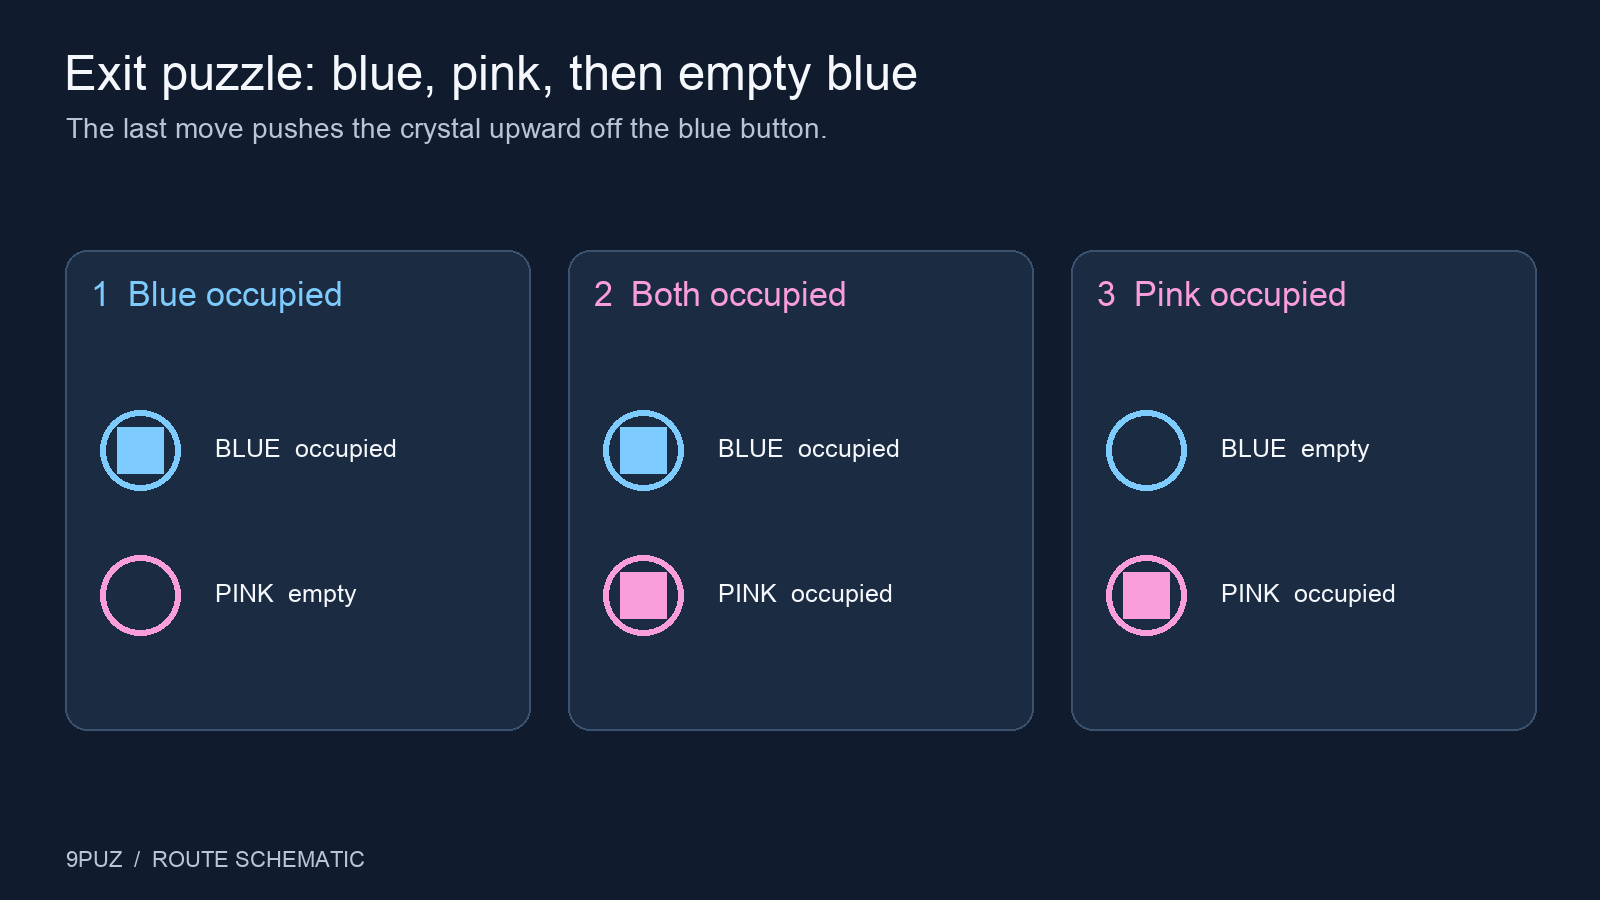
Blue button, pink button, blue button again
- Push the first crystal onto the blue button. The blue barriers exchange their active positions.
- Reach the newly accessible crystal on the left and push it onto the pink button. The pink barriers exchange positions too.
- Return to the crystal on the blue button and push it upward off the button. The blue barriers exchange positions again, opening the route to the right-hand teleporter.
Finish with the blue button empty. If you leave both buttons occupied, you are still at the intermediate arrangement, so move the blue-button crystal up before approaching the right exit.
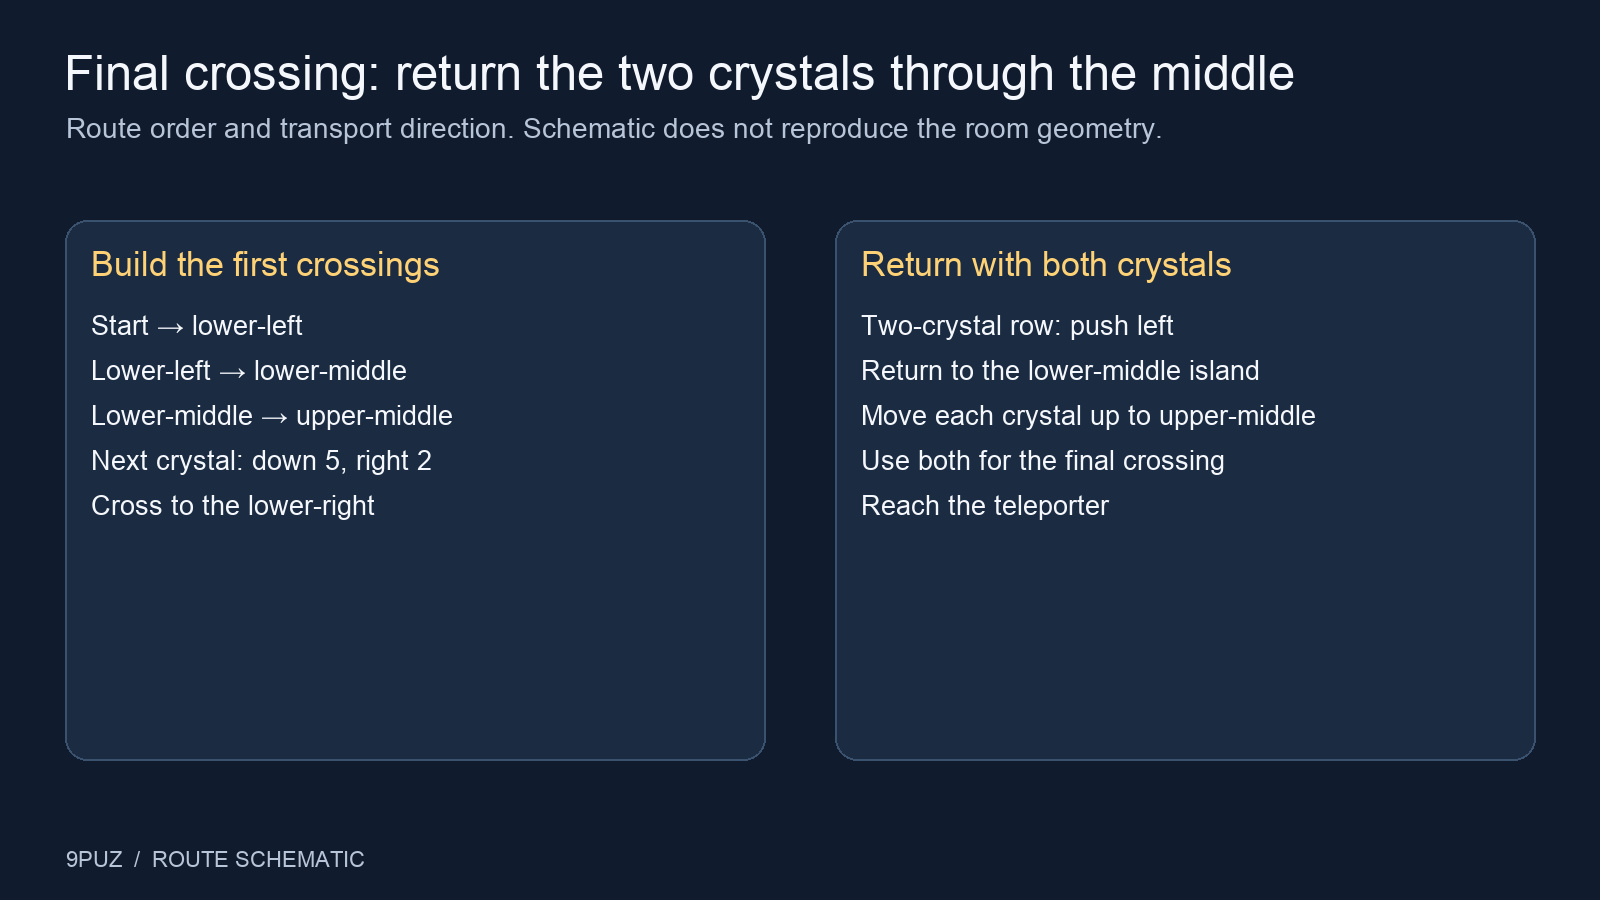
The final island crossing
- Push the crystal down to form the first crossing to the lower-left island.
- Push the upper crystal right into the water. Push the remaining crystal across that submerged crystal to finish the crossing to the lower-middle island.
- Push the next crystal right, then up, joining the lower-middle and upper-middle islands.
- Move the next crystal down five and right two, opening the crossing to the lower-right island.
- Push the row of two crystals left over the completed crossing to the lower-middle island. Move each of those crystals upward to the upper-middle island.
- Use those two crystals to make the final crossing to the teleporter.
The two-crystal row must return toward the middle islands. Carrying both pieces upward from the lower-middle island supplies the last crossing; leaving them on the lower-right island leaves that final gap unfilled. After reaching the teleporter, return to the overworld to enter the newly accessible Heroes and Water or Heroes and Mirrors route.