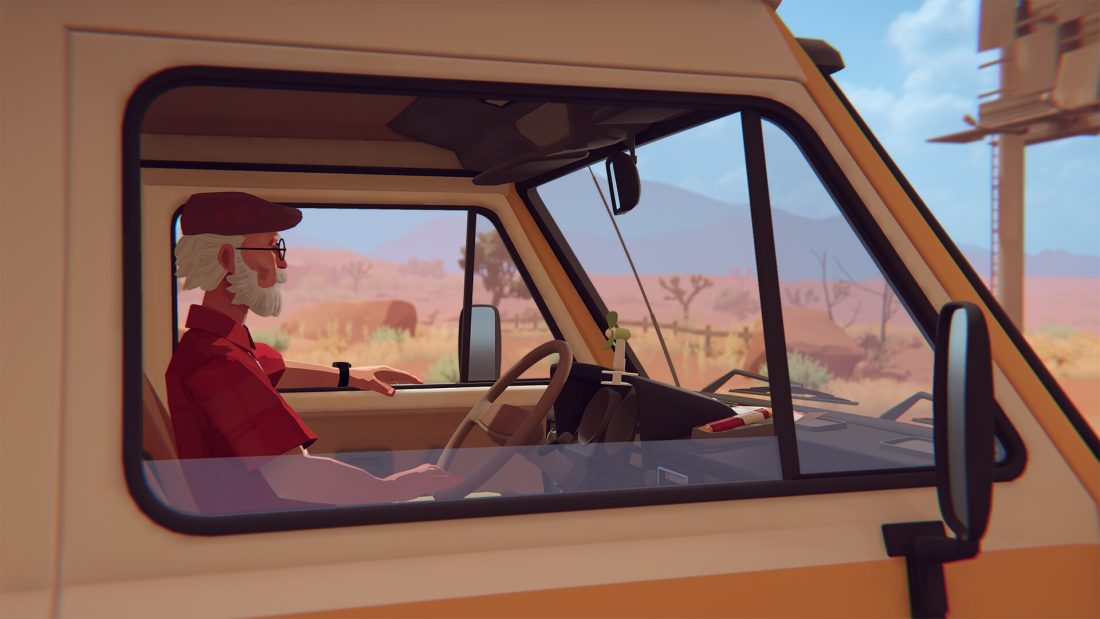
Begin Forever Ago by photographing Alfred through Audrey’s bedroom window, then follow their trip to Woolson Falls. Once you take control of older Alfred, Audrey’s journal gives you the errands for each stop. This walkthrough takes you through the diner, Sam’s home, the abandoned resort, Winslow Lighthouse and Williamina Peak to the epilogue. It contains story spoilers and follows the main story; it does not cover every achievement or memory collectible.
Woolson Falls: the first photographs
You start with Audrey’s camera in her bedroom. Read the manual on the desk, then practice with the teddy bear, pictures beside the study desk and wall calendar. When Alfred calls from outside, turn toward the window, frame his pose and take his picture to move the scene outside.
During the drive, take a photograph from the passenger seat and answer Alfred as the conversation continues. Watch for the Woolson Falls sign when he points it out. At the trail entrance, crouch to photograph the flowers close to the ground, then turn toward Alfred for another posed shot. Finish the conversation and camera prompts around the sign before Audrey hands him the camera.
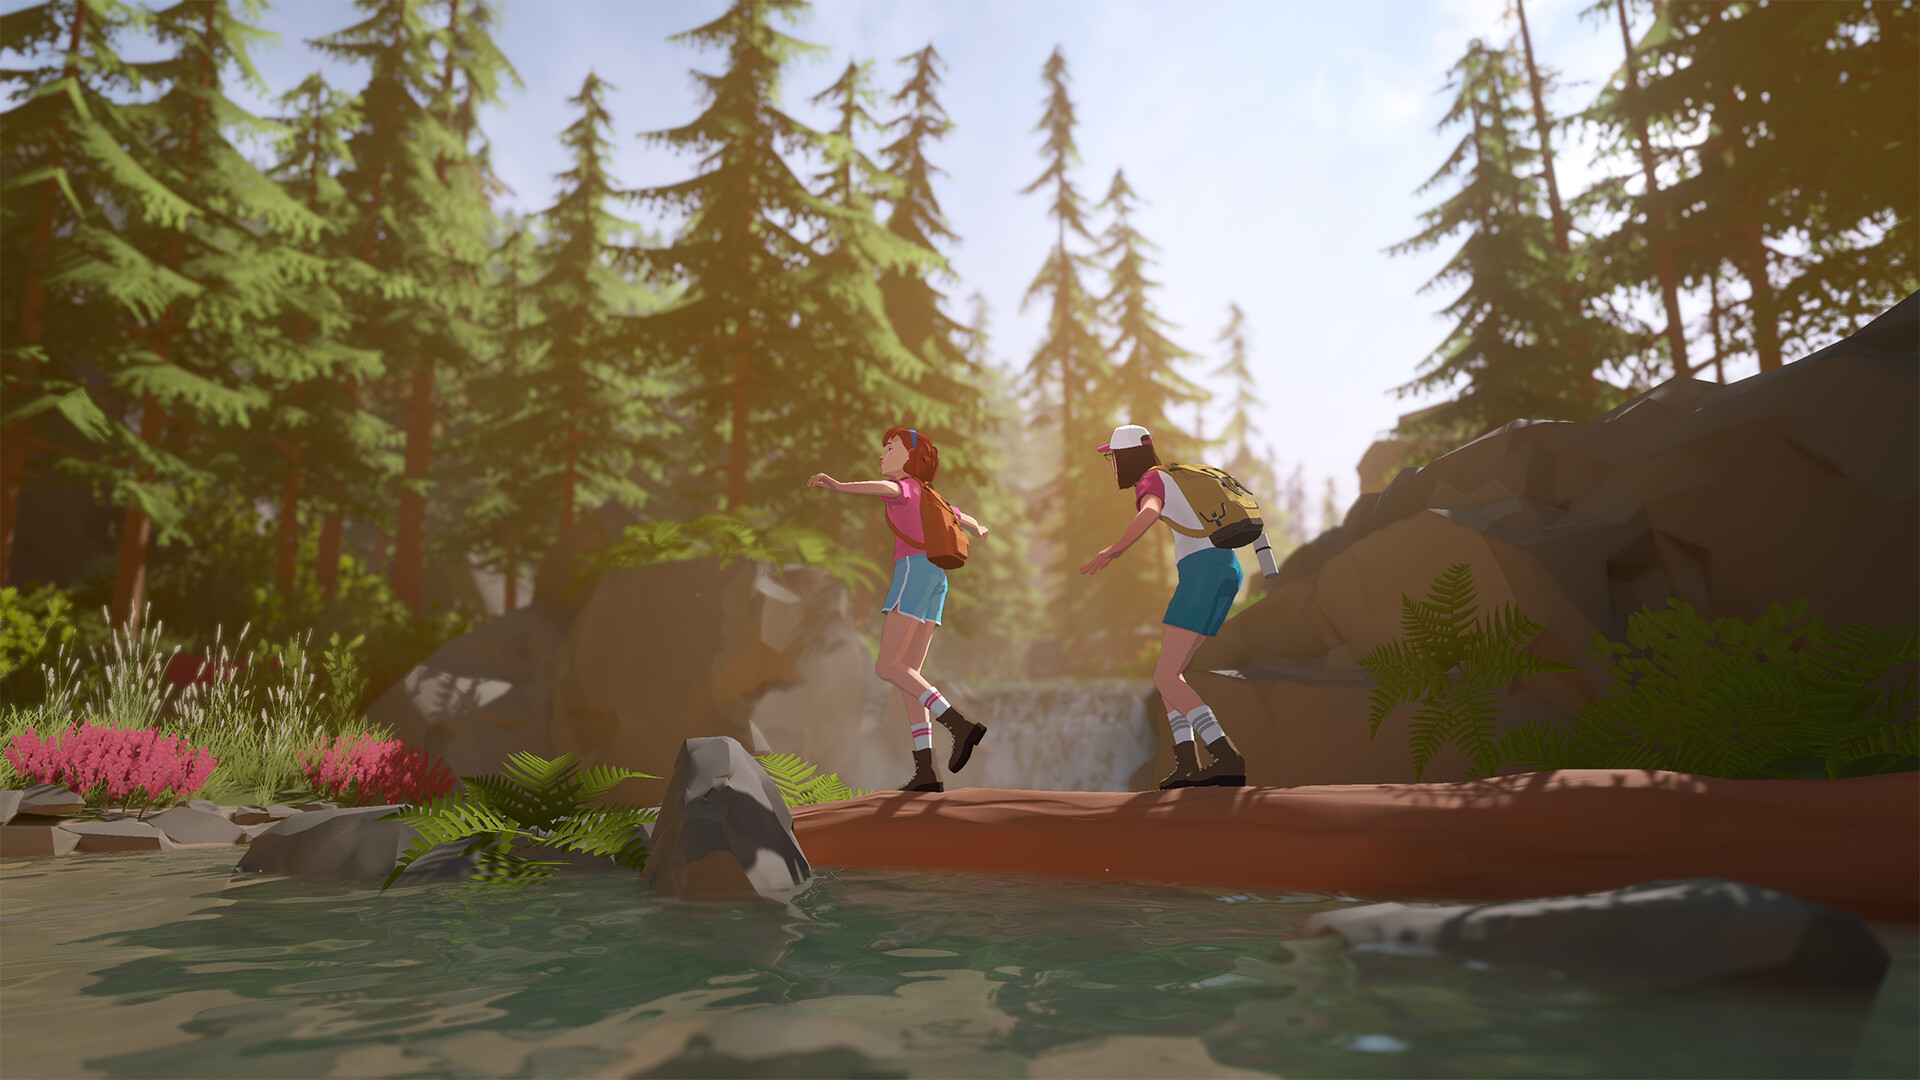
Control then switches to Alfred in third person. Stay with Audrey along the forest trail. Use the jump prompt at the breaks in the path and cross the creek on the stepping stones. At the fallen log, follow the balance prompts until Alfred reaches the other bank. These crossings require movement; waiting for the dialogue to finish will not carry Alfred across them.
Continue to the waterfall and complete the photograph with Audrey. The scene shifts to older Alfred returning alone. Develop the instant print with the shake prompt, open the journal and place the photograph on the page. That closes the first stop and establishes the journal interaction used later in the trip.
Karl’s Pump ‘N’ Mart: collect the supplies before paying
At the gas station, Alfred needs food, a road atlas and replacement windshield wipers. The notice on the pump directs you inside to pay. Enter the shop, meet Milton and take a red shopping basket near the entrance before collecting the supplies.
- Cookies: look on the shop’s central display for the cookie boxes. Choose a box and use the take prompt.
- Road atlas: find the display near the toilet-paper stock and the framed old photograph. Pick up the atlas itself; inspecting the photograph does not collect it.
- Windshield wipers: search the far end of the shop for the tall blue packages on the wall display.
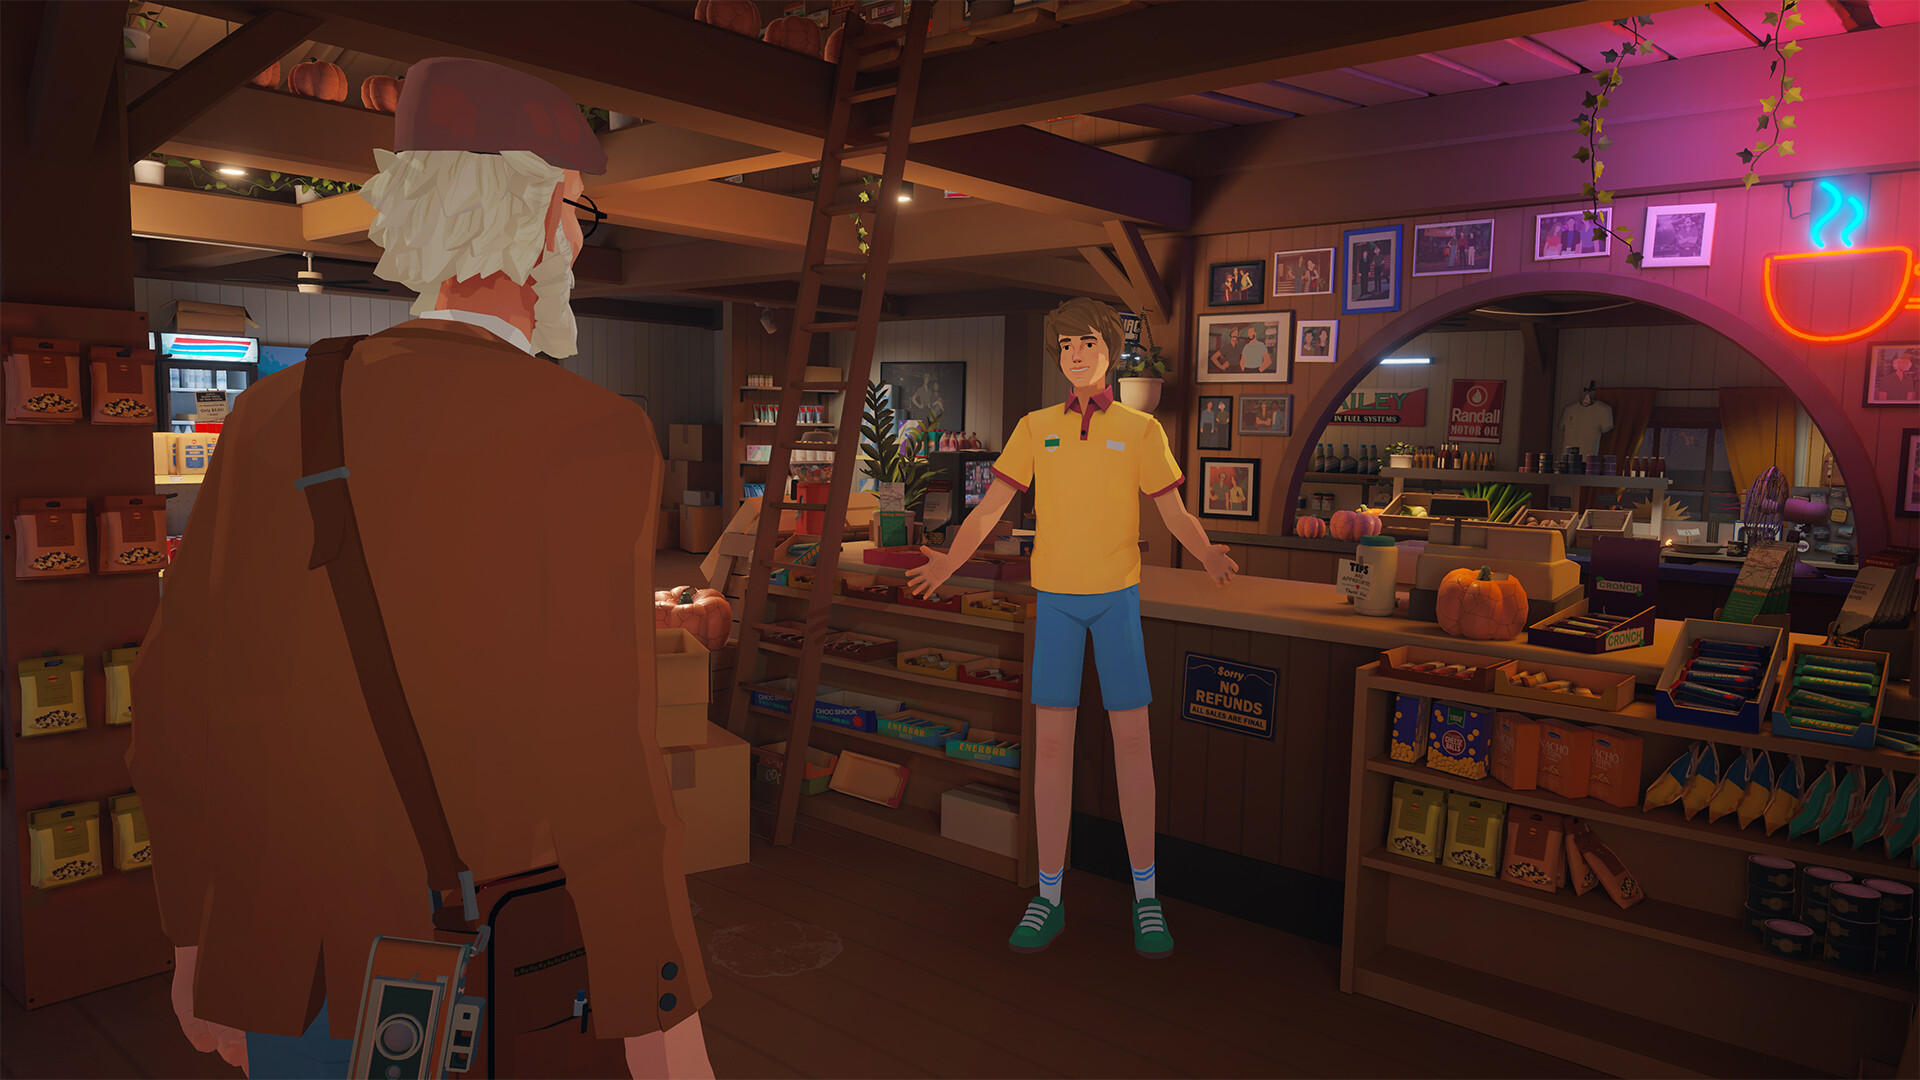
Return to the counter when all three shopping errands are crossed off. The old photograph and Milton’s conversation lead into a birthday memory. Follow the scene back into the shop. In the dream that follows, go through the doorway, climb the stairs and pass through the next opening to return to Milton.
You still owe Milton for the supplies. Use the wallet interaction at the counter after the memory ends; the interruption does not finish the purchase. The campsite comes next. Interact with the journal and loose photographs to place prints in the album, then finish the evening interaction to resume the road trip.
Highway Star Diner: the flower, broken jukebox and reserved booth
Alfred starts this stop after the motel stay. Open the journal to see Audrey’s remaining wishes: find her favorite flower, try their song on the jukebox and sit in the booth beside the window. The flower and the dog behind the diner are in different outdoor areas, so visit them separately.
The flower near the telescope
Leave the motel room and walk toward the diner. Turn toward the van, pass through the opening in the nearby fence and follow the path to the overlook. The telescope marks the end of this path. Look beside it for the red-orange flowers, approach them and use the pick prompt. Alfred keeps a flower for the journal.
Which record to choose on the jukebox
Inside the diner, the jukebox stands to the left. Browse its records until you reach Patti Page’s Green Green Grass of Home, then press Play. Maddy explains that the jukebox is broken and serves as decoration. The lack of music is expected here. Leave the machine after the conversation and work on the booth; there is no repair errand in this sequence.
The journal later marks the song wish with a question mark rather than treating it like an ordinary completed errand. If you have selected the Patti Page record and heard Maddy explain the fault, repeatedly cycling through tracks will not help you reach the next scene.
Get Maddy’s permission to use the booth
Approach the booth by the window. It is reserved for loyalty members, so speak with Maddy at the counter. Alfred cannot complete the phone-based membership step, but she offers another way: investigate the trouble behind the diner.
Go outside, turn toward the fenced service area beside the diner and open its gate. Inspect the hole under the fence, then approach the trash bins farther in. A stray dog appears there. Take a photograph of the dog, return to Maddy and report what you found. The conversation gives Alfred permission to use the booth.
Sit in the window booth and arrange your photographs in the journal if you have prints to add. When the camera prompt appears, photograph the view outside to enter the earlier visit with Audrey. Inspect the sign on the gate in that memory, join Audrey and look through the diner window. After the conversation, open the small flower case in Alfred’s hands.
Follow Audrey along the trail away from the diner, using the movement prompts at the fallen obstacles. Sit with her at the overlook and finish the conversation about Alfred’s feelings. The memory eventually returns to the diner visit. Continue the departure scenes to take the stray dog along on the journey.
The van breakdown and the telephone dream
When the van stops, inspect the fluid leaking behind it and check beneath the hood at the front. Then open the sliding door on the van’s side. The dog is inside, beside Alfred’s journal.
Enter the van and use the journal interaction beside the dog. Let the encounter finish, then leave the van and walk along the roadside toward the phone booth. Use the telephone interaction to place the call, then let the conversation finish. The scene leads into another dream.
In this dream, follow the path toward the telephone and answering-machine area. Watch the floor: some stretches end in gaps, and a Jump prompt appears at the edge. Move across those breaks to reach the next platform. Interact with the telephone when you reach it, listen to the scene and continue through the doorway beyond. The next playable stop begins at Sam’s home.
Sam’s home: water the garden, then finish the repair
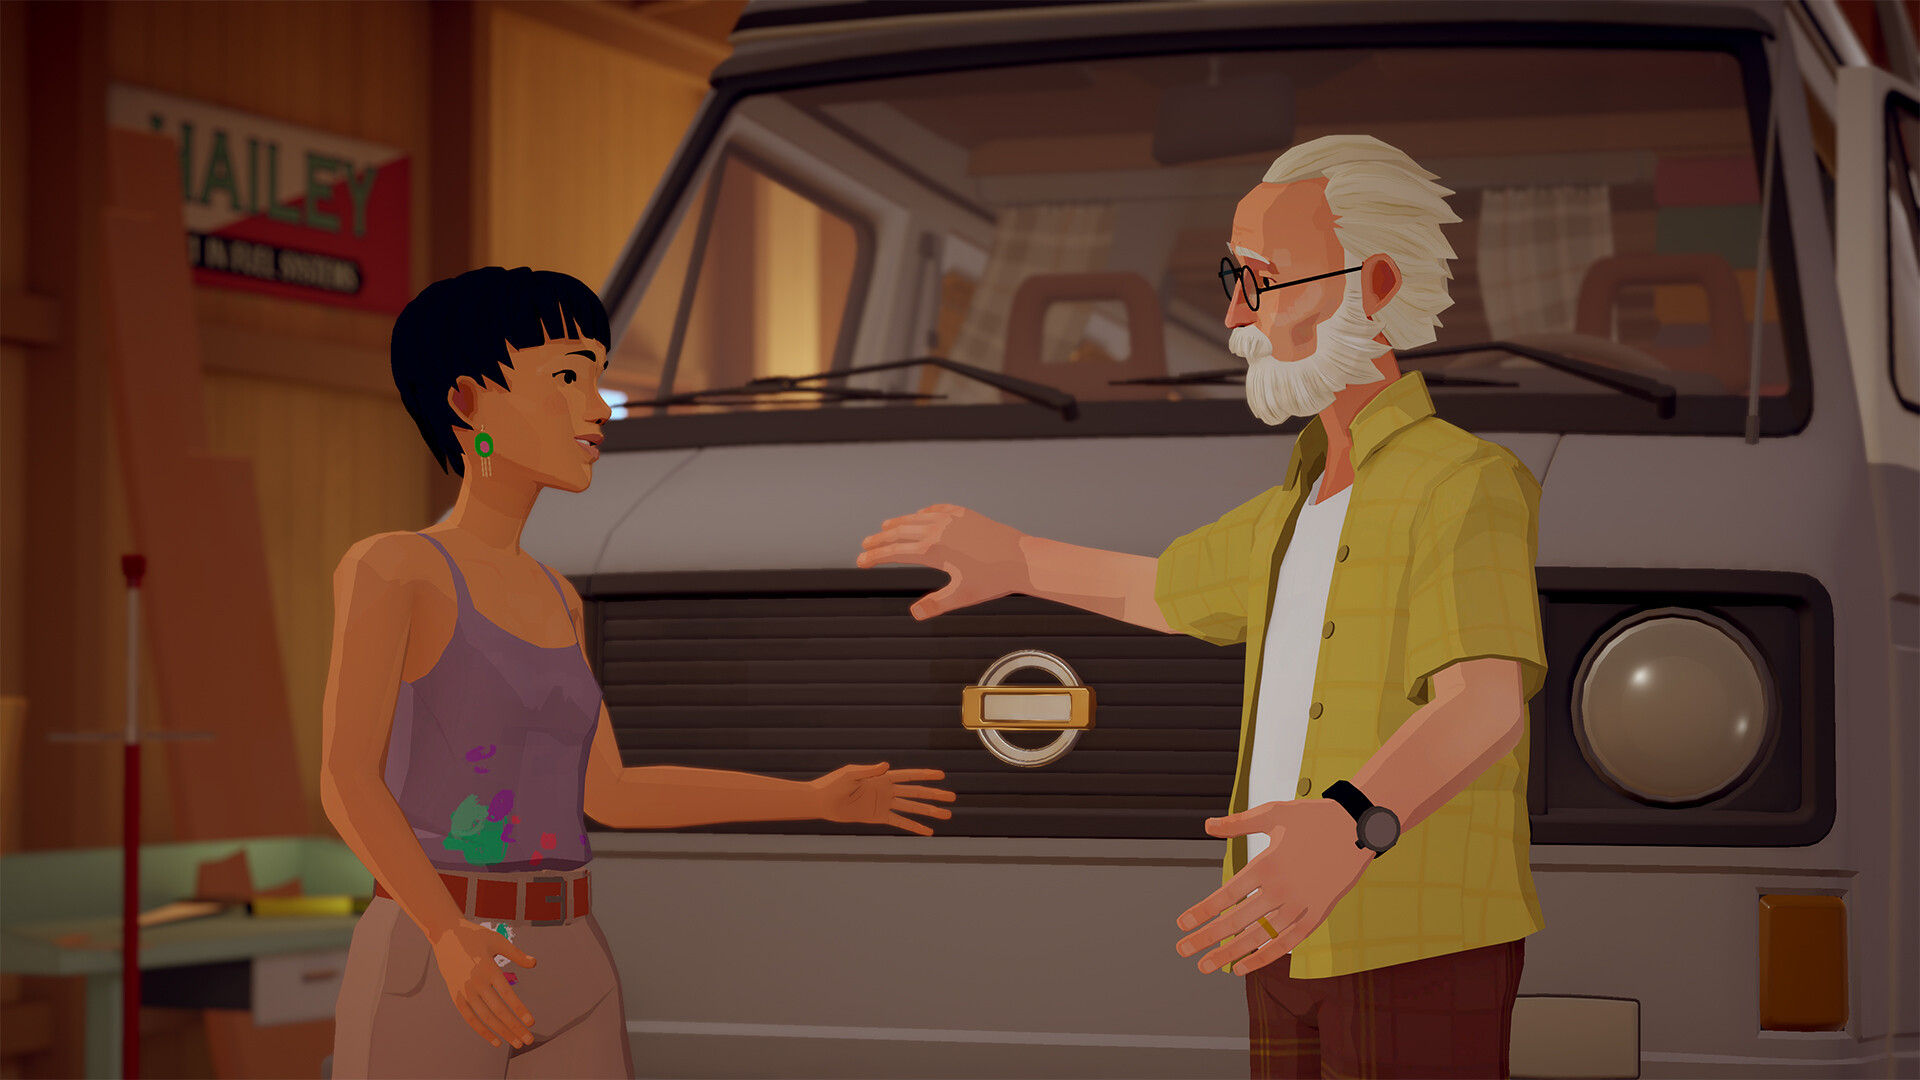
Read the note on the bedroom door after Alfred wakes. Choose a shirt from the clothes available in the room, then leave the bedroom and head outside through the house. Sam and the van are in the garage area. Talk to her and inspect the engine and repair equipment as prompted. Alfred’s unsuccessful attempt leads to Sam taking him out to the garden.
Follow Sam to the flower beds and pick up the green watering can. Walk close to a bed and use the Water Plants prompt. Continue along the beds while Sam talks. If the can empties, take it to the faucet by the red shed beyond the garden, refill it and return to the flowers that still offer a watering interaction.
After the garden conversation, follow Sam back for the gaskets and the repair scene. When control returns at the engine, use the tightening interaction on the remaining bolts. Do this before leaving the garage; the conversation alone does not perform Alfred’s last part of the repair.
Walk across the fields with Sam, throwing the stick when the dog stops to play. At the lookout, sit beside Sam and use the selfie prompt to photograph Alfred, Sam and the dog. Finish their conversation before returning to the road.
Captain Marley’s resort: reach the island through the locked buildings
Alfred’s resort errands take him to the arcade, souvenir shop and island. Start with the day ticket, then go upstairs in the Captain’s Galley for the bolt cutters. You will use them to open the locked buildings and dock.
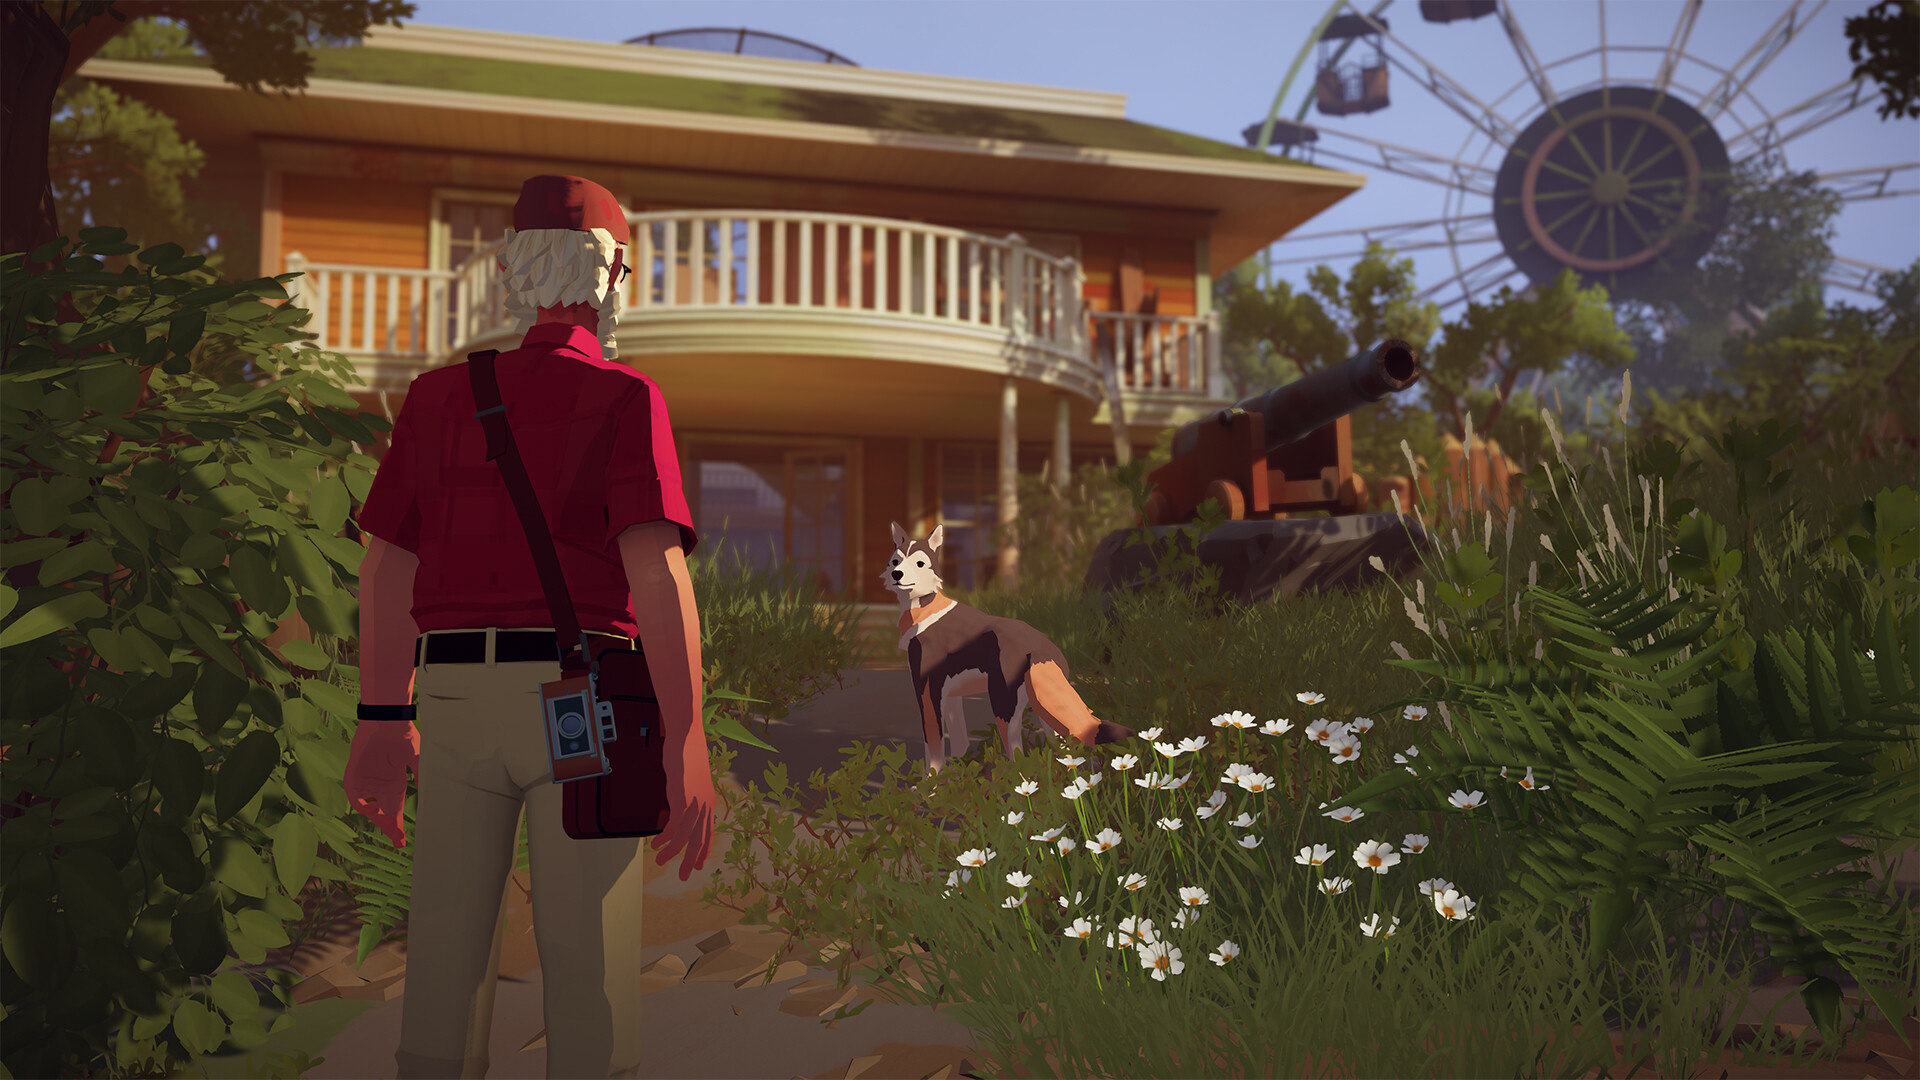
Day ticket, Galley and bolt cutters
Inspect the empty entrance office, then continue to the ticket machine beside the resort entrance. Get a day ticket and use it at the turnstile. Once inside, take the path to the right and crouch beneath the fallen sign blocking the route. Continue through to the Galley building, turn toward its entrance and go upstairs.
A nightmare interrupts the climb. Follow the route through the floating pages and hospital imagery, interacting with the doorway or obstruction when its prompt appears. Once the resort returns, continue upstairs to the broken section of floor.
The planks are lying close to the gap. Approach their stack and use the placement interaction to lay them across the opening. Cross the new bridge and collect the red-handled bolt cutters from the workbench on the far side. If you reach a padlocked door elsewhere without them, return to this upstairs crossing; the ticket machine does not provide a key.
Cut the balcony padlock, open the way out and descend the ladder. You now have a route back to the resort paths and the tool needed for the remaining locks.
The arcade lights and Guardian Lord
Find the locked entrance to the Skull and Coins arcade and cut its padlock. The room is dark when you enter. Look near the entrance for the red power lever on the wall and pull it to turn on the lights. Then walk to the Guardian Lord cabinet at the back of the arcade.
Play Guardian Lord and let the round finish. The journal crosses off the arcade errand whether or not you set a new high score. Audrey’s original high score has been reset over the years, so you do not need to beat it. Check Alfred’s task list after leaving the cabinet, then move on to the sticker and boat.
Take a mascot sticker from the souvenir shop
Leave the arcade and follow the resort path to the souvenir shop’s locked staff entrance. Use the bolt cutters again. Inside, find the low shelf holding mascot stickers near the parrot display. Use Browse Stickers, then Choose Sticker on one of the available designs.
The yearly sticker series has been discontinued, so Alfred accepts an available sticker. The diary errand refers to a mascot sticker; the day ticket from the entrance is a separate item and will not finish this wish. After choosing the sticker, leave through the door near the parrot display to reach the path down to the water.
The dock, boat memory and tree carving
Follow the descending path to the docks. Cut the padlock on the gate leading to the remaining pedal boat, enter the dock and board it. Steer toward the island across the lake. During the crossing, raise the camera when the photograph prompt appears and photograph the figure in the front seat to enter the memory with Audrey.
Use the steering prompts during the remembered crossing and respond as Audrey explains how to move the boat together. Once you land, follow her onto the island and finish the conversation by the tree. When control returns to older Alfred, approach that tree and use Update Carving. The carving completes the island errand. After updating the carving, sit on the bench beside the tree with the dog. At the next campsite, open the journal and place your new photographs in the album before continuing the trip.
Winslow Lighthouse: breakfast, Charles and the closed entrance
The journey first stops at an animal shelter. Follow the conversation there; Alfred keeps the dog and chooses its name. At the next campsite, prepare coffee and feed the dog before continuing the breakfast scene. Charles arrives with his own dog, Luke, and joins the conversation.
Walk with Charles along the coastal trail. At the rest stop, use the camera interactions offered around the viewpoint. Charles also asks to take Alfred’s photograph. During that part, Alfred becomes the subject: respond to the on-screen expression and photograph prompts as the viewpoint changes. Once the photo session is finished, rejoin Charles on the trail.
Follow the path toward the lighthouse, stopping for the dog interactions along the way. At its entrance, read the sign announcing that the lighthouse is temporarily closed. After the conversation, aim the camera upward at the top of the tower and take the photograph. This leads into an earlier visit with Audrey.
You can enter the lighthouse in the memory. Go through the door at its base, climb the internal stairs and continue to the balcony. Watch the scenes with Audrey, then finish the conversation with Charles when the present returns. The closed gate in the present does not need a key or bolt cutters; the photograph is the way into this part of the story.
Williamina Peak: follow the dog’s tracks and read the last note
As snow thickens during the drive, increase the windshield-wiper speed with the driving prompt. The story then moves through the crash and a dream. Follow the dream’s route until Alfred wakes back at the van.
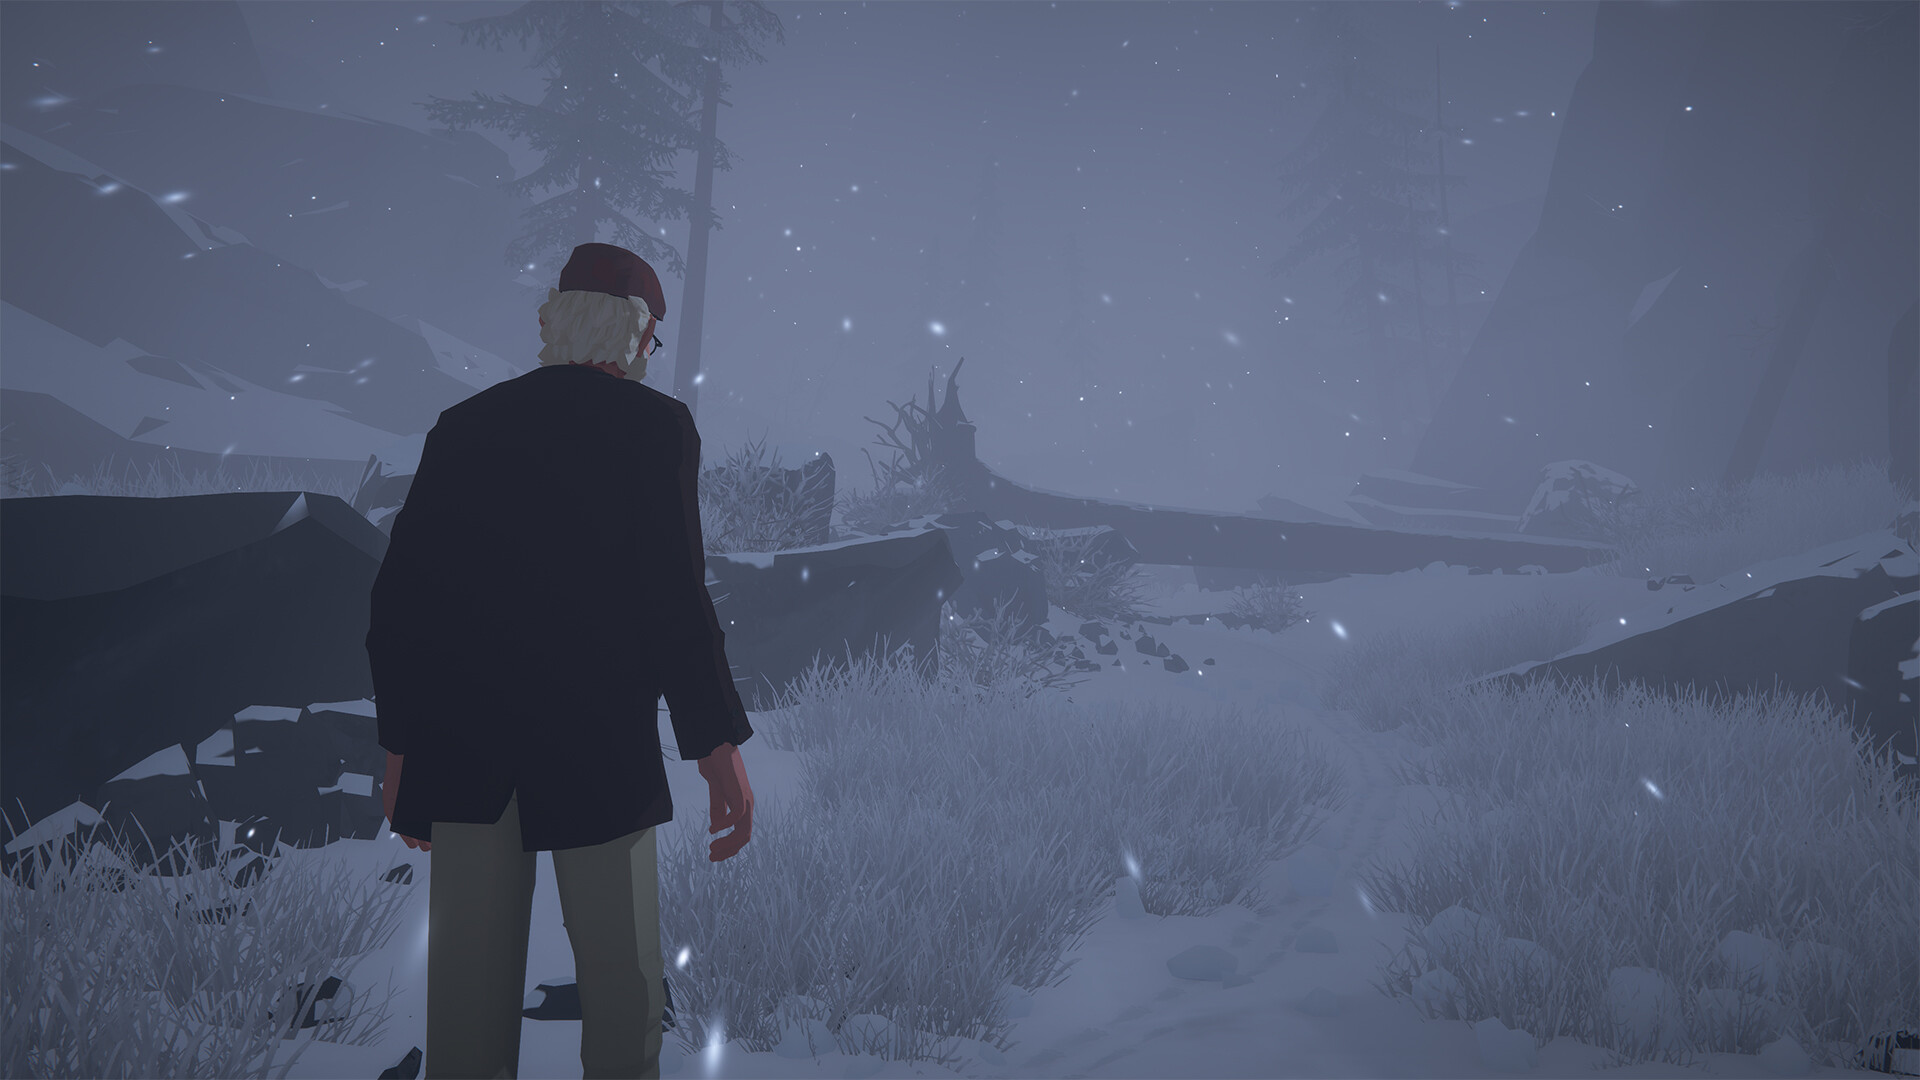
Leave the van and look for the dog’s prints in the snow. Follow them into the narrow path between the boulders, using the call prompt as you search. Keep following the mountain passage when blowing snow makes individual prints hard to see. At bends, turn with the path rather than trying to maintain a straight line through the rocks.
The dog is stranded near a rock ledge. Approach it and complete the reunion interaction, then climb the stone steps farther along the path. They lead up to the next sequence.
The final dream takes Alfred through funeral and household scenes. Follow the doors and red-petal trail through the changing rooms. Continue past the telephone and answering-machine scene, up the available steps and through the opening toward Audrey’s memorial. Let the messages and scene changes finish as you move along the route. The next memory begins with Alfred carrying a tray of soup.
Carry the tray into Audrey’s room and place it beside her bed when the prompt appears. Feed her the soup, then set the tray on the table by the window. Return to the bedside and finish their conversation. The scene later shows Alfred beside the empty bed.
Turn toward the bedside drawer, open it and retrieve the journal. Use Open Journal to read Audrey’s final note and let the voiced scene finish. The story returns to Alfred and the dog at the mountain summit. Allow that scene and the credits to continue so you reach the playable epilogue.
Epilogue: finish the evening at home
Back home, inspect the mountain painting and the nearby objects as their prompts appear. Complete the framed-photograph interaction, then walk into the kitchen and begin preparing dinner.
When the dog appears outside, leave the kitchen and go through the garden door to meet it. Follow the play interaction and throw the stick. Continue through the final scene to close the story.