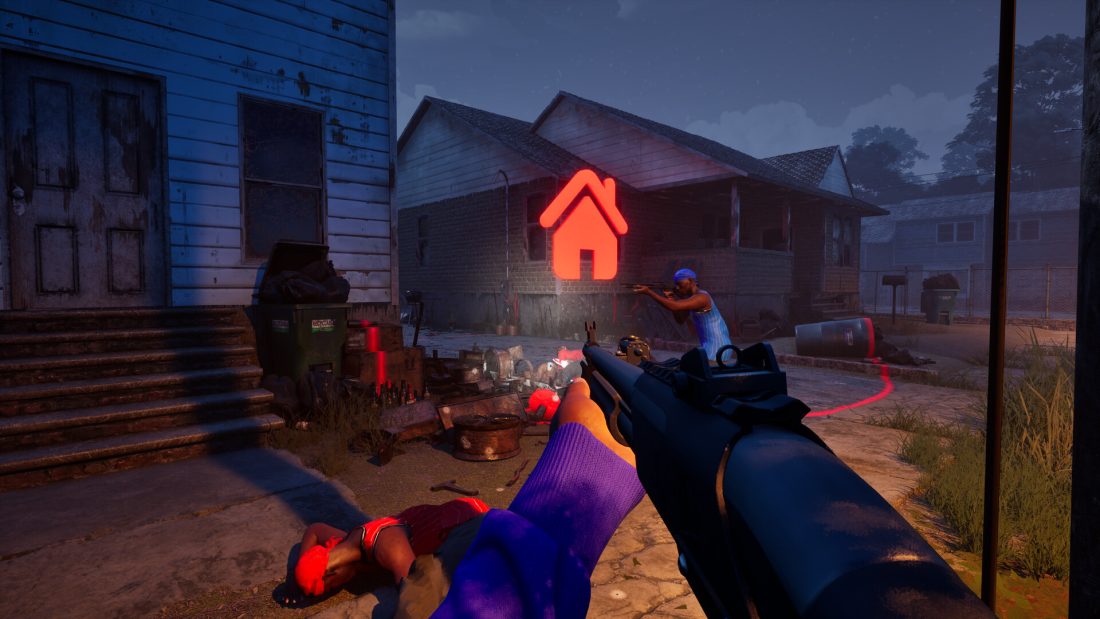
Set up an assault-rifle loadout before your first Hood Warfare 2 match. QUICK PLAY finds an online session; CREATE GAME lets you choose a mode and add bots for practice. Start with GangBang if you are setting the mode yourself, since your gang scores through kills. Then try Turf War, Hit A Lick or Chain Snatch to learn how territory, bags and pickups change where you need to go.
Playing matches in Hood Warfare 2 raises your level and unlocks weapons and equipment. Attachments have separate weapon challenges. Before changing guns, open the locked attachment you want and read its requirement so you know which weapon to take into the next match.
From the main menu to your first loadout
The PLAY screen has QUICK PLAY, CREATE GAME and JOIN GAME. Use QUICK PLAY when you want matchmaking to find a session. If you want to learn a particular objective without waiting for it to appear, open CREATE GAME and set up a match with your choice of map, mode and match settings. Hood Warfare 2 supports adding bots to fill the teams, so this is also a way to explore a map before facing an online lobby.
Set up your gun before queueing. Open the LOADOUT tab, enter EDIT LOADOUTS and choose a slot. Select its primary weapon to open SELECT PRIMARY WEAPON. The categories include ASSAULT RIFLES, SUBMACHINE GUNS, SHOTGUNS and RIFLES. Choppa appears under ASSAULT RIFLES in the early loadout menu. Start with an available rifle so you can move between the mall’s shop corridors and its longer atrium views without rebuilding your loadout during the match.
Return to the slot after selecting the primary. The loadout screen also shows your secondary weapon, equipment and passive ability. Verify those entries before leaving the menu, then pick the intended slot on CHOOSE LOADOUTS when the match begins. Editing one slot and spawning with another leaves you using the wrong gun, which matters later when you are trying to advance a weapon-specific attachment challenge.
QUICK PLAY can put you into a session that is already ending. If a win or loss screen appears almost immediately, let that result finish and select your loadout for the next match. That brief arrival is not a full round of practice. Use the following lobby to confirm which mode you are entering and which slot you will spawn with.
The mode changes what you should chase
Read the mode name before leaving spawn. A dropped enemy is enough to help your score in GangBang, but Chain Snatch also requires a pickup. In Hit A Lick, pursuing an unrelated firefight can leave your own bag undefended. Use the objective below to decide whether to keep fighting, collect something or return to a location.
| Mode | How your side scores or wins | Your first useful action |
|---|---|---|
| GangBang | Two gangs compete for the higher kill total. | Join a teammate’s fight and watch the route enemies use to reach your gang. |
| Chaos | Each player competes individually for the most kills. | Treat other players as opponents; a nearby character is not a gang teammate. |
| Turf War | Your gang earns points from territory it controls. | Move to a turf marker and help capture or defend it. |
| Hit A Lick | Steal the opposing gang’s bag and return it to your own hood. | Locate both bags so you know where an attack starts and where the return must end. |
| Chain Snatch | Collect chains dropped by defeated enemies for points. Recover friendly chains to deny the other gang. | Look for the dropped chains after a fight and approach when you can cover the pickup. |
| Destroy The Block | Attackers plant a bomb; defenders stop the plant or defuse it. Each player has one life in a round. | Stay close enough to support the bomb objective and preserve your life for the plant or defense. |
In Turf War, move into the area around the house marker and watch the capture indicator. Hold that area until ownership changes, then watch the routes the enemy can use to retake it. In the mall, players on the balconies can fire toward a lower-floor circle. Look up at those walkways while a teammate covers the doors around the objective.
For Hit A Lick, learn the return route before committing to the enemy bag. Follow the bag location from your hood to theirs, then remember the corridors or streets you used so you can reverse that trip. If several teammates are already pushing forward, covering the approach to your own bag gives the attack time to finish. Chasing kills far from either bag does not complete the delivery.
Chain Snatch creates a different risk after a kill: the scoring item remains where the enemy fell. Check the surrounding doorway, balcony or parked vehicle before stepping toward it. If a teammate dies nearby, recover their chains when possible to keep those points away from the opposing gang. You do not need to carry chains back to a base to make these pickups useful.
Chicago Mall: find the floor before taking the fight
The mall has a lower atrium and upper walkways around the central opening. Shopfronts line both levels, and escalators connect them. A player across the void may be above you, while someone who disappears behind a storefront can reappear along the same floor. When you take fire near the railings, look across the opening and up at the opposite walkway before advancing.
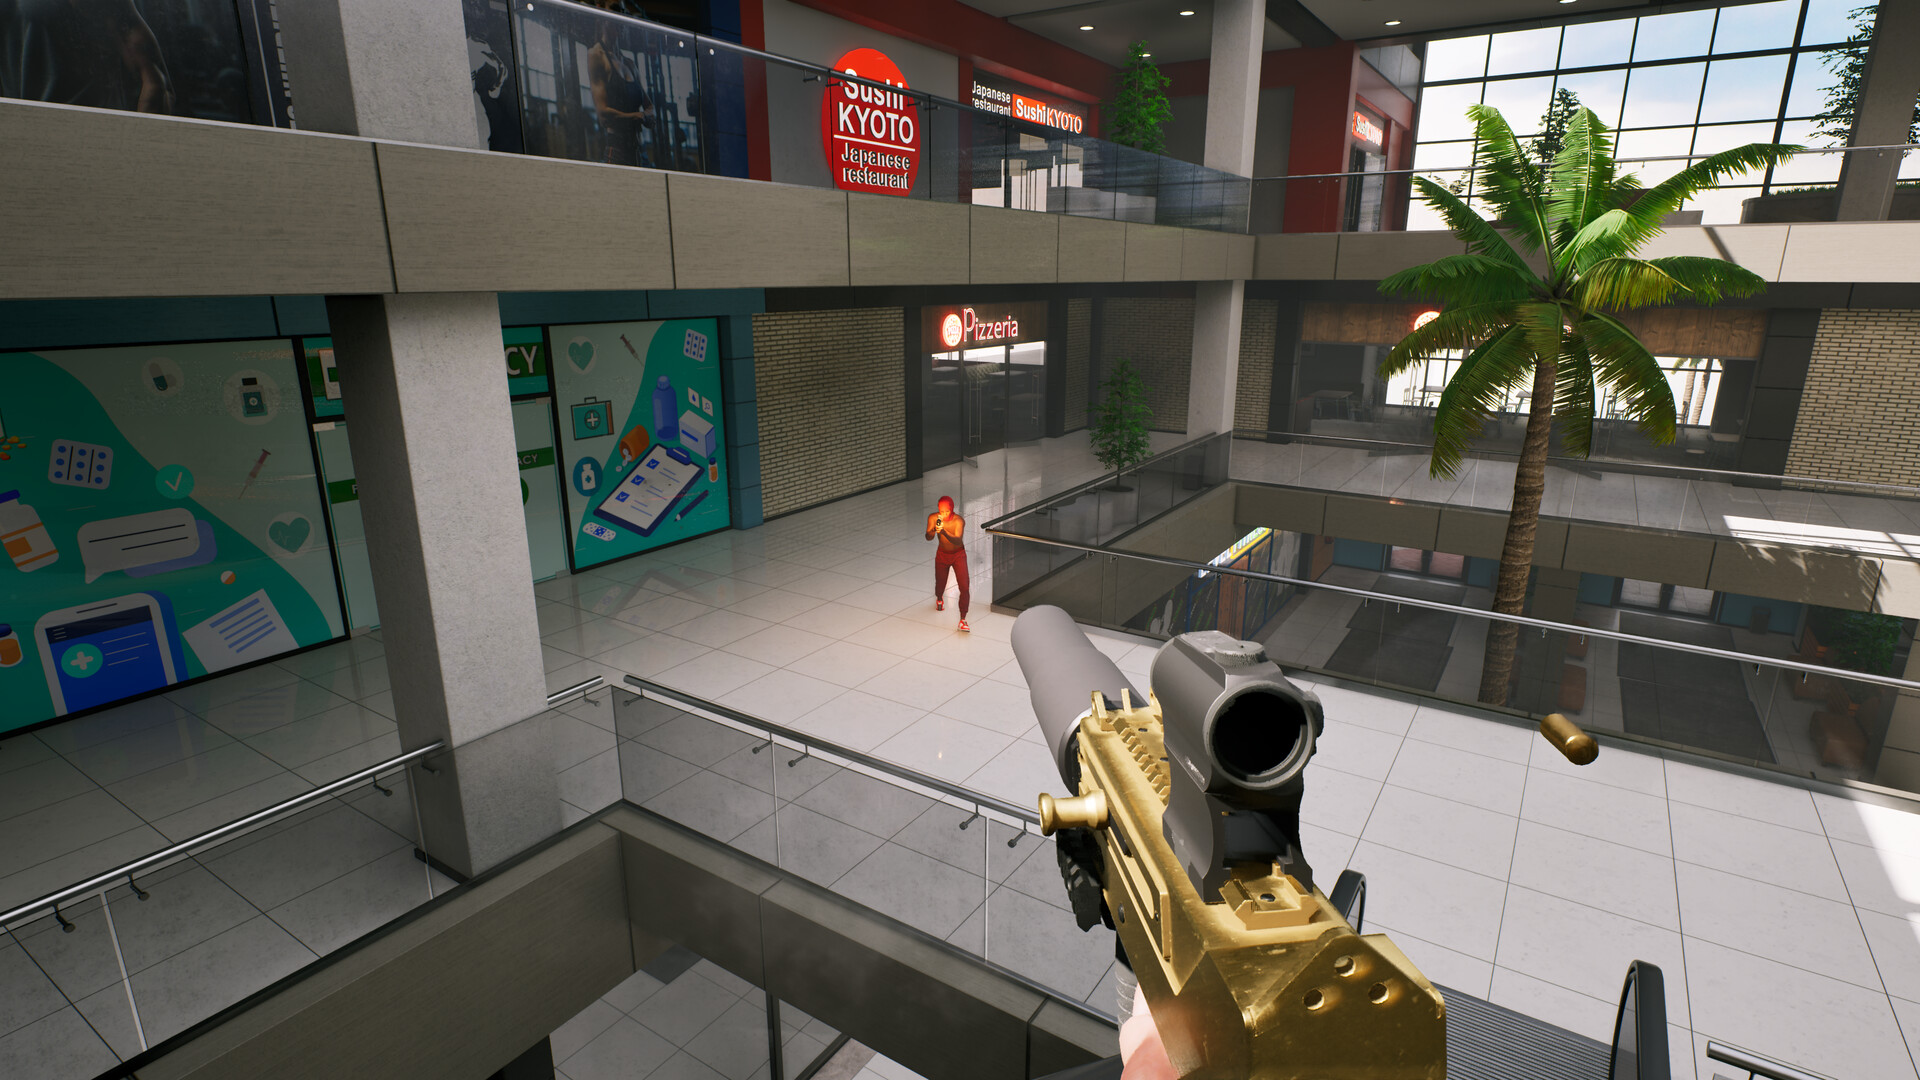
Use the storefront side of a walkway when moving between shops. Standing along the glass railing exposes you to the opposite balcony and the floor below. If an opponent has that crossing covered, move back behind a shop corner and use an escalator to change levels. After reaching the other floor, check the exit before stepping into the atrium; changing height does not remove the view from the opposite side.
The palm planters and seating in the lower atrium help you recognize the center after a respawn. In Turf War, locate the active house marker and its capture circle rather than assuming every match uses the same spot. Once you are inside the circle, face a doorway or the upper railing where enemies can enter the fight. If you leave to pursue someone into a shop, check whether your gang still has anyone defending that turf.
Street corners, shop doors and parking lots
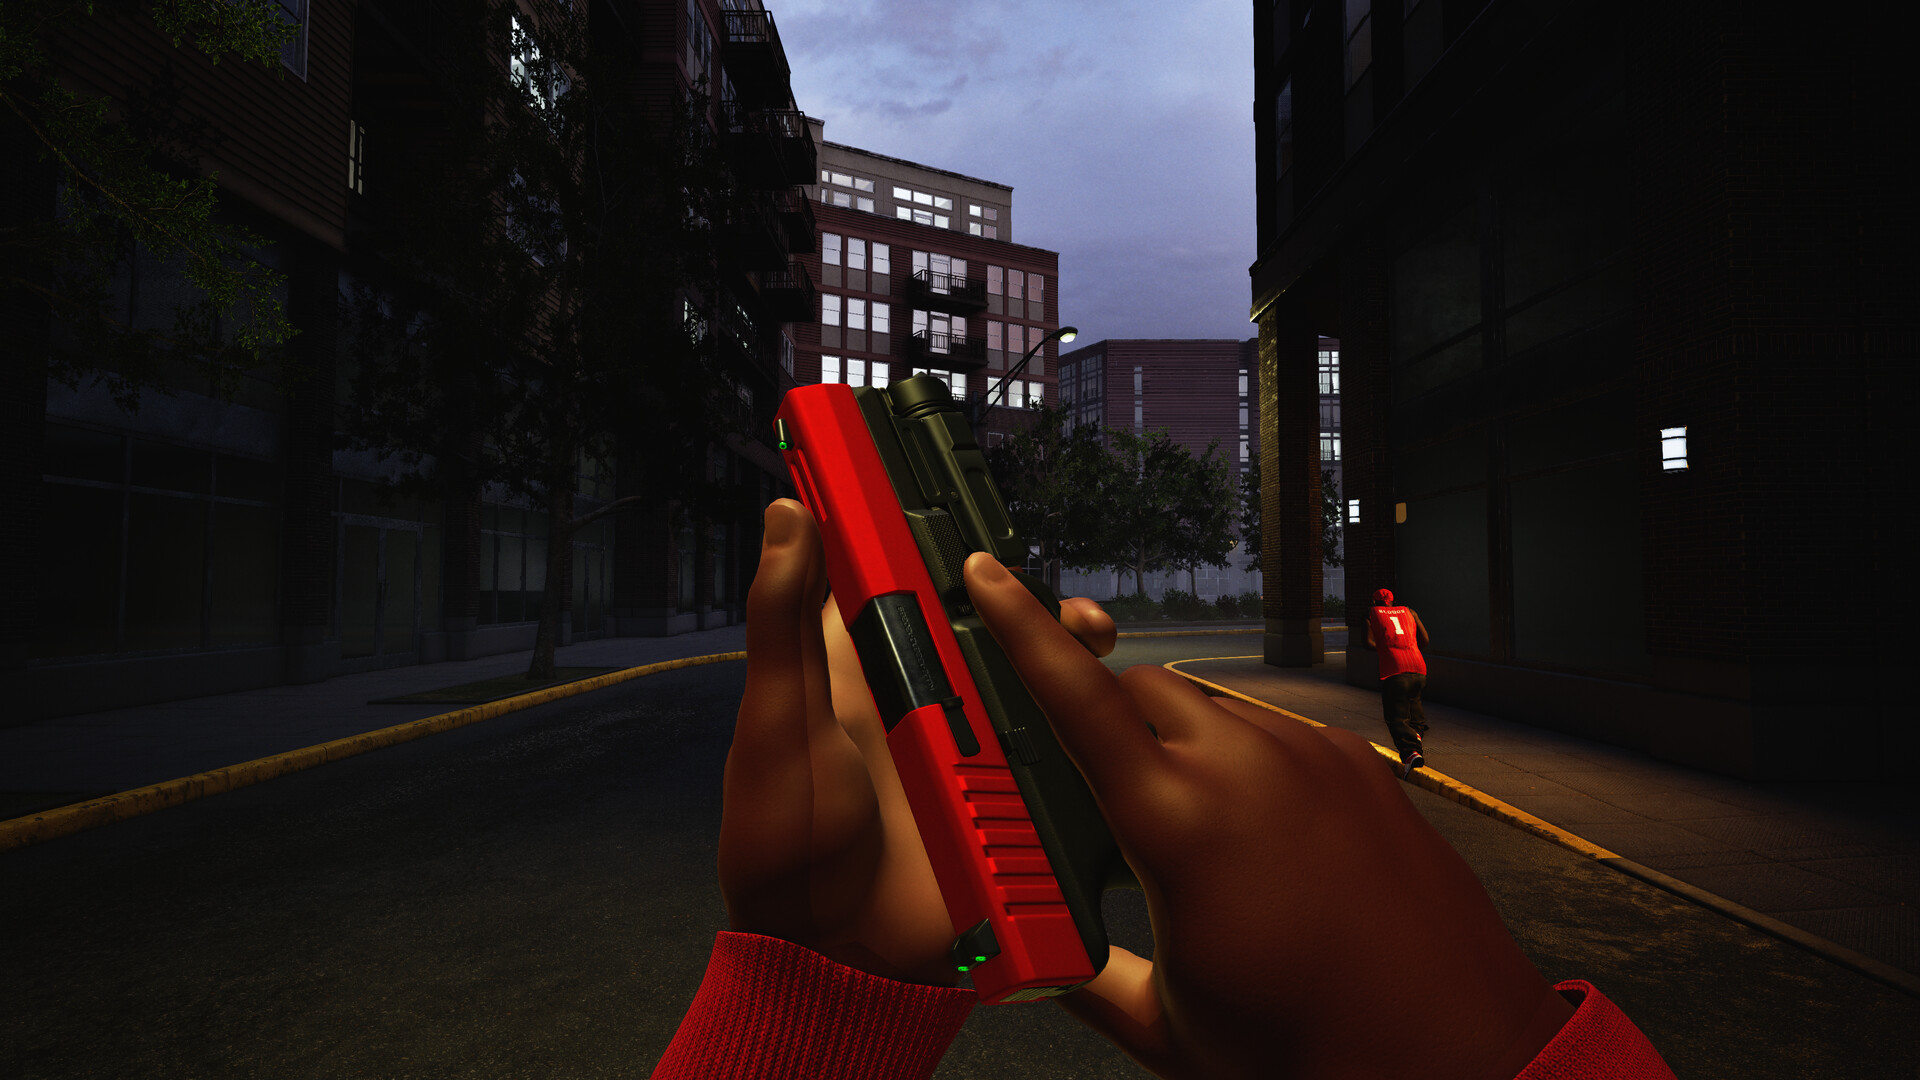
Downtown streets give opponents a long view between the buildings. Look along the road from a building corner before crossing, and pick the next corner you will move toward. Fighting from the road leaves you exposed down the block. If an enemy is covering that crossing, stay beside the building and look for an approach that keeps you out of that street view.
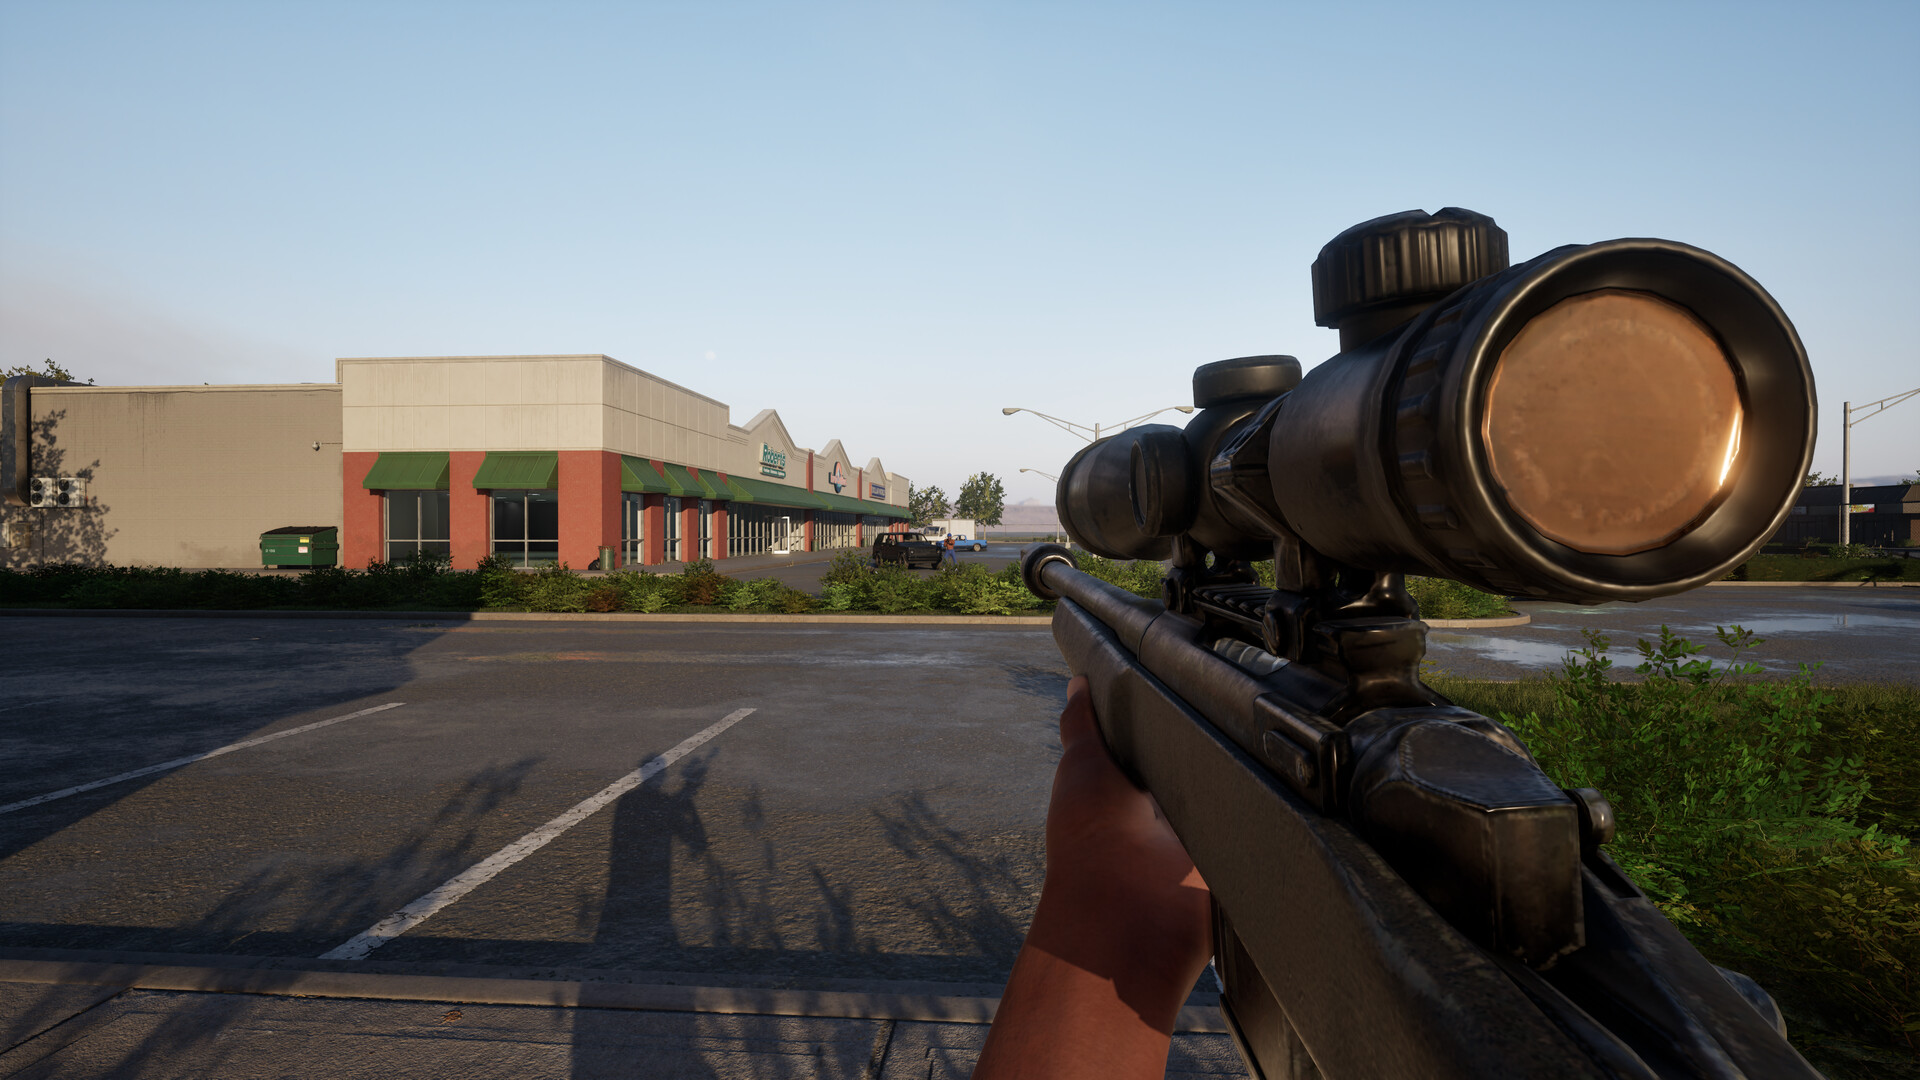
The shopping strip has glass-fronted stores facing a parking area, with vehicles and delivery trucks between the shops and the road. Someone leaving a store can be visible from far across that lot. Before crossing from one storefront to another, inspect the vehicles and the opposite windows. In the residential area, use the house corners to break that same kind of view and check the gaps between yards before following a turf marker around a building.
Inside the supermarket, shelving divides the floor into aisles while pallets and display stacks interrupt some views. Follow an aisle to its end and check the crossing before turning; a player in the next lane may become visible only at that junction. The glass frontage also leaves parts of the shop visible from outside. If you are fighting near those windows, include the parking area in your scan instead of watching only the shelves.

Why you are still watching someone else after a death
If SPECTATING appears on the HUD, the camera is following another player. Look for the respawn prompt instead of trying to control that character. When the controller prompt reads “Press A to respawn”, press A to return to play. If you use keyboard controls, follow the displayed binding. Waiting on the spectator view can keep you out of the fight even after you could have returned.
After respawning, identify your floor or nearby landmark before heading toward the objective. In the mall, find the atrium or an escalator; in the shopping area, find the storefronts and parking lot. This helps you approach a bag or turf point from your new spawn rather than retracing a route that no longer starts in the same place. Destroy The Block has a separate limit: its one-life rounds do not let you repeatedly respawn into the current round.
Choose a weapon unlock, then an attachment challenge
Playing matches and gaining levels opens more weapons and equipment. Weapon challenges unlock attachments, while kills with an individual gun unlock skins. Check which of those you are pursuing before switching guns. A higher account level does not, by itself, satisfy a challenge asking for kills with a particular weapon.
Keep your first assault-rifle slot and use another slot for a weapon you want to learn. For example, the RIFLES category contains the .308 Sniper. The parking area outside the shopping strip gives you a recognizable long view for practicing that gun: watch a storefront or vehicle gap from a position where you can step back out of sight. The mall’s close shop interiors create a different fight, so keeping your rifle slot available gives you a choice when the next map loads.
To find an attachment requirement, open LOADOUT, enter EDIT LOADOUTS and select the slot containing your gun. Open EDIT WEAPON, then the relevant attachment category. For the .308 Sniper, select the Optic entry, initially labeled SNIPER SCOPE, to reach SELECT ATTACHMENTS. Highlight a locked sight to read its challenge and progress counter before deciding what to work on.
The .308 Sniper’s Red Dot Reflex entry requires 25 kills with that gun. Its counter starts at 0/25. Equip the .308 Sniper for those kills; using Choppa will not advance a challenge that names a different weapon. Highlighting Red Dot Reflex lets you inspect the requirement while it is locked. Leave an available scope equipped until you can select the new one.
Return to CHOOSE LOADOUTS and select the sniper slot for the match where you intend to work on that challenge. After earning kills, revisit the same sight in EDIT WEAPON and compare its counter with your earlier total. If you spawned with the assault-rifle slot, switch to the intended slot for the next match before expecting sniper challenge progress. When the attachment becomes available, select it and return to the loadout screen to confirm your weapon setup before queueing again.