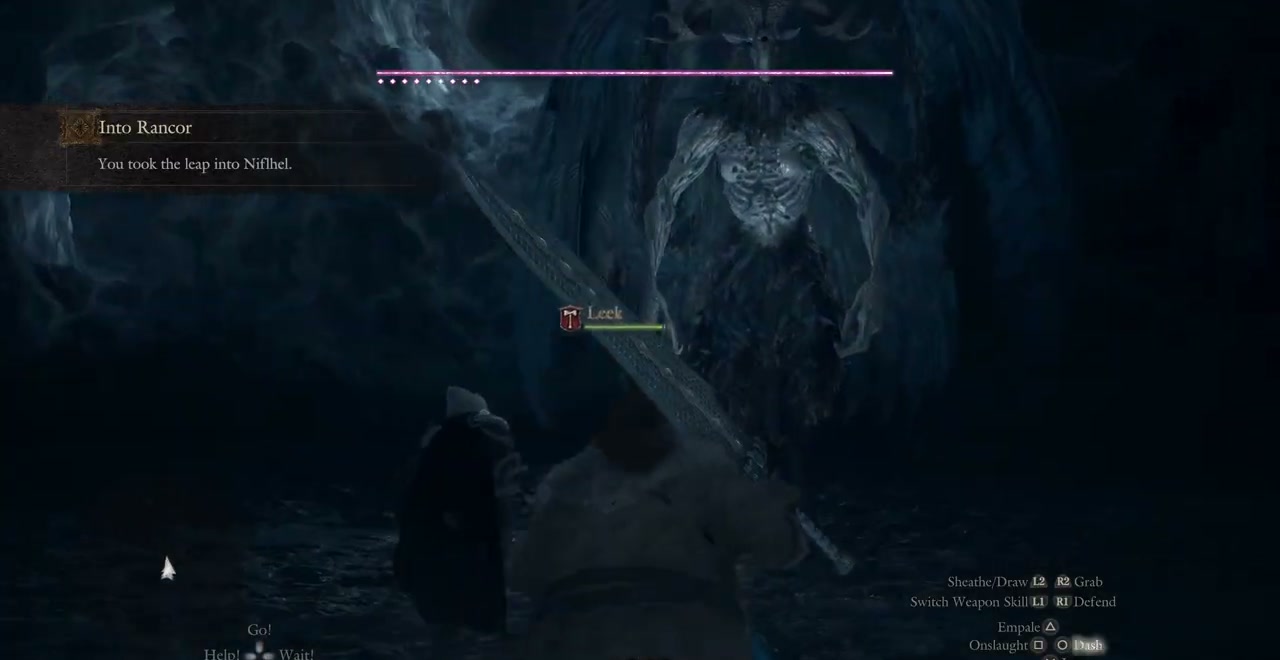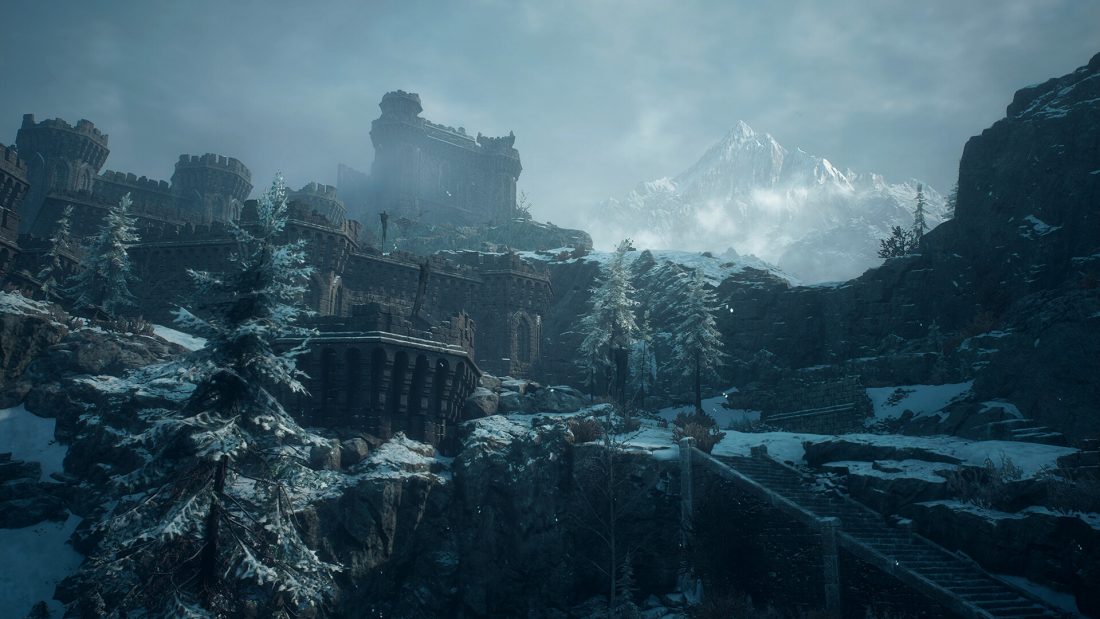
To reach the true ending of Dragon’s Dogma 2: Dark Arisen, start Chilling Tidings with Brant in Vernworth, spare Sir Rovall’s remains at Lorade Castle, and continue beyond the Fallen Dragon fight in Reunion. The credits after Reunion are followed by Into Rancor. Clearing four Rancor’s Vortexes opens the route to Satanachia and the final resolution in Norgan.
This walkthrough follows the Norgan story from the first conversation with Brant through that final battle. It includes the appraisal, crafting and Heatstone quests that support the journey, all three Sage riddles, and the choices that can interrupt the story. It contains major plot and ending spoilers. The twelve Lost Rites dungeons in the mainland are a separate set of challenges.
Chilling Tidings: from Vernworth to Norgan
You can begin the expansion after reaching Vernworth during Seat of the Sovran. Norgan is recommended for level 40 characters, but you can enter at a lower level. If your current playthrough has already entered the Unmoored World, finish it and begin New Game Plus before trying to enter Norgan.
Visit the Stardrop Inn in central Vernworth at night and speak to Captain Brant. Choose the conversation about the new Arisen. Brant arranges a free stay at Shakir’s Inn, across from the tavern and above the Vocation Guild. Rest there until nightfall to see the nightmare in which blue flames and strange creatures overrun Vernworth. After waking, return to Brant at the tavern at night.
Brant points you toward the commission soldiers preparing to leave from the western city square. Approach their group near the western oxcart station and listen to their conversation. The next destination is the fallen creature beside a waterfall in Malachite Forest. Although the investigation mentions Melve, the creature is farther west; searching immediately outside Melve will send you to the wrong area.
You can speak to Waldhar before leaving. If you have not freed him during The Caged Magistrate, he remains in Vernworth Castle Gaol Tower. The conversation supplies background about Norgan and a Regeneration Elixir, but you can continue the expansion without it.
For the journey to the waterfall, take the oxcart bound for Checkpoint Rest Town and choose Arboreal Walkway as the stopover. From there, head northwest toward the waterfall. On foot, travel west from Vernworth toward Trevo Mine, cross the river into Malachite Forest, then follow the eastern riverbank to the clearing beside the waterfall.
The Griffin beside Pekdre is your transport. Speak to Pekdre and agree that you are ready to leave. You do not need to attack the Griffin. The flight takes you to Norgan, where Beorcans stand between the landing area and the settlement. Follow the route toward the palisade and its visible bonfire, then approach the gate to meet Dorin and Jiera.
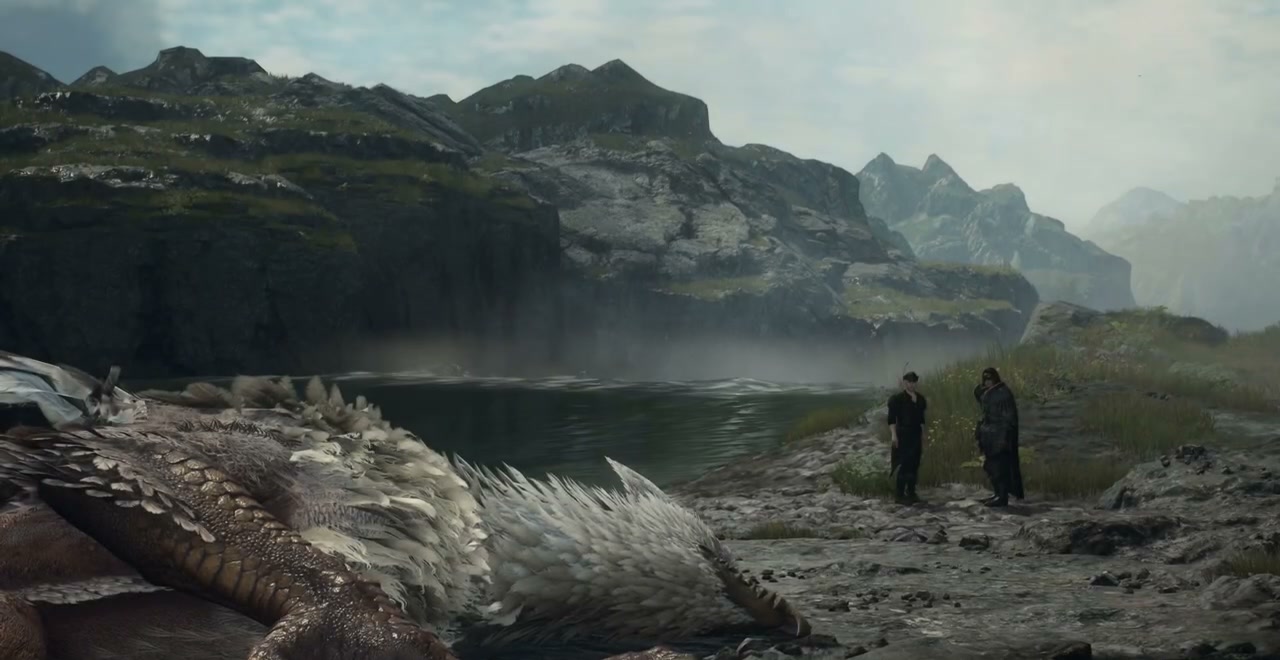
You can return to the mainland by fast travel. Norgan uses its own Norgan Portcrystals, so an ordinary portable Portcrystal from Vermund cannot establish a destination here. Touch each fixed Portcrystal when you reach it so you can return by fast travel.
Unlock appraisal and Hal’s forge before heading north
Speak to Jiera near her hut to begin Relics of the Past. Bring her at least one unappraised Spoil recovered from Norgan’s enemies or exploration. Select the conversation about relics to open appraisal. She identifies the first relic for free; later appraisals use Rift Crystals.
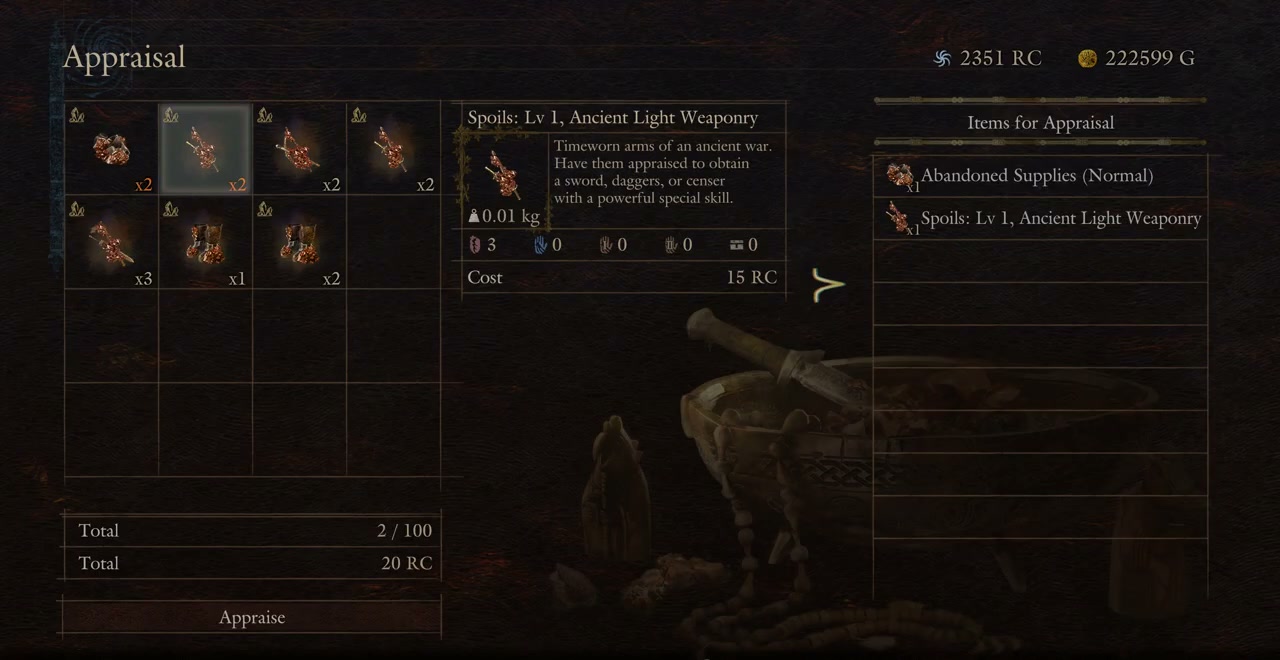
Spoils belong to equipment categories. Long Weaponry, for example, can yield a Greatsword, Archistaff or Duospear. Appraisal produces equipment within the relevant category, so finding a weapon Spoil does not guarantee a weapon for your current vocation. Check the resulting item for both your Arisen and Main Pawn before selling it. Hal’s manufacture service provides another route when appraisal has not produced the equipment you need.
Find Hal by the grindstone near the settlement bonfire and ask about his injury. Hammer and Tongs sends you east for three Winterweed Blossoms. The marked abandoned settlement near Valgr Ravine contains the plants around a stream. The southern entrance is locked, so approach from the north instead. The blossoms glow at night, which makes them easier to distinguish, but they can also be gathered during the day.
Return all three blossoms to Hal. His Manufacture menu lets you make Norgan weapons and armor from specified materials. If Jiera keeps appraising weapons for other vocations, check Hal’s Manufacture menu for the piece you need and collect its listed materials.
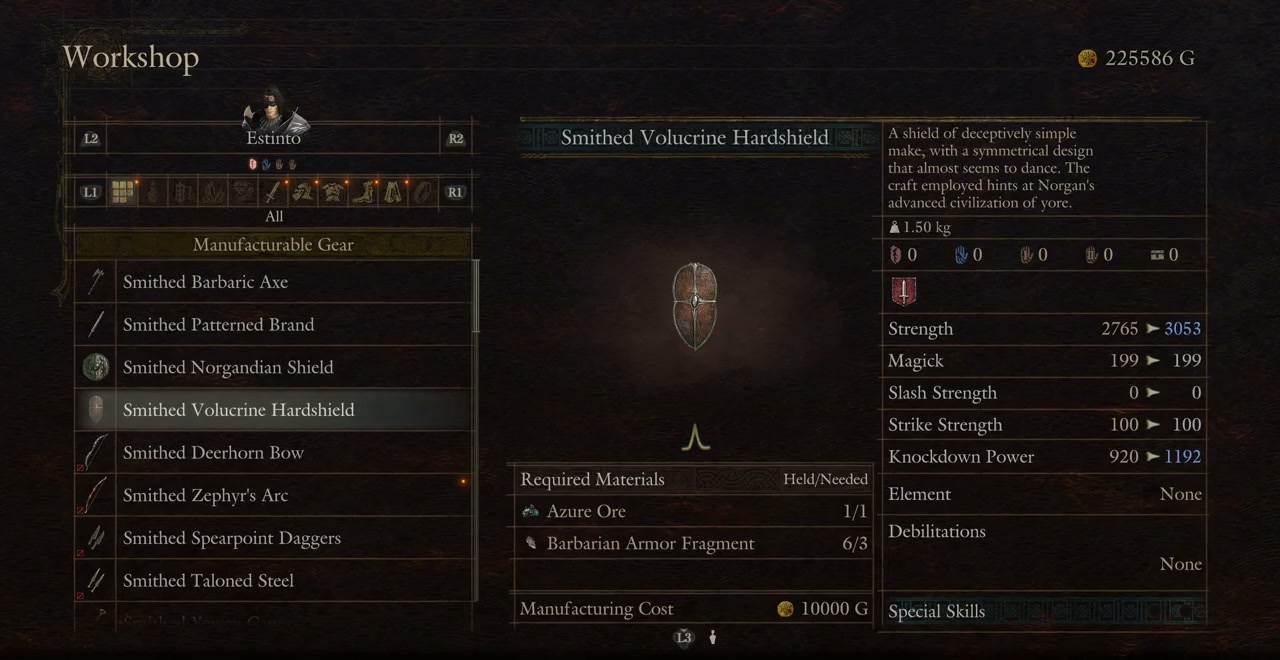
Dwayne at the inn handles resting, vocation changes and skills. His Trade Norgan Ducats option exchanges Norgan’s special coins for rewards. Keep this shop in mind for the later dragon battle: Ring of Master and Rings of Myrmidon are among the equipment that can help with reviving Pawns.
Rumbles in the North: survive the first Fallen Dragon encounter
Dorin directs you north toward a campsite and the Mountain Stronghold. Leave through the northern settlement gate and follow the road. Activate the Rivercave Campground Portcrystal outside the cave. An Arctic Camping Kit can be found deeper inside the cave, allowing you to use Norgan’s campsites. The crystal also makes it easier to return to the settlement before pressing on.
At the Mountain Stronghold, look for the large covered hall on the eastern side. Climb its stairs and use the nearby Riftstone if you need to change Pawns. Entering the hall starts the Fallen Dragon encounter and seals the exits.
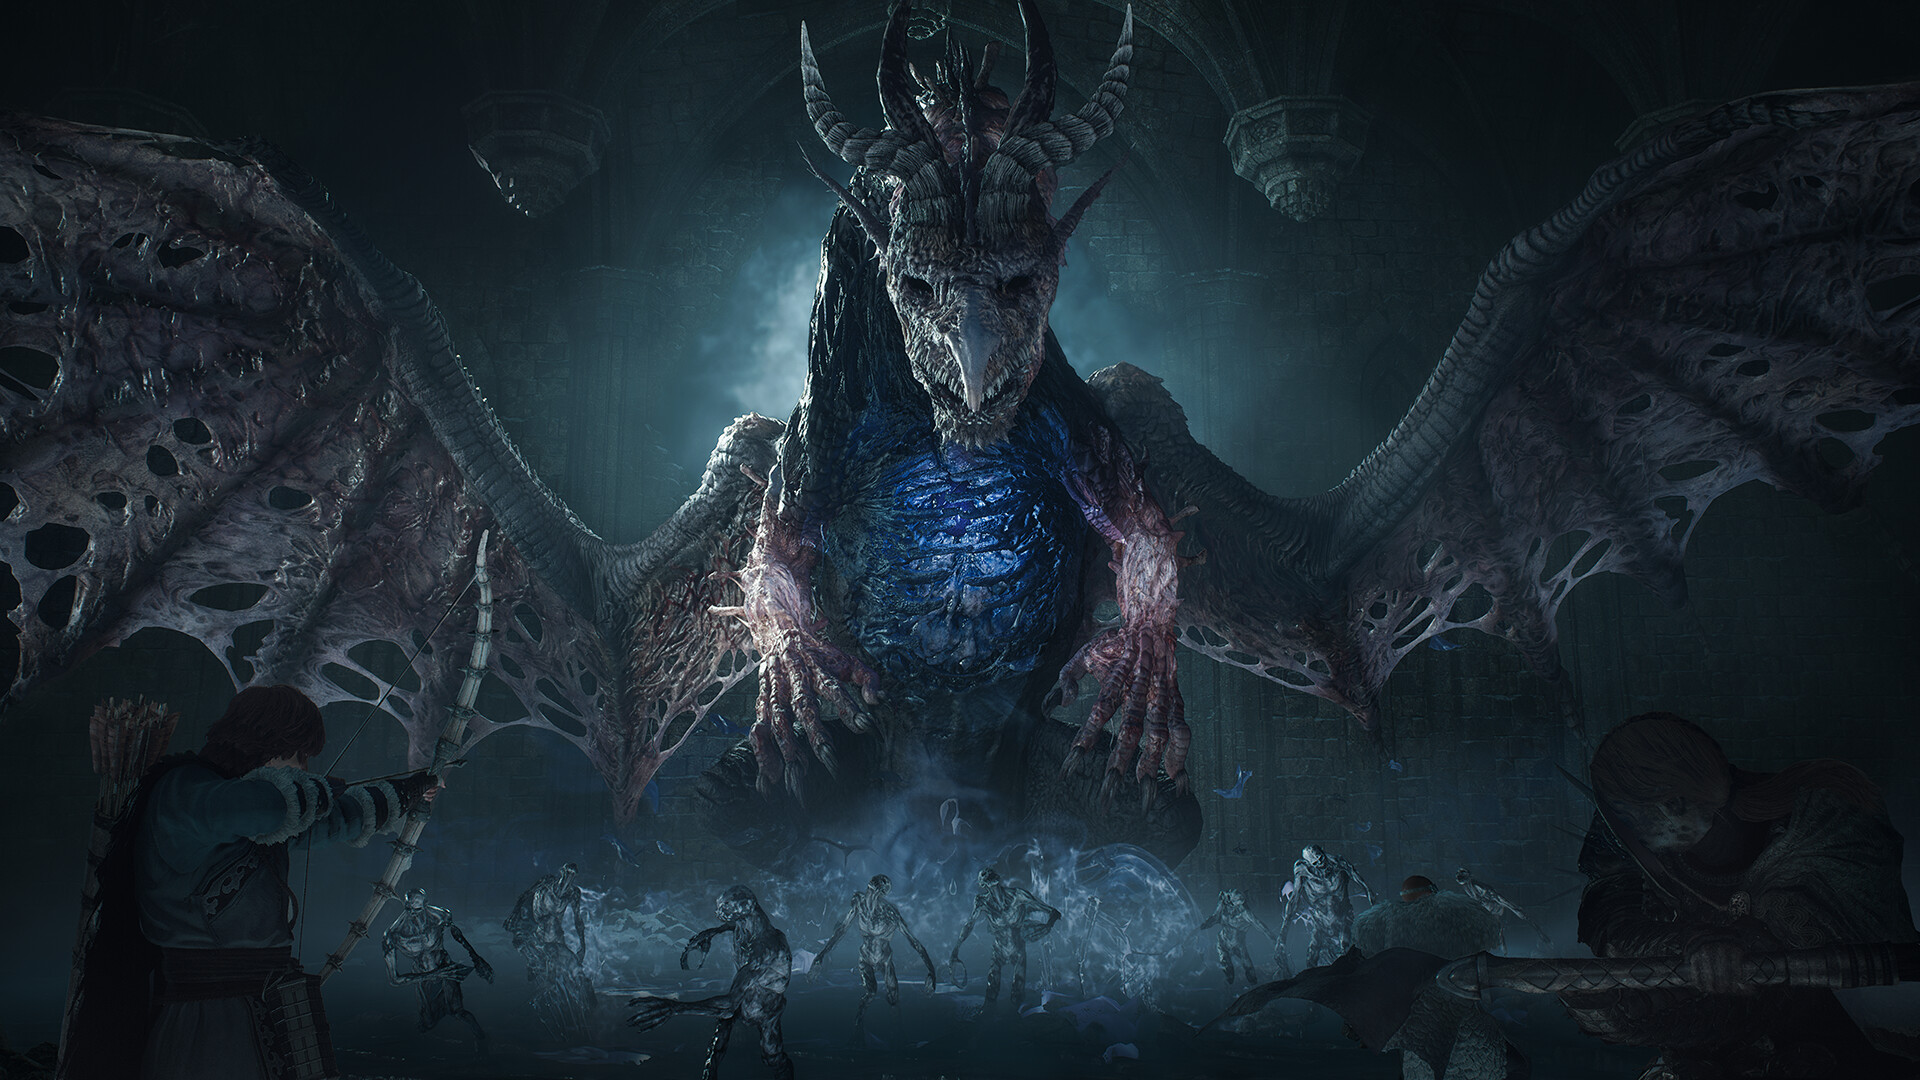
Attack the head and the two exposed front limbs. Concentrate on one part until it breaks, then switch to another. Breaking the head stops the corrupted fire breath, while damaged forelimbs remove claw attacks. The dragon survives this encounter.
Whenever the dragon spits out Ghouls, clear them before returning to the boss. They can surround your Pawns while the dragon continues casting. Area spells and grimoires such as Maelstrom or Salamander help remove the crowd. Prescribed Tranquility supplies Silence, which can interrupt the dragon’s spells. Regeneration Elixirs also reduce the party’s Loss Gauge as they restore health.
Continue breaking the exposed parts until the battle transitions into the rescue sequence. You wake at the settlement inn. Go outside, speak to the newly arrived commission and report to Dorin. Polyeidus and Jiera direct you toward the Sage, and Dorin agrees to help you obtain the Spirit Compass.
The Spirit Compass, Heatstones and the road to the Sage
Tell Dorin you are ready and follow him to the tower west of the settlement. Enter, climb the ladder to the top and open the chest containing the Spirit Compass. Return to Dorin at the base of the tower. He gives you a Climbing Hook for the broken bridge on the route ahead.
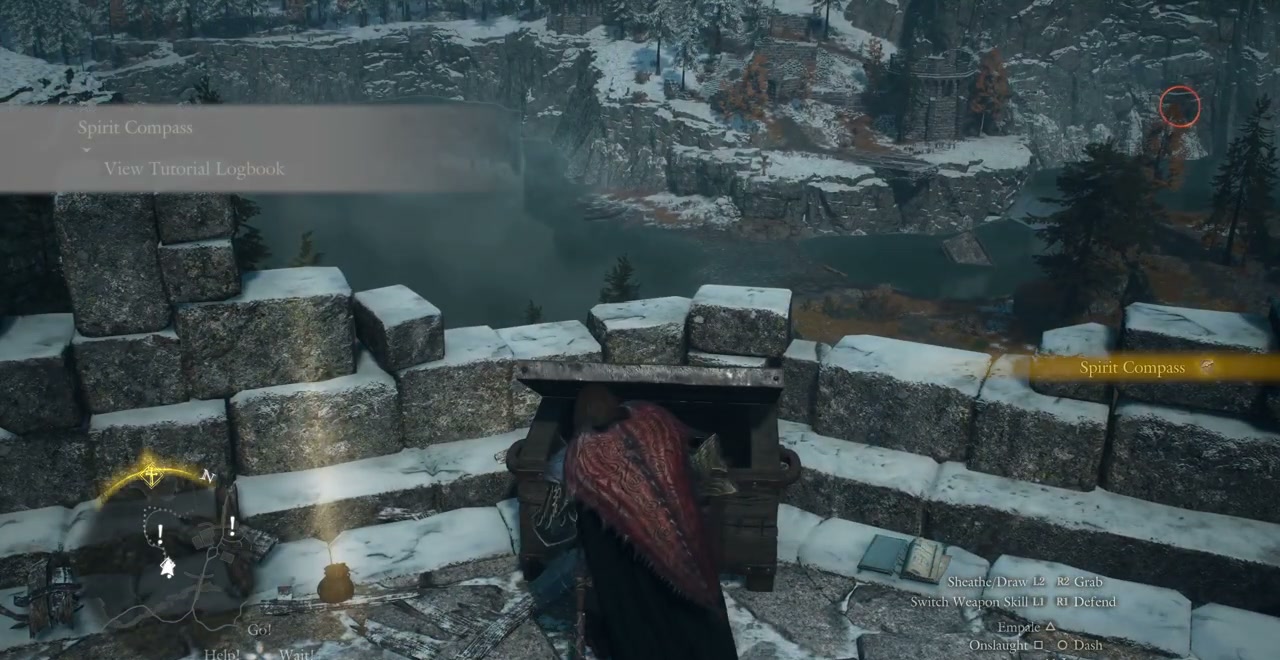
The compass points toward the selected quest destination even during a whiteout, when the map becomes unavailable. Set the relevant quest before using it, then follow the needle between recognizable landmarks. For the Sage, the route passes through the Beorcan Stronghold area and north toward Pupil’s Path.
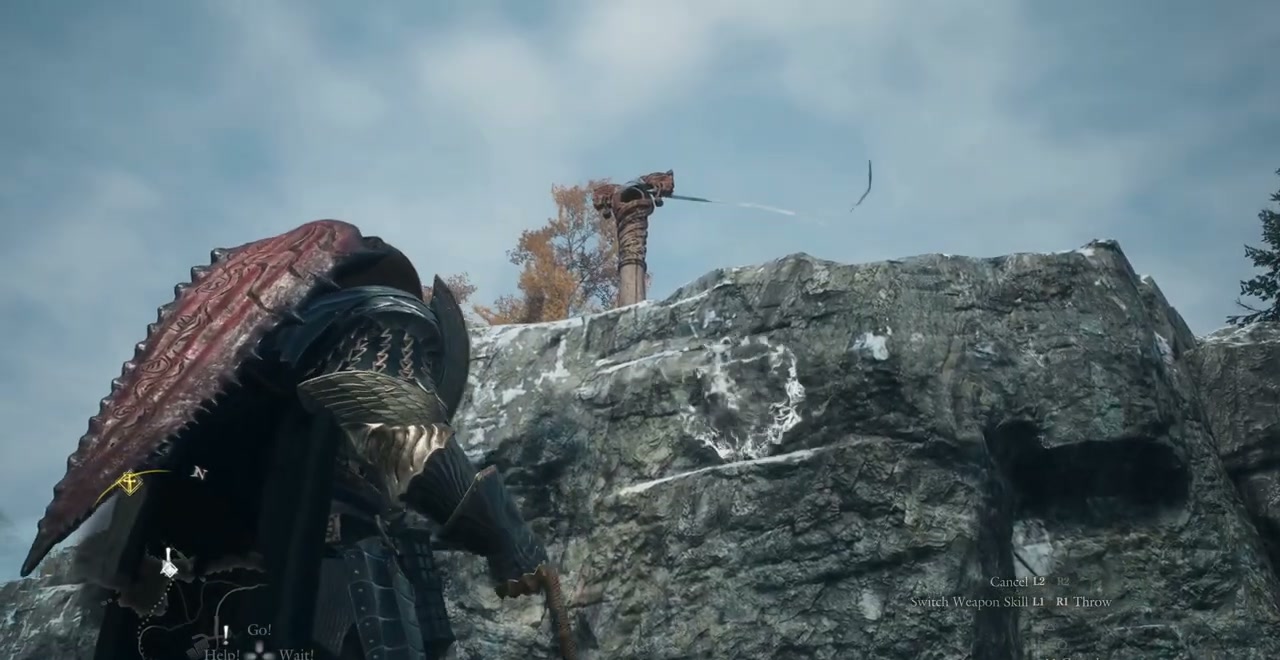
At the broken bridge, speak to Morgus to start Sticks and Stones. He needs three Heatstones; completing his request unlocks Heatstone crafting. Equip the Climbing Hook and aim it at the tether post to establish the crossing. Follow Morgus to the ruins, defeat the Beorcans around the abandoned firepit and attack the firepit to recover Heatstones.
Collect three Heatstones, breaking other abandoned firepits if needed, then return to Ryatt near the settlement Riftstone. If you decline the escort, Morgus marks firepits on your map; you can gather the three stones there and report directly to Ryatt. His reward includes Molten Ore and Sunstone, which can be combined into a Heatstone. Carry spare Heatstones into Beorcan Stronghold and use them to protect against Chilled during its blizzard. Heatstone protection expires, so bring replacements for the approach and the boss fight.
Continue toward Pupil’s Path. When a Pawn points out the temple across the river, turn back far enough to find the stairs leading upward. Follow the winged-beast statues along the higher route. The Cavern of Faith leads through to the Shrine of Wisdom. Activate the Portcrystal before approaching the Sage. You will return here repeatedly with riddle answers.
Speak to the Sage to receive the riddles of the Body, Soul and Will. Each requires an item brought back from a different location. Merely defeating the relevant monster or picking up an answer does not complete a riddle; you must select its answer dialogue and submit the matching item.
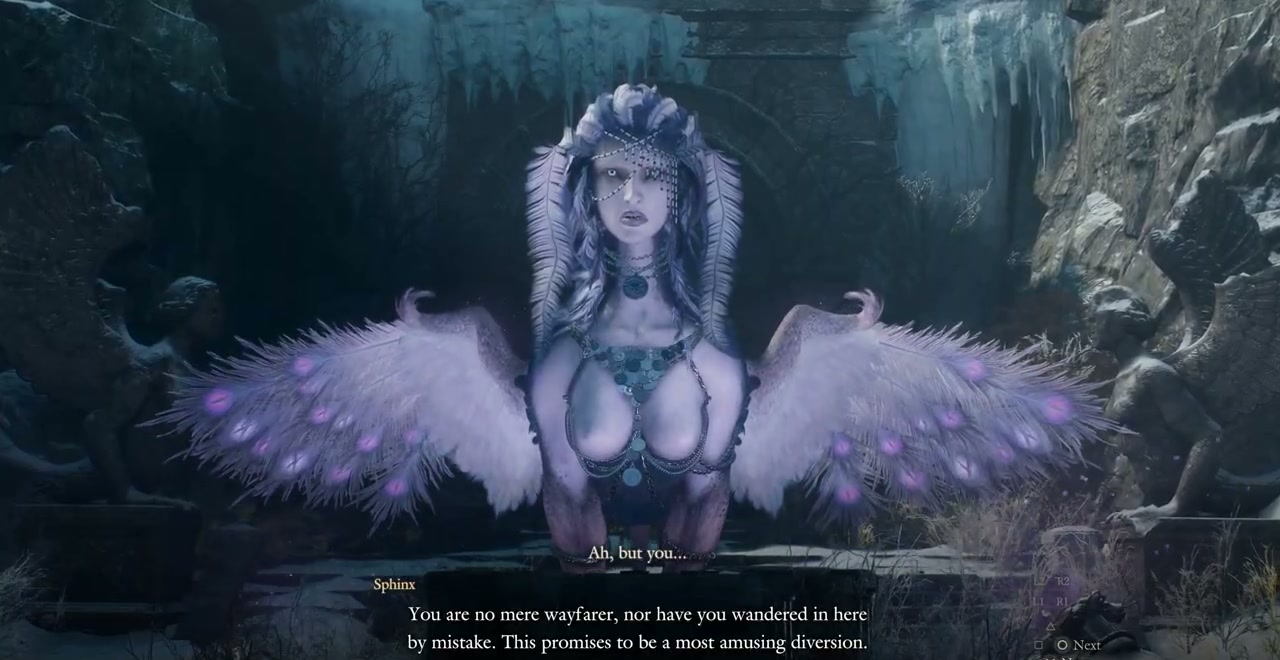
Sage’s Wisdom: the three items you need
| Riddle | Answer | Destination |
|---|---|---|
| Body | Mournful Giant’s Tusk | The mountain above Inner Valley Grotto |
| Soul | Frozen Wyrmslife Crystal | Fimbl in Beorcan Stronghold |
| Will | Decorative Brooch | The first Fallen Dragon hall in Mountain Stronghold |
Body: follow the giant at dawn
Return to the settlement and ask Dwayne about the giant. Rest at the inn until morning. Its roar interrupts the rest, and Dwayne tells you where it went. Leave through the northern gate to find it walking away, then follow its route northeast toward Inner Valley Grotto.
Dorin is near the grotto entrance. The living giant has continued up the mountain, so take the newly accessible slope beside the cave toward Nival Gorge Collapse. Do not search inside the grotto for the riddle target. Use the compass if the whiteout obscures the route and keep Heatstones available for the fight.
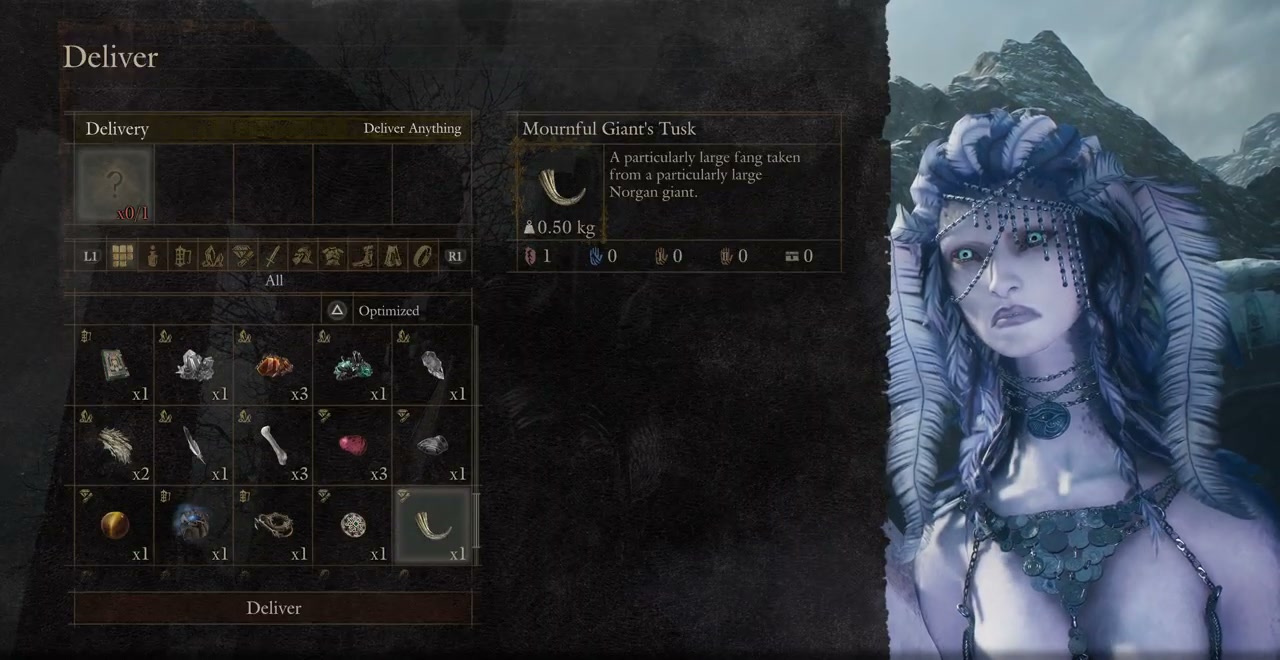
The Mournful Giant swings its tree and breathes ice that freezes targets in front of it. Fire is effective, and attacks to its head deal heavy damage. Attacking its feet can help stagger it and create an opening. After the fight, collect the Mournful Giant’s Tusk and return to the Sage. Choose the Body answer and hand over the tusk. The opened reward chest contains a portable Norgan Portcrystal.
Soul: the hidden entrance to Fimbl
Go to Beorcan Stronghold northwest of the settlement. The persistent blizzard comes from Fimbl, so you must finish the fight before the weather clears. Bring several Heatstones for both the approach and the battle.
Find the locked gate and the note describing an underground passage. Face the stairs by the gate, turn left and look toward the frozen figures and snow-covered corner. Attack the destructible snow covering the ladder. Climb down, follow the underground passage and use the next ladder to reach the other side of the gate.
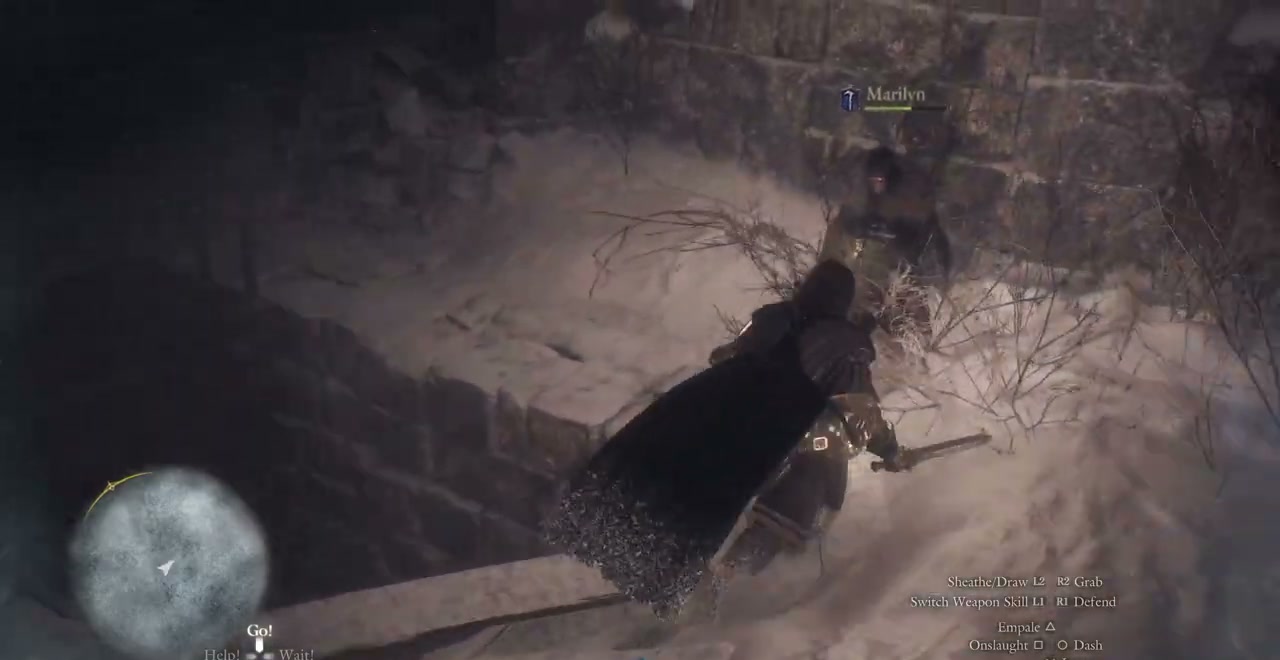
Pass the Riftstone and climb to the courtyard where Fimbl waits. Fire attacks are effective against it. Silence can interrupt its dangerous spellcasting, and its exposed heart becomes a target when it is knocked down. Watch for the ice attacks while dealing damage; the arena’s ongoing blizzard makes Heatstone protection useful throughout.
Loot the Frozen Wyrmslife Crystal after defeating Fimbl. The blizzard disappears when the dragon falls. Fast travel to the Shrine of Wisdom and submit the crystal through the Soul answer dialogue.
Will: collect the brooch and fight your way out
Return to the Mountain Stronghold hall where you first met the Fallen Dragon. The Rivercave Campground Portcrystal shortens the approach. Look near the middle of the hall for the Decorative Brooch left by the woman who rescued you.
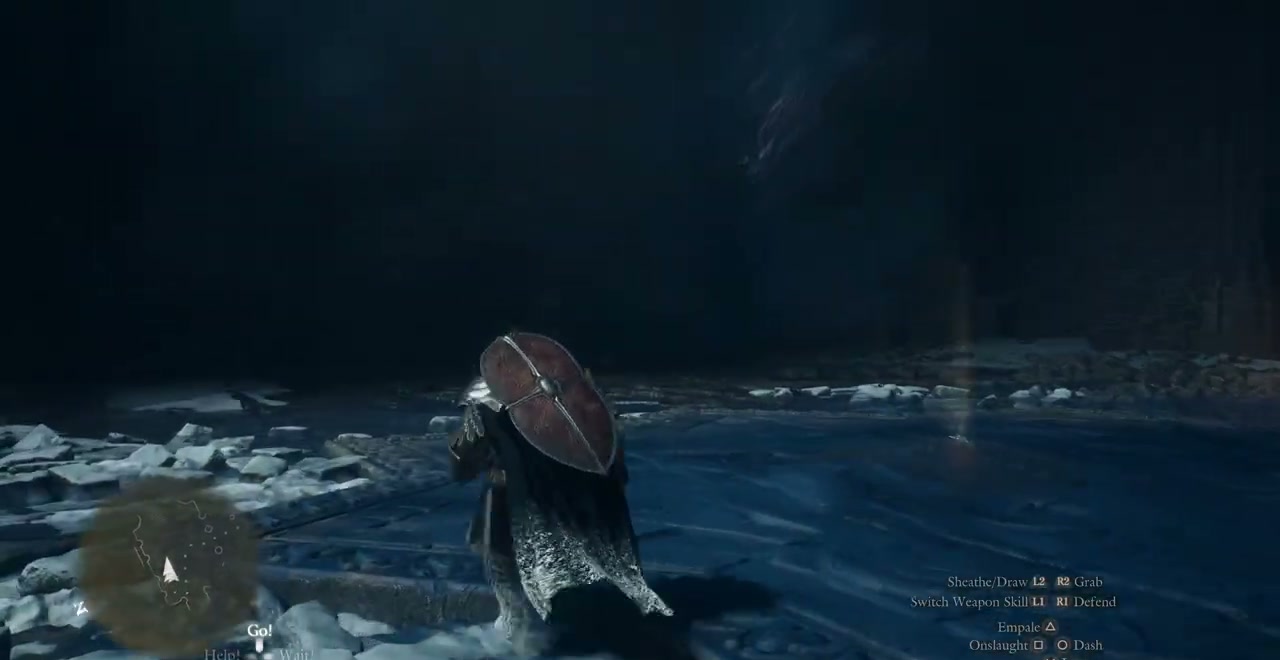
Picking it up triggers a Ghoul ambush. Fight through the crowd toward the main entrance and clear the enemies blocking your exit. A short scene with the commission soldiers follows the escape. Return to the Sage and give her the brooch as the Will answer. The final riddle chest contains an Eternal Wakestone.
After submitting all three answers, speak to the Sage about the Fallen Dragon. She explains that its present form is a vessel and that the source of its immortality is hidden beyond an ice wall. Return to Polyeidus in the settlement to begin the search for the old records.
Sealed History: open the northern route and reach the archives
Polyeidus sends you to the commission soldiers in the Rivercave Campground cave. Join them and travel back toward Mountain Stronghold. During the attack near its entrance, Amos goes missing. Search west of the group, defeat the Saurians threatening him, speak to him and return to Wash.
The commission then moves into the western stronghold. Break the ice holding its gate shut and clear the enemies inside. When Wash asks you to open the next gate, climb the tower at the western corner, deal with its enemies and enter the other tower to find the switch. Operate it so the soldiers can continue.
Follow the newly opened route toward Northwall Campground, dealing with the Ogre on the icy approach. Activate the campground Portcrystal. Continue toward the Sealed Study and activate its crystal at the top of the cliff as well. Both destinations reduce the return journey during the next research stages.
Inside the study tower, turn left into the archives to trigger the discovery scene. Polyeidus needs a day to examine the texts. Rest at an inn or campsite, then return and speak to him again. That conversation completes Sealed History and opens the next stage.
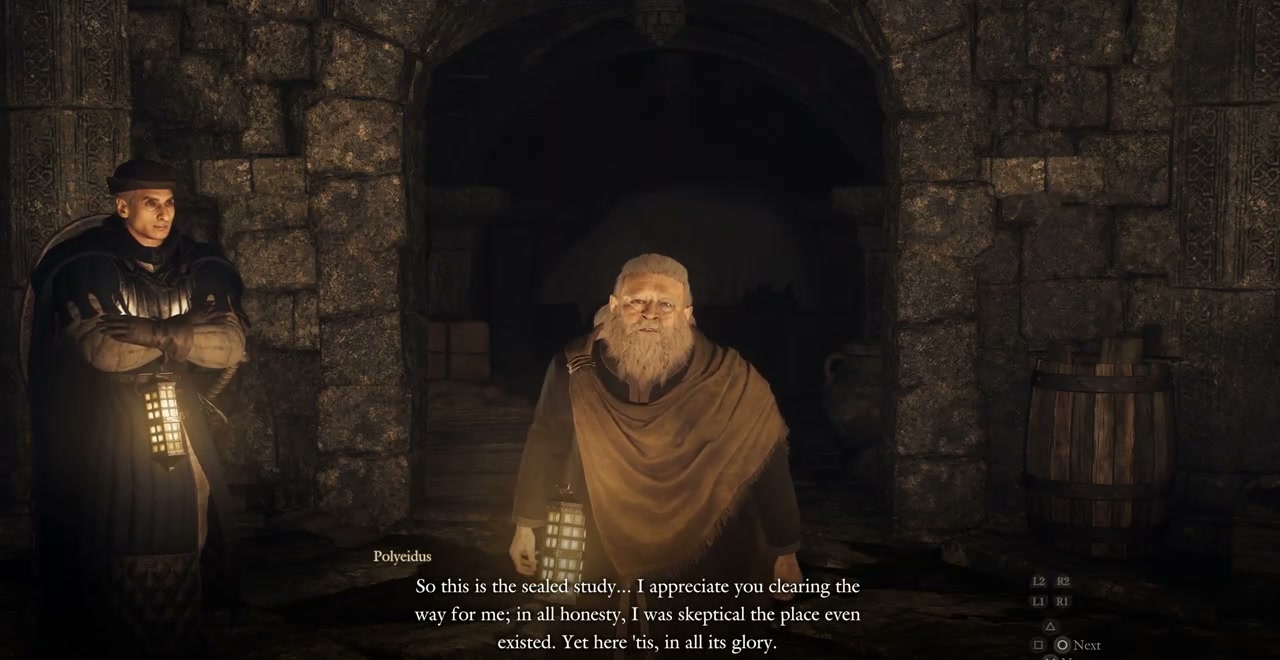
The Castle in the Ice: summon Gagana and spare Rovall
Return to the first Fallen Dragon chamber in Mountain Stronghold. Take the two large doors to the east, climb the south-facing stairs and cross the upper area toward its eastern elevator. Operate it and fight the attacking waves while waiting for it to arrive. Ride up, then head east into the Norgan Snowfield and help Eir defeat the monsters surrounding her.
Eir leads you to the ice wall and asks for Firebird Tallow from Gagana. A portable Norgan Portcrystal beside the wall can save the return walk. Head southeast from the snowfield to Gagana’s Grotto, using the Spirit Compass when the whiteout prevents map navigation. Follow the cave east into the open ritual area and activate its Portcrystal.
Light any unlit pyres before beginning the offering. To summon Gagana, kill and carry a Saurian to each of the three pyres, then drop its body into the flames. Two Saurians are in the main area; the nearby group supplies the third. Fill all three pyres to start the encounter, defeat Gagana and collect the Firebird Tallow.
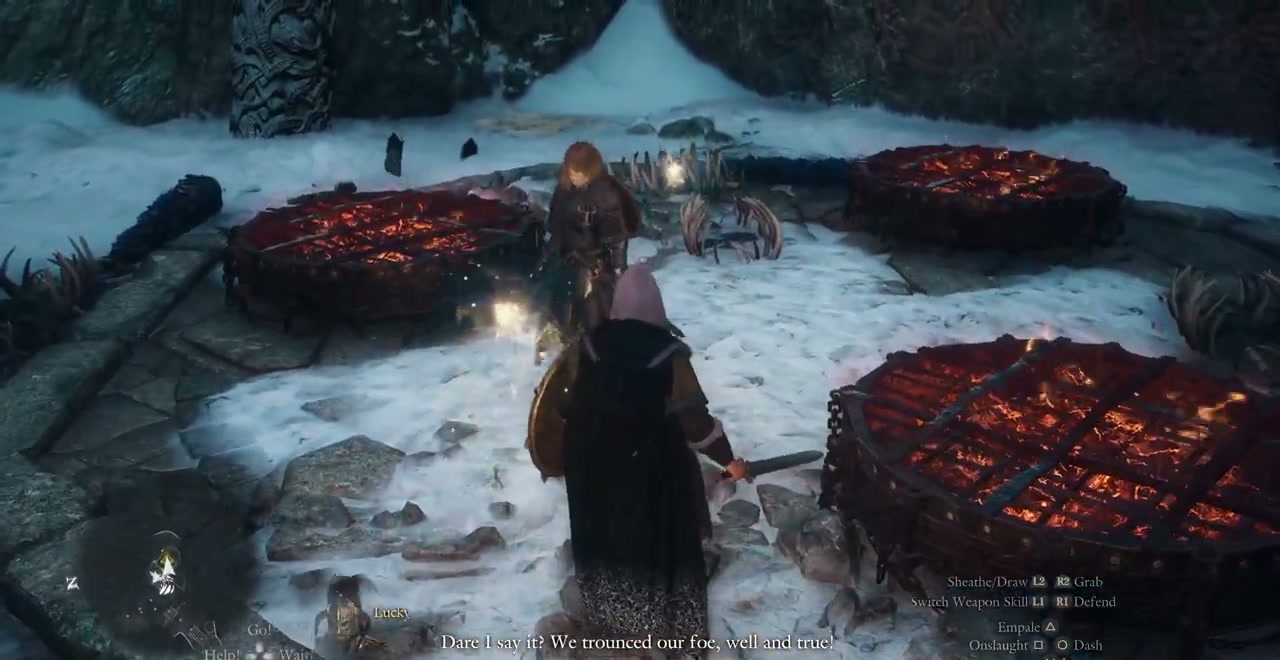
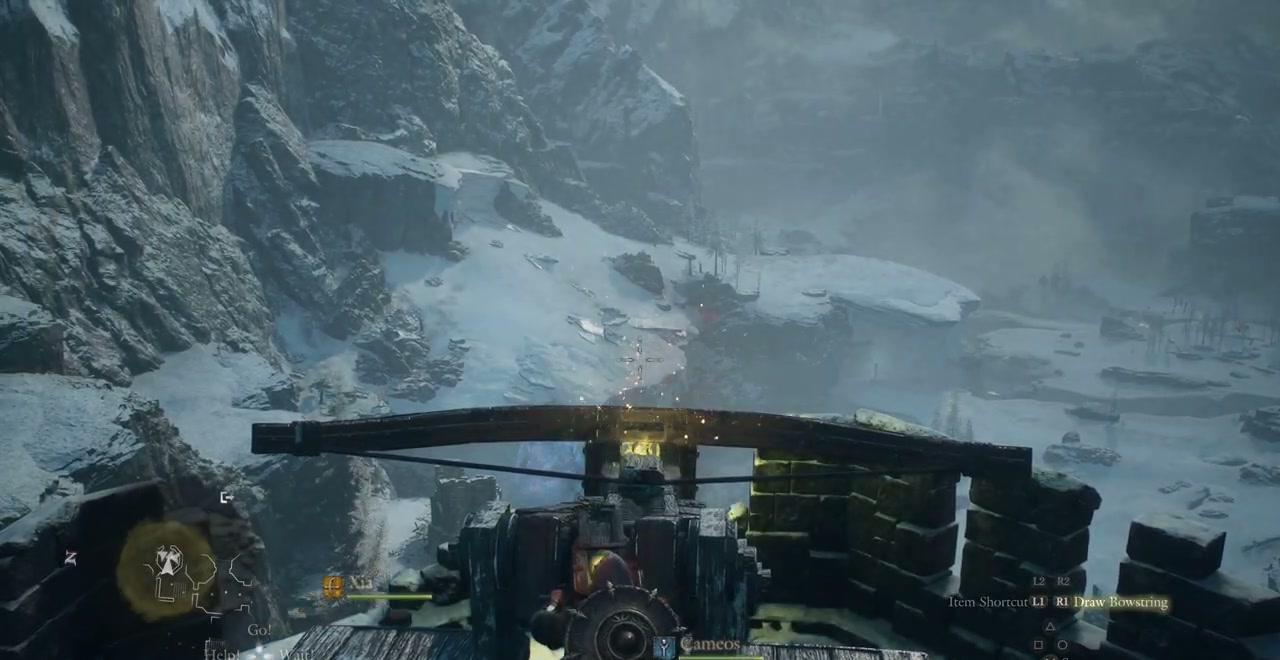
Return to Mountain Stronghold and use the tallow at the ballista near the elevator area. Aim the ballista at the ice wall and fire to break it. Go back to the opening and enter Snowfall Valley Cavity.
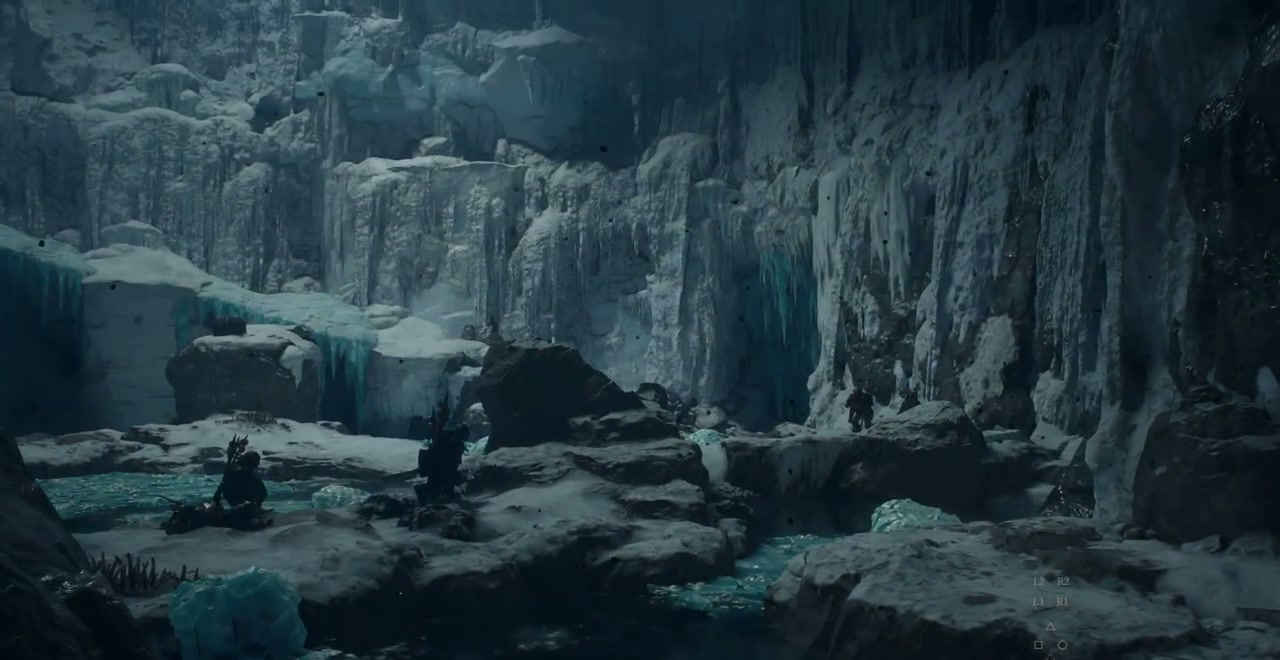
The cavity descends through several levels. Work southeast toward its lowest level and use the tether post to rappel down. From the bottom, turn northeast toward the underground lake. On B2F, the rocky route climbs north before turning east toward the castle approach. Eir opens a path across it. Follow her along the rocky route toward Lorade Castle, keeping to the ledges instead of stepping into deep water. Activate the Portcrystal on the castle approach, then climb the stairs and open the door.
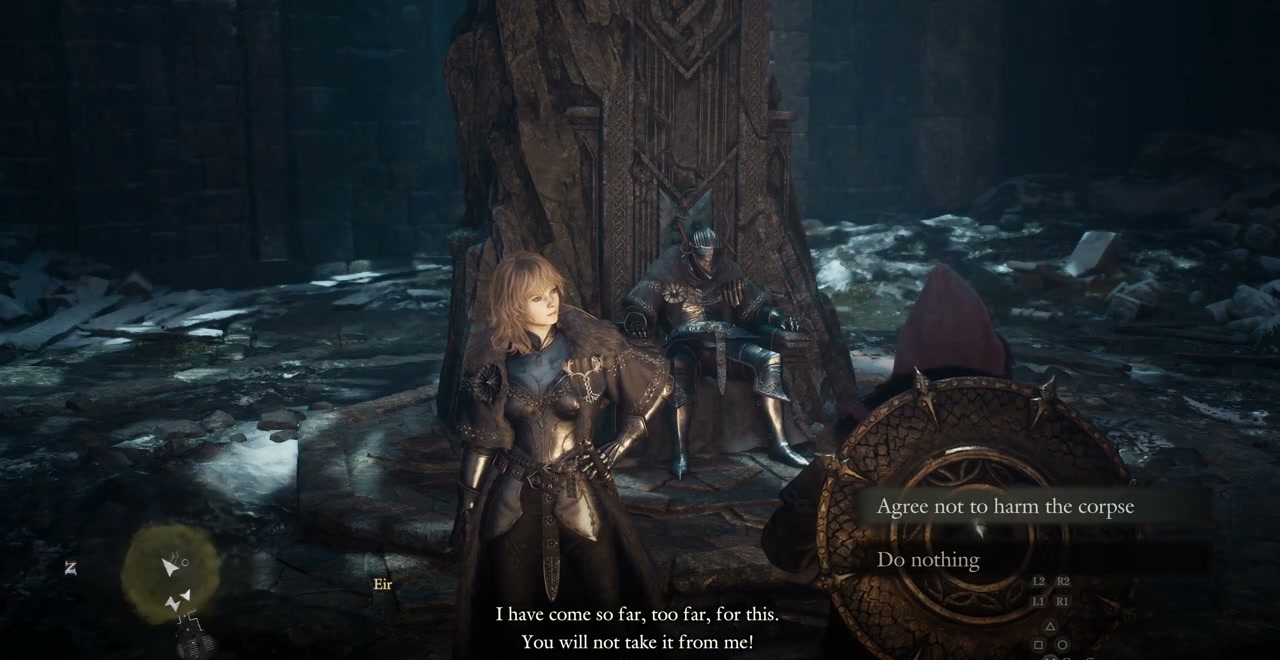
Spare Sir Rovall’s remains if you want to continue the story. Destroying the corpse triggers the bad ending and Game Over; you must reload a save from before the decision to proceed. Speak to Eir and select “Agree not to harm the corpse”. If you chose “Do nothing”, you can speak to her again and make that agreement. After she thanks you, visit the Sage at the Shrine of Wisdom to ask how her Arisen can be saved. This completes The Castle in the Ice.
The castle rifts and Soul Searching
Soul Searching and Where There’s a Will, There’s a Way overlap. Begin by returning to Eir at Lorade Castle and telling her what the Sage said. She protects Rovall’s remains with a magick barrier, and your Main Pawn stays behind. Confirm that you are ready to help her seal the rifts. Your other Pawns also stay out of the initial rampart section.
On the south side, use a Climbing Hook to reach the rampart and activate its statue. A spare hook lies below the tether post if you need one. For the northern statue, take the passage along the side of the rampart rather than the stairs. Eir boosts you upward; lower the ladder for her, continue to the northern end and activate the second statue.
Your Pawns rejoin you for the last rift. Follow the marker southwest, confirm that you are ready and defeat the three Revenants that emerge. After the scene with the heart, Eir searches for Rovall’s will while you investigate his soul.
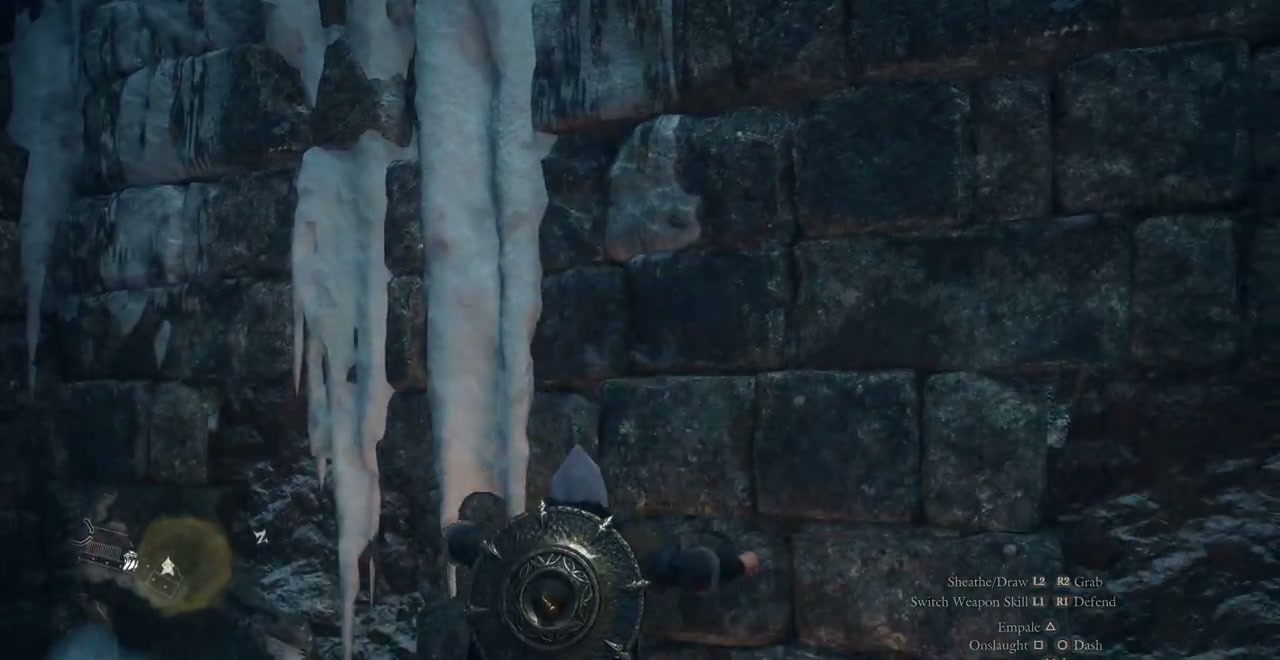
Visit Polyeidus at the Sealed Study to receive the Transcription Kit. He needs copies of three stone slabs in Snowfall Valley Derelict Passage, beneath the Norgan Snowfield. Bring Heatstones for the snowy approach, then check the dungeon floor shown on your map while searching. Two slabs are on B1F and the third is on 1F.
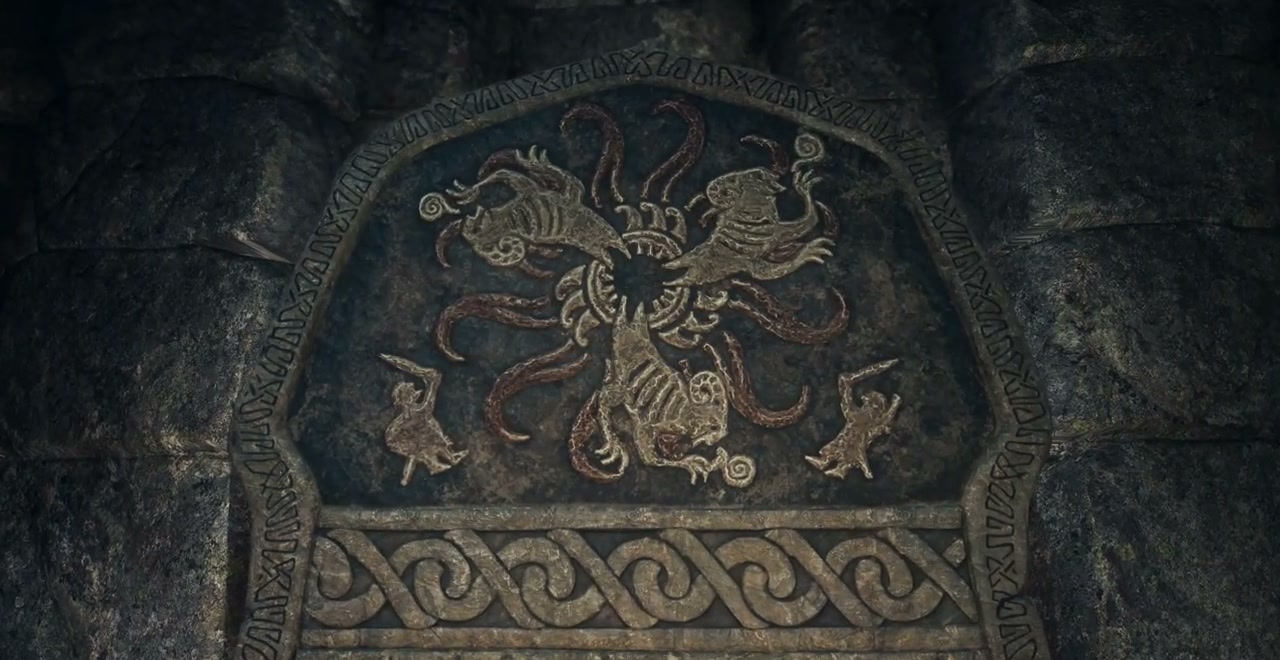
| Transcription | Where to search | Obstacle |
|---|---|---|
| Grotesquerie | An alcove by the first B1F corridor and staircase | Nokkens near the entrance |
| Hero’s Blade | The western B1F flooded pillar room, on the wall above a chest | The monster guarding the flooded room |
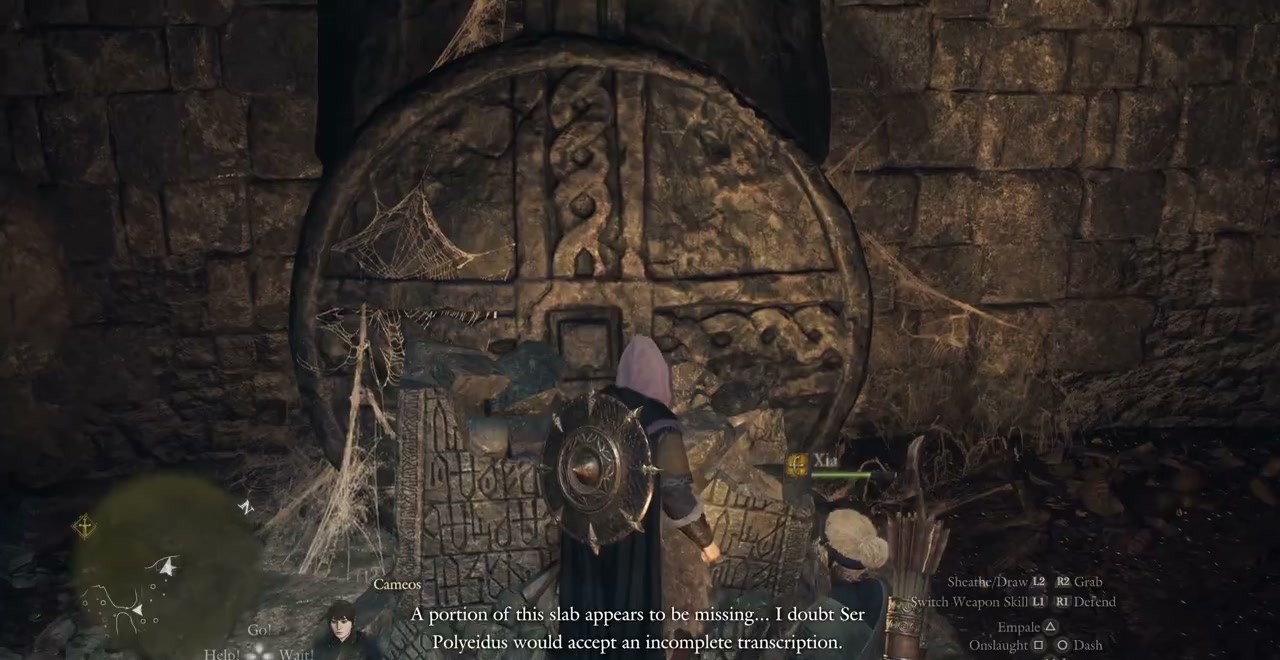
| Evil’s Emergence | The 1F round hall with the broken slab | A rubble-blocked doorway concealing the missing half |
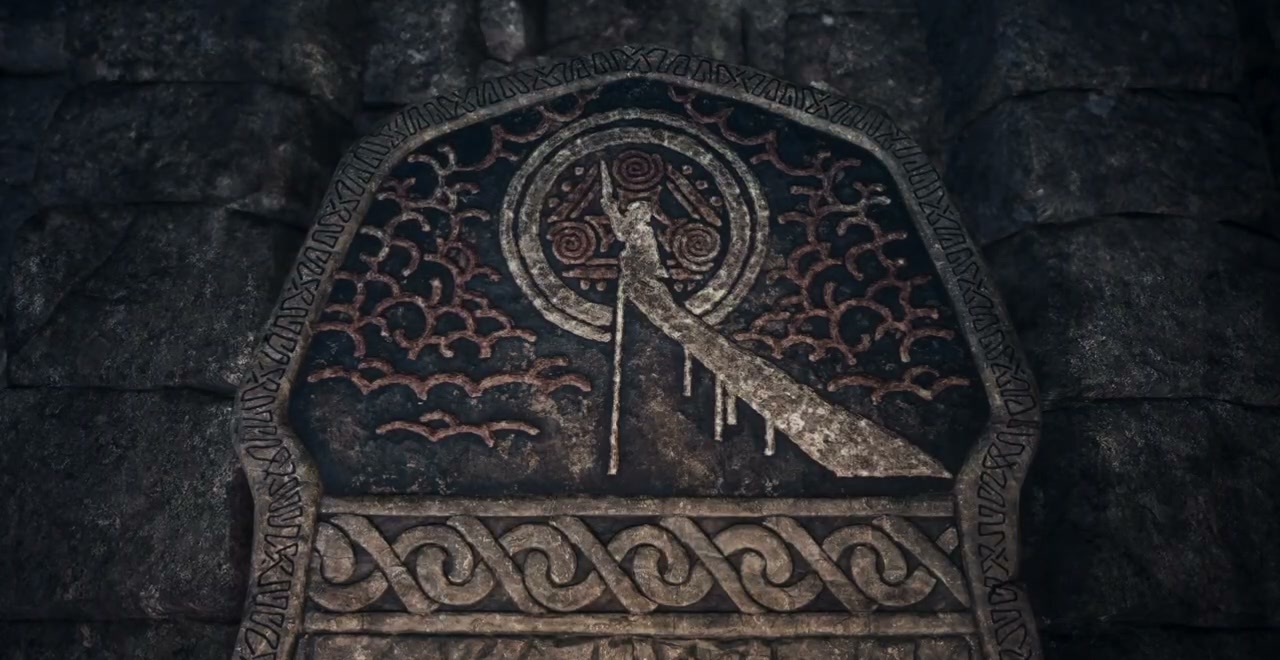
For Evil’s Emergence, descend the ladder into the pit and examine the broken slab’s altar. Use a nearby explosive cask to open the rubble-blocked doorway across from it. Find the missing half inside and transcribe it. A Snowfoot can obstruct the exit afterward; defeat it before leaving.
Take all three transcriptions to Polyeidus, wait a day and speak to him again. The commission needs explosives for its next advance, but Morgus has been attacked. Go west of Putrid Copse, defeat the Blemmyae and rescue him. Avoid its belly-flop while fighting around the injured party.
Use the recovered explosive casks at the gate by the Sealed Study. Throw four at the gate to break it, then clear the ambush and speak to Wash. If the casks run out before the gate opens, weapon attacks can finish damaging it. Continue to Castletown Campground and activate the Portcrystal for the commission’s new base.
To reach Abyss Ridge, travel through Lorade Castletown and the Castle Barracks Ruins. The Pathfinder appears when you reach the ridge. With the castle rifts already sealed, return to Castletown Campground and take the route at its far end toward Mordria Fault.
When the Fallen Dragon appears again, Eir tells you to follow Rovall’s light. Choose to continue toward the light for the direct route. You can help Eir fight first, but she rejoins you later either way. Follow the descending path beyond the gate, defeat the Dullahan on the way and continue to the cutscenes at the bottom. Pick up the Godsbane during the closing sequence. You return to Norgandian Settlement, completing Soul Searching.
Mordria Temple: find the lower route to Willan Barbatos
Return to the Sage at the Shrine of Wisdom. She agrees to carry you across Niflhel to Mordria Temple. Defeat the Lesser Demon that appears, make your preparations and speak to her again when ready to depart.
Climb the temple stairs and meet Eir at the entrance. Fight through the temple until you reach the elevator at the far end. Eir explains that the Fallen Dragon is above, but you must finish the search below first. Take the opening to the elevator’s right instead of riding up.
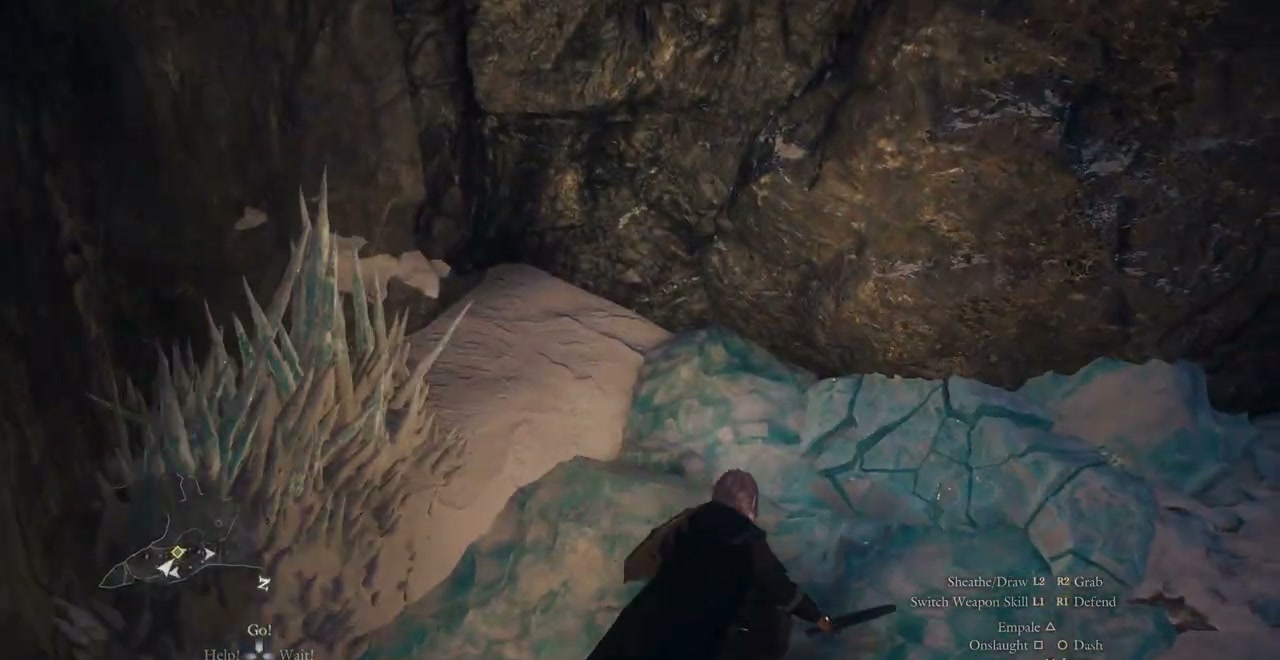
Descend into the snowy outer area and work down the cliffside. Look for a cracked patch of ice on the ground against the rock wall. Break that patch and slide down through the opening. Follow the rocky descent into the castle section. A Blemmyae attacks while Eir discusses the locked door. Defeat it, then look in that room’s eastern corner. The key is on the dead guard there. Unlock the door to continue.
Eir jumps onto a ledge and becomes separated from you. Descend carefully to meet her at the bottom, then defeat the two Lesser Demons that attack in succession. Continue past the Riftstone, where you can change Pawns before approaching the heart and starting the Willan Barbatos fight.
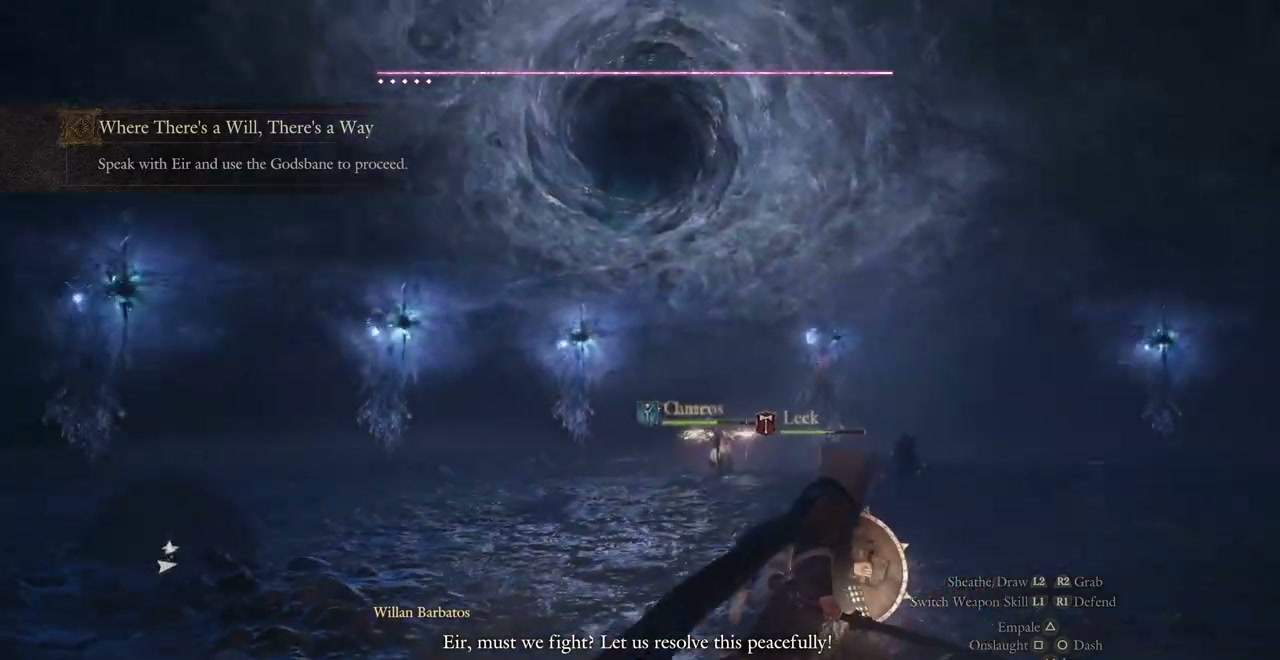
Deplete Willan Barbatos’s health to force him through a portal. Eir tells you that the Godsbane is needed to follow him. Speak to her and enter the portal for the second fight. This encounter adds six Revenants and further summoned enemies, so clear the surrounding threats as you work toward defeating him. The following cutscene restores Rovall’s will and soul and allows you to confront the Fallen Dragon permanently.
Reunion: the Fallen Dragon’s final battle
Return to Mordria Temple by Portcrystal. Eir waits beside the elevator on 1F, toward the north. Pull the lever and ride up. A firepit across the upper hall lets you camp, rest and cook the meat you brought before the fight. Once the party is ready, leave the hall. Jump the gap to your left and follow the route into the Summer Ritual Grounds.
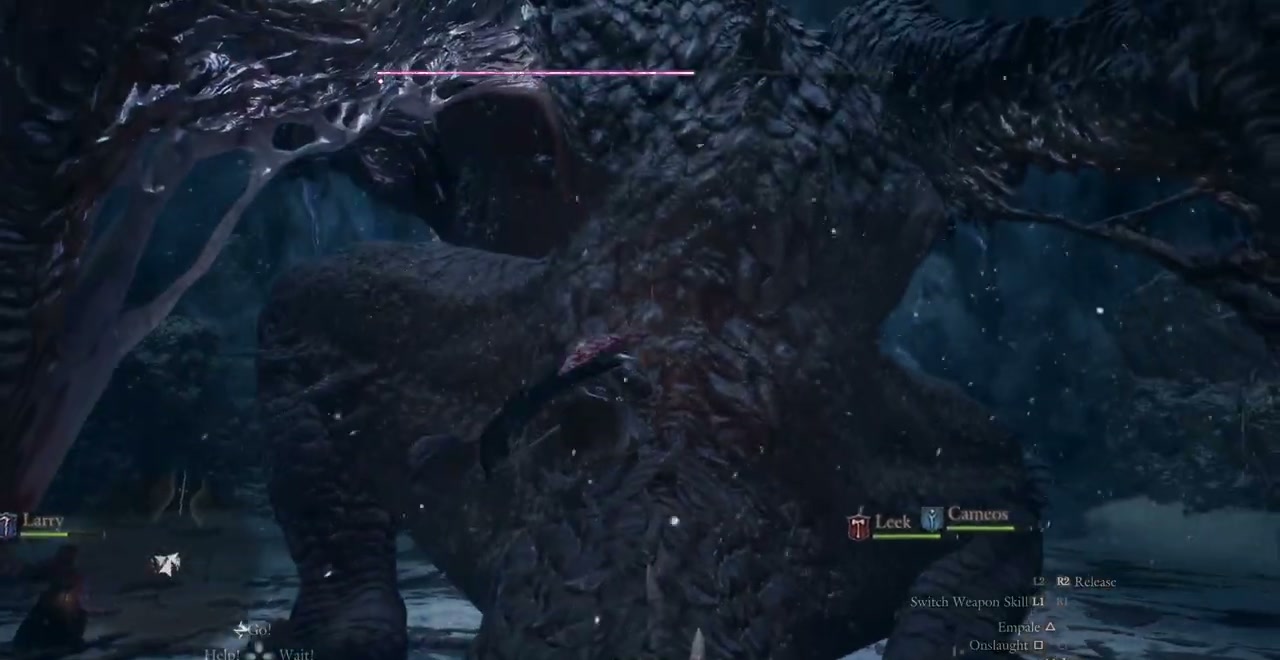
The dragon’s exposed flesh remains vulnerable: attack its front limbs, neck and the fleshy sections of its wings. Break one target before moving to the next. Once the forelimbs are gone, melee attacks need openings against the wings or the lowered neck. Ranged attacks can also reach the chest when it glows.
Clear summoned Ghouls immediately. While fighting them, use the rocks around the arena’s edges to block the dragon’s ranged attacks. When it charges a mouth blast and a tornado gathers around it, move behind a rock with your Pawns. If the dragon charges toward that cover, relocate to another rock.
A Mage with healing and High Palladium can support the party while an area caster handles the Ghouls. Silence from Prescribed Tranquility can interrupt dangerous spells. Bring Regeneration or Allheal Elixirs for the Loss Gauge during this extended fight. Eir can cast Anodyne when you approach her for healing.
Defeat the Fallen Dragon to see the normal ending and credits. Afterward, you return to a darkened Norgan, and Into Rancor becomes available. Continue with that quest if you want to resolve the darkness rather than finish at Reunion’s credits.
Into Rancor: four vortexes and the true ending
Travel to Castletown Campground and enter the hallway on the right to speak to Polyeidus. Return through Lorade Castletown to Abyss Ridge, where the Pathfinder waits at the end of the high bridge. He gives you the Soulless Godsbane Blade and asks you to dispel four Rancor’s Vortexes.
Open your inventory and use the Eye of the Sphinx. Purple cyclone icons now identify the vortexes on your map. Entering one seals the surrounding area for a battle against enemy waves and several minibosses. Finish every enemy to reopen the area and receive its rewards. Leave each cleared vortex to heal and replace supplies before entering another. You cannot leave the next arena until its enemy waves are defeated.
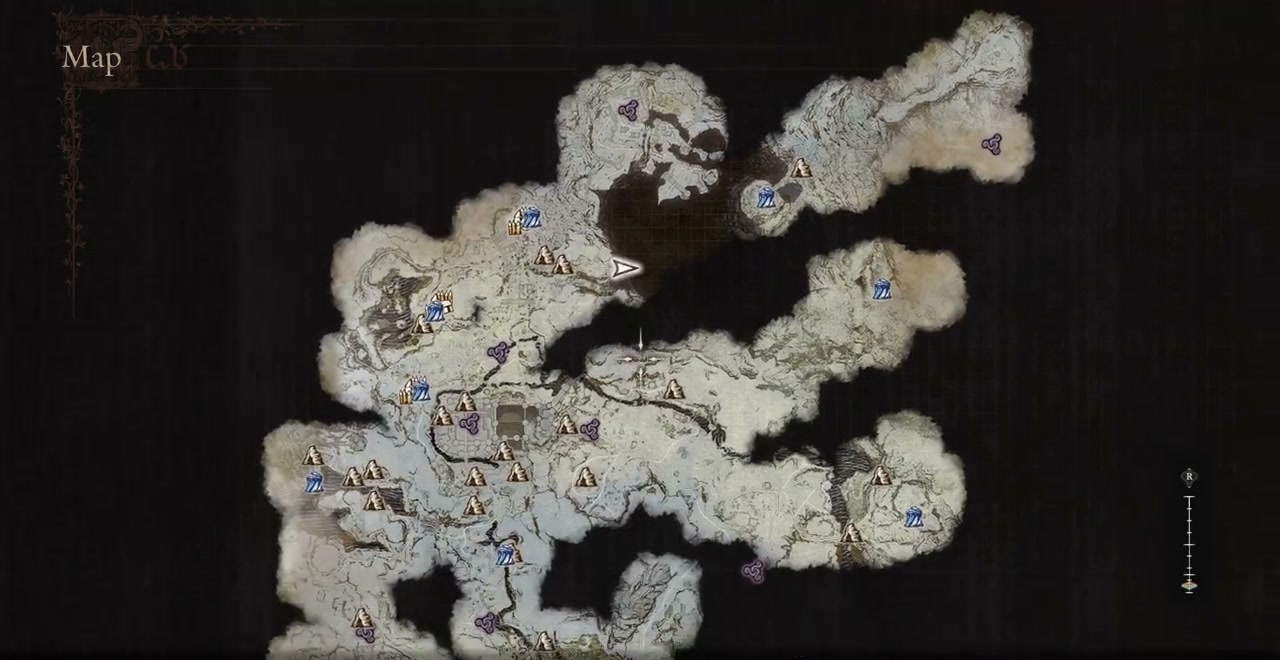
After completing four, return to the Pathfinder at Abyss Ridge. Brandish the Blade of Rancor at the bridge’s edge to open the way into Niflhel. Make camp and finish equipping your Pawns before jumping from the bridge into the final encounter.
Dying during the Satanachia battle triggers a special defeat scene and Game Over. Reload the save from before the fight to try again; defeating the boss is required to resolve Norgan’s darkness.
Satanachia has no weak points or elemental weaknesses and is immune to status effects. Damage Satanachia directly instead of saving Silence tomes or waiting for a glowing weak point. The Fallen Dragon’s limb-breaking approach does not apply to this fight. Defeating Satanachia triggers the final scene and returns you to Norgandian Settlement with Norgan’s darkness resolved.