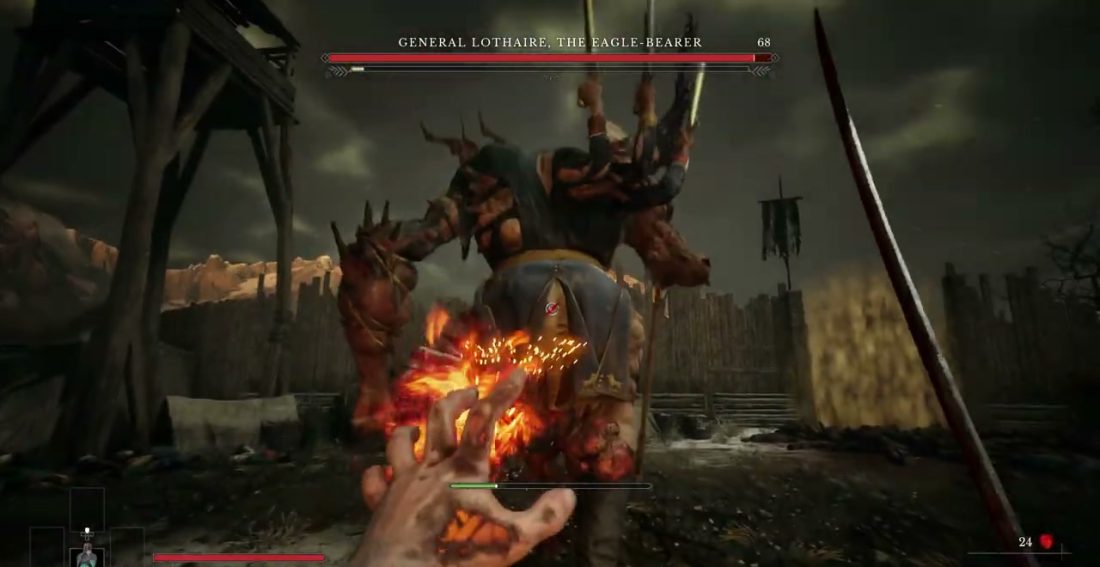
Follow the battlefield’s tutorial route to Onslaught Arch, then take Fire Transmutation from the corpse above the Lantern and burn the woven barrier beside it. The next region gives you the Pistol for yellow weak points. Defeating Lothaire in the rematch opens the Abandoned Church, where you can upgrade weapons and travel between lit Lanterns.
This Valor Mortis story walkthrough runs from Revival to Reflection, with the weapons, keys, traversal puzzles and bosses needed to reach the ending. Selected side quests and backtracking routes sit beside the relevant chapter. Story and boss spoilers follow.
Revival: Fire Transmutation and the battlefield
Climb out of the bodies and cross the wooden bridge. When it collapses, use the Ferrofluid Flask as prompted. Follow the combat tutorials to the corpse pit, where a Musketeer stands at the far end. Kill the rifleman first, then turn to the Soldier waiting in the left alcove. Fighting both from the front leaves you exposed to the gun.
The route climbs along the cliff, passes the cannons and reaches a Duellist. Parry to fill his posture bar, then take the critical attack when he staggers. Swing across the branches at the broken bridge to reach Onslaught Arch, the first Lantern. Resting restores your resources and respawns ordinary enemies, so open the nearby shortcuts before repeating a long stretch.
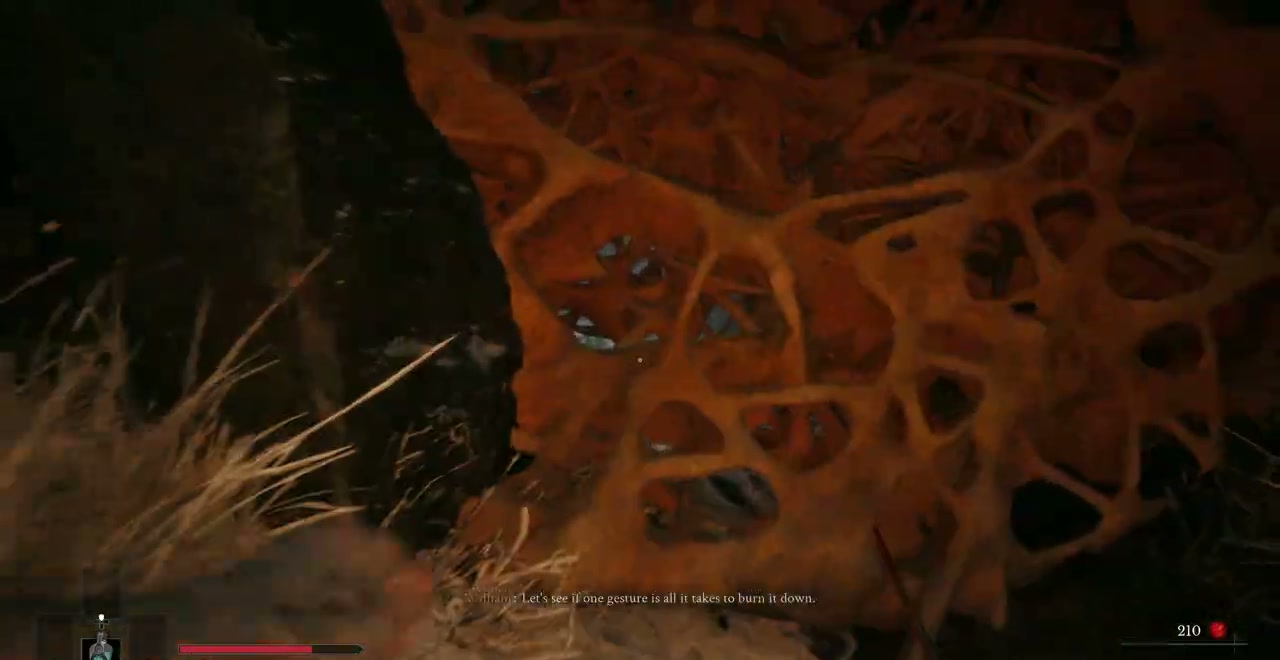
Above Onslaught Arch, crouch beneath the fallen log and pass the axe-wielding Sapeur. The corpse on the high ledge gives you Fire Transmutation. Return downhill and burn the woven barrier beside the Lantern to enter the battlefield. For an early resource-saving detour, cross the branches back toward the preceding cliff path and burn its barrier too. The chest beyond contains Bottomless Well, which gradually restores Nephtoglobin.
Cross the battlefield through the cage passages. Use cover against Musketeers and ignite the barrel carried by a Sapeur from a safe distance. At the tunnel where the gate closes behind you, kill the three Soldiers before operating the gate. The next Lantern is Trenches.
In the trenches, move between the wooden barricades to reach the elevated Musketeer, climb his ladder and remove him. At the later ledge, use a plunge attack on the rifleman below. The route then climbs to Field Encampment and the flag in Lothaire’s arena.
Your first meeting with General Lothaire can end in defeat and still advance the story: Lucjan carries William away, and you wake beside another Lantern. If that rescue scene plays, you have reached Regroup. The decisive rematch comes at the end of the next region, after you obtain the Pistol.
Regroup: the Pistol, scout cave and Lothaire rematch
From Guidepost, take the cliff path beyond the overturned carriages. Walking back uphill into the vortex returns you to the battlefield. Burn the barriers you find along the forward route to open return shortcuts, and use the hanging beams to cross the cliff platforms. Past the Grenadier and the gate, speak to the officer in the suspended carriage if you want to start An Unheard Farewell.
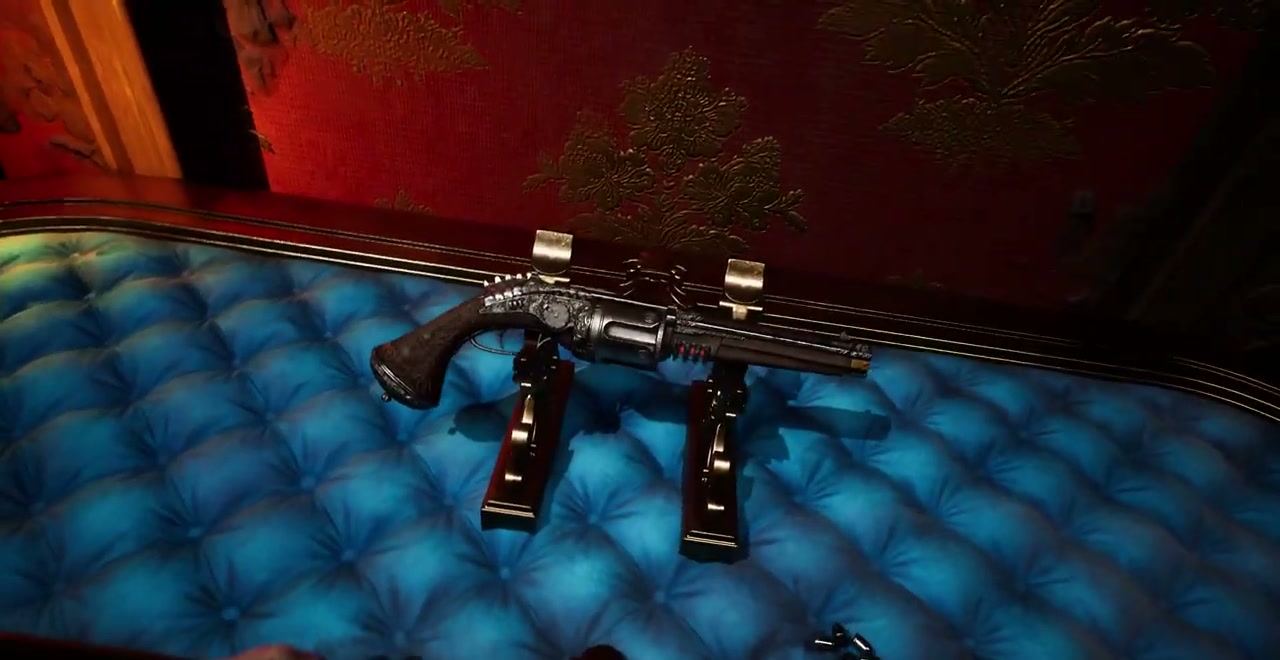
The Demolished Path Lantern stands on the broken bridge. Descend its staggered platforms and swing into the carriage below. Take the Pistol from the fitted case. Shoot the yellow weak point outside the carriage to remove the corruption across your next jump, then shoot the weak point on the tree across the water. The fallen tree makes a crossing. Beyond it, the chest beside The Climb Lantern contains an Empty Ferrofluid Flask: apply it at the Lantern to increase flask capacity.
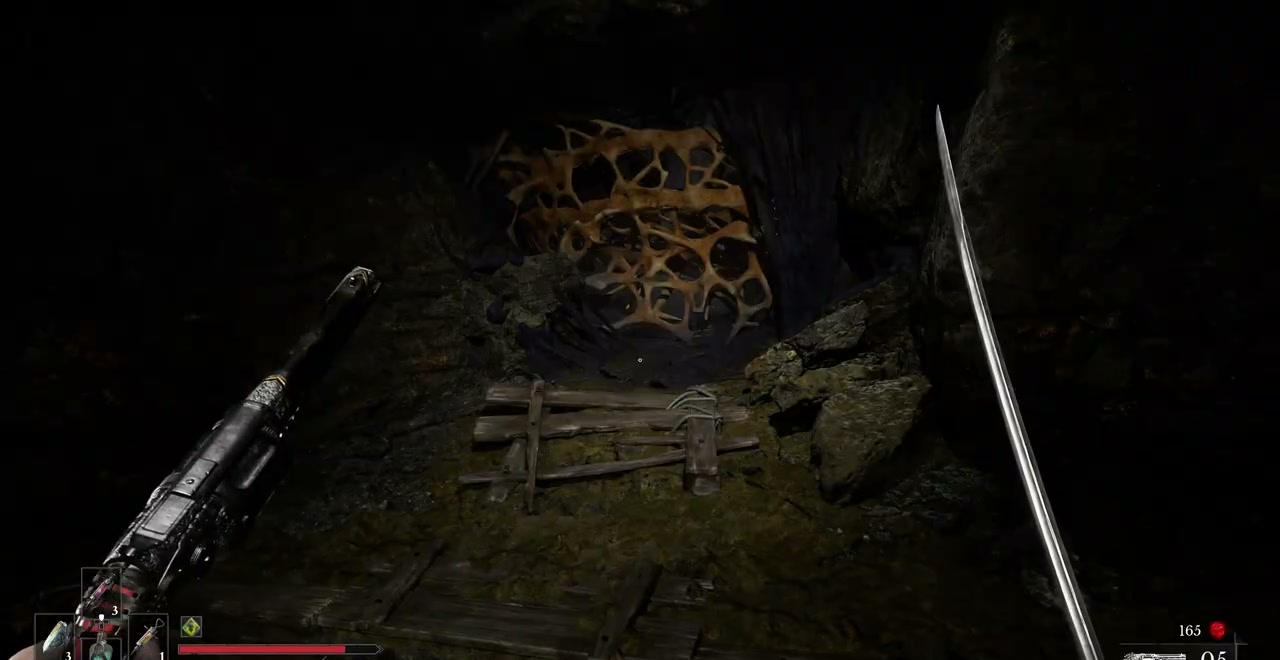
Climb the wooden platforms beside the water and shoot the weak point across from the lift. Stand on its floor plate to ride up, then burn the barrier and crouch into the cave. Fire works well on the Carrion in this passage. At the camp above them, climb the ladder and keep to the intact side of the walkway near the Musketeer; the section directly in front of him collapses.
An Unheard Farewell detour
After the cave, shoot both weak points obstructing the second lift and turn its wheel to call it up. Ride down and jump off at the intermediate ledge before the lift reaches the bottom. Burn the woven wall on that ledge to reach the scout commander. Defeat him and collect the Letter to all Commanding Officers of the Line Infantry. Reading the letter matters: merely finding the soldiers does not finish the return conversation.
Resume the climb, cross the beams and pass the three Musketeers. At the top, lower the ladder to Demolished Path and shoot the weak points clearing the bridge. Go down to the officer and report what happened. The shared reward is Sleight of Hand. Telling the truth also leaves an Epic Catalyst Clot near his carriage after resting; lying instead leads to a Remnant’s Return in the commander’s cave after resting. Choose the outcome you want, then use the shortcut ladder to resume the bridge crossing.
At The Other Side, the left branch leads into poison and the Emissary’s Seal. You can start that quest here, but leave the deep poison route for later, when you have Shield Transmutation. Take the right branch for the main story. Shoot the weak point on the suspended carriage to drop it, climb it, and use the explosive barrels against the approaching Soldiers.
Before entering Military Camp, climb the ladder beside the tent and fire its leftmost cannon into the camp. Pass through the wooden towers, lowering the shortcut ladders as you go. The gate beyond the camp leads uphill past a Grenadier to Quarry.
Turn the wheel beside the Quarry Lantern and jump onto the lowered cargo before it rises. Climb through the broken platforms and shoot the growth blocking the lift to open a return route to the Lantern. Use the next crane to reach the higher walkway, take the zipline and follow the cliff path to the vortex outside the Abandoned Church.
General Lothaire, the Eagle-Bearer
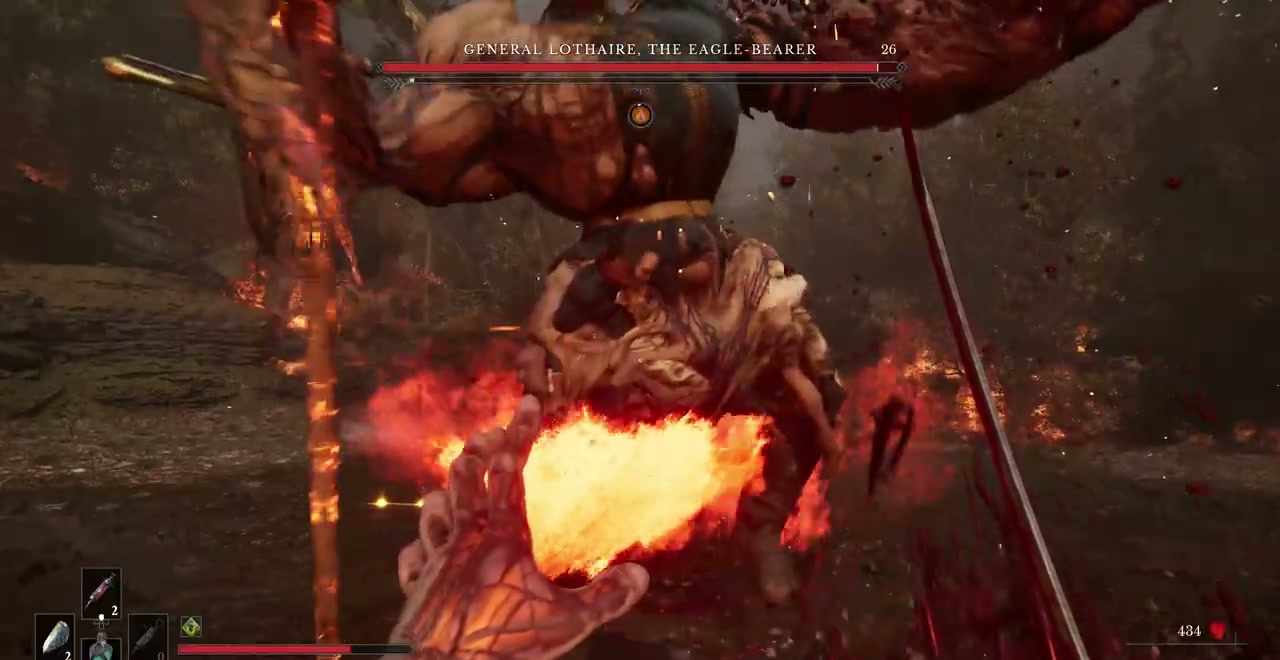
Enter the smoke beyond the Lantern for the rematch. Shoot the visible weak points on his legs and torso, collect the ammunition and Nephtoglobin they release, and parry his sword and flag combinations to build posture. Dodge the unblockable leap instead of trying to parry its landing. His shoulder guns fire a sequence of shots, so keep moving through the whole volley.
When his health refills and his hand swells, new weak points appear on the enlarged arm and left leg. His hand swipes mix ordinary and unblockable attacks, so react to each swing separately. Kill the fragile Soldiers or Musketeers he summons before they interrupt your next exchange. Jump the expanding ground shockwave and dodge the thrown explosive corpse. Once he falls, climb the church steps and speak to James. Weapon upgrades and travel between lit Lanterns now become available.
Rendezvous: the Fallen Village and Grapple
Use the worktable in the Abandoned Church before leaving. Outside, take the graveyard route and remove the Rapier from the body blocking the path. Its precise thrust can break weak points without using Pistol ammunition, but it cannot block attacks. If you prefer holding a guard while learning an enemy, keep the Saber available.
The vortex beyond the graveyard takes you to the Fallen Village. From Fields, pass the scarecrow and enter the barn, climb its ladder, swing across the beam and drop into the next room. Unbolt the gate outside to shorten the return to the Lantern. Exploding bodies appear throughout these fields: shoot their swollen weak points from outside the blast area, especially when a charging Civilian stands near one.
At the road fork with the Grenadier near the wooden gate, the house in the opposite direction has a flask power upgrade beside its well and a weak point opening a shortcut. The forward route continues through the fields and buildings to a wagon held up the slope. Shoot its weak point to send it through the fence, then pass through the building and village square. Operate the gate wheel for another shortcut. Defeat the Volunteer guarding the carriage and take the Blunderbuss inside to open the way to Marketplace.
Work around Marketplace through its houses before entering the crowded middle. Find the house the Musketeers are shooting at: it has a balcony chest upstairs and a ladder into storage behind it. Go down the ladder, kill the Carrion around the barrels and take the Storage Key from the crate. Open the nearby gate and destroy the weak point inside. The cleared stairs lead out of the cellar; unbolt the gate at the top, then climb toward Orchard.
The Iron Marshall and the route back across the river
Rest at Orchard before approaching the large building. The Iron Marshall attacks with a cannon held like a club. Move around his slow swings and aim for the large growth on his back after an attack leaves him turned away. The Blunderbuss is useful when you have a clear shot at that exposed side. You can also detonate the arena’s barrels when he comes beside them.
After defeating him, enter the large building and interact with the suspended body to obtain Grapple. Cross to the ruined building, drop a floor and pull the glowing Nephtoglobin Blossom on the blocked door. Follow the grapples and suspended platforms back to Marketplace. You can now grapple across the river from the pier, onto the roof and through the burning buildings. Use those elevated points to get above the Musketeers instead of fighting the whole road from ground level.
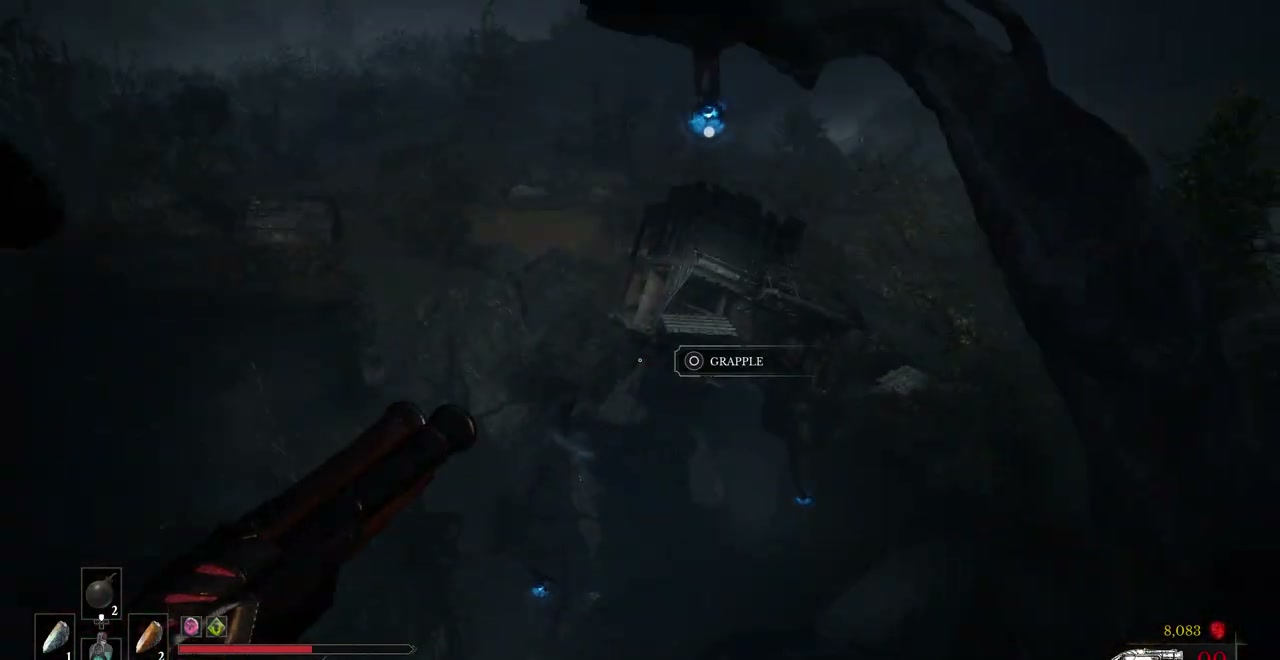
Reach Path of Fire, pull the Blossom beside its Lantern for a shortcut, and enter the square with the large tree. Grapple onto the surrounding upper platforms to remove the Musketeers. After clearing the remaining enemies, knock at the far building to meet Louis. Choose to return with him, then speak to him at the Abandoned Church to open Transmutation upgrades. Speak to James for the Cave Grotto Key.
Lullaby beside the Marketplace route
For Tomorrow’s Promise, enter the house with the empty crib near the Marketplace Lantern. Walk into the back room to start the quest, then go outside and collect the Weathered Key after killing the three Civilians. Return through the carriage where you found the Blunderbuss, take the right-hand village route and cross to the locked house beyond the river. Open it, take the Toy from the bed, and place it in the crib. Tomorrow’s Promise changes flask healing into regeneration, so equip it only if you want that delayed healing behavior.
Dark Descent: Stasis and the mine-cart escape
From the Abandoned Church, grapple across to the cliff door and use the Cave Grotto Key. The Caverns introduce wallrunning on Nephtoglobin surfaces. Follow the grapple points and pale ledges through Last Sunlight to Weeping Ledge. In the lower tunnels, Fire burns the woven walls and can light the sconces. Look up when a yellow circle pulses on the floor: it marks a falling stalactite.
Past the Carrion chambers, the route crosses collapsing ledges and reaches the wooden cranes. Turn the first wheel to lower a load, cross on it, climb the ladders and operate the next wheels to reposition the crane arm. At the body beyond the rotating walkway, take Stasis Transmutation. The return is blocked, so drop to the mechanism below. Freeze the gears when the opening faces your route, then swing through to the far platform.
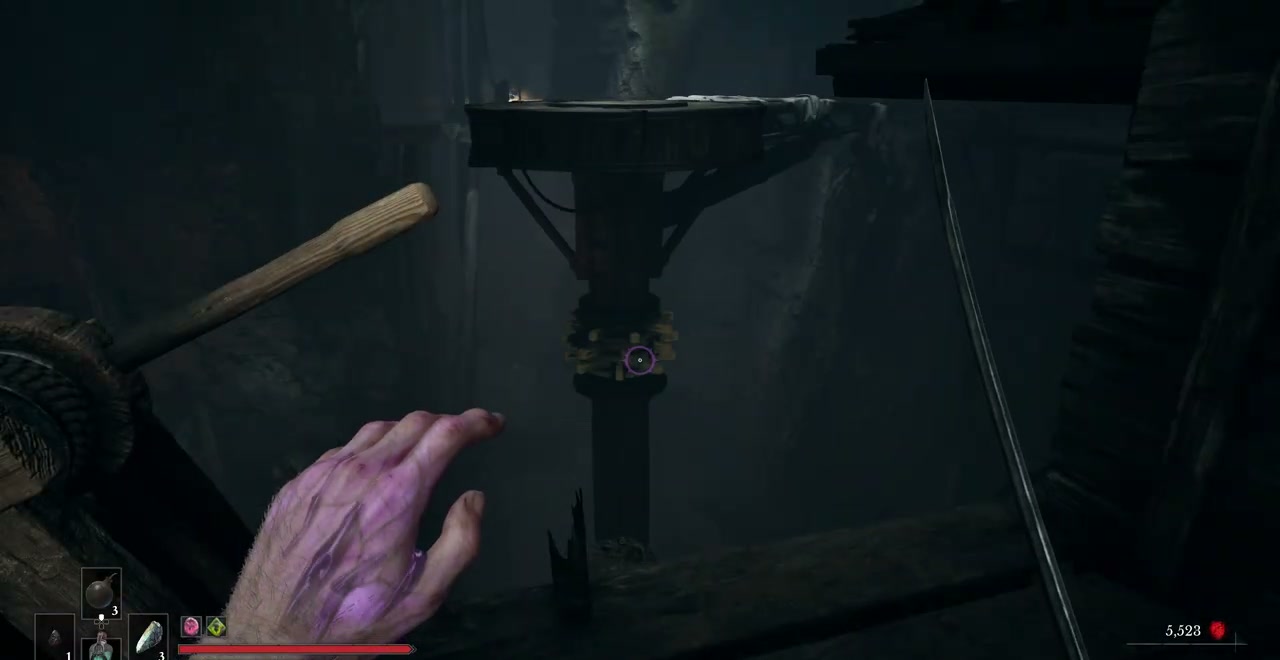
Turn the wheel to raise the next gate, then freeze the gears beside it before the gate falls shut. Cross while Stasis holds it open. At the rotating arm beyond, turn its wheel and freeze the gears when the arm points toward the landing. If the arm stops short, release Stasis, let it turn and freeze it again when it lines up.
At Old Mine, the suspended cargo must serve as a platform at two heights. Turn the upstairs wheel, return below and freeze the load while it is low enough to jump across. From the opposite side, release it, raise it to the upper level and freeze it again. Climb the ladder and cross the cargo to open the upper shortcut. The side cave here contains an Eternal Guardsman for The Oathbound; the main route continues down through the tunnels.
The mine carts running along paired tracks alternate sides. Step off the active rail rather than trying to outrun an approaching cart. Follow the track into the passage with the circular junction. Crouch through the hole in the wall, climb the ladder beyond and turn the wheel above the junction. A cart now breaks the wooden barrier. Through that opening, use Stasis to position the hanging beam for the next wallrun and swing. The lower platforms and rope bridge eventually lead to the Mine Cart Route Lantern.
The moving cart sequence
Equip Stasis before dropping into the cart. The obstacles arrive in this order:
- Pull the Blossom on the right, then freeze the gate gears so the cart can pass.
- Switch to the Pistol and shoot the yellow weak point blocking the track. Pull the Blossom on the left to redirect the rails.
- Shoot the explosive barrels directly on the track. Barrels beside the Musketeers are optional targets, but the ones obstructing the cart must go.
- Pull the next right-hand Blossom and freeze the gears beside its gate. Freeze the following spinning wheel with its opening aligned to the rails.
- As the track drops away, grapple up to the left, swing and wallrun onto the next cart track.
- Pull the left-hand Blossom to move the cargo, then grapple over the rock and back into the cart. Use the final grapple when the rails end.
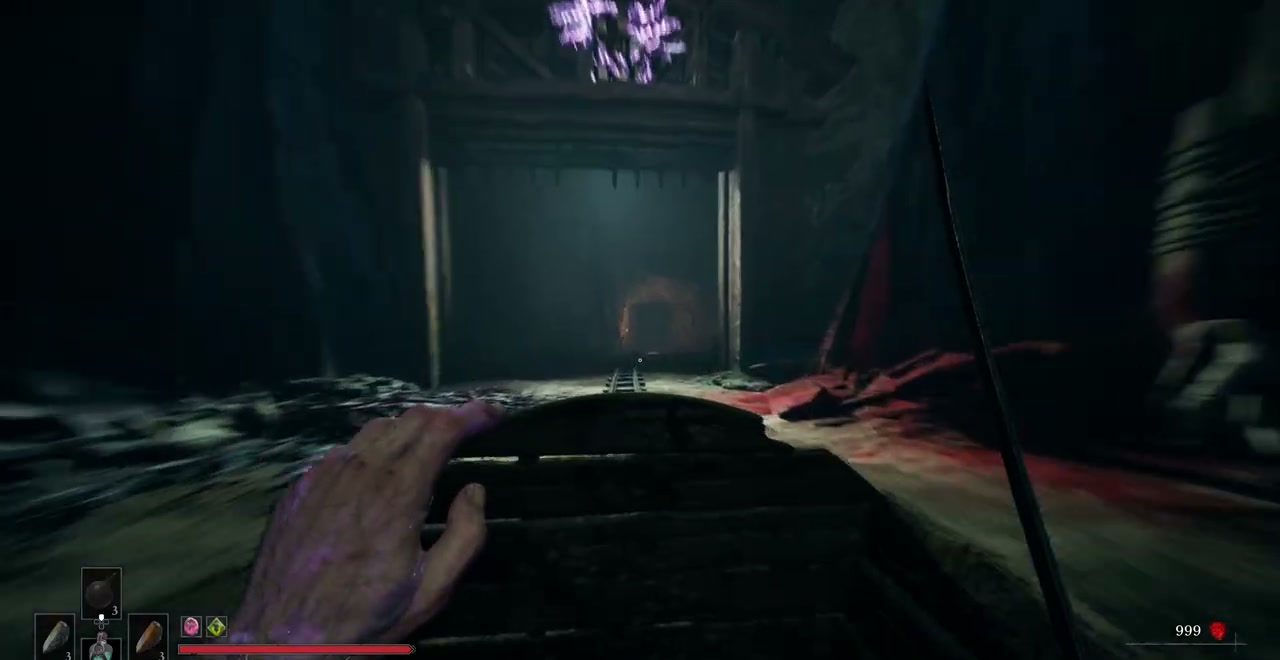
Keep the Pistol loaded before starting; reloading at the track obstruction leaves little time to aim. If a gate closes on the cart, repeat that part with Stasis already selected and freeze the gears immediately after pulling the Blossom. The Lantern beyond the final jump provides a rest before the Sphinx.
Sphinx, Devourer of the Unworthy
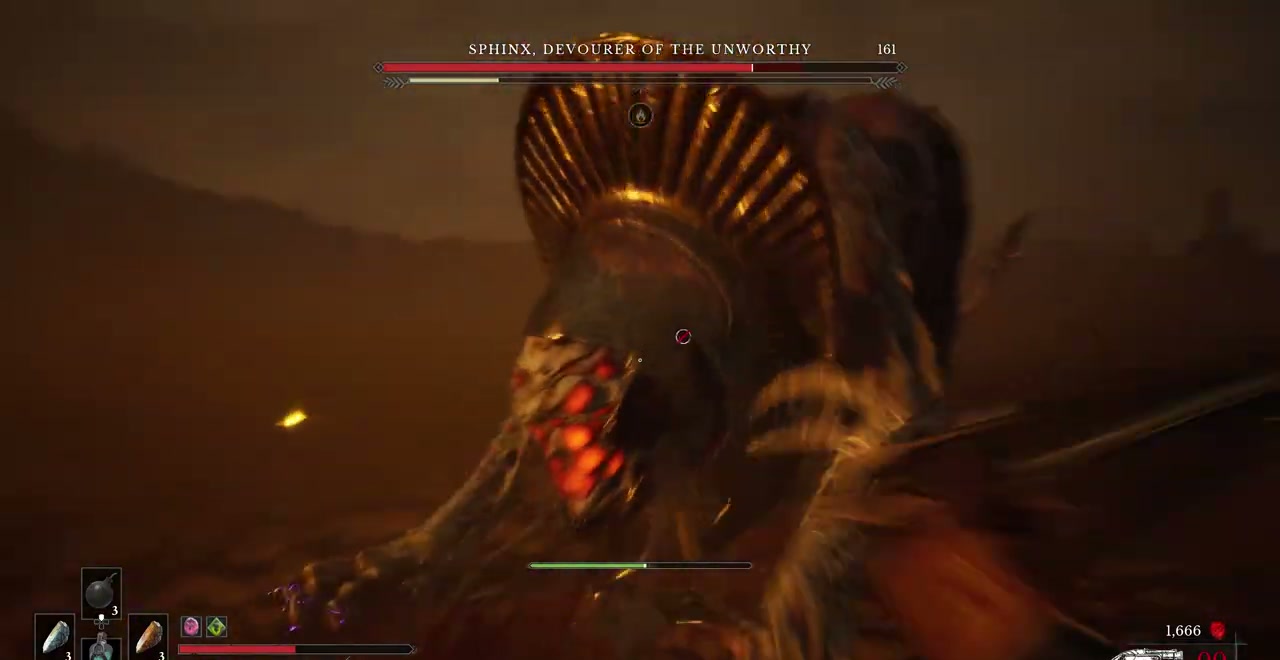
In the first phase, dodge the claw sequence and punish the pause after the repeated forward paw slams. Shoot the slow-moving orb from its tail or move away from its landing and jump the resulting shockwave. Move sideways around the straight traveling spikes.
Its health refills for a second phase, and the mask breaks away to reveal facial weak points. Aim the Pistol at those exposed growths between attacks. The wider spike fan has gaps once it spreads across the arena; move into one instead of backing straight along a spike’s path. Dodge the airborne landing and unblockable body slam. After the fight and stone-door scene, you return to the Abandoned Church. Speak to James to continue into Crime.
Crime: the Vale of Wrath and Slaughtermill
James gives you the Outward Pass Key after the Caverns. Cross to the cliff doors outside the church and use it on the door beside the Caverns entrance. In Wolfsbane Field, enter the house on the left and climb through it to reach the onward forest route. The weak points holding the corruption in place can be shot from the paths around the obstructed crossing. Destroy them before looking for a way through the cleared opening.
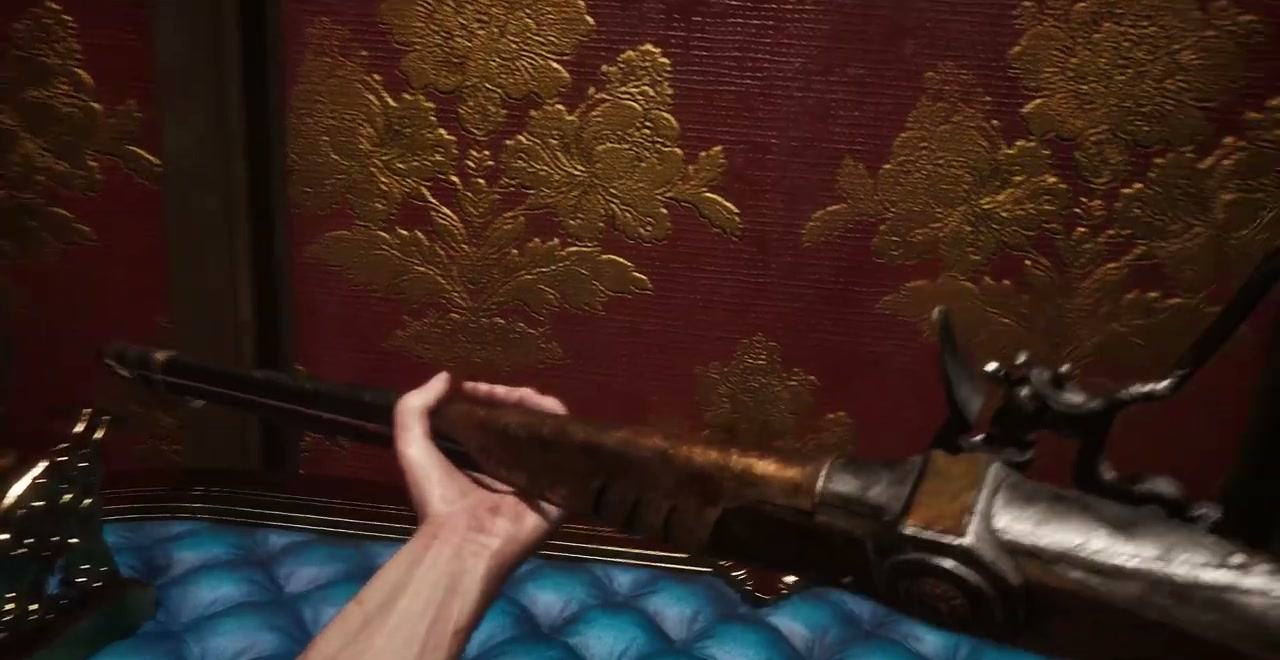
The route descends to Under the Bridge, then crosses into the houses and military enclosure. Defeat the dual-sword Volunteer inside the fort to obtain the Wagon Key. Unlock the central carriage and take the Musket from its case. Leave through the carriage’s far side for Poisoned Camp. The flamethrower Volunteers here are dangerous to rush together; shoot their fuel tanks from cover and move away when they ignite.
To pass the gate beside the upper bridge, cross the raised wooden path and jump into the building through its roof opening. Turn the mechanism inside, then freeze its gears with Stasis so the gate stays raised while you go through. This is also a chance to collect the flask power upgrade beside the mechanism. If you reach the gate after it has fallen, return to the wheel and repeat the opening and freeze instead of searching for another key.
Beyond the fishing village, the Ship Graveyard route alternates between boats, elevated plank walks and grapple points. Pull the Blossoms that move the Nephtoglobin walls to open your route and give cover from the Musketeers firing across the water. Use the upper ship decks to reach the next grapple rather than dropping into the water. The forest path beyond the wrecks reaches Old Windmill.
In the Name of Art along the way
Near Under the Bridge, a house’s front entrance is blocked. Walk around its right side and shoot the growth through the window to open the door. Upstairs, move the painting beside the hanging body. Shoot the newly exposed weak point, leave the house and follow the adjoining path to the grave with the large gray cross. Collect the Basement Key there.
Back inside, unlock the rear door on the ground floor. Descend through the basement, burn the woven obstruction and follow the rooms and memories to the final letter by the body. Collect it to receive Butcher’s Carnage. This Amber trades flask healing for health restored through melee attacks, so taking the reward does not mean you should immediately equip it for the next boss.
Fighting the living mill
At Old Windmill, rest before entering the clearing. Slaughtermill fills the far side of the arena. Aim at the red growths on the mill from the outer walkway, move behind the tall wooden supports when fire sweeps your position, and clear the Carrion reaching your platform.
For the inner part of the fight, grapple to the mill’s blue point and drop inside. Climb between the wooden landings using the pale wallrunning surfaces and overhead grapples. From a landing, shoot the glowing growths on the suspended body, then move when its fire sweeps across the platform. Locate the next grapple before aiming so you can leave quickly when the flames reach you.
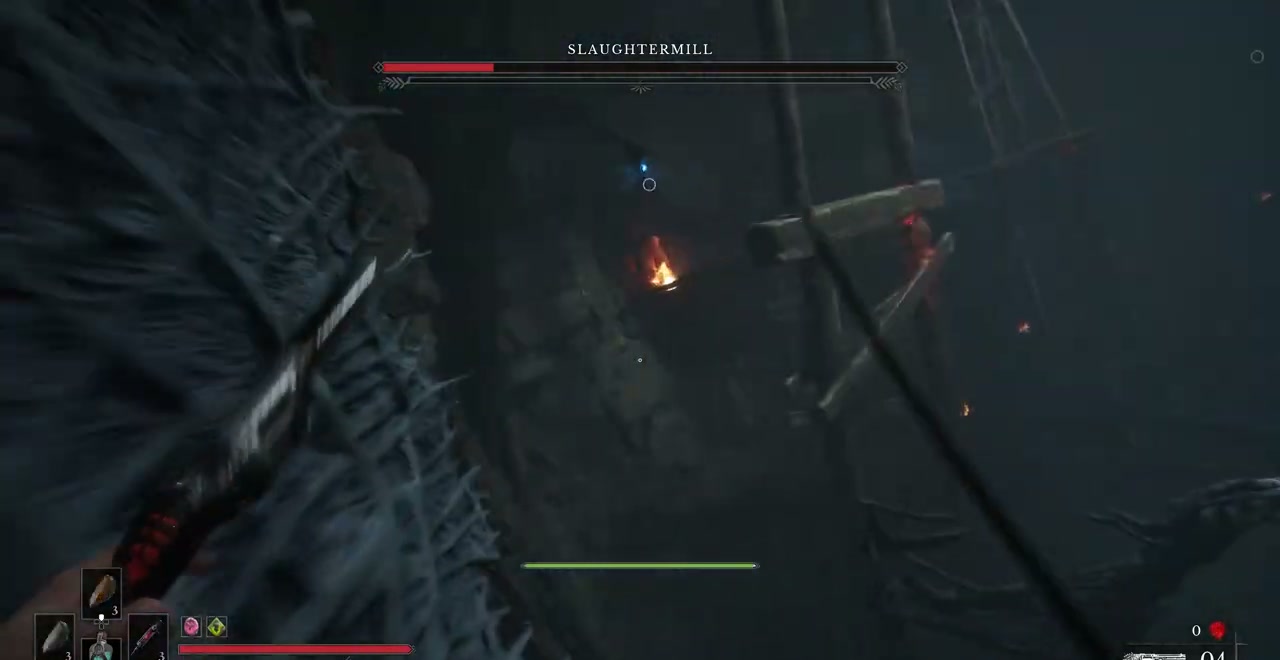
After Slaughtermill falls, leave by the wooden walkway and tunnel toward Cursed Hollow. Pick up the Emissary’s Letter on the right of this tunnel if you started The Emissary earlier. If you die during Slaughtermill’s inner portion, check the path just beyond Old Windmill for your lost Catalysts before assuming they are still beside the boss.
Punishment: the flooded village and Claymore
From the first Cursed Hollow Lantern, follow the village’s raised paths toward Eerie View. The growths blocking passages can be destroyed from the adjoining wooden walks. Keep out of the green poison covering the lower ground and use the planks, ladders and rooftops to move between buildings. You do not yet have the power for a sustained crossing through poison.
Anna, the Bride Drowned in Tears, waits in the flooded courtyard. Parry her close sword exchanges, dodge her red-glowing rushes and leave space to escape along the water’s edge. Smaller figures join the courtyard during the fight. Remove the ones threatening your current position before returning to Anna, rather than letting them pin you against a wall while her next rush begins.
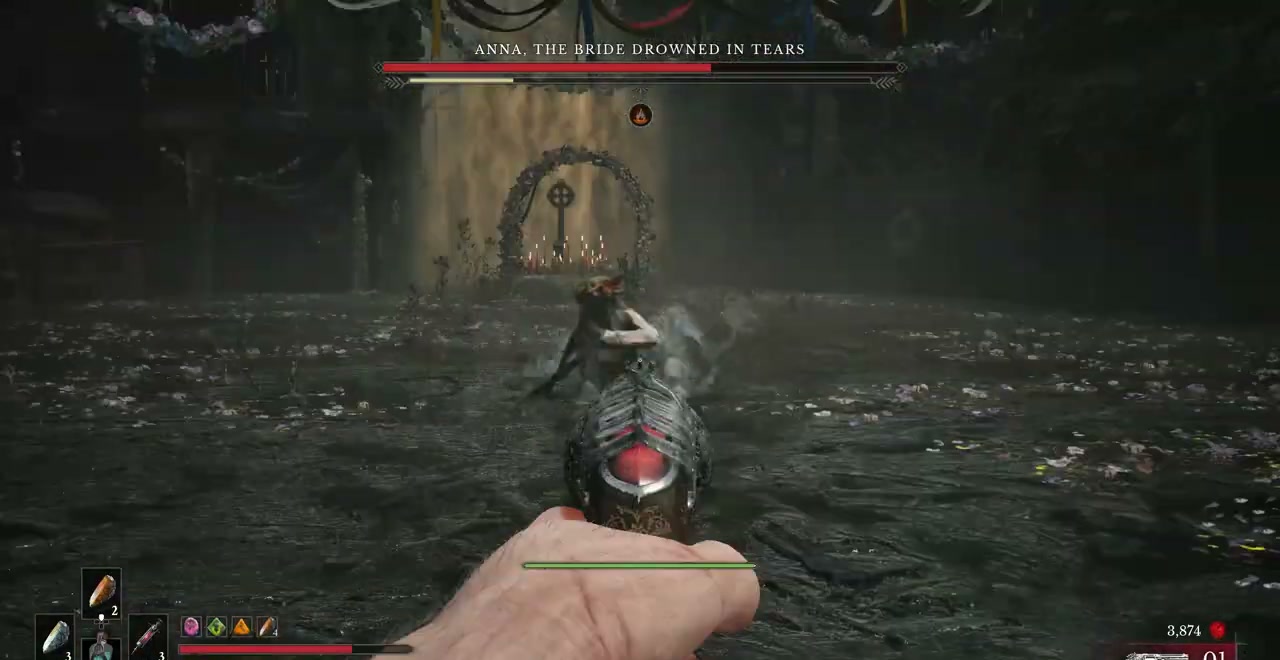
After the fight, inspect the wreath at the altar if you want Till Death. The main route continues through the flooded village and its connected houses. Use the high wooden paths around the poisoned pools, and destroy the weak points visible from the side passages to remove the barriers across your next crossing. The church farther into the village has a weak point on each side. Shoot both to open its front door, enter and pull the Claymore from the body inside.
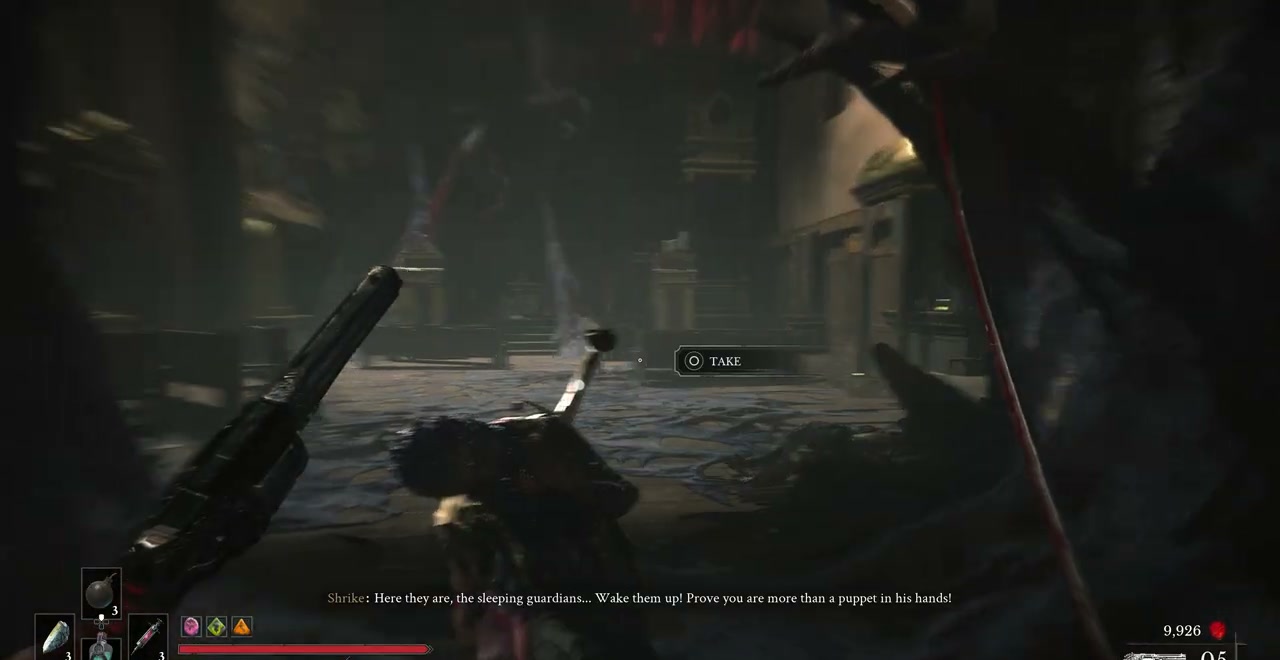
Taking the Claymore clears the way through the church. Go out the rear and follow the onward path toward The Outskirts. For Till Death, turn right behind the church first. The grave beside the memory holds the Red Ribbon. Return to the courtyard altar, place it on the wreath and receive Tomorrow’s Promise, or an upgrade if you already own it. Rest at a Lantern and inspect the wreath again to finish the quest. Giving the ribbon without returning after a rest leaves that final step undone.
Witch Hunt: The Outskirts, City of Orphans and sewers
The Outskirts begins with Broken Bridge. Use the wallrunning surfaces and grapples to cross the broken spans and climb onto the stone bridge. Light the Lantern beside the smoke before entering High Justicar Aurelius’s arena. Fight toward the center of the bridge so a backward dodge does not carry you toward the parapet. Parry his close sword combinations, dodge the red-glowing lunges, and cast Fire when he finishes a sequence. His short recoveries favor brief attacks rather than a long string of sword swings.
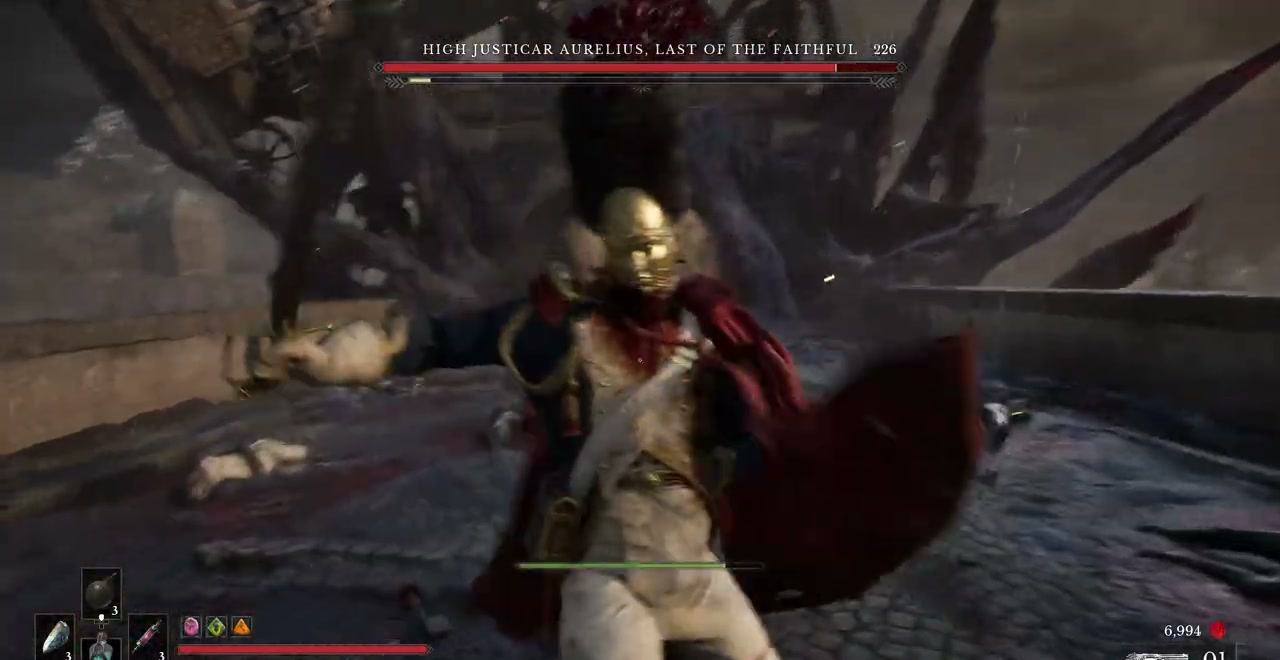
After Aurelius, collect the flask power upgrade from the chest on the descent. Follow the raised paths into Island of Whispers. The burrows in this district contain the children and The Shrike’s Anthem; the main route goes through the barns, their upper floors and the wooden beams joining them. Open the shortcut doors from inside as you pass through the buildings.
At Market Square, a large house has barrels visible through a window. Shoot them from outside to break the wall, enter through the hole and open the shortcut door on the lower floor. Climb upstairs for an Empty Ferrofluid Flask. Continue from the square toward the Lighthouse, using the exterior wooden platforms and grapples to reach the lower laboratory.
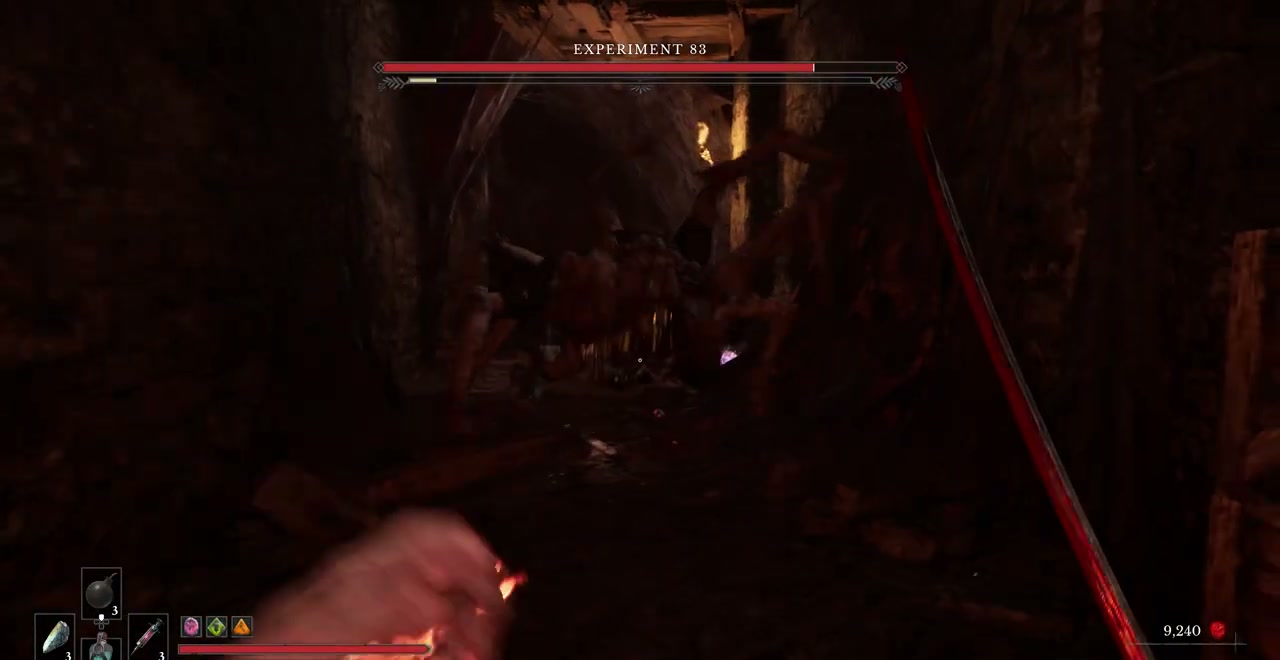
Experiment 83 waits in the enclosed room beneath the Lighthouse. Its long forelimbs reach well beyond William’s sword range, so leave the space between the pillars clear for your dodge. Ignite it from the open part of the floor, then take brief melee openings when its lunges end. Switch to the Pistol when it pulls away instead of following it into a corner. The Lantern outside provides a short retry route. After the fight, search the adjoining laboratory for the upgrade-material chest and notes, then leave by the waterfront’s broken wooden walkways for the City of Orphans.
Through the burning city
Light Tribunal Square as you enter. If you intend to finish Monster Hunt later, take the Drawing of a Lancer from the tree beside it and collect the drawings you encounter on walls as you go. The task continues through Shamble Street and the sewers; it does not end at the city’s first exit.
Follow the river-side buildings, climb through their upper rooms and shoot the weak points visible through the windows to clear the next passage. The burning tunnel leads to another group of buildings. In rooms with movable Nephtoglobin panels, use their Blossoms to open your path and close off the riflemen’s line of fire. Keep to the upper landings when poison fills the bottom of a room. The large gates you unbolt connect these loops back to the Lanterns.
At Shamble Street, climb the buildings and outside ledges toward the tall tower. Reach its top and take the zipline down to the sewer entrance. There are side paths and drawings beside this route, but descending into the sewers advances the main journey. Activate the Sewers Lantern before exploring the tunnels.
The two sewer keys and the Laboratory Key
In the circular room with a central grapple point, the barred door requires the Sewers Key. Continue to the later fork, take the ladder down on the left and open the chest below. Bring that key back to the circular room and unlock its door. This is a return trip through the sewer itself; the exterior doors use a different key.
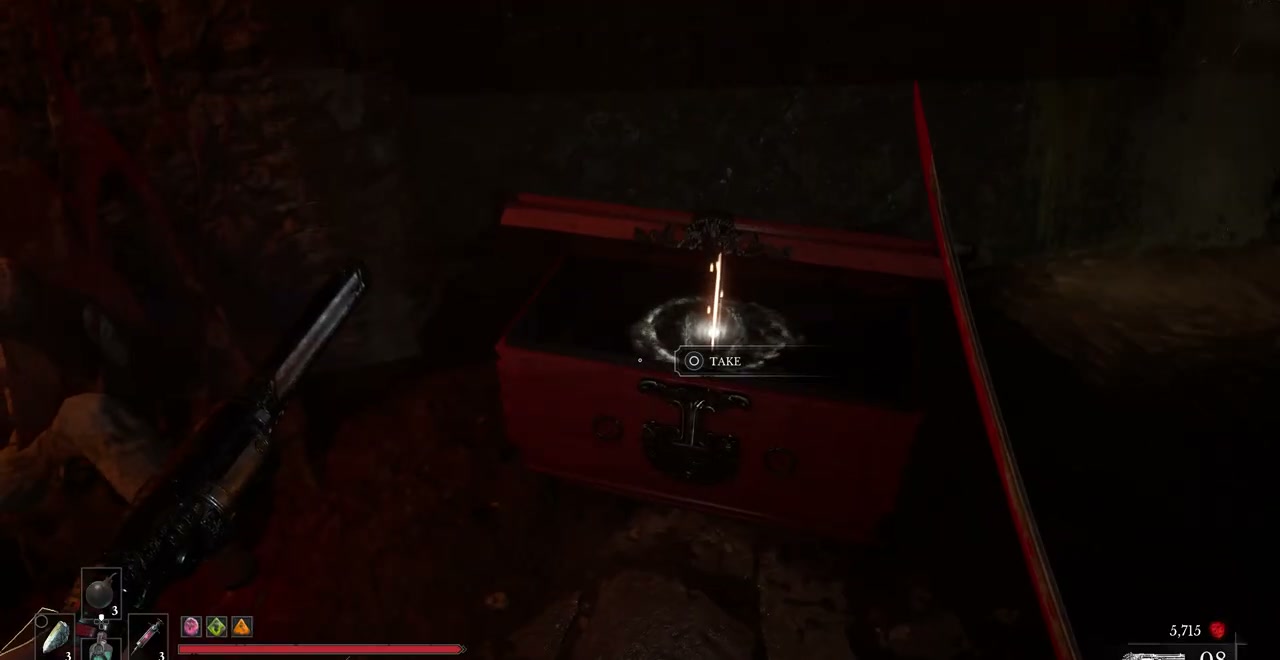
Beyond the unlocked gate, grapple across and follow the tunnels to the next left-hand branch. At its end, a shortcut reconnects to the Lantern. Turn left from that route and swing across the bar to the platform with a body on its left. Take the Sewer Masters Key there to open the doors between the city and sewer. The onward tunnels lead to the Shrike, who gives you the Laboratory Key for the University.
For the optional Mummy and Daddy quest, the burrow across from the Sewers Lantern starts the request. After finding the Sewers Key, burn the woven wall beside its chest and speak at the next burrow. Leave the undead in the neighboring cell alive. Shooting them fails that quest, even though it may seem like clearing another enemy room.
Blasphemy: the Library Key, Shield and The Orphan
Use the Laboratory Key to enter the University. Its halls circle back to Main Hall, so open each door you reach from the far side. In the room with two staircases and the central statue, climb behind the stairs to the statue’s right, shoot the weak point and operate the revealed switch. Moving the statue exposes an Empty Ferrofluid Flask chest.
At the elevator, take the hallway on its left to find the Library Key. Turn right into the rooms with movable Nephtoglobin walls, follow their left side and open the blocked alcove. The key is on the floor. Take it back to the library doors before exploring farther up the lift.
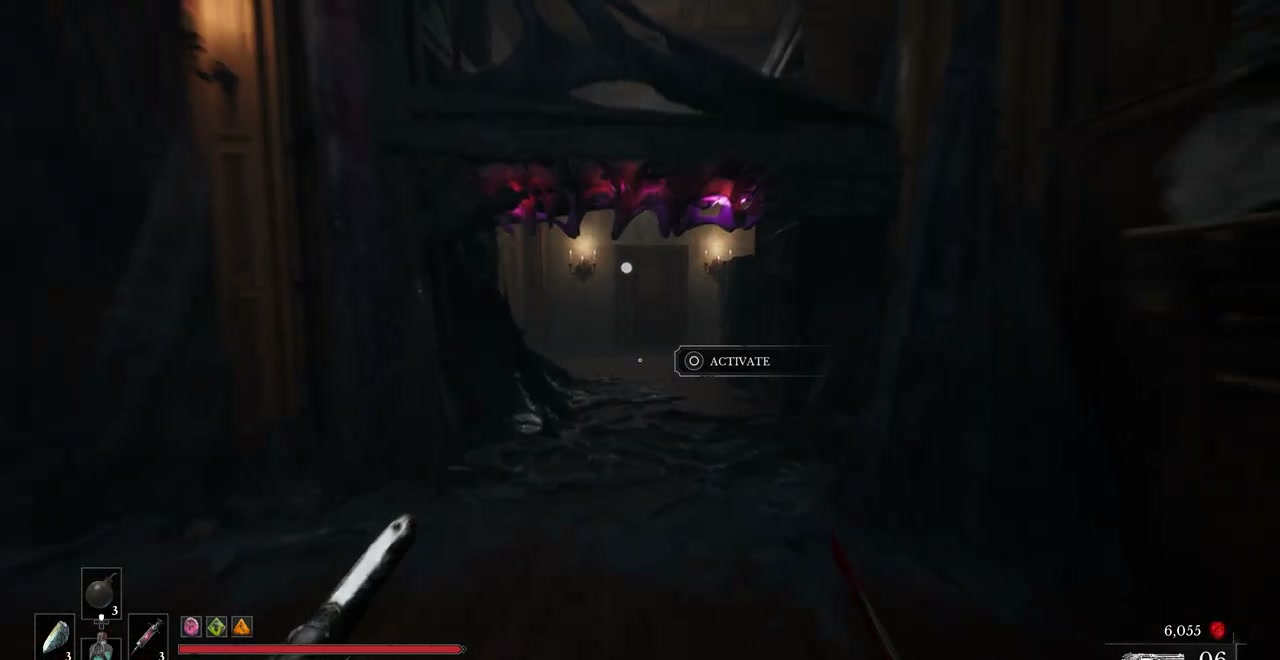
Inside the library, climb the shelves and upper walkways to the chandelier crossing. Continue into the large hall and climb the stairs to the body that grants Shield Transmutation. Hold its casting input to protect William while moving through poison. It consumes Nephtoglobin, so refill at a Lantern or use a vial before committing to the longer green corridors.
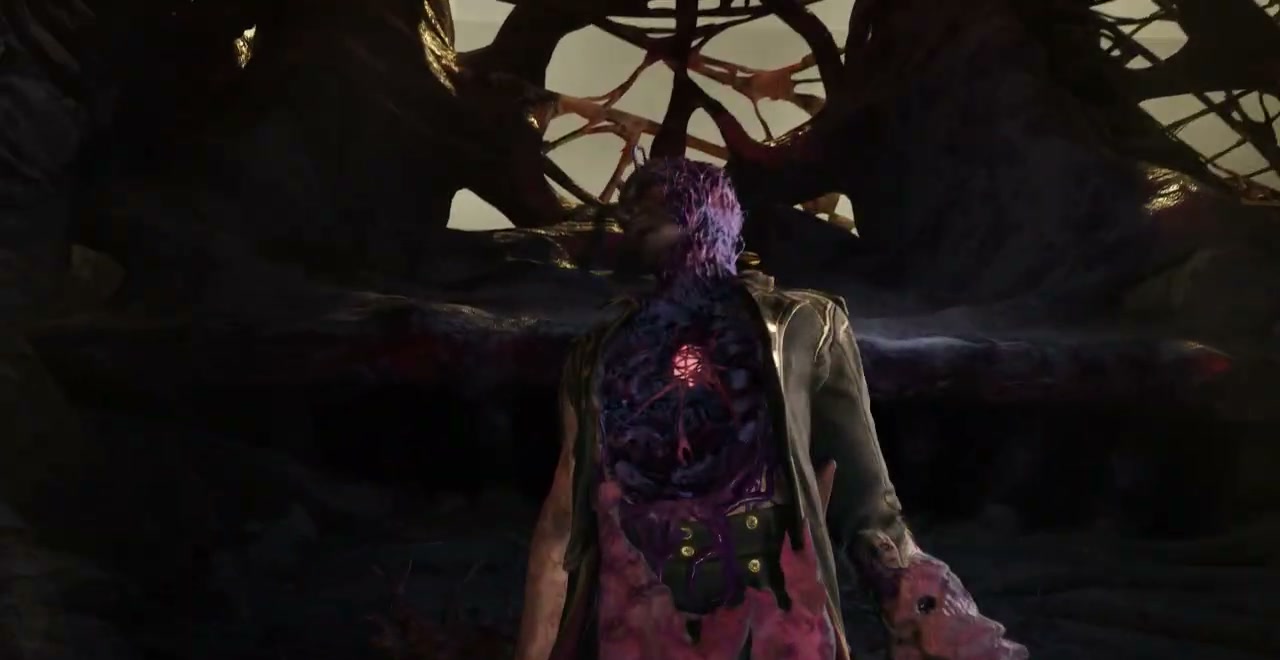
Go back to the chandelier area and take the previously unsafe poison corridor. It leads to an elevator down into the lower library. In the room with another large statue, remove the item in front of it to clear the vines and reach the chest behind it. Continue through the lecture hall with the hanging bodies and descend toward Lift Shaft.
The room full of square cages contains a dog miniboss and the Lift Shaft Key beside a cage at its rear. Defeat the enemy, collect the key and return to the lift gate in the preceding room. The next corridor has poison underneath the platforms; stay on the raised route or hold Shield while crossing the lower level. The two chests at its far end explode when opened, so leave room to retreat after interacting with one.
The Orphan
The lift brings you to The Orphan’s circular chamber. His weapon reaches across the metal floor, and the dark or red lighting can make the next swing difficult to read. Keep his body in sight as you move around the room. Use Shield while recovering from a bad position, then switch back to Fire or your blade when you have space.
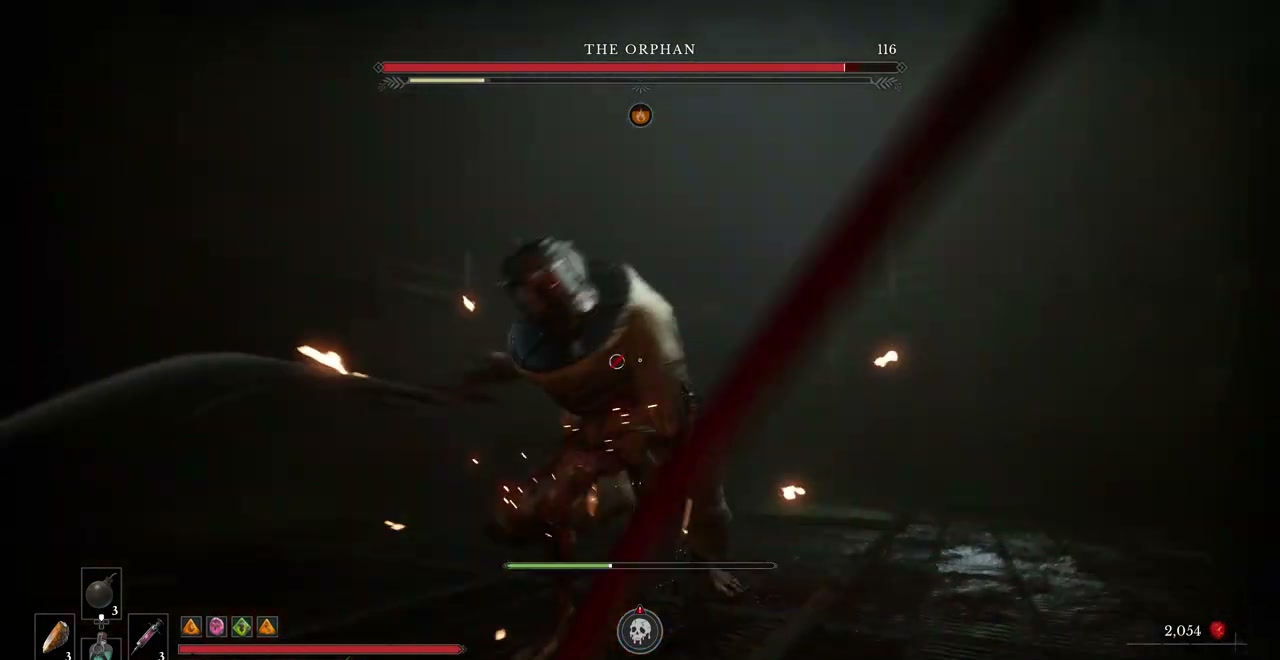
The Blunderbuss gives you a strong attack during his close recoveries. If you use Stasis, watch the row of circles under his health bar: a stronger enemy needs more Stasis buildup before it freezes. Take your cast opening after a swing rather than holding the power while he is already advancing. Once The Orphan falls, return to the Abandoned Church for the story conversation and prepare for the Fortress.
In Ruins: the Fortress and Captain Raphael
After The Orphan, collect Louis’s Notebook beyond the arena and bring it back to him at the Abandoned Church. Speak to James, then take the Fortress route outside. Hold Shield through the poisoned ground before its entrance. Defeat the cannon enemy by the ruined walls, enter the archways and light Main Gate.
For the underground route, follow the Chapel stairs into the brick tunnels, hold Shield through the green pools and cross the bars and suspended platforms over the lower rooms. Pull the Blossoms to move the walls blocking the passages, then unbolt the doors from the far side to reconnect your route. The upper route joins this progress farther on; if you reach its closed gate near Traverse, both signal fires must be lit to open it.

Two side keys make the Fortress’s locked rooms easier to sort out. In the underground rooms below Chapel, the Captain’s Key lies in the right corner of the room at the end of the descending stairs. It opens the building opposite the cannon area near Traverse. The Fortress Armoury Key is upstairs in the room with the lever-operated door: defeat its enemies, climb the ladder and take the key from the upper platform. Cross the hanging platforms back and unlock the armoury door for a flask power upgrade.
From the underground route, climb back onto the upper platforms and follow the pale wallrunning surfaces and grapples toward Ramparts. Cannon fire covers the exposed approaches, so use the stone corners while moving toward the gunners’ ladders. Shoot the weak points on the walls to open the blocked side passages, and pull the final Blossoms to reach the Courtyard Lantern. Rest here before climbing to the arena.
Captain Raphael of the Nephtis Superioris
Raphael mixes quick sword rushes with bright ranged attacks across the circular arena. Dodge sideways through the projectile approach, or hold Shield long enough to regain space. His Stasis segments take a sustained cast to fill, so begin after he finishes a rush and break off if he closes on you. Once he freezes, move in for blade attacks or a loaded firearm shot.
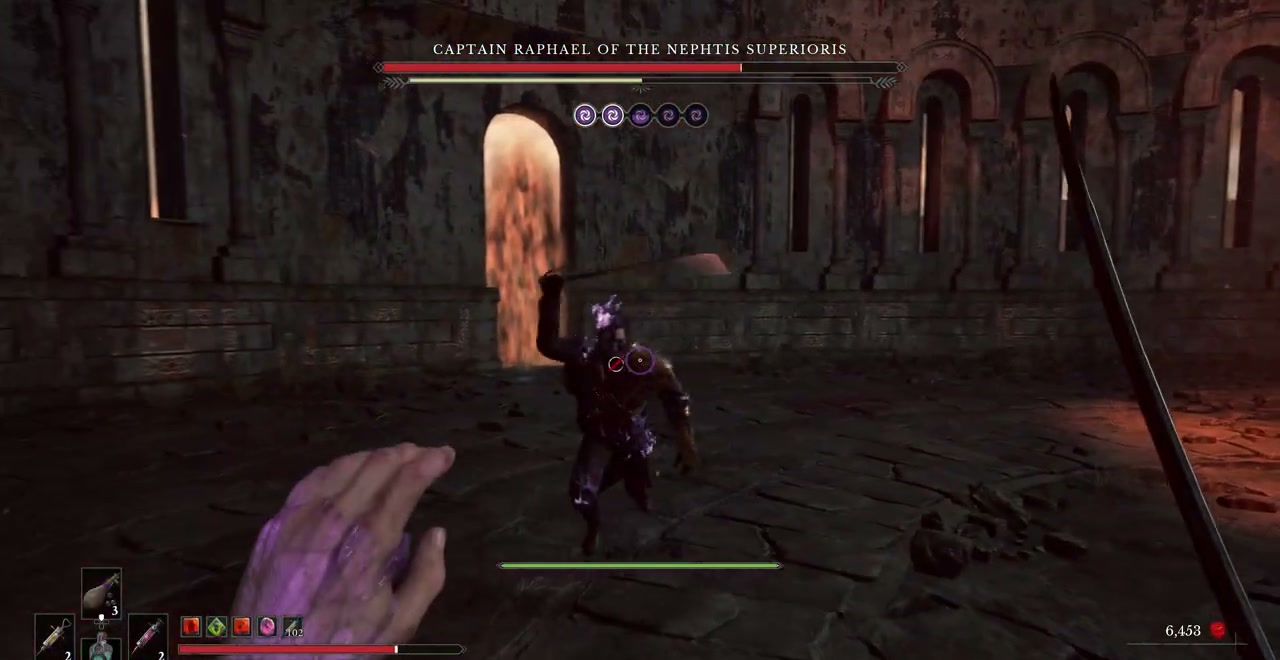
Fire gives you another way to damage him between melee exchanges. Keep the center of the arena available for your retreat instead of backing into the large corruption growths around its edge. After his defeat, the story takes William into captivity. This transition begins Shackled; it is not a reason to restart the Fortress.
Shackled: recover your equipment and escape the jail
You begin the escape without your normal weapons. Leave the cell through the available opening and climb through the jail’s connecting rooms. Crouch behind the guards and take the upper wooden routes when patrols cover the floor. Death here returns you to the cell, so reach the armoury before taking on the whole building. If you want The Choir, finish its jail steps before escaping; these rooms cannot be revisited.
On the upper floor, climb onto the rafters over the large guarded room. Follow them toward its center and drop into the kitchen. The Armoury Key is on the table. Take it back downstairs to the locked armoury door and collect your equipment from the chest beside the torch inside. Your weapons and normal inventory return at this pickup, letting you fight through the remaining guards.
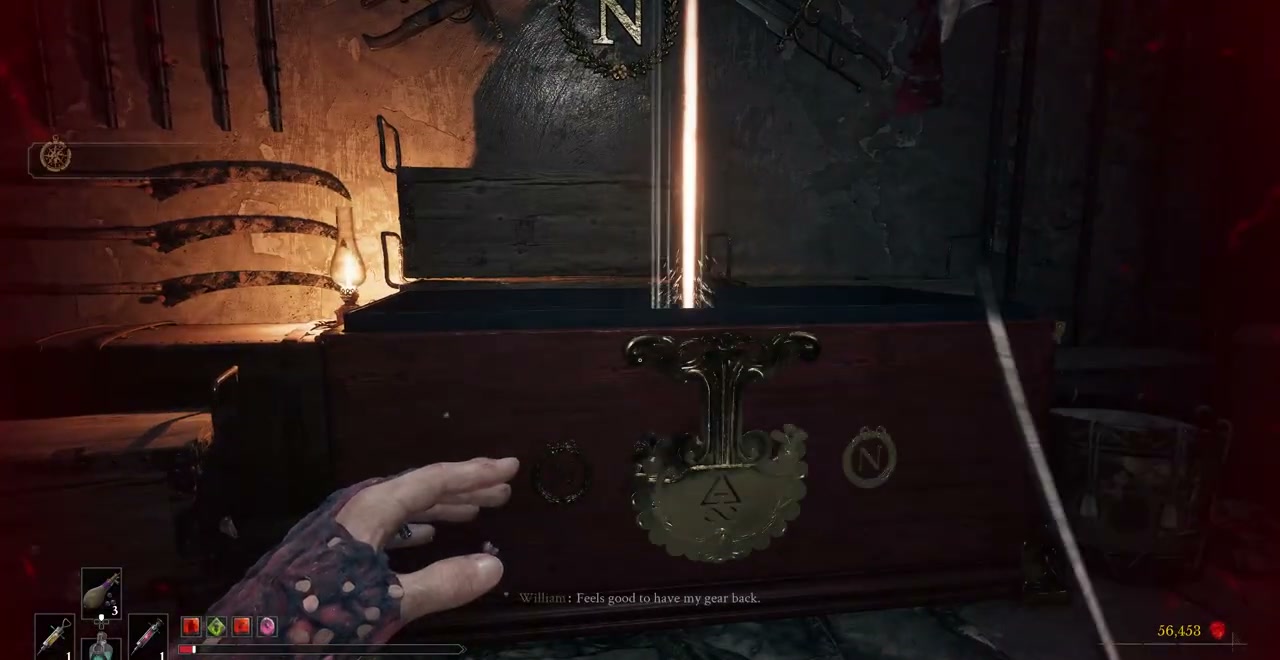
For the main escape, use the rooms and wooden platforms beyond the armoury, cross the bars and climb out through the sewer route. Outside, William enters an altered City of Orphans. Follow the rooftops and opened passages out of this version of the city, then return to the Abandoned Church for the next conversation.
The Choir must be finished during this visit
The jail cannot be revisited after leaving. If you want The Choir, read Prison Warden’s Journal, Part One in the room with the horn while escaping. Upstairs, walk the length of the hallway and inspect the closed chapel door. Part Two is in the small room beside the kitchen’s Armoury Key. On the opposite upper side, take the Key to the Chapel from the room with the memory.
Unlock the chapel and search the counter behind the bodies. Take Letter to Headquarters, A List of Deceased Prisoners and carry it out. At the Lantern just outside the sewers, place the letter on the board to finish the quest. Its reward is a Remnant’s Return; the escape does not require this detour.
Reflection: the cave door and The Entity
Speak to Lucjan at the Abandoned Church and choose to return to the cave. You arrive at the Ancient Lair Lantern in the Caverns. Leave the Lantern with full resources and approach the carved stone door at the back of this area. Place William’s hand in its red center to enter the final sequence.
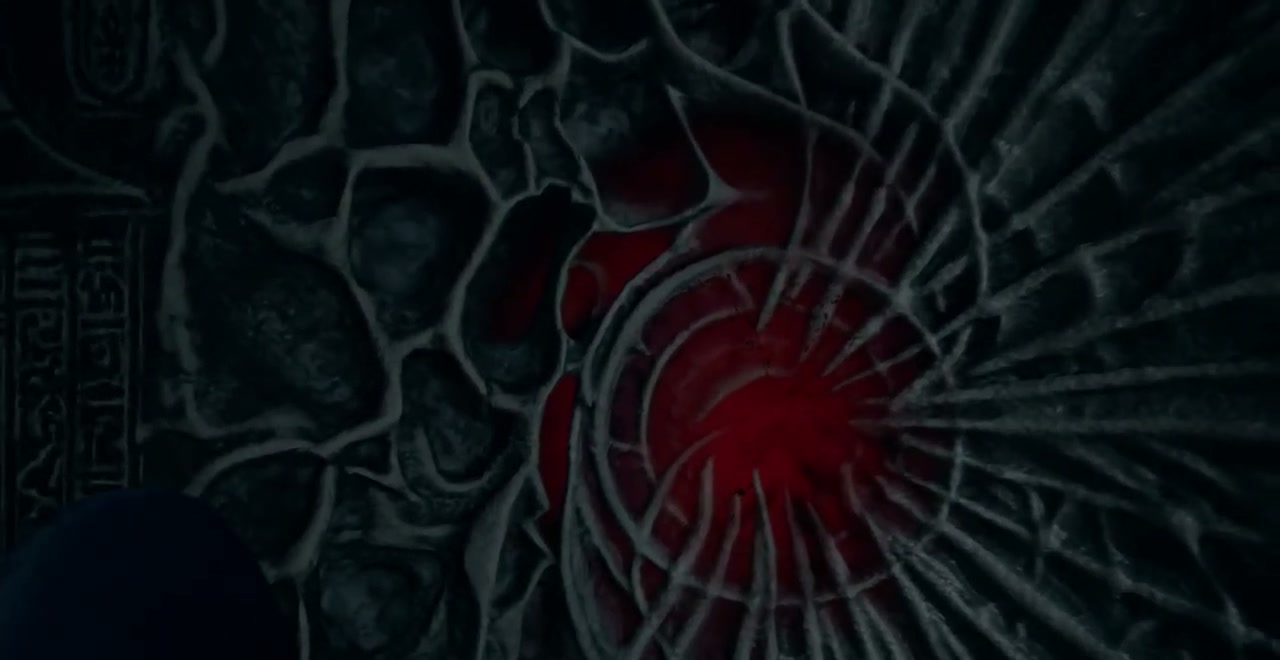
The first stretch returns you to a distorted battlefield. Follow its wooden paths, use the blue grapples and wallrunning surfaces to climb out, then cross the floating stone ruins. Take the blue point above a gap when the ordinary bridge ends. These sections lead into further visions of the city and camp. In the city vision, climb the wooden ledges and use the overhead grapples around the locked gate instead of searching the empty rooms for a key.
Back in the recreated church, speak with James and Louis. You can use the worktables here before walking through the smoke at the exit. That doorway brings you to the blood-covered arena for the fight with The Entity.
The changing bodies in the final arena
The Entity changes between familiar human bodies while other figures remain around the arena. Follow the figure moving toward William with a weapon or casting at him. When a different body takes over, pull back and face it before attacking again. Stasis creates an opening once its circles fill; start the cast with enough room to avoid the approaching body.

When the first bar empties, another body takes over with a full health bar. Resume following the attacker and use a vial or cartridges when you have space. Dodge the red-glowing strikes and hold Shield when a rush catches you too close to a figure or the arena wall. Fire keeps dealing damage as you retreat; a full Stasis freeze gives you time to land attacks before the body moves again.
After the final bar empties, the finishing scene leads into the ending. You can return to the game world afterward for the remaining exploration and collectibles, so there is no need to postpone this fight solely to retrieve an Amber from an earlier region.
Backtracking after Shield and the ending
Use the lit Lanterns to return to paths that poison blocked earlier. At Valley of Ashes, The Other Side, hold Shield and pass the carriage where you found the Emissary’s Seal. Explore the camp beyond, collect its note and inspect the body. Clear the obstruction on the carriage farther along the route, then inspect the red cloth by the blocked gate to finish The Emissary. The poison-side tent also contains Perfect Copy.
For The Oathbound, keep the emblems dropped by the Eternal Guardsmen. The route spans the game’s regions, and the City of Orphans guardian needs the poison crossing unlocked by Shield. Use these Lanterns to organize the return trips:
| Region and Lantern | Where to look | Emblem |
|---|---|---|
| The Battlefield, Onslaught Arch | Back up the cliffs, through the weak-point wall at the left fork. | Valen Duroc |
| Valley of Ashes, Demolished Path | Back down the plague-vine route, left from the group of three enemies. | Lucien Lafontaine |
| Caverns, Old Mine | Across the crane load at the upper level, in the cave beyond. | Jean Pierre Polnaire |
| Fallen Village, Marketplace | Back through the carriage, left at the junction, along the route opened by Grapple. | Etienne Vauclair |
| Cursed Hollow, Deep Water | The right-hand island near the hay bale and cannon enemy. | Severin Susse |
| City of Orphans, Shamble Street | Beyond the river-side shortcut and the poison passage below the ramp. | Adrien Cassell |
| Fortress, Courtyard | Left in the large room beyond the hallway with the hanging flag. After the fight, inspect the body for the emblem. | Bastien Beaufort |
The complete set gives you the Mysterious Stone Slab. Return to Fortress, Courtyard, and go to the wall bearing the Oathbound symbol opposite the guardian’s room. Use the slab, enter and read the note on the table. The two chests beside it contain an Empty Ferrofluid Flask and a Quintessential Blade Material. Open them before leaving the room.