
Start Deep Dish Dungeon by cooking the food beside the first campfire, then climb out toward the large hall. Make that hall your base before draining the lower passages for the Hammer. From there, the route runs through the basement forge and into the prison, where the Pickaxe, repaired levers and cell switches lead to the Giant Spider and its Tomato Gem.
This walkthrough covers that opening progression in the October 2026 release. It includes the Giant Spider encounter and its reward, and identifies the separate Silver Dagger treasure door. It does not cover the rest of the dungeon or the ending.
Get fed, then leave the first campsite
Collect apples and mushrooms beside the starting fire. Add sticks to the campfire, cook an apple and a mushroom, then eat both. Drink from the fountain beside the route out to fill the third food slot. Those three active foods give you health and stamina for the climbing and fights ahead; watch their remaining meters in the lower-left corner before leaving on a long trip.
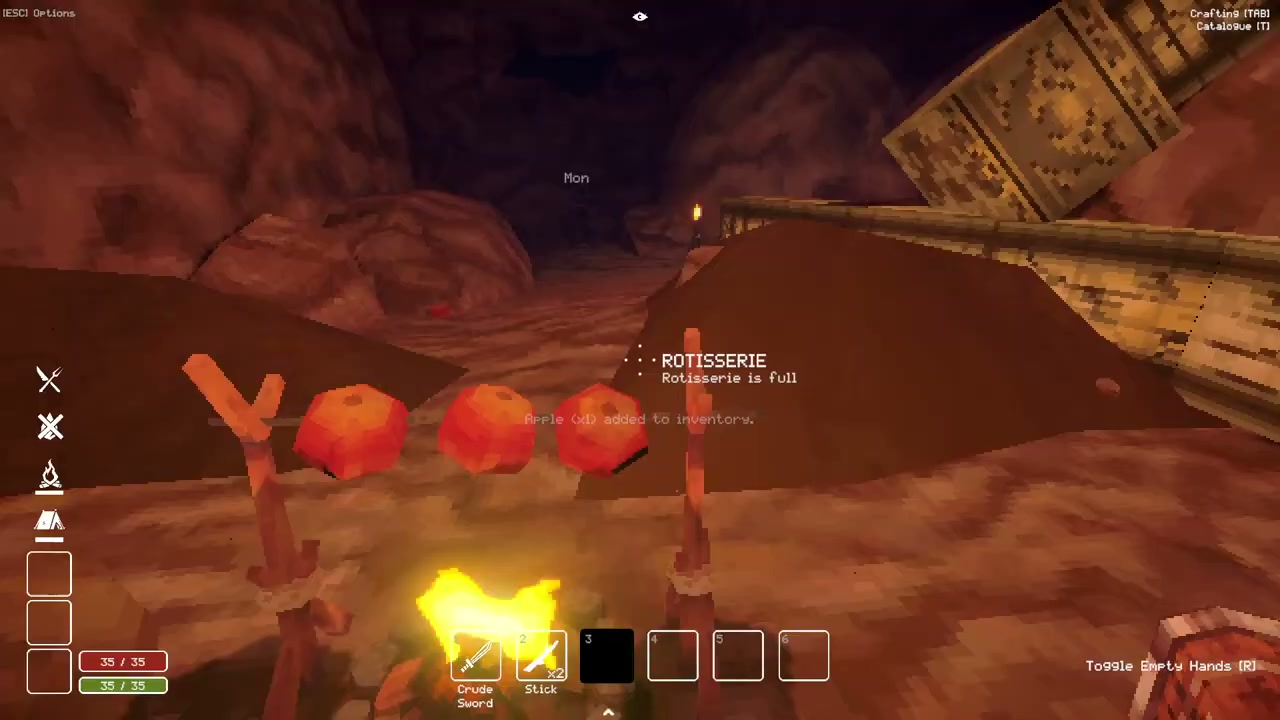
The exit is above the campsite. Climb the pillar to the left of the fire, then cross the rocks to the doorway. In the next section, climb the wooden plank and search beneath the broken pillar for a key. Use it on the door beyond the stairs to enter the large hall that becomes your first base.
Make the large hall your return point
The hall already has a fire, a sleeping bag and a chest containing a letter. Interact with the sleeping bag and select its first option to set your respawn point. Do this before exploring the branches: dying returns you to the last sleeping bag you selected, which may otherwise be far from the work you just completed.
Keep spare resources here so you have room for keys and tools. A Small Chest costs 2 Wood Planks and 3 Scrap Metal. Store ingredients in a Food Basket, which costs 3 Vines, when you can make one. A normal chest does not protect food from spoiling; a basket slows spoilage without stopping it completely.
Torches also need attention. Put a torch in a wall holder while you sort storage or work beside a puzzle. A mounted torch still lights the room without losing durability. Take it again when you leave, and keep the nearby roots in mind as a source of vines for the descent below the hall.
Two early treasures are close to this base. Above the stairs, climb the plank against the left wall and follow the ledge to a vase containing the Gold Statue. The rope beside a pillar near the fire leads to a separate chest with Gold Coins. Deposit these treasures before the sewer trip so they do not occupy slots needed for the Hammer and forge materials.
Drain the lower passages and find the Hammer
Go behind the hall’s stairs and turn the wheel to lower the water. The newly exposed lower area is the next route. Upstairs, find the wall spike and attach a rope made from 2 Vines and 1 Stick. Use that descent to reach the bottom instead of dropping into the shaft.
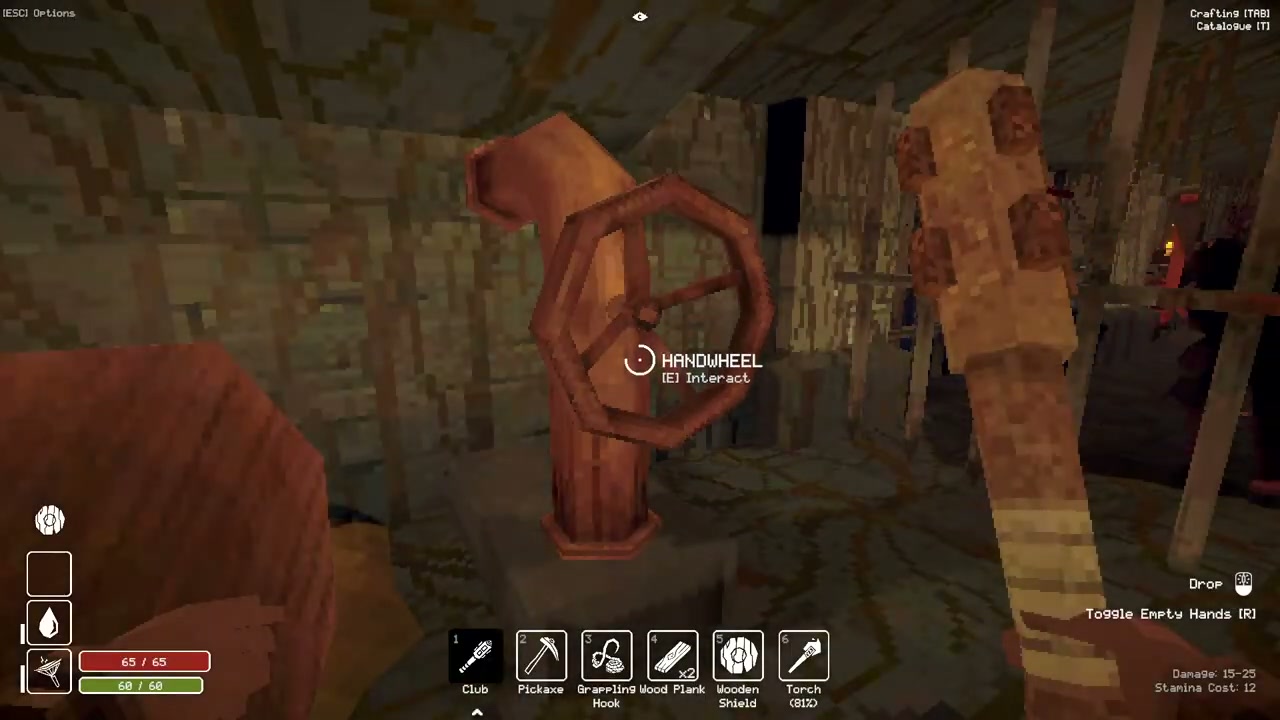
After the first door below, turn left and then right to reach another wheel. Turn it, return to the section it has drained and climb down. Take the left branch at the split, then climb the next ladder. Look above the lower walkways for the pipes leading onward.
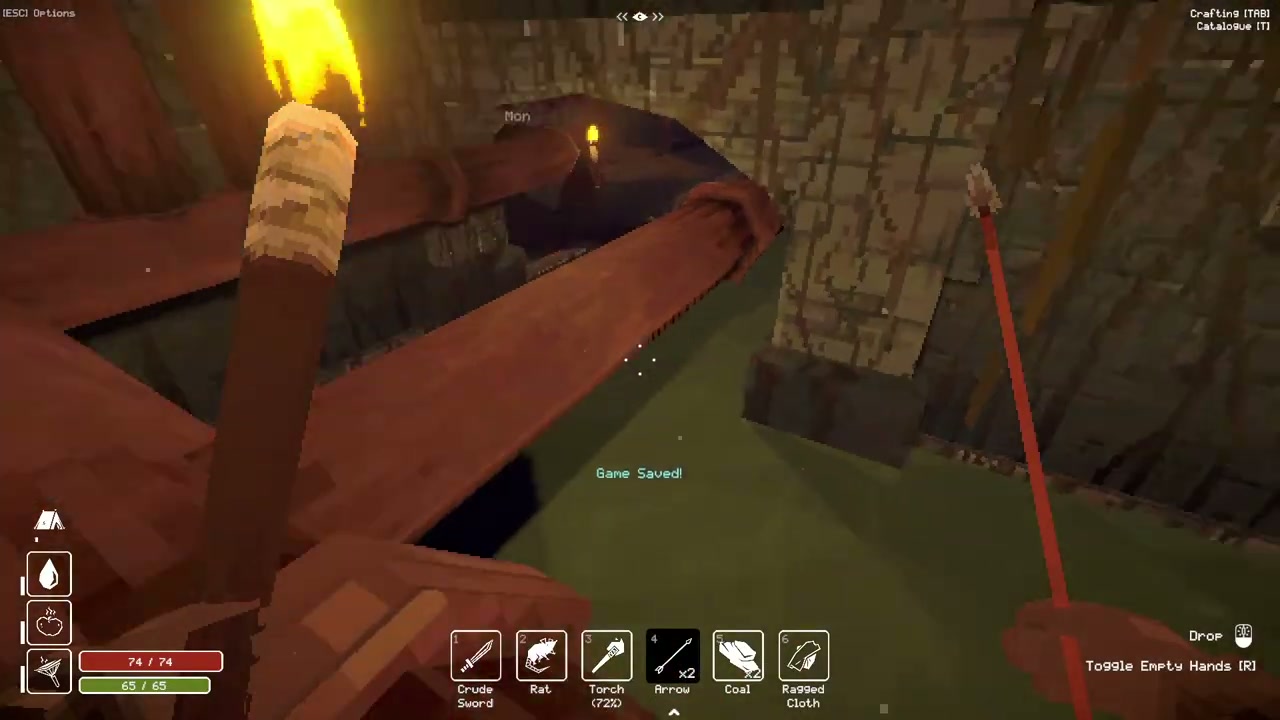
At the next wheel, the route continues through the water. Wait for your stamina to recover before swimming: an eel occupies this section, and swimming with an already depleted bar leaves little room to get past it. Reach dry ground, turn around and climb onto the rusty pipe you just passed.
Crouch along the pipe. At its far end, jump while crouching to get over the raised section, then take the short drop to the Hammer. Equip it and break the nearby rusty gate to leave. This is the tool you need for rusted barriers around the hall; a locked wooden door with a key prompt still needs its matching key.
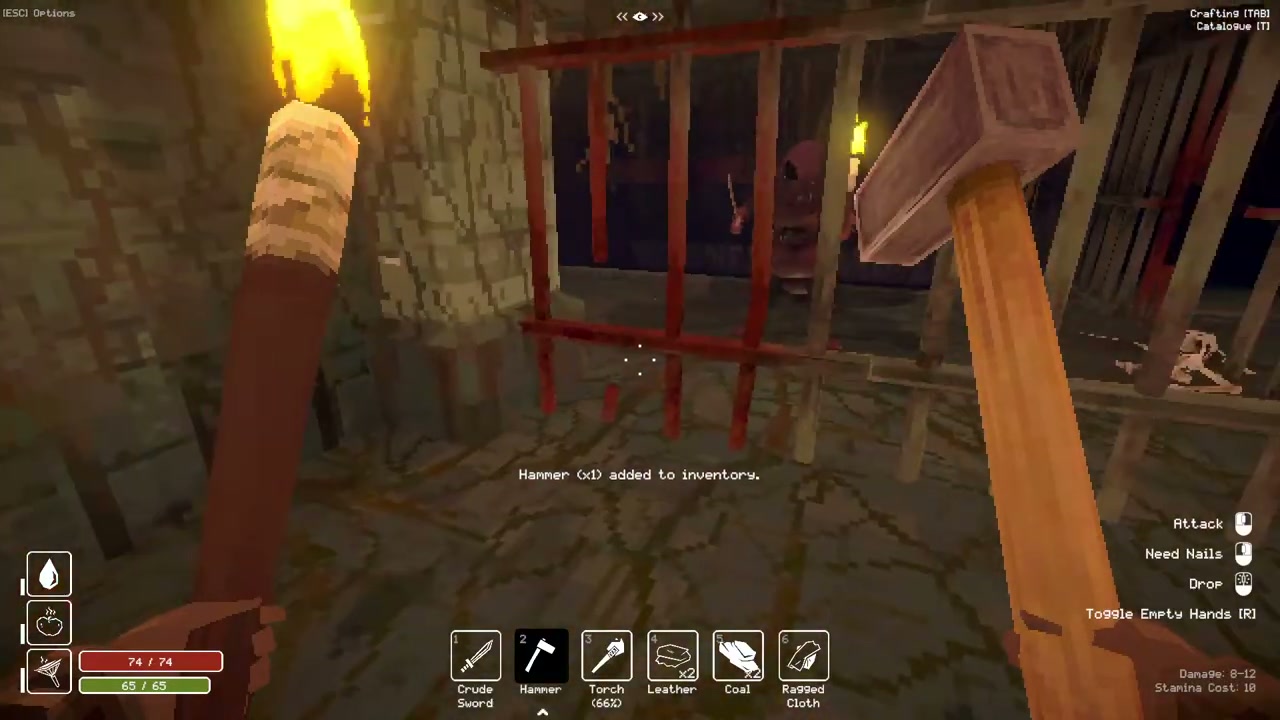
If you return to the hall with no Hammer, revisit the pipe above the water rather than repeating the swim and stopping at the shore. The climb back onto that pipe and the crouching jump are the easy parts of the route to overlook.
The basement forge opens two different routes
Return to the hall and find the basement stairs just right of the large doors. Smash the rusty barrier at the bottom with the Hammer. The basement contains Scrap Metal, coal and a door with an oversized keyhole. Keep space in your inventory for both Coal and Scrap Metal before collecting materials.
Go through the right-hand doorway to find a large mold. Carry it to the forge at the end of this route. Molds are heavy physical objects, so they do not go into your backpack. Moving one drains stamina. Put it down when you need to recover, deal with an enemy or climb safely, then pick it up again.
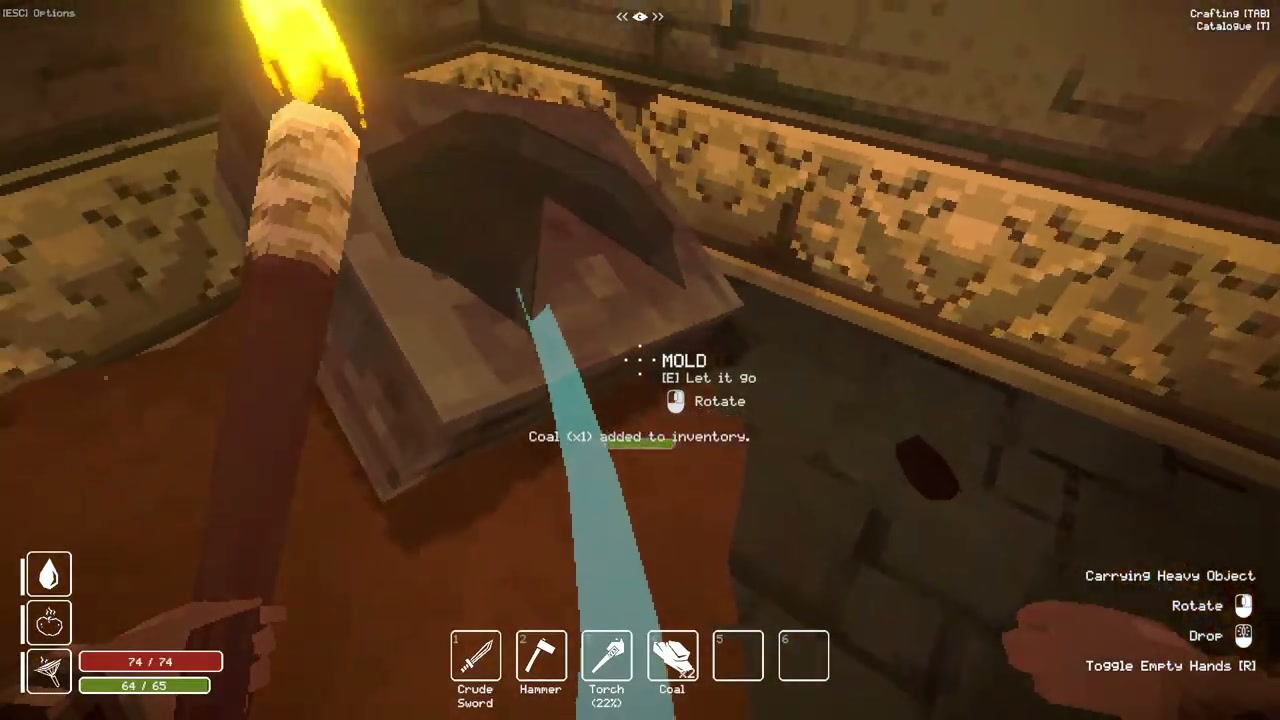
The forge already has a mold for an ordinary Key. Add 5 Coal to the lower fuel container and 8 Scrap Metal to the supply above, then pull the lever. Collect the finished key. Replace the mold with the larger one from the nearby room and repeat the process to make the key for the oversized basement lock.
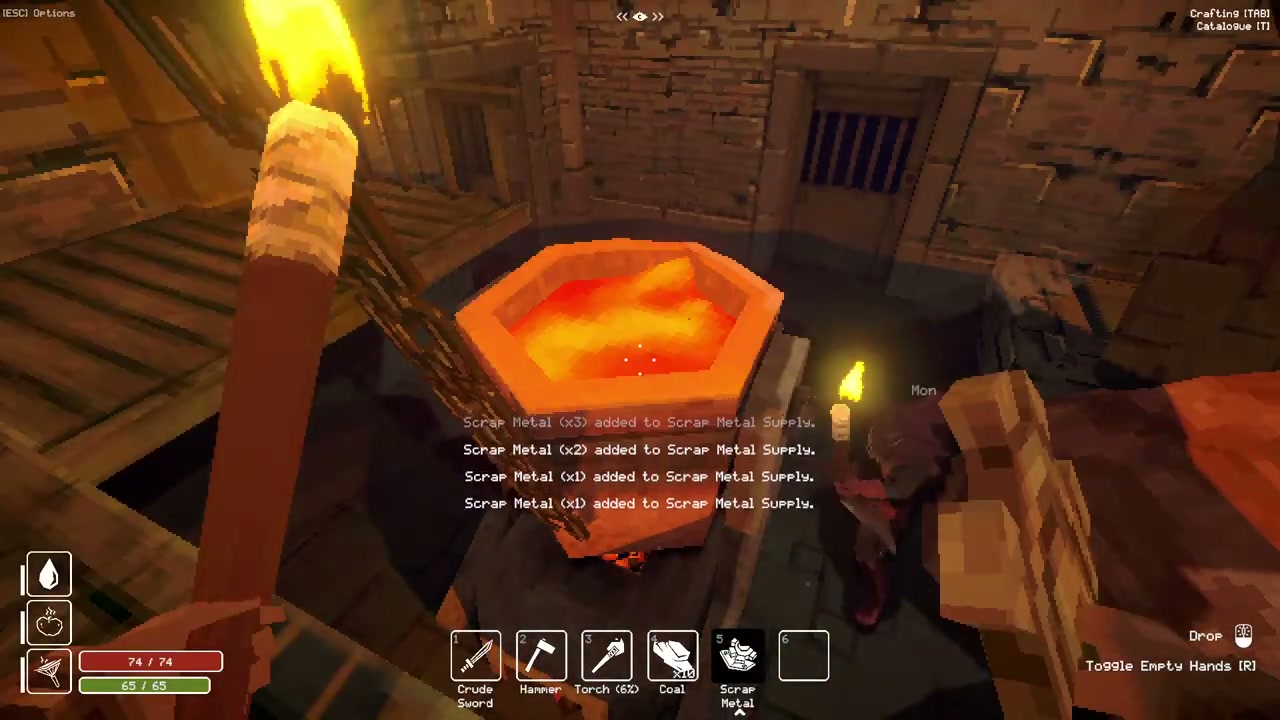
| What you need | What it opens | Forge supplies |
|---|---|---|
| Key (ordinary forged key) | The side room containing the Prison Key | 5 Coal and 8 Scrap Metal with the ordinary key mold |
| The larger basement key | The oversized keyhole near the basement entrance | 5 Coal and 8 Scrap Metal with its matching large mold |
If you run short, search the basement for more coal and scrap. In the room containing the round mold, climb the rubble to reach a ladder. A chest waits above it. Continuing higher lets you break another gate and reconnect with the starting area. That connection gives you another way back to food without carrying every spare resource through the forge rooms.
Carry both finished keys back to the oversized basement lock. Use the larger key there and save the ordinary key for the side room farther inside.
Collect the Prison Key before chasing the treasure door
Use the large forged key on the oversized basement lock. A bat waits beyond it. You can pass quietly with your torch put away, or move past it without committing to a fight. The room to the right contains a weapon upgrade station, but the immediate route continues to the Jaguar Door with three key-piece sockets.
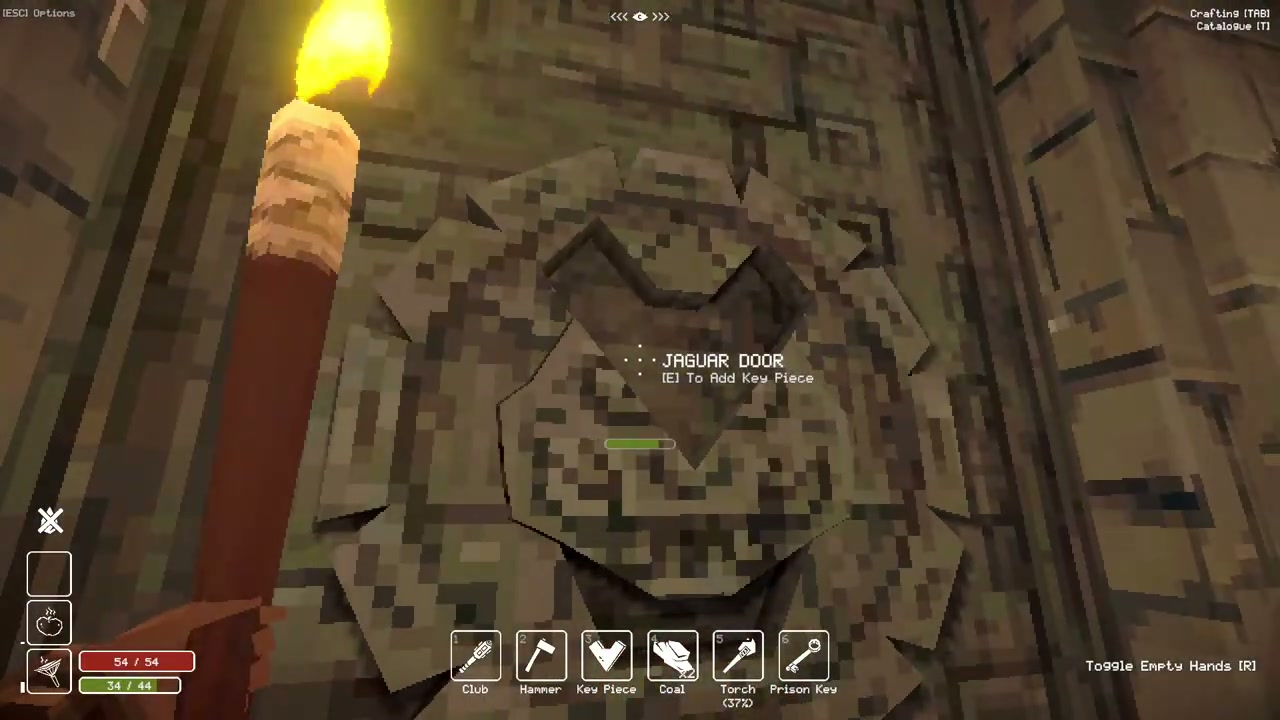
At that door, the left passage is a shortcut to the forge. Take the door on the right and unlock it with the ordinary forged key. Skeletons attack when you approach the chest at the end. Deal with them, then open the chest and take the Prison Key. A mold is on the opposite side of this area.

The three-piece Jaguar Door leads to the Silver Dagger, a separate treasure. It requires the three matching Key Pieces made from its molds. For the prison route, collect the Prison Key from the skeleton-room chest and return to the hall; you can leave the Jaguar Door unfinished.
Find a Small Key and bridge the prison gap
From the hall, go upstairs and take the left route. Follow it as it slopes down into a cave, then climb across the ruined structures until you reach the small chest at the far end. Take its Small Key and return to the hall. You need this separate key as well as the Prison Key for the next two locked doors.
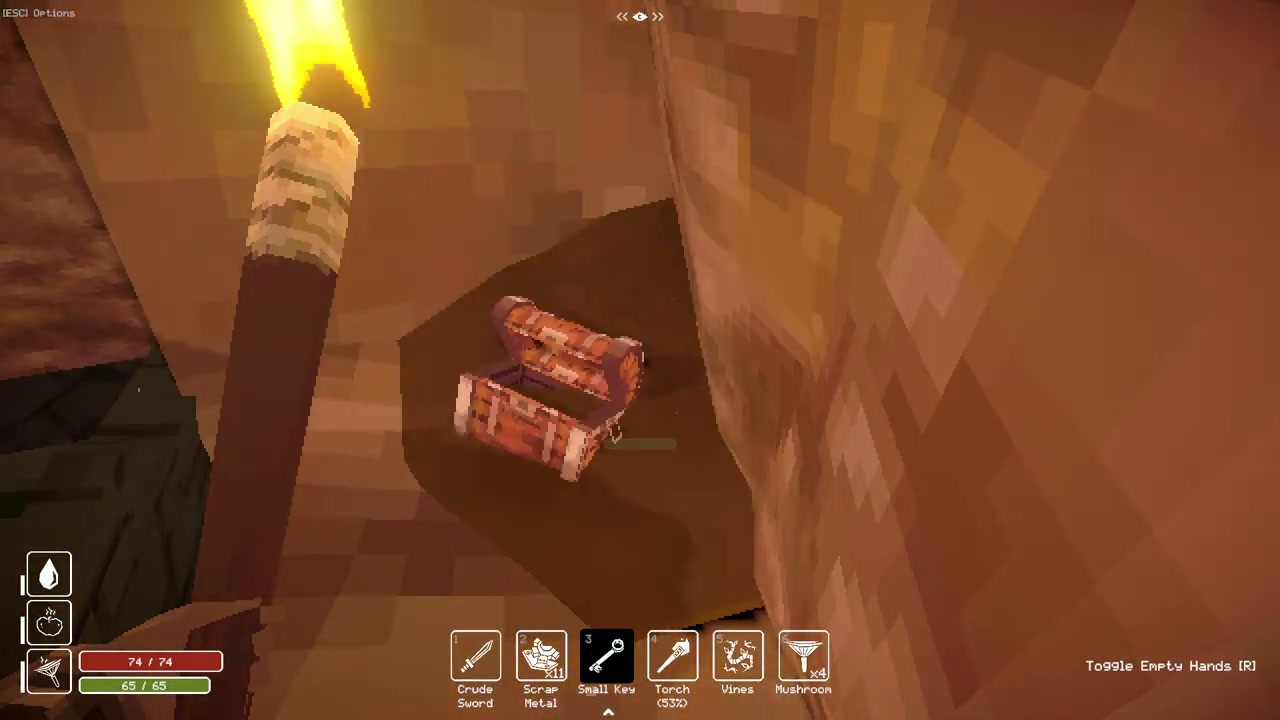
Go upstairs again, turn left and then left once more to find a large wooden plank. Drag it across the gap to make a bridge. Cross to the door and use the Small Key. The passage beyond leads down a spiral staircase toward the prison.
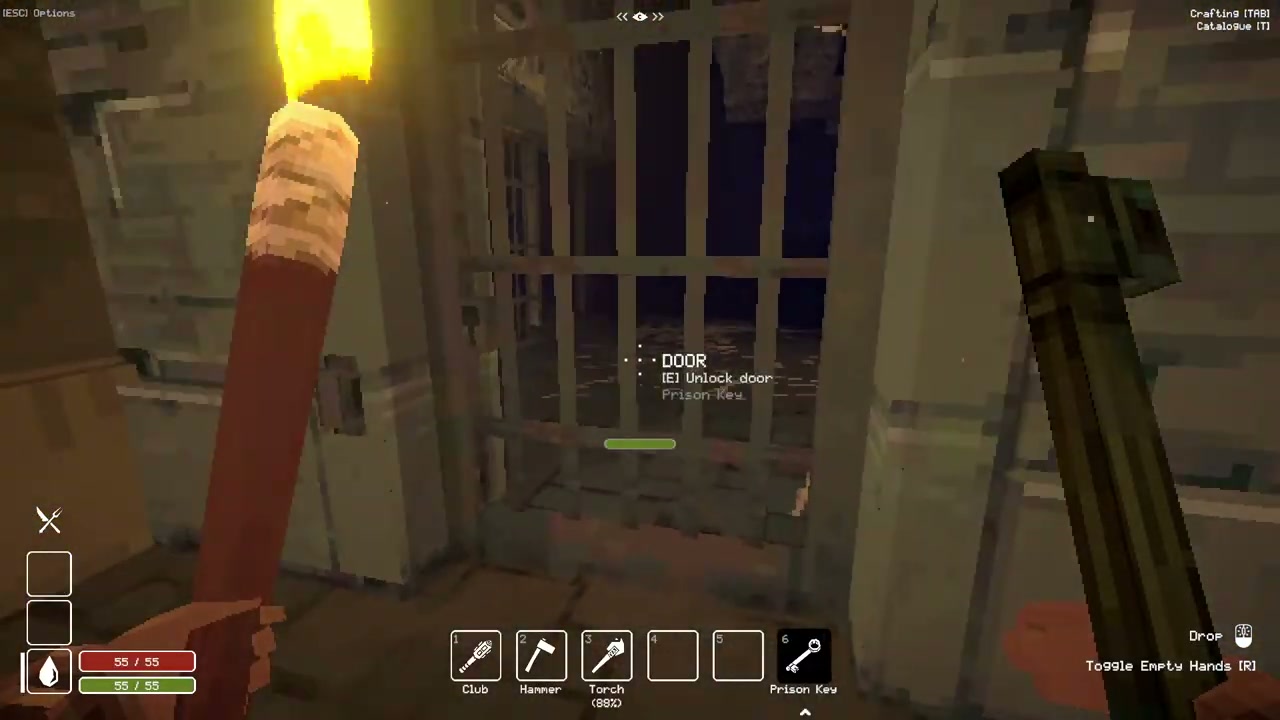
At the webbing below the stairs, put a torch in your right hand and use it to burn a way through. Carrying it only in the offhand will not clear the webs. Open the next locked door with the Prison Key. If you reach this point with only an ordinary forged key, return to the skeleton-room chest near the three-piece treasure door.
Repair the prison levers and collect its tools
Explore the cell on the right before going deeper and take an Iron Rod. A large spider blocks the route onward. It does not flinch from ordinary melee hits, so leave room to retreat between attacks instead of standing still and expecting your swings to interrupt it. Use the rod to repair the broken lever ahead.

Behind the large patch of webs is a chest containing another Small Key. A spider waits overhead, so look up before standing beneath it to loot. Bring the key upstairs to unlock a cell holding a spare sword and shield. Pick up the pot on the opposite side as well, which unlocks more crafting recipes.
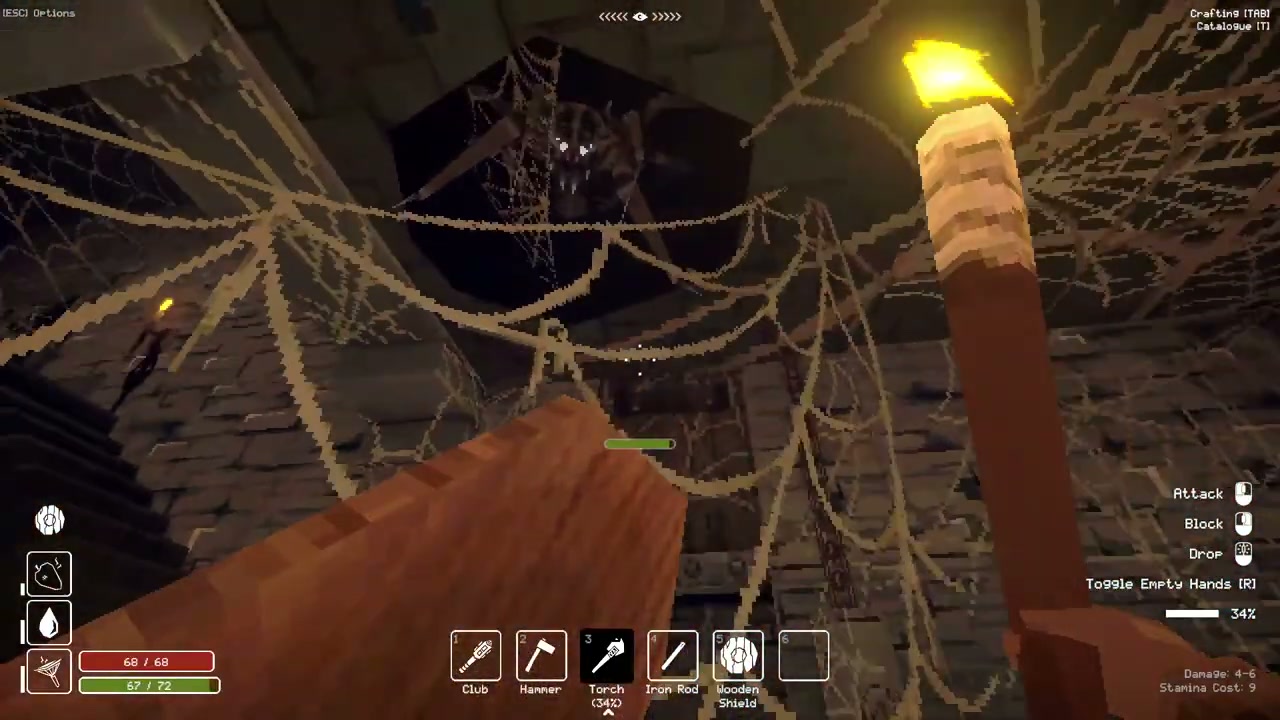
Downstairs, take the right-hand route. Before the floor trap is a room with a campfire, sleeping bag and a chest holding another Small Key. Use the sleeping bag if you want to respawn nearer this part of the prison. The trap farther along can be disarmed and placed again to kill a spider, but disarming takes time; make space before interacting with it.
The large door at the end needs three levers. Repair the broken mechanisms with Iron Rods. The lever standing on its own also needs Chains, so finding the door is only part of the job. Leave it for the moment and return to the stairs where you first entered the prison.
Take the Pickaxe and bring Chains back to the door
Use the stairs beside your original entry staircase to descend farther into the prison. Unlock the door on this lower route, collect the Iron Rod and take the Pickaxe. Watch the skeleton archers above you while looting. The Pickaxe clears the yellow goo blocking routes here and elsewhere, opening passages that the Hammer cannot clear.
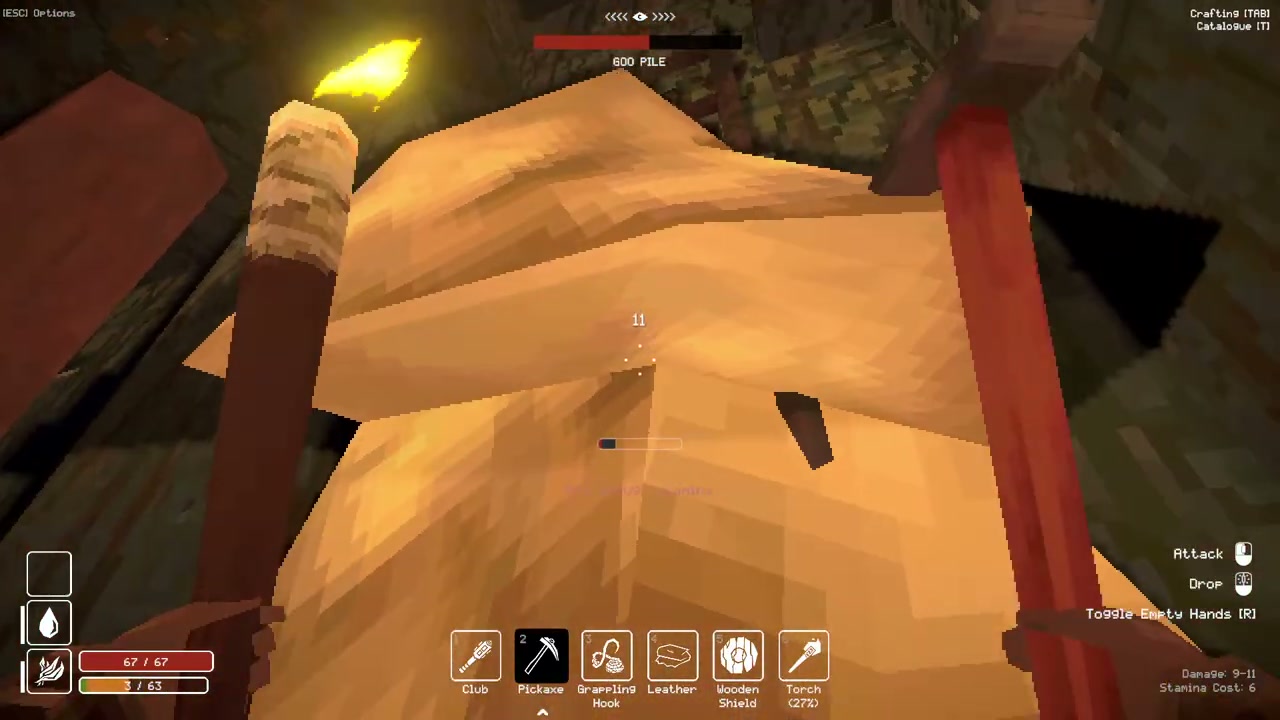
Take the left-hand rope to its top. A small tunnel at the top leads to a chest with Nails and Chains. Bring the Chains back to the isolated lever at the three-lever door and repair it. Finish the rod repairs on the other mechanisms and operate the levers to open the way onward.
Open the prison cells in switch order
Beyond the lever door is an elevator with an empty fusebox nearby. The way upward depends on switches inside cells that open in sequence. Start from the bottom and follow this order:
- Ride the elevator up one floor. Follow the walkway to the only open cell and activate its fuse switch. The cells on the ground floor open.
- Go back down to the ground floor and enter the left cell. Its switch unlocks more cells on the level you just visited.
- Ride up one floor again. Look in the cell just before your first switch cell for the third switch. Activate it, then take the elevator to the top.
A spider waits near the upper arrival, so step out ready to fight. In the cell ahead, climb the broken pillar into the next room. That is the entrance to the Giant Spider encounter. If the upper route is still closed, revisit the newly opened cells in the order above; the elevator ride alone does not open them.
Defeat the Giant Spider and keep the Tomato Gem
At the arena entrance, climb the nearby pillar and leap onto the Giant Spider’s back. Use your melee weapon to attack from there.
Collect the Tomato Gem after the boss dies. Store it in a chest back in the hall: you will need this progression item later in the dungeon.