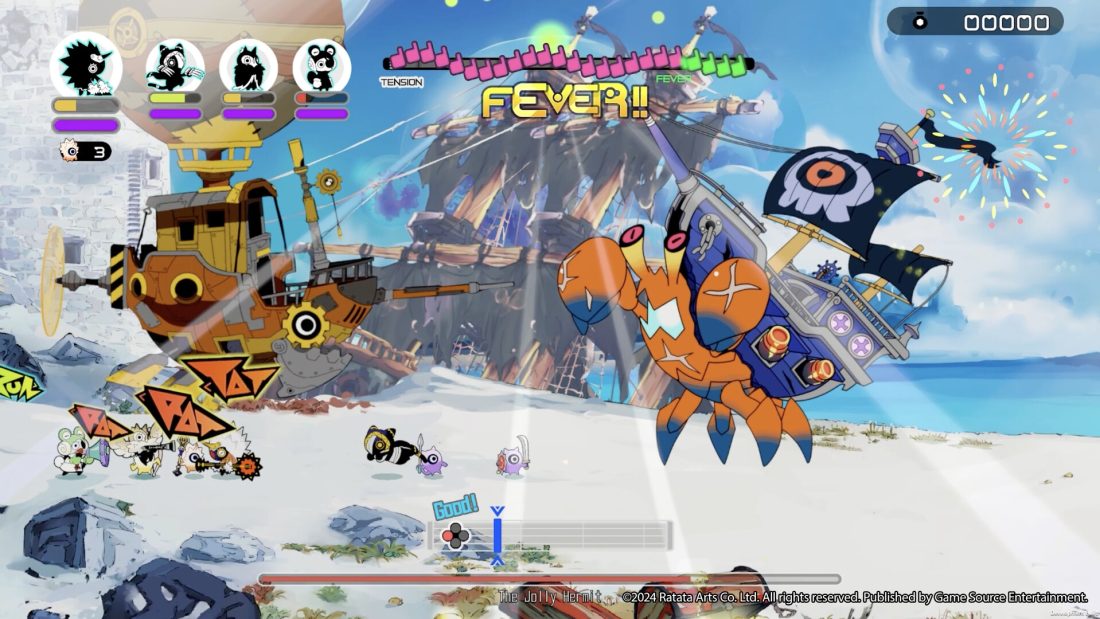
To clear your first run in Ratatan, learn to pull the Cobun back with Fall In, recover MP with Normal Attacks, and leave enough time for a defensive command when a boss starts its tell. After a defeat, spend the materials you brought home and equip your new weapons before setting out again. The normal route runs through five bosses: The Jolly Hermit, Wagoon, Lord Rosham Bo, Chillwarden and Flipflop.
This guide covers that normal boss route and the step into Episode 2. The October 2026 full release continues beyond it, so defeating Flipflop is not the story ending. Hard boss variants and Dark Ratatan require their own tactics.
Get comfortable with the call and response
If your commands keep missing even when the rhythm sounds right, open Options > Audio > Calibration and adjust the input timing compensation. Solo players can also enable Welcome Mode, which eases early adventures and reduces damage over repeated attempts. It can be changed later without changing the story, but it is disabled in co-op.
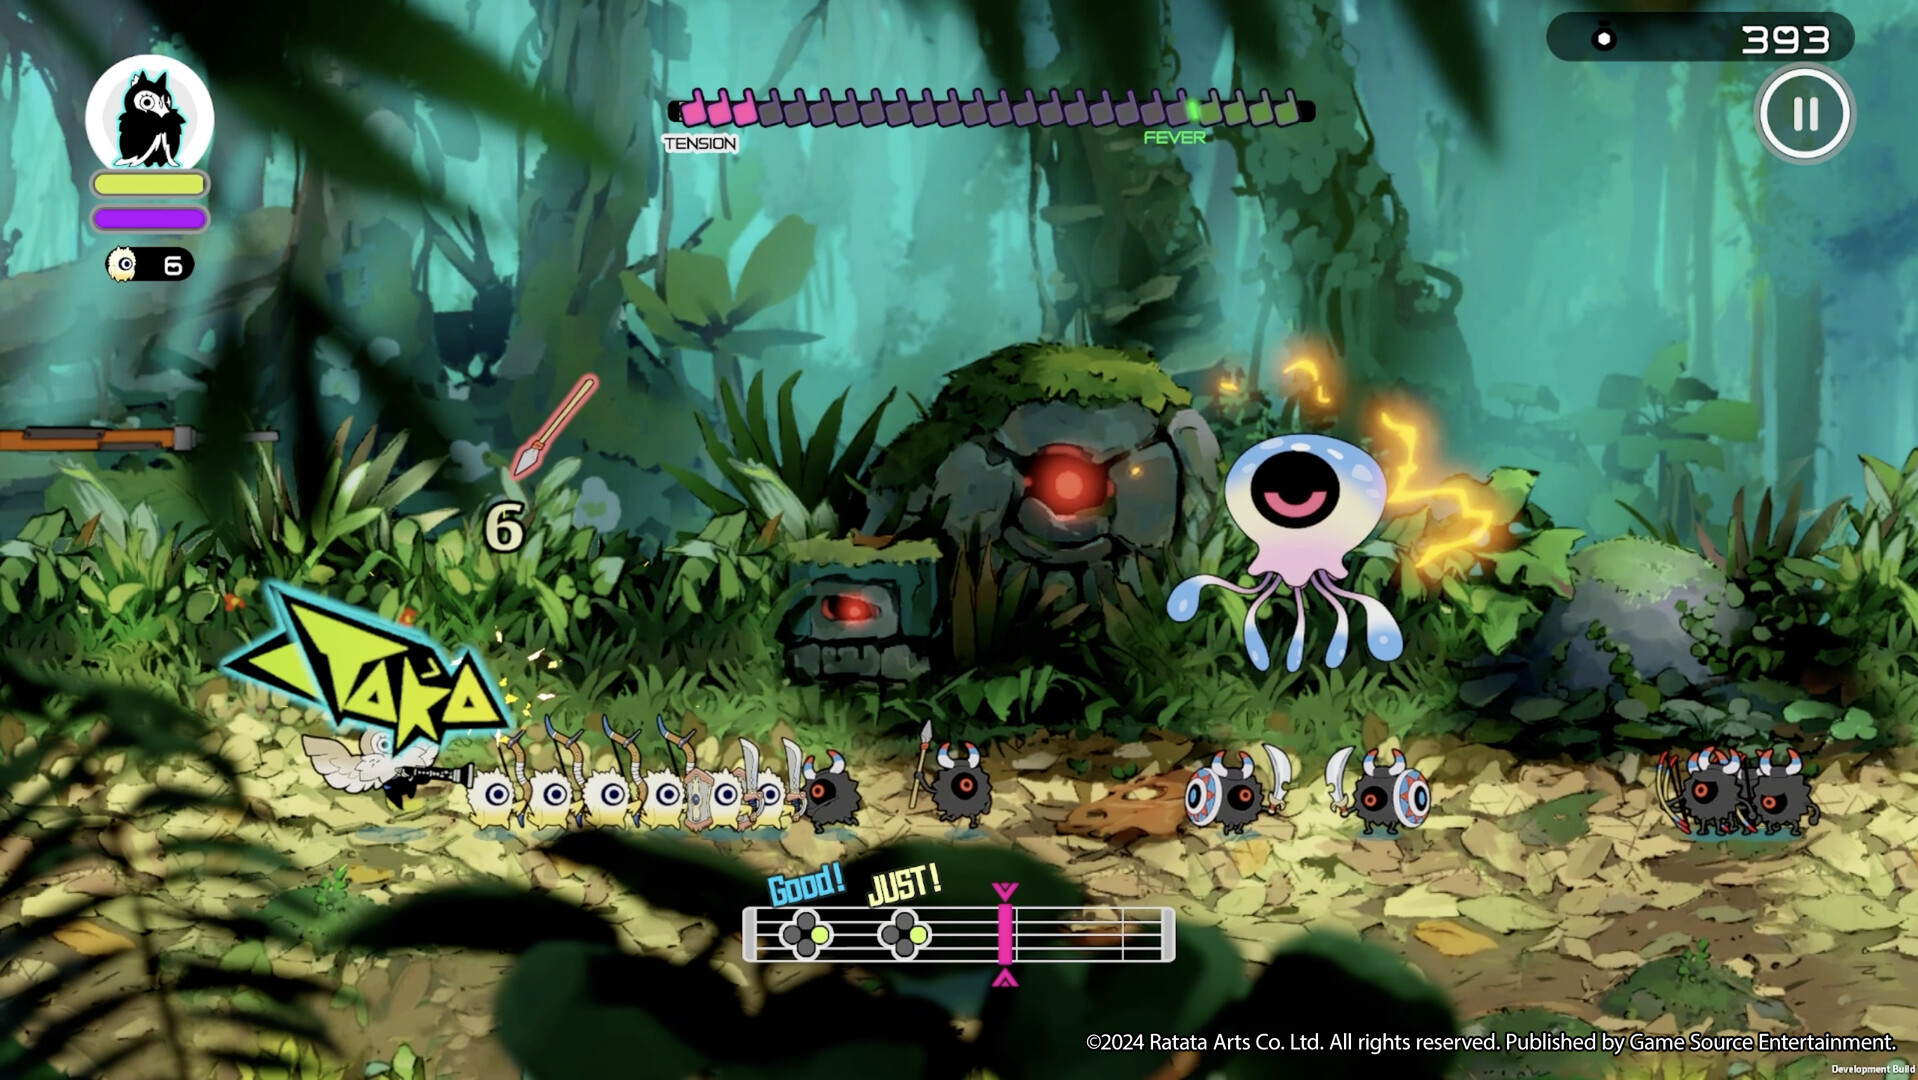
During Crow’s tutorial, copy the rhythm shown on the television, then let the Cobun answer. The Fall In chant is “RATTA RATTA RATTATTAT!” It brings the squad to you, which lets you move them together toward a target or away from an incoming attack. Practise moving after the call instead of repeatedly entering commands while the Cobun are still responding.
Normal Attack sends the Cobun toward enemies. Hustle Tech is the stronger option, but it consumes MP. Crow teaches you to refill that resource with Attack chants. Alternate attacks with Hustle when you have an opening, and use Fall In when the squad needs to leave danger.
Learn the HUD prompts for Guard and Jump before reaching the first boss. Several boss attacks give you a command turn of warning, so continuing an attack after that tell can cost the chance to defend. Guard reduces incoming damage; Jump can avoid attacks timed to its brief invulnerability. Their uses differ once projectiles arrive in waves, as the later bosses demonstrate.
Bring better equipment out of each failed run
After a loss, inspect the rewards screen before leaving Rataport again. Candy and equipment give you things to spend or equip even when the boss survived. The Ratatan Dock and Support Desk provide adventure upgrades; visit both instead of immediately repeating the same departure with the same squad.
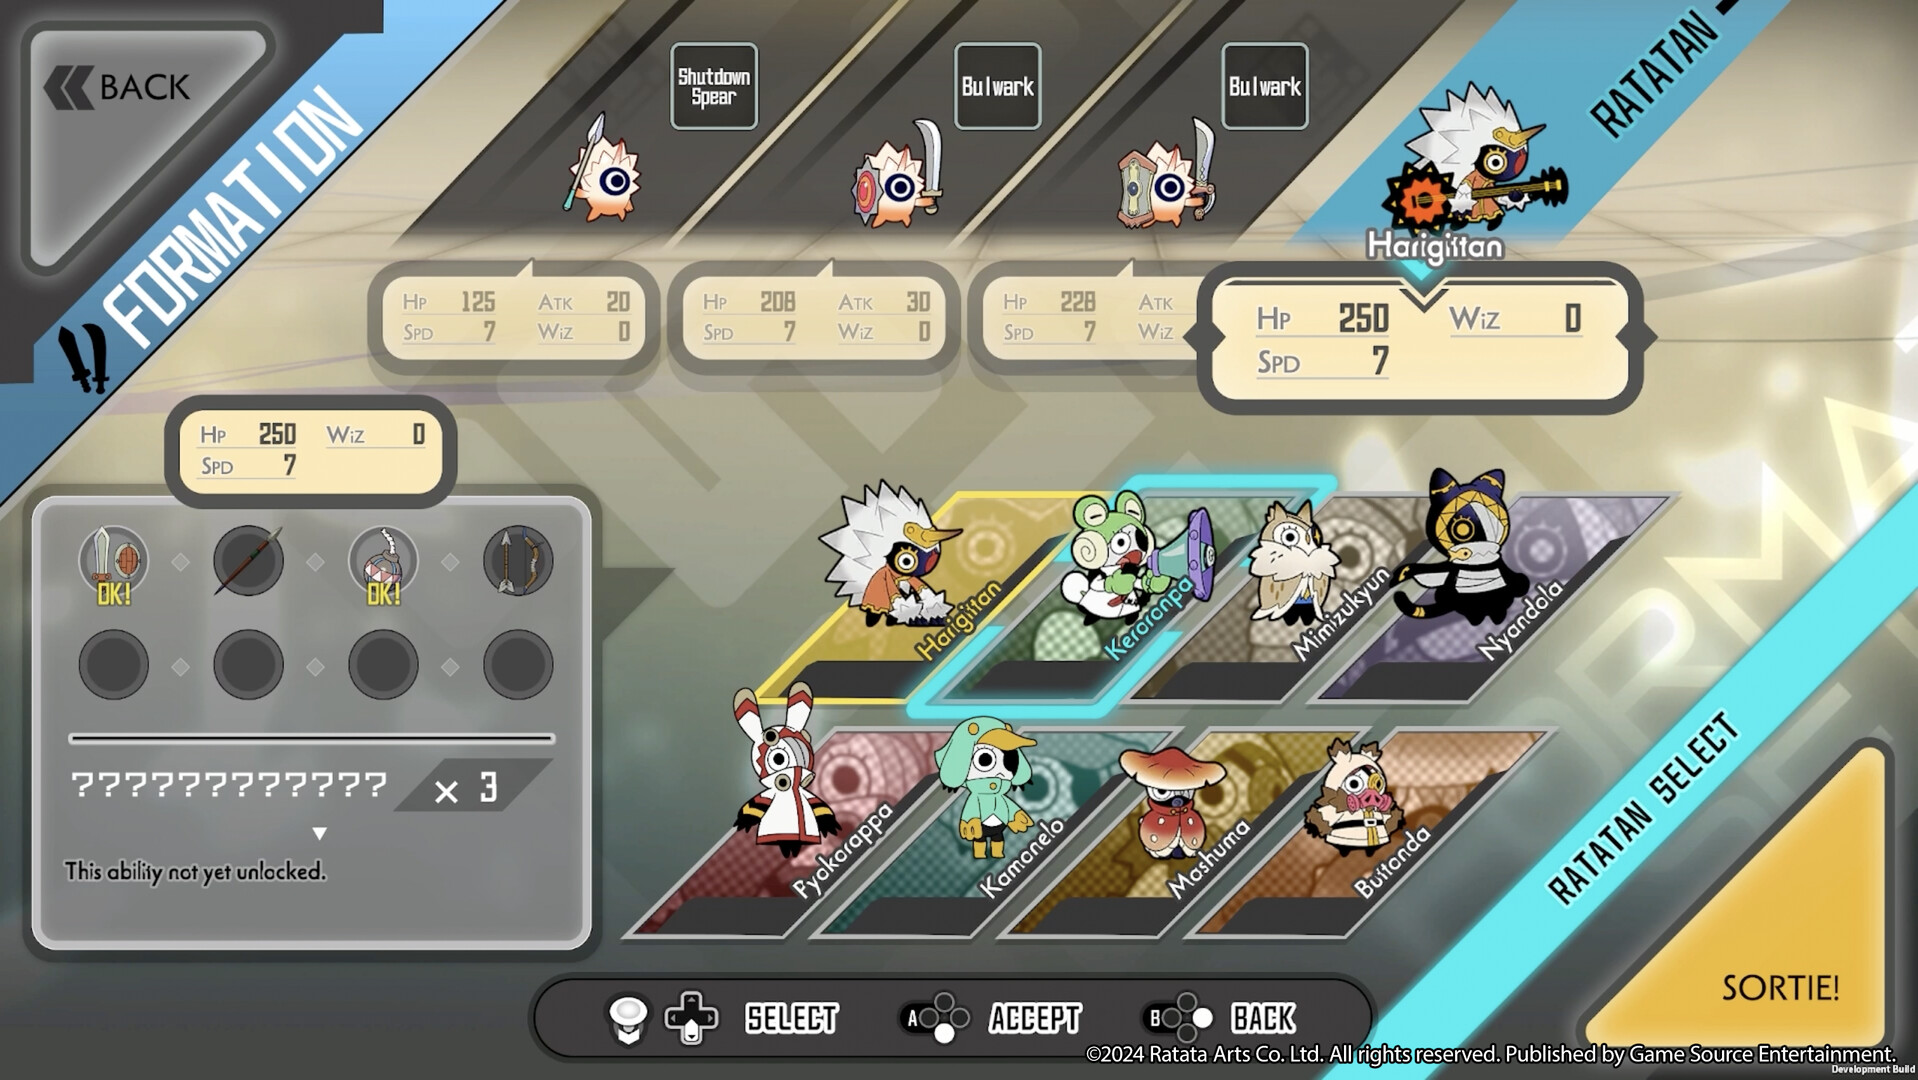
Open Formation and select a Cobun, then choose Select Weapon to inspect the equipment you actually own. Accept the weapon you want to use and check that the selected Cobun’s displayed equipment changes. Finding a weapon during a run does not finish this step for you. The formation screen is also where you can return to the Ratatan selection and examine a different leader before the next sortie.
Once crafting and weapon enhancement are introduced, use the Craft screen to inspect recipes and Level Up to examine upgrades for owned weapons. A recipe you cannot yet afford is a later material target. A weapon already in your inventory can help the next attempt as soon as you equip it.
Choose Ratakaruta that your attacks can trigger
At a Ratakaruta choice, read how each card activates before comparing its damage bonus. A splash created by Normal Attacks supports a different pattern from one created by Hustle Techs. If your MP is often empty, a Hustle-only effect will spend part of the fight inactive while you refill with ordinary attacks.
Water cards provide a useful example. Soaking Splash creates water splashes through Normal Attacks, while Hustle Splash creates them through Hustle Techs. Supreme Soaker increases splash damage and adds knockback. Choose a way to produce splashes before investing in an effect that improves them. Watch where enemies land after knockback, too: an enemy pushed out of the next attack’s reach can interrupt the damage you expected from the combination.
Gate rewards let you steer the next part of the run. When the preview identifies a Ratakaruta element, use it to pursue a useful follow-up to your existing cards. Keep tokens available for a shop or a reroll when your build needs help; saving every token for equipment gambling makes a first clear harder if it forces you to pass up healing or useful cards.
The Jolly Hermit: save Jump for the water cannon
The first normal boss is the large hermit crab carrying a pirate ship. Its raised claw and opening cannon ports warn of a strike on the following command turn. Jump can avoid those hits; Guard is another option when you need damage reduction. Resume attacking after the hit passes instead of committing another Hustle into the warning.
When the Hermit prepares to spit bubbles, use Fall In and retreat with the Cobun. This pulls the squad out of the projectile path together. Staying pressed against its body makes it harder to withdraw before the bubbles reach the front line.
The large water cannon has a two-command-turn wind-up in this normal fight. Watch the mouth charging, prepare your response, and follow Crow’s warning to time Jump for the blast. Attack again after the stream passes. If the cannon ends your run, return to Rataport for upgrades. On the next attempt, stop attacking when the mouth starts charging and prepare the Jump command.
Wagoon: guard the burrow, then clear the extra enemy
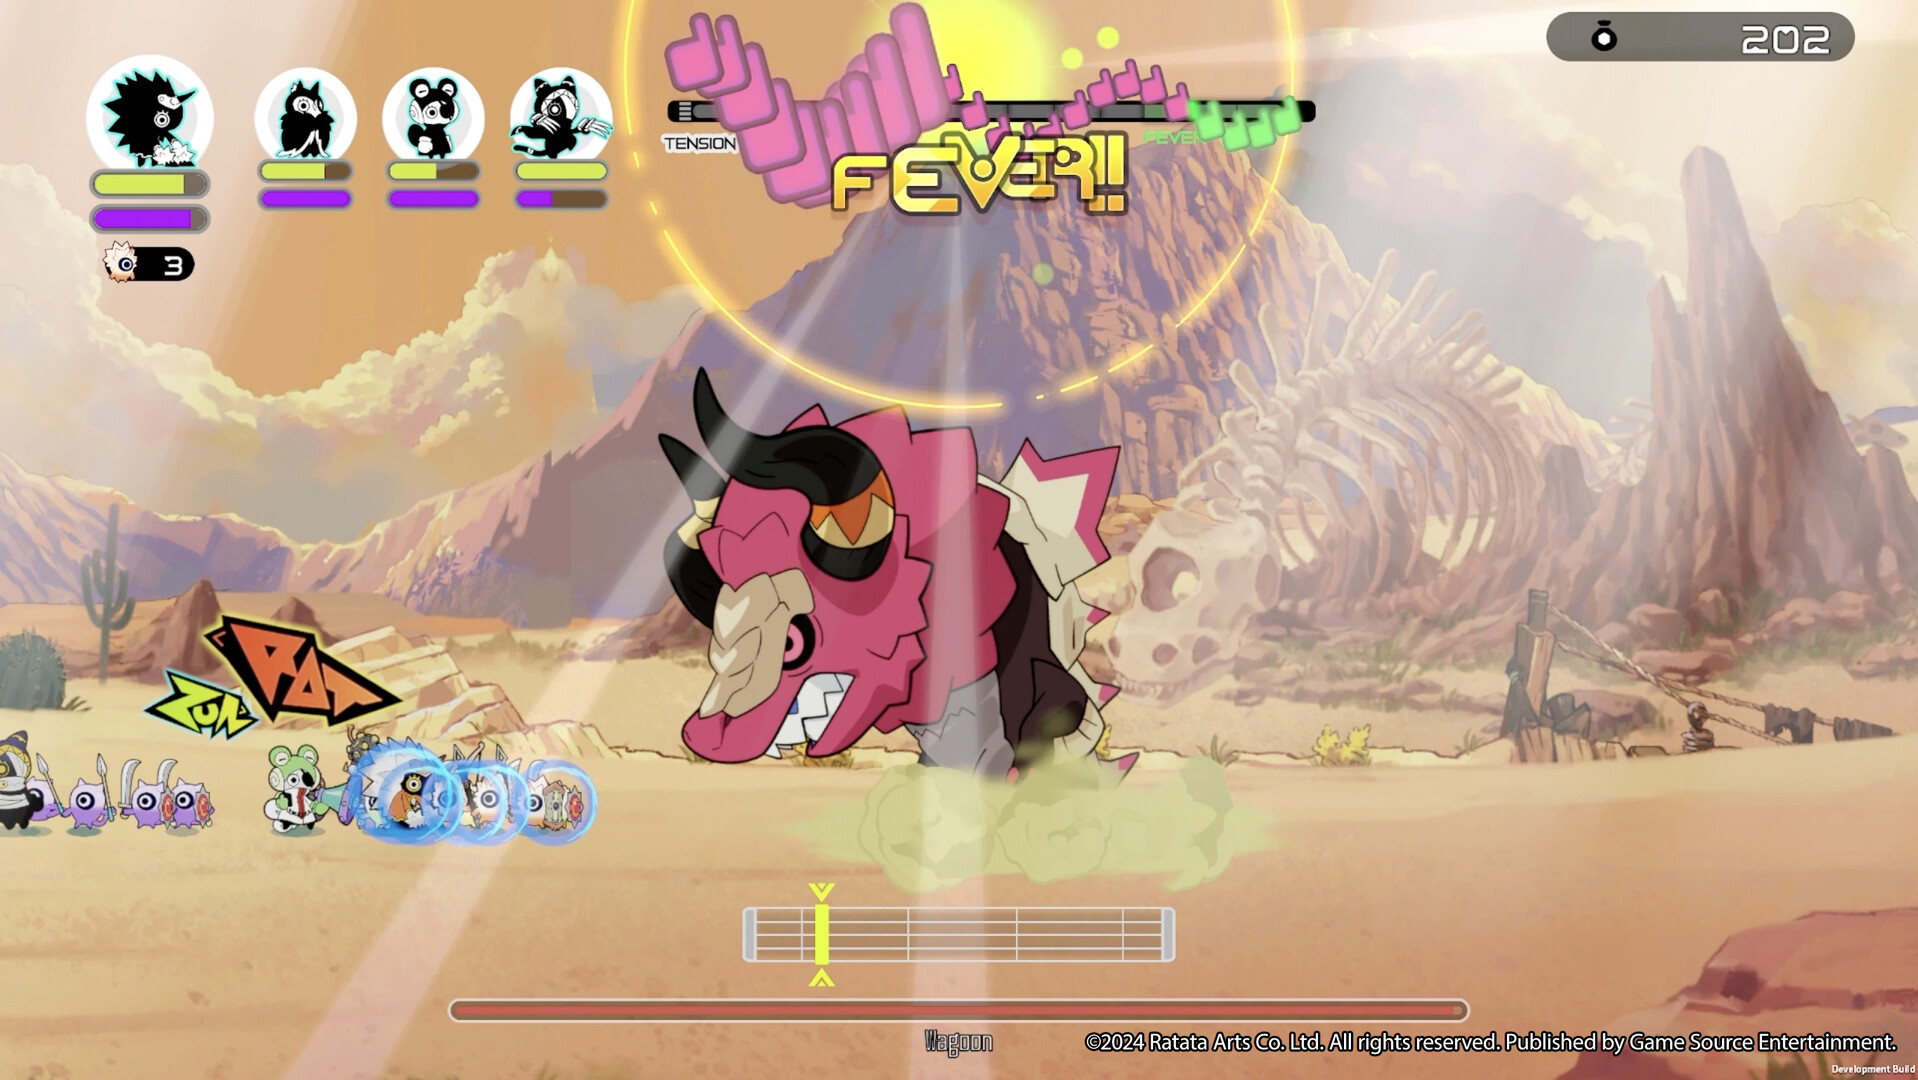
Wagoon dives beneath the sand after its attack openings. The dive can lead to a reappearance, a leap scattering rocks, or a charge. Use Guard when it burrows. Jumping as soon as it disappears can leave you airborne in the rocks from the leap pattern.
A grey roar calls another burrowing enemy into the fight. Kill it while it is separate from Wagoon, before it gets hidden behind the boss. Otherwise, its thrown rocks and charges continue arriving while you are watching Wagoon’s own movements. If it is already overlapping the boss, a hammer Cobun’s Hustle Tech 1 can close in on it. You can also use Mashuma’s or Keroronpa’s Super Fever to help clear the extra enemy.
The red-roar attack has two parts: airborne rocks followed by a broad charge. Guard during the roar, then use Jump on the following command turn for the charge. That order addresses the rocks before the movement across the arena. Once Wagoon has passed, gather the squad and return to attacking.
Lord Rosham Bo: respond to the totem’s colour
Lord Rosham Bo advances as the fight continues, reducing the room available for retreat. Jump when its raised hand comes down with a shockwave. When it retracts its arms and legs into the totem, use Fall In to gather the Cobun, then watch the colour of the next tell.
- Blue signals a ground-level water beam. Use Jump for the beam.
- Yellow precedes three electric orbs that track the Ratatan. Have the Cobun attack on the lower floor, then move your Ratatan onto an upper platform to draw the orbs above the squad.
- Red followed by red fire signals arcing fireballs. Gather the Cobun and retreat.
- Red followed by blue fire signals bouncing fireballs that leave burning ground. Guard; simply retreating can let the bouncing shots catch up with you.
If the Cobun have climbed onto a platform before the electric attack, bring them down with Fall In during the early totem warning. Issue Attack on the lower floor so they resume fighting there, then move the Ratatan onto the upper platform when the orbs are fired. The boss eventually stops advancing, so being pushed back does not automatically end the run. Keep separating the orb target from the squad and defend against the next colour instead of abandoning the fight.
Chillwarden: keep an escape route past the ice pillars
The mirror can move to either side of the arena. Follow with Fall In and turn the view toward its new position so you can see its projectiles. Its airborne ice bursts split in eight directions. Move into the gaps just beside and below each burst’s origin; when two origins appear, the space between them gives you a place to move. Guard while learning those gaps.
Falling icicles travel from the side farthest from the mirror toward the boss. Watch the first impacts to follow that direction. For the slow bone fish, keep Guard up and move your Ratatan through the gaps. A single Jump can end before the fish finish passing.
When the mirror glows red and summons enemies among your Cobun, gather the squad on the side away from the mirror. Attack back toward it to push the enemies together. If the mirror is on the left, gather on the right and attack leftward. Hammer Cobun can end up at the rear after that regroup; use their Hustle Tech 1 to move them toward the enemies before resuming your attacks.
For its large attack, destroy the ice pillars blocking your escape, then move to the arena end opposite the mirror when it begins glowing intensely. Clear that route before the blast. The Cobun at the front can still be within reach even when your Ratatan reaches the far edge. Once you reach that edge, use Guard if the forward Cobun remain within range.
Flipflop: clear summons before the arena fills
Flipflop’s aura gives you the warning for its next spell. Summoned enemies need attention as soon as they arrive, because pumpkins, large enemies and overhead picture frames can keep attacking while the boss adds more hazards. Use Super Fever to help clear them if you have it available.
| Aura | What follows | How to respond |
|---|---|---|
| Green | Fast bouncing shots to both sides. | Move toward an edge and dodge through the gaps. Waiting to enter Guard after the green flash can be too slow. |
| Pink | A magic circle tracks each Ratatan and explodes one command turn later. | Enter Guard for the explosion. |
| Purple | A summon takes two command turns to prepare. | Interrupt with an available stun or freeze, or attack the summoned enemies immediately. |
| Blue | Tornadoes form at marked positions. | Move to the far right, outside their spawning area. |
| Orange | Explosive circles are placed in the arena. | Keep out of the circles while preserving a route away from the tornadoes. |
The purple summons escalate from smaller enemies to pumpkins, then large enemies with picture frames overhead. Interrupting the cast skips that particular wave; a later wave can still follow. After the third summon, clear the remaining enemies so you can concentrate on Flipflop. If the enemies have already appeared, clear them before concentrating on Flipflop again. Leaving the large enemies alive can block the route to the far right when tornadoes begin.
Blue and orange hazards can overlap with other spells. Move toward the right as soon as the tornado warning appears, while there is still time to avoid circles along the way. Keep watching for the fast green shots after reaching that side; the safe route out of the tornadoes does not stop Flipflop from casting again.
After the first clear: Episode 2 or an equipment run
After clearing the first run, open Goddess Games and set Oath Level to at least 1 to unlock Episode 2. Further episodes require another increase in Oath Level as you progress. Episodes 3 and 4 continue the story in the full release. This five-boss route prepares the first clear; later progression introduces more bosses and conditions.
If you need equipment before increasing the challenge, consider a separate token-saving run. The lottery method uses fountains found in stages 3 to 5 to exchange saved tokens for draws. Prioritise token rewards, Treasure Chance rooms and minibosses, while spending less in stores. Try this when you can reach the stage 3 boss without buying support along the way.
A lottery fountain is not guaranteed, and neither is a legendary reward. If one appears, spend only the tokens you are prepared to trade away; if it does not, finish or end the run and use the ordinary loot. Back in Rataport, inspect the resulting weapons and equip the useful ones in Formation before returning to Goddess Games.