
Start My Recycling Center 2 at the office computer, clean the Timber compactor, give it a charged power connection, and restore the small Residential Waste skip. Once customers arrive, inspect each item before throwing it away: Garbage Bags and Recyclables Bags belong in different containers. Collect any disposal fees before checking the customer out.
This walkthrough takes you through the PC tutorial, customer unloading and your first container purchases. It covers the opening yard, before city collection routes, second-hand shop sales and the XL expansion. The controls follow the English keyboard interface of My Recycling Center 2.
The office computer controls your starting yard
Find the small office container beside the entrance driveway. Approach the computer inside and press F to open management. Shop contains equipment purchases, Trash & Trucks contains trash-type unlocks and municipal disposal, and Yard Setup opens the overhead editor.
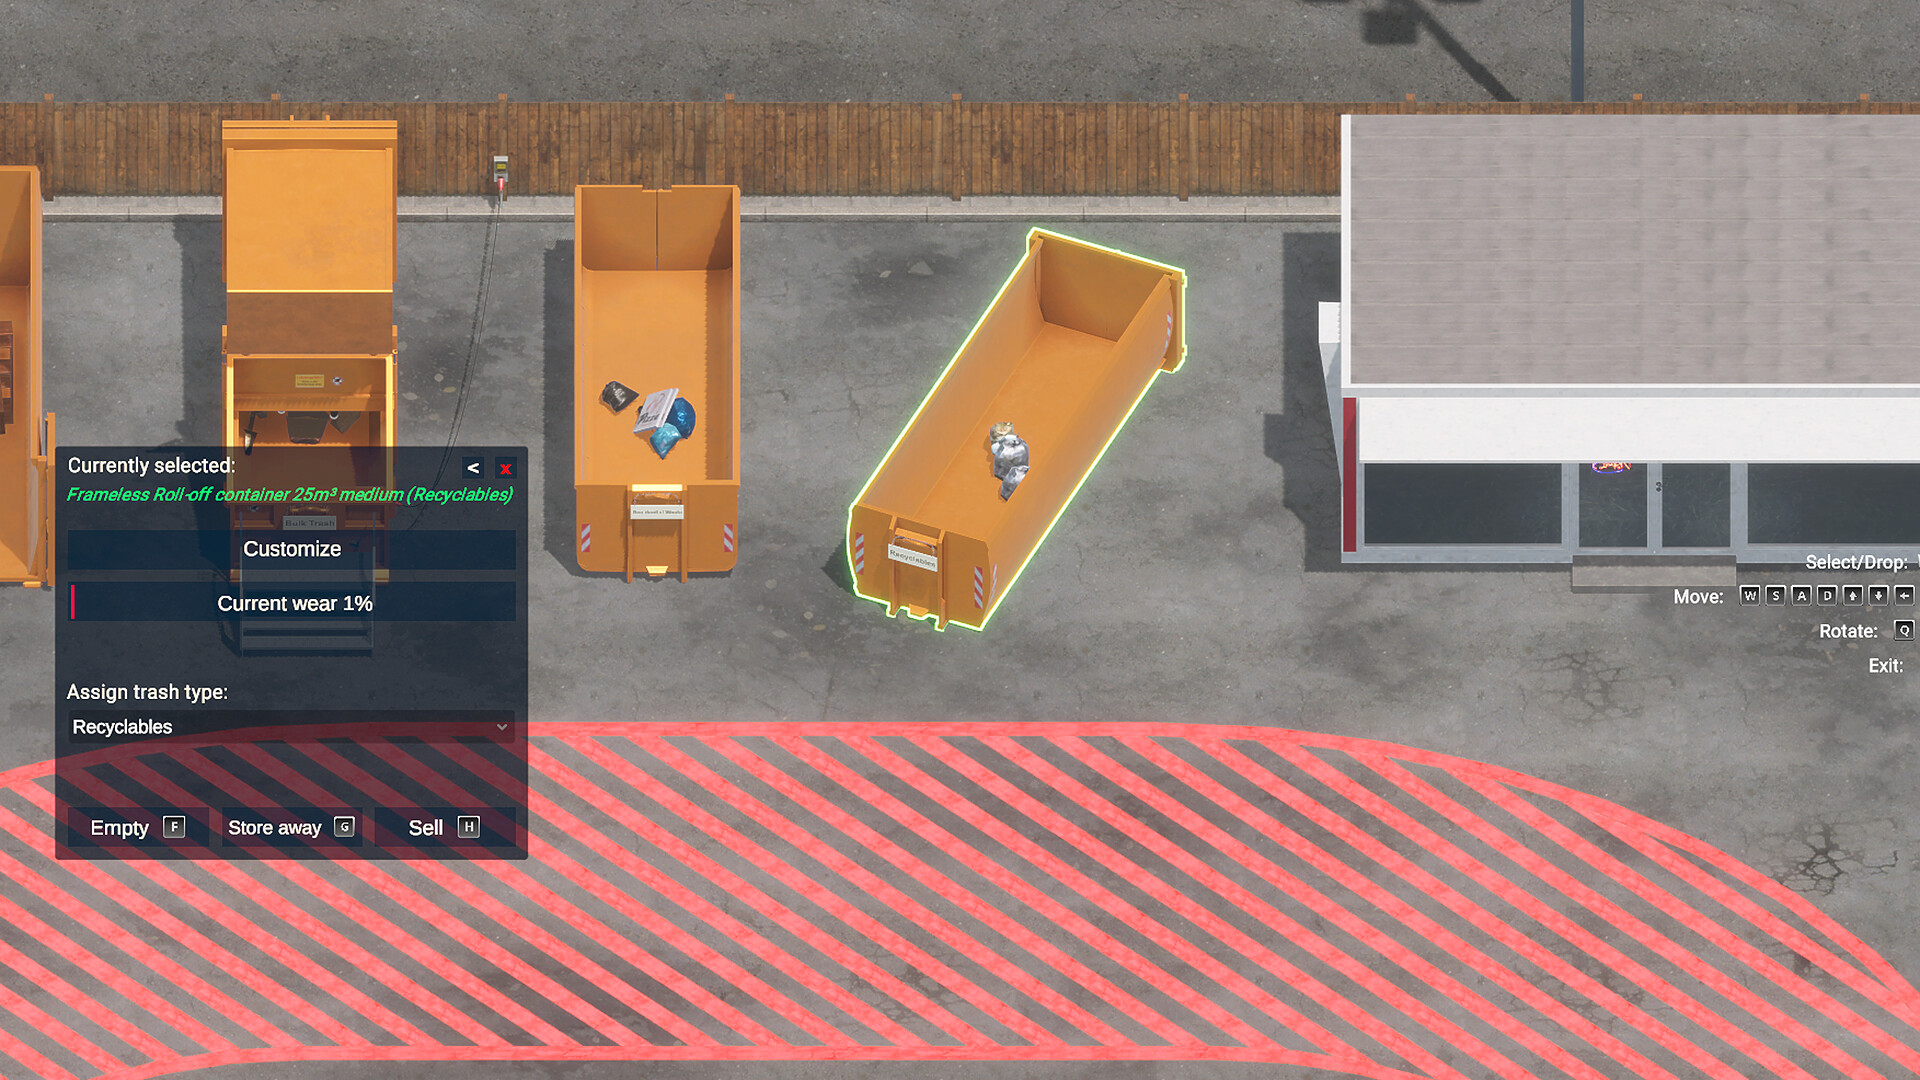
Follow the tutorial through the management tabs before returning outside. In Yard Setup, select a container to see its assigned trash type and current wear. You can move it with WASD or the arrow keys and rotate it with Q and E. Leave the mouths facing the area where you will unload cars, then press Esc to leave the editor.
The starting containers already give you places for Timber, Residential Waste and Recyclables. Learn those labels before buying a replacement. Several containers can have the same orange paint, and their assigned categories can change in management, so colour alone will not tell you where an item belongs.
Clean the Timber compactor and open its loading lid
At the large Timber compactor, aim at the container and press C to start pressure washing. Spray the dirty surfaces while watching the cleaning progress bar. Walk around to reach the dirty sides and rear, then keep spraying the remaining patches until the satisfaction reward appears.
Open the compactor’s loading lid with F when the tutorial asks you to prepare it. The wide mouth at the front is where you will drop the matching wooden furniture. The side panel is for its power connection and controls. If an item lands outside the mouth, pick it up again and bring it closer before dropping it.
A compactor needs credit at the power terminal
Find the small power terminal on a post against the wooden boundary fence. Walk up to it and press X to open the balance top-up. The tutorial transfers the starting $50 into the terminal, leaving the ordinary cash balance at $0. You can still serve the first customer; that money is now available for electricity.
Next, face the terminal and press F to take its cable. Carry the red plug to the socket beside the compactor’s button panel and plug it in with the mouse control shown on screen. Check that the cable visibly runs between the terminal and the machine. Opening the lid does not make the electrical connection for you.
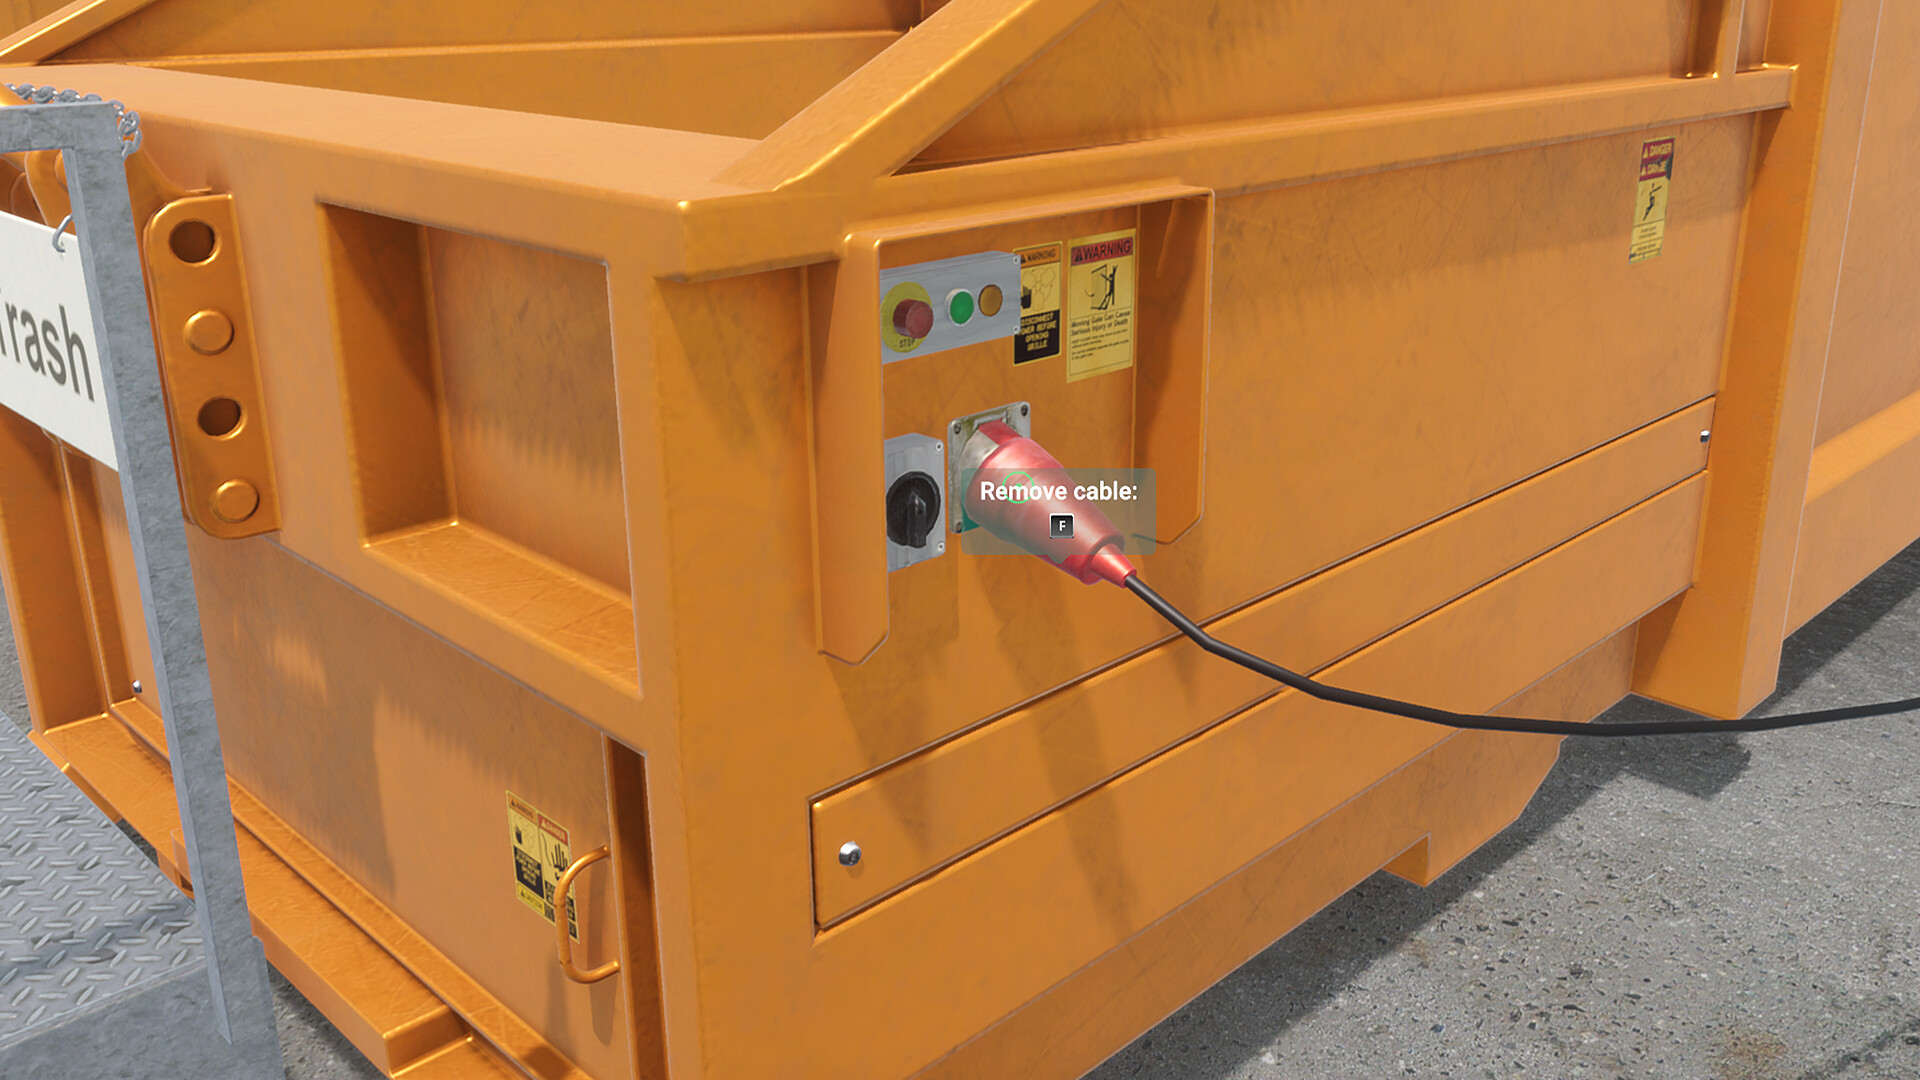
If the machine reports that the power supply has no balance, return to the terminal and top it up with X. Cash in the main HUD does not automatically refill that account. After buying another compactor, connect it to a terminal too; placing it in Yard Setup is only the placement step. Use the compactor’s panel to operate it once connected and funded.
Restore the small Residential Waste skip
The small skip labeled Residential Waste needs restoration. Aim at it and press R to equip the paint gun, then spray its worn surfaces until the restoration finishes. Watch the progress bar as you work around the inside and outside. The paint gun repairs wear; pressure washing removes dirt.
Finish a restoration before confirming an exit from the tool. The abort confirmation warns that cancelling discards the unfinished restoration and awards no satisfaction. If a compactor later performs poorly, open Yard Setup and inspect Current wear. The tutorial specifically warns that wear limits compactor performance, so restore a worn machine as well as keeping it clean. If the paint gun or pressure washer crashes the launch build, update to 1.01, which fixes that problem.
Inspect arriving cars and choose a free parking space
When the New customer at gate notification appears, walk to the waiting vehicle. Use the trunk-inspection prompt to see the load before admitting it. This lets you choose a parking position near the containers that load needs, especially when a van is carrying several large wooden pieces.
Press F to assign a target parking spot, then select a free space in the overhead view. The tutorial also allows a quick double press of F to grant immediate access using a random target. Use manual assignment when you want to shorten the walk between the cargo and a particular container. Wait for the driver to park and open the trunk before unloading.
Keep the space behind the vehicle clear enough to reach the cargo. If a large item drops onto the yard while you handle it, retrieve it before finishing the customer. An empty-looking trunk does not account for a chair or bag you left on the ground beside the van.
Sort by the item’s category, especially when it is a bag
Aim at the item and open its details before carrying it to a container. The panel lists the trash category, any customer charge, scrap value and restored sale value. Match the trash category to the container label. The restored sale value is for the later second-hand business, so use the disposal category while unloading into bins.
The opening loads include these useful examples:
| Item shown in the opening | Matching category | What to watch for |
|---|---|---|
| Chair, Table, Cupboard and Door Leaf | Timber | Read the particular item’s details before treating other furniture as the same material. |
| Recyclables Bag and Plastic Container | Recyclables | Carry them to the container assigned to Recyclables. |
| Garbage Bag | Residential Waste | A bag’s colour or shape is not a reliable substitute for its category. |
| Pizza Box, Board Game and Cat Litter | Residential Waste | The game’s classification can differ from the material you would guess from the name. |
Pick up each object, carry it over the correct opening and use the drop control. Rotate awkward furniture if necessary to line it up with the compactor’s mouth. For small loose objects, move close enough that the item lands inside the skip instead of bouncing onto the ground between containers.
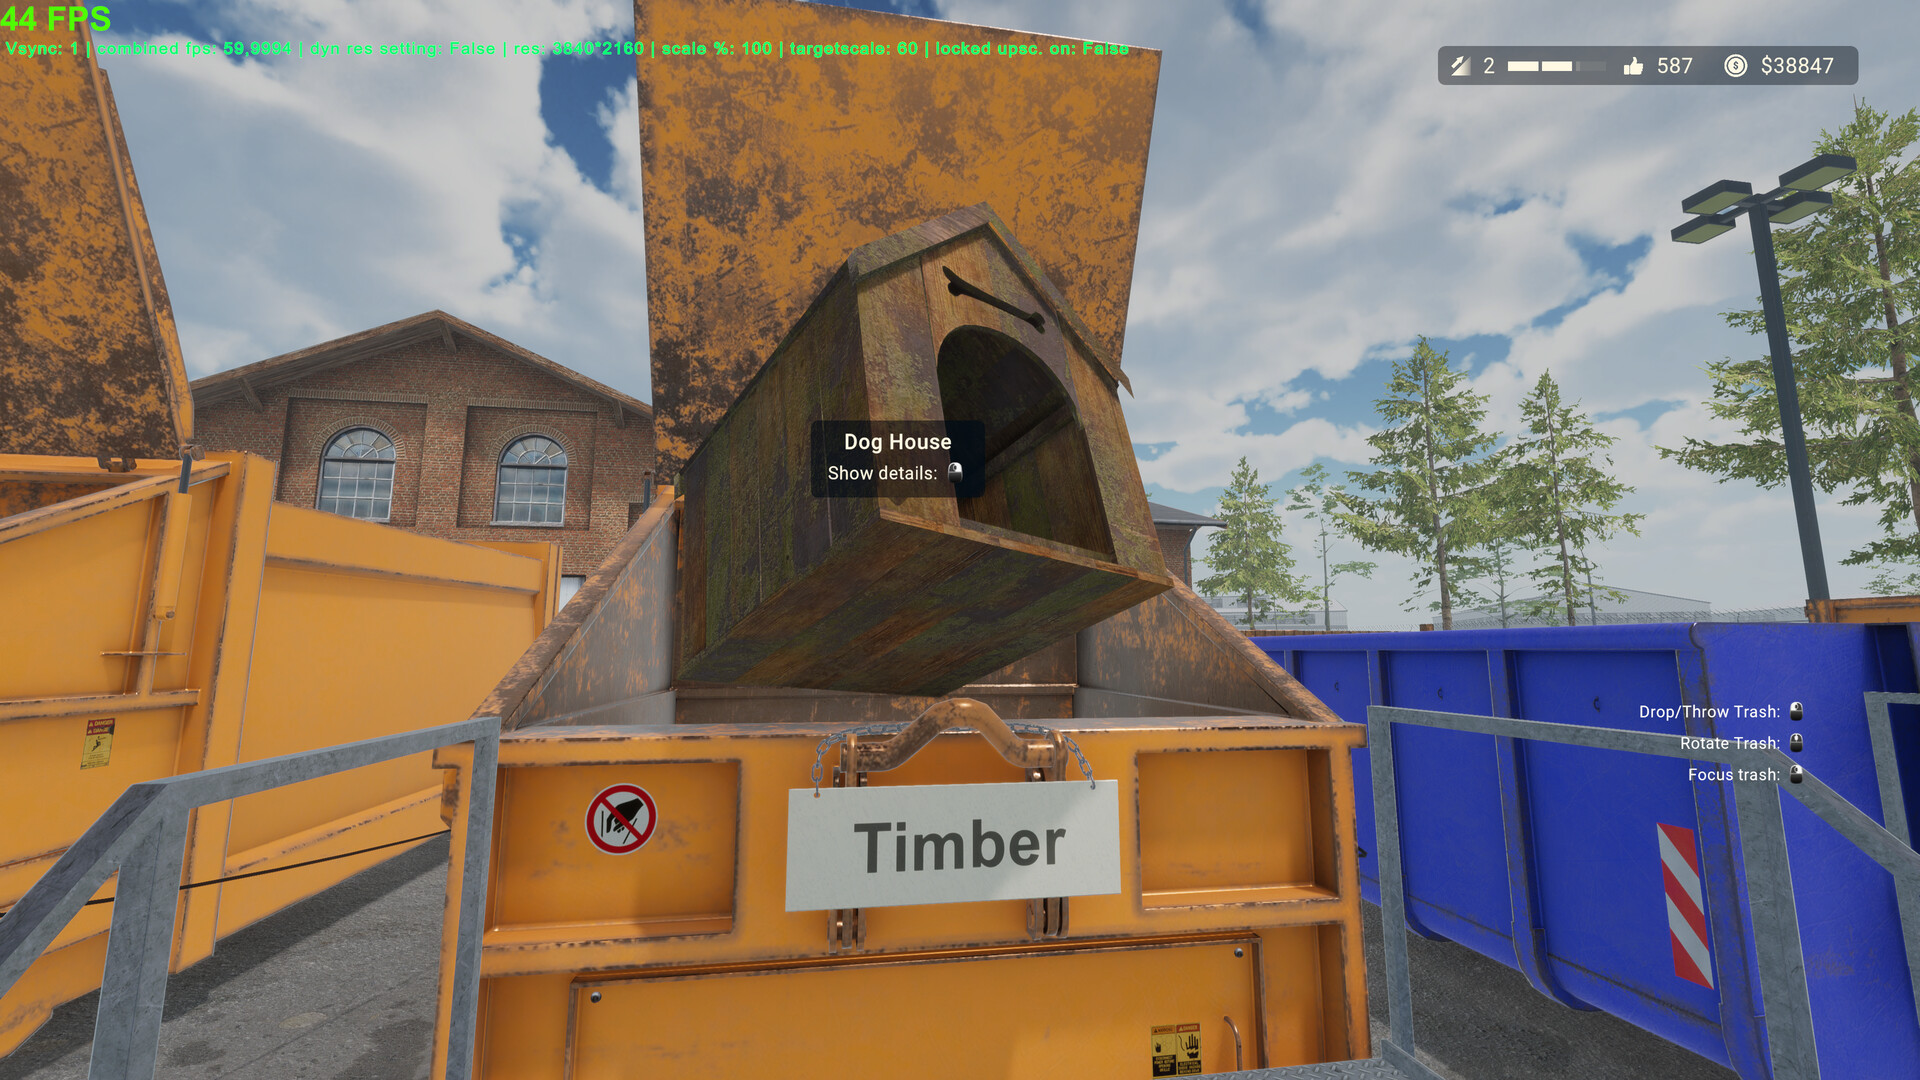
A red Wrong Container message means the disposal was misclassified. For the next item, read its details and the destination label again. For the tutorial load, put the Chair in Timber, the Recyclables Bag in Recyclables, and the Garbage Bag in Residential Waste. Sending both bags to the same container produces a sorting error.
Charge disposal fees before checking the customer out
Some loads require a customer payment in addition to the money earned from disposing of items. The opening tutorial introduces this with Residential Waste. When an item’s details list a customer charge, walk back to the customer and press X to collect the disposal fees. For example, the tutorial Garbage Bag carries an $8 fee.
Clear the vehicle and any dropped cargo, collect the applicable fees, then face the customer and press F to check out. Read the Summary before moving to the next arrival. It separates unloading speed, sorting accuracy and fee payment for the individual items. A green speed entry can appear beside an orange wrong-container entry, so fast unloading alone does not mean the load was handled correctly.
Use the named row to correct your next delivery. If Garbage Bag says wrong container, put the next one in Residential Waste. If a fee was missed, check the item’s charge and use X at the customer before checkout. Keep working through the original three categories until you can finish a load with the correct sorting and required payments.
Buy a container that accepts the trash you need
Return to Shop once you can afford more capacity. Open a container’s product card and read its compatible trash types before confirming. The Roll-off 19m³ container flat shown in the opening costs $500 and accepts Wastepaper, Residential Waste, Recyclables, Electric Devices, Construction Waste, Glass, Garden Waste and Organic Waste. Timber is absent from that list, so this container is not the right purchase for an overflow of wooden chairs.
After confirming a purchase, open Yard Setup, select the new container and place it. Use Assign trash type to give it the category you intend to collect, then check its label outside. Do this while the new container is empty. Keep your existing Residential Waste and Recyclables destinations distinct while you rearrange; moving a skip does not make it accept every type of bag.
Trash-type unlocks are separate from buying the physical container. Visit Trash & Trucks and check the satisfaction requirement beside the category. An attempted unlock can fail for insufficient satisfaction even when you have cash. Keep serving customers and finishing maintenance work to earn satisfaction before trying that unlock again. A new category also needs a compatible container in the yard.
If you buy a compactor for Recyclables, place it, assign Recyclables, open its loading area and connect its power cable. Check the terminal balance before using it. Keep an accessible destination for Residential Waste so adding the new machine does not leave ordinary Garbage Bags without a matching bin.
Allow for emptying costs when changing the layout
Select a container in Yard Setup when it needs emptying. Use Empty and read the confirmation cost before accepting. If you try to change the assignment or sell a container that still holds waste, management asks you to empty it first. A loaded 7m³ skip can incur a $100 emptying charge during these changes. Assign a new container’s category before filling it to avoid paying to clear a load just to change its use.
Keep enough cash available for that confirmation and for another power top-up before spending the rest on equipment. When a compactor stops, inspect its power account, cable connection and Current wear before replacing it. When a skip is full or needs a new assignment, deal with its contents through Yard Setup. Return to customer service with each active category still labeled and reachable.