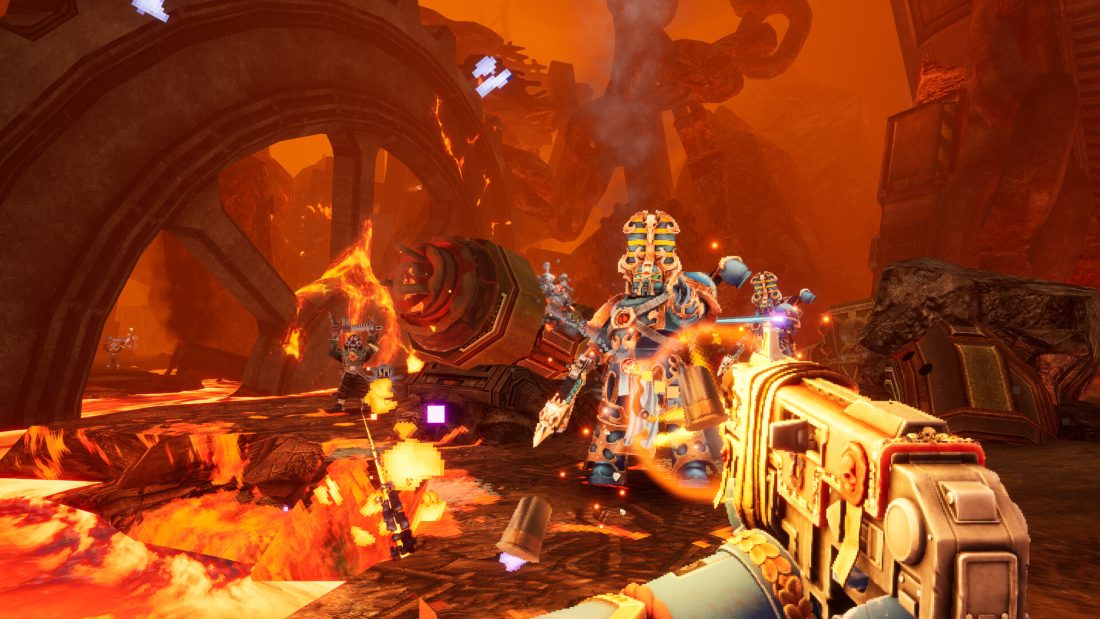
To follow this route through Warhammer 40,000: Boltgun 2, choose Nurgle Nightmare on Novoza, Frozen Terror on Amara Mors, and Forged in Battle on Erythine. The walkthrough below runs from Shattered Station to the final Vashtorr fight, with the optional Crucible detour and a few Purity Seals along the way. Alternate branches and a full collectible sweep are outside this walkthrough.
Choose the campaign path before deploying
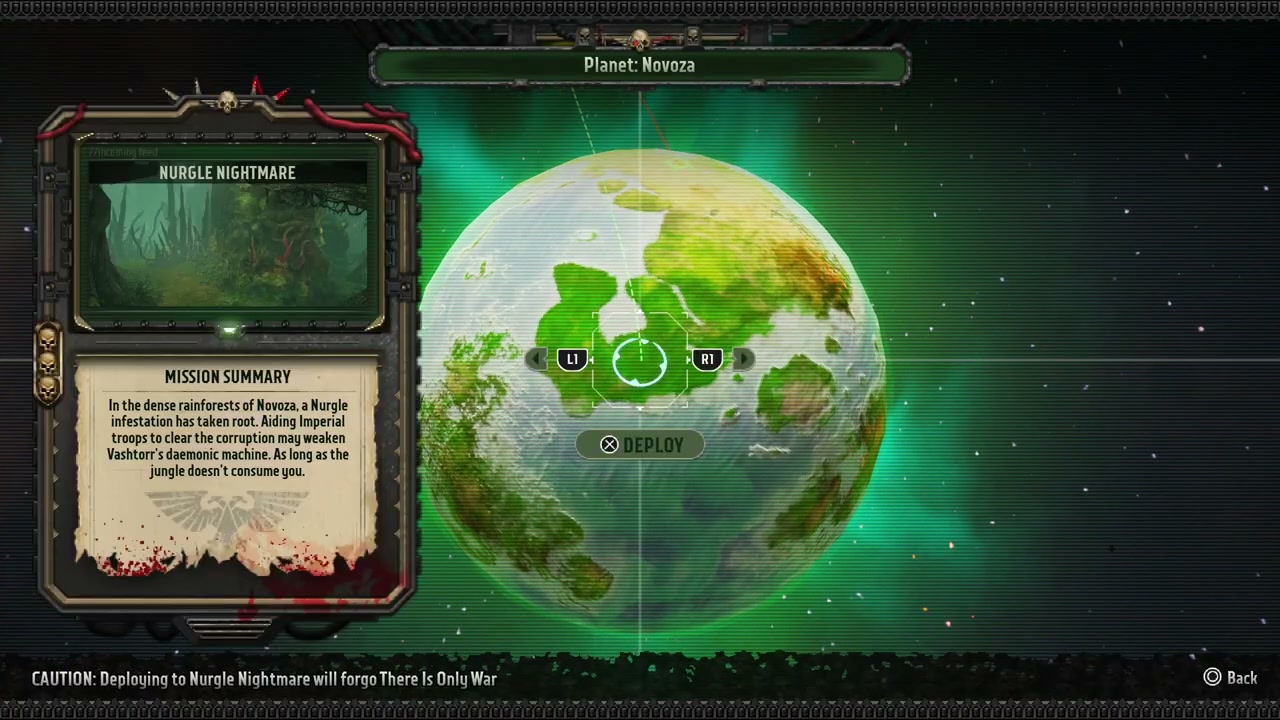
Before deploying, read the caution at the bottom of the card. Each paired operation excludes the other from that campaign route. If you land in trenches instead of the swamp, for example, you selected There Is Only War on Novoza. You have taken a different branch; the swamp instructions will no longer match your next rooms.
| Planet | Choose for this walkthrough | Alternative branch |
|---|---|---|
| Novoza | Nurgle Nightmare | There Is Only War |
| Amara Mors | Frozen Terror | Blood in the Water |
| Erythine | Forged in Battle | Corrupt Core |
The chapter order on this path is The Arkifane Emerges, Nurgle Nightmare, Mountain of Skulls, Uninvited Guests, Frozen Terror, The Hive, Ark of Omen, Forged in Battle, and Facing the Arkifane. Crucible is an optional stop before The Hive. Ascent of the Arkifane belongs to the earlier Ark of Omen chapter; reaching it does not mean you have reached the campaign’s last mission.
Malum and Nyra: the actions that affect navigation
With Malum Caedo, the opening teaches the Chainsword and Obliterating Charge before handing you the Boltgun. Use the charge against the cultists obstructing the damaged corridor, then sprint and jump across the break. Later, keep your ranged weapon available for distant switches and machinery; closing into melee will not solve a switch on the far side of a gap.
Nyra Veyrath takes her Power Sword through the same opening area. Use Fervent Slide beneath the low doorway. Jump during the slide to Leap, and hold jump during that Leap to slow time. Holding melee performs her forward Power Sword thrust. Use these moves to cross gaps or escape an enemy in a narrow passage.

For Nyra’s Melta Bomb, hold the throw action to slow time while priming it. After throwing, press throw again while the bomb is in flight to detonate it early. Use the named actions in your bindings menu; the route does not depend on a particular controller layout. Her first firearm here is the Bolt Pistol, so the opening weapon pickup will look different from Malum’s.
The message about the Emperor preventing your death means Undying assistance has saved you from lethal damage. In an unassisted run, leave space to move around the boss instead of trading hits at close range. The boss sections below focus on the machinery, targets, and route changes that let you progress.
The Arkifane Emerges: leave the station and secure Dauntless
Shattered Station: remote switch, red key, and extraction
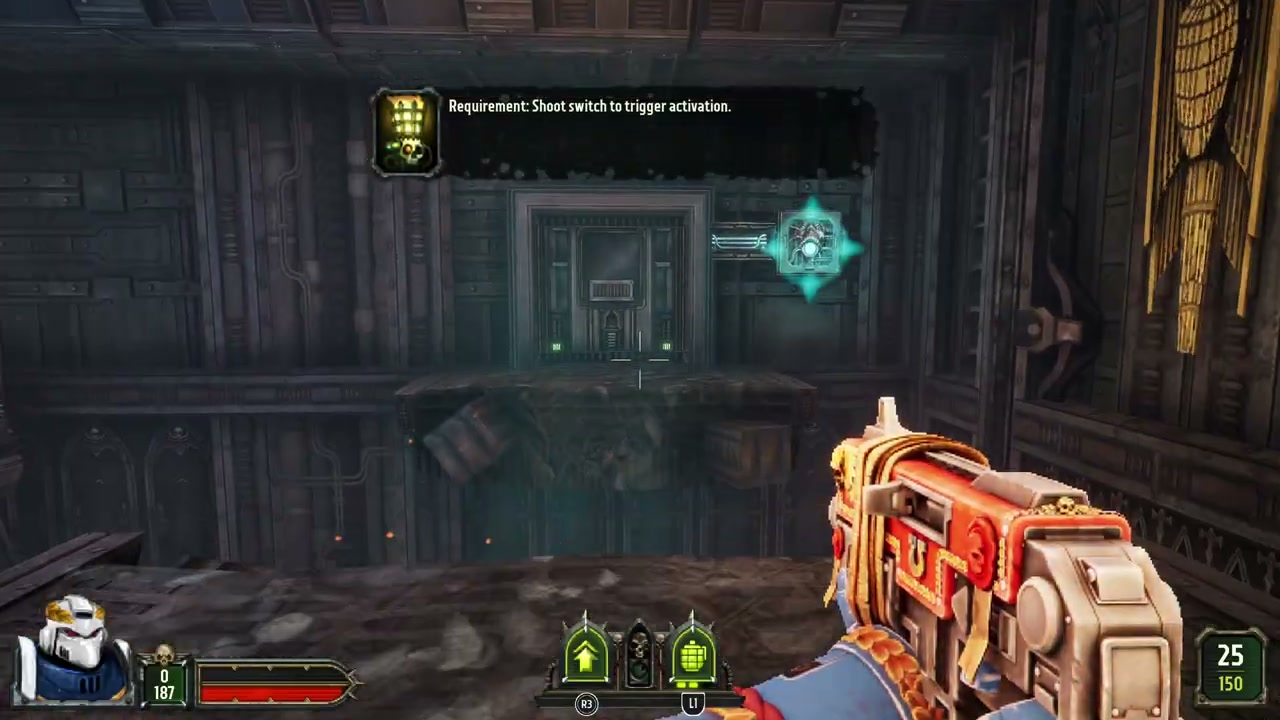
Activate the green console beside the first door. Follow the damaged corridor, clear the cultists, and jump the broken section. After the firearm pickup, the Servitor draws attention to a switch across a gap. Aim across and shoot the switch from your side; walking back through the preceding rooms will not bring you closer to that control.
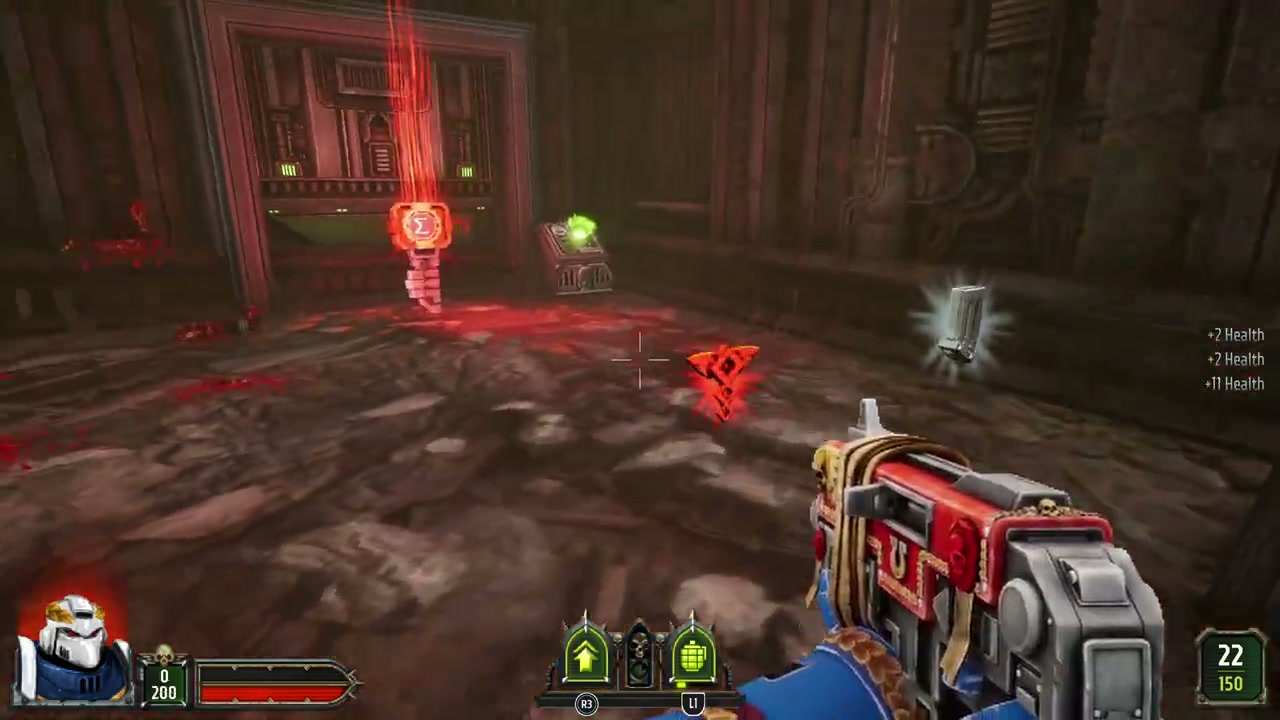
Take the red key from the lower recess and return to the door marked with the red symbol. Use the key control beside it, then clear the Purge encounter beyond the door. If you return to the lock without the red key icon on your HUD, revisit the recess before trying the control again.
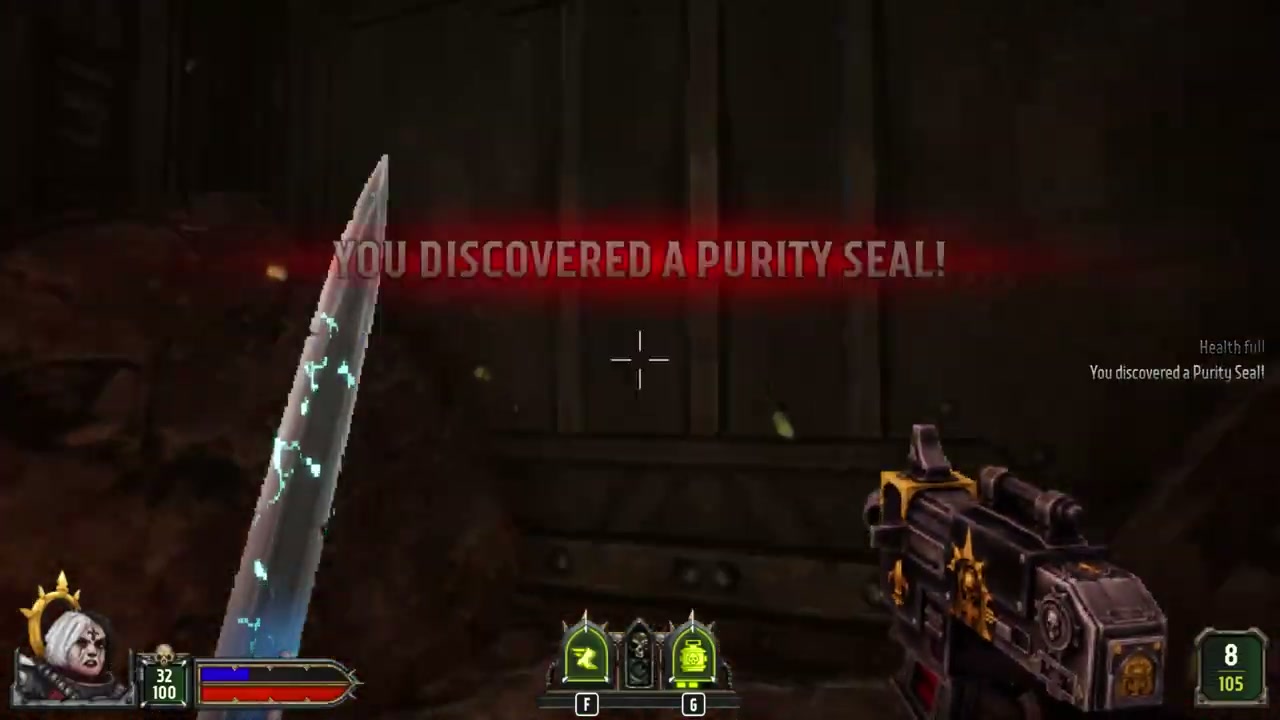
For an early Purity Seal, check the room beyond the green-panel door after your first firearm pickup. Look for the cracked brown wall panel. Shoot the cracked surface to open the recess, then walk up to the glowing seal inside. The pickup message confirms the seal; the nearby Machine Spirit secret is a separate pickup and does not count as that seal.
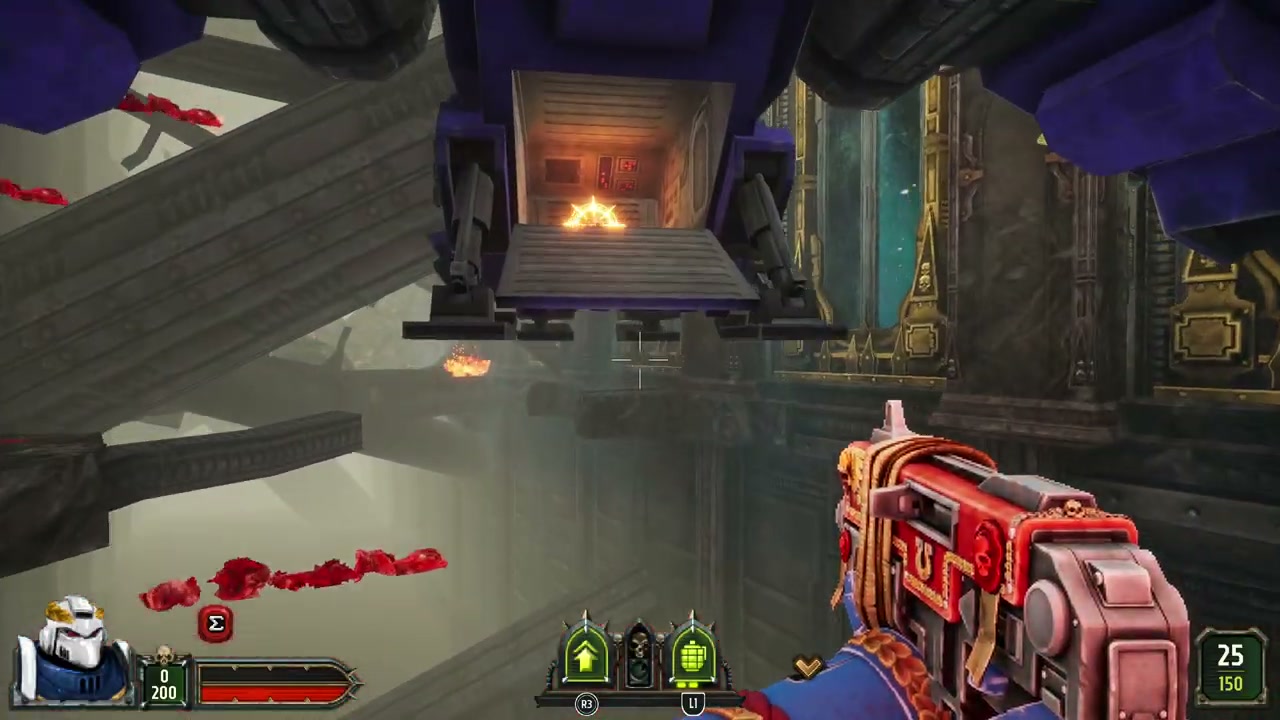
After the later Chaos Terminator encounter, activate the green panel and head back out into the broken station. The Thunderhawk approaches the exposed platform. Wait for its rear ramp to open and walk into it, then use the glowing exit. Board the landing craft instead of jumping toward the distant station debris.
Dauntless: return each key to its own control
Work up the ramps around the cargo yard to the open balcony beyond the gold-framed room. Collect the red key there, then return to the matching control when the Servitor directs you back. A Machine Spirit in the side recess is optional. Taking it does not replace collecting the red key.
The purple-locked elevator comes later in the crane and cargo area. Follow the route through the platforms and fight the Chaos Terminator. The purple key appears after that encounter. Pick it up and return to the elevator, using the central landing area to retrace the route. The red power-up on the suspended cargo platform is a detour; jumping around the crane for that pickup will not unlock the lift.
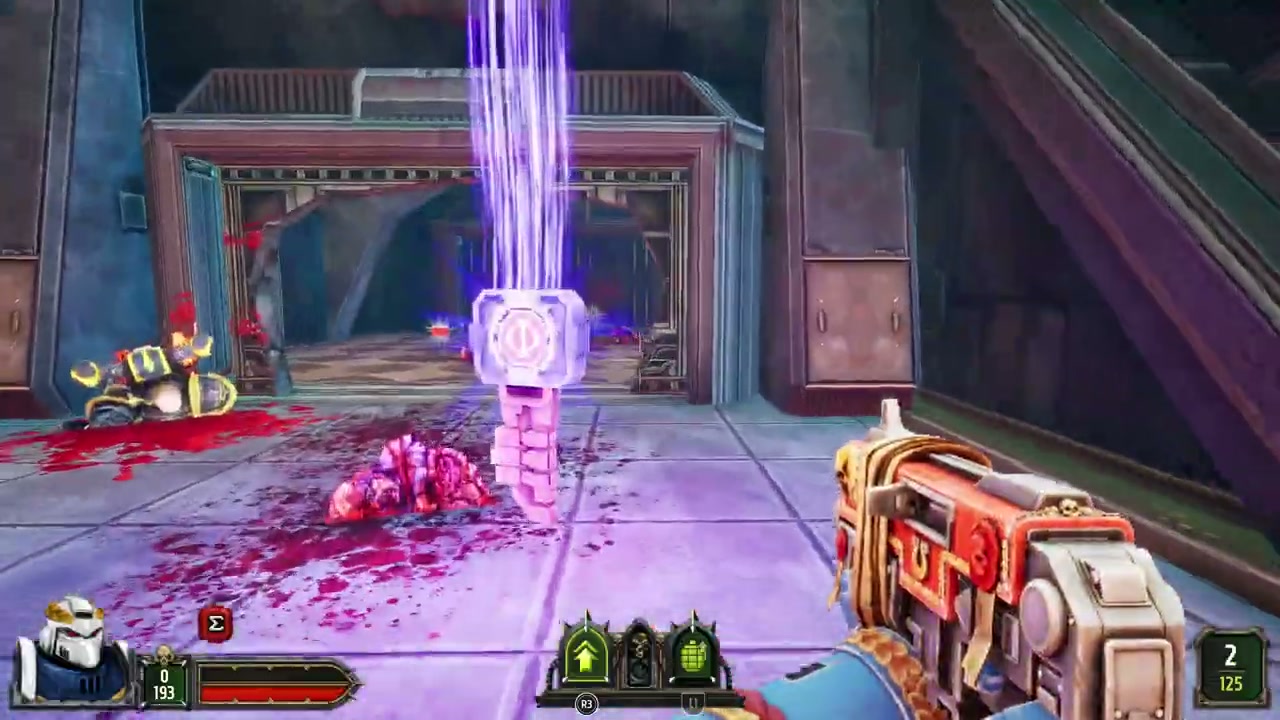
Use the activated jump pads when the route climbs through the later yard. Finish the Forgefiend encounter, clear any remaining enemies keeping the Purge active, and take the glowing exit. On the Novoza deployment screen, select Nurgle Nightmare to enter Welcome to the Wilds.
Nurgle Nightmare: the Bastion keys and the Vile Root
Welcome to the Wilds and The Bastion
Welcome to the Wilds leads through the swamp and its industrial outposts. At the final Poxwalker swarm, finish the Purge before looking for the exit. The next level, The Bastion, opens with a wide gate bearing several coloured locks. Leave the gate by the open side path and go downstairs to the green control. Fight through the lower room to reach the red key.
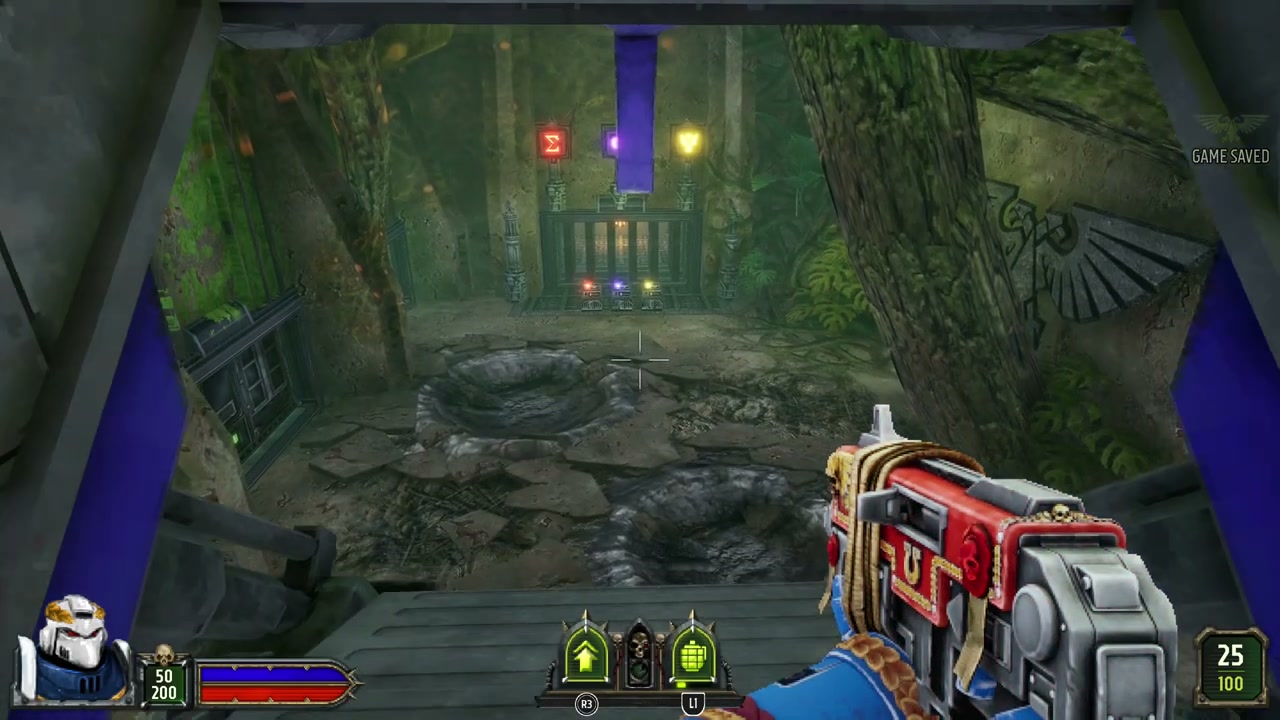
Return to the red-symbol door beneath the orange pipe. Opening it gives you the forest loop with the remaining keys. Follow the root-lined passages to the purple key beneath a root arch, then work around into the swamp clearing for the yellow key. When the Servitor confirms that all keys are acquired, retrace the loop toward the fortress entrance and its controls.
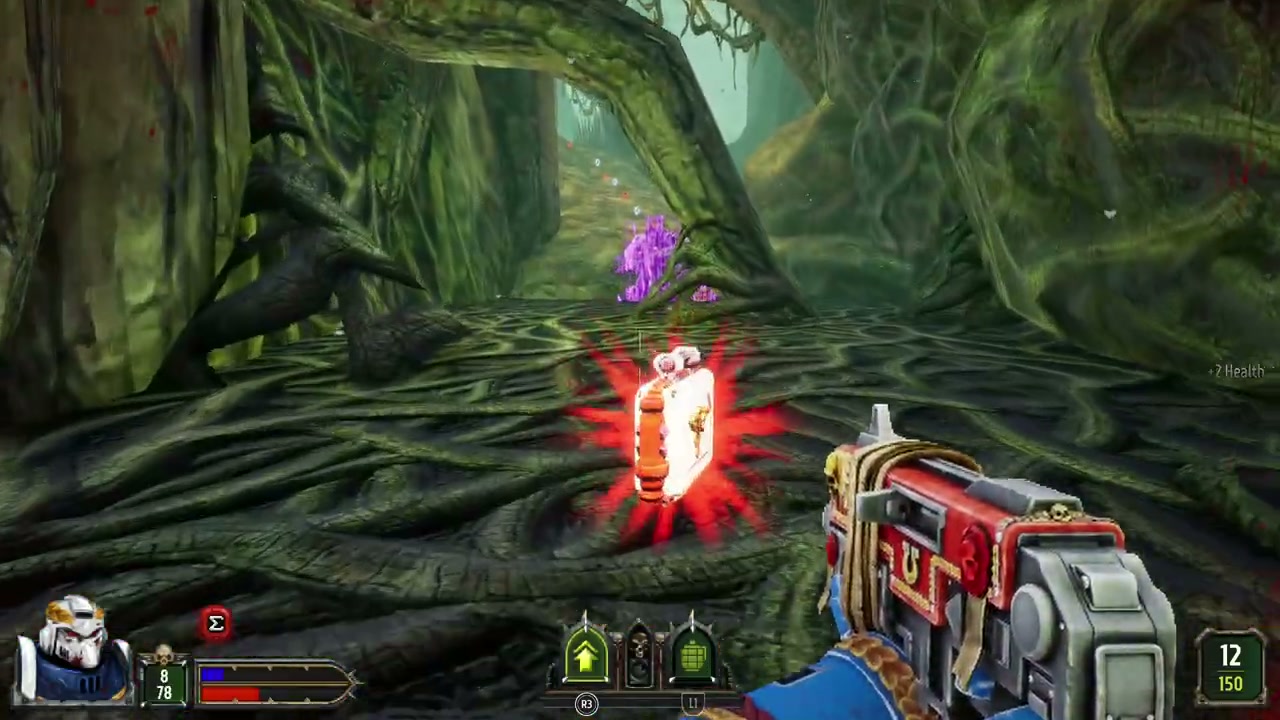
If you keep arriving at the original gate with a lock still shut, compare its colour with the key icons on the HUD. The paths through the trees loop back on themselves. Activate the Navigation Guide at the lock to trace the missing objective. Do not count the glowing armour and weapon pickups scattered through those passages as keys.
Festering Bog: use the raised crossings
The jump pads carry you between raised walkways and the industrial platforms. After the crate-filled building and the surviving Imperial troops, cross the narrow bridge beside the large pipe. Stay on the crossing to reach the next building and activate its green door panel.
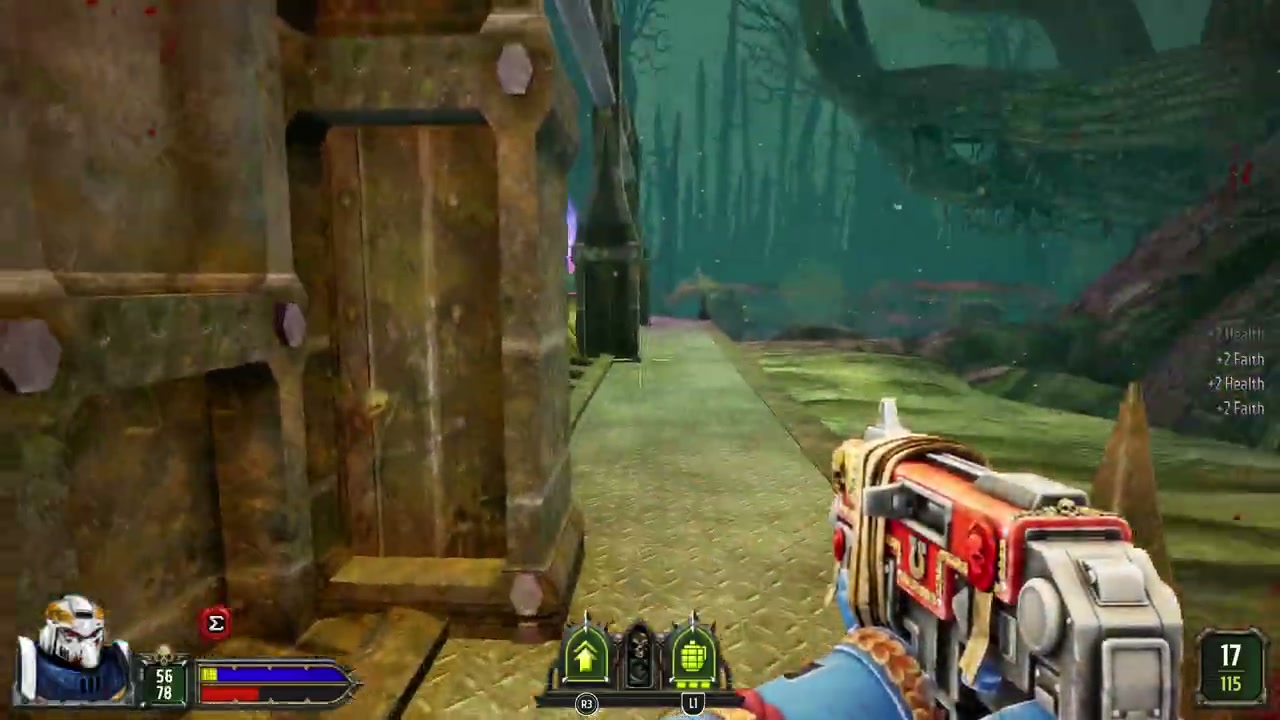
Climb back to the raised metal gantry, pass through the building, and cross the broad root connecting the platforms. The purple doorway is part of the route back through this section. If the guide points across empty space, check for the pipe, gantry, or root crossing at your height before dropping into the swamp; the route repeatedly doubles back above ground level.
The Vile Root: purple key and the return jump
Use the red-key panel at the end of the exterior ledge, then fight through the interior rooms to the far outdoor gantry. Defeat the Blightlord Terminator and collect the purple key. Turn back toward the gap you crossed, jump over it, and use the purple door recessed in the wall. The Servitor’s jump instruction refers to this return crossing.
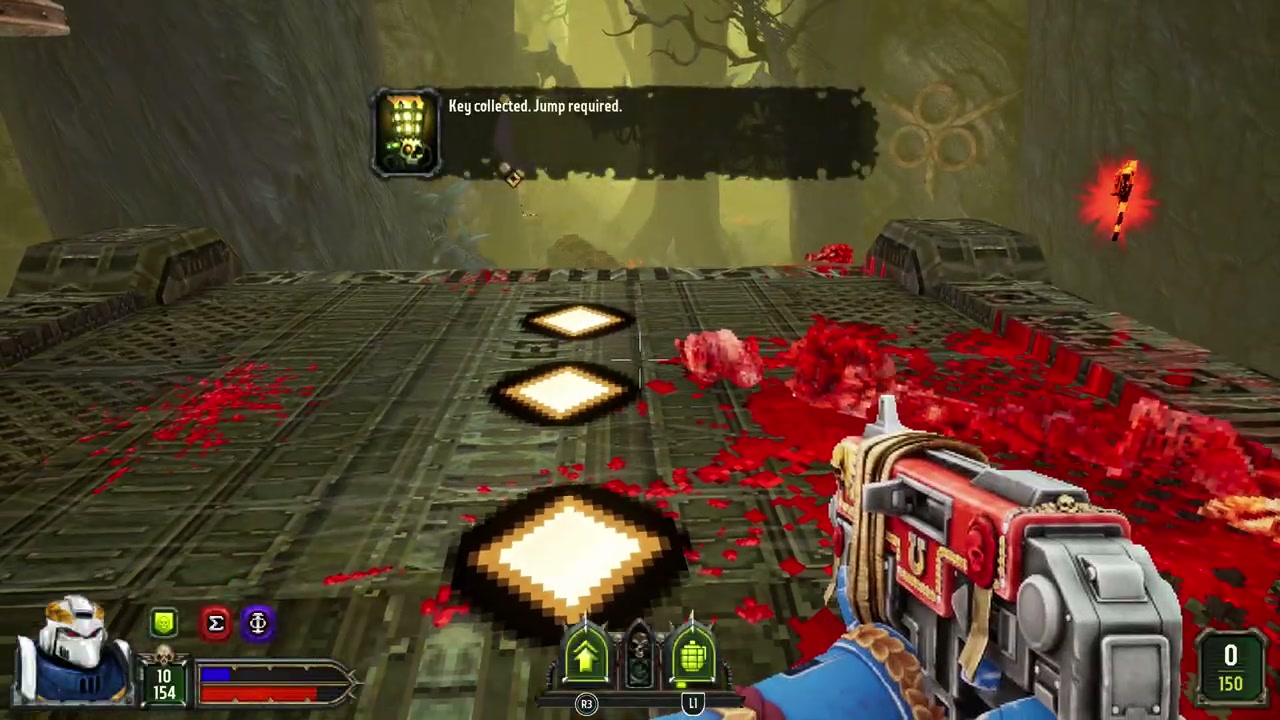
The chapter ends with the Great Unclean One in the central opening of the enormous fleshy tree. Keep the daemon in view and attack it when you have a clear shot, while leaving room to move around the smaller enemies entering the arena. Once the fight clears, take the glowing exit to Mountain of Skulls.

Mountain of Skulls: cut the blood supply to the Lord of Skulls
Blood Fortress and Blood Cascade
Blood Fortress sends you around the sloping courtyard and its ramps. Clear the infantry and the mounted Bloodcrusher blocking the key route. After collecting the key, return up the ramps toward the fortress entrance when the Servitor directs you back. Use the entrance control to leave for Blood Cascade.
In Blood Cascade, descend through the grated passages around the blood channel. The yellow key sits at the end of a small stone alcove off this lower route. Take it back to the gold-coloured door bearing the yellow symbol, then fight through the Purge beyond it.

Continue around the raised sides of the courtyard to the next gold-symbol doorway. Take the red key in the room beyond that doorway, then descend toward the blood-filled lower area and follow the route to its matching lock and the final combat rooms. Use the grated walkways and ramps to move between levels; trying to cross the blood channel directly skips the route to the doors and their controls.
Blood Machine: conduits first, exposed tanks later
At the beginning of Blood Machine, activate the green panel and enter the conduit rooms. Look for the large blood pipes crossing the walls, including the one near the yellow lock. Shoot the destructible conduit until it ruptures. The Servitor reports that the engine’s power has decreased. Work through the adjoining rooms and rupture the next blood delivery pipe as well.
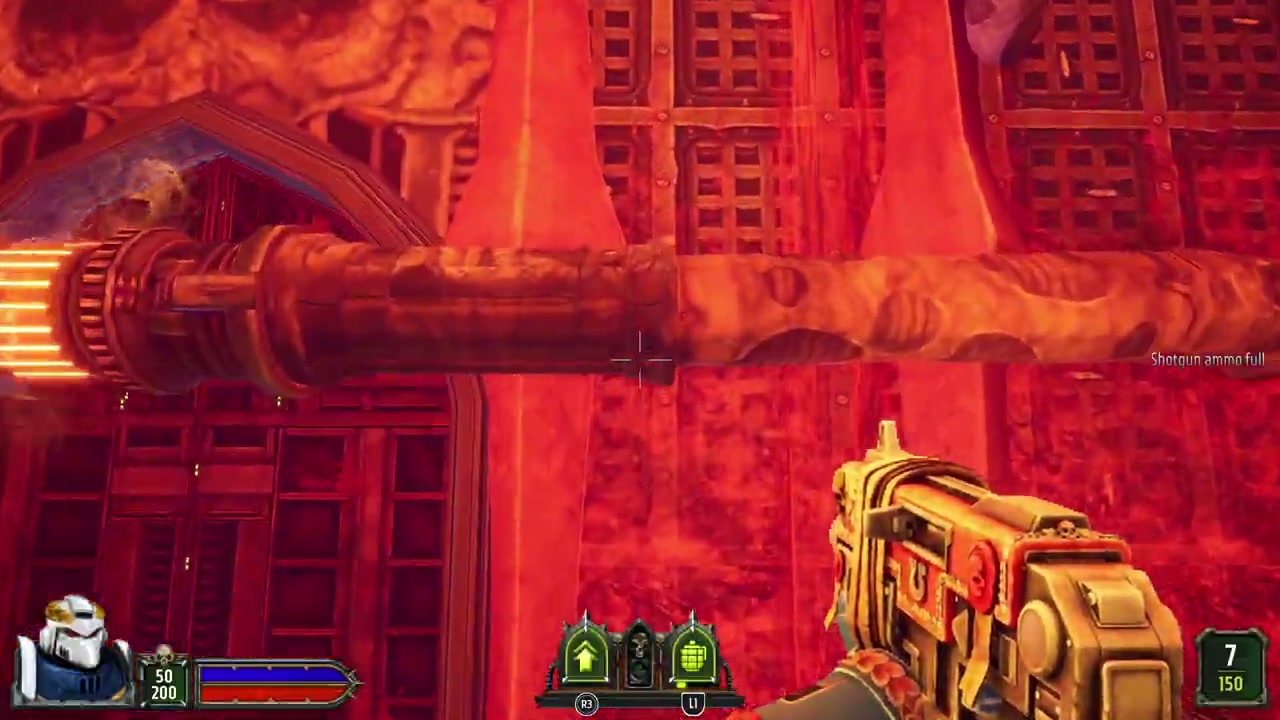
Use the newly available passages and door controls to reach the Lord of Skulls. Fight from the main arena until the objective changes to exposed blood tanks and a flanking route. At that point, take the side route around the engine instead of staying in front of it and firing continuously.

Follow the side corridor to the grated opening overlooking the blood tanks. Shoot through the opening until the tank rupture message appears. Activate the nearby green skull console, follow the return passage, and resume the fight from the main room. Shoot the tanks before using the console to open the return passage.

If the objective still says to find a flank, leave the engine’s front and use the Navigation Guide to locate the side passage. If you reach the control without the rupture message, check the opening beside it and fire at the tanks through the grating. Finish the remaining combat and take the exit after the engine encounter clears.
Uninvited Guests and the next deployment
Uninvited Guests takes you back through an industrial interior. Use the activated jump pads to reach the upper route, then clear the Maulerfiend encounter near the end. Leave through the glowing exit. On Amara Mors, choose Frozen Terror; the Blood in the Water card takes you into a separate flooded branch.
Frozen Terror: the lower bridge route and breakable ice
Breaking the Ice
Activate the gate control as you work through the first red structures. Follow the metal bridges and snowy ledges until the route drops below a bridge. Step down onto the lower snow shelf and pass underneath the metal span to the facility door. Reach the next platform from below. Jumping at the upper railing keeps you on the wrong level.
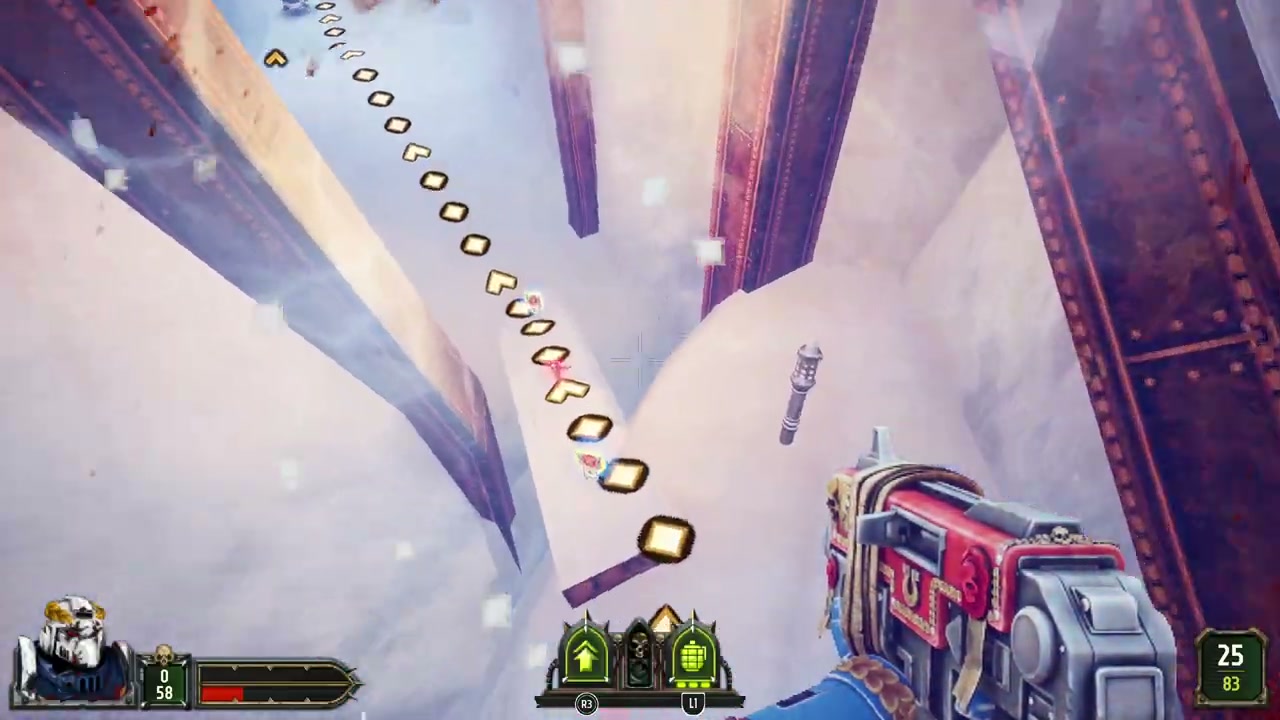
When a route marker appears beyond a wall or bridge, open the Automap and compare the height of the connecting ledge with your current position. This part of the chapter alternates between the red structures and the snow shelves underneath them.
Flash Freeze and Bitter Bloodshed
In Flash Freeze, an ice plug blocks the narrow passage toward the next objective. Shoot the ice until it breaks apart, then enter the exposed corridor. A later blockage works the same way. Aim at the ice actually sealing the marked passage; this does not mean every blue wall in the level opens.
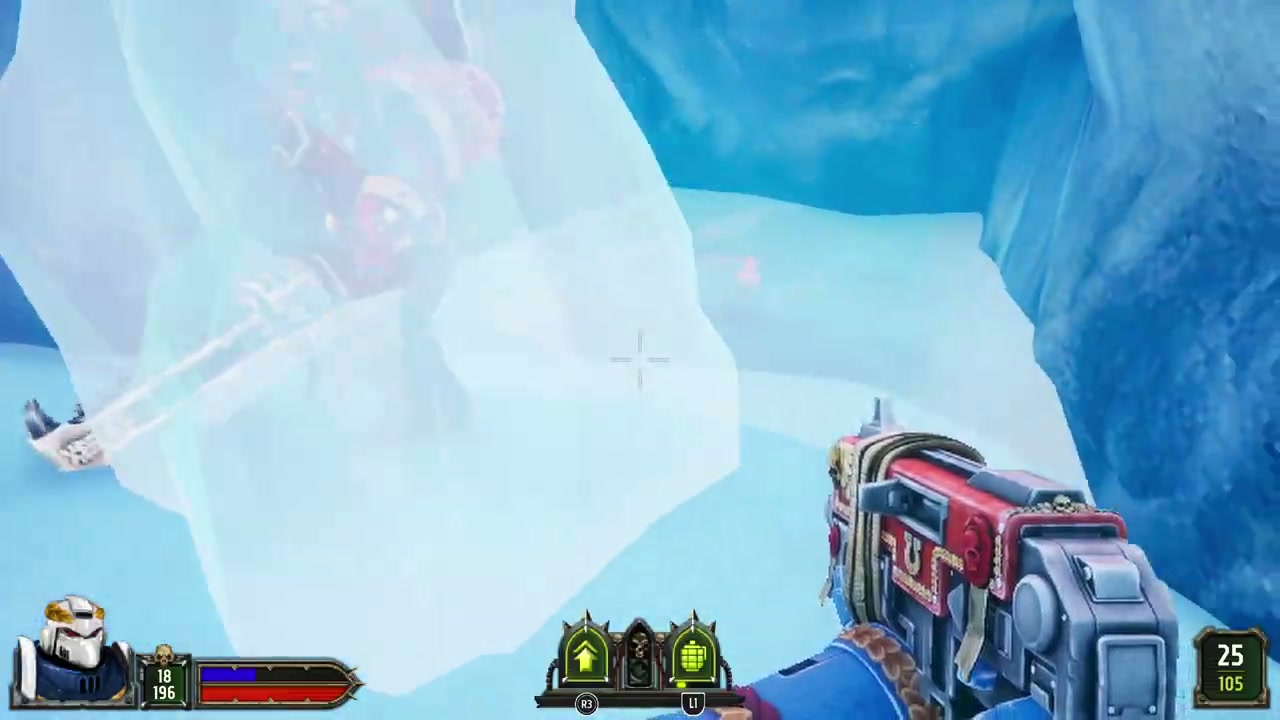
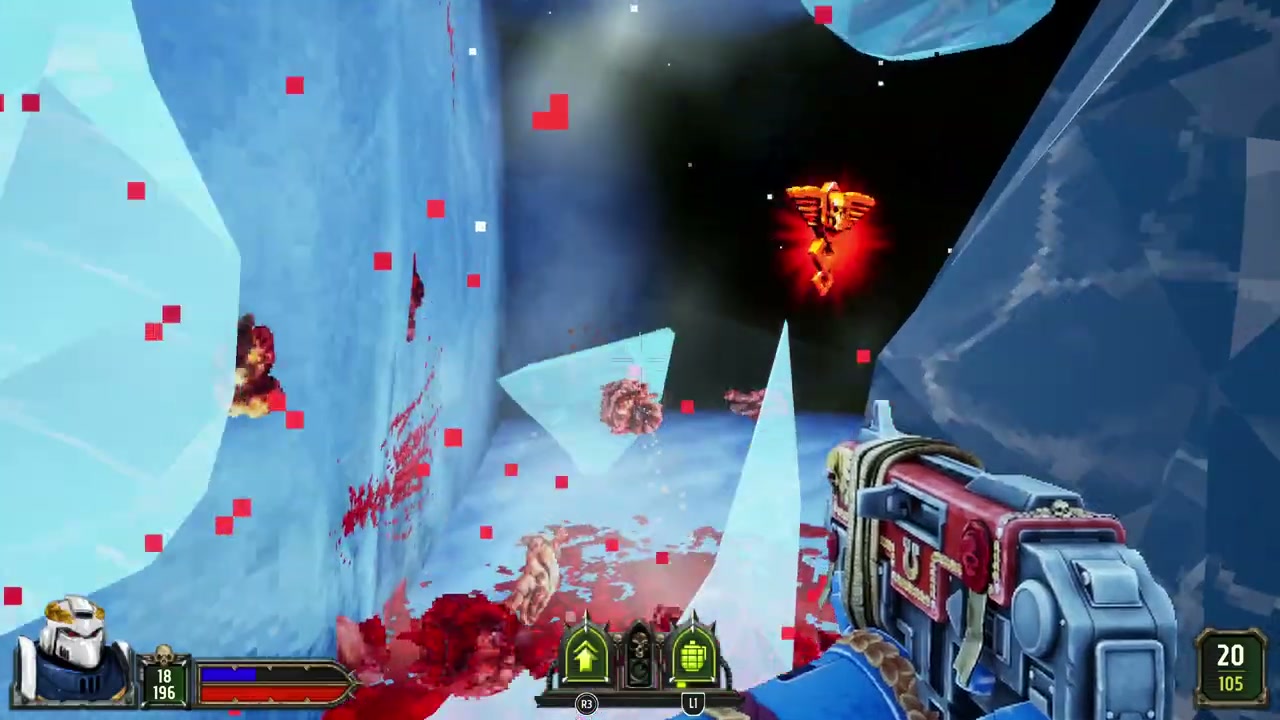
After the second obstruction in Flash Freeze, take the metal gantry beneath the hanging chains into the next facility section.
Before leaving Bitter Bloodshed, look for the small skull on the snow beside the upper metal doorway. Use the snowy edge at that doorway to jump onto the ledge above it. Walk up to the glowing seal, wait for the pickup confirmation, then drop back onto the main combat route.
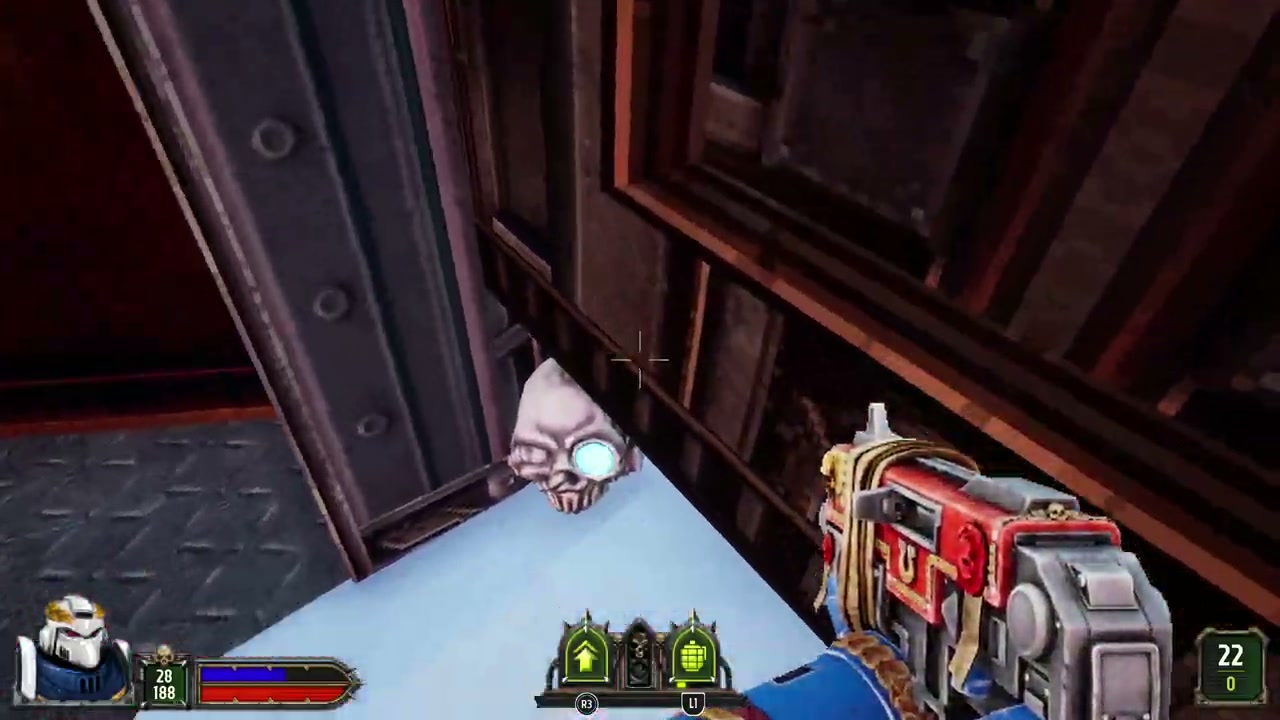
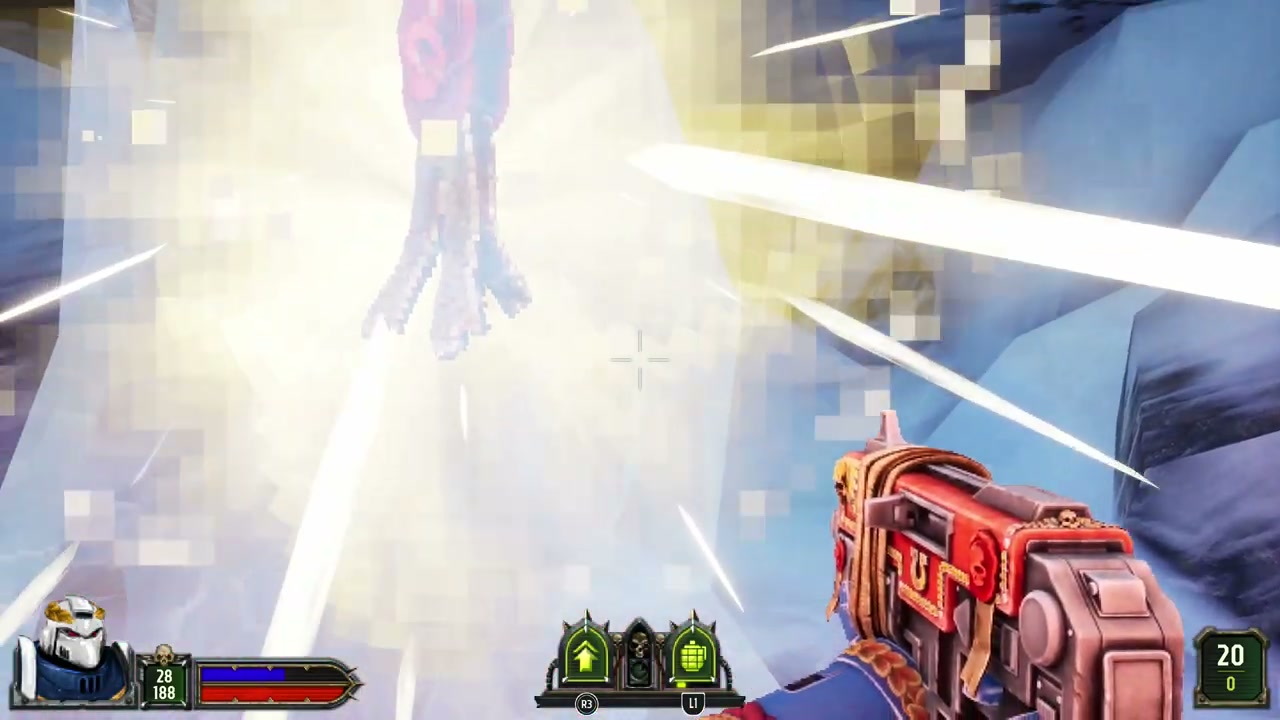
Bitter Bloodshed ends in a multi-enemy Khorne arena. Clear the World Eater Terminators, mounted enemies, and remaining infantry, then leave after the Purge ends.
Crucible is optional
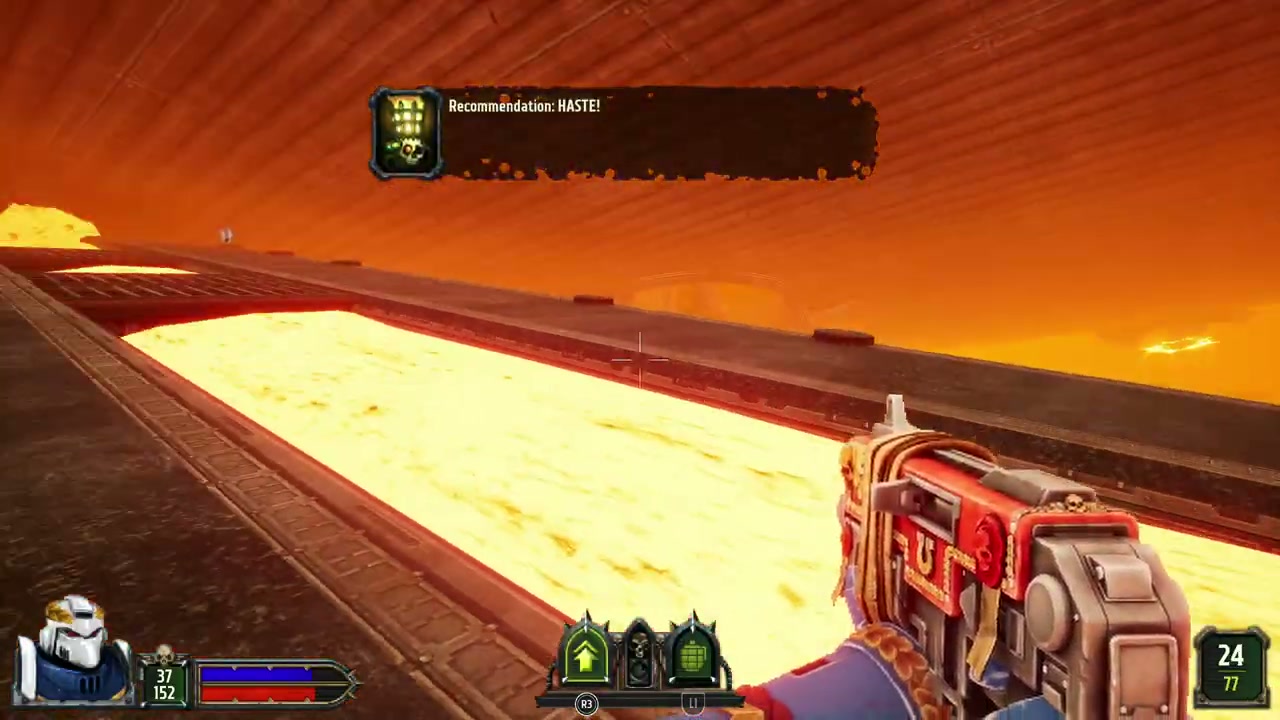
The deployment map marks Crucible as an optional level, with The Hive available separately. Choose The Hive to stay on the direct campaign route. If you enter Crucible, the starting bridge collapses and the objective sends you down to find a route into the main chamber.
Use the broad pieces of metal debris, open pipe sections, and raised platforms above the lava. Cross from each solid landing to the next rather than trying to run through the molten floor. The last route climbs a sloping metal ramp toward the exit. Once back on the deployment map, select The Hive.
The Hive: lower the Underhive grate, then stop the ritual
Underhive’s vent controls
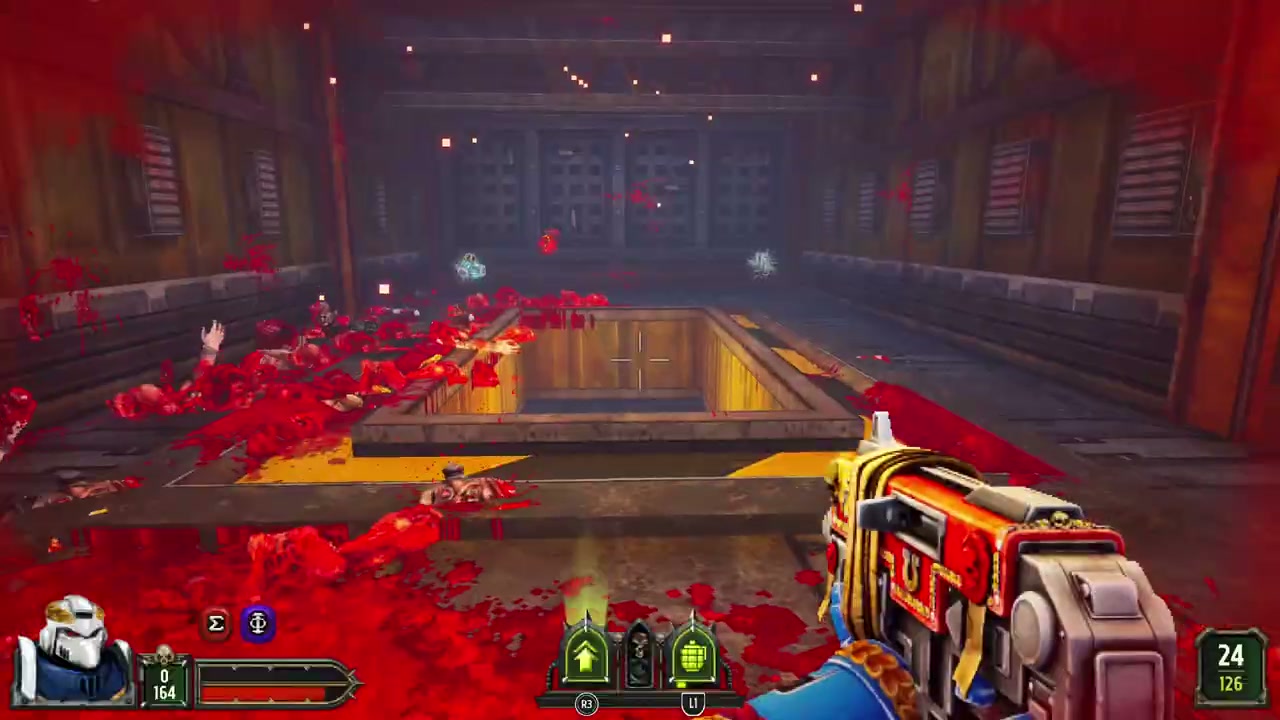
After the early industrial corridors, you reach the central vent and a square grate. The first control deactivates the central vent, but the Servitor still requires a second switch to lower the grate. Take the side route downstairs rather than waiting for the first control to finish an animation.
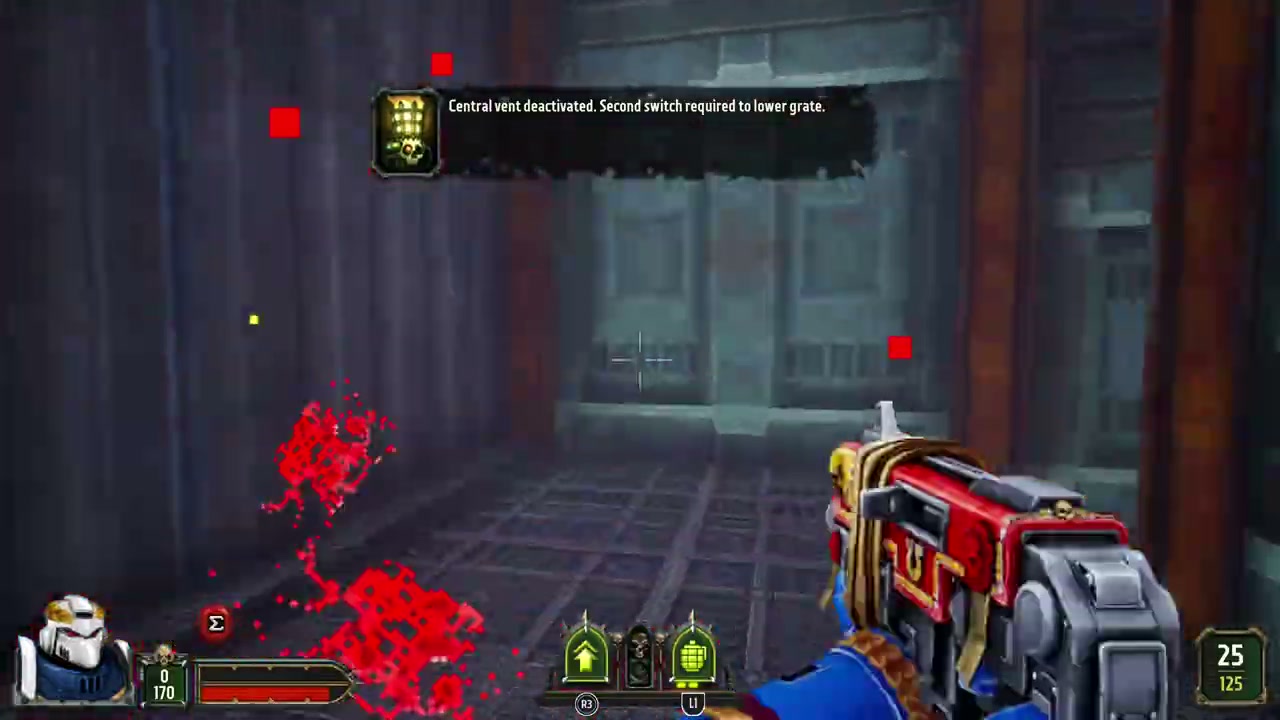
The lower route passes Plague Toads and heavily armoured enemies. Use the control beside the toxic-vent corridor to stop the gas temporarily, and cross while the jets are off. This control stops the gas; you still need to find the second grate switch. If the gas resumes, return to the control and disable it again before crossing.
Clear the larger chamber with gas jets around its walls. Once the Purge ends, leave through the circular pipe tunnel. Follow the tunnel, activate its green door control, and fight through to the next switch. Operate that switch and wait for the message confirming that the central vent grate has lowered.
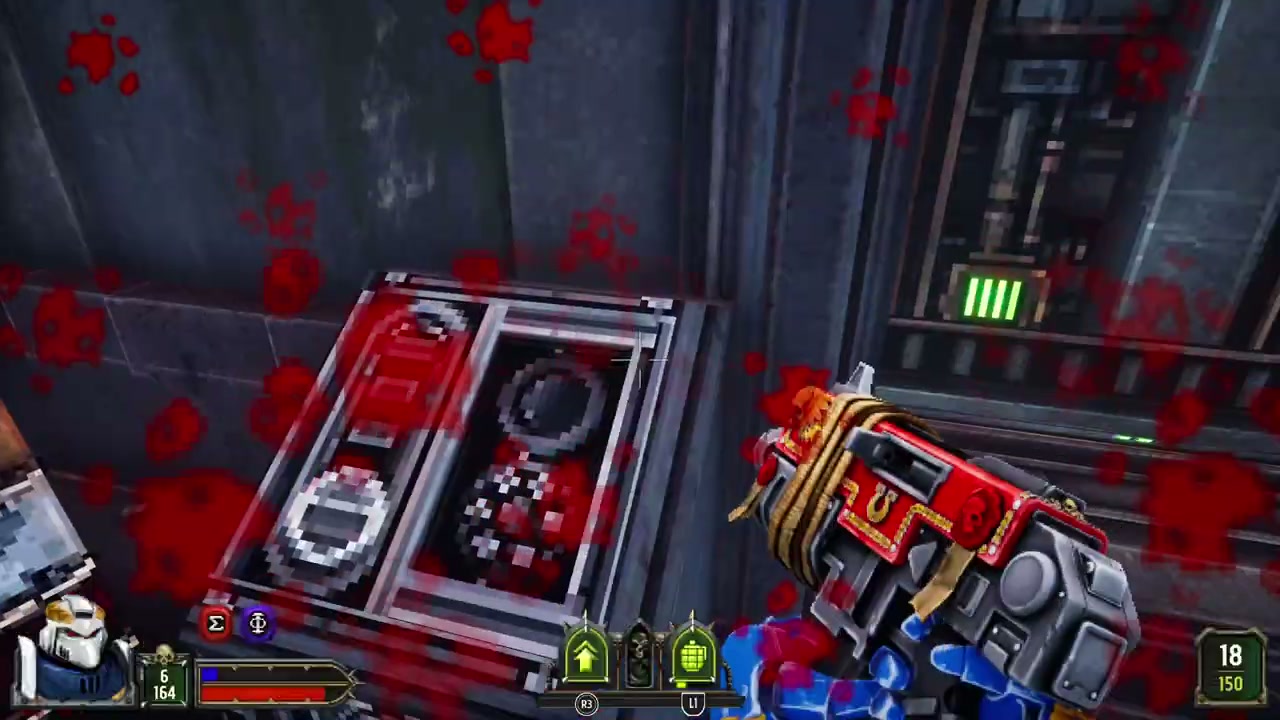
Return to the central chamber. The square opening in the floor is now accessible: drop through it and take the pipe passage below. If the grate is still closed, you have either used only the temporary gas control or have not yet reached the switch beyond the tunnel fight.
Daemonic Symphony
Climb from the Underhive into the pale stone courtyards and purple growths of Daemonic Symphony. The route reaches a sealed barrier near the stairs. Clear the enemies guarding the courtyard, use the now-open route through the upper structure, and continue to the next combat space. Wait for the Servitor’s barrier message, then take the opening.
At the final ritual area, the large bright sphere precedes another daemon manifestation. Stay in the arena and defeat the manifested enemy; the ritual is not finished just because the sphere changes or disappears. Leave when the Servitor confirms that the ritual and manifestation have ended. The next chapter takes you aboard the Ark of Omen.
Ark of Omen: power the mechanism and return through Vicious Circles
Crushing Heresy
The early mechanism is dormant when you first reach it. Activate the power consoles on the adjoining pillars around the red circular floor, then clear the Purge that follows. Collect the red key after the fight and return to its matching control before heading out along the narrow gantries.
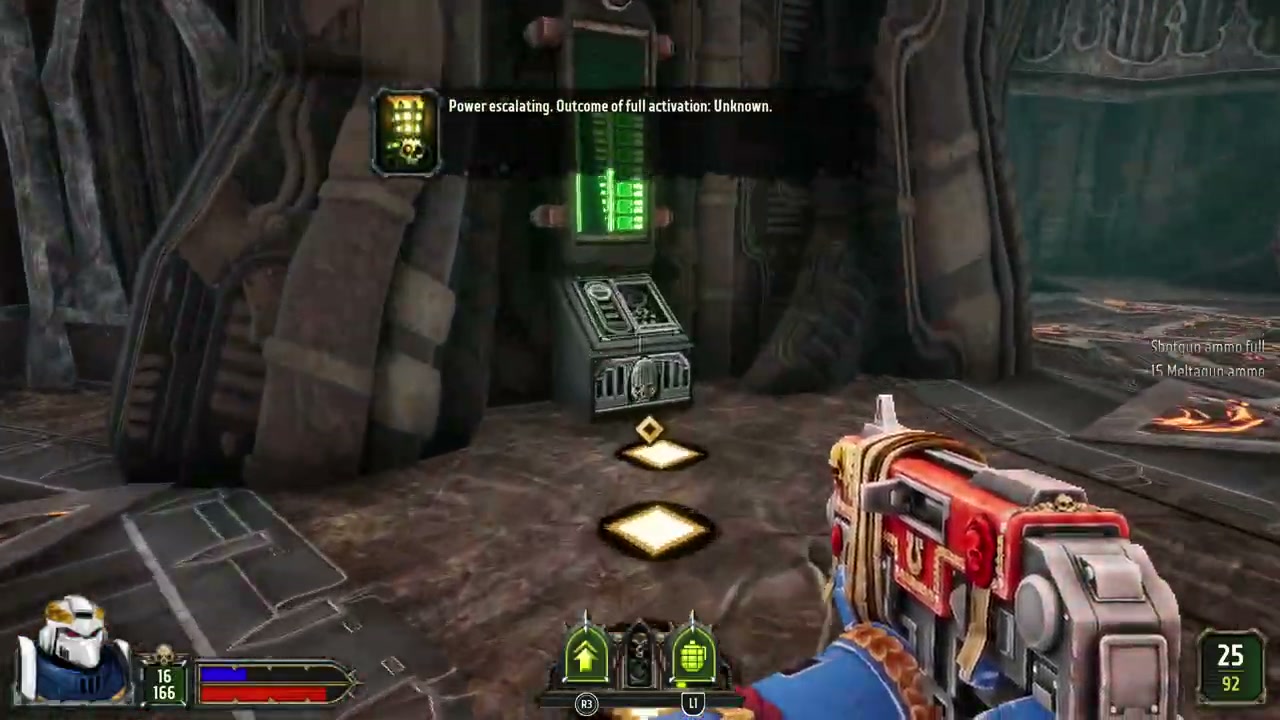
Later, the skull-pillared hall contains Helbrutes and a cluster of enemies around the far end. Clear that fight and collect the purple key that drops there. Open the double purple-symbol door, cross the narrow bridge, and continue into the large pillared chamber. The floating warp anomaly is followed by more enemies, including a Forgefiend; clear the encounter to reach the next level.
Vicious Circles
Use the outer passage to enter the central cylindrical chamber. Its consoles sit around the rim, while side doors lead into the surrounding fleshy corridors. Collect the purple key from the side encounter and use the purple-symbol console. Follow the opened route through the upper walkways until you reach the hazard-striped opening into a lower passage.
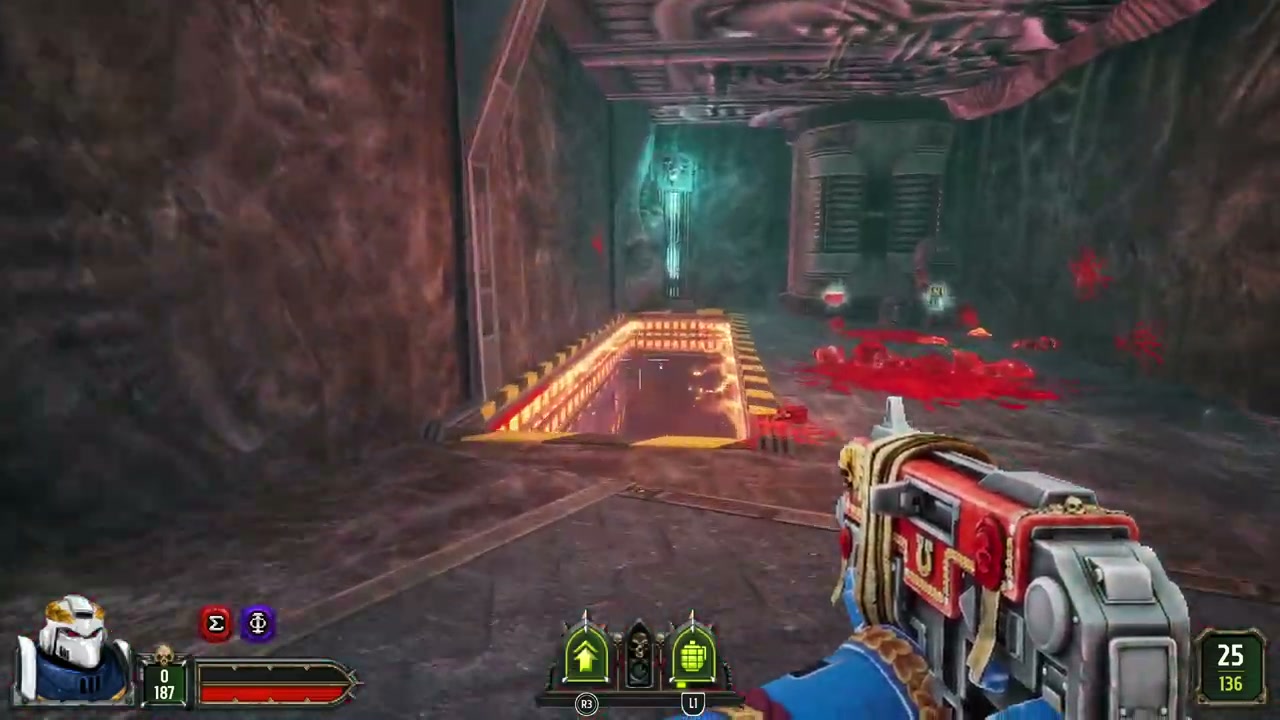
Drop into that passage and clear the Blue Horrors and the enemies beyond them. Climb through the return corridor to the central chamber. When the Servitor announces an exit route, take the newly available opening and continue around the outer corridor. If you are walking circles around the cylinder, revisit the lower passage; the route returns to this same room after a separate fight.
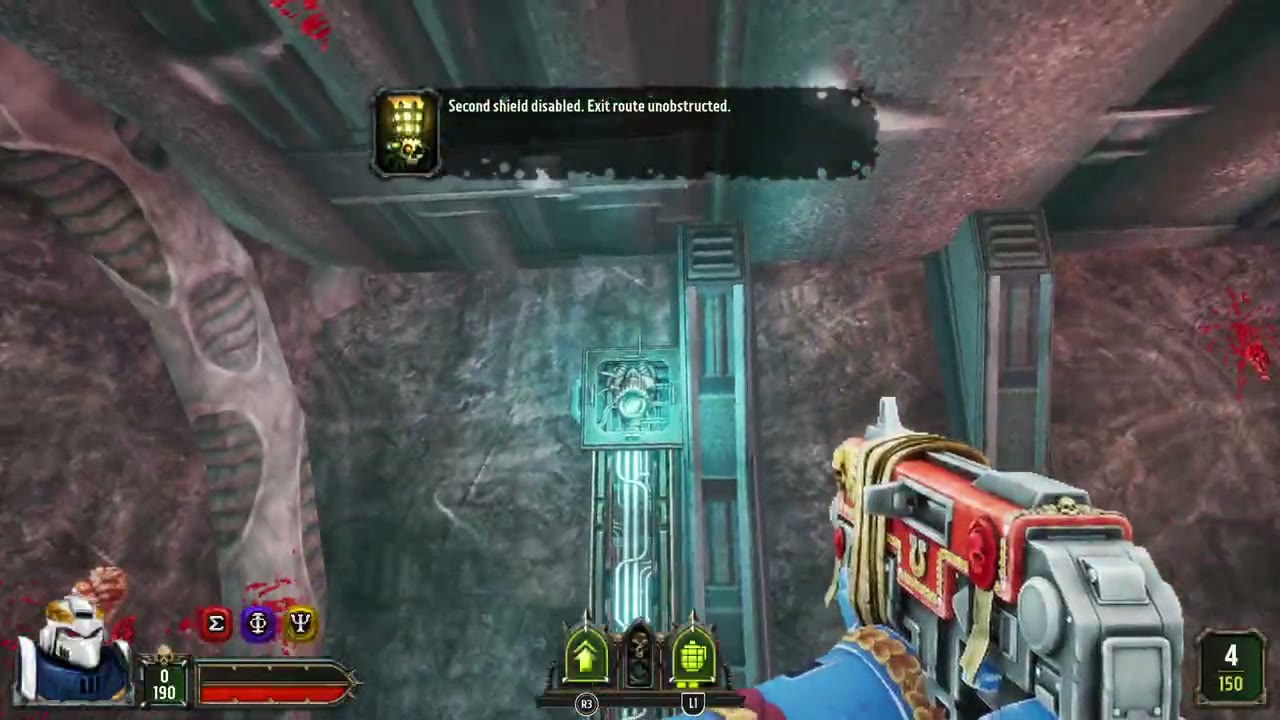
The next outer arena has two shields blocking the route. Shoot the glowing blue skull panel across the gap to disable the first shield. Work around the surrounding ledges, clear the enemies guarding the other side, and shoot the second skull panel. The second shield message confirms that the exit is unobstructed. Return through the outer passage to the cylindrical chamber and finish the remaining enemies there before leaving.

Ascent of the Arkifane
Cross the platforms into the large interior arena to meet Vashtorr. Fight across the gaps while keeping clear of the bright vertical energy column, and deal with the reinforcements joining the arena. This is an earlier encounter with him. After it resolves and the escape sequence plays, the campaign returns to the planet map.

On Erythine, select Forged in Battle. The caution on this card excludes Corrupt Core, which leads to different missions. The factory instructions below begin with Train Wrecked.
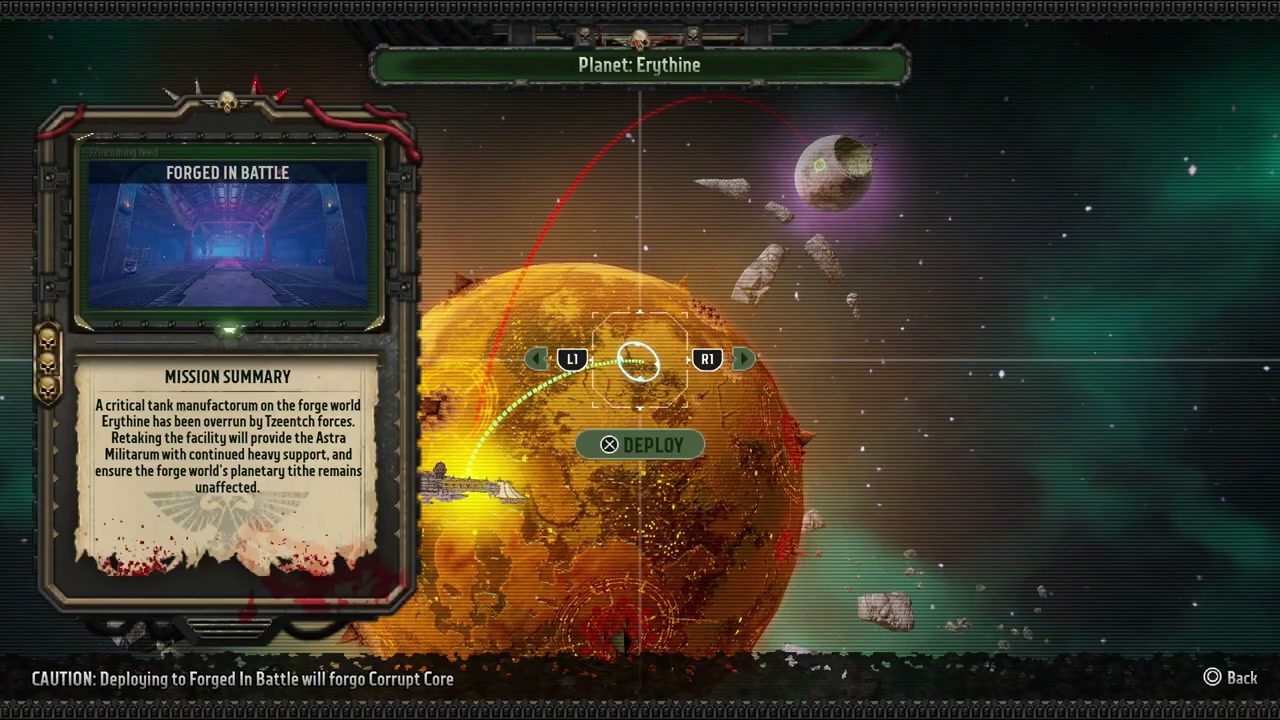
Forged in Battle: interrupt the tank line and clear Advance!
Train Wrecked
Follow the railway yard around the cargo and green-lit industrial buildings. Activate the green console in the interior room, then fight through the warp-contaminated passages to the yard beyond. Once the transport interruption objective updates, clear the remaining resistance in that yard. The exit follows the final Purge, leading into Tank Manufactorum.
Tank Manufactorum
The production hall assembles a battle tank while enemies attack from the floor and surrounding platforms. Watch the Servitor’s updates as the tank gains its weapons. The heavy bolter sponsons and their gunners come before the Demolisher Cannon stage. Deal with those mounted threats as they appear, using the hall’s pillars and solid machinery to break their line of fire while changing position.
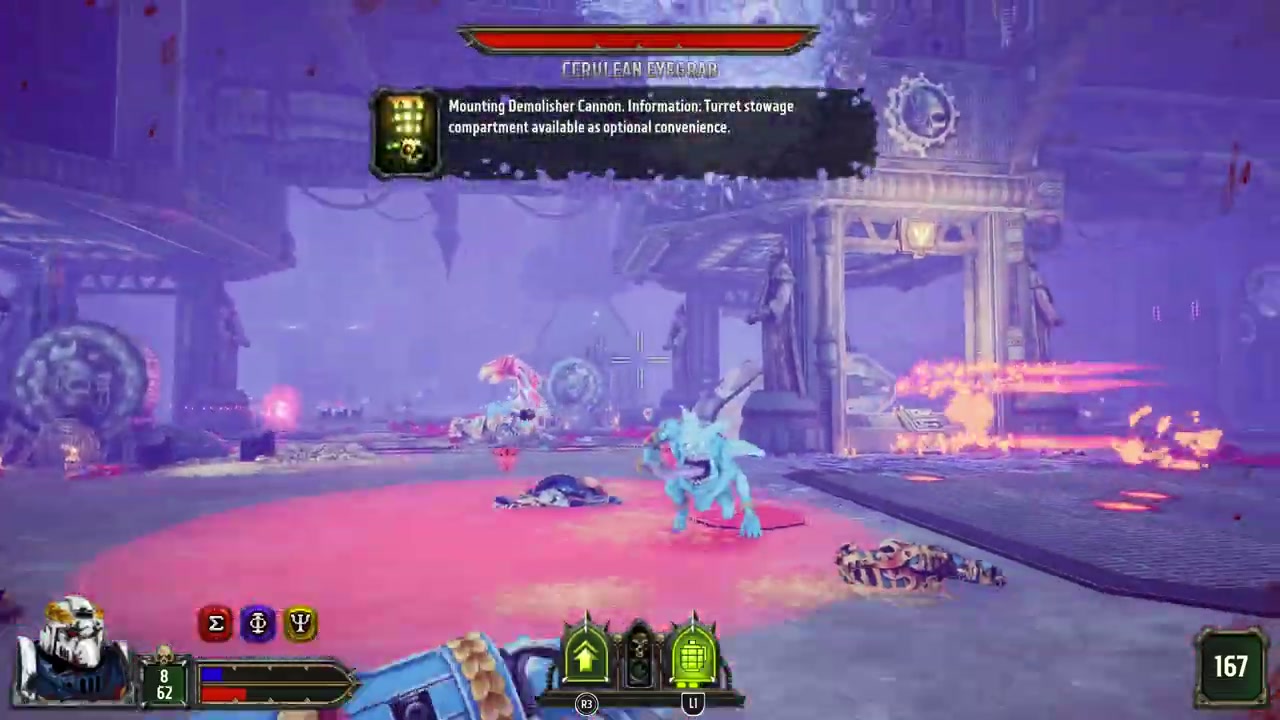
After the final assembly update, the tank proceeds toward field preparation. Take the side gangway into the adjoining rooms and operate the green door controls along that route. If a mounted target is still active in the production hall, finish that fight before searching the surrounding panels for another switch.
Advance!: the Leman Russ and the red door
Advance! brings you into a larger purple-corrupted factory. Fight the Leman Russ and the infantry around it, then take the route into the next open yard. When you reach the red-symbol door beneath the enormous eye carving, you still need its key. Turn back into the yard, work around the raised ramp, and collect the red key before returning to that same door.
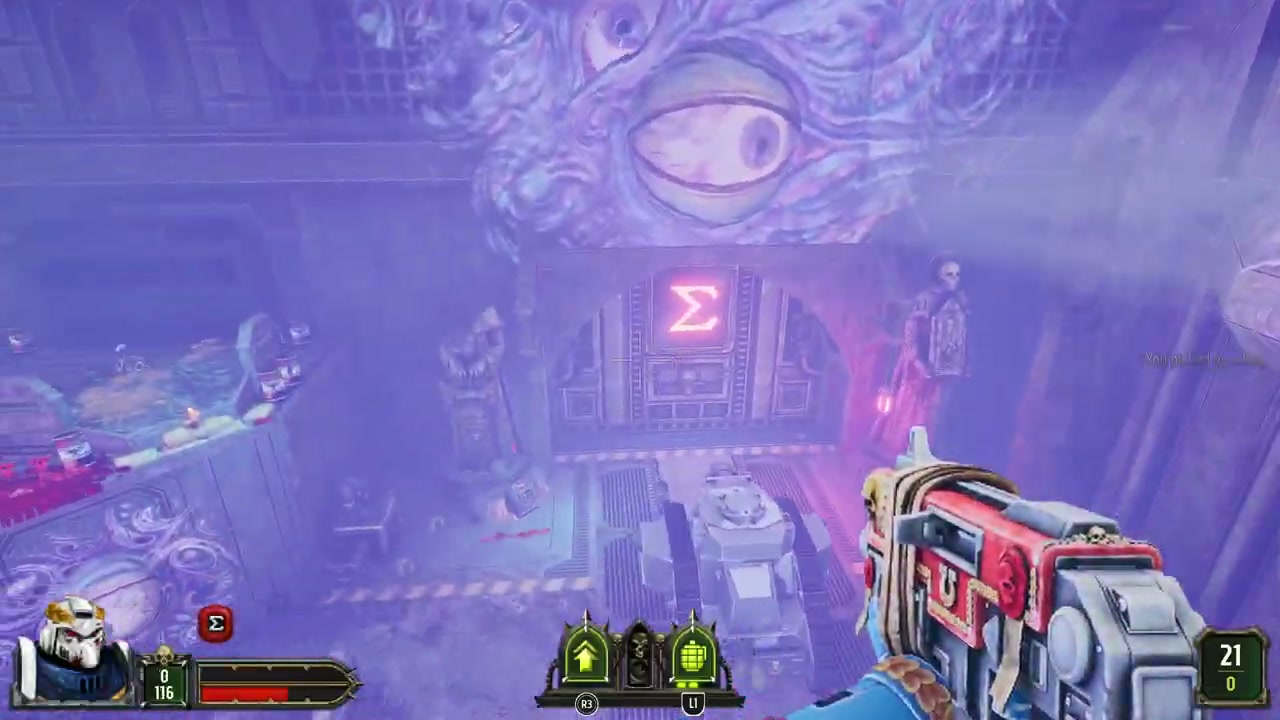
Beyond the red door, pass through the blue-white, eye-covered corridor into the outdoor combat space. Clear the resistance there and follow the newly opened route back into the factory. The later passage climbs over machinery and sandbagged platforms before opening into another yard. Finish its final Purge to reach Facing the Arkifane and God in the Machine.
God in the Machine: destroy Healing Pylons during the final Vashtorr fight
The final mission begins with successive groups from the Chaos factions. Clear each group and collect the supplies appearing around the arena before committing to the next fight. Munitions Boon is one of the available pickups here. Keep a firearm ready for targets above the arena and preserve space to move between the rock formations and platforms.
Vashtorr changes between ground-level attacks and hovering positions. Track him as he moves rather than firing at the last place he stood. Use the rock formations to interrupt a clear line of fire, then move out to attack from a different angle. His long beams and the other enemies in the arena can overlap, so leave yourself a route around the nearest formation instead of backing into an edge.
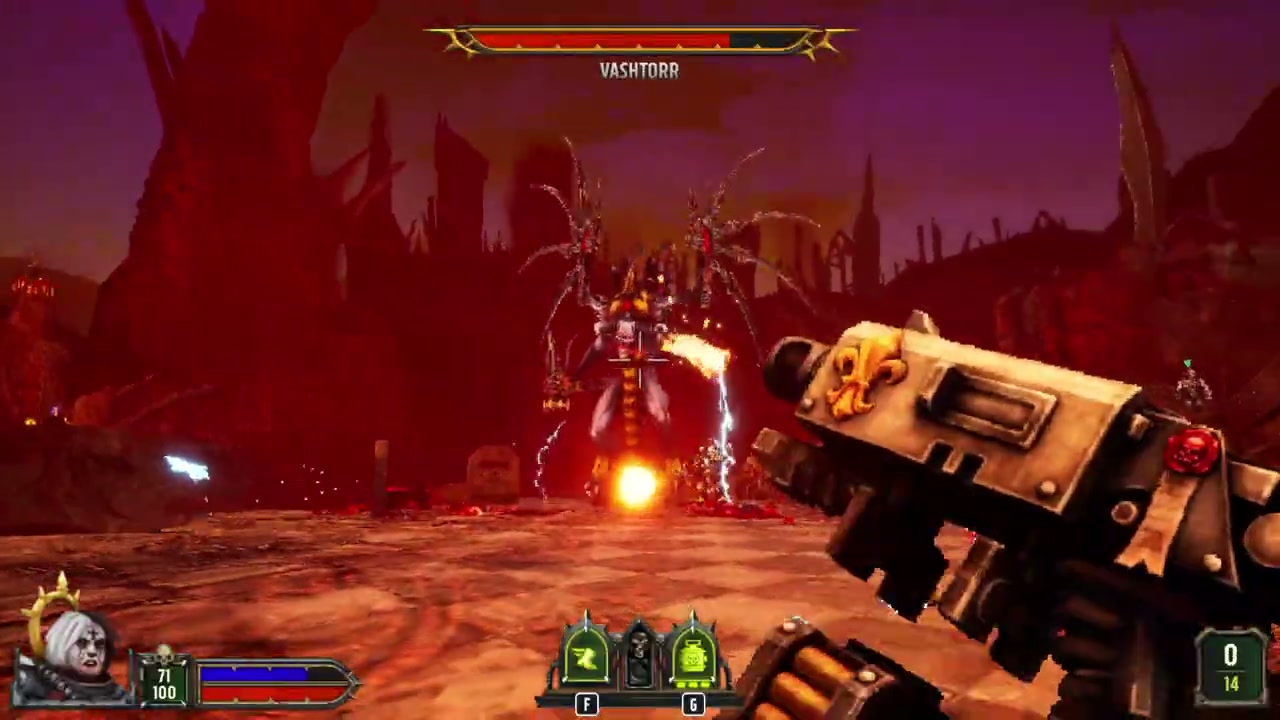
When a Healing Pylon appears, look for the violet link running toward Vashtorr and shoot the pylon. It has its own target label. Destroy it, then return your fire to the boss. Check for another pylon whenever the healing effect returns; continuing to shoot only Vashtorr leaves the healing target in place.
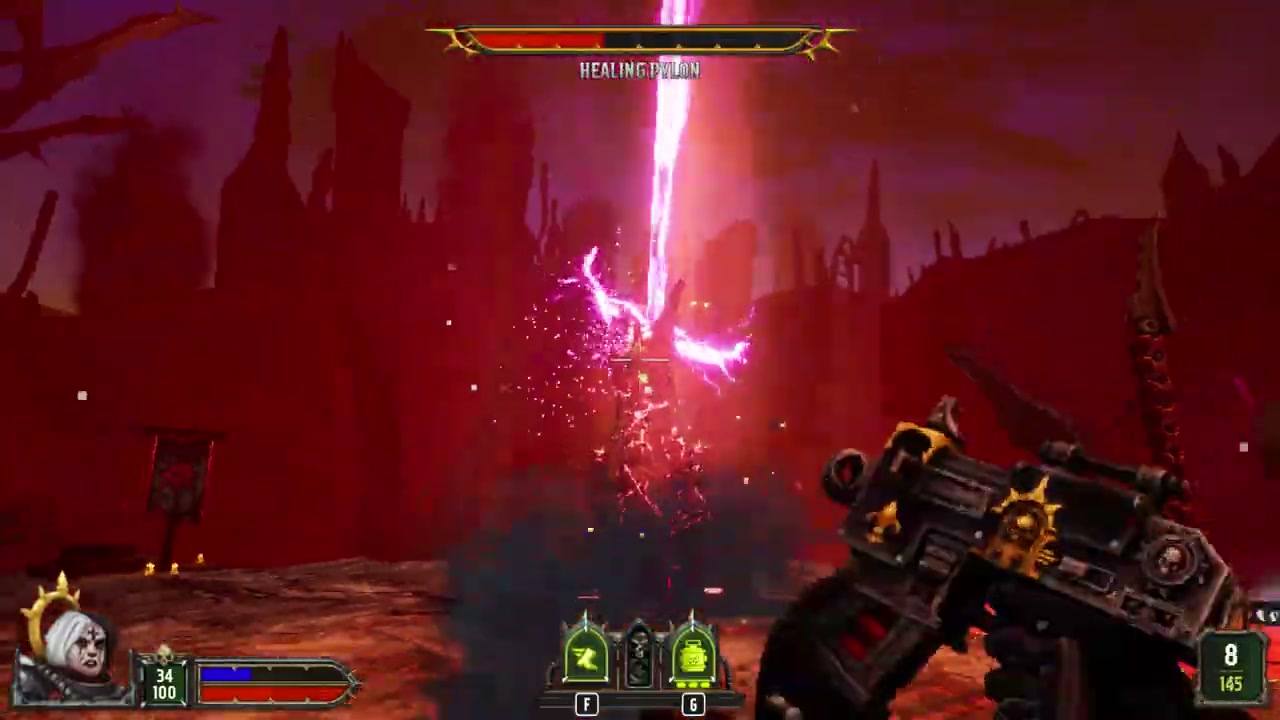
Keep clearing the reinforcements that block your movement while you work through the boss and pylon targets. With Nyra, use her slide and Leap to reposition, then attack once you have room to aim. With Malum, keep the Chainsword for enemies you can safely reach and use a ranged weapon for the hovering boss and pylons. Neither character needs to stand underneath Vashtorr to keep dealing damage.
If you die, choose Load Last Save to return to the latest checkpoint. Choose Restart Level only if you want to repeat the mission and its earlier fights. After reloading, check the arena for the current boss and pylon targets before spending ammunition; do not assume every target is in the same position as before the death.

Defeating Vashtorr triggers the closing character sequence and the destruction of the machine. Let the ending continue to the level result and credits. God in the Machine completes this route.