Start by following the docks into the sewers, then find the hidden well lever in the Ruined Market. Your first major objective in Castlevania: Belmont’s Curse is to collect three guardian keys: defeat the Fallen, Joan of Arc and Medusa, then return to the gate in the Fallen’s arena. Beyond that gate, the route leads through the Catacombs, Dracula’s castle, the Library, Clock Tower and Notre-Dame before the final ascent.
This guide follows the main story through Dracula’s two forms and the normal ending. It includes the traversal abilities and larger puzzles that open the route, with story spoilers throughout. The true ending’s additional requirements and a full collectible sweep are outside this route.
Paris Streets: open the well and defeat the Fallen
After Trevor leaves, go right along the Bank of the River Seine and enter the sewers. Break the boarded doorway with your Longsword. The route introduces wall jumps and slides before bringing you to a closed passage with a lever above it. Wall-jump up the shaft beside the grate and strike the lever to open the upward route into the Undercity.
The yellow rings on either side of the Undercity are beyond your reach for now. Climb through the middle exit into the Ruined Market. Go left from the entrance, climb the platforms and work back to the right. At the well with the hanging bucket, climb the balconies above it instead of trying to force the grate. A spirit on the upper right gives you the clue about a lever hidden near barrels.
Drop one level below the spirit and attack the left wall beside the barrels. Strike the revealed lever, then drop through the opened well. In the Central Sewer Drain, break the obstruction on the right and follow that passage to the blue-lit doorway. Use the Mirror of Life inside. Resting restores your supplies and sets your return point; dying sends you to the last mirror you used.
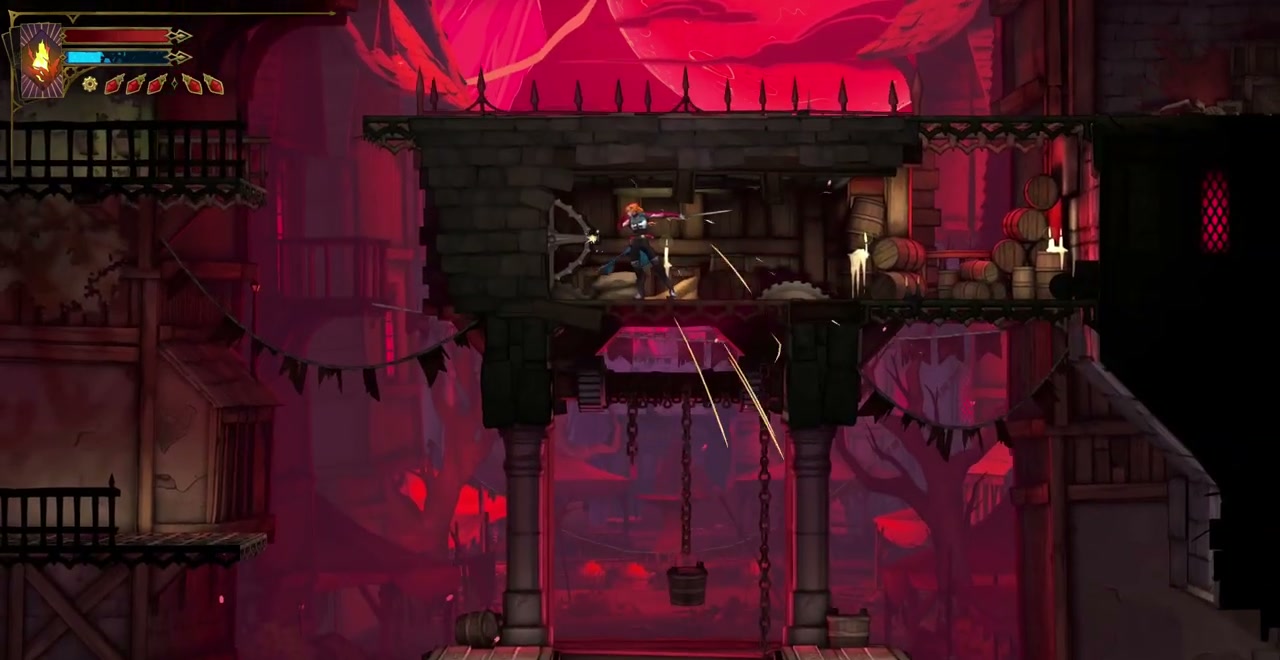
Leave the mirror to the right for the Sewer Reservoir. The upper passage is blocked, so drop through the central grates. Cross the lower chamber, climb the temporary platforms on the far side and return to the upper level. Turn left to strike the lever behind the original obstruction. Opening this shortcut saves you repeating the lower circuit after a death.
Continue right into the Path of the Rat. In the bat-filled stairwell, take the lower route to the spirit outside the boss door. Its clue points out that the Fallen’s thrown cross can be broken. There is healing meat behind the wall to the left of this approach if you need to top up before entering.
During the fight, attack the cross when it comes toward you. Jumping over the outward throw still leaves its return journey to contend with. For the Fallen’s melee combo, move behind his first swipes, land a short counterattack and get clear before the backward strike. Once he begins using the overhead anchor, watch his landing as well as the swing: jump clear of the floor slam after he crosses the arena. His straight whip attack reaches much farther than a claw swipe, so jump it rather than retreating a small distance.
Absorb the defeated boss to gain Holy Cross and the Fallen’s Key. Interact with the great gate to place the key and reveal the two remaining guardian slots. Leave the arena to the right. The following scene unlocks the Arcane Whip, which is your grappling ability; it is separate from the equippable whip weapons found later.
Return through the sewers with the Arcane Whip
Round yellow Luminous Anchors let Rose swing. Purple diamond-shaped Sharpened Anchors pull her toward the anchor instead. Use the first yellow anchor to climb out of the Abandoned Sewers, then take the purple anchor upward when the right-hand passage ends at Chaos Shards. You cannot remove those stones yet.
Swing left across the spike chambers to return to the Path of the Rat. The upper door is initially barred from its other side, so descend and go left into the Sewer Reservoir. You can now reach the central red Attack Up book by grappling toward the elevated enemies and anchors. To resume the story, climb the reservoir’s upper-right anchors, cross the upper Path of the Rat and break the door obstruction from this side.
The Whip Attack tutorial here is worth practising before the tower. Grapple toward an enemy and press attack during the approach to perform your equipped weapon’s special strike. Simply attaching the whip to an enemy moves Rose; it does not perform that strike by itself.
An optional Cestus chest sits in the Sewer Reservoir. A hidden upward grapple point near the large background staircase provides an approach, and the lower route from the Prison Tower also reaches this chamber. Opening the chest seals the exits for an enemy gauntlet. Clear the archers and bats before committing to a long punching combo against the flame-staff enemy. The walls reopen when the encounter is finished.
Prison Tower: the waterwheel, crane and Joan of Arc
From the upper Path of the Rat, climb into the Court of Miracles and go right. Use the anchors and elevated archers to cross the gaps into the Bridge of the Millers. Strike the lever beside the waterwheel to reverse its rotation, then ride a platform upward. At the overlook, the bridge to the right is raised. Take the left exit to the Burned District mirror.
Continue left through the Burned District. The spirit outside identifies the Warrior’s position at the top of the tower. The upper doorway in the ruined building is an optional detour into Seer’s Hovel: climb past the dripping acid and use the upper purple anchor to reach the Crypt Key chest. The relic restores health and mana when you open a chest, so equip it if you plan to take the weapon detours.
Return outside and continue left toward the Prison Tower. At its base, strike the ceiling lever to open the lower shortcut. The passage to the right reconnects to the Court of Miracles once you break the obstruction. The lower route leads back through the Sewer Reservoir and Sewer Entrance. Open the drawbridge shortcuts there, then climb the anchors to the signpost: the cemetery is left, the tower is right. Take the tower branch for this route.
Lower the approach bridge with its lever. In the central exterior shaft, raise the bridge on your side again so that its upright surface gives you a wall-jump route to the first entrance. This brings you into the Guard Level. Pass the spike plates and pendulums, then use the enemies and anchors to climb above the lower corridor. The Chaos Shard passages are still closed to you.
The climb alternates between rooms inside the tower and bridges outside it. After the Guard Level, take the exterior’s leftward swing to the Guard Storehouse. Climb through that room and leave by its upper-right exit. Strike the bridge lever outside, swing back toward the central tower and enter the Torture Level. An upper combat room on this approach contains an optional Attack Up book.
Inside the Torture Level, climb the wall-jump shaft before its spike plates extend. Continue left across the pendulums, swing from the yellow anchor and chain the purple anchors upward beside the spike wall. Take the doorway rather than the passage blocked by shards. Outside, remove the door obstruction, operate the bridge lever and swing right to the Prison Tower mirror. Rest here before attempting the last ascent.

The hidden crane is the useful shortcut at this height. From the bridge above the mirror, grapple to the purple anchor and swing upward between the yellow anchors outside the tower. Reach the upper ledge with an experience statue. The yellow anchor beside it is weighted: swing back and forth on it repeatedly until the mechanism opens the space above. Climb into that opening and use the lift.
At the top, break the blocked door and strike the lever to connect the upper passages. You can activate the crane before finding the Carpenter’s Crane Sketch; the sketch explains the mechanism but does not unlock it. If you take the longer route through the Upper Tower, its bridges and anchors eventually bring you to the same roof approach. A pair of large flame-staff enemies seals one of the climbing rooms, so defeat both before looking for another exit.
On the Roof of the Tower, go left up the stairs, climb the wall and approach the boss entrance on the right. Joan’s first two sword strikes face forward, but she can stab backward at the end of the combo. Attack from behind briefly, then disengage before that final thrust. When she raises her fist and the floating fireballs drop, stand between their vertical paths.
Her later jumping slam sends flames along both sides of the arena. Swing toward the middle from one of the yellow anchors to stay above the fire. Those anchors become temporarily unavailable when surrounded by dark flames, so do not base the whole fight on repeatedly grabbing the same one. Defeating Joan gives you Infernal Pyre and the Warrior’s Key. Pick up the Burnt Sword of Fierbois from the arena before leaving.
Holy Light opens the route to the cemetery
Leave Joan’s arena by the right exit and descend toward the Stairs to the Tower Roof. Joan grants Holy Light when the Chaos Shards obstruct the way. Hold it to disperse the shards while passing through them. Keep it active until Rose has cleared the wall; releasing it inside the stones brings them back around her.
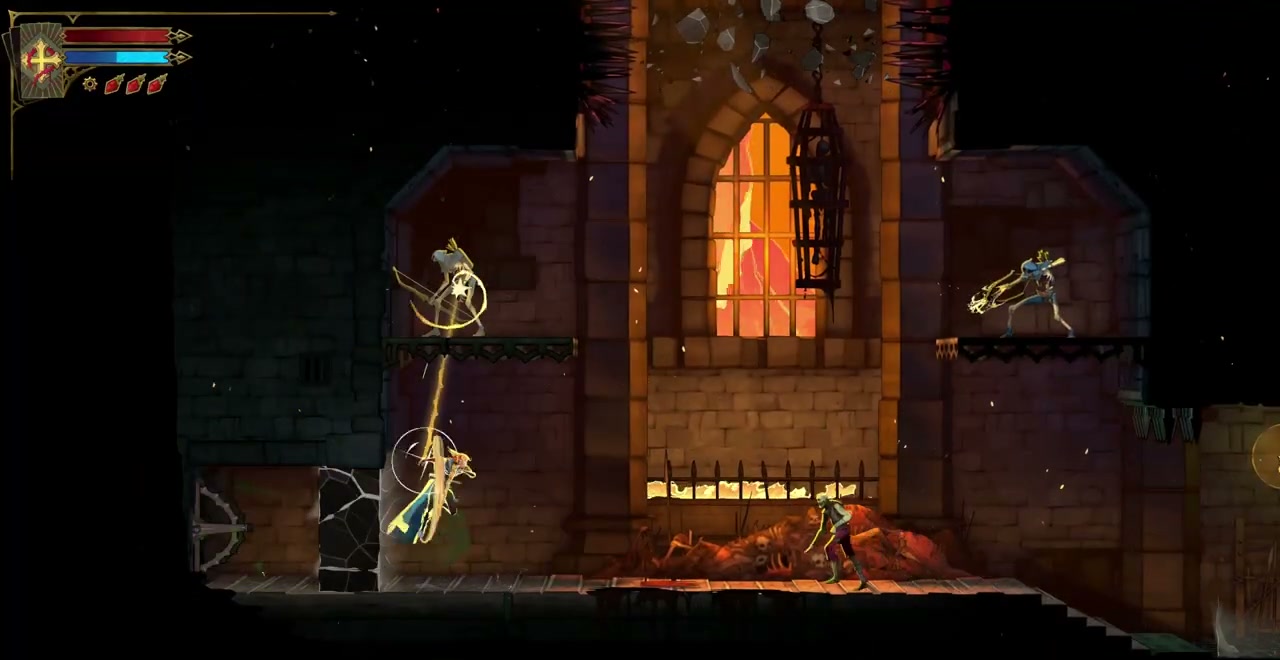
These stones also serve as platforms when Holy Light is off. For a climb that uses them as walls, switch the power off to regain a surface, wall-jump, then turn it on again only when you need to pass through the next obstruction. Holy Light also parries attacks when activated as a blow arrives. It is a separate ability from equipping Joan’s Infernal Pyre spell.
Descend through the tower, opening its shard shortcuts as you go. Return to the hanging direction sign above the Sewer Entrance and take the left branch toward Holy Innocents’ Cemetery. Your next key belongs to the Prophetess.
Holy Innocents’ Cemetery: descend to the Serpent’s Lair
Enter the cemetery from the east and work west. Early on, a closed gate forces you up and over its wall. In the combat room beyond, focus on the glowing green coffin: it keeps bringing enemies into the fight until destroyed. Clear the remaining creatures and use the anchor to reach the lever that opens the exit. Continue to the nearby Mirror of Life.
The Cloister introduces falling chandeliers. Move out of their landing paths, then pass through to the concealed opening in the floor. It drops you into the Sepulcher of the Knight, where the spirit gives the Roman Baths clue. Descend the shaft, then turn left through the spike-and-platform chamber. Its anchors lead upward into the Memorial for the Dead. Open the lever shortcuts back toward the Cloister before taking the western exit.
The Fountain of the Innocents lies to the west. Swing over the blocked doorway to reach its other side and open it. Beyond the stairs is the Fountain of the Lost, recognizable by its skeletal figure with a scythe. Slide through the low passage beside the fountain to enter the Roman Baths. Use the lever near the spikes to lower the obstruction, then swing around underneath it. The spirit in the upper part of the chamber explains the guardian’s gaze.
Continue west through the baths to the Roman Aqueduct. Its saws require alternating between short safe ledges and the anchors over the water. At the Ruins Entrance, climb through the northern grate into Pauper’s Grave and open the door to the surface. The Hollow Tree is the landmark here; the mirror is to its left. Rest before returning underground.
The Lance is a useful optional pickup before Medusa. From Pauper’s Grave, take the upper route east through the Ossuary of the Innocents. After the coffin gauntlet, continue east to the high side of the Fountain of the Innocents. Use the purple anchor and wall jumps to reach the mausoleum rooftop chest. Opening it starts another fight. Afterward, the nearby lever raises a wall you can use to climb out.
For the boss route, descend beneath the Hollow Tree, then follow the Roman Aqueduct east and down into the Roman Baths. When the gate blocks you, turn left into the Hot Springs. Time the retracting spikes, then drop to the saw-blade corridor. Use Holy Light to slip into the Chaos Shard-covered floor recesses as the large saw passes overhead. Keep the power held while sheltering inside a recess.
On the next level, wait for the linked saws to travel away, then chain the anchors eastward. Back in the baths, grapple upward and open the lever shortcut. Continue east across the water chamber. A passing Medusa Head provides the extra grapple height needed above the temporary platform. If you miss it, wait for another head; these enemies continue appearing.
The next area is the Serpent’s Lair. Descend past the huge Medusa carving, save at the mirror off to the right, then return to the stairway leading down to her door.
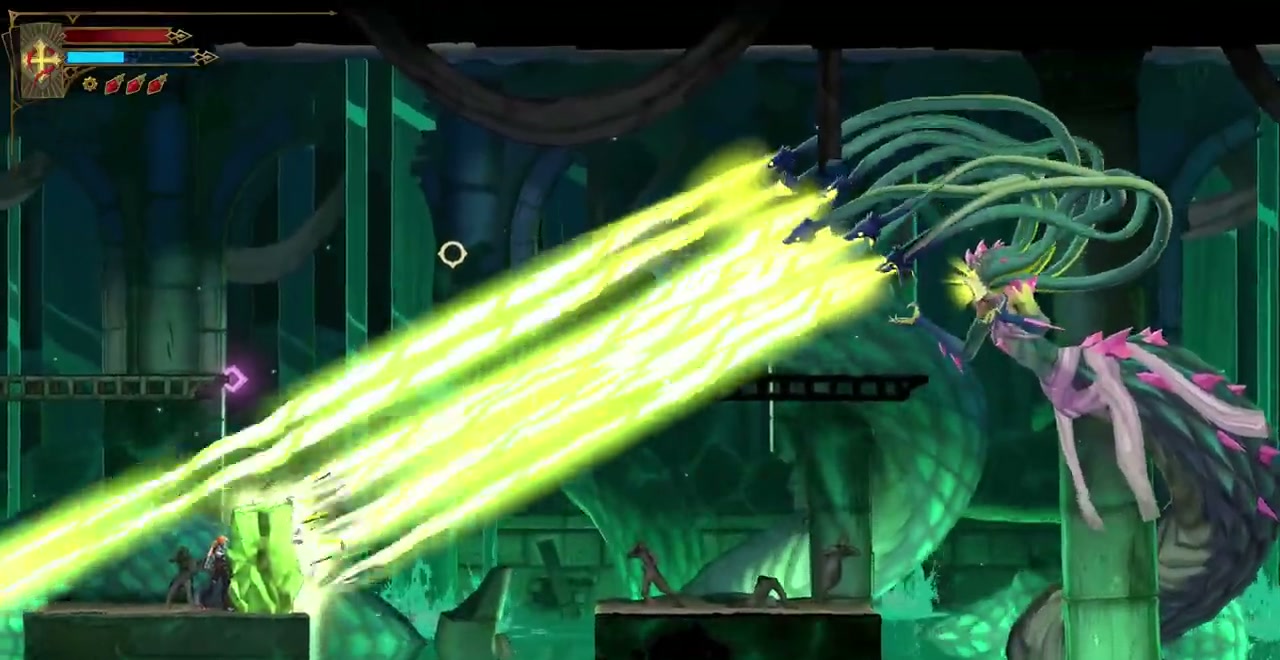
Fight from the upper platform nearest Medusa, using weapon strikes and Holy Cross. Infernal Pyre is poorly suited to this arena because Medusa is not standing on Rose’s platform. When Medusa switches sides, cross by the anchors and resume attacking from the corresponding upper ledge.
Her screen-filling rays require cover. Watch for a boulder falling onto a lower platform, then drop behind it so the rock lies between Rose and Medusa. It appears on the side opposite her current position. The lower ledges expose you to her tail during the rest of the fight, so climb back up after the rays finish. If she begins repeatedly striking an upper platform, move to the other side instead of trying to trade hits.
Absorb Medusa for Petrifying Gaze and the Prophetess’s Key. The right-hand exit contains the Rusted Harpe and Aegis sword-and-shield set. Leave through the Ancient Sewers, using Holy Light to pass the shard obstructions and opening the lever shortcut on the way. The eastern exit returns to Paris Streets on the far side of an old blocked door. Break it open and return to the Fallen’s arena. All three keys now open the Catacombs.
The Catacombs lead to the first encounter with Death
Beyond the guardian gate, follow the Catacombs’ Path of the Abyss into the deeper passages. The rotating saws leave small solid ledges between their paths. Land on one of those ledges, wait for the next blade to pass, then grapple across. Keep moving over wooden platforms, which collapse before a full saw cycle finishes.
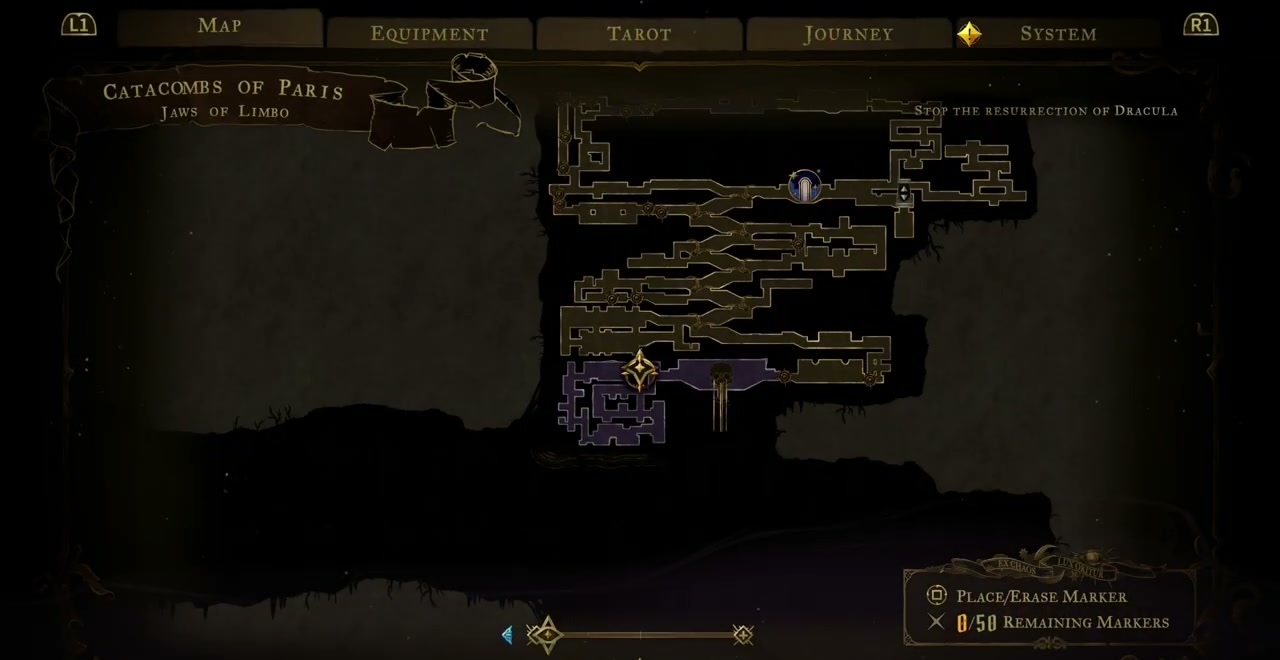
From the Crossroads of the Dead, take the descending route below and to the left of the mirror corridor. The lower passages alternate between sloping burial tunnels and saw chambers. The Chamber of Whispers side passage ends at a spirit; return from it to the saw route rather than searching that dead end for an exit. Grapple through the next saw chamber, continue down the burial passages and clear the long arched combat room. Its exit leads toward the enormous skull carving in the Jaws of Limbo.
Pass through the skull-faced chamber and take the drop into the red-lit vertical shaft beyond it. Use the anchors to descend and take the mirror off the shaft before following the red passage onward. The Hall of the Fallen Angels contains an optional Whip pickup. That is an equippable weapon; you still use the Arcane Whip to grapple regardless of your weapon. After the pickup chamber, head back along the red corridor and use Holy Light to drop through the Chaos Shard floor beside the small red doorway. This drops you into the green-lit lower passage. Go left through it, activate the mirror and continue into the large chamber where Trevor is trapped.
The first Death encounter advances the story through defeat. His opening touch and follow-up scythe attack can end the fight very quickly. Let the resulting scenes finish instead of treating the loss as proof that you missed an attack upgrade. The story moves Rose to a new position, introduces the Ferryman and changes the objective toward Dracula’s castle.
The Ferryman’s Wharf lets you travel between unlocked regions. Use Paris Streets to return toward the city crossing, then take the route across Notre-Dame Bridge to the castle. This is the long outdoor approach with Mermen, Gargoyles and armored spear enemies. Use the airborne targets as grapple points when the gap is too long for a normal jump. Break the wall above the last doorway for healing meat before entering Isaac’s arena.
Isaac’s spear continues attacking after he throws it. Keep moving as it spins and redirects toward Rose, then counterattack when he retrieves it. At close range, dodge through his forward attack and strike from behind. Holy Light can parry his attacks if you are comfortable with the timing. After the fight, enter the Main Hall and activate its first mirror.
The Main Hall’s paintings lead toward the Library
Inside the Main Hall, the oval paintings are launch points. Grapple into one, aim Rose toward the next platform or painting and launch along the visible trajectory. Wait for a buzzsaw to clear your projected path before launching. Some paintings move, so line up the next launch after the frame has carried Rose into a safe position.

Work through the Armoury and Archives toward the Path of the Cockroach and Dungeon. Drop through the Dungeon’s central passage to reach the Grand Hall entrance. Strike the ceiling gear inside the hall to open the upper passage. Its painting chains and side stairways connect the higher rooms, including the Watch Tower and the approach to the Elevator to the Library. Open the mirrors on this circuit so that a failed launch does not require repeating the whole castle entrance.
In a mirror room, crouch in front of the mirror and wait to enter the Hall of Mirrors. This lets you travel between discovered mirrors within the region. The Ferryman handles travel between regions. Use the mirrors to retrace the Main Hall branches when you return from the Library or Clock Tower.
Enter the Library and climb through the shelving rooms toward the Planetarium and Observation Tower. The large suspended globes and smaller glowing orbs provide the upward route. Bounce from the smaller orbs to gain height, then catch the next anchor before falling back below the shelves. At an orrery with an accessible circular switch, strike it to rotate the mechanism and bring an orbiting platform into reach. Ride upward and transfer to the next fixed ledge.
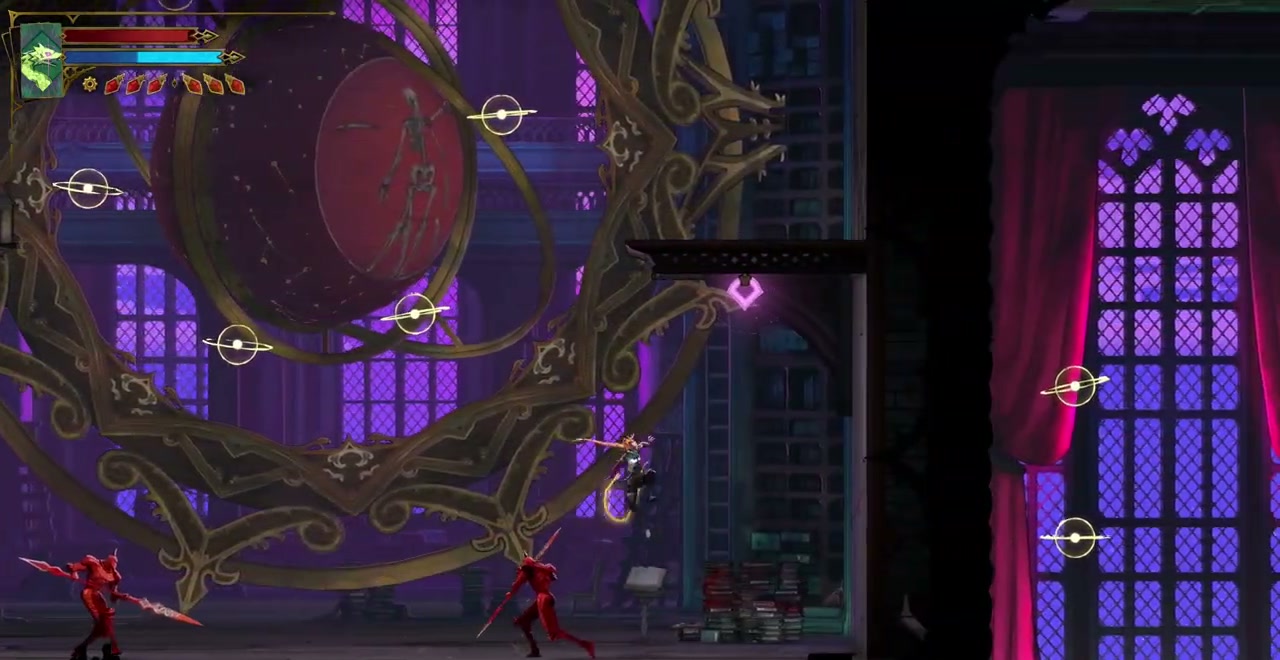
Continue up the central shafts of the Observation Tower, using each rotating mechanism to reach the next section. Take the upper-right route toward Carmilla’s chamber. Save at the mirror on the approach. The red moon and blood-filled room mark the boss encounter.
Carmilla places a countdown over Rose at the start of the fight. Her blood attacks reduce it when they hit, and reaching zero is fatal. First break the two skull shields circling her; attacking Carmilla while those shields protect her wastes your opening. Jump over the raised crest of each blood wave, then close in when the shields break.
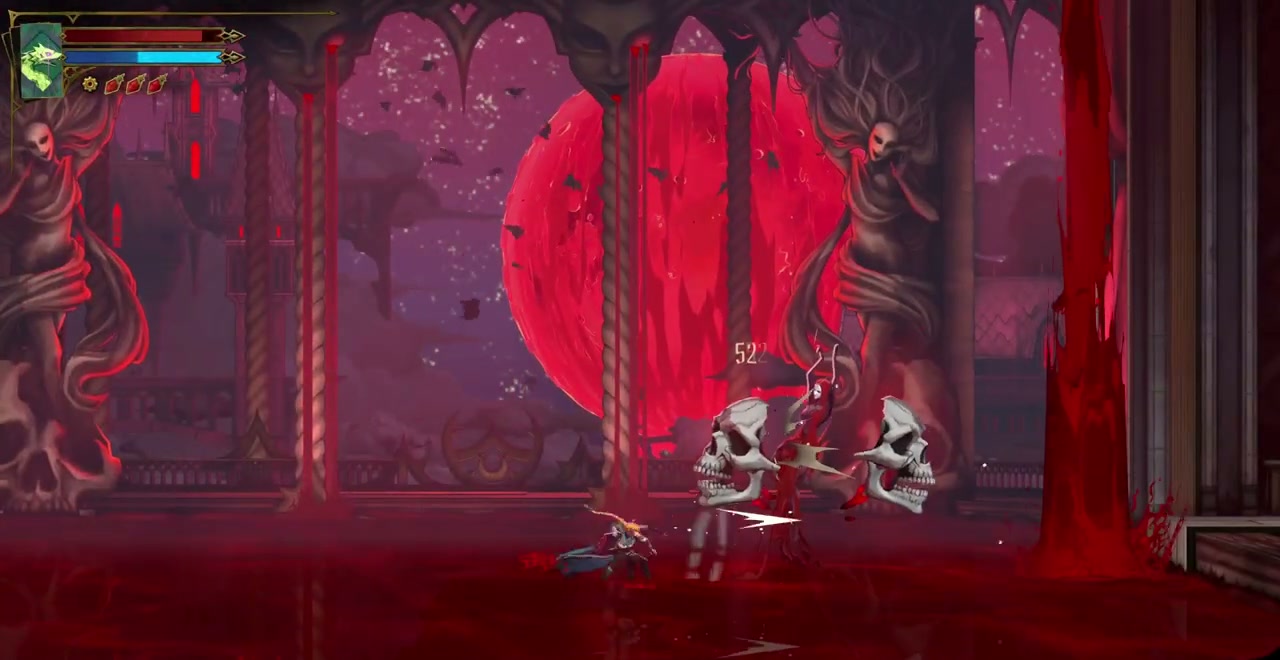
Later, blood pillars mark out lanes across the floor. Move into a gap before they erupt, then prepare to jump the waves that follow. Save your dash for repositioning between attacks rather than repeatedly crossing the whole arena. Defeating Carmilla grants the Occultist card and Blood Spikes. Follow the exit to obtain Aerial Rush, the air dash needed for the longer jumps ahead.
Clock Tower: reach the Foundry and defeat Talos
Return to the Main Hall and take the Clock Tower route. Aerial Rush carries Rose across gaps that end beyond an ordinary jump, while the purple anchors let her change height before dashing. Through the Mechanic’s Ascent and Eastern Access Shaft, strike the exposed gear switches to move the linked platforms. Wait for a usable orientation before starting a climb; a rotating surface can carry you directly into spikes.
The Builder’s route descends toward the Foundry Apex. In the shaft with the large mechanical fists and rotating platforms, use the fists to hit the switches until the platforms stand vertically. Wall-jump up the lowest upright platform and move across toward the blocked opening. Lure the descending fist onto that blockage, get clear of its impact and drop through the hole it creates. Continue down through the Foundry’s gear mechanisms, opening the shutters as you reach them.
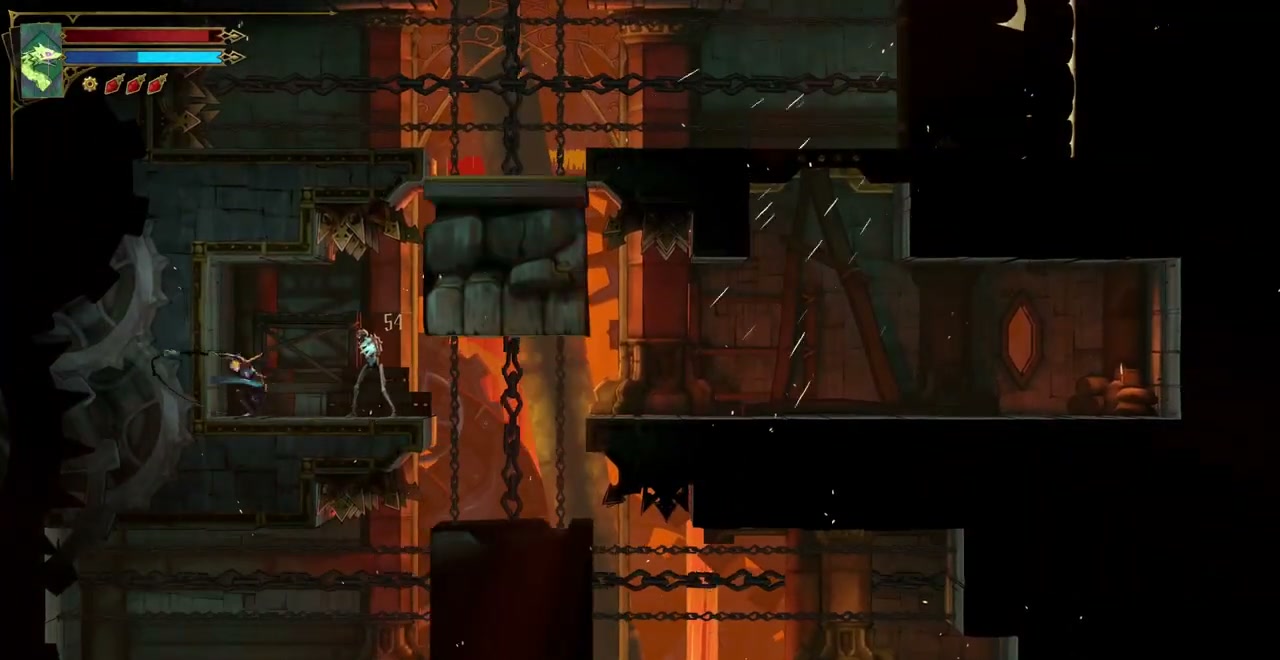
Activate the Foundry Apex mirror and follow the lower Foundry passages toward the Builder’s chamber. To pass a descending mechanical fist, step into its path long enough to trigger it, then retreat onto the ledge. Cross after the impact, while it retracts. The neighboring anchors let you clear the spike pits without standing under the next fist.
Talos fights in a tall arena with several small platforms. Grapple between levels and attack the illuminated core in his torso when the arms leave an opening. Move to another platform before a fist lands on yours. His broad arm movements cover more than the space directly in front of the core, so break off your attack when an arm begins crossing your level.
The fight also sends Rose into the mechanical-fist passages outside the central room. When this happens, follow the open circuit back to Talos instead of waiting where you land. Cross after the first fist slams, climb with the purple anchors and use the upper passage over the spike-lined floor. Follow the next descending anchor route back into the central arena from the other side. A later circuit displays a countdown: keep moving through the same kind of fist-and-anchor sequence and get back to Talos before it expires. Resume attacking his torso once you return.
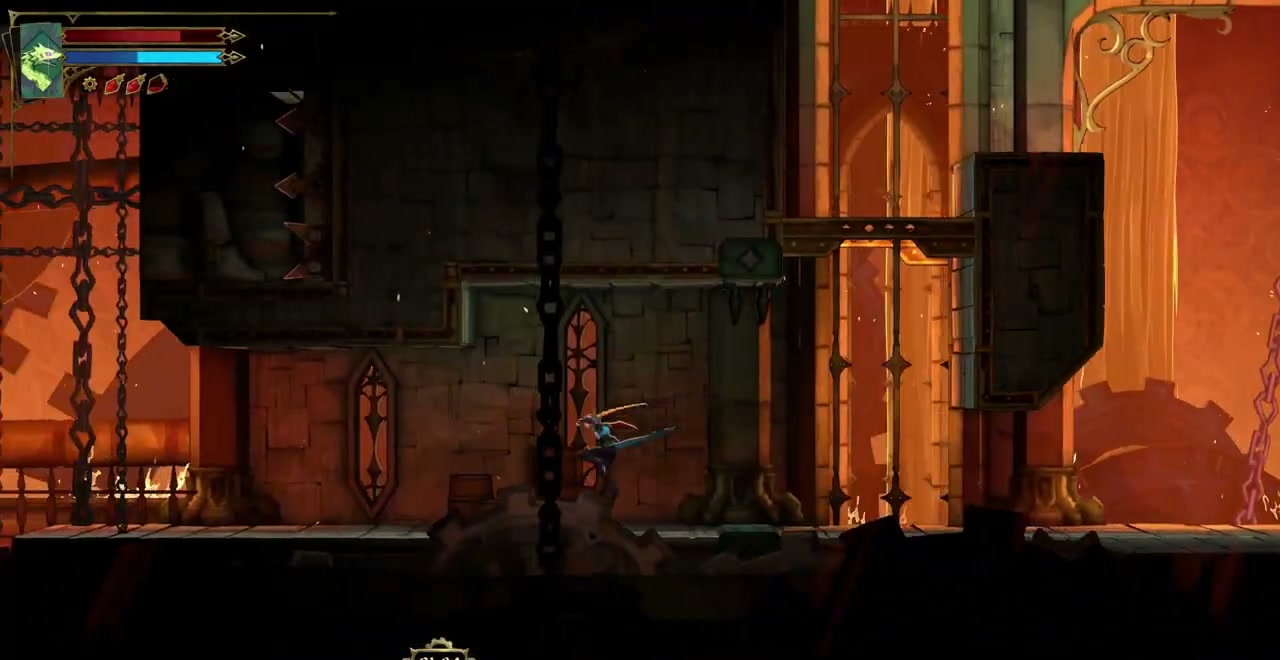
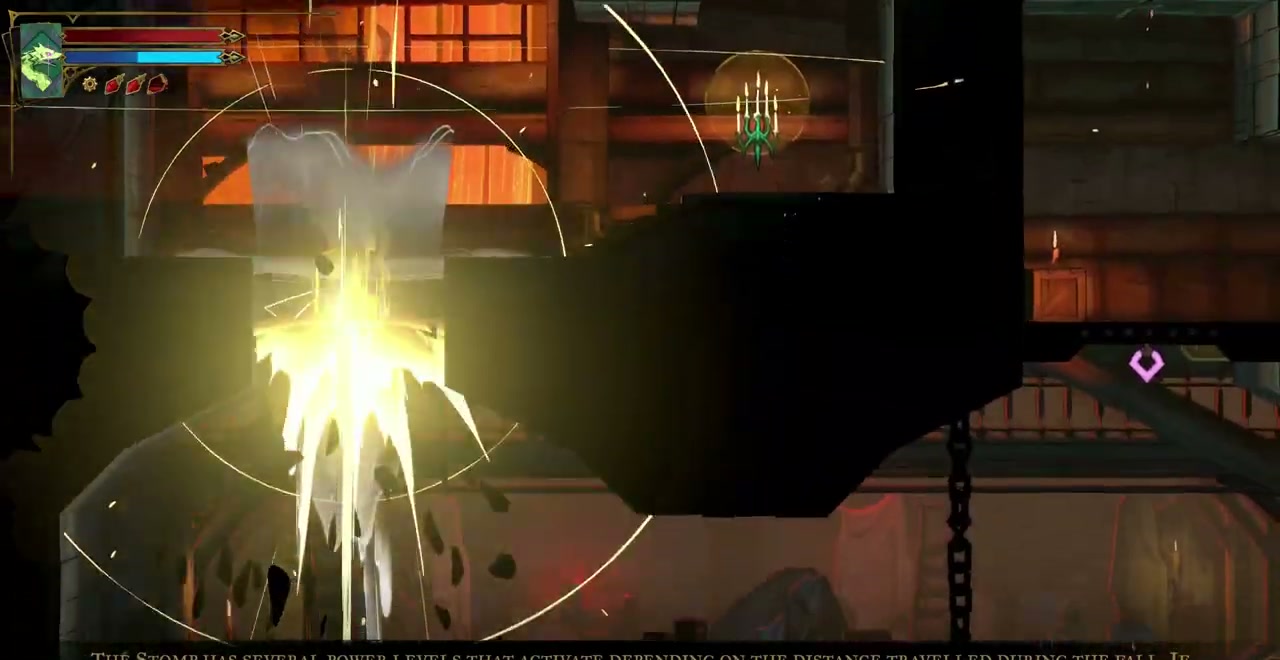
After absorbing the Builder, follow the exit into the Builder’s Bureau. The traversal reward is Stomp. Press down and jump while airborne to crash into the ground. Golden cracks mark breakable objects. The impact grows stronger with the distance Rose falls, so a thick block that survives a short hop needs a higher starting point. Climb back to the upper platform and stomp from there rather than repeating the same shallow jump.
Do not continue through the cursed Horologium on the Clock Tower Bridge yet. Going through before defeating Death triggers the bad ending. The Ferryman returns Rose to the last mirror afterward, but the direct story route is to turn back, obtain the Artist’s help and go to Notre-Dame first.
Return to Brauner’s Atelier and enter Notre-Dame
Return to the Main Hall with Stomp. From the Grand Hall’s Ferryman’s Wharf approach, use the nearby painting route and follow the Alucard portrait toward the concealed passage into Brauner’s Atelier. Portraits pointing toward otherwise empty walls or ceilings are useful landmarks here. In the atelier, strike the gear that raises the shutters, then use the paintings to climb above the sculpture.
Stomp onto the sculpture from the higher painting route. A low jump beside it does not give the same impact. Breaking it brings out Brauner, the Artist. His confrontation ends with him surrendering his power, granting the Artist card and Masterpiece.
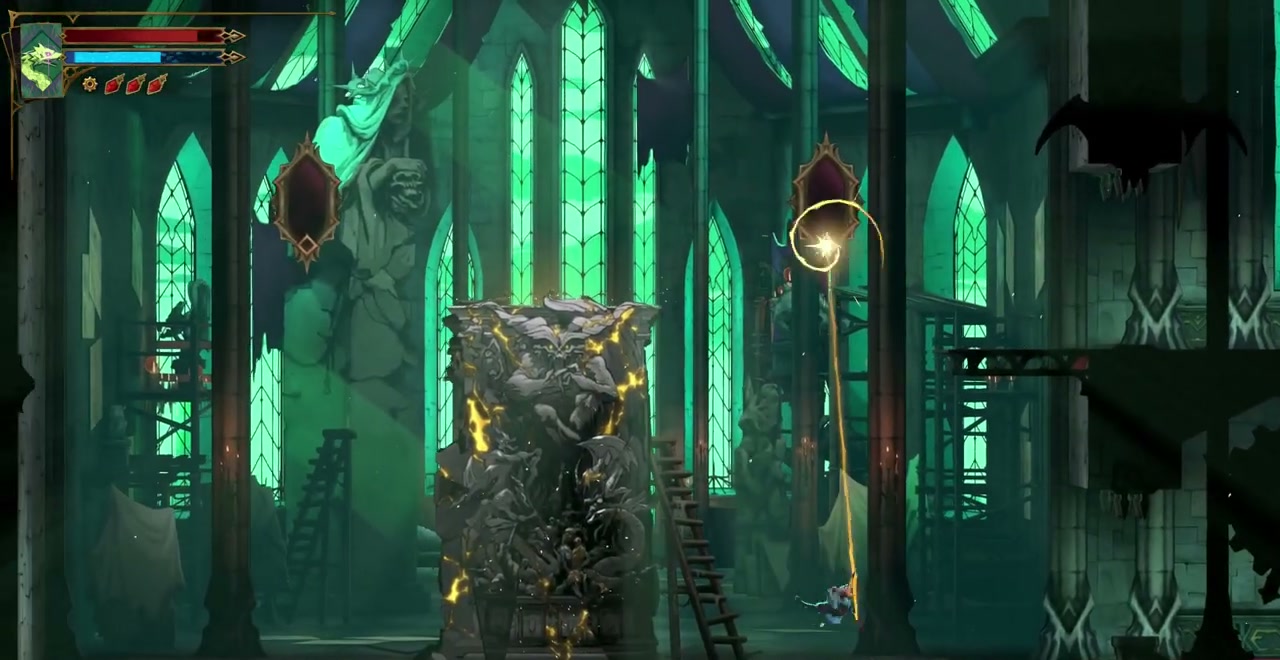
Masterpiece summons a gargoyle that fires at nearby enemies; casting it again can send the gargoyle down onto a target. The game also introduces Arcanic Resonances, hidden interactions that react when the appropriate Arcana is equipped. Watch for the tarot reaction as you revisit unusual objects, rather than assuming every cracked or conspicuous surface responds to a normal weapon.
Equip the Artist’s Masterpiece Arcana, then interact with Brauner’s golden Notre-Dame painting. This Arcanic Resonance opens the passage into the cathedral. Head right through the cathedral’s main nave. At the organ, the corrupted pipes block the way and reveal a new clue. Turn back to the route below the nave and activate the nearby mirror. Your task here is to find the composer’s melody and play it on the zodiac organ.
Play the Sonata of Notre-Dame, then confront Death
The Great Organ Room has fourteen floor keys: twelve zodiac symbols plus the sun and moon. The answer is recorded on the Melody Sheet for the Sonata of Notre-Dame in the Stained Glass Gallery. To reach it, work up through the cathedral passages toward the Chapel of the Four Virtues, then take the route into the higher gallery. The chapel is recognizable by its enormous orange rose window, flanked by colored figures.
From the chapel and its neighboring passages, climb the outside tower sections by combining anchors, wall jumps and Aerial Rush. Use Holy Light for the shard sections, switching it off whenever the next landing depends on the stones becoming solid. At the wooden tower’s horizontal moving platforms, use the purple anchors underneath to change height, then move away from the green beam running along the platform’s edge.
The route through the upper cathedral reaches the statue-lined rooms of the Sealed Scriptorium. Clear the enclosed enemy encounter, then continue into the Stained Glass Gallery. Speak to the spirit beside the zodiac windows to obtain the melody sheet. You can read the sheet again rather than trying to infer the notes from the musical staff’s height.
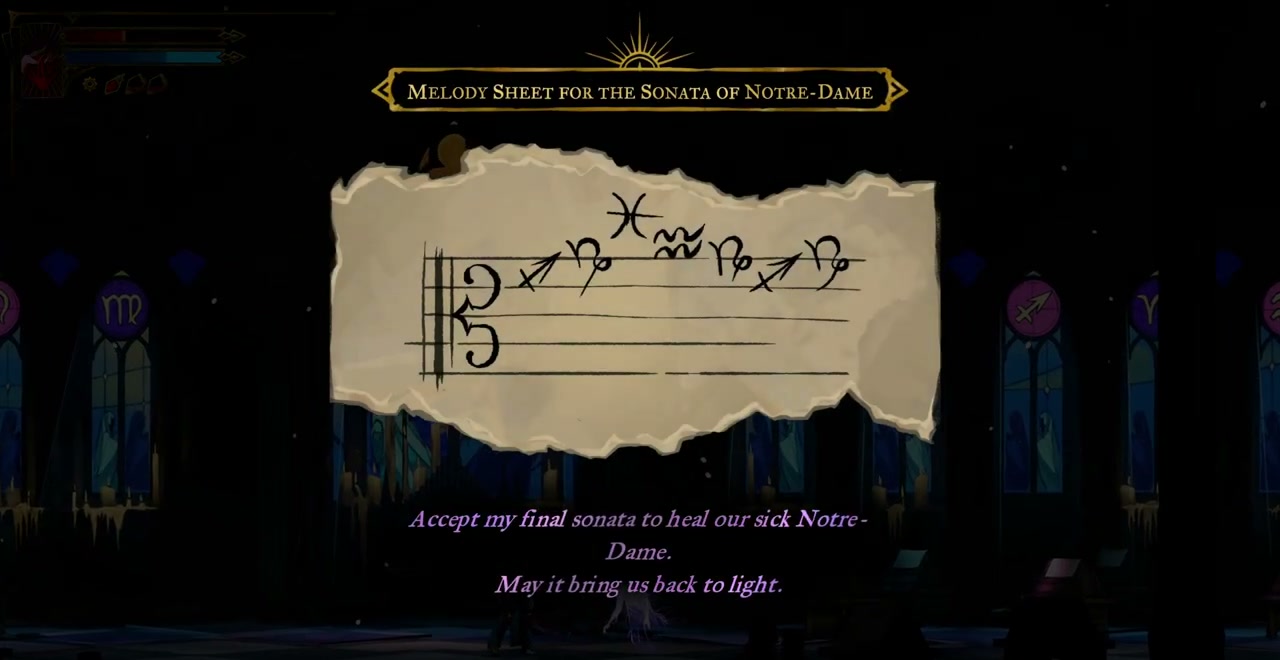
Return to the Great Organ Room and play these symbols in order:
- Sagittarius
- Capricorn
- Pisces
- Aquarius
- Capricorn
- Sagittarius
- Capricorn
The keyboard runs from Aries on the left to Pisces on the right, with the sun and moon between Virgo and Libra. Counting every floor key from the left, starting at one, the sequence is 11, 12, 14, 13, 12, 11, 12. Land on each marked key to press it. Jump over the keys between your intended notes, using Aerial Rush for the wider gaps. If you press an unintended key, begin again with Sagittarius.

Playing the sonata clears the corruption from the cathedral’s pipes. Return to the previously blocked route in the main nave, pass through and climb toward the Tree of Souls. The outer branch path and anchors carry you across to the upper sanctuary, where Death is waiting. Rest at the mirror on the approach before entering the fight.
This is the Death fight you can win. Use the platforms and purple anchors to get above his broad ground-level scythe sweep. When luminous lines mark a large diagonal attack, move out of that lane before the full slash appears. His green projectiles and returning scythe continue moving while he changes position, so check the space you are jumping into rather than watching only his current location.
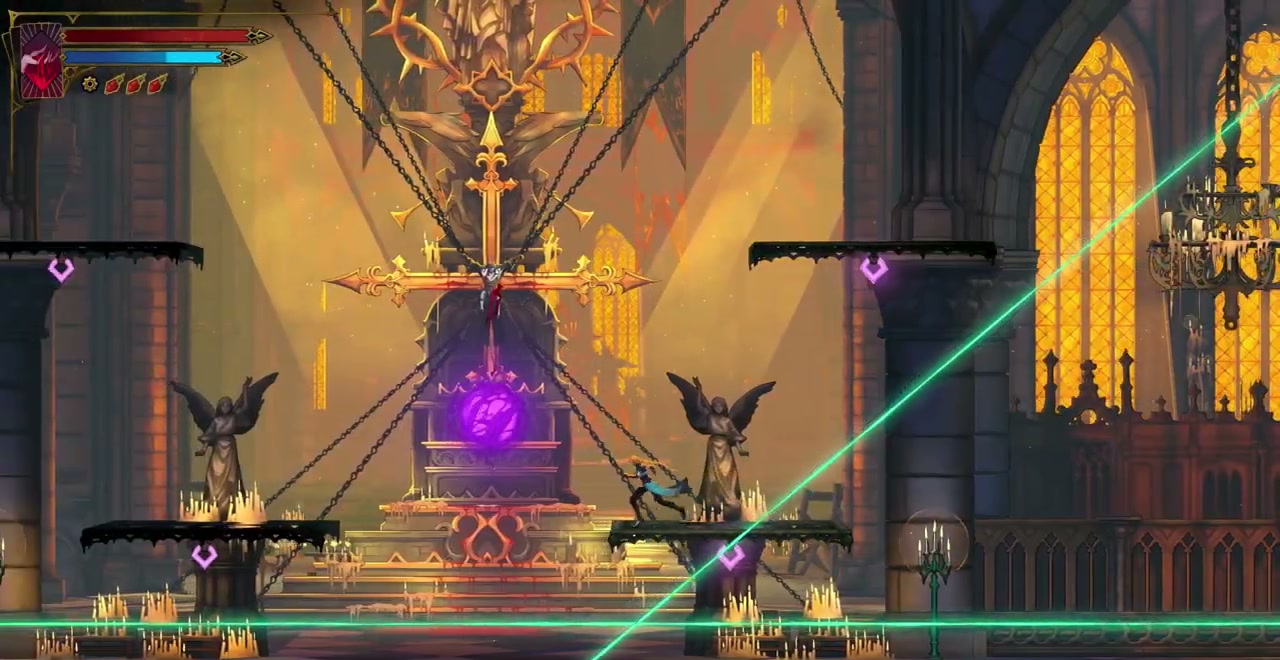
Attack after the scythe passes or when Death finishes an attack on another level. Holy Light provides a response to individual incoming blows, while moving between levels gives you room to avoid the larger patterns. When he disappears and the arena shows several attack trails, keep to a clear ledge until the sequence ends, then grapple back into range.
Absorbing Death grants the Shadow card and Soul Harvest. Let the scenes with Trevor finish, then return through the unlocked travel network toward the Clock Tower. You can now resume the final ascent without taking the earlier Horologium trap route unprepared.
The final Clock Tower ascent, Isaac and Dracula
After defeating Death, return to Daedalus Crossing in the Clock Tower. Go right toward the Middle Gallery and use the rotating platforms just before it as upright wall-jump surfaces to reach the Upper Gallery. Cross that outdoor gallery to the Way of the Fist, climb and turn back left onto the Clock Tower Bridge. This is the approach to the cursed Horologium that you avoided earlier. Continue beyond it toward the Eastern Summit and the Gauntlet. Strike the gear switches to reposition the platforms, then climb by alternating between upright surfaces, anchors and air dashes. In the tall gear rooms, wait until a platform lines up with the next purple anchor before leaving it; rushing off a moving surface can put the anchor outside your reach.
The Gauntlet uses rooms that seal while enemies remain. Defeat the armored and flying enemies before searching for a hidden lever: the exit opens when that room’s fight is complete. Keep opening the mirrors along the ascent. The last section leads to Isaac’s second encounter, with a giant clock face behind the arena.
Isaac again uses his spear, but the arena gives his airborne and sweeping attacks more room to travel. Keep moving when he throws the weapon and cross behind him after a committed strike. Save Aerial Rush for getting away from a sweep or correcting a jump rather than spending it as soon as you leave the floor. Attack during the recovery before he starts another spear sequence.
After Isaac falls, continue into the Master’s Quarters Approach and activate the final mirror. Follow the upward route through the last castle rooms to the red-sky exterior and Dracula’s chamber. Change your spells and equipment at this mirror before climbing to the final chamber.
Dracula’s first form teleports around the throne room. Close the distance after he reappears and attack during the opening before his next cast. Move out of a forming vertical flame pillar rather than trying to finish another combo beneath it. When several pillars rise across the floor, reposition into a clear section before approaching him again. His disappearance gives you time to move, but the previous attack may still occupy part of the arena.
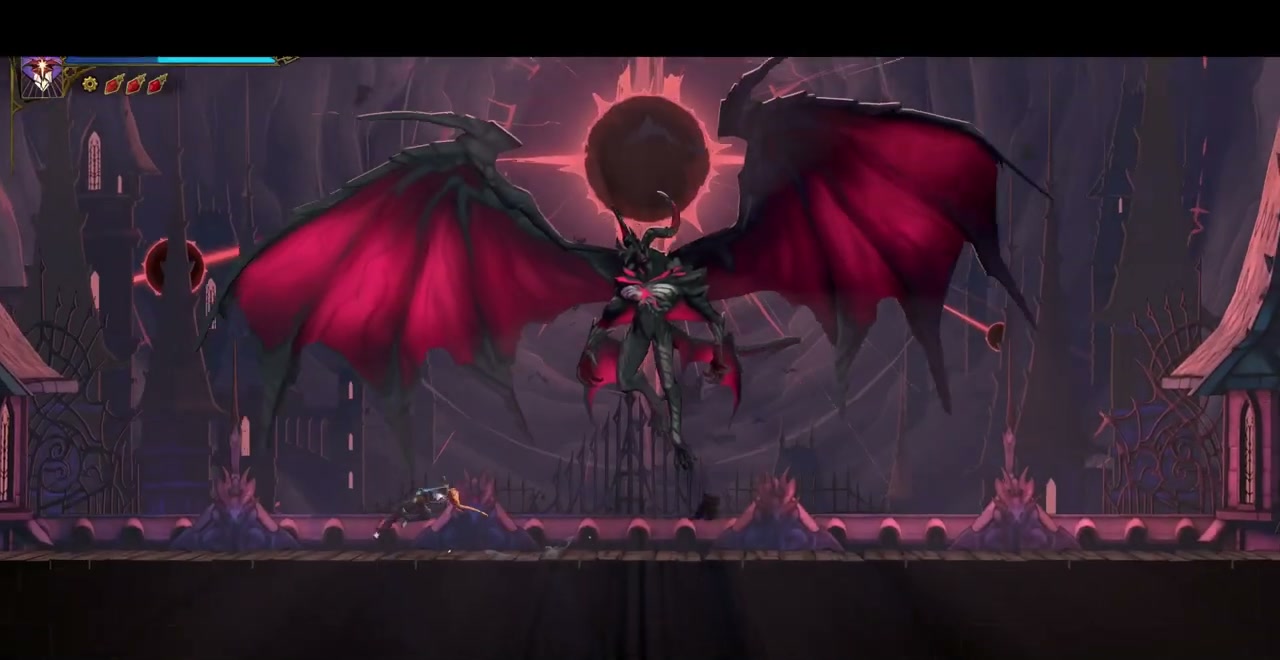
Emptying this health bar triggers a conversation and a second battle. Keep your attention on the screen through the transformation; Dracula’s first defeat is not the end. His enormous winged form fights in the open hall beneath the eclipse.
In the second form, attack when his body is low enough to reach, then move away from the ground as the large eruption forms beneath him. Use the overhead anchors to stay mobile and return to his body after the eruption. When he rises and prepares the broad downward strike, move clear of the center of its path. Repeated short attacks between these movements are safer than staying beneath him until the next impact.
Defeating the winged form completes this route. Let the card sequence and escape scenes finish to reach the normal ending, where Dracula is beaten but the curse remains. The extra steps needed to lift the curse belong to the true-ending route.