Complete the prologue, take a weapon and shield from Carthage’s preparation room, and build around attacks you can repeat without exhausting your stamina. The route runs through Carthage, Germania and Rome, followed by a final fight at the Senate. Beating Rome’s champion is still one fight short of the ending.
This walkthrough follows the opening Pleb difficulty in the launch version of Chained Beasts. It covers the route to the Emperor and the choices between battles. Higher difficulties change the demands on your fighter, especially training, so finish this first clear before following a Hades build.
The prologue and your first loadout
On a fresh start, complete the introductory training when it is the available option. The instructor takes you through picking up a shield, blocking, collecting a weapon, attacking, charging an attack, dodging, throwing objects and finishing downed enemies. Perform the requested action before moving on. When a shield breaks, collect another rather than continuing to hold the block input with nothing equipped.
Practice attacking, throwing and picking up objects separately during the prologue. A weapon throw gives up the weapon you were carrying. Pick it up again or collect a replacement before trying another armed attack. The same distinction matters with urns: pick up the object first, then throw it toward the target. Your input bindings are shown in the control menu and can be changed.
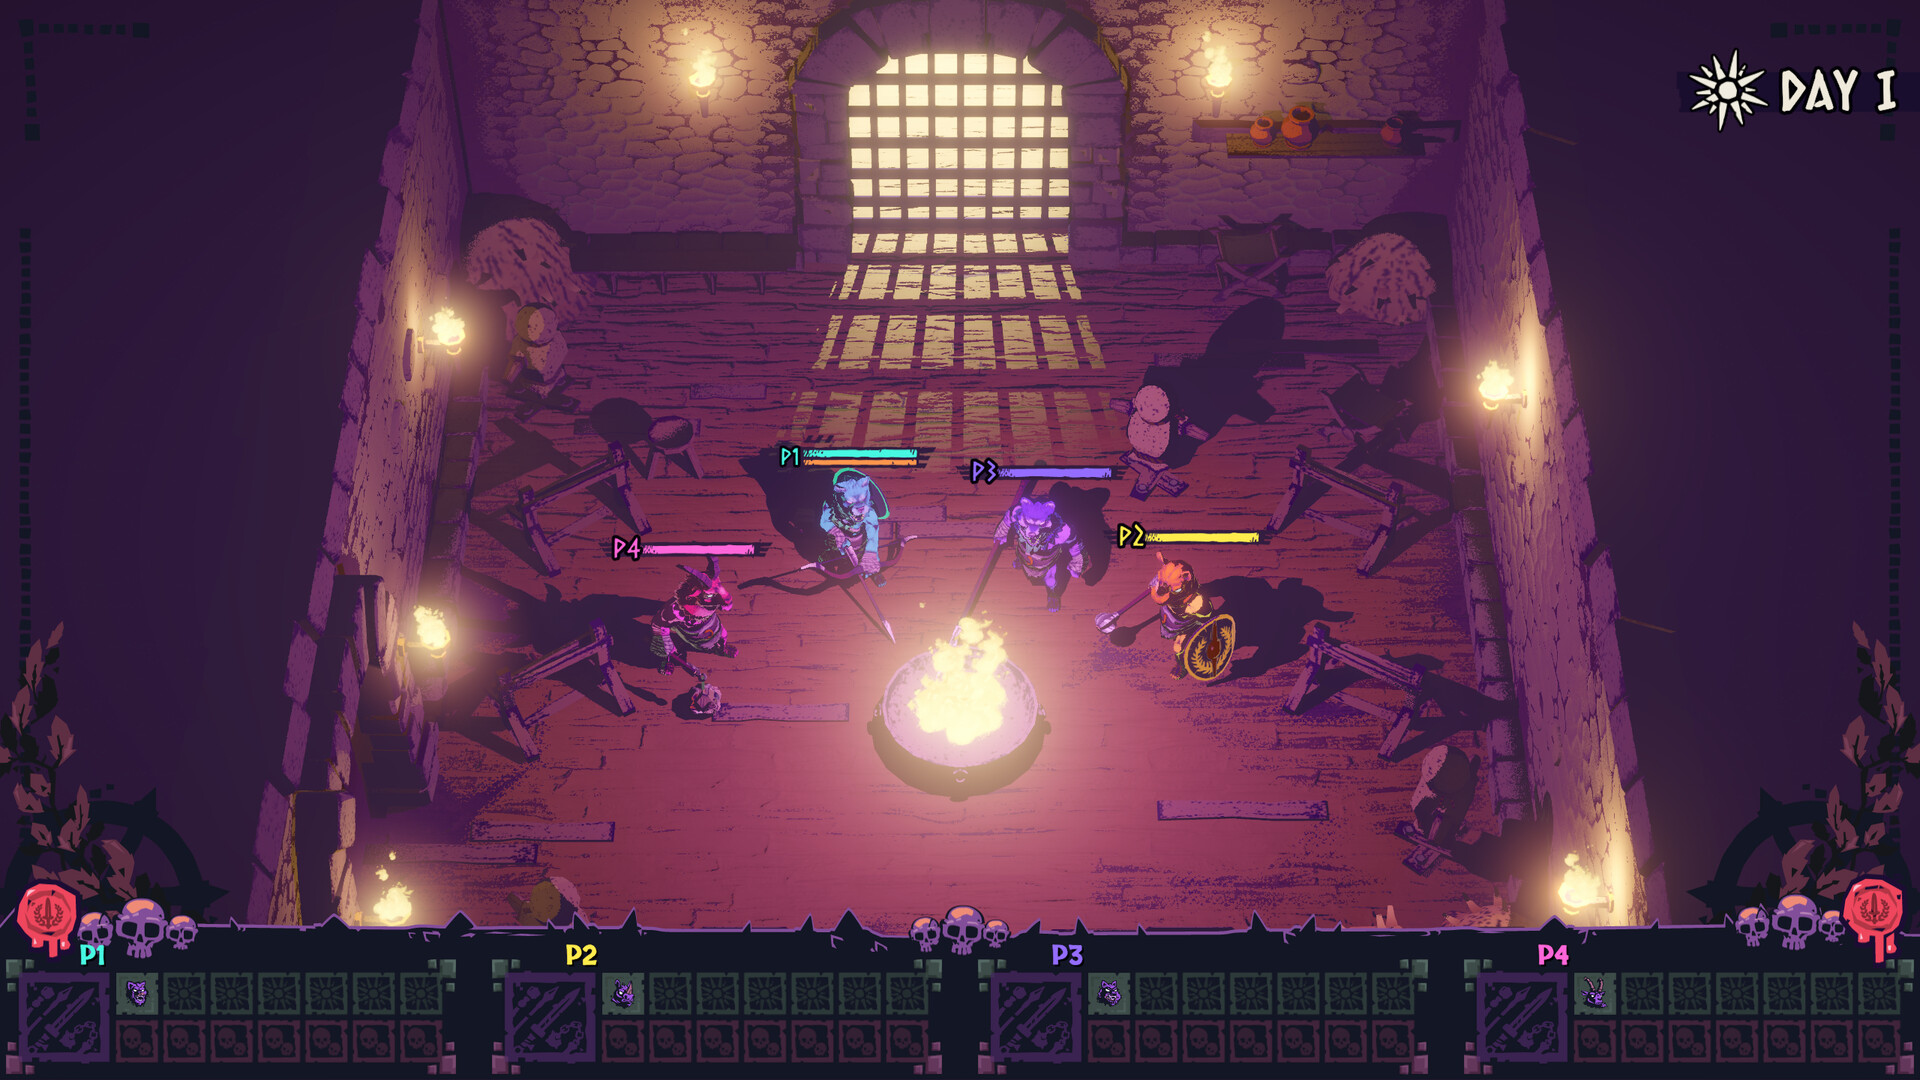
After the prologue, Carthage’s preparation room has weapon racks beside the fire and an exit gate at the top. Approach a weapon to read its attack description, equip it, and collect a shield before leaving. A spear is a useful opening choice if you want reach and a throwable weapon. In solo play, you can be tethered to a heavy object instead of another player; leave room for that object when turning around scenery.
Carthage’s first two battles
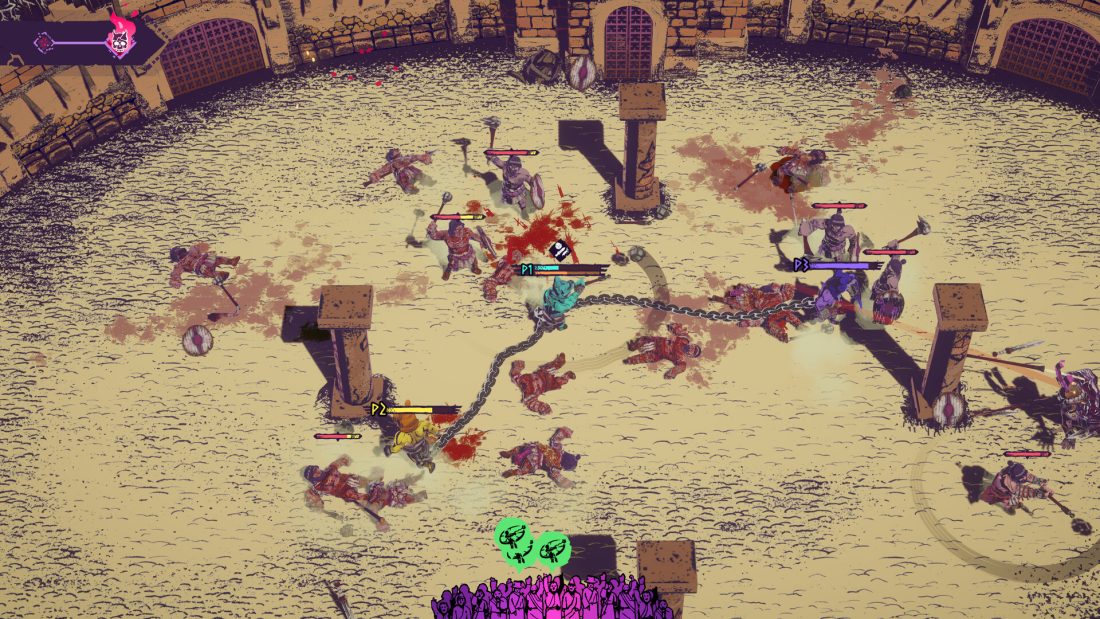
Fight on a side of the pillars where you can still move away from an approaching group. If the chain bends around a pillar and your retreat stops, move back around the side you came from to free it. Pulling farther away while the obstacle remains between you and the attached object only leaves you fighting with less room.
Watch the stamina bar during repeated attacks and dodges. When it runs low, break away from the nearest enemy and let it recover before committing to another charged attack. Keep a replacement weapon in view before throwing your spear. If the throw leaves you unarmed, move toward a dropped weapon instead of staying in the middle of the group trying to reproduce the same attack.
Use the loose objects and enemies around you. Urns can be thrown, and foes can be driven into arena hazards. Downed enemies also give you execution opportunities, but start an execution when the surrounding enemies give you room. A downed target is not a reason to ignore an archer aiming at you from across the arena.
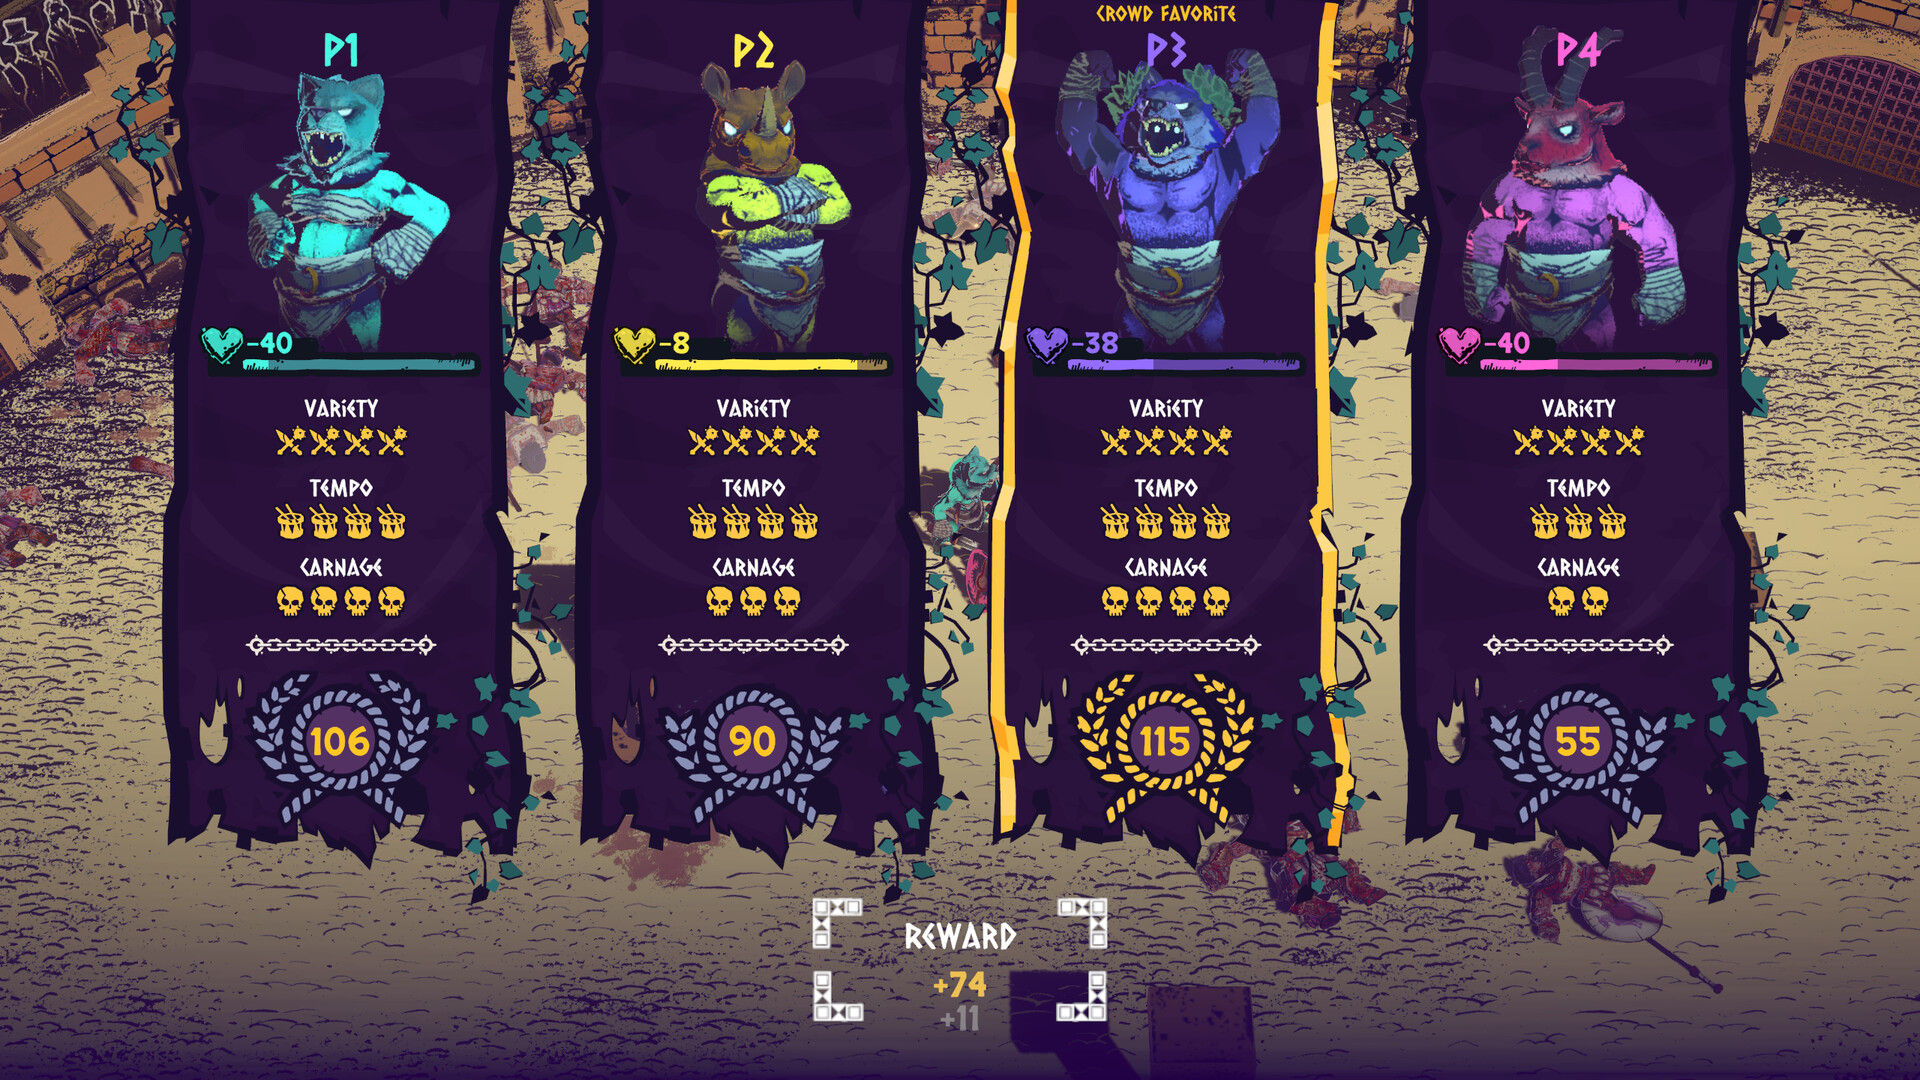
The results panel separates Variety, Tempo and Carnage. If you win with poor variety, add a different weapon or a thrown attack when the next fight gives you a safe opening. You can also use an execution instead of finishing every opponent with the same melee swing. Use a different weapon that is already within reach. Crossing an enemy group for it can cost more health than the better rating is worth.
Healing, skills and the first merchant
At the healer, compare the health restored with the affliction printed on each potion. The water option restores no health and avoids accepting a potion’s affliction. If you already have enough health for the next fight, that gives you a way to leave without taking another drawback. When you need recovery, consider what the penalty will interrupt: aiming throws, holding a weapon, seeing an enemy wind-up or moving out of the way.
A smaller heal can be worth choosing when its drawback leaves your current attacks usable. For example, arm fatigue becomes a problem if holding your weapon slows you down. A throw-focused fighter should also be careful about an effect that shifts the direction of throws. Do not judge these solely by the number of skulls. Read the action affected, then compare it with the attacks you are using.
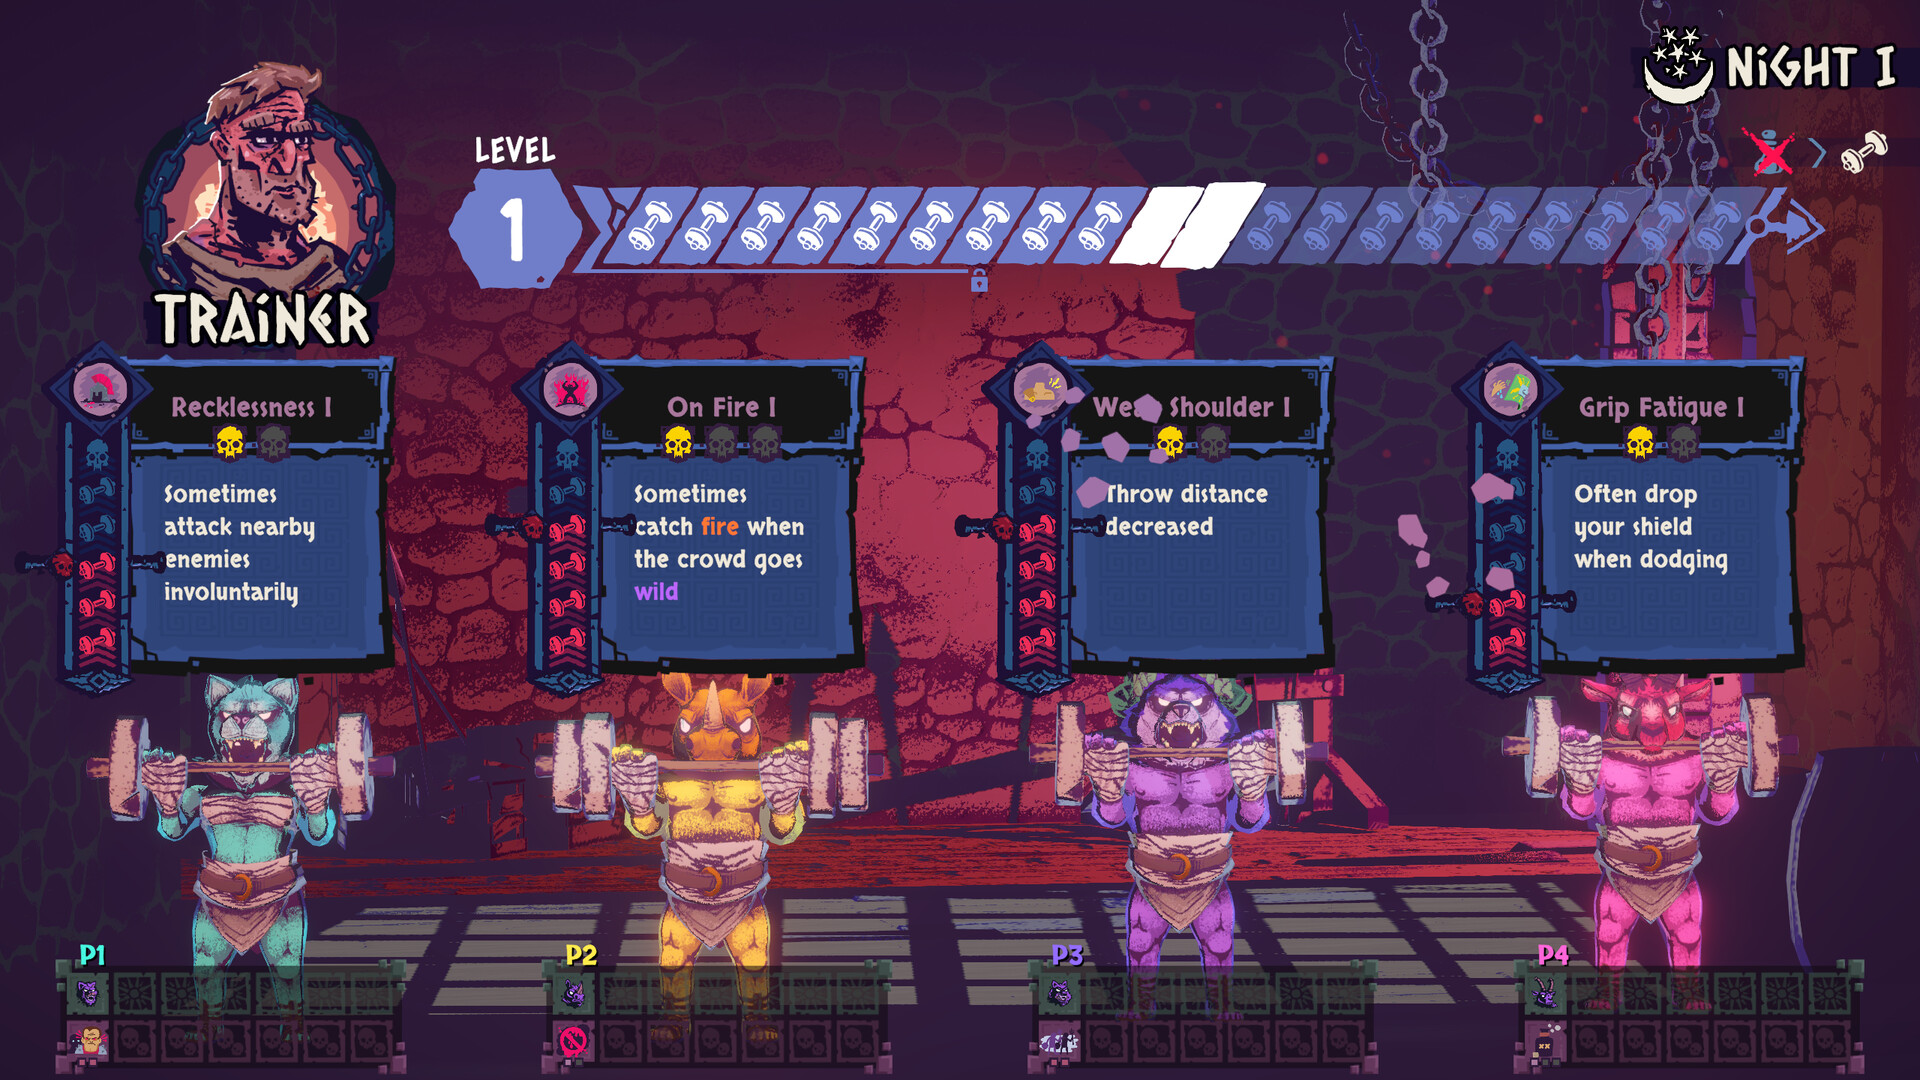
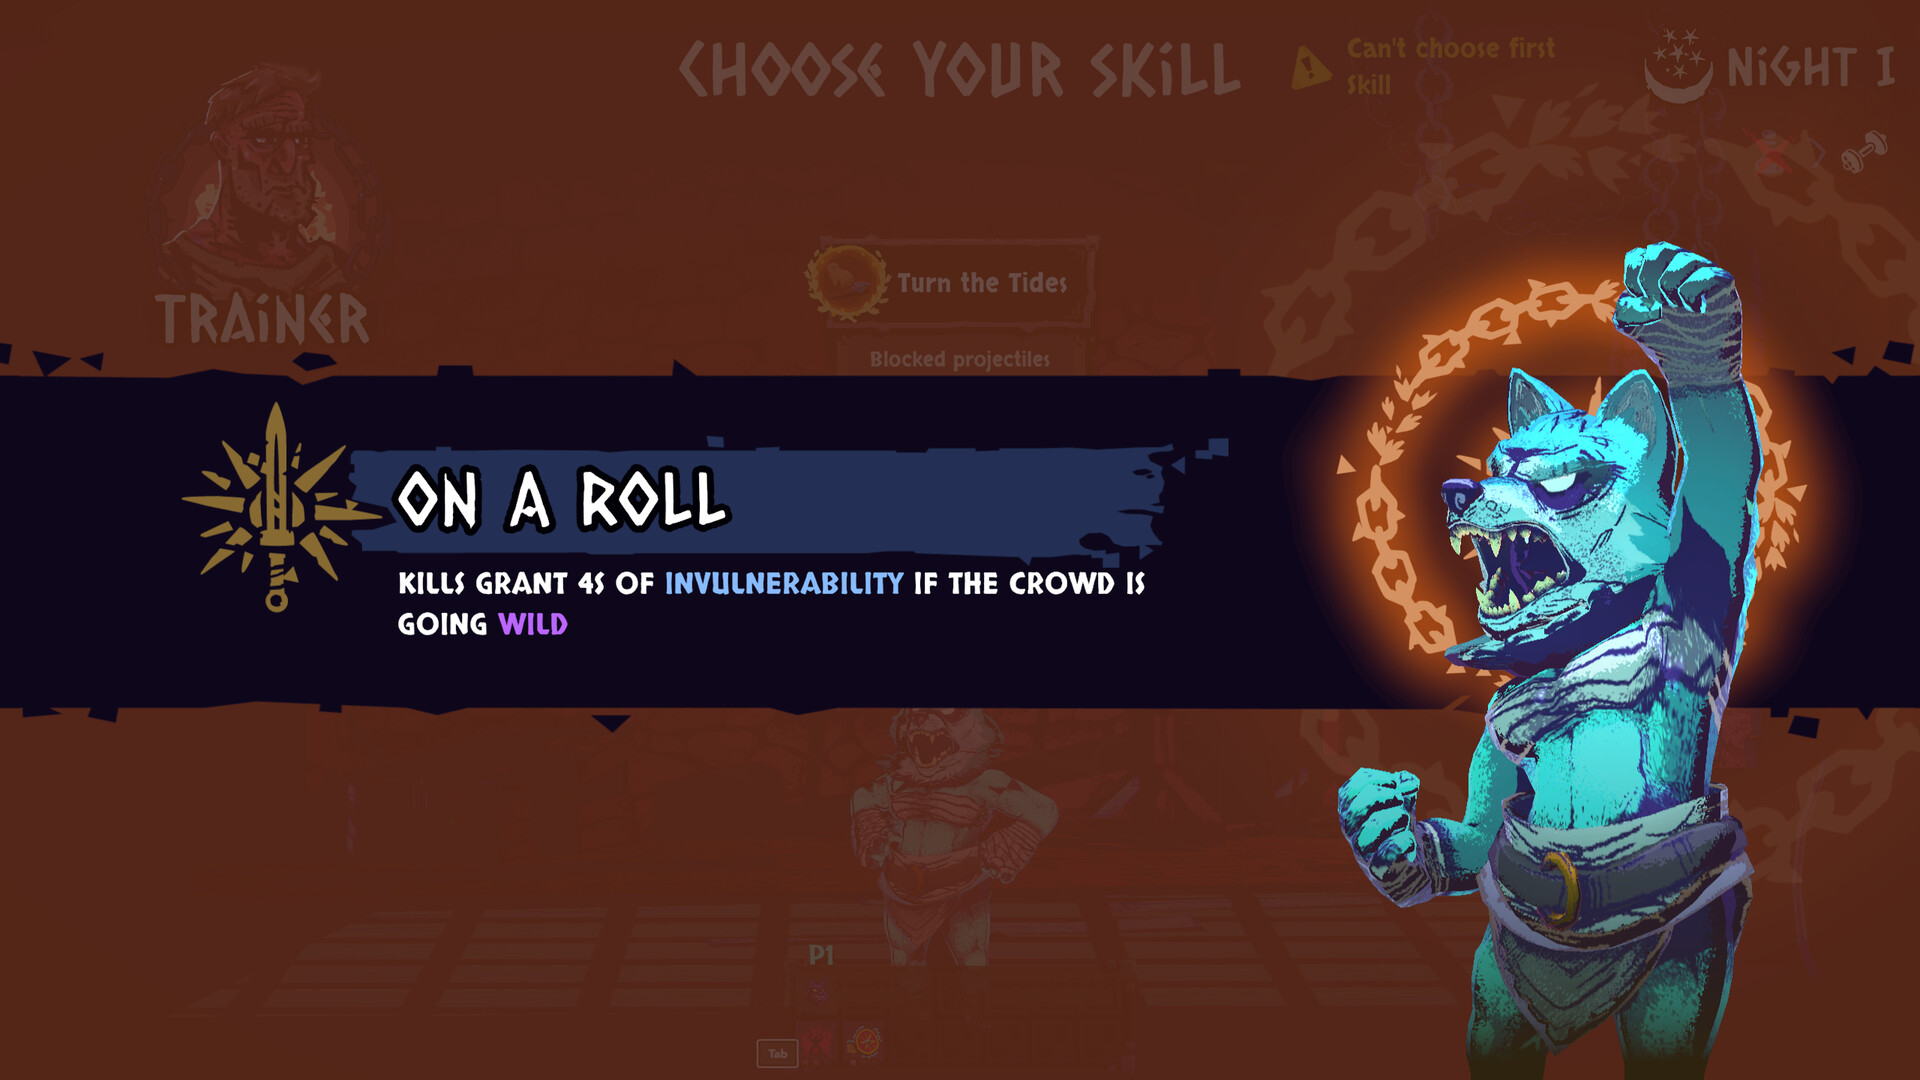
When the trainer presents a skill choice, take a benefit that your current equipment can activate. Throw bonuses suit a run already using spears and loose weapons. A bonus after blocking needs a working defensive setup. Crowd-dependent skills also need their stated crowd condition: On a Roll, for example, grants invulnerability after kills while the crowd is going wild. It does not protect every kill throughout the battle.
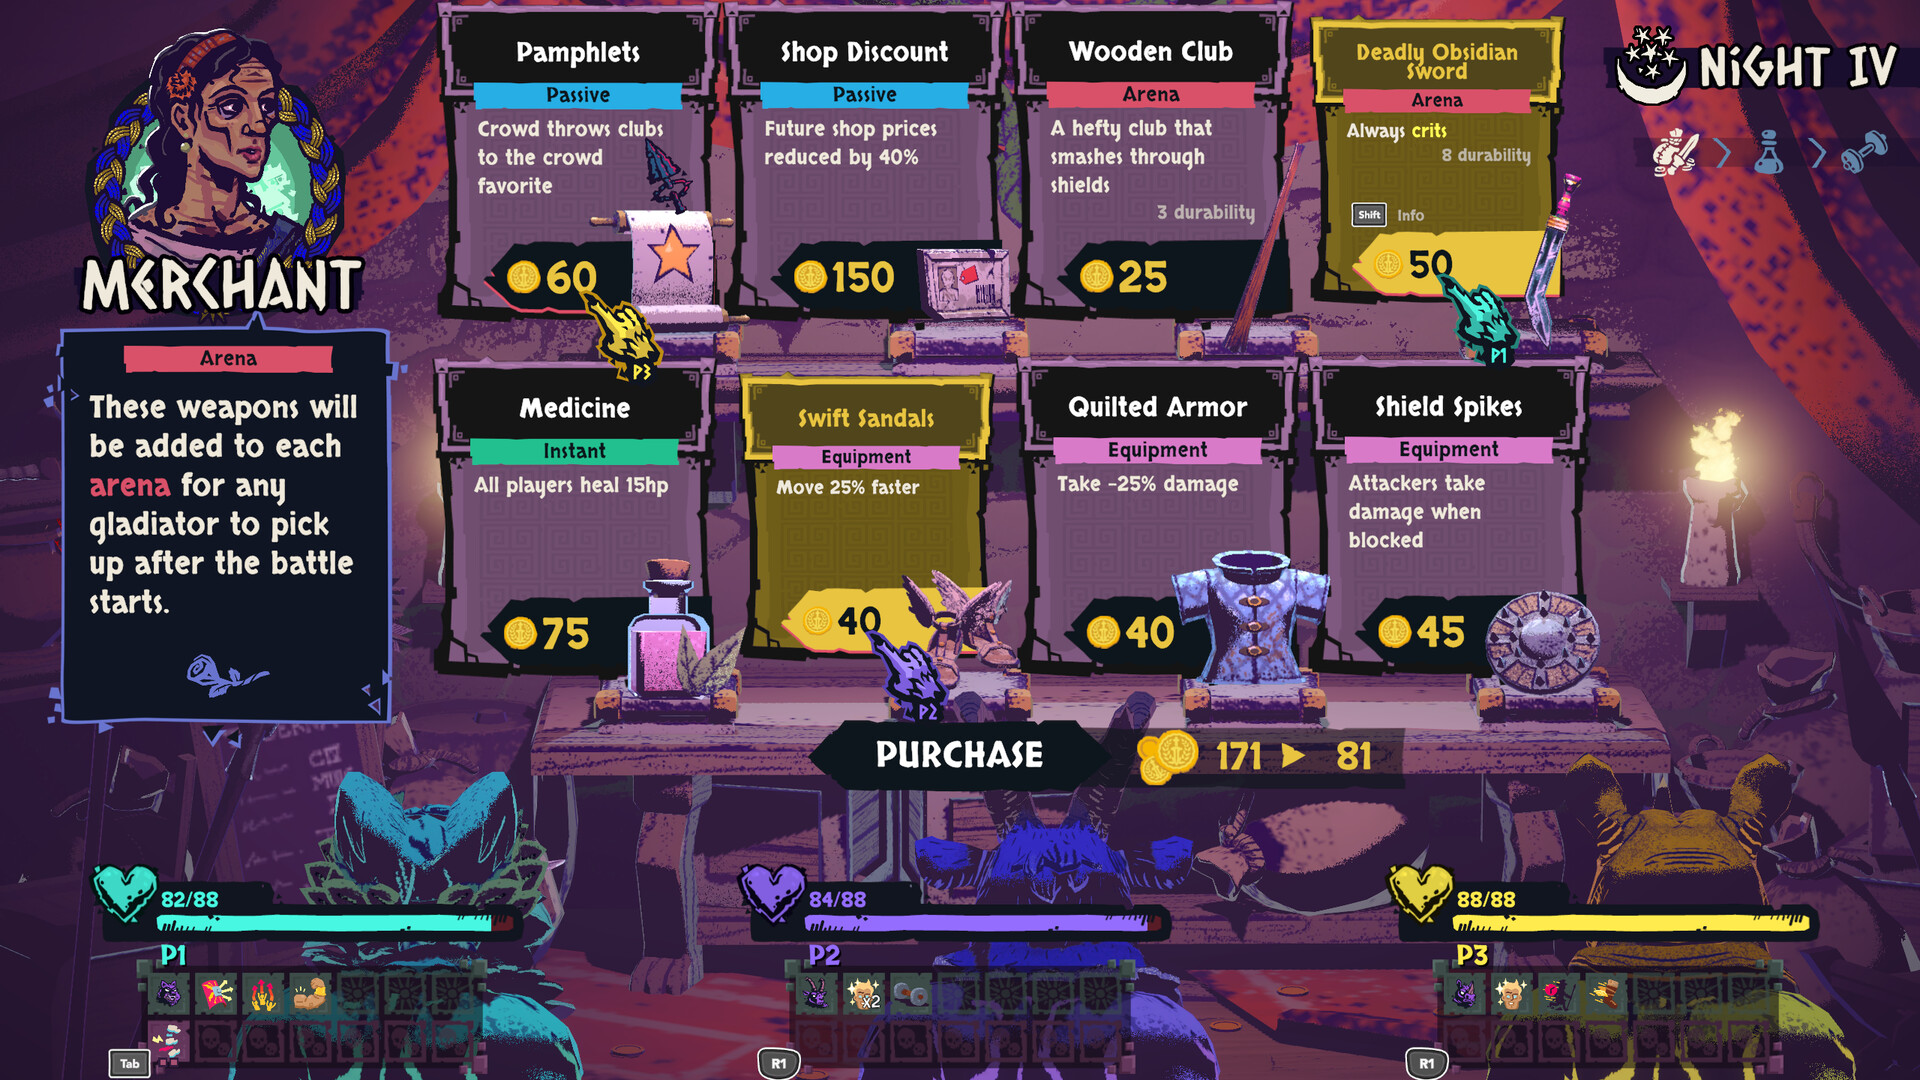
The merchant appears during the rest sequence, including after the second Carthage battle. Read an item’s category before buying. Arena weapons are added to the battlefield for pickup; they are not simply placed in your hand at the shop. Equipment, passive effects and instant purchases serve different purposes. Confirm the purchase, finish the remaining rest screens, then collect any arena weapon when the next fight starts.
Quilted Armor reduces incoming damage, while Shield Spikes damage attackers you block. The latter fits a fighter who keeps replacing broken shields; it does little for a plan that rarely blocks. A shop discount is an investment in later purchases, so compare its cost with equipment that could help you survive the upcoming boss.
The Priceless Vase is a riskier early purchase. Its reward requires a battle without damage while holding it, and a successful payout removes the item. Skip it when you are still losing substantial health in ordinary waves. It will not fund the run merely because you bought it, and its no-damage condition gives you little help recovering from a difficult Carthage fight.
Beastmaster Barka and the rhino
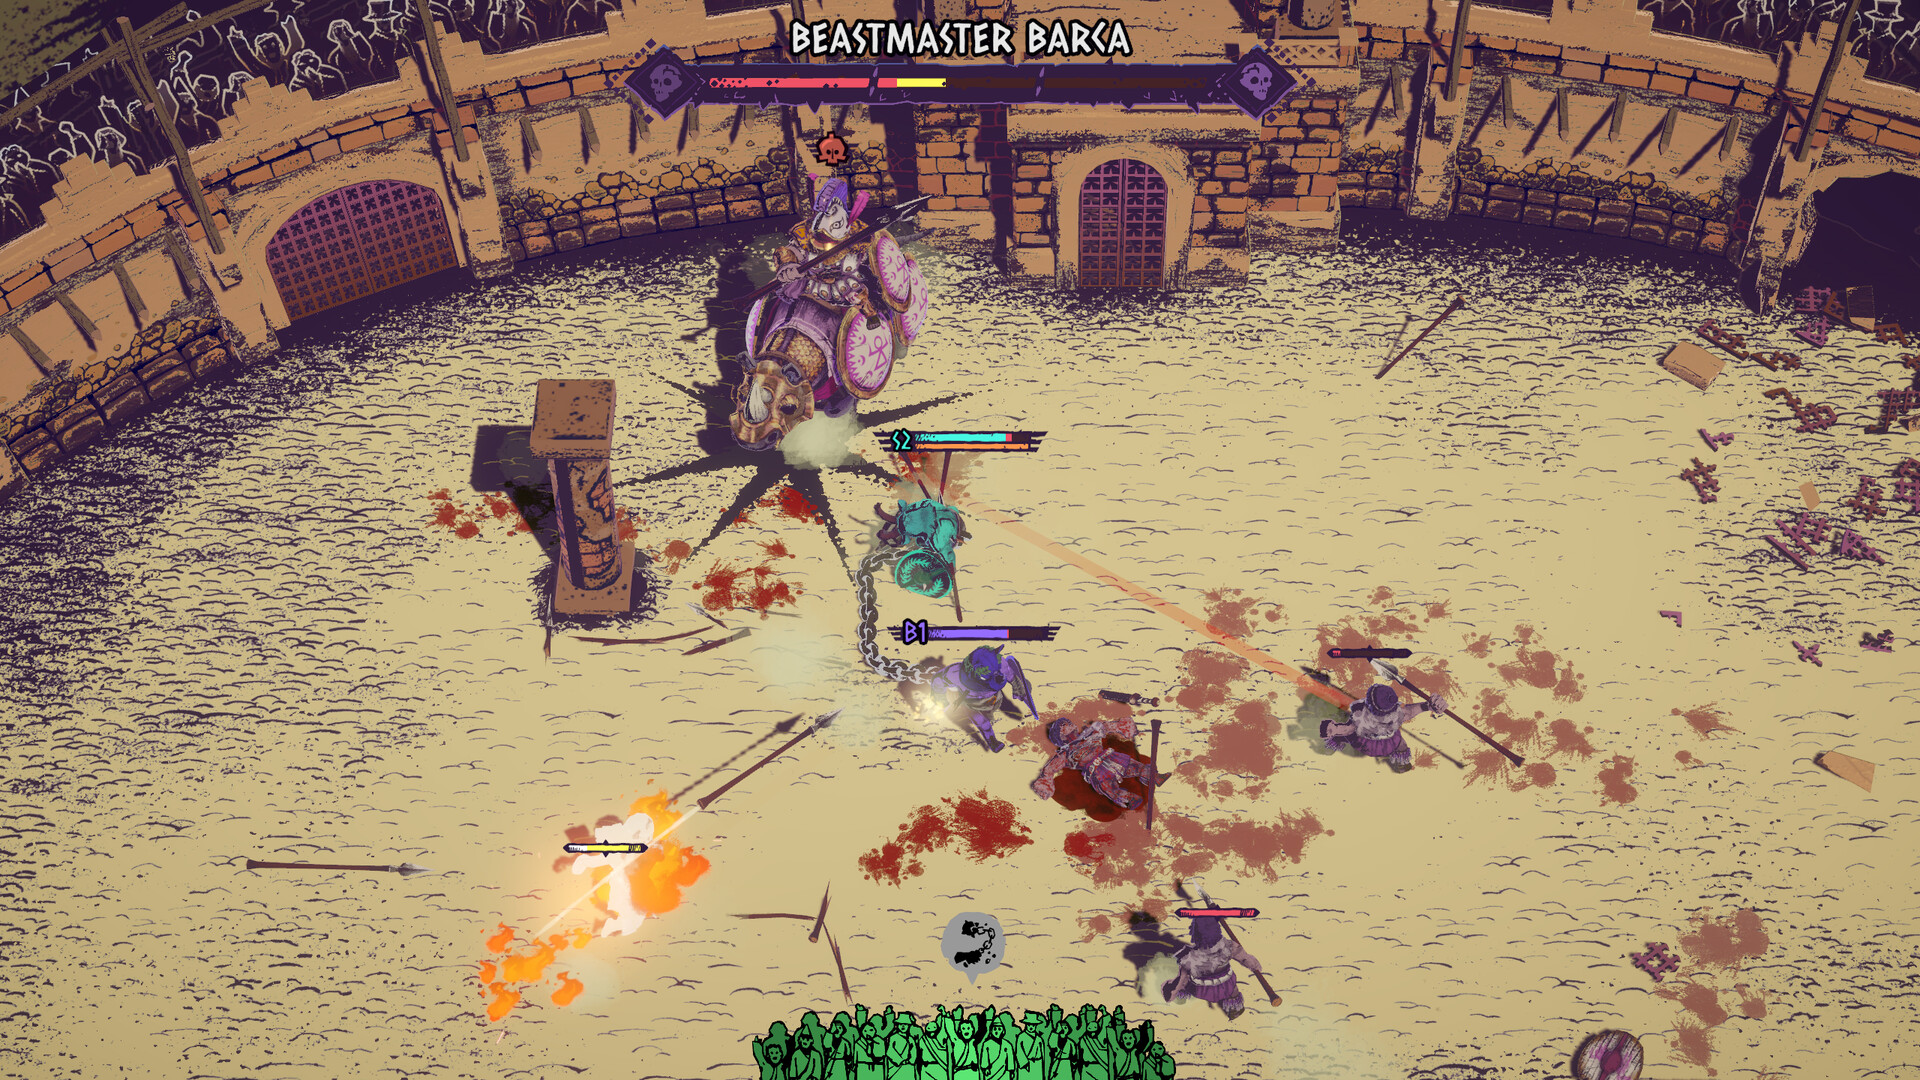
Carthage’s third battle introduces Beastmaster Barka riding a rhino. Keep space beside the mount so you can move out of its charge line. The rhino can break the arena’s pillars, so a pillar is temporary cover and a possible chain obstruction. Avoid backing into the narrow space between a pillar and the outer wall.
Let a charge pass, turn toward the mount’s side, and use the opening for a few attacks or a weapon throw. Then move out again before committing to another long attack. If your chain catches on a surviving pillar, untangle it before trying to follow the boss across the arena. The mount’s next pass is much harder to avoid when your movement has already stopped.
Other enemies join the fight. Clear an attacker that is blocking your retreat or aiming at you rather than pursuing Barka through it. Collect a fresh shield when yours breaks. If the mount is too far away for a safe melee approach, throw a weapon from open ground and retreat toward the next dropped one.
Continue until the boss fight ends and the victory banner appears. The next stop is the Surgeon, followed by the other rest choices before Germania. If Barka leaves you badly hurt, use the following rest to recover and treat the affliction that caused the most trouble. You can continue into Germania after a rough win.
The Surgeon before Germania
Inspect each operation before accepting it. The Surgeon can remove afflictions or modify your fighter, and the menu shows the benefit and cost of the selected procedure. If arm fatigue has made weapon handling awkward, an operation that removes it may help more than an unrelated damage upgrade. Check that the treatment actually lists the condition you want removed.
Some offers involve an unknown affliction or money exchanged against an affliction risk. Do not count the benefit as a clean cure when another penalty is part of the offer. You can leave a tolerable condition in place if the alternatives would disrupt your build more severely.
The healer still follows the operation in this opening route. Surgery is therefore a separate decision from the next potion choice. Compare your health again at the healer, choose the recovery you need, and finish the trainer’s skill selection before entering Germania.
Germania: hazards, then Goliath
The snowy arenas add conspicuous spike structures and explosive hazards to the ordinary enemy waves. Keep your retreat on the open side of the spikes rather than moving through a narrow gap while your tether trails behind you. When a circular danger marker appears underfoot, move out before resuming your attack. Reaching a dropped weapon is not worth standing inside the marked area.
Throws let you attack while keeping distance from an explosive hazard or a cluster of spikes. Aim from a position with room to retrieve another weapon afterward. If your attached weight catches behind a barrier, circle back around that barrier before trying to cross the arena. The chain configuration can change between battles, so check what you are attached to when each fight begins.
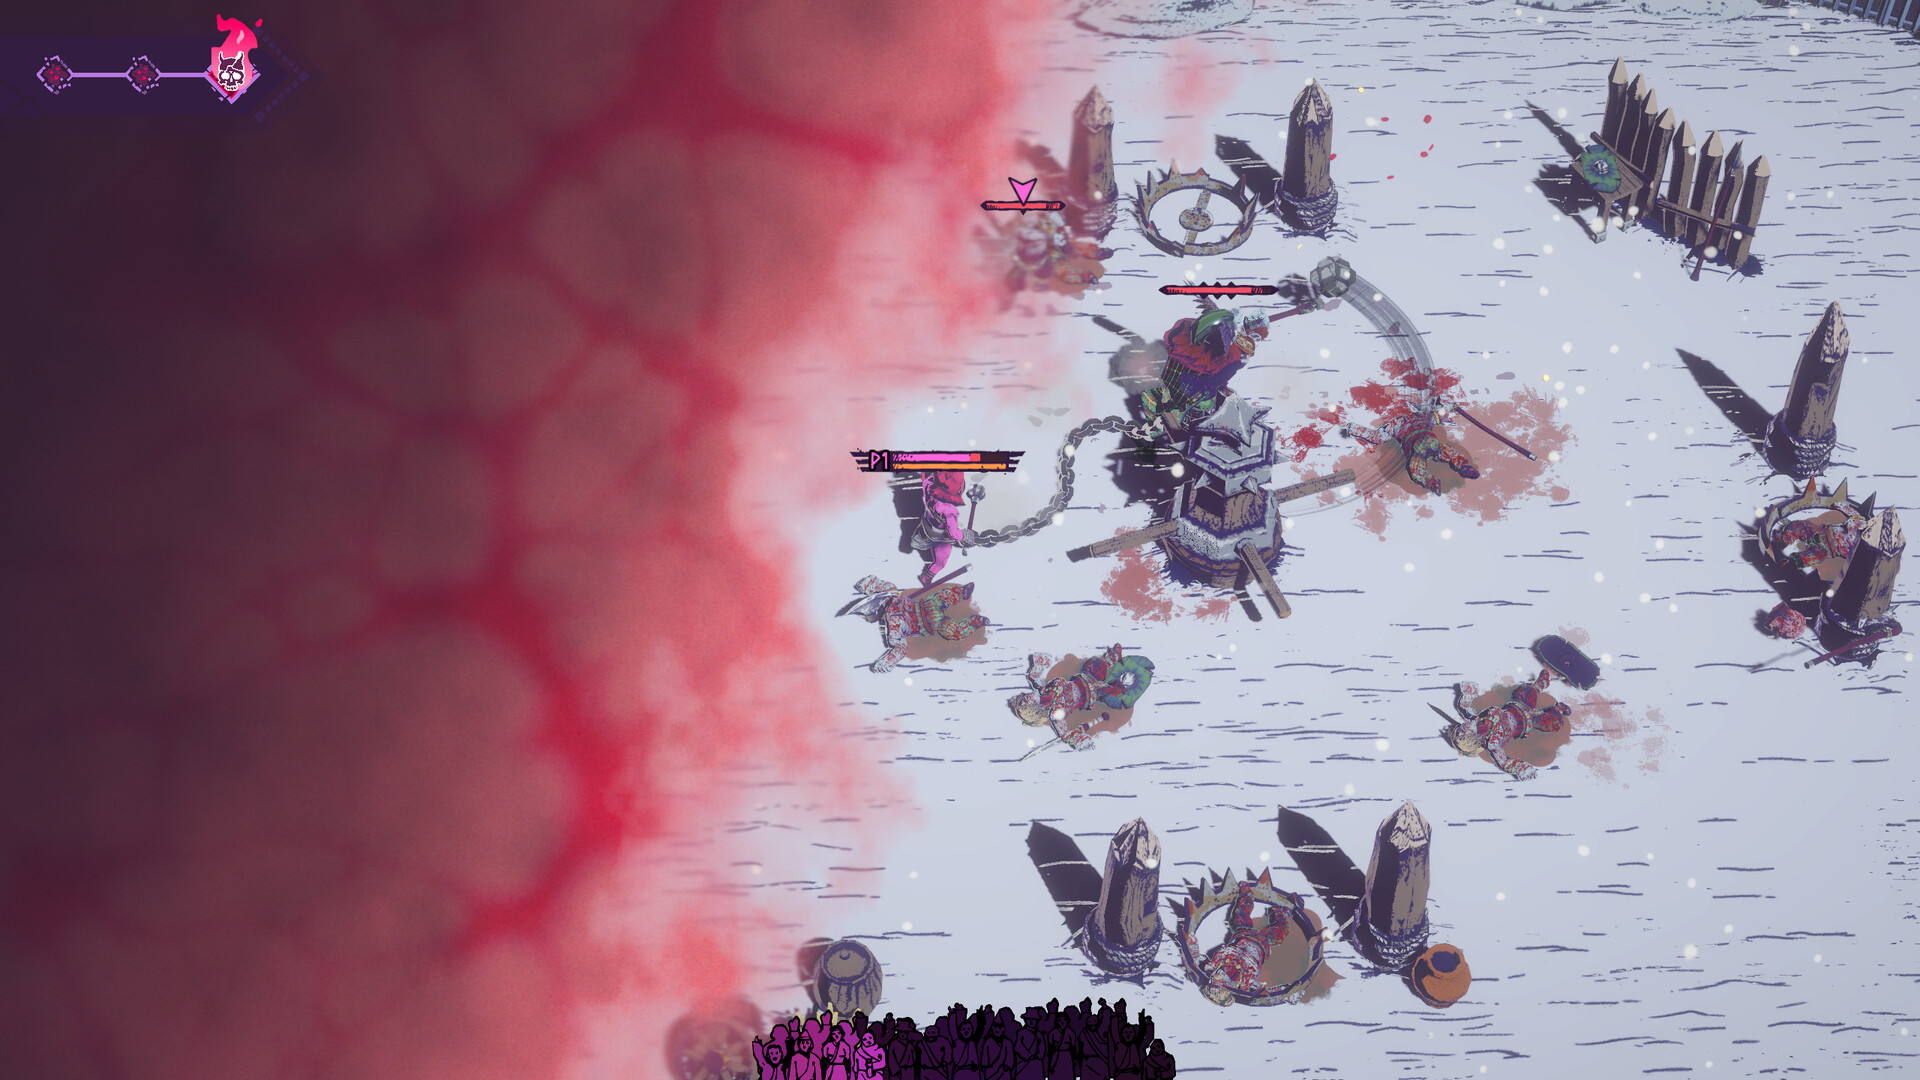
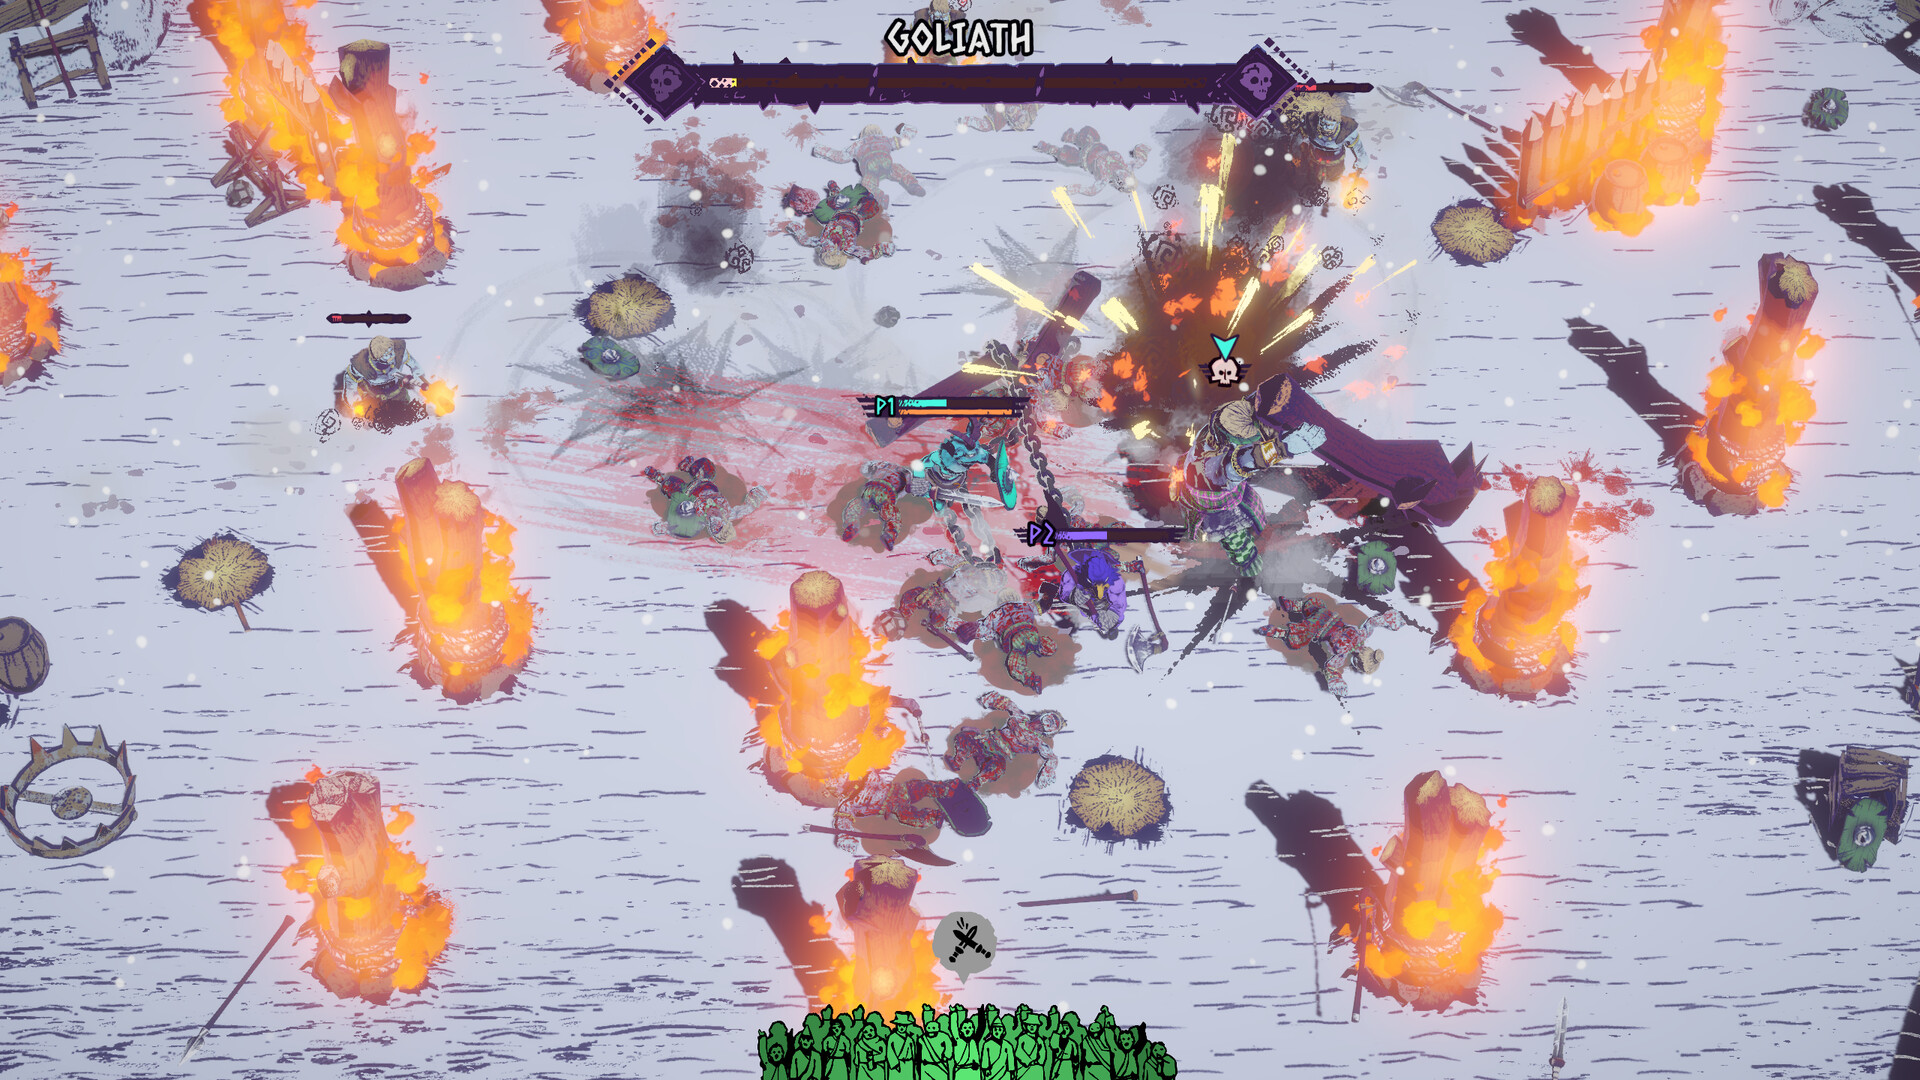
After the first two Germania battles, prepare for Goliath on Day 6. His jumps and ground slams make staying beside him dangerous. Move out of the landing area, let the slam finish, then return for a short attack or a throw. Keep enough stamina to leave again when he begins another jump.
Fire around the pillars further reduces your usable space during this fight. Move toward a clear gap before attacking; following Goliath into the burning cluster gives you fewer escape directions. Additional enemies can also occupy those gaps, so clear one that prevents you from moving out of the next landing area.
When Goliath is defeated, complete the next Surgeon, healer and trainer sequence. Rome follows that rest. After treatment, read your remaining afflictions before choosing the next skill. If the Surgeon removed the condition that was disrupting your attacks, you can choose a bonus for those attacks again.
Rome and Praefectus
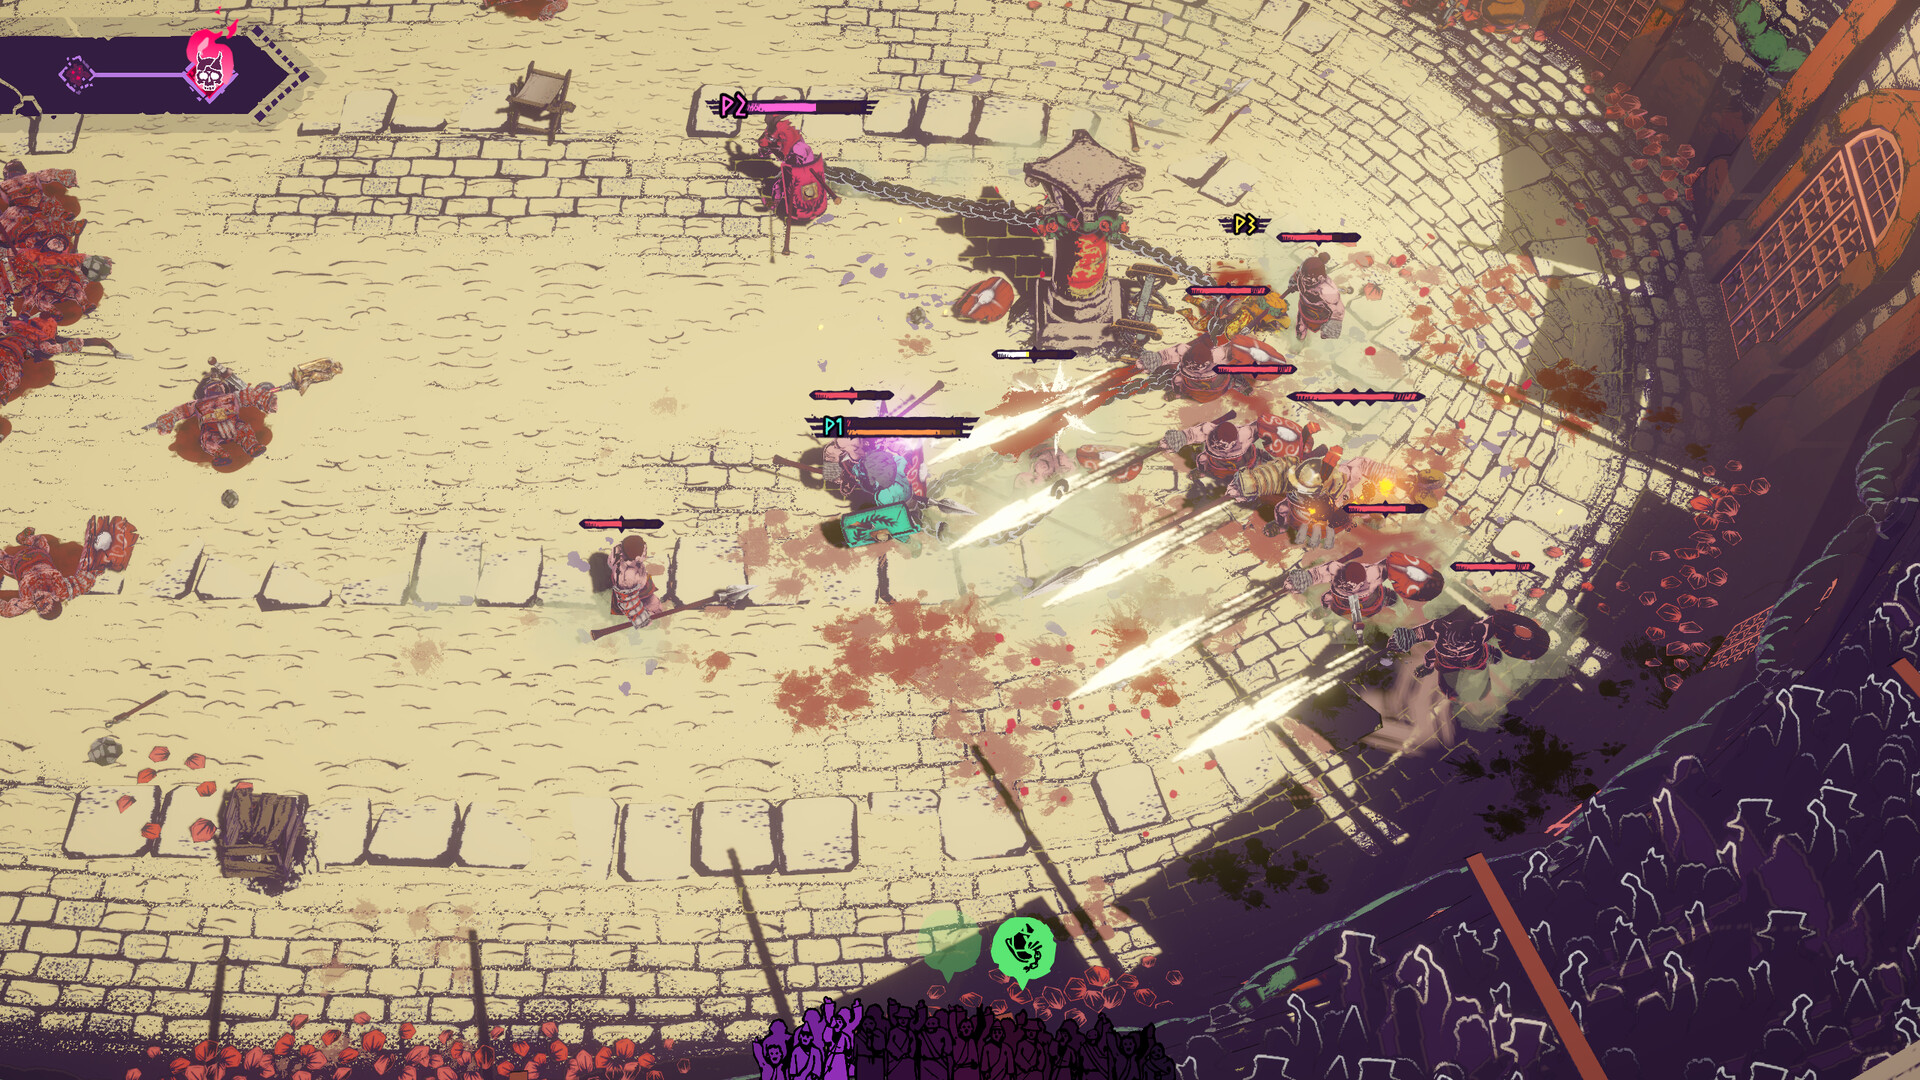
Rome’s organized groups are harder to approach than Carthage’s scattered fighters. When a formation has a protected front line and a supporting fighter behind it, work around the group to reach the rear instead of repeatedly attacking the same protected shield. Use a throw when it gives you a clear line to that rear target, then move before the formation closes around you.
Watch ranged attackers while changing sides. Arrow volleys and nets can interrupt an approach even when the nearest melee fighter has not reached you. Keep moving across their line of fire, and remove an exposed shooter when you can reach it without getting trapped against the formation. If your bow runs out of arrows or breaks, switch weapons immediately rather than continuing to aim it at the next wave.
Heal after these waves if needed, but preserve a way to fight with the afflictions you accept. A weapon-durability penalty can make each weapon disappear much sooner, which makes loose replacements and unarmed attacks more relevant. A vision penalty changes what you can see during the following fight. If visual afflictions make the game uncomfortable, the Afflictions settings provide toggles for the listed effects before you begin another attempt.
Praefectus waits in Rome’s third battle, on Day 9, with his Praetorian Guard. Keep an escape route around the guard rather than standing between their shields and the arena wall. Move away from the group, attack an exposed enemy or throw into an opening, then reposition before the shields surround you.
Praefectus’s guards can cut off access to equipment scattered around the arena. If your weapon breaks or you throw it, clear a guard blocking the nearest replacement before following the boss. Keep that pickup route open as you circle the shields. After the victory banner, take the final recovery opportunity before the Senate.
The Senate and the Emperor
The Senate is the final encounter after the three arena chapters. In the opening Pleb route it appears as Act IV, Day 10. Collect equipment in the approach room, then move through the upper passage to the final circular arena. Do not leave behind a useful shield simply because Rome already displayed a victory banner.
At the top of the screen, two separate boss health bars mark the first stage of the fight. Keep both opponents in view while circling the arena. When the shielded opponent closes in, move away until you have room to attack or throw at the other. Collect a replacement from the floor after a throw so you can continue attacking while changing position.
Concentrate damage on an opponent you can safely reach until one of the two health bars is exhausted. Then finish the remaining opponent. Keep watching the second fighter during any close attack on the first; a few successful hits do not make it safe to stand between them. Reopen the distance when they converge and resume from a clearer angle.
After the pair is defeated, the Emperor becomes the remaining target. Pursue him around the circular arena, use the weapons left on the ground, and continue until his health is gone and the final results appear. Follow the ending through to the victory screen and unlock notices. That completes the first Pleb clear.
Before starting Legionnaire
The victory sequence unlocks Legionnaire and shows the new beast and weapon unlocks earned by that clear. Check them in character selection and the next preparation room. New arena weapons expand the equipment you can choose from; they do not require you to abandon the spear, shield or throw bonuses that helped you finish Pleb.
Read Legionnaire’s difficulty description before committing to another run. It makes Carthage harder and introduces afflictions from overtraining. When the trainer gives you a workout with an XP target and a possible affliction, stop once you have the level you wanted rather than continuing automatically. Skip extra exercise if the displayed penalty would stop you using your current weapon or shield.