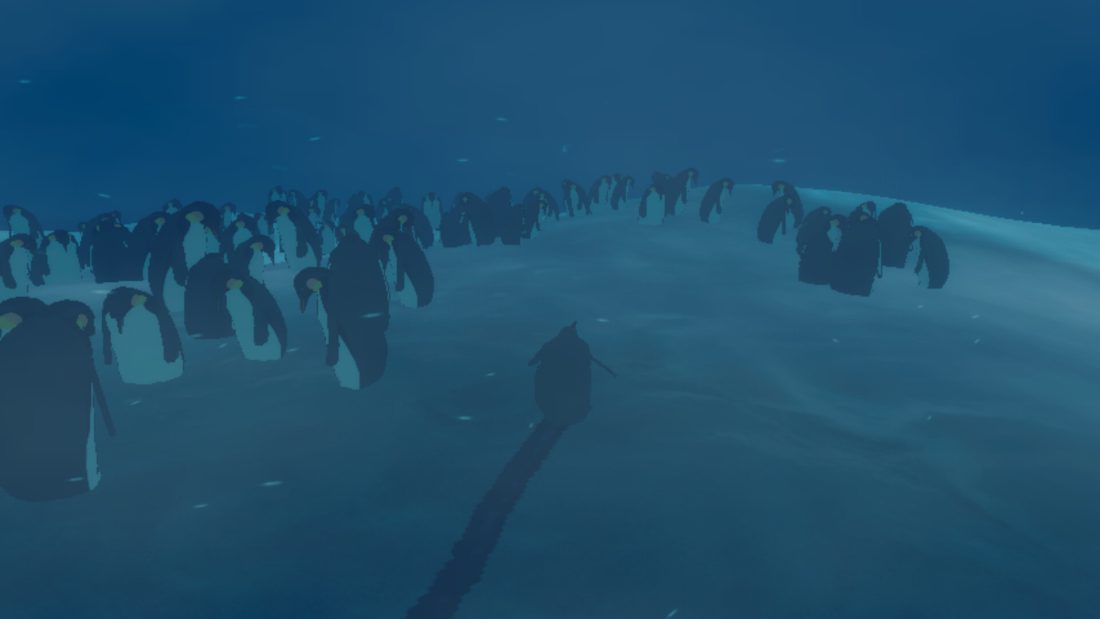
Head toward the red flare from Rocky Outcrop, cross the ladder bridges to the Research Outpost, then follow the expedition route inland to the Great Obelisk. Change penguins when an opening rejects your current body or a mechanism needs more weight. After the long sequence in Apotheosis, keep playing: Silence has the final walk back to the shore.
This Penguin Colony walkthrough follows one route through all seven story chapters on PC. It covers the main traversal obstacles and selected Insight detours along the story route. Story spoilers begin with the chapter routes below.
I: Colony, from Rocky Outcrop to the Great Obelisk
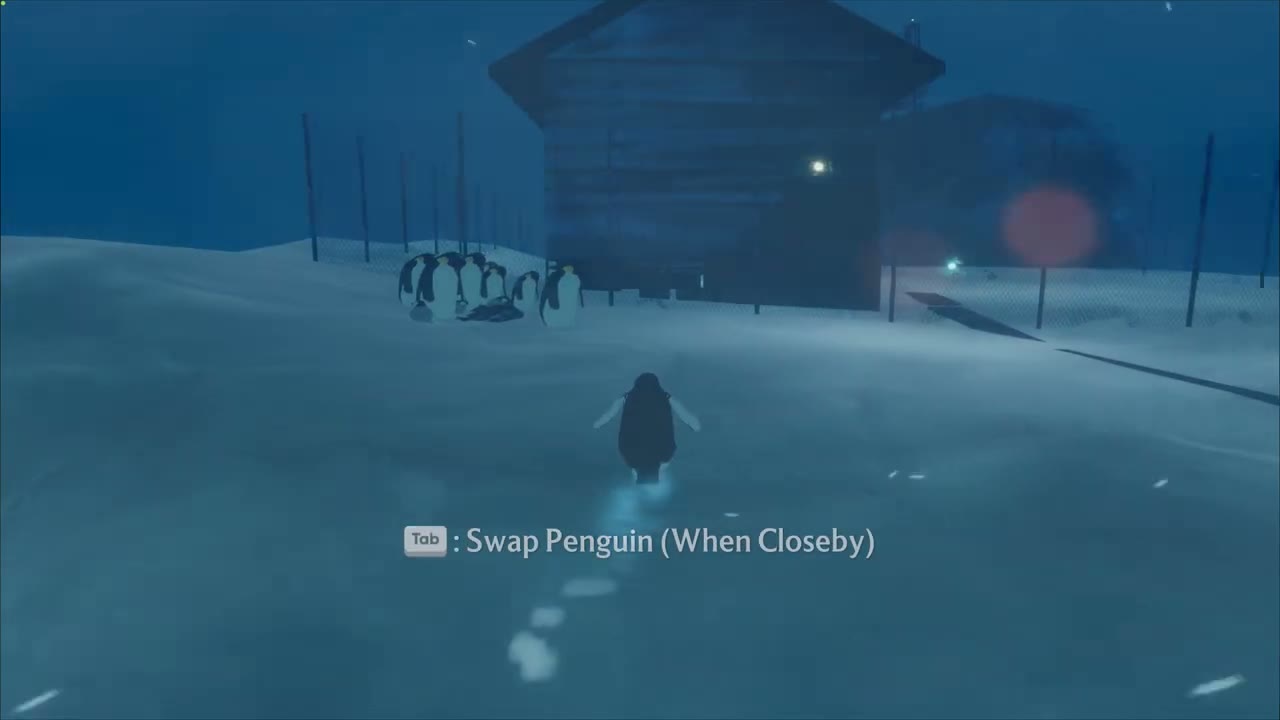
Leave the penguin gathering at Rocky Outcrop and move toward the red flare. The PC keyboard prompts use Space to switch between sliding and standing. Follow the snow shelves beside the dark water and use the ladders laid across the cuts in the ice. The Research Outpost is the wooden building beyond those crossings, with penguins gathered outside.
Walk close to that group to bring up Tab: Swap Penguin (When Closeby). Use it when you need a different body for the next obstacle. If the swap prompt is missing, move closer to another penguin. Press F to squawk.
Explore the cabin before leaving the outpost. Take the small steps through its open doorway, pass between the bunks and shelves, and approach the glowing word pickups. A small chick can also reach the space beneath the low furniture. The Colonist pickup is under the long wooden structure inside, near the penguins gathered beneath it. If a larger bird cannot get through the low gap, return to the nearby group and change bodies.
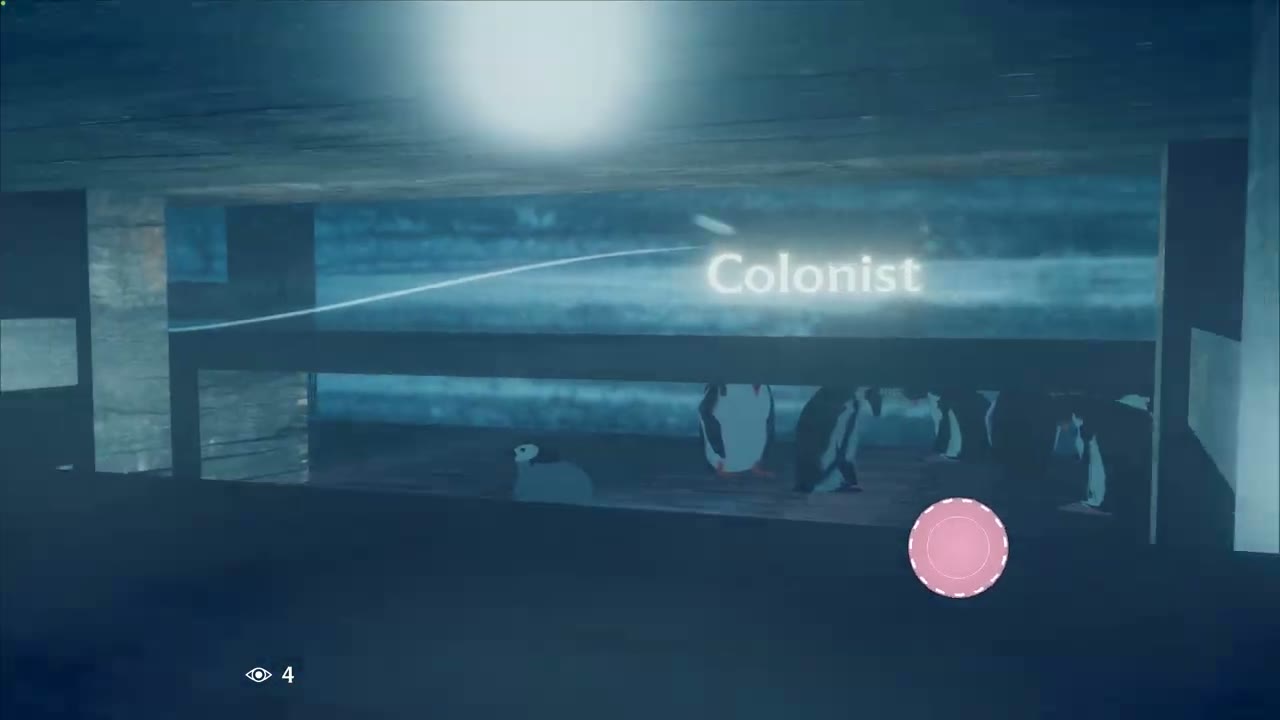
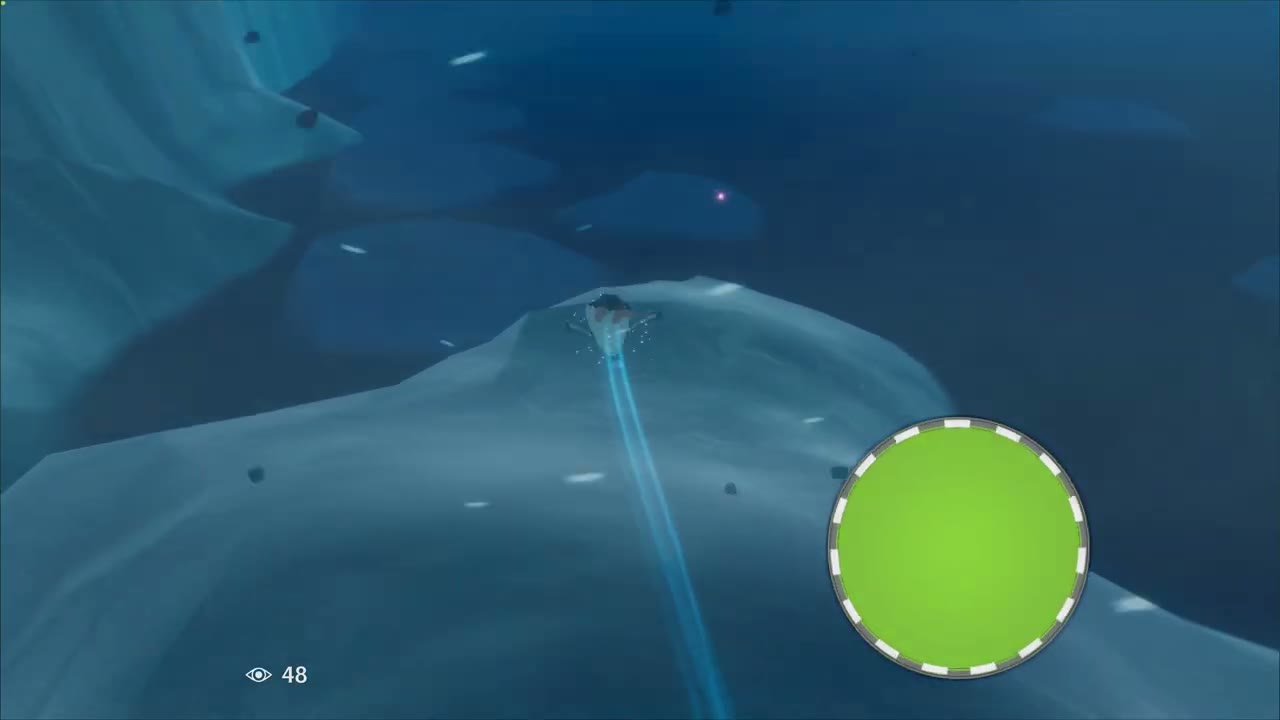
The eye counter tracks Insight, and the tutorial explicitly tells you that Insight increases Stamina. Pickups therefore give you a practical reason to inspect the cabin and the small side routes. Watch for the word to appear and the eye counter to increase before leaving a pickup, especially when a bunk or a wall partly hides the glow. Then return to the lamp-marked path outside.
Switch out of the chick before entering open water. The game displays Baby Penguins cannot swim when a baby goes in. Use the ladder crossings to keep a chick on dry ground, or return to a group and take an adult before a swimming section. If the path ahead becomes unclear, follow the moving wind trails across the snow; the tutorial introduces these as guidance toward the way forward.
Continue past the Burnt Out Tent and along the Supply Route. Follow the lamps and the snow ridges between the broken structures, using the plank bridges over the deeper cuts. At Basecamp, the red aircraft, tents and raised platforms are your landmarks. Climb the ladder leaning against the aircraft platform to inspect it. Then return to the snow and follow the lamps past the camp.
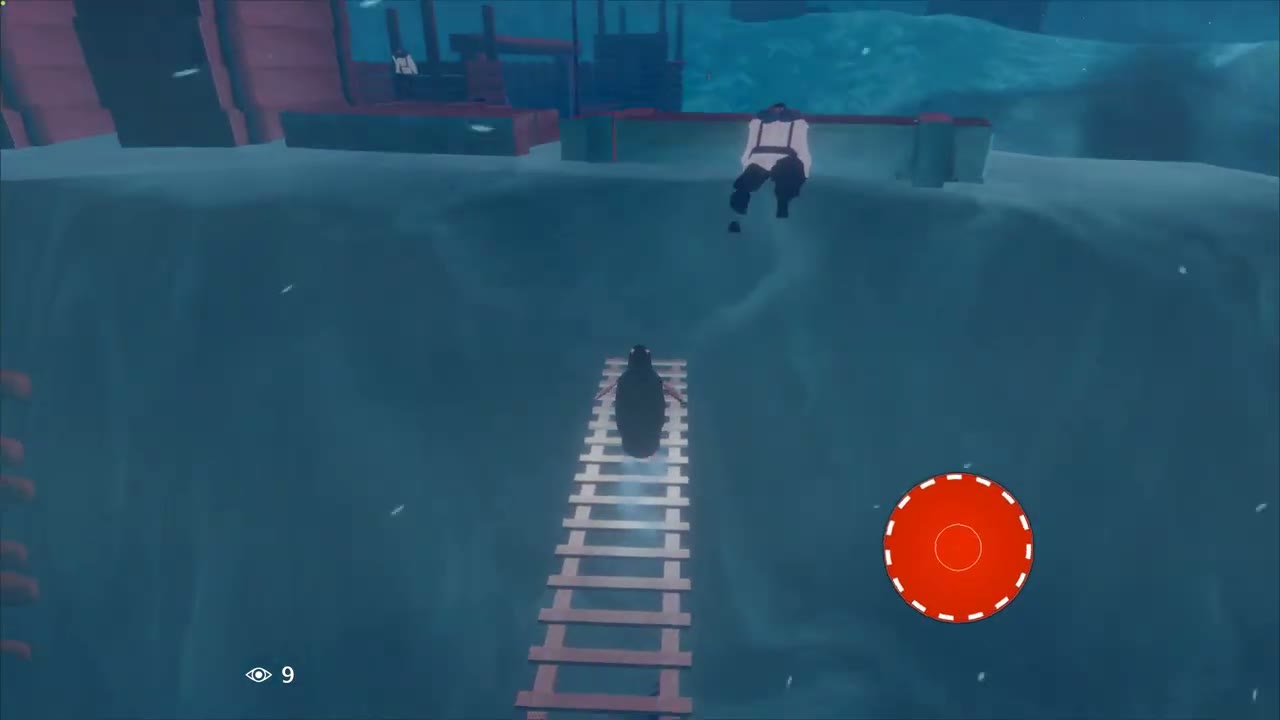
The path continues toward Frozen Passage. There are low openings and small side spaces around this stretch; a body-size warning tells you when the current penguin cannot enter one. You can leave that detour and follow the wider snow route. Keep taking the ladder crossings and rising snowbanks toward the enormous dark structure at Great Obelisk.
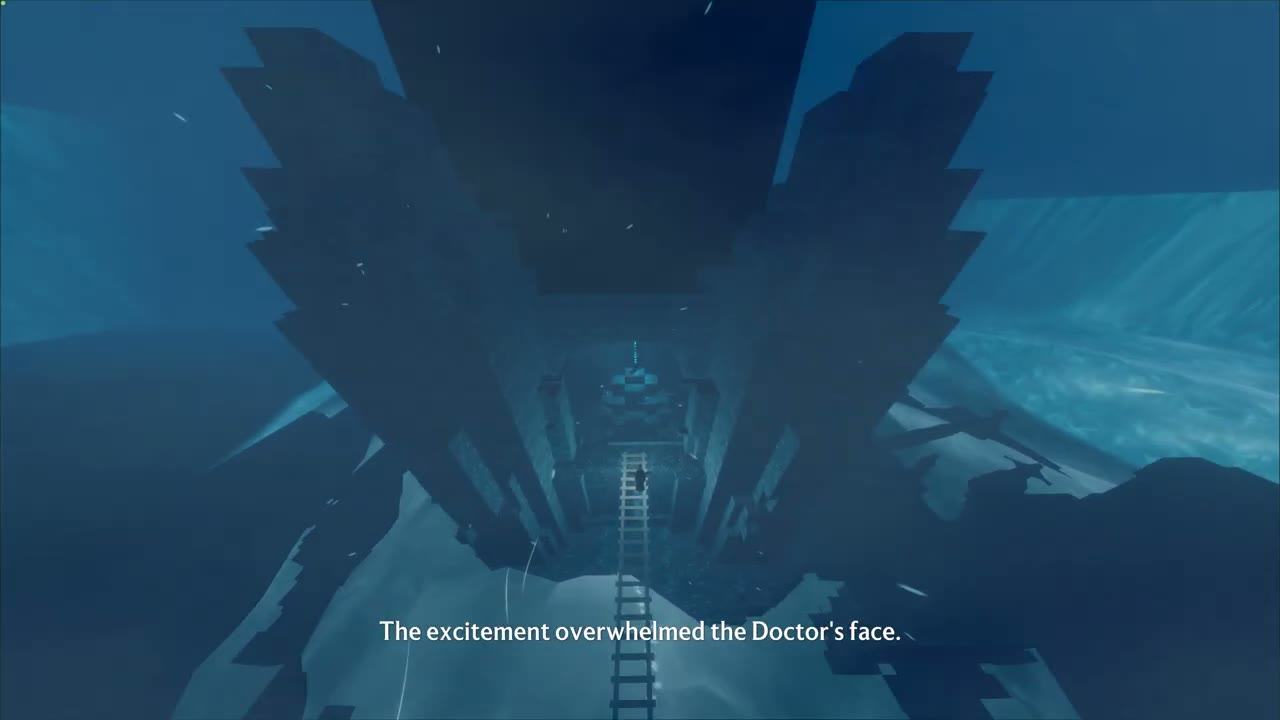
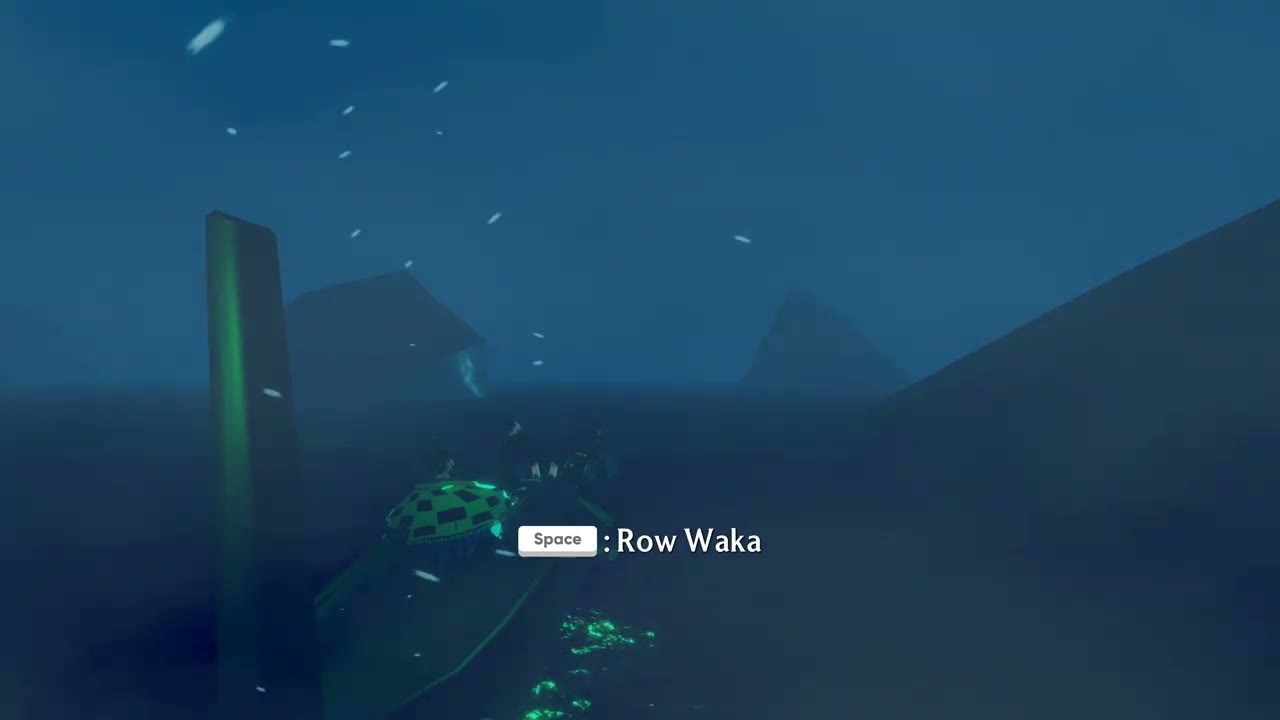
At the obelisk, climb the narrow ladder into its mouth-like opening. Reaching the structure starts a long story sequence. Let that sequence finish. When control returns on the waka, use the displayed Space: Row Waka input to move across the water toward the red flare. The next chapter begins after this crossing.
II: Polystrate Society and the weighted mechanism
From Research Camp, take the lit route into the lower ruins. Walk across the narrow plank ladders and descend toward Howling Tunnel, recognizable by its barred stone structures and green light. The route bends between snow-covered rock shelves and broken walls. Where a high wall appears to end the path, look below it for a lit ladder or a lower shelf that reconnects with the next platform.
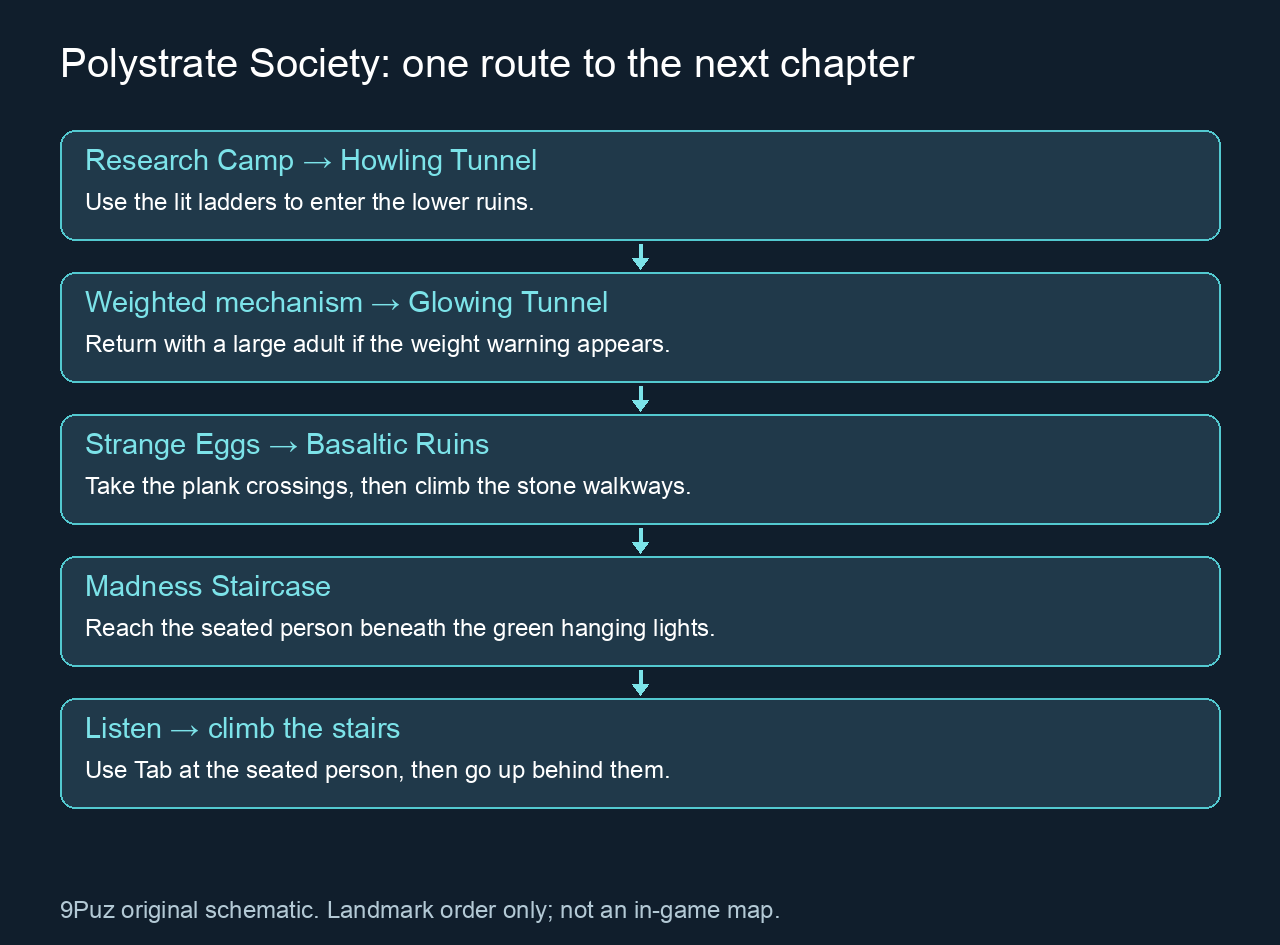
The square mechanism is on a narrow stone platform beside a small lantern. A smaller penguin receives the message This penguin isn’t heavy enough to activate this mechanism. Walk back along the platform and across the nearby ladder to the group of penguins on the snow. Change into a large adult, then retrace the short crossing to the square plate.
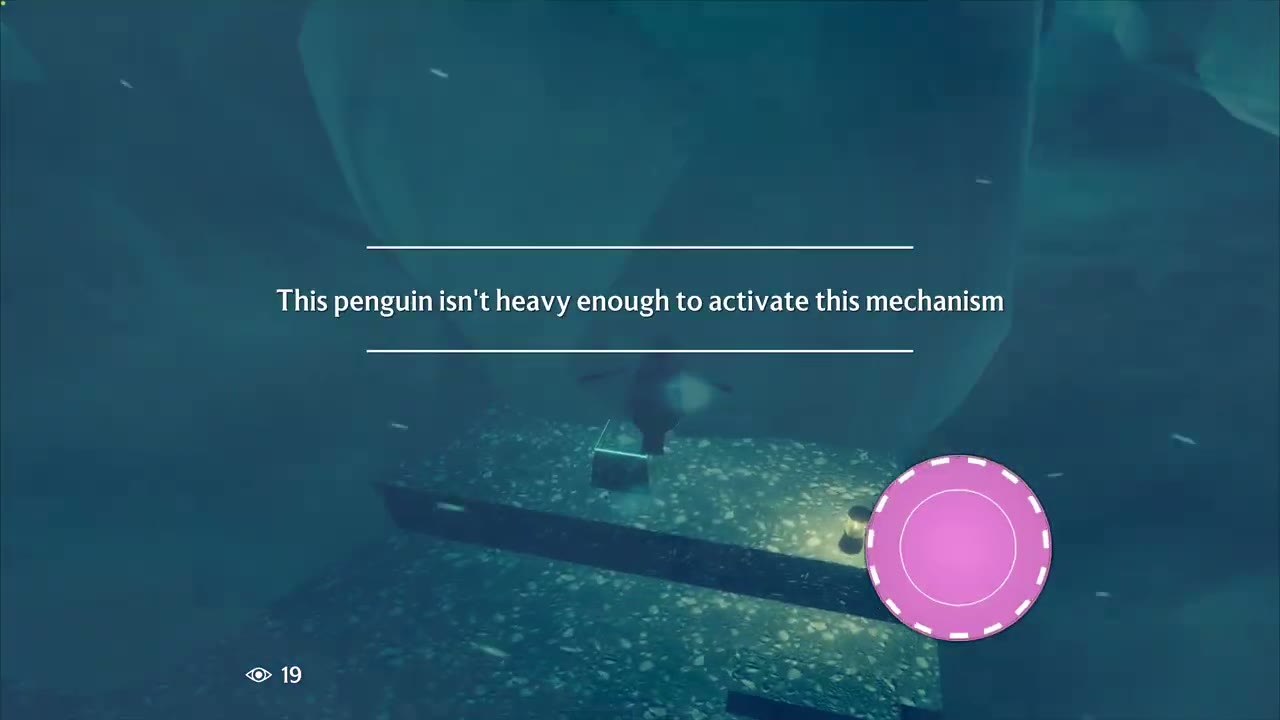
Stand on the plate with the larger bird, then take the route beside the green hanging light. Keep the lantern and the square plate in view while turning: dropping off the opposite side sends you down into the ruins rather than along the next ledge. If you return in a small bird and get the same warning, go back to the group and change bodies again.
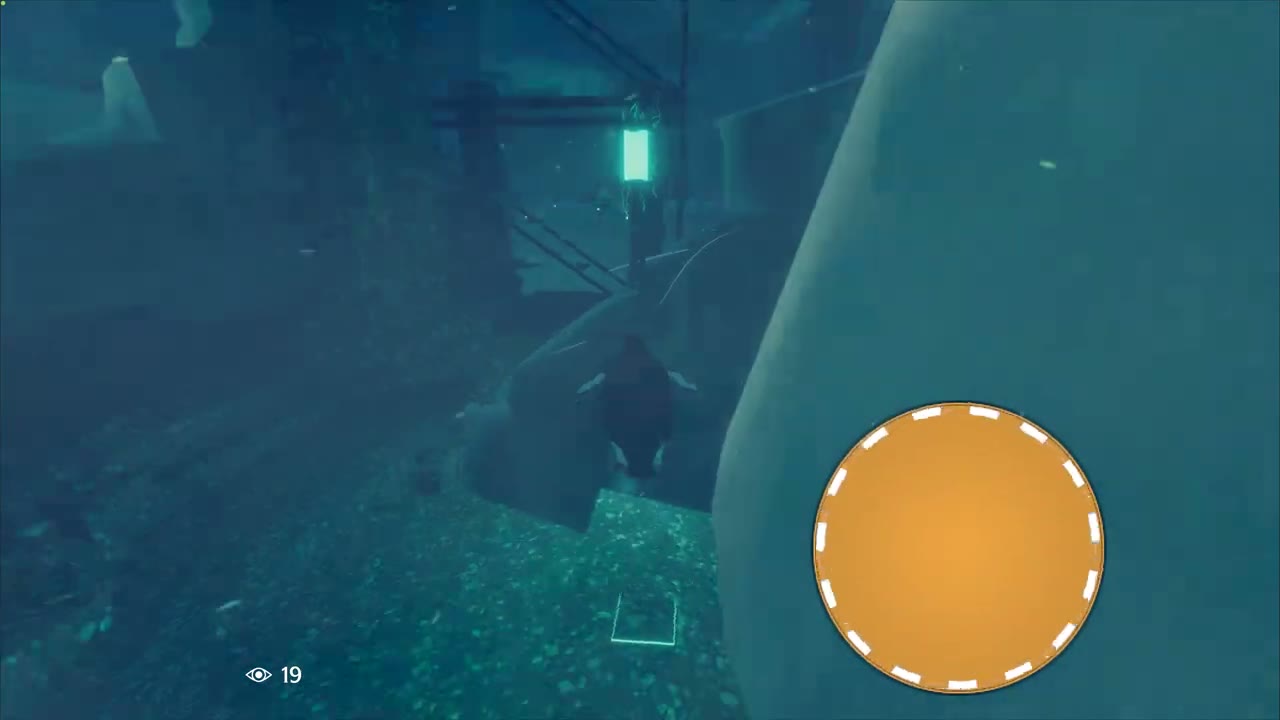
Follow the green glow into the broad ribbed passage and continue through Glowing Tunnel. Penguins gather near its entrance, so this is another place to change bodies before exploring a small passage. For the low openings nearby, change to a smaller penguin at the group by the tunnel before approaching the gap.
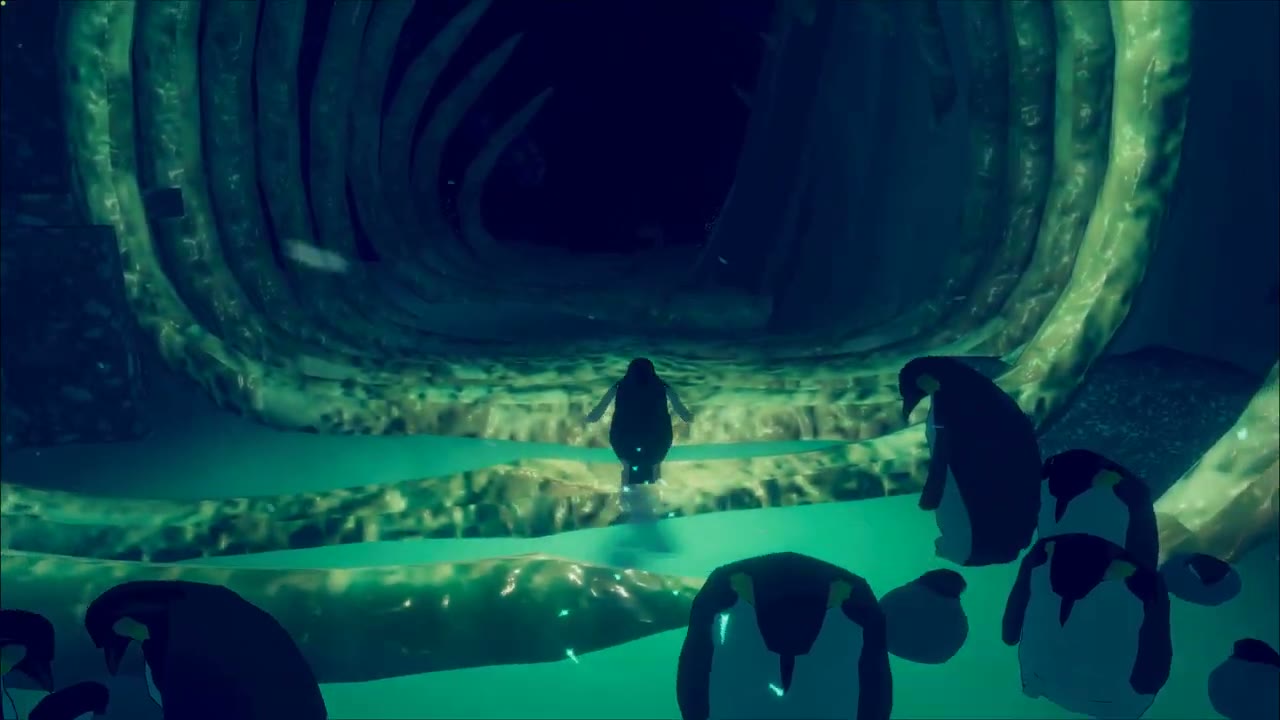
Past the tunnel, work toward Strange Eggs. The glowing water and clusters of dark hexagonal platforms distinguish this area from the earlier snowy ledges. Use the plank crossings between the larger islands, then move across the reachable platforms for the glowing pickups. Before committing to a barred side opening, check the nearby penguins: some bodies are too large to pass beneath it. Return to the broad platform route when you have finished that detour.
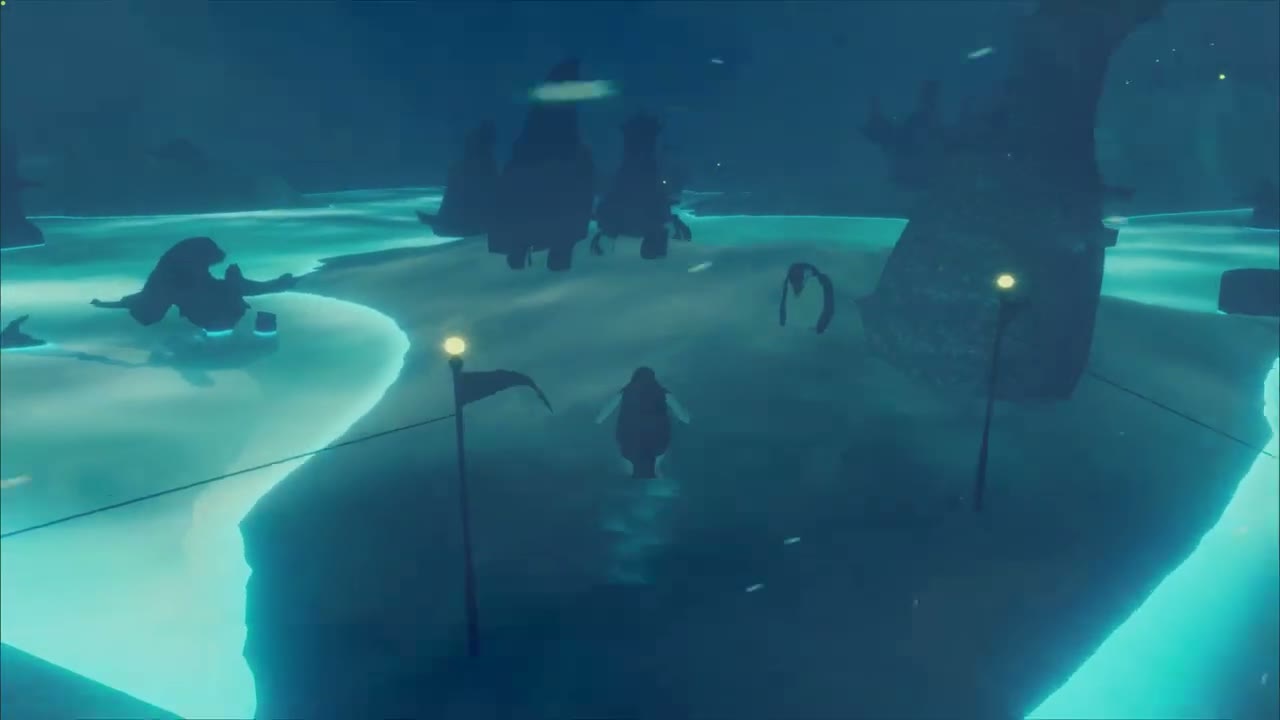
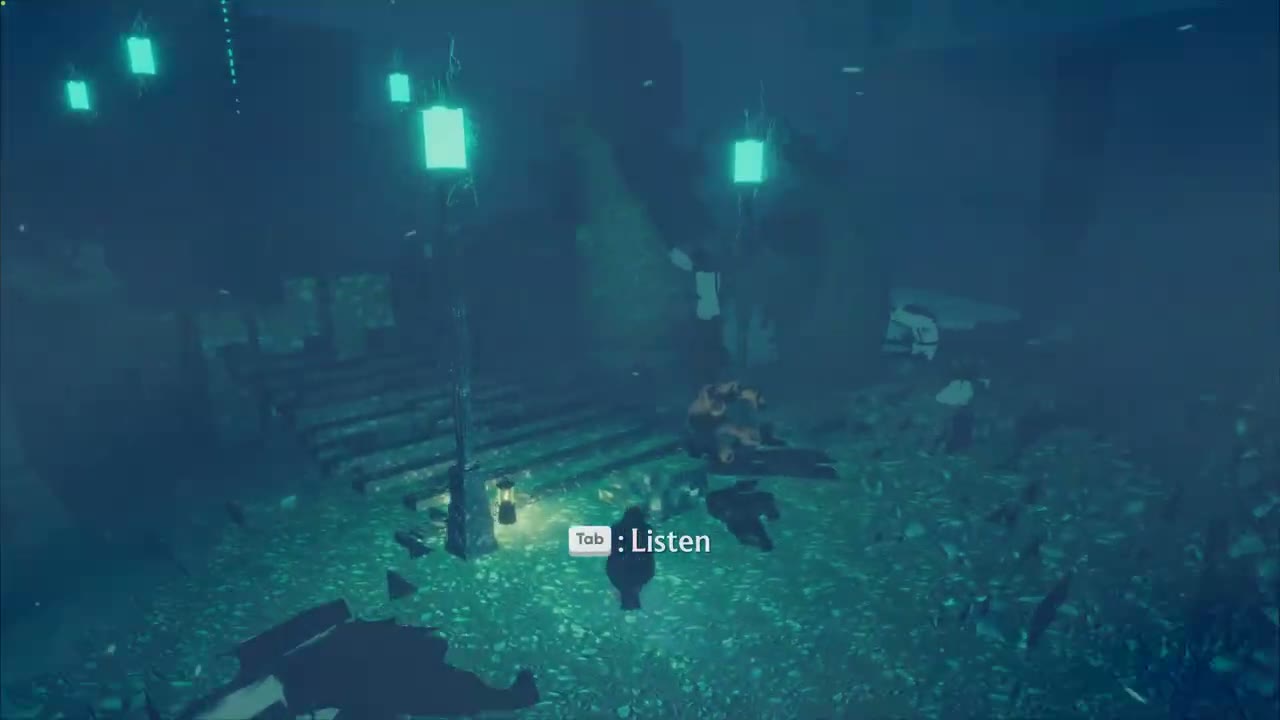
Continue into Basaltic Ruins and climb through the linked stone walkways. Follow the ladders between levels instead of trying to scale the sheer faces of the walls. The route eventually brings you to a round opening in the stonework. Go through it to reach Madness Staircase, where green rectangular lights hang over a seated person and the steps behind them.
Approach the seated person for Tab: Listen. After listening, take the staircase behind them; climbing it begins the next story sequence. If you are wedged in the surrounding geometry, the game provides Hold R To Reawaken. Use that recovery input when movement is stuck, then find the lanterns and staircase again.
III: Undiscovered Troglobyte, through the ruined halls
After the chapter transition, follow the snow route between the tall ruins and cross Dilapidated Bridge. The narrow ladder bridges connect the upper platforms; when a span ends beside a wall, step down onto the adjacent snowy shelf to continue around it. Glowing words are scattered along these ledges, but they are detours from the route through the halls.
A seated person is waiting on a bright snowbank beside a lamp. Walk close enough for the Listen prompt and hear the exchange before leaving. Continue over the rise into Grand Hall. This conversation is easy to walk past because the next ruins are already visible beyond the snowbank.
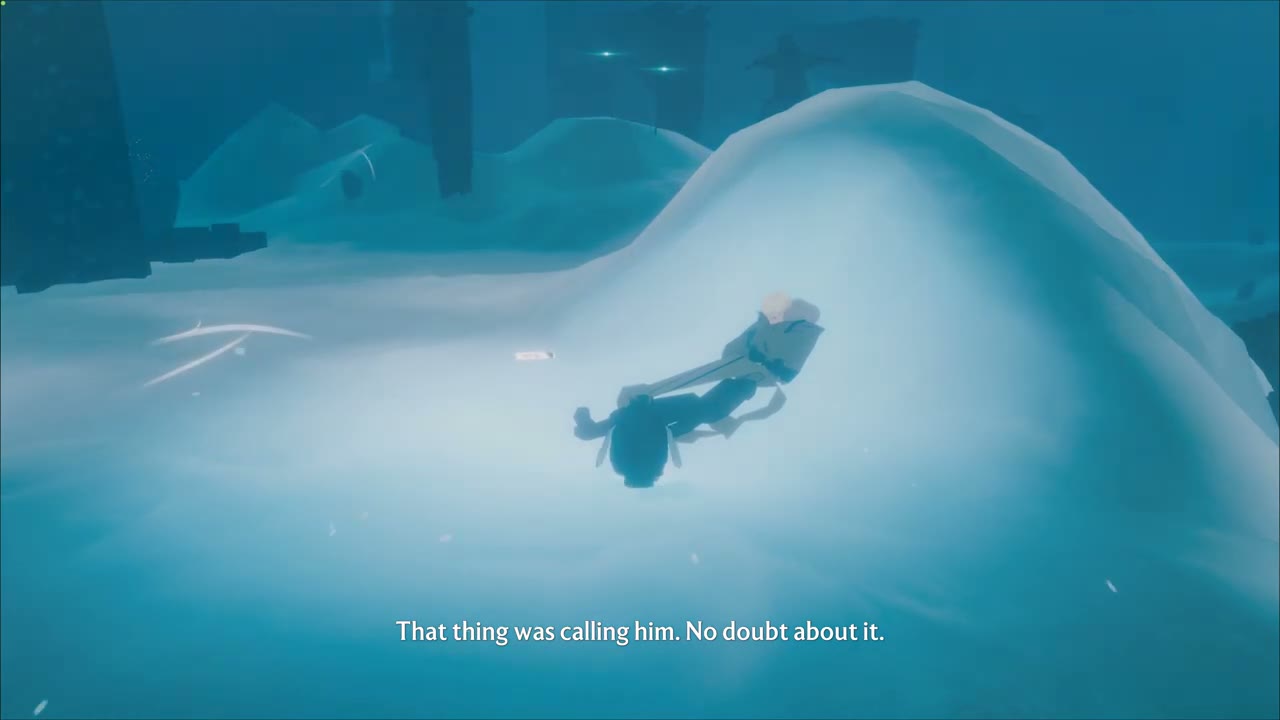
Cross the plank ladders and follow the stone stairs to Hells Gate. From there, take the broken elevated walkways toward Halls of the Black Filth. Watch the ends of the ladders when descending: a short lower platform beside the wall often continues the route even when the higher walkway has broken away.
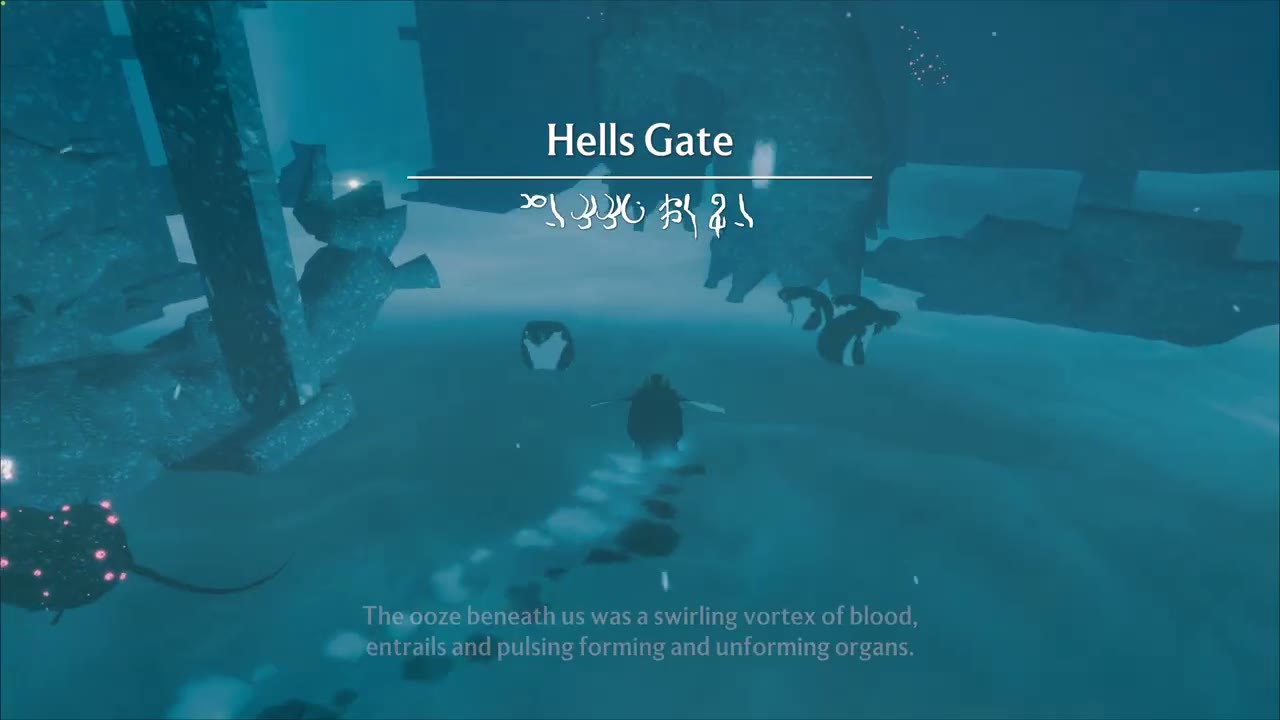
Pass through Halls of the Black Filth and continue to Demons Gate, where enormous figures flank the route. Take the stairs through the stone opening beyond them. The camera pulls away for the next reveal. Once that sequence finishes, the red sky and the title The Southern King mark the start of the next chapter.
IV: The Southern King, from the outskirts to the crypt
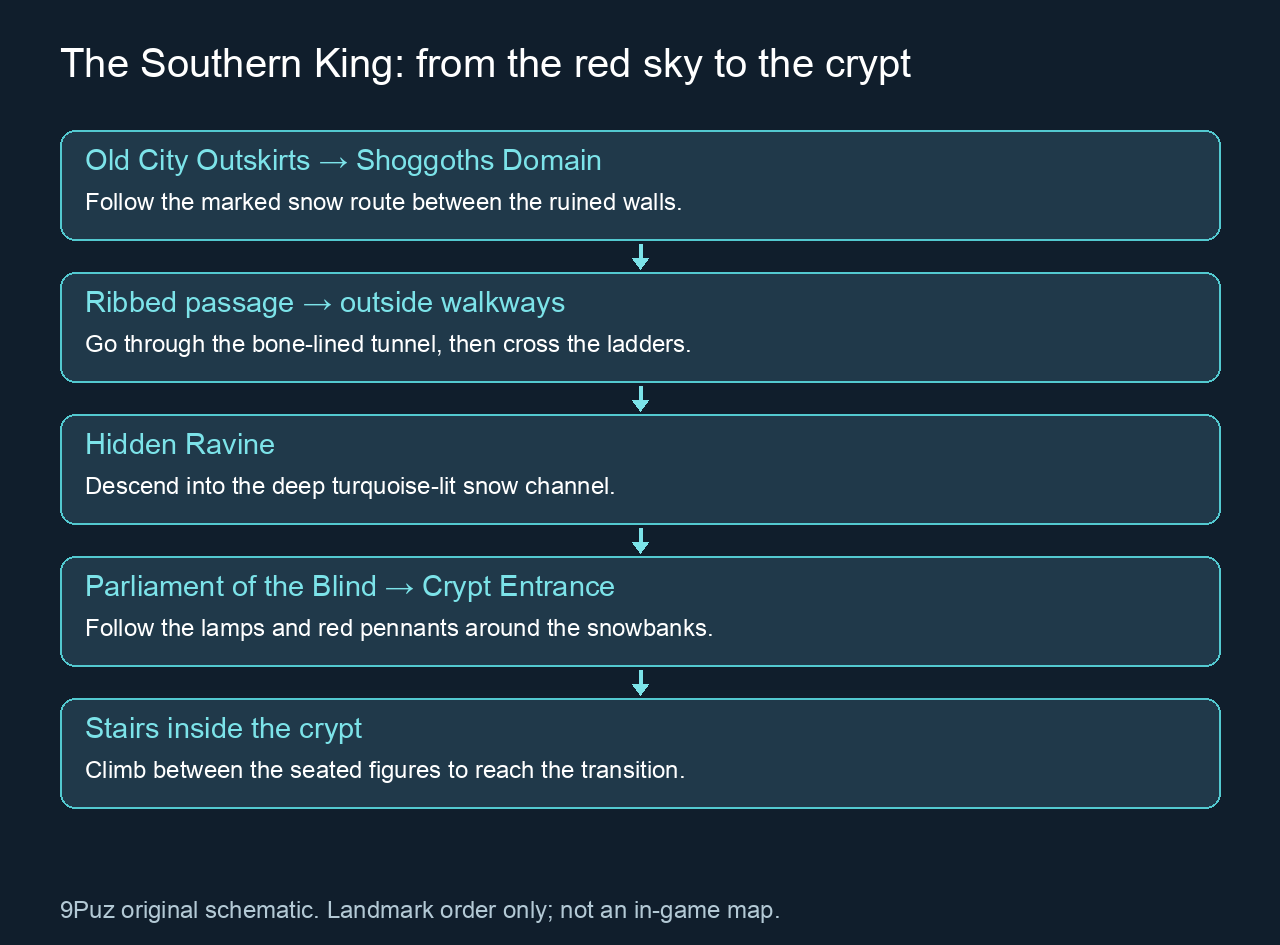
Leave Old City Outskirts along the snow route between the dark walls and the red-lit growths. Follow the lamps toward Shoggoths Domain. The path mixes raised stone platforms with lower snow channels, so look for the next ladder at the end of each terrace before dropping all the way to the ground.
Continue through the ribbed passage, then climb out onto the surrounding walkways. The bone-lined tunnel is a useful landmark if you lose your bearings among the similar ruined walls. After it, take the plank crossings, pass the lanterns on the narrow ledges and work around the snowbank beside the tall stonework.
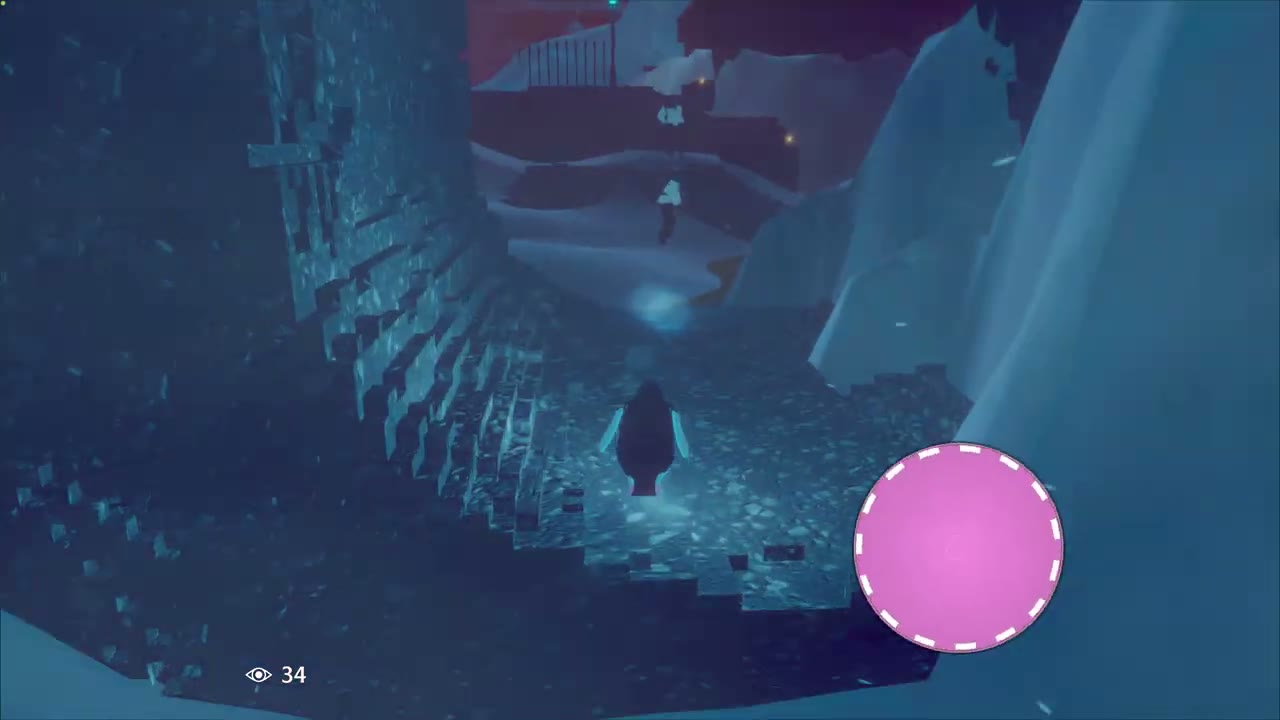
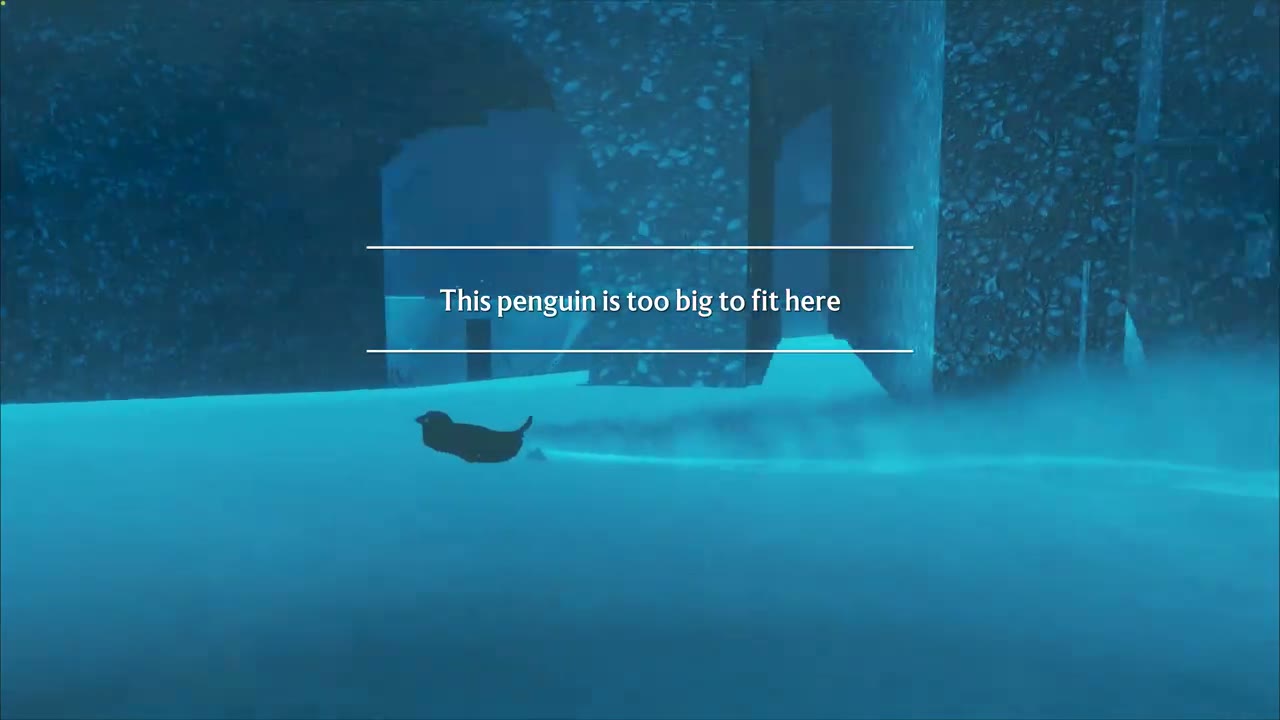
Several low openings reject larger penguins in this area. If you get This penguin is too big to fit here, back away and check the wider path around the wall before committing to that gap. For a small side passage, return to a nearby group and choose a smaller body. Return to the same opening after swapping and approach it from the snow in front of the gap.
The onward route drops into Hidden Ravine, a deep snow channel lit bright turquoise farther inside. Follow that channel between the ice walls, staying with the lamps and red pennants as it bends around the snowbanks. The name Parliament of the Blind appears on this lower route. Keep following the marked channel toward Crypt Entrance.
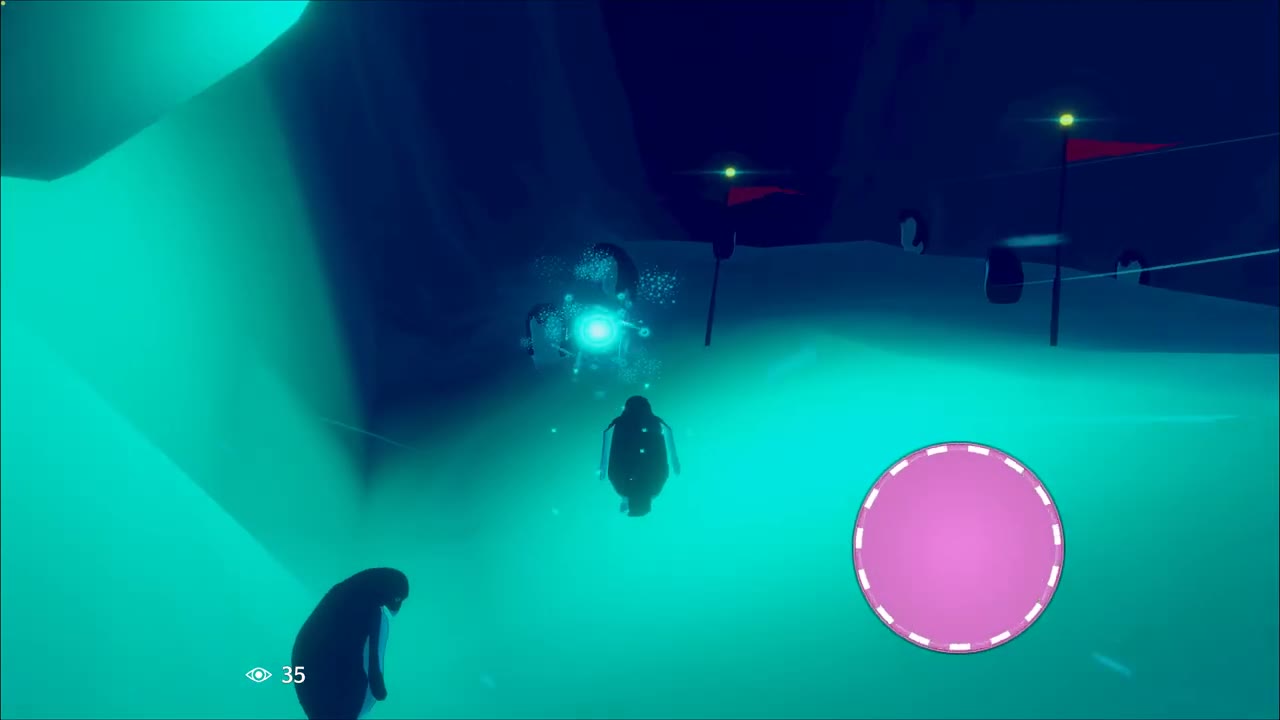
At the crypt, climb the broad stone stairs beside the seated figures, enter the dark doorway and continue up the interior staircase. The green hanging lights lead into another scripted sequence. You have finished this chapter when control returns in the bright blue Flooded City under the Capital City title.
V: Capital City, through the flooded ruins to Last Bastion
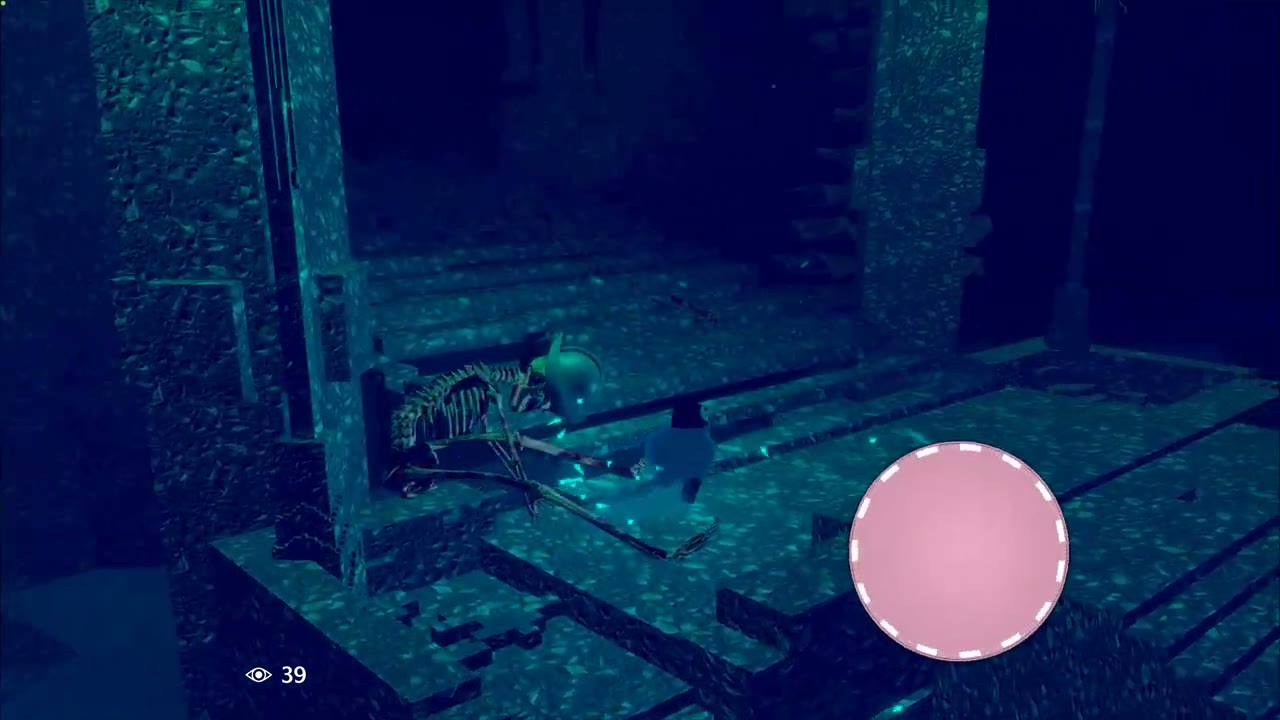
Move along the snowbanks in Flooded City, using an adult penguin when the route crosses open water. Look for the ladder bridge leading from the snow into the broken stone building. Follow the walkway into the ruins, pass through the round opening in the wall and descend toward the snow-covered courtyard with the tall hanging structures.
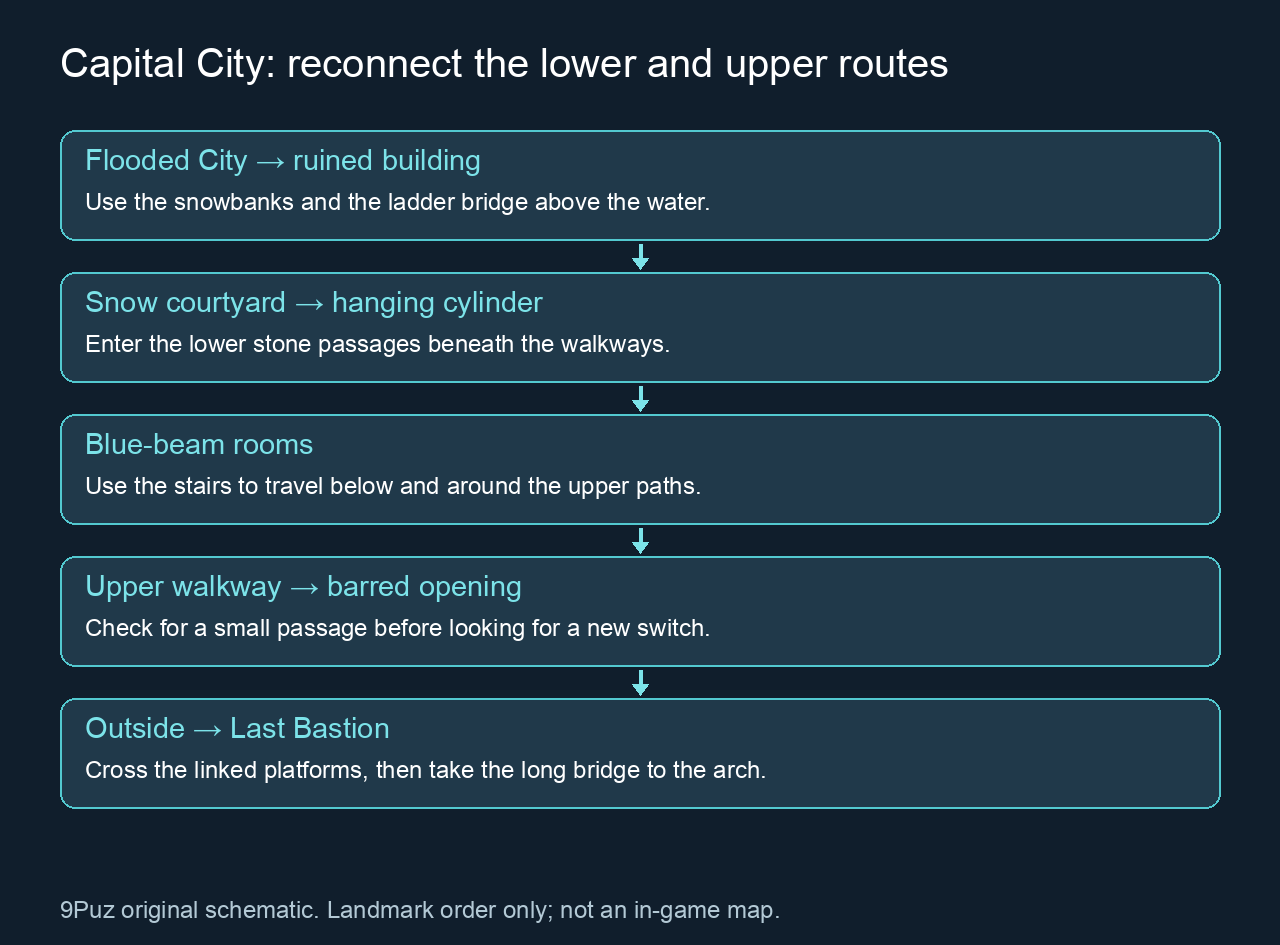
Enter the lower passage beside the courtyard and continue past the hanging blue-lit cylinder. The next rooms have narrow stairs, bars and blue beams stretching between fixtures. At a blocked upper walkway, descend the adjacent stairs and use the passage beneath it. The route circles through these lower rooms before returning to the higher level.
Watch for small openings in the walls and beneath the bars while circling back upward. If the current bird receives a body-size warning, return to a nearby penguin group and change into a smaller body before trying that opening again. When a corridor appears to end at bars, look along the floor and the side of the stonework before searching the entire courtyard for another route.
In the room with a stair flight facing a blue beam, take the stairs down to the broad lower floor and turn beneath the raised walkway. Cross the next opening, then climb the stairs on the far side. Continue around the central stone wall to the room where two bright fixtures face across the space. Use the lower opening beside the wall to reach the next connecting passage.
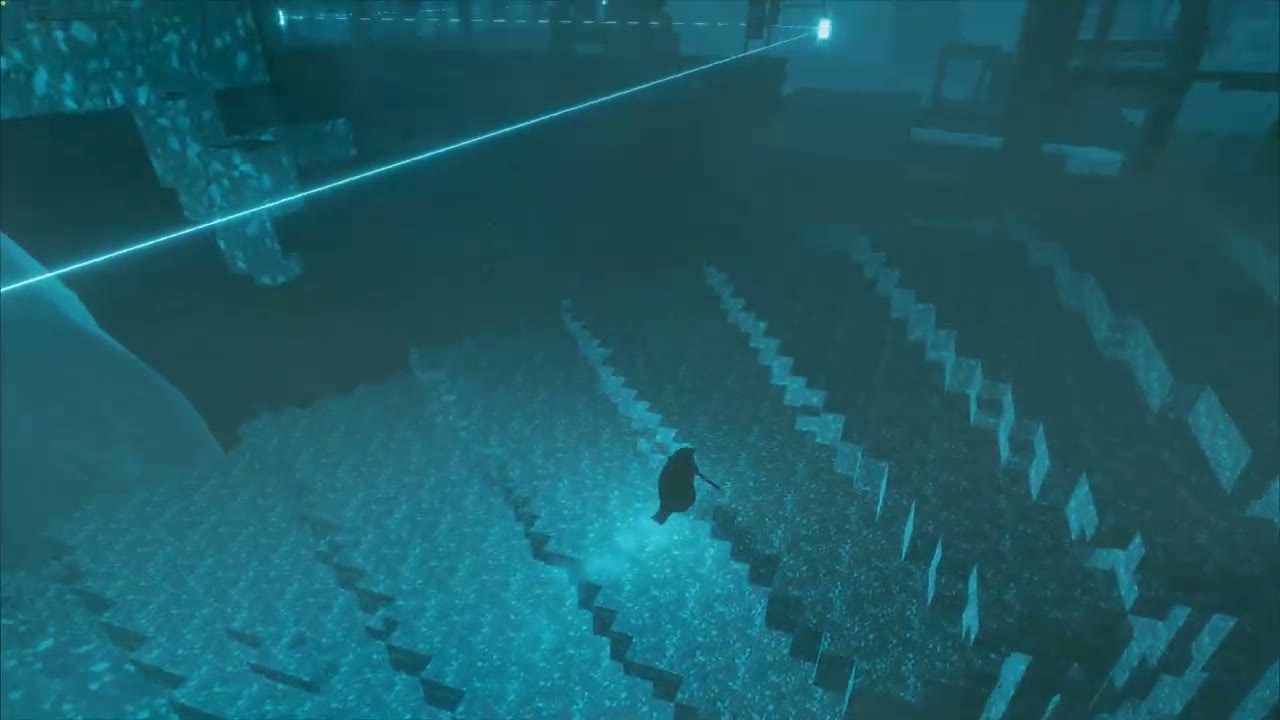
After the interior walkways, follow the snow path back outside and climb to the broad arch. Pass through it to reach the field of glowing hexagonal platforms. Last Bastion is on this route. Cross the ladder bridges between the large platforms, then take the long straight bridge toward the snow-covered rise and its stone arch.
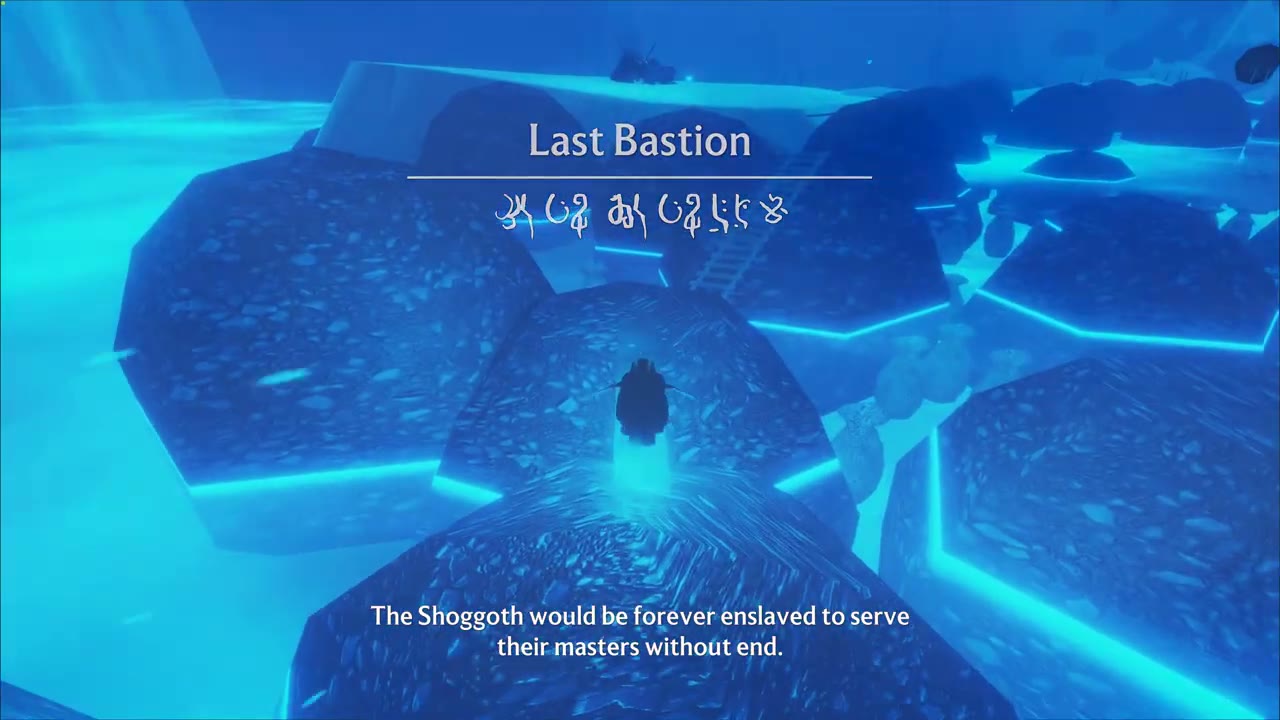
Stay with the lamp line across the rise and pass beneath that arch to enter Apotheosis.
VI: Apotheosis and The Cradle
At The Cradle, move toward the central raised structure. Climb the long ladder facing the large horned feature. Approaching the top begins the extended final confrontation. Let the cinematic sequence and its changes of scene play out; the next playable destination comes after it.
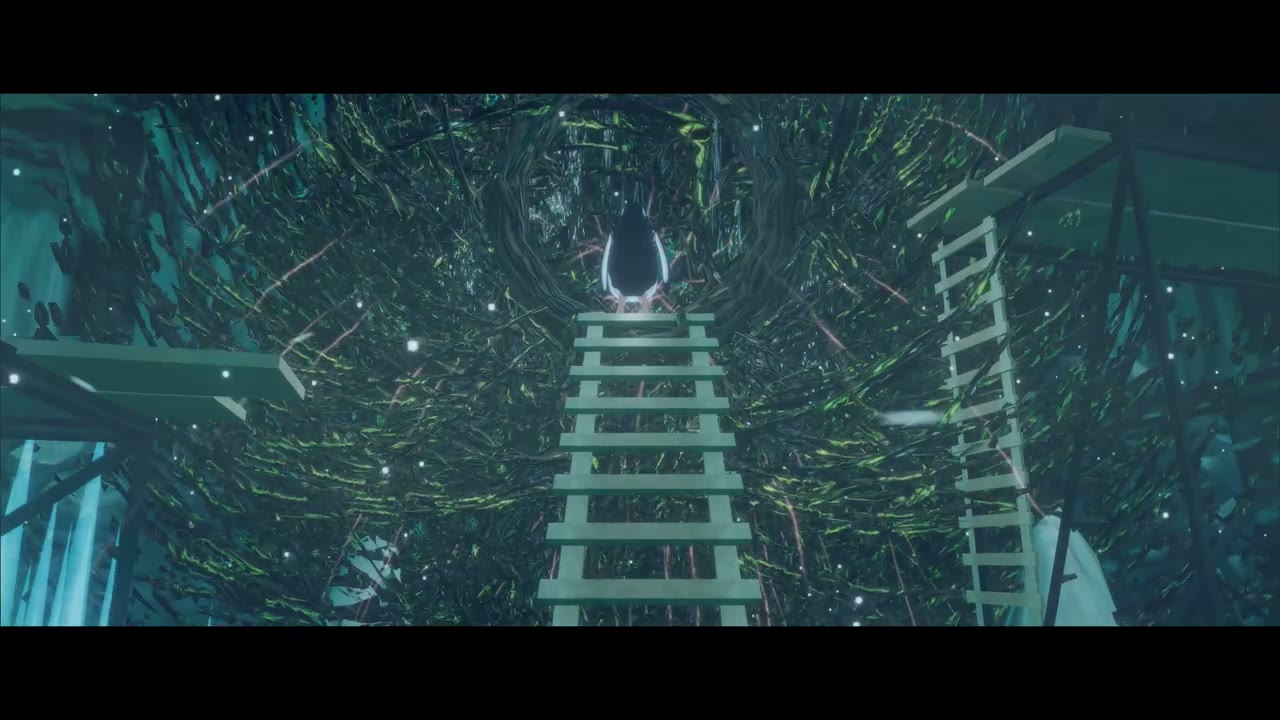
Keep the game running until the chapter title Silence appears. The confrontation contains long stretches with no traversal, but the closing journey still requires you to move again. Leaving during the cinematic sequence would miss the return through Crumbling City and the shore.
VII: Silence, Crumbling City and the Foreshore
When control returns in Crumbling City, head down the snow route between the ruined walls. Follow the wind trails through the open gaps and over the low snowy rises. The final route leaves the tall structures behind and descends toward the Foreshore.
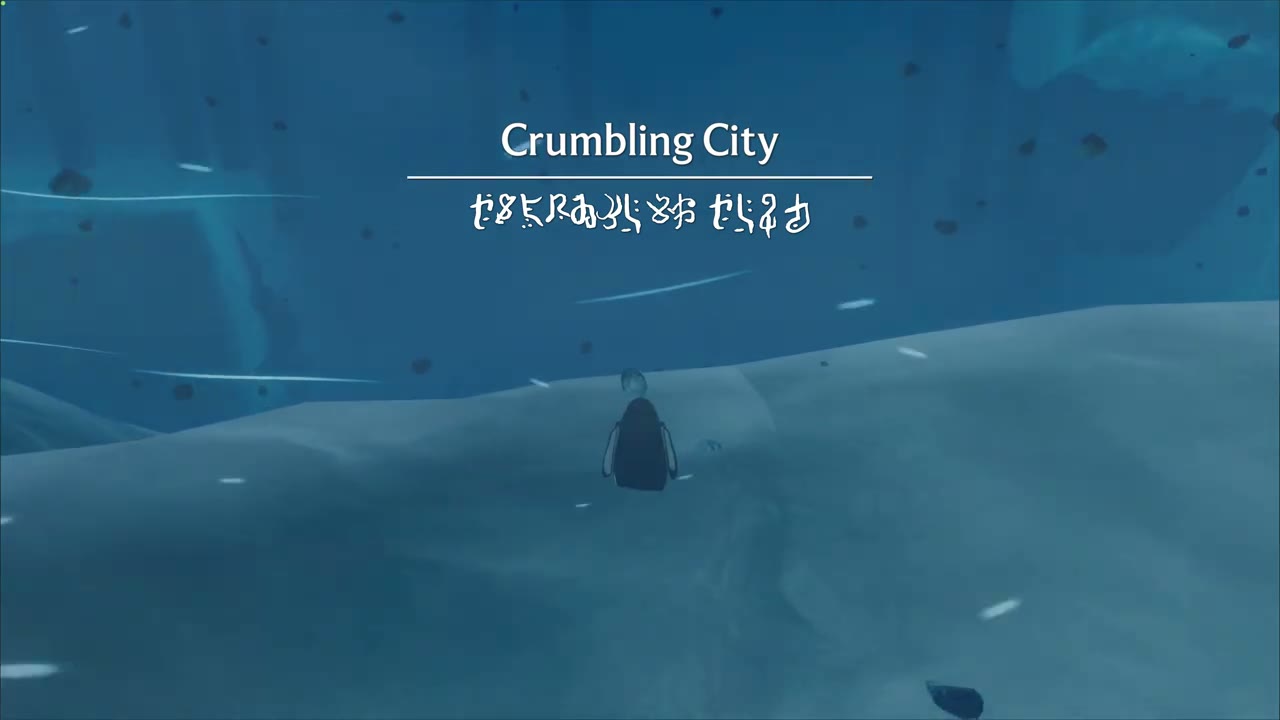
At the water, use the snow-covered shoreline and the reachable ice shelves to move toward the penguins gathered beyond the inlet. An adult can swim the water between these shelves. The glowing fish below the surface are a side attraction on this stretch; return to the surface and continue toward the gathering to finish the shore sequence.
The camera settles on the colony for the closing narration. The credits that follow mark the end of this story route.