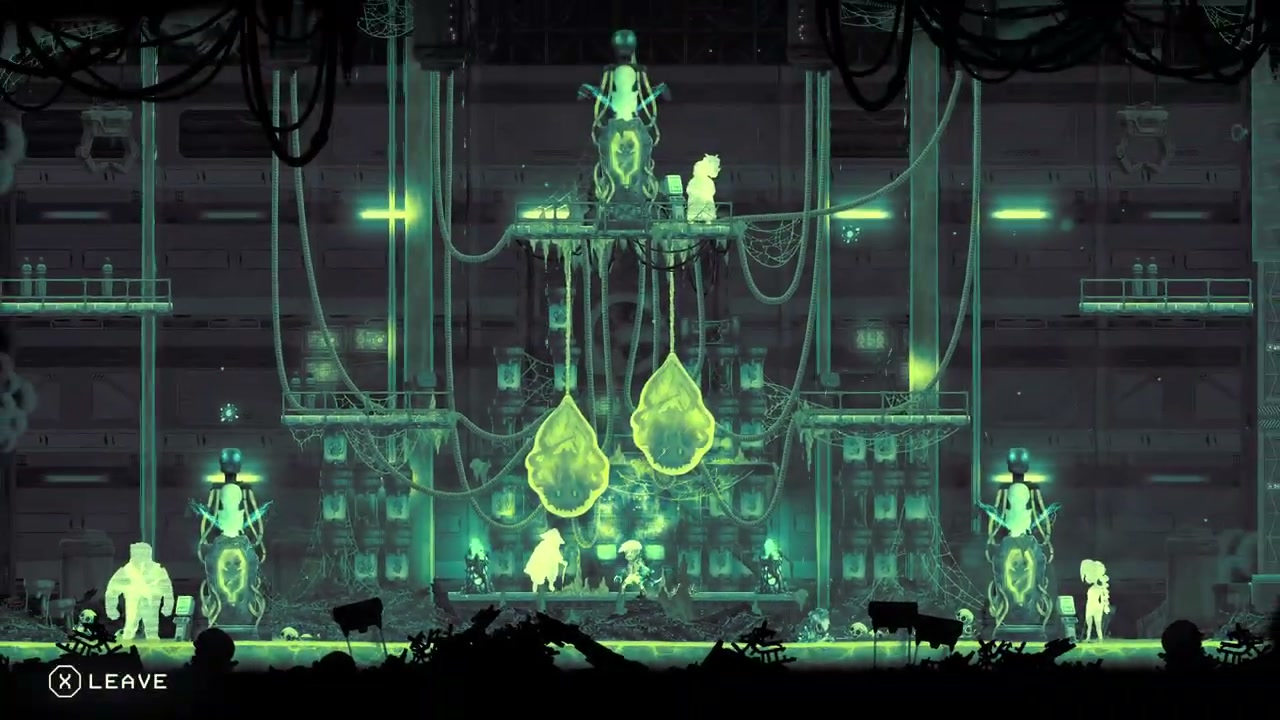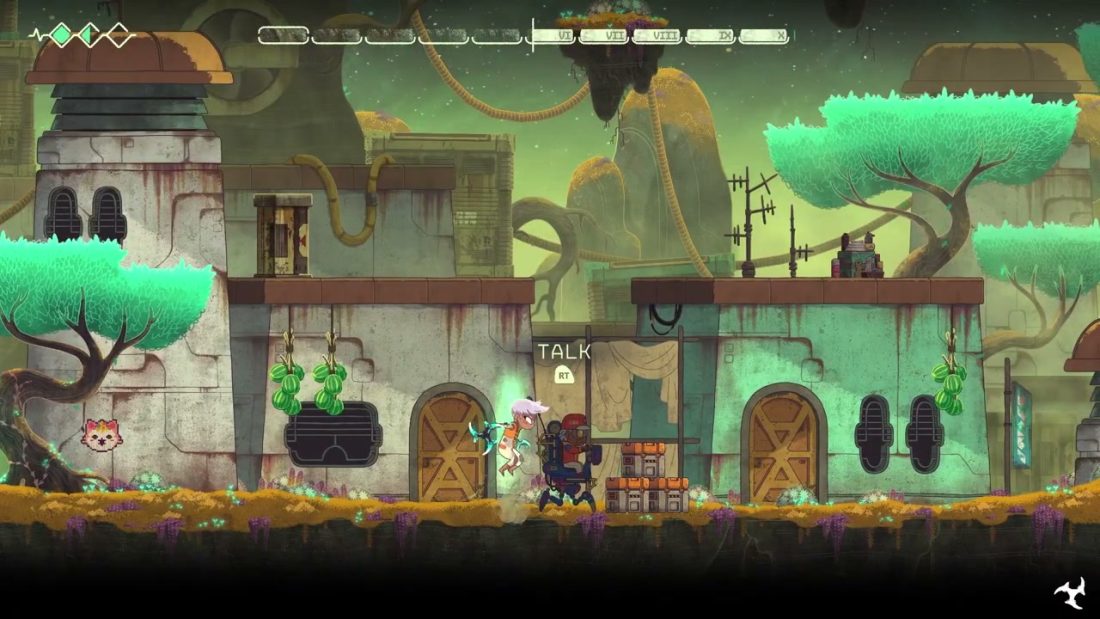
Enter 1254 at the Assembly lift. When you reach the sealed Assembly Gate, explore the research rooms below it to learn Folding, then return at the beginning of a new loop and warp through before it closes. The route continues through Lower Chapel and Refuge to the lake pumphouse, the church and the Vivary.
This Echo Weaver walkthrough ends after you activate the Vivary and uncover the three Anchor Node leads. Keep the Glaive’s location in mind throughout: syncing it chooses where it will be waiting on another loop, while Folding takes you to its current position.
The Assembly lift and the Glaive
From the opening chamber, climb on the right and use the control panel. Drop down on the left, collect the blue crystal and pass the fire using the launch point. There is no fall damage here, but the next dark room has a hole in its floor. Double-jump across the gap instead of running straight through the darkness.
Take the crystal to the left of the middle platform, then operate the machinery on the right to open the gate. At the lower level, move left, collect the next crystal and open the shortcut. Once the game introduces the manual loop reset, use it. On your next attempt, take the right-hand route, pick up the crystal and continue to Intermind in the Assembly.
The lift beside Intermind requires a four-button sequence. To find it in the world, walk right from the lift and let the floor collapse. Turn left into Monitoring & Observation and read the memory. It gives you 1254. Return using the launch point and enter the sequence at the lift.
The unfamiliar symbols correspond to a telephone keypad: the top row is 1, 2, 3; the middle row is 4, 5, 6; the bottom number row is 7, 8, 9. For 1254, press top-left, top-middle, center, then middle-left. Confirm the entry to use the lift.
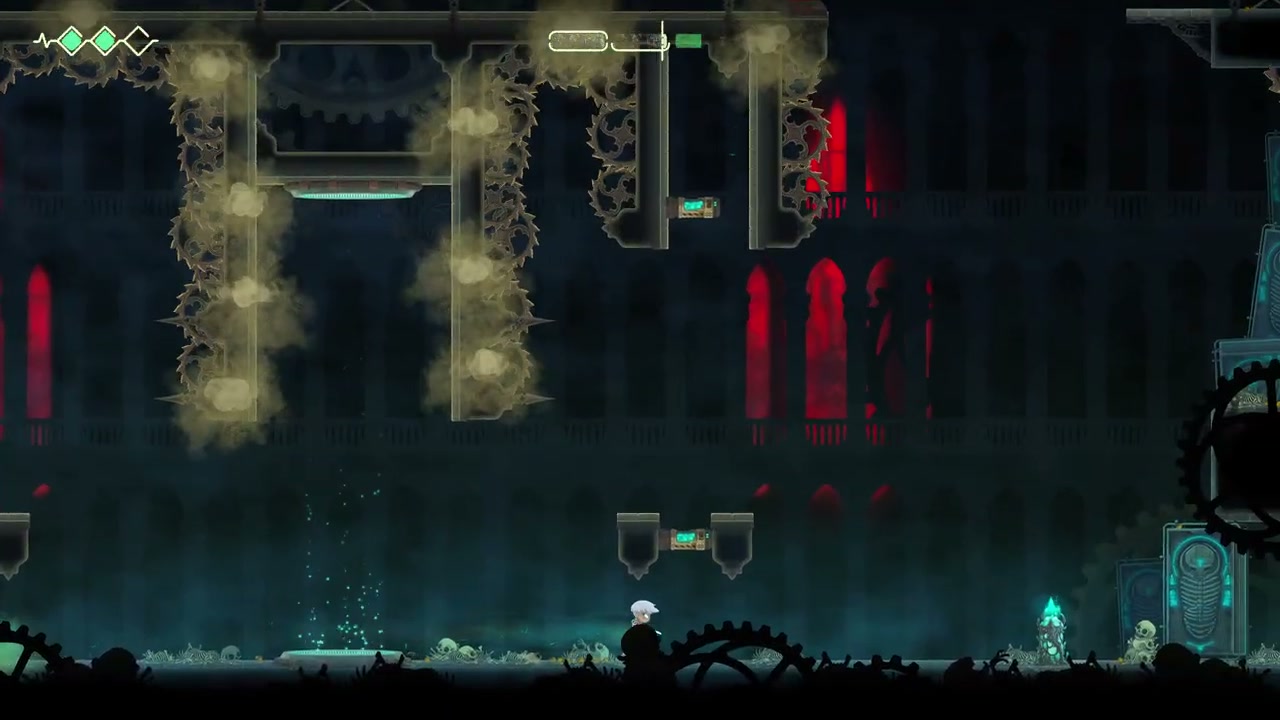
Collect the crystal on the left when you arrive upstairs, then move right into the spike-box chase. Keep moving away from the box. Slide under low openings and use your double jump to clear the higher obstacles. Once the box stops behind you, continue right to the Glaive.
A short throw returns like a boomerang and can sweep through several switches on one flight. Hurl the Glaive to leave it where it lands. You can then recall it, lodge it in machinery or use it as a destination for Folding.
Defeat or pass the enemy beyond the pickup, use the Glaive to reach the next crystal and strike the machinery blocking the corridor. At the launch shaft, land on the lowest ledge to the left and activate the mechanism. Launch back up for the crystal on the right, then operate the machinery again to reopen the left-hand route.
Read the memory farther left and double-jump across the spikes. The switches ahead hold their passages open only briefly. Land on the platform and face left before aiming at the switch. Hurl, recall between shots and cross as soon as the way opens; aiming during the fall costs you time.
Folding and the ten-second Assembly Gate
The Assembly Gate closes ten seconds after a loop begins. Your first visit will usually be too late. Leave it closed for now and take the route left across the platforms. Open the lower gate and drop back toward the room where you found the lift code. This time, continue right instead of returning to Monitoring & Observation.
At the group of three mechanisms, use the returning throw to strike them together. Hurl upward to open the next passage, take the crystal and place the Glaive in the machinery on the right. Climb the route beyond it. Dive through the openings that lead downward, avoiding the skeleton and collecting the crystal along the way.
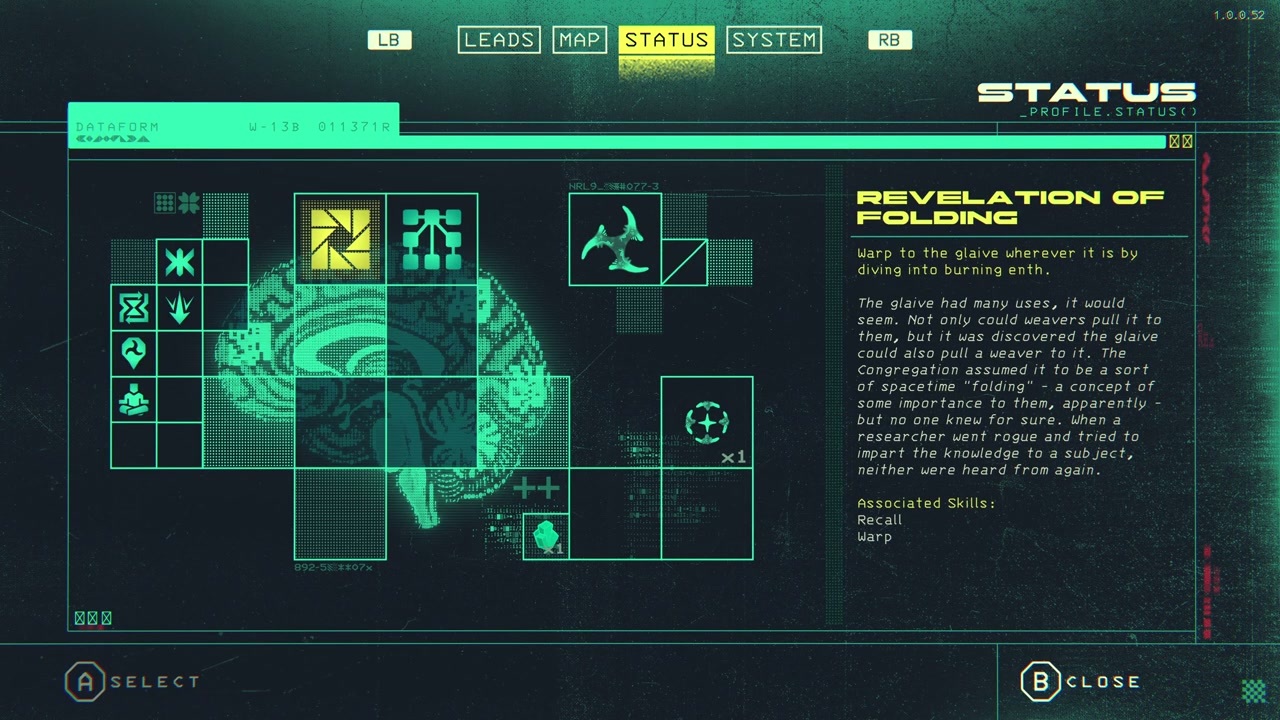
The memory in the lower research area explains Folding: hurl the Glaive where you want to go, then dive into the blue flames of burning enth to warp to the blade. Leave it there until you Fold. If you recall it first, you lose the remote landing point.
Use that interaction to cross left, then throw upward and Fold to the higher ledges. Where the path doubles back, leave the Glaive beyond the obstruction and return to the nearby enth before diving. Clear enemies that would interrupt your aim on a narrow landing.
Near the gate approach, sync the Glaive at the bubble-shaped station. This is the position you need for the next loop. After the route ends in an encounter that resets the cycle, dive into the burning enth near the starting chamber immediately. Fold back to the synced blade, hurl upward and Fold again, then send the blade right through the opening before the gate finishes closing. Fold to it again to get through the gate.
If the bulkhead is already shut, restart the loop and repeat the short warp route. Spending the rest of that cycle at the terminal will not reopen it. Once across, continue right and sync at the next station so the Lower Chapel approach is ready for your return.
Climb out of Lower Chapel before the gas
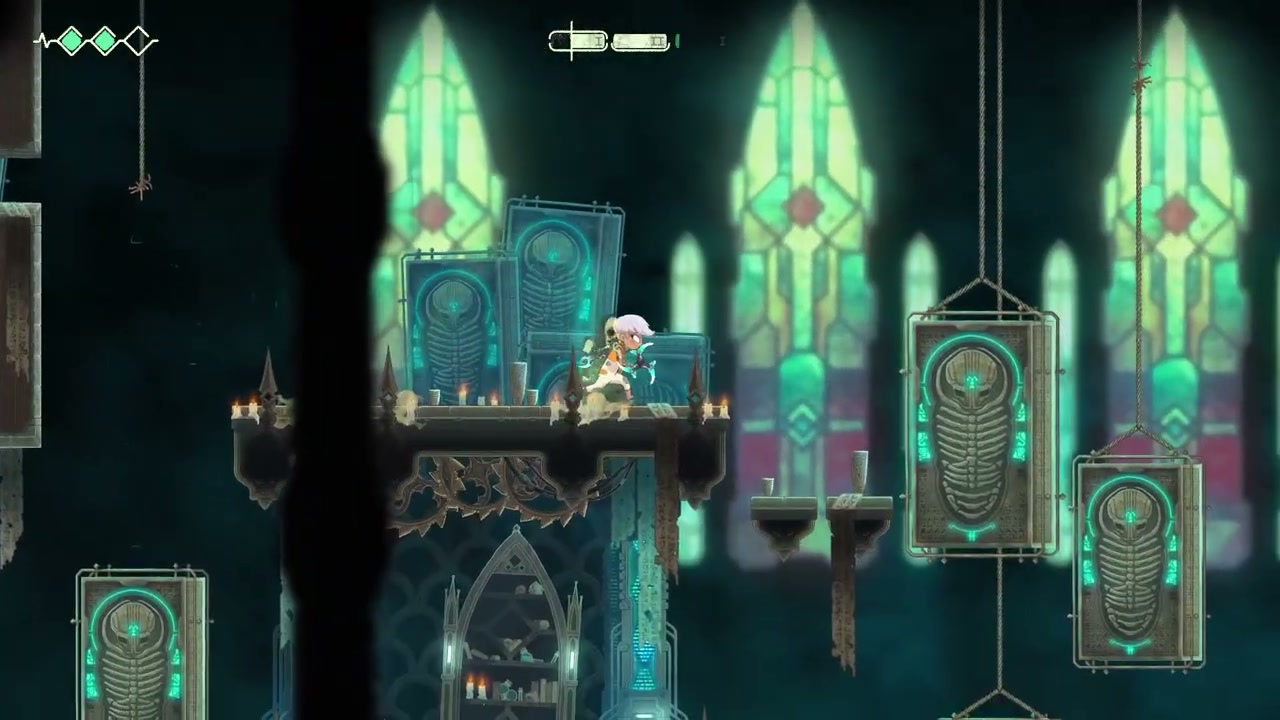
Enter Lower Chapel and climb before approaching Verrik on the right at floor level. Take the upper-left path and throw through the crystal and the rope. Cutting the rope opens the route across the room, but also alerts Verrik and starts the rising poison gas.
Cross right, climb the right-hand platforms and cut the next rope. Turn back toward the upper-left section and keep gaining height. Stopping to fight gives the gas time to catch up, so keep climbing. If you fall into the lower pit after the room has filled, reset and take the crystal to the right of the starting chamber before warping back for another attempt.
At the upper launch point, collect the crystal to the right and strike the obstruction on the left twice with the Glaive. Cross the platforms toward the upper-left exit. The ranged enemy on the opposite side can interrupt the jump; if it keeps catching you, attack from outside its reach before committing to the crossing.
Beyond the exit, dive down and hurl the Glaive left. Use the enth on the right to Fold across, then launch upward. Another spike box chases you here. Slide through the low gaps and double-jump over the obstacles to stay ahead of it.
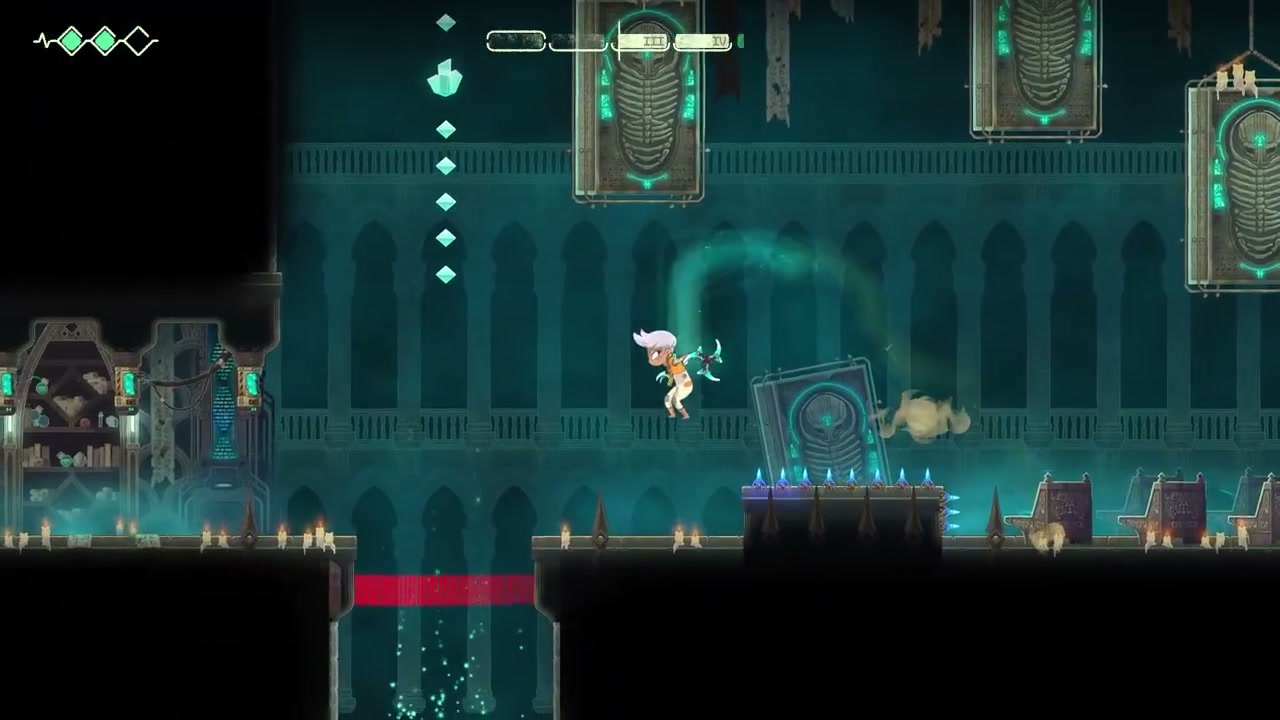
At the paired switches, use the short returning throw to hit both and remove the red barrier. A hurl that leaves the blade lodged beyond the first target will not produce the same sweep. Once the barrier drops, wait for the spike box to move left, then use the launch point to leave the chapel for The Wash.
The Wash key and the route into Refuge
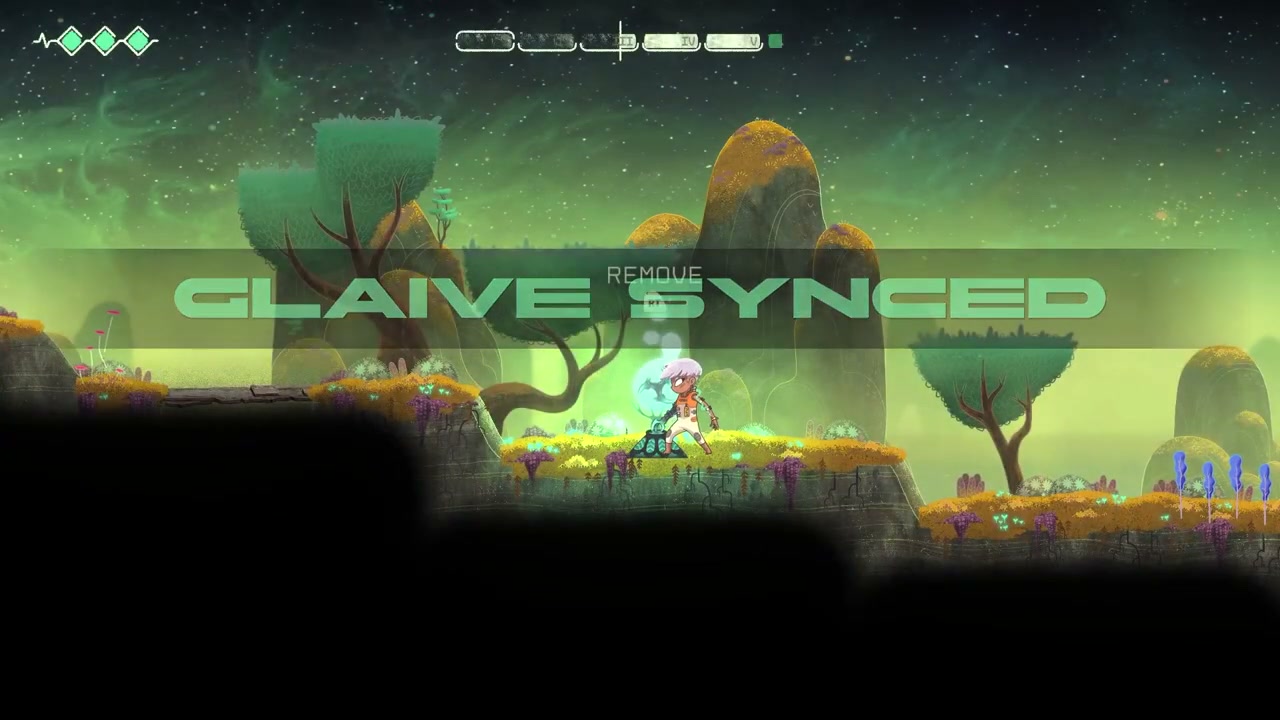
Take the crystal below the entrance and sync the Glaive at the station on the left. Retrieve it before climbing onward. The locked door to the right is your later route to the old church; the first trip through The Wash takes you left toward Refuge.
Climb and follow the upper-left passage. Before dropping into the next section, collect the crystal on the left. Continue through the vertical passage, jumping over the charging enemy and attacking from behind if you need to clear it. Hurl the Glaive left before descending into the key route.
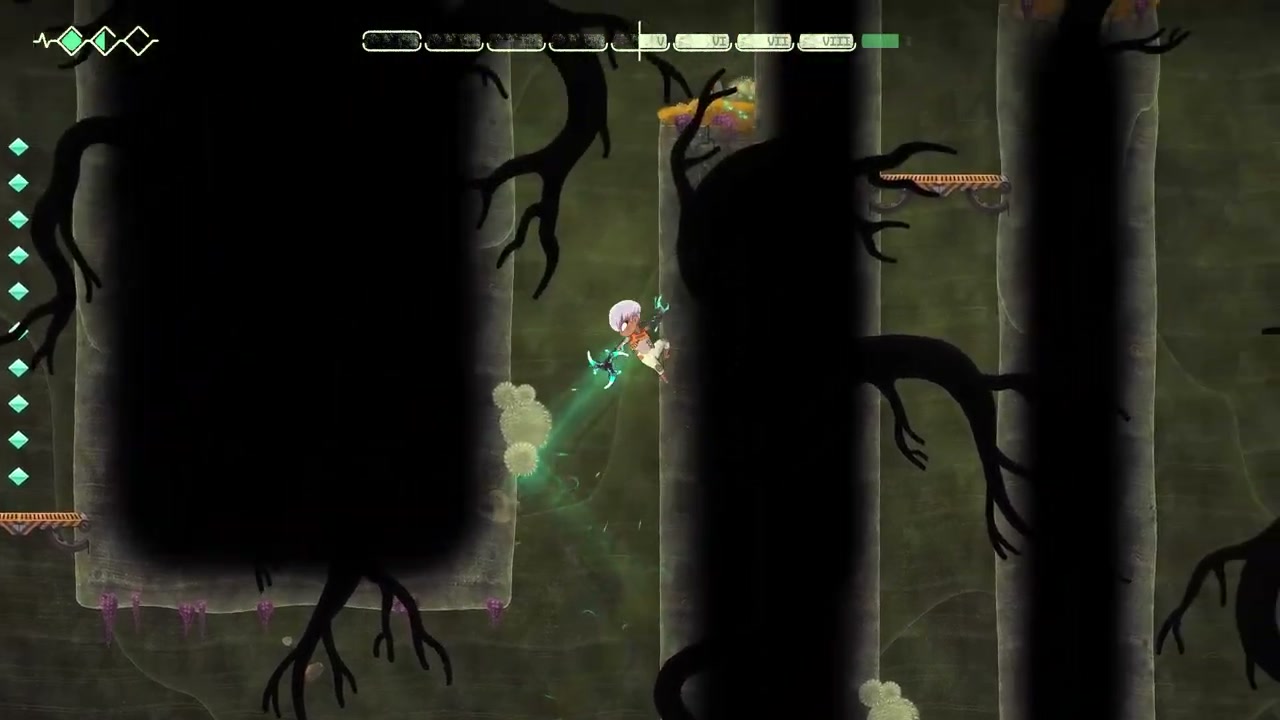
The key is on the right side of the lower passage, while the door it opens is on the left. Climb above the small crystals, dive down through them and collect the key. Leave the Glaive where it is while you carry the key to the left-hand lock. Open the door, recover the blade and continue left into Refuge.
Find Intermind on the left side of Refuge and drop through the opening nearby to open a shortcut to the starting chamber. On later loops, hurl the Glaive straight up from the start and Fold to it. You can then return to Refuge without repeating Lower Chapel.
There is also a rubbish pit farther left in Refuge. Diving into it commits you to the lower refuse route; it is not the passage you need for the pumphouse. Stay above it while preparing the trip west.
From Refuge to the Arboretum
Climb from the left side of Refuge toward the house with burning enth outside. Aim through the small crystals to the left, hurl the blade through that opening and dive into the enth to reach the Vestry. Continue left from the Vestry into the Arboretum.
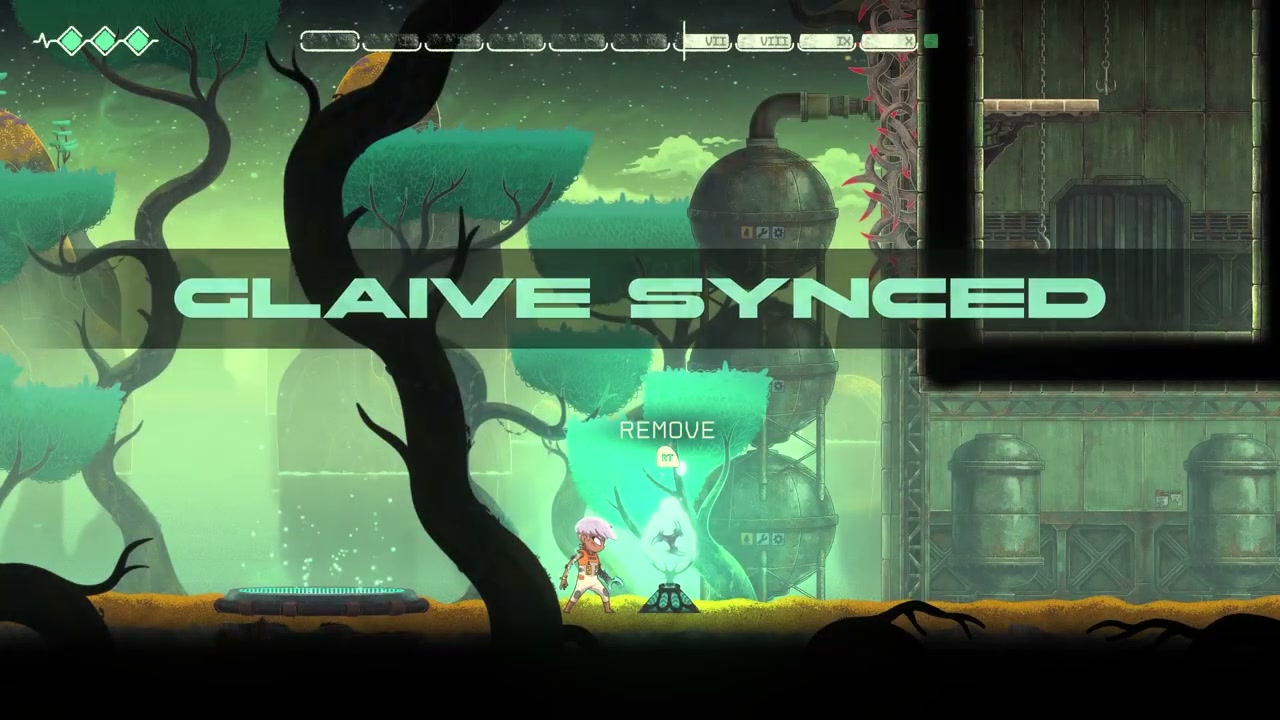
Pick up the two crystals on the way through the Arboretum. The second sits on a collapsing platform that drops you onto a launch point. Head left for more time crystals, or right to sync the Glaive. Take the blade out of the station before tackling the barrier rooms.
From the station, follow the path right and turn back left toward the blocked passage. Hurl the Glaive and recall it to clear the way. Take the crystal, throw right and Fold across, then dive into the lower opening and position the blade on the left side of the barrier.
Rupture and the lake approach
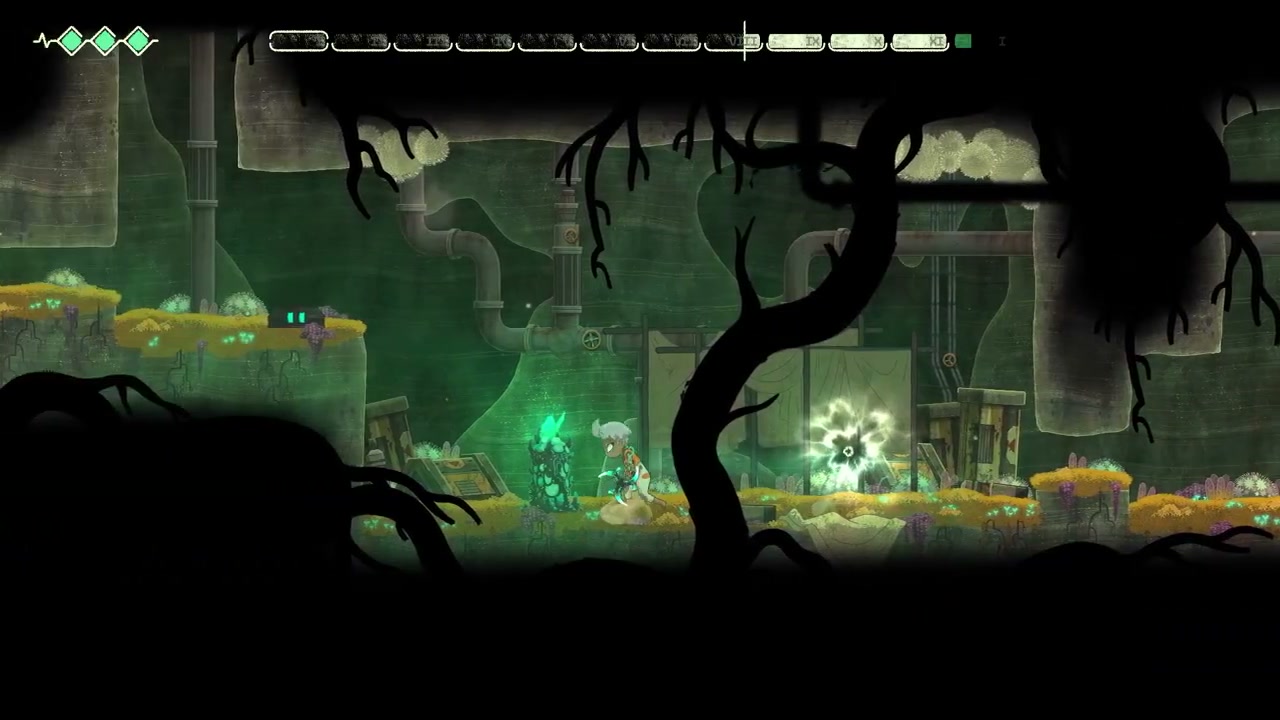
Recall the Glaive from beside the obstruction to trigger Rupture and clear the red barrier. Read the memory in the newly opened space, collect the crystal and Fold to the right. Return left and descend to the next set of timed targets.
Work across those targets with repeated hurls and recalls. Throw left and recall, repeat at the next target, then return to the first as it becomes available again. When the upper red barrier disappears, send the blade through the opening and recall it. Place it in the machinery, climb to operate the switch, then come back down and retrieve it before leaving.
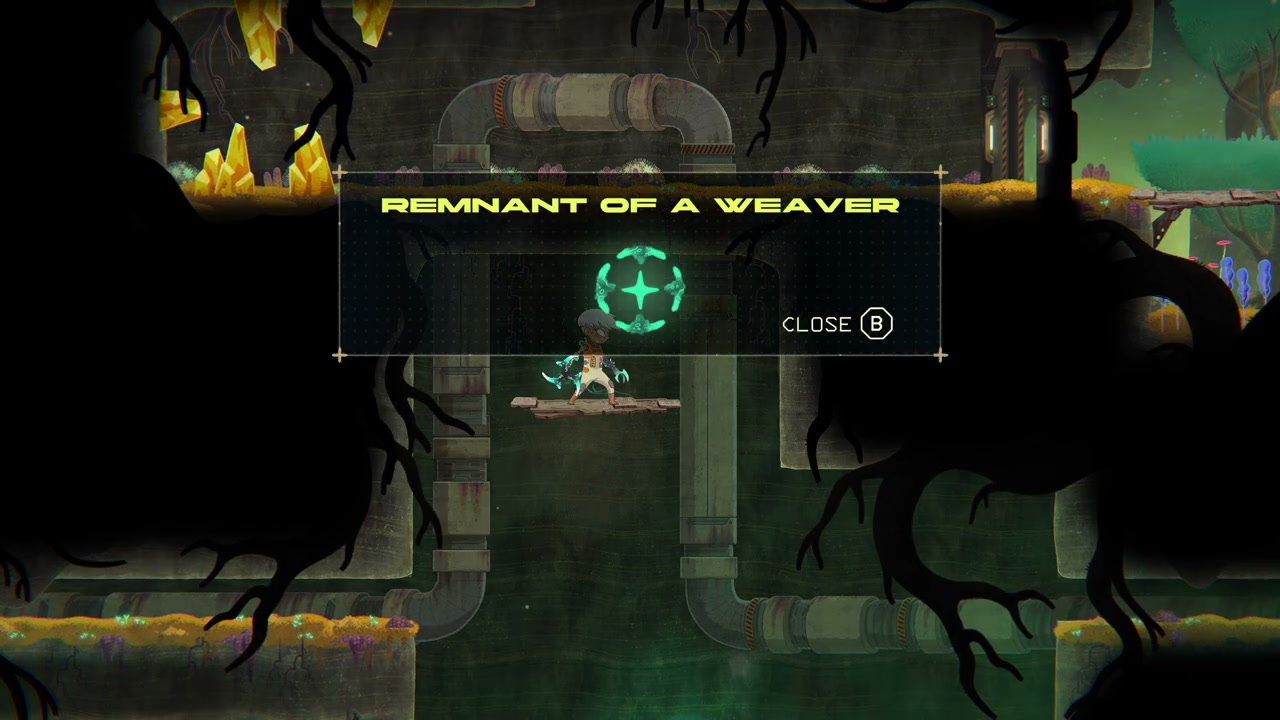
An optional Remnant of a Weaver sits above the burning enth on this route. Hurl upward toward the ledge and Fold to the blade to collect it. Hurl left and Fold out again, then return to the Arboretum sync station and take the western route toward the lake.
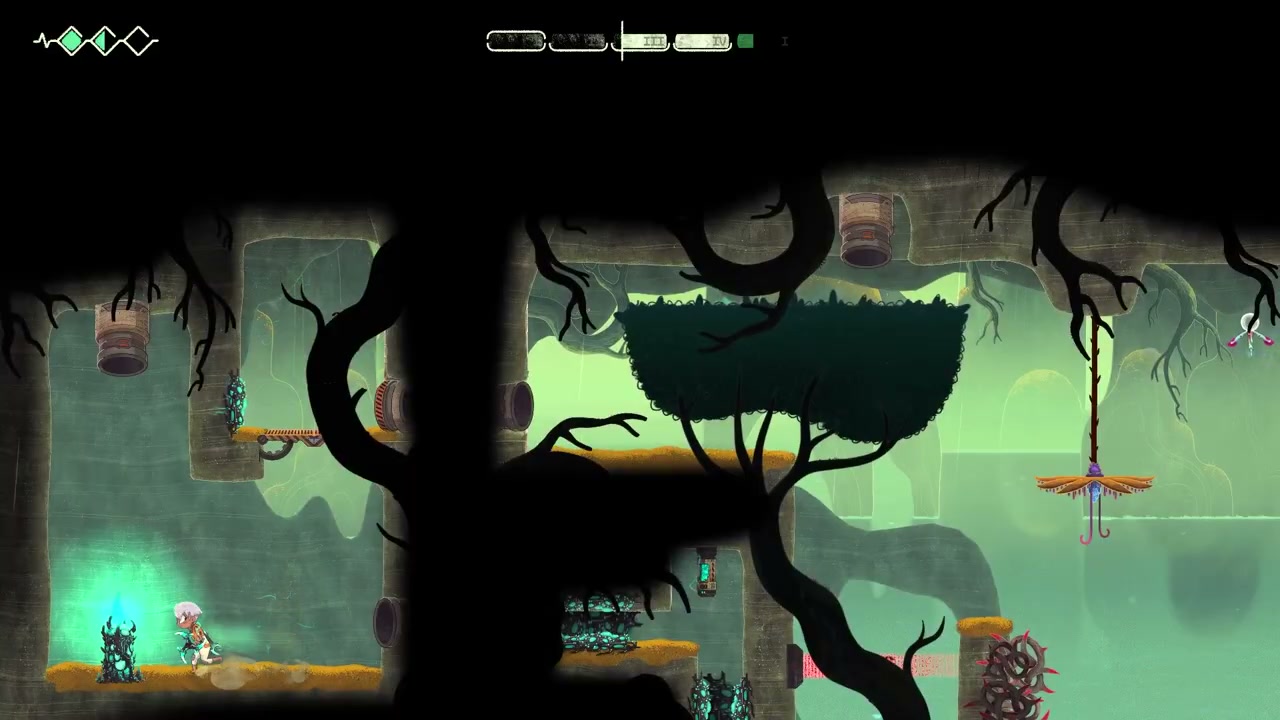
Hurl left from the enth and Fold across, then jump onto the path above. Climb the plant platforms without lingering: they close shortly after you stand on them. At the upper pipe, hurl the Glaive through the opening and recall it to strike the switch. Descend the platforms and continue left past the enth to the Elymere Pumphouse.
Set the four pumphouse valves
From a fresh loop, work left to right and turn each valve twice: four wheels, eight turns altogether. If you have already moved any of them, either match the finished pipe shapes below or start a new loop before following the turn counts.
| Valve, from left to right | Turns from the fresh-loop position | What to check |
|---|---|---|
| 1: against the left wall | 2 | Its outline can resemble the starting arrangement, so count both turns. |
| 2: on the isolated left platform | 2 | The left pipe bends upward at its right end. |
| 3: on the first right-hand platform | 2 | The large central pipe forms a U with its ends pointing up. |
| 4: on the far-right valve platform | 2 | The right pipe joins the fixed vertical pipe and completes the circuit. |
Enter the pumphouse from the raised doorway and drop into the long pipe room. Four wheel valves stand on small platforms above the floor. Each turns a section of the overhead pipework. The two terminals at floor level identify the intake and outtake, so use the connected pipe openings to judge the result instead of the position of a wheel’s spokes.
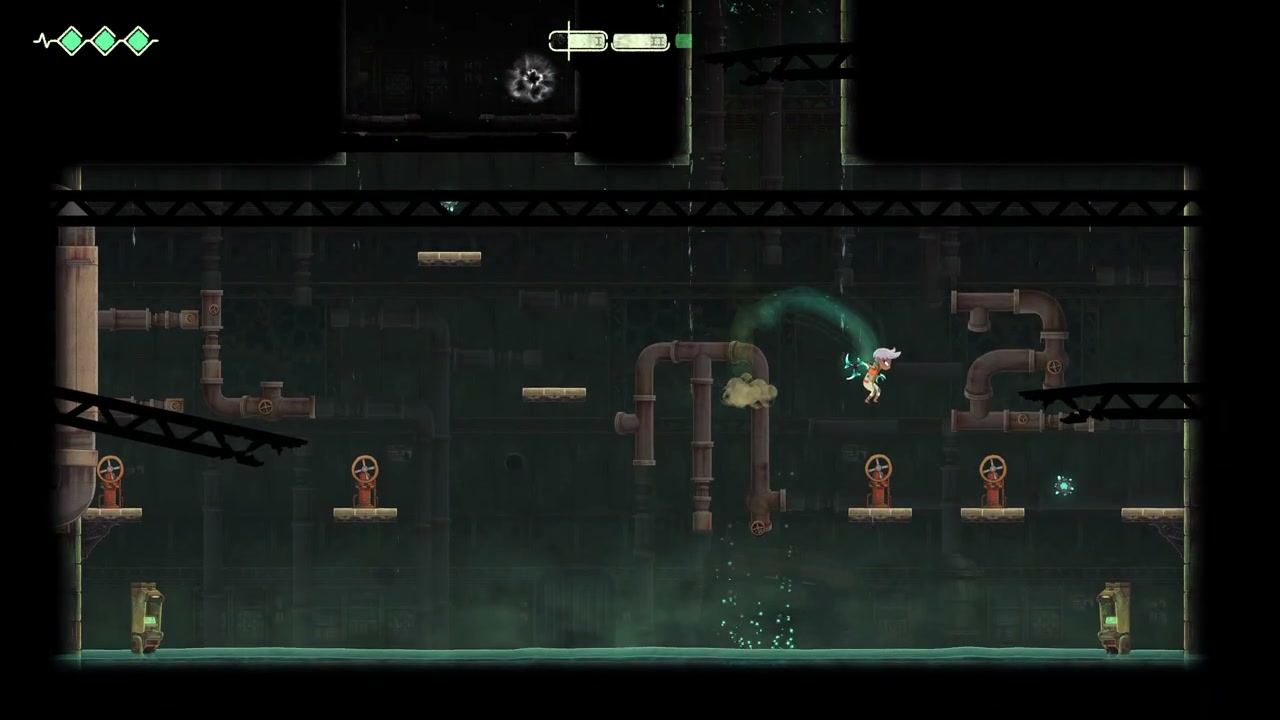
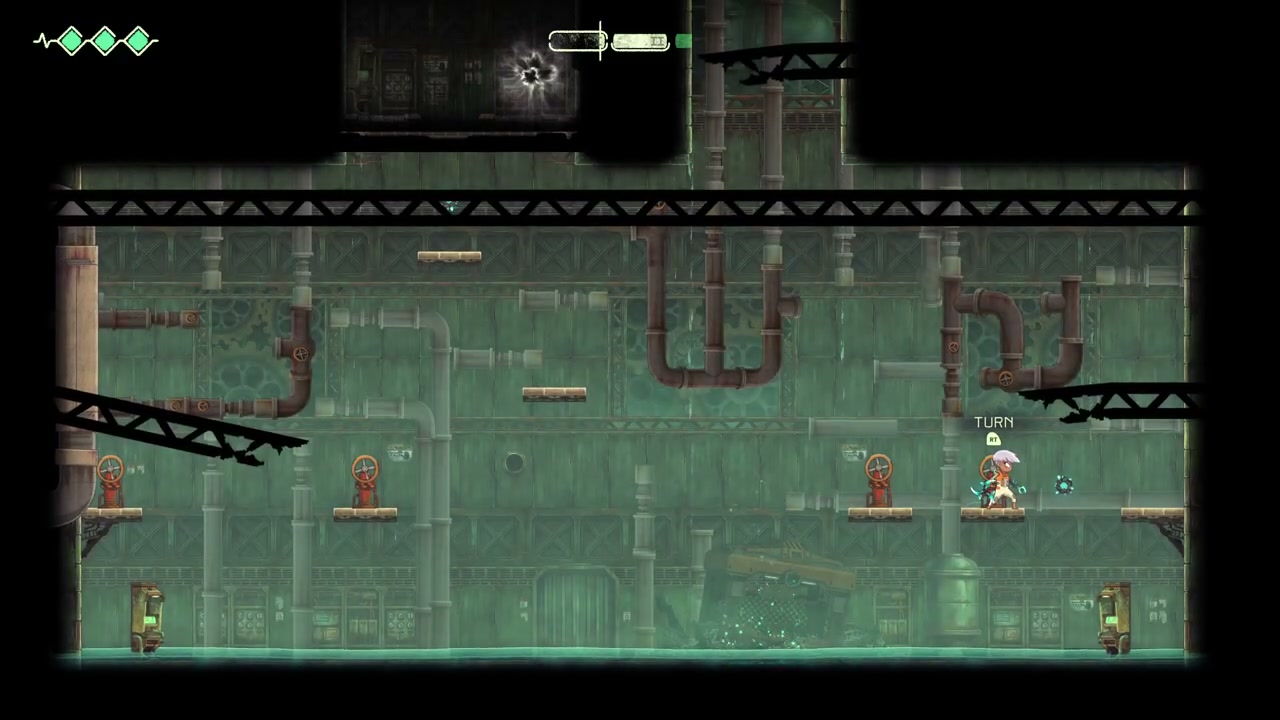
The room brightens when the pump is working, and the successful first repair adds a new lead. If the room stays dark after the other pipes match, check the far-left valve again: its two similar-looking arrangements are not interchangeable. Leave through the upper doorway and speak to Vos outside. His conversation gives you access to the Village Supplies box back in Refuge.
Before leaving the lake, use the pipe to the right of the nearby enth to establish the shortcut. Hurl the Glaive through the pipe and Fold to its destination. Keep that approach available: reaching the church is not the final time you will need to repair the pumphouse.
Bring the church key back through The Wash
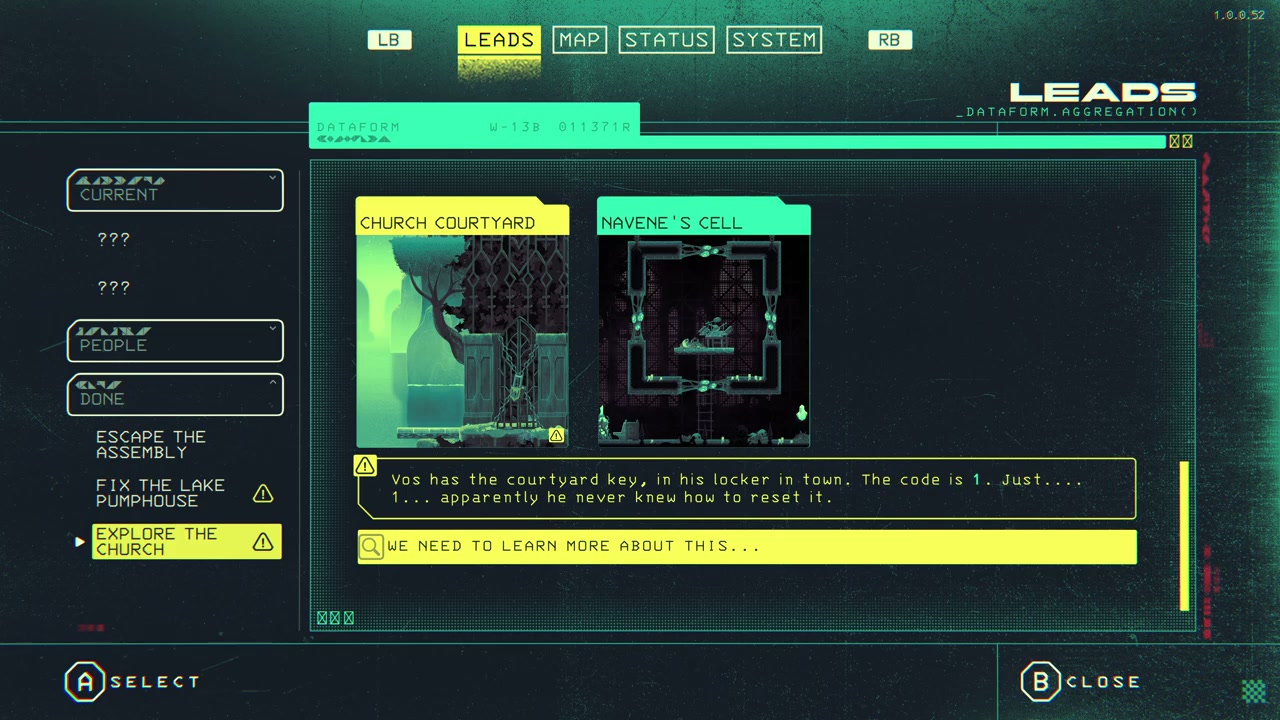
Back in Refuge, find the Village Supplies box just right of the pipe beside the lizard NPC. Enter 1 to open it. The key inside opens the old church entrance on the right side of The Wash. Before collecting it, leave the Glaive at the Wash station as described below.
On your trip through The Wash, keep the Glaive until you have disabled the red barriers on the left-hand route. Once the path into Refuge is open, go back to the Wash sync station and leave the blade in its bubble. Walk through to Refuge, collect the church key, then Fold back to the Glaive using burning enth.
Arriving beside the Wash station with the key puts you close to the church entrance. Move right and use it on the old church door. If Folding sends you somewhere else, check where you last left the actual blade: a remembered sync location does not override a Glaive you have subsequently thrown or carried away.
Escape the church prison
Enter the church and move right into the Cathedral of the Loom. Read the memory on the right and approach Verrik. His reaching hand can catch you and send you to prison. The route out uses the Glaive and the rotating pipe on the left side of the cell.
Turn the valve until the left pipe compartment is open on its right side, allowing you to jump inside. Once inside, rotate it again so the opening faces down. Hurl the Glaive through that downward opening, move right to the enth and Fold to it. This takes you outside the cell.
Once Verrik moves away, return to the cathedral station and sync. If you dodged his hand by dropping down and he is still beside the station, let him catch you, escape through the pipe and come back. You can continue from the cell without starting a new save.
The cathedral key and the return shortcut
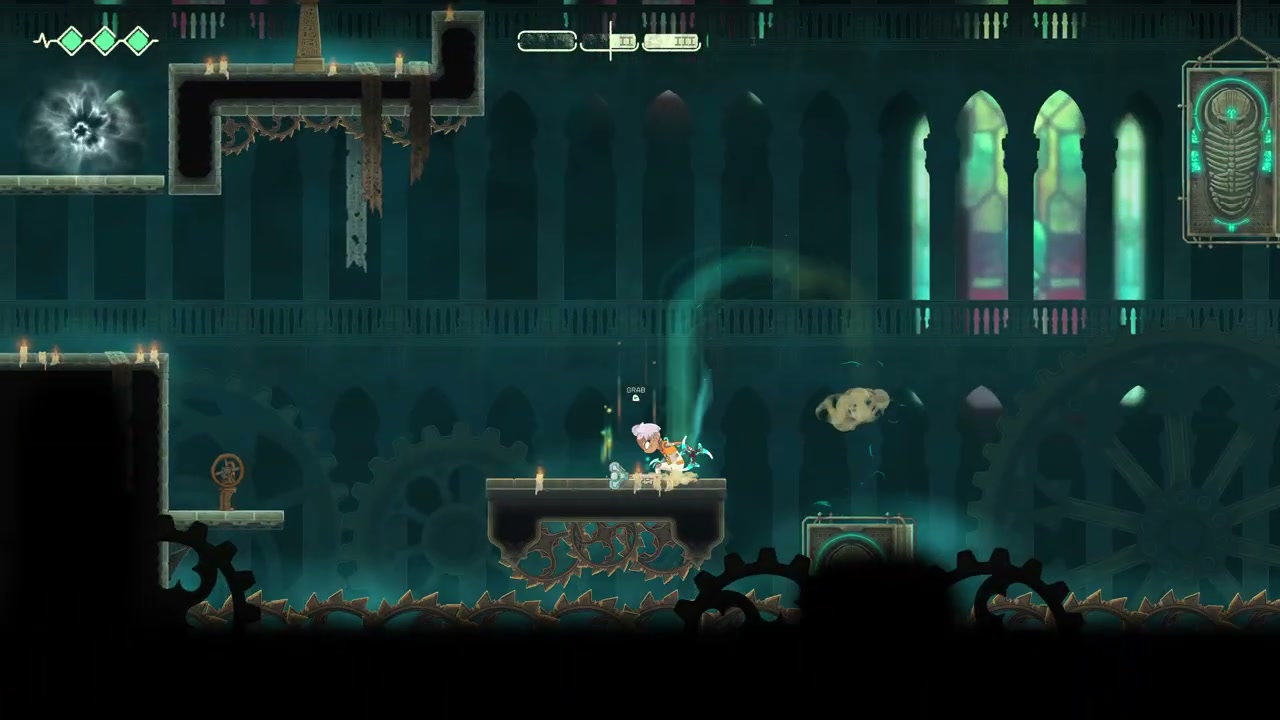
From the cathedral sync station, go left and activate the lift. Ride up, then climb the platforms on the left side of the room. Jump right, double-jump back left and then double-jump right again. When the overhead platform opens, cross it to reach the next switch.
Operating that switch starts the lower platform moving horizontally. Ride it right and climb from its far side. As the path returns toward the left, drop onto the slightly lower ledge instead of jumping past it. Continue upward through the moving-platform section. When the first three platforms settle, cross quickly, then drop to the memory below.
The door beside the memory needs a key. Activate the two nearby moving platforms, collect the crystal and cut the ropes above them to open both sides of the room. Go left to the passage above the two stacked pillars. The key is inside that alcove, along with a route that reconnects from the right on future attempts. Clear that shortcut with the Glaive before picking up the key.
Collect the crystal and key, return right and unlock the door. Before taking the lower route onward, climb on the right and follow the upper path to the red interaction prompt on the left. Use it to return to the main hub. Jump, hurl the Glaive down at the branch and recall it to clear the shortcut, then return to the church route.
The Prison Block’s seven switches
Back at the junction beyond the key door, take the downward branch. Ahead, time a Glaive throw to hit both switches as the large gear turns. Strike them together to open the way into the Prison Block. Sync at its station before descending into the mechanism room.
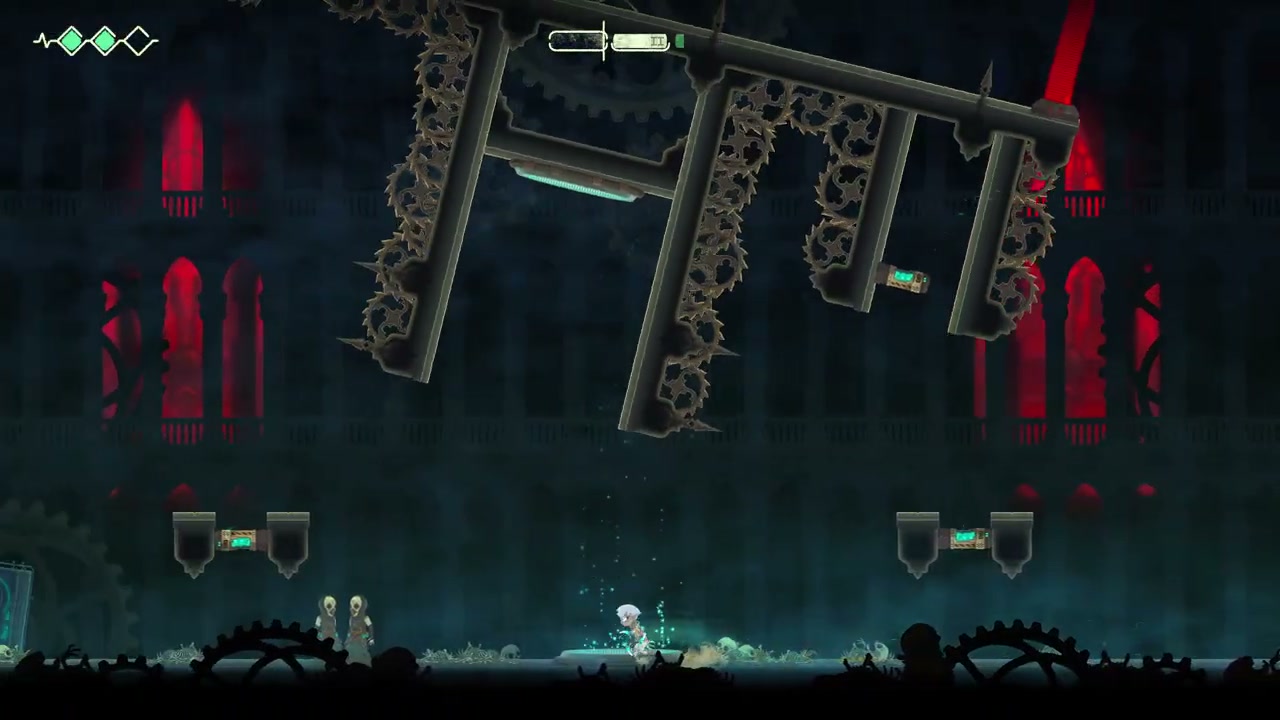
Clear the enemies on both sides of the lower floor and collect the crystal. You need time to aim here, and a projectile hitting you while the gear turns can spoil an otherwise correct setup. The seven-switch puzzle breaks into a left pair, a right pair and a central group of three.
- Watch the lower-left switch and the corresponding target on the rotating machinery. Hurl when the two line up so a single flight hits both.
- Repeat that alignment on the right side to activate the other pair.
- Send the Glaive up through the middle. As the central assembly turns sideways, move left of its switch and hurl across the three aligned targets together.
Watch the lights after each throw. If the floor switch lights up while the target on the gear stays dark, wait for the gear to bring it back into line and try again. After activating the last group, follow the opened passage to the memory that teaches the Revelation of Nexus.
Nexus: reach the Ocean, then the Vivary
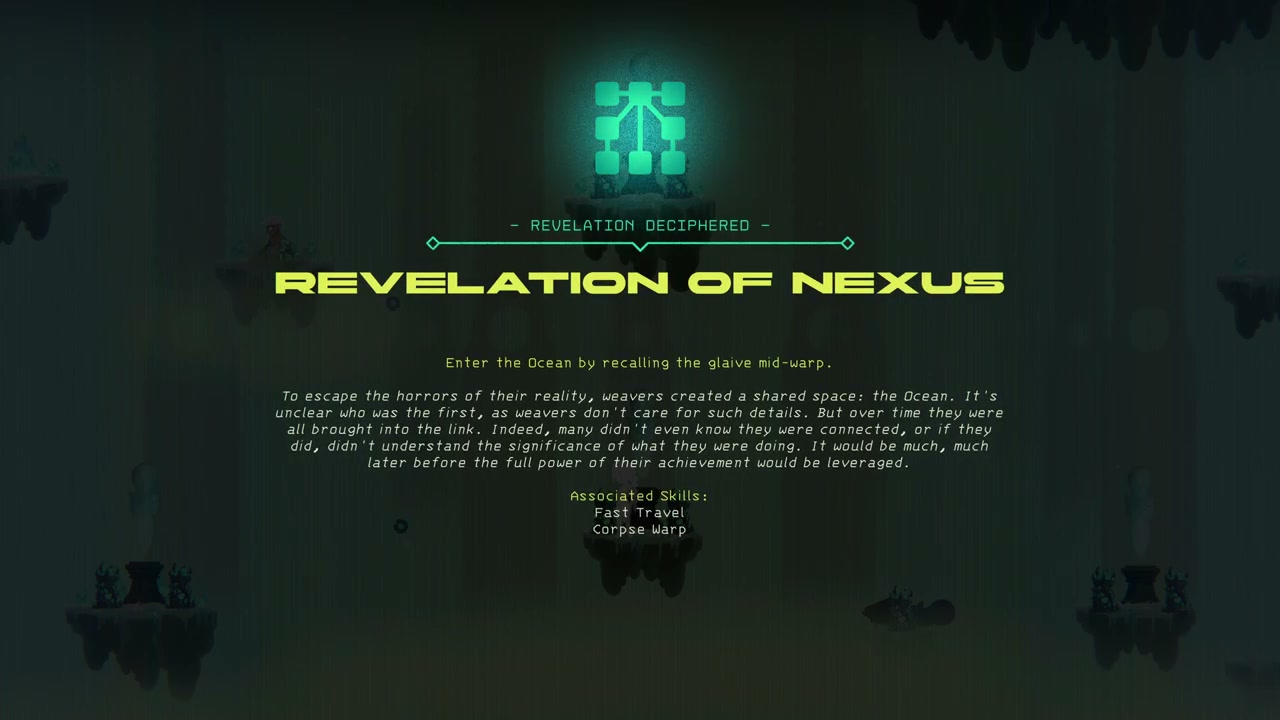
Stand near burning enth and hurl the Glaive away. Start Folding, then recall the blade while the warp is still forming, before you arrive at its position. Interrupting the destination this way takes you into the Ocean. Recalling after you have already arrived leaves you in the normal world, so retry from the enth if that happens.
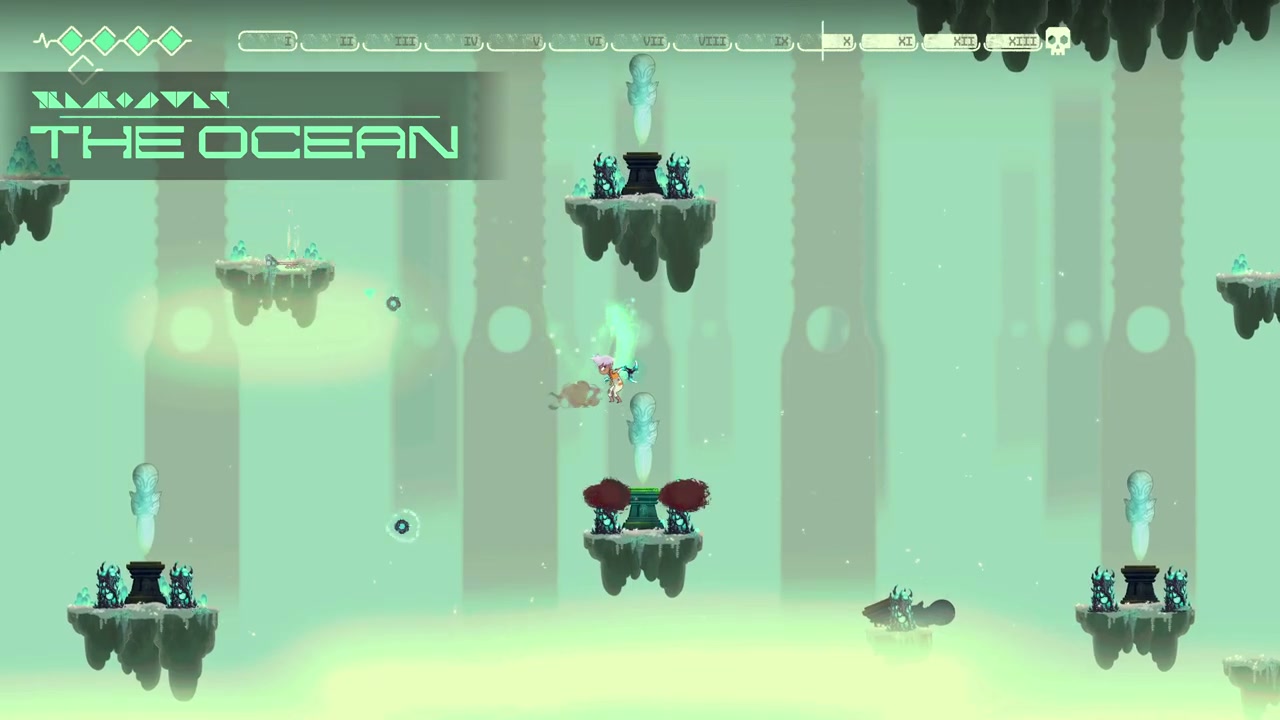
In the Ocean, descend to the lower middle island directly beneath the upper middle one. It has two red shrubs beside its pedestal. Fold from that island to reach the Vivary. The upper-right island leads elsewhere. If your immediate goal is to finish the church objective, leave that upper route for another trip.
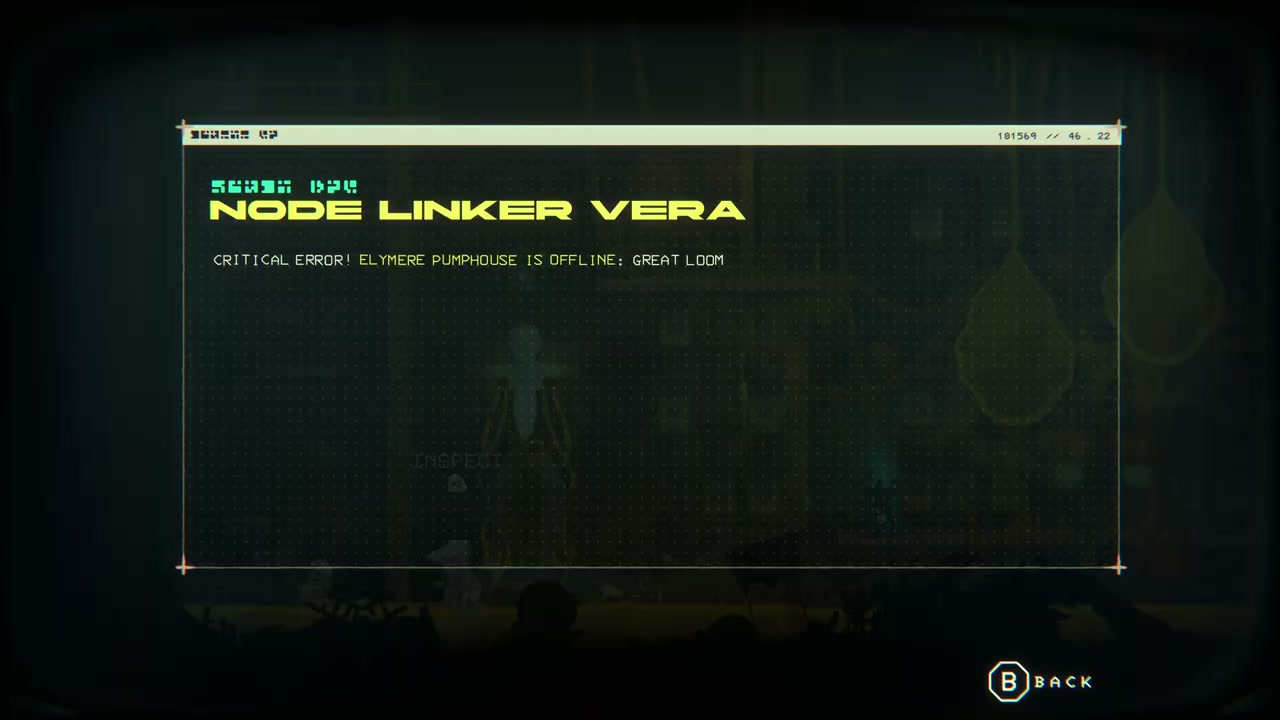
Interact with a Vivary control panel and choose confirm. An Elymere Pumphouse offline message means you have reached the right place but the pump is not running in this loop. Repairing it on an earlier cycle does not supply the current one.
Restore the pump and activate all three panels
Use the lake shortcut to return to the pumphouse. From the enth on the western approach, hurl upward along the blue trail and Fold to the blade. Enter the pump room, restore the same four-valve arrangement and leave while that repair is still active in the current cycle.
Return to burning enth, start a Fold and recall during the warp to enter the Ocean again. Take the Vivary route. There are three panels to confirm inside: two on the lower level and one above. Reach the upper panel with the grapple point and activate it as well as the two below.
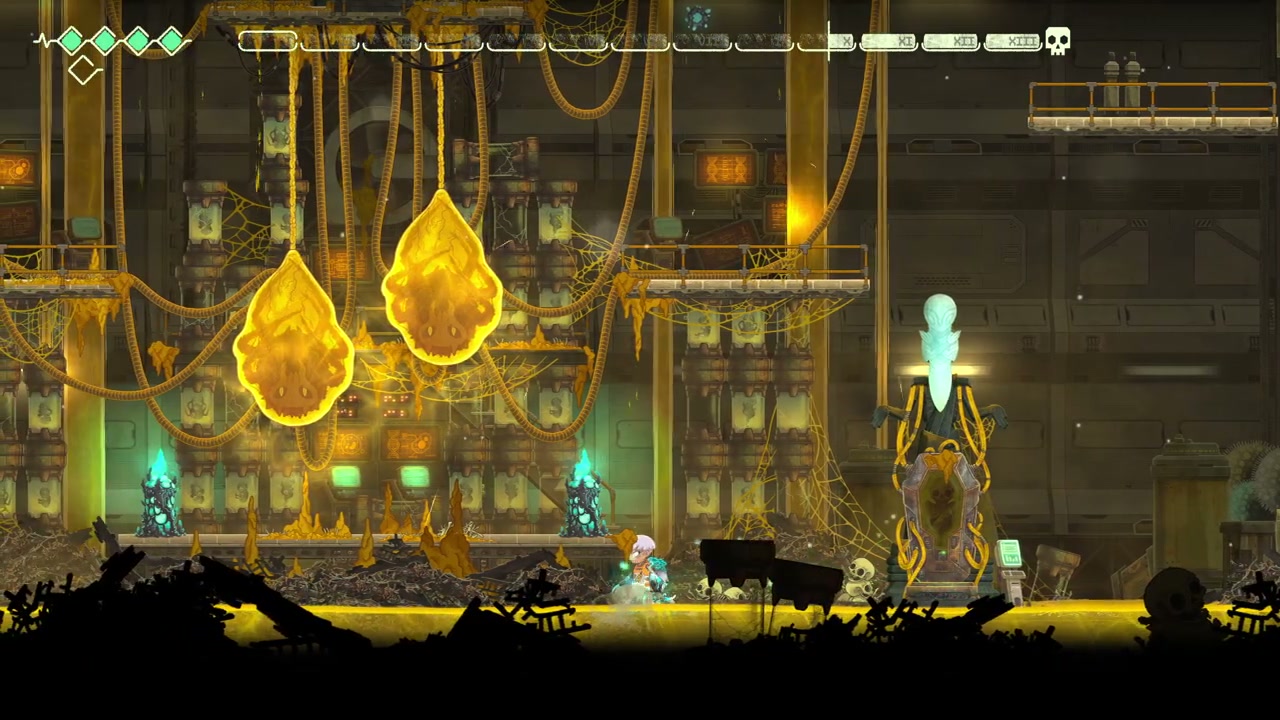
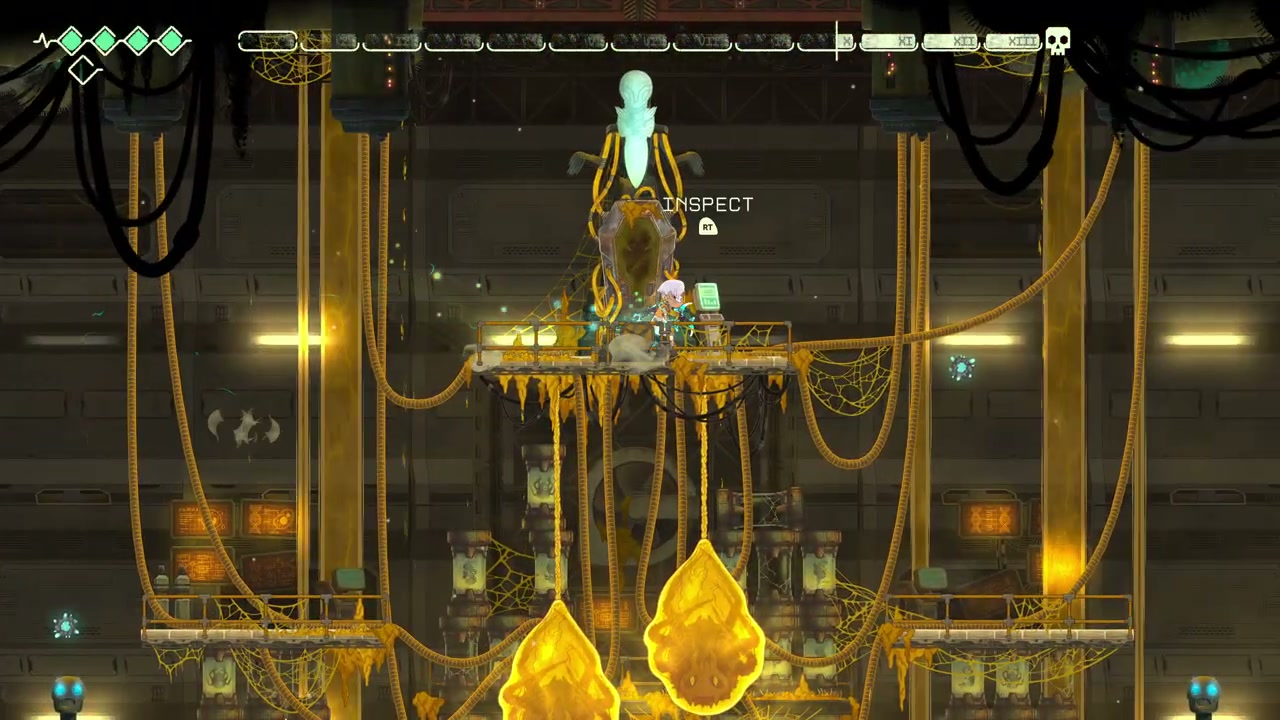
Activating all three panels makes a memory appear. Read it to reveal the Quarry Node, Spillways Node and Depths Node leads, which give you your next destinations through the Ocean.