
ANOMALITH‘s main story takes Reona from Kirishima Central Hospital through Miyanohatacho Shopping Street, Yotsubadai Heights, the subway and Keisen Mall, then into the HE Corp Building for the confrontation with SELF Leader. The main obstacles are investigation triggers: read the hospital’s four messages, use its computer, repeat the park’s spring-rider interaction, research the apartment ceiling route, and complete the office requests before pushing into the final facility.
This walkthrough follows the released game’s story route through the final battles and closing scenes. It contains major spoilers. The route and screenshots come from Zoddronite’s complete gameplay recording, checked against the visible English objectives; button names below follow its PlayStation prompts. Use your mapped equivalent on another control layout. The focus is story progression, with optional notes distinguished from required investigations. Collectible cleanup and side-mission walkthroughs are outside this guide.
Finish the opening assignment and prepare at base
Follow the joint assignment until the mutation tutorial introduces Parry and Ripper Slash. Parry consumes MP and counters an incoming attack when the enemy flashes; the displayed prompt is L1. Ripper Slash uses R1 and also consumes MP. Keep the two actions separate: one answers an incoming strike, while the other is an offensive melee attack.
At the Countermeasures Office, finish the introductory conversations and follow the Workshop tutorial. Develop or customize the Handgun as instructed, then use the Shooting Range to test the gun. The range permits Reona’s anomalous abilities, so it is a useful place to check which mapped input performs the counter before committing to the hospital Dive.
The carried case and Storage are separate inventories. At a portal, use Move All Materials to send development materials back and make room for weapons and supplies. Automatic Sorting only rearranges the case. Keep the ammunition and Sedatives you intend to use with Reona; clearing space by depositing your combat supplies leaves the next encounter harder to finish. The Workshop’s Develop menu makes guns, attachments, equipment and consumables, while Customize handles enhancements and equipment changes.
After the base tutorials, interact with the deployment truck to begin the hospital assignment.
Kirishima Central Hospital: four messages, computer and operating room
Reach the ward and collect the Shotgun
Speak with Koda outside the hospital, then enter reception and take the stairs to the second floor. The closed door behind reception is not the first route forward. Follow the hall to the floor portal and interact with it. Use its item-transfer and save functions before exploring the ward.
Continue through the left exit toward the elevator hall in the map’s upper-right area. A charging enemy blocks this route. Its orange shoulder and knee targets give you something specific to aim at; move sideways when it charges instead of retreating straight along its path. After the encounter, search the dead-end passage at the elevator hall’s upper right for the Shotgun case. If the case will not fit, transfer materials at the portal and return for it.
Where are the four wall messages?
Investigate the writing in four separate locations. These directions refer to the ward map, so open it before comparing left and right:
- The room with the portal at the lower right.
- The lower part of the right-hand corridor, near its three-way junction.
- The lower room reached from the left corridor.
- The upper room in the pair at the map’s upper right.

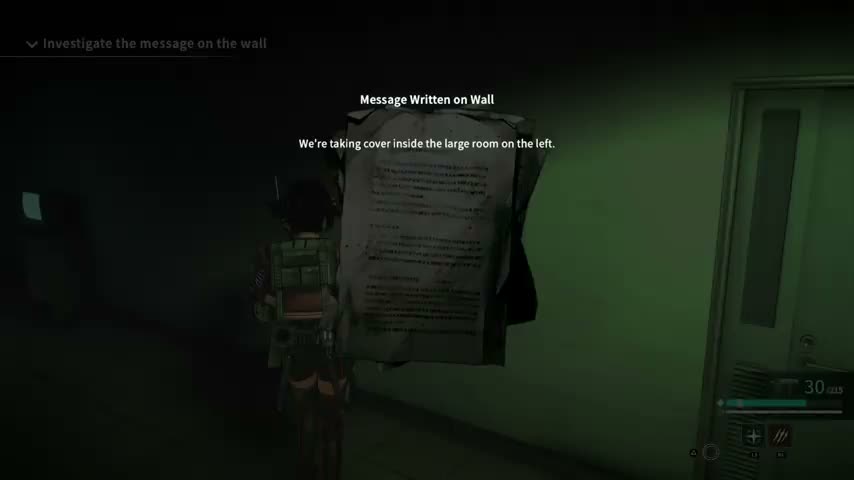
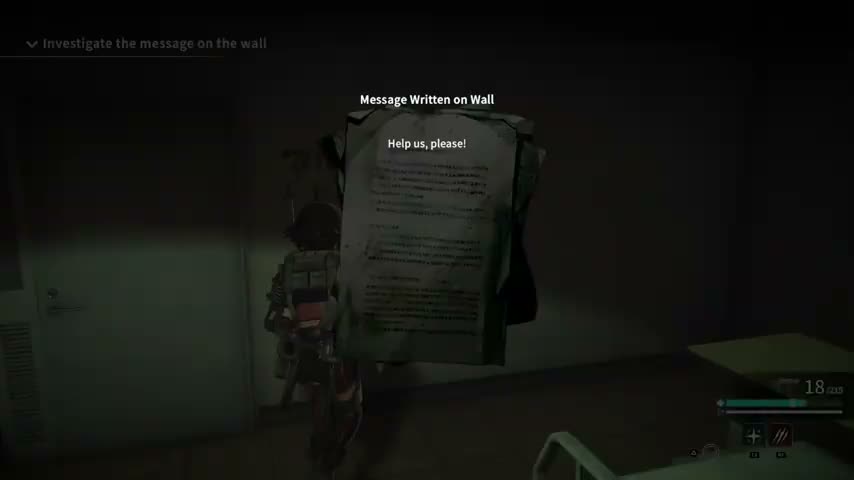

Interact with each message itself. Simply entering the room or sweeping it with the scanner does not finish the investigation. Walls block several obvious corridor connections, so use the narrow openings that let Reona squeeze through adjoining rooms. Once the fourth message registers, the objective changes from investigating the writing to proceeding. Check the far upper-right door for the event that leads onward.
How do you open the northern door?
First approach the northern door in the connecting passage to trigger the conversation. Then backtrack to the eastern exit and enter the nurse-station area. Follow its upper corridor and squeeze through the gap into the computer room. Clear the enemy inside before using the glowing CRT.
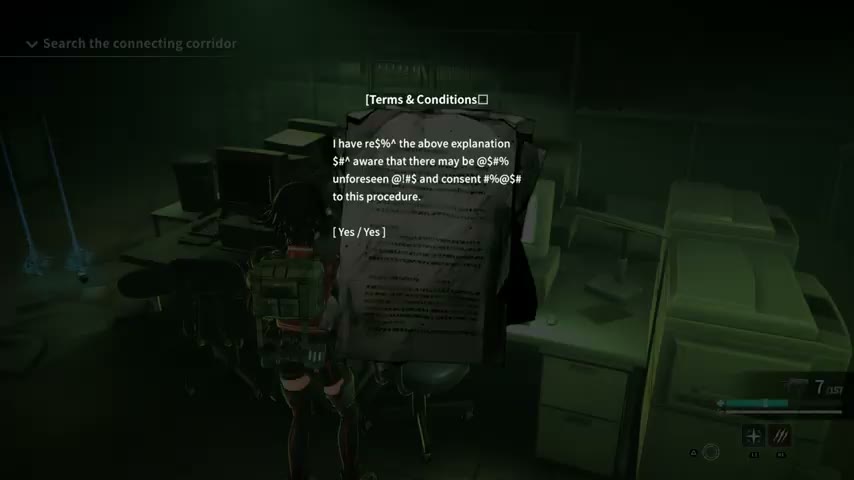
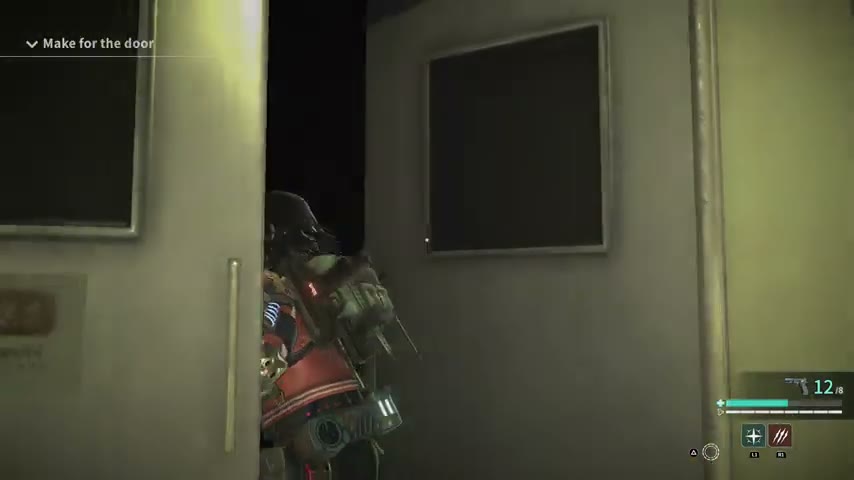
Interact with the computer and advance its fictional terms screen by selecting Yes. Both displayed choices read Yes. Finish the ensuing conversation until the objective becomes Make for the door, then return to the connecting passage and interact with the northern double door again. You enter the Operating Room. If you are still being sent to the computer, the interaction or its dialogue has not finished.
Defeat the hospital’s lamp-backed boss
Reload before investigating the surgical table, which starts the battle. Aim at the illuminated lamps behind the boss’s upper body. Broken lamps go dark; move your reticle to a light that is still on. Shooting the torso throughout the encounter produces poor results compared with dismantling the lamp assembly.
At close range, a successful parry can interrupt an arm strike and give you a shot at the lamps. The Shotgun works well when several lights fill the reticle. Once the boss is brought down and a Brutal Raid prompt appears, approach and perform the contextual melee attack. Repeat the lamp-breaking and melee openings until the boss falls.
Stop aiming when the floor lights up for an attack. For the broad light blast, put one of the appearing pillars fully between Reona and the boss. A separate forward fan attack marks the floor and calls for moving out of its projected area. The hospital community walkthrough describes moving diagonally forward toward the fan’s narrow end; do not attempt to parry that light attack as though it were the arm swing.

The boss also launches cube clusters. Intercept an approaching cluster with gunfire before resuming your lamp shots. Arena supply objects can be interacted with for ammunition or healing items; distinguish those stationary pickups from projectiles flying toward Reona.
After victory, investigate the surgical table again to deal with the Landmark, then take the left exit back to base. Complete the follow-up conversations with Koda, Hibiya, Koda in the computer room, Fushimi in the Workshop and Sudo in the Control Room as the objectives direct. Approach the Doomsday Clock when prompted.
Miyanohatacho Shopping Street: park warps and the pursuing girl
Use the spring riders twice and destroy the small Landmarks
From Central Street, follow the objective toward Main Park. At the playground, interact with the blue spring rider. It warps Reona to another part of the park, but the playground-equipment objective remains. Find the next rider at the arrival area and interact again. The second warp completes this short sequence. Walking into nearby warp points indiscriminately can send you back toward the entrance.
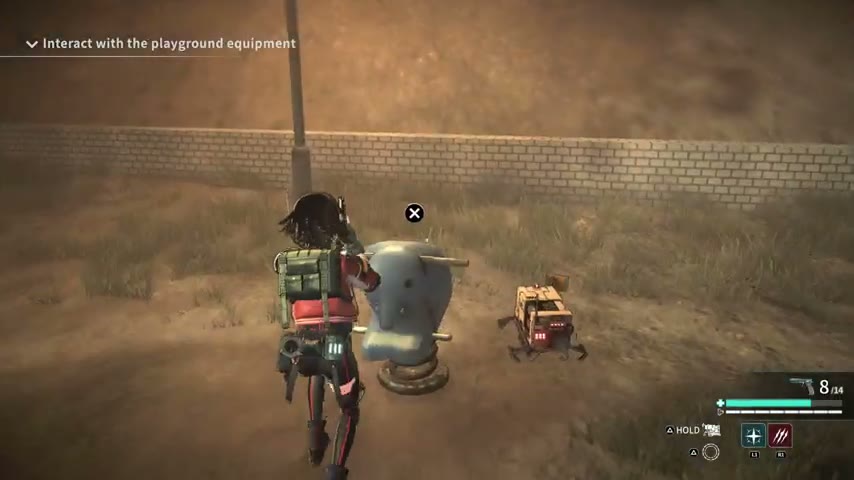
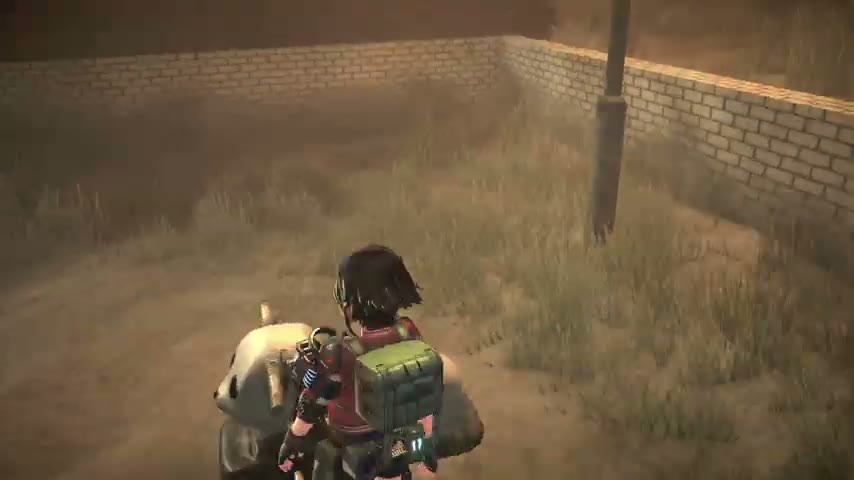
Explore beyond the playground and approach the small spiked object on top of a rusty barrel. Koda identifies it as a possible Landmark. Interact to destroy it, then return toward the park’s starting area when he asks you to check the spatial abnormality. The spatial change affects the earlier route back toward the entrance.
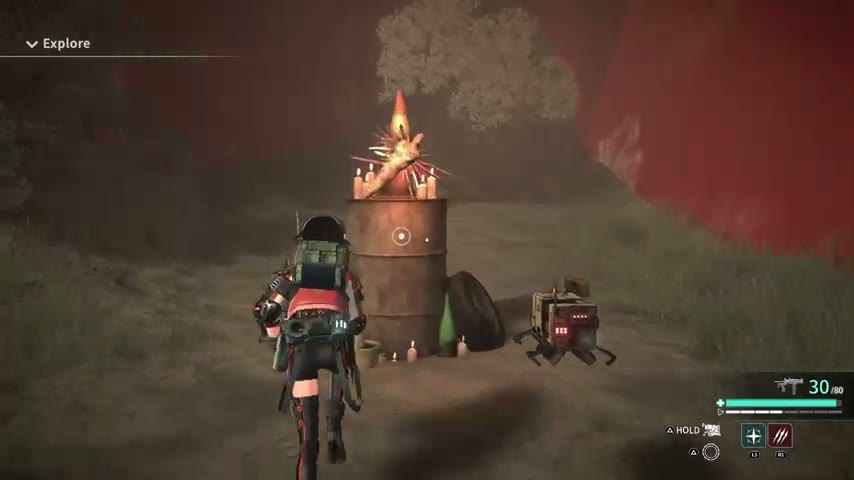
Work through Central Street, South Street and the connecting canal-side route, checking the current objective after each small Landmark. The same barrel-mounted design appears again. After destroying it, return to the indicated earlier position so the spatial change can be checked. Open the map to locate the return objective.
Survive the chase before trying to finish the girl-type enemy
South Street introduces a girl-type pursuer. When the objective reads Escape for a set period of time, run through the connected streets and keep space between you and the pursuer. This is a survival objective. The route later allows you to drive her back with head shots; the initial chase is not the final boss encounter.
Continue under the overpass, where armed enemies replace the earlier street threats. Use parked vehicles to break their lines of fire and aim at exposed heads. In Neon Alley, follow the signal to the object on a chair. Interacting with it brings the pursuer back. Retreat along the route you entered and follow the shutter-opening sequence until the fight becomes a Defeat objective.
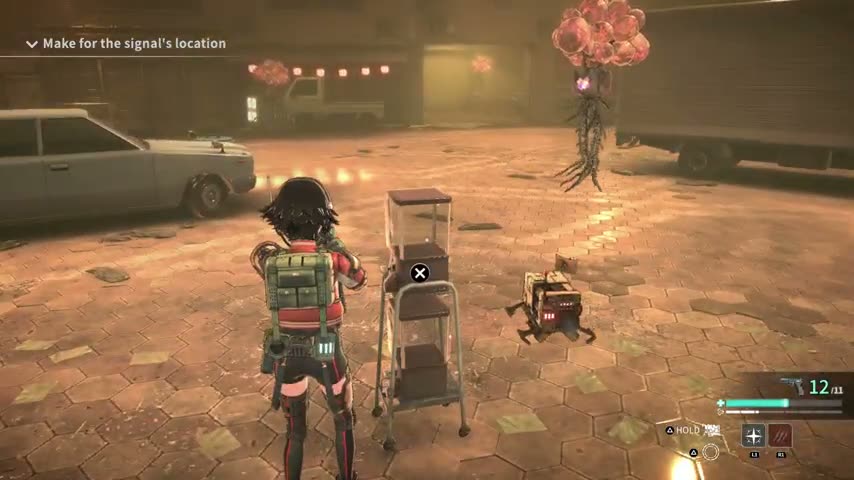
For the girl-type fight, parry an ordinary close strike and answer the stagger with gunfire or Ripper Slash followed by a Shotgun blast. The AlGest mission guide also recommends moving strictly left or right against the distant spinning attack; its late sequence repeats the attack, so keep moving laterally until it ends. Back away from the red-glowing grab, which cannot be parried, and leave red floor markings before the area attack lands.
After the fight, continue into Yotsubadai Heights. Your first objective there is to establish a portal before returning to base.
Yotsubadai Heights: reach the ceiling, open the painted door and beat Cyclops
Establish the first portal and return for research
Cross the courtyard into the apartment blocks and follow the balconies upward to the portal location. An early Legacy Assault Rifle A is on the second-floor corridor route. If your inventory is full, establish the portal, transfer materials and go back for the rifle before leaving. The first visit ends with a return to base and conversations with Koda and Sudo.
The next apartment investigation goes deeper into the blocks. Old Notes appear along this exploration, but they are a separate collection thread; do not confuse their numbered entries with the later Defense Unit Soldier’s Notes needed to understand the sealed-door route. After the strong-SUR encounter and the resulting research objective, return to base and speak with Fushimi. That research comes before the ceiling crossing.
How do you reach the ceiling in Block D?
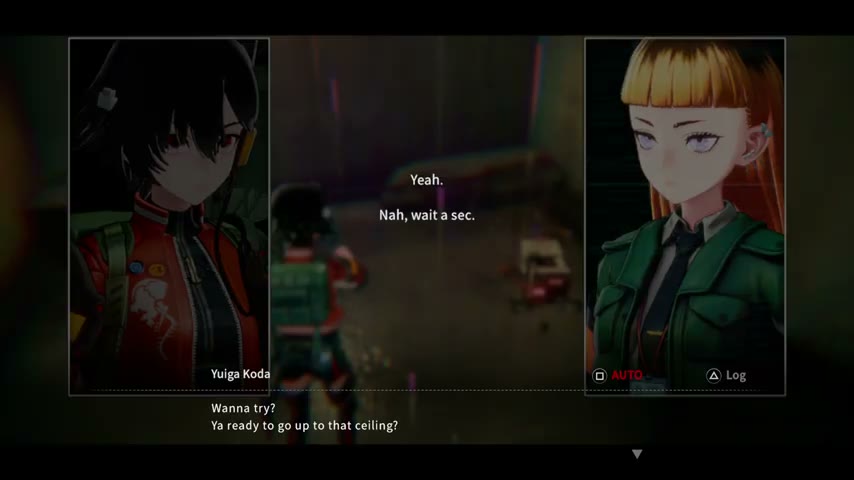
Redeploy to Block D after the base research. Follow the outside balcony, climb the staircase and approach the indicated landing that faces the ceiling. Koda offers the choice Yeah or Nah, wait a sec. Choose Yeah to start the gravity crossing. Reona is moved onto the overhead surface through the event; this is a specific interaction point rather than a jump you can perform from any balcony.
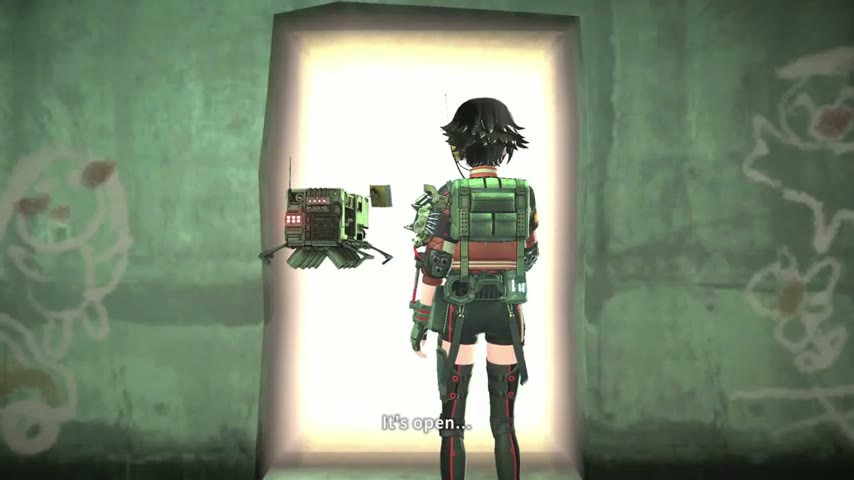
On Block D Roof, approach the doorway covered with childlike colored drawings. The door initially behaves like a flat picture and will not open. Finish the discussion there to change the objective to finding information about the ritual, then explore the connected blocks for the Defense Unit Soldier’s Notes.
Read the soldier notes, including all five pages of Defense Unit Soldier’s Note 2 in the red-lit room. The text describes Cyclops, a prototype firearm and a secured room. Finish the conversation after the note until the objective becomes Try the key on the sealed door. Repeatedly trying the painted doorway before this change will not bypass the investigation.
Return to the roof and use the special rifle
Take the yellow ladder back upward and follow the broken rooftop route. Crawl under the low overhang to regain the original roof, then interact with the painted door. The key is used during the event, the doorway lights up, and the route opens into Merged Gravity Zone.
Approach the large prototype rifle displayed on the stand inside. The following scenes give Reona the weapon for the Cyclops battle. This is the firearm described by the soldier’s notes.

During the fight, move behind the low concrete barriers when Cyclops’s beam tracks you. Leave the scope to reposition, then take another aimed shot when the line is clear. The encounter continues after its body breaks apart: the remaining floating eye and tendrils still need to be shot. Keep using the supplied rifle until that form is defeated and the post-battle conversation starts.

Finish the Landmark interaction and return for the base follow-up. Restock before deploying to the subway assignment.
Subway: Okawamachi St. and the pursuit of Mori
Pass the red and green lights
Descend into the subway and follow the catwalk and ladders into Tunnel Junction. The traffic-light obstacle uses a literal rule: move on green and stop on red. Watch the lamp that governs the section immediately ahead of you. The scene first demonstrates someone being killed after moving against the signal.
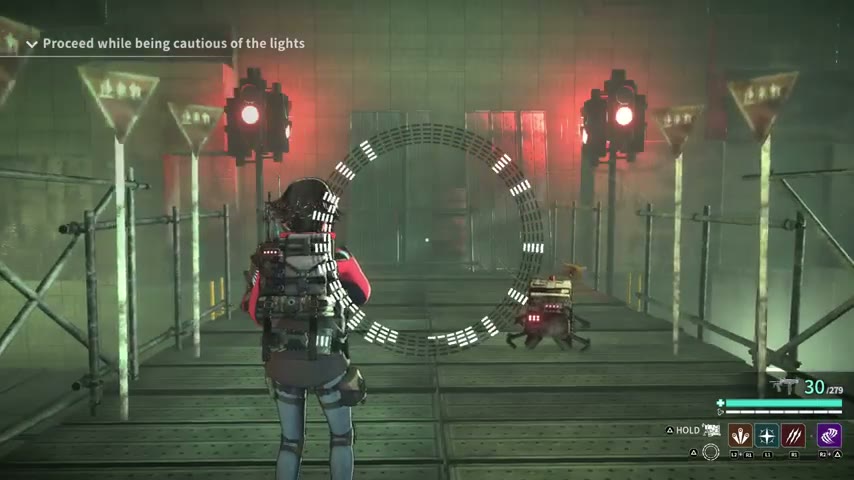
Cross a section while its light is green, stop when it turns red, and wait for green before continuing to the next ladder or crossing. Once past this obstacle, continue toward the platforms, clear the intervening encounter and follow the story meeting with Mori.
The subway storyline takes several deployments. After the first meeting, pursue Mori through the train-car route, then complete the base events before re-entering. On the later visit, investigate the dropped item and continue when the objective changes to Pursue Mori. The route reaches Kasumino Line: Fused Sector. A further return to base and investigation near the camp lead to the large confrontation; the first subway encounter does not finish her storyline.
How to incapacitate Mori
In the large arena, start with the glowing ribbed target that the operator marks. Tall brick partitions divide the lanes. Move between them to regain a line of sight while keeping cover available against the giant Mori behind the arena. Standing in an open lane and aiming continuously leaves Reona exposed to her sweeping hands.

Watch the striped floor lanes and the purple wheel-like attacks that sweep through them. Move out of a threatened lane before committing to another burst. The glowing target changes position, so circle the partitions rather than waiting at the place where you first saw it. Collect the ammunition supplies that appear between attack sequences.
Later, the arena opens up enough to shoot Mori directly in the face. Take those shots between her hand attacks, stop aiming to evade the marked lanes, and keep moving to reach supplies when a magazine runs dry. Continue until the objective resolves and the conversation with Mori begins.

Complete the long post-fight exchange and the subsequent base conversations. The next story chain sends Reona back through previously visited areas for the statue and eventually into Keisen Mall. Those revisits are part of the recorded main-route progression.
Keisen Mall: storage switches, the atrium giant and Light Keeper’s door
After the statue-retrieval assignment and the basement objective, follow the story into Keisen Mall. Find the elevator and take the route toward the third floor. The distorted storage section is labeled 3F Storage on the map.
Move the storage shelves with the control consoles
Use the freestanding console with two large round controls when the objective becomes Flip the switch and proceed. It operates the storage system and changes which aisles connect. Follow the newly opened aisle to the next console, clearing enemies that block the narrow routes.
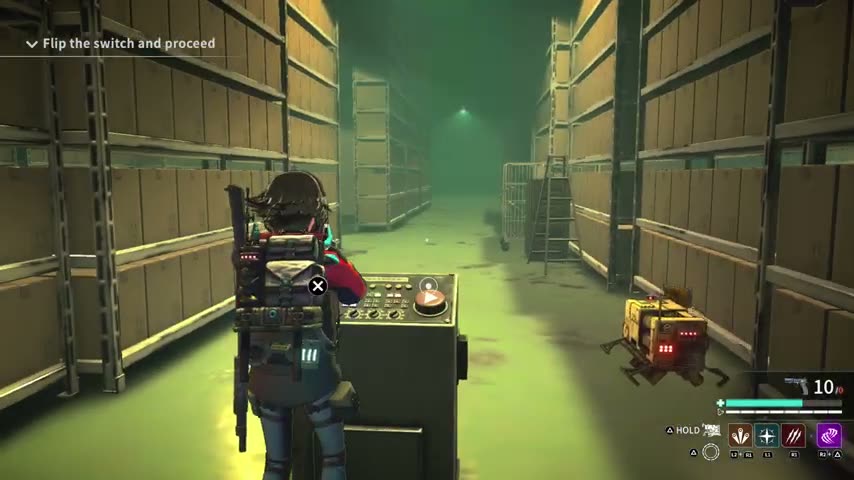
The recording returns to consoles after looting dead ends and then continues through newly connected shelving lanes. If you reach a closed wall of shelves, retrace to the last console and change the layout. Watch the moving shelving before walking into the next aisle. Once the route leads out into the wider encounter area, finish the enemy waves until the objective sends you to the door.
Fight the giant around the atrium
Continue through the mall’s upper-floor route and the elevator to the large open atrium encounter. Under Press the attack, the huge creature occupies the central opening while Reona fights from the surrounding walkway. Shoot the exposed red growths on its body and arms when you have a clear angle, and deal with the smaller enemies on the walkway before they trap you against an edge.

Red floor panels show where an attack is about to land. Move to an unmarked section rather than remaining at the rail to finish a magazine. Follow the creature around the atrium as necessary to regain an angle on the red growths. Supplies appear on the walkway during the fight. Keep collecting them and attacking until a door opens and the objective changes to proceeding.
Take the opened route, finish the exit sequence and the following story scene, then complete the base visit. The next mall deployment directs you specifically to Light Keeper’s door in the Deep Zone.
Enter the Deep Core and complete the forced return
Follow the Deep Zone corridors to the small luminous figure surrounded by the word SAFE. Interact at that location to continue through the guarded doorway and into the Deep Core.
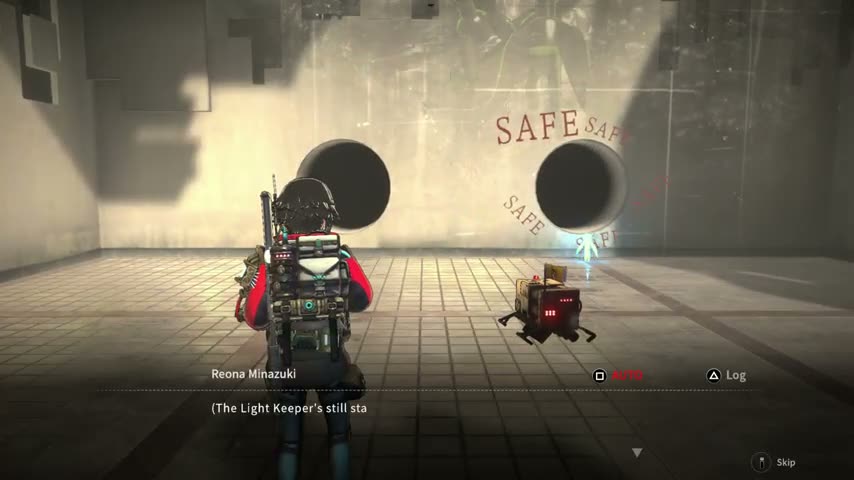
Clear the cramped rooms and corridors beyond. Hibiya warns that a portal cannot be installed in the high-SUR area, so do not keep circling the room looking for a normal return portal. The encounter with SELF and the attacks on the drone lead into further combat, then a scripted crisis and recovery sequence. Continue the story until the objective sends you back to Hibiya in the lobby and onward to Sudo and the clock.
HE Corp Building: requests, elevator combinations and Kurokawa’s device
Complete the office request before experimenting with the elevator
On the first HE Corp Office Floor, carry out the request by collecting the required materials in the office and bringing them to the marked delivery spot. The first hand-in point is shown by pale rings near the shelving. Interact and finish the conversation there; receiving a reward and another request is how this chain advances.
When directed to the elevator, interact with its panel. Its three square buttons form a combination, and the display uses codes such as M380-92 and P734-04. These labels identify destinations within the distorted building. They are not a password to type into a keypad.
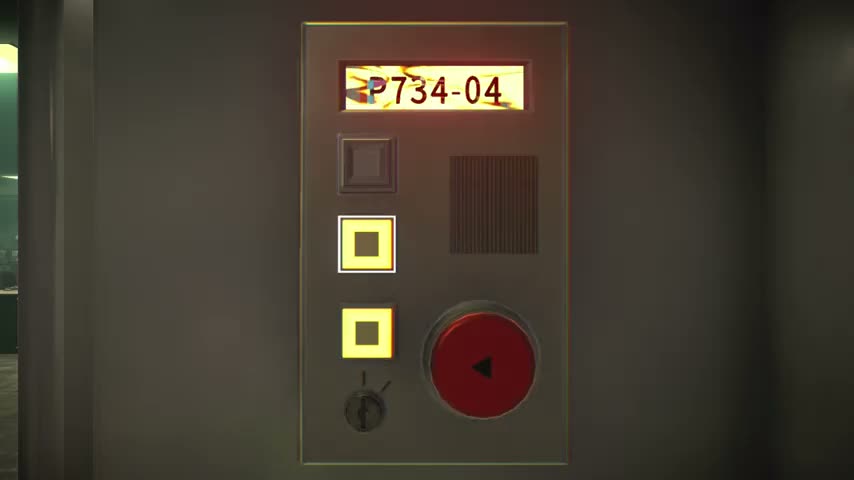
Toggle the three squares until the display matches the destination you want, then use the large red circular button to travel. These settings appear in the request sequence; the squares are listed from top to bottom:
| Display | Lit squares | Where it leads in this sequence |
|---|---|---|
| M380-92 | Top only | Replicated Floor combat encounter. |
| P734-04 | Middle and bottom | Return to the Office Floor after that encounter. |
| Z102-87 | Top and middle | Dislocation Junction and its broken-platform route. |
| K617-03 | Middle only | Normal Office. |
| L821-91 | All three | Structure Fragmented Area. |
The first trip reaches a Replicated Floor filled with enemies. Fight until the objective becomes Return to the previous floor, then use P734-04. After returning, the team explains the floor numbers. Continue with Z102-87, explore the broken-platform area, then use K617-03 for Normal Office and L821-91 for Structure Fragmented Area.
Continue the request chain through these fragmented spaces. When a hand-in produces the request for a card, collect it and select Z102-87 again. Follow Dislocation Junction to the door where Koda remarks on the card, confirming that the earlier request supplied your access. If the route is still asking for office materials, finish that hand-in before looking for this entrance.
In Dislocation Junction, cross the broken platforms, use the purple bridge sections and work around to the next marked hand-in. Watch the actual gaps while moving between stair segments; the apparent office floor no longer forms one continuous surface. Complete the delivery and return when Koda says there are no further requests. Takeo Kurokawa then contacts Reona and asks for the device and thesis.
Reach Kurokawa Lab Remains
Complete the base follow-up, then return to the building and follow the objective toward the main building. The route crosses large platforms linked by narrow ledges and squeezes between structures. Clear the armed enemies when they block the way to the broad entrance steps. From there, pass through the double doors and follow the curved green-lit corridor to the elevator.
The destination is Kurokawa Lab Remains. Approach the laptop at the far side of the damaged floor and interact with it. Finish Kurokawa’s conversation, then inspect the separate equipment case he points out beside the laptop to retrieve the test device. Reading the laptop alone does not collect both objects.
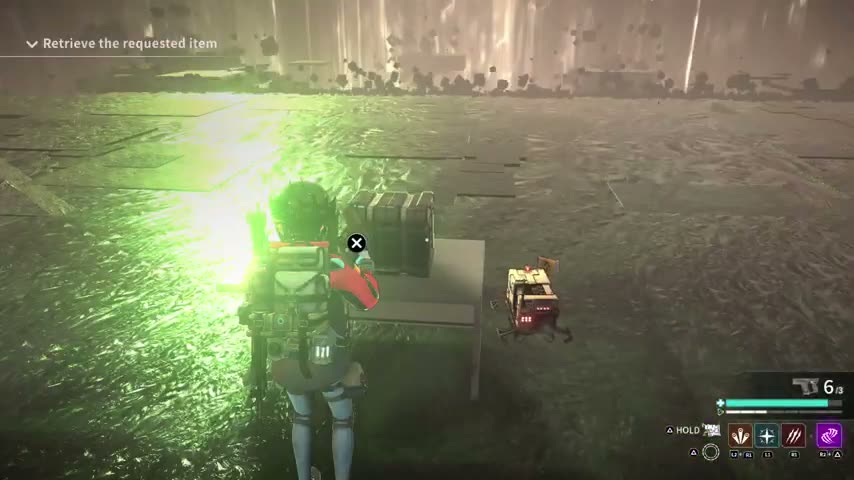
Deal with the encounter that interrupts the retrieval, then follow the story deeper into the coordinates-unknown section. Finish the subsequent confrontation and return to base. The next Doomsday Clock and Control Room conversations prepare the final operation.
Final operation: destroy the Landmarks, defeat Hibiya and stop SELF Leader
Prepare before saying you are ready
At the base conversation, Koda offers Ready to rock and I need a little more time. Take the latter if you still need ammunition or equipment work. Visit the Workshop and arrange the case before returning to Koda. Once the objective sends you back to the elevator, follow the Office Floor route to the final facility.
Under Destroy all Landmarks, clear the first room of crawling enemies and floating heads, then enter the central chamber and approach its circular device when Fushimi asks. The Experiment Facility map shows the remaining objective rooms branching from this hub. Clear each marked branch and return through the connecting corridors.
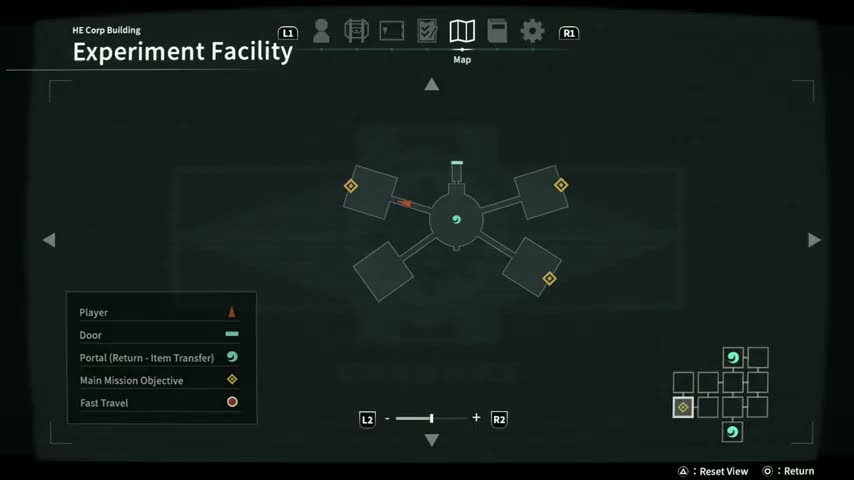
One room contains the tall clustered-growth enemy and smaller threats. Another contains armed and armored humanoids, and the remaining room uses several large charging enemies. Finish the waves in each room so its barrier drops; a pile of loot does not necessarily mean the last enemy has been defeated. In the clustered-growth room, a weapon that can keep firing while you reposition helps you avoid being pinned by the smaller enemies. Against the charging group, leave a side lane open and move out of their approach before turning to fire.
Collect the supplies Fushimi sends during the operation. The circular hub remains a useful landmark for finding the next corridor. Continue until Koda confirms that the local Landmarks have been cleared and the story returns Reona to base. The next urgent objective is Head to the lobby. Follow it, resolve the intervening ambush and continue through the deeper route toward the final confrontations.
Hibiya: break her line of fire
When the objective changes to Defeat Hibiya, use the large rectangular machinery in the red-lit arena as cover. She advances and shoots while Reona can circle the equipment, peek out for a burst and move back behind it. In the recording, the assault rifle is enough to finish this encounter by repeatedly regaining a clear shot.

After defeating Hibiya, finish the scene and proceed into the room lined with television screens. The next transformation starts the Defeat SELF Leader battle.
SELF Leader: keep moving through the red and purple attacks
Fire at SELF Leader while she is visible in the open center of the Observation Room. Stop aiming when she launches the broad red attack or rises for the purple floor effects. Circle the arena, move out of the lit areas, then turn back for another burst once you have room.

The fight alternates between an airborne target and a lower position where Reona can keep shooting. Follow her actual position with the camera rather than holding the reticle at the center platform. Change weapons or reload during movement gaps. If your health drops, create space before using a Sedative, then resume attacking once you can move clear of the floor effects.
Continue until combat gives way to the finishing scene. The closing sequence returns to the sarcophagus area and the team’s conversation, followed by a short street scene. There is no further combat input in this closing sequence.