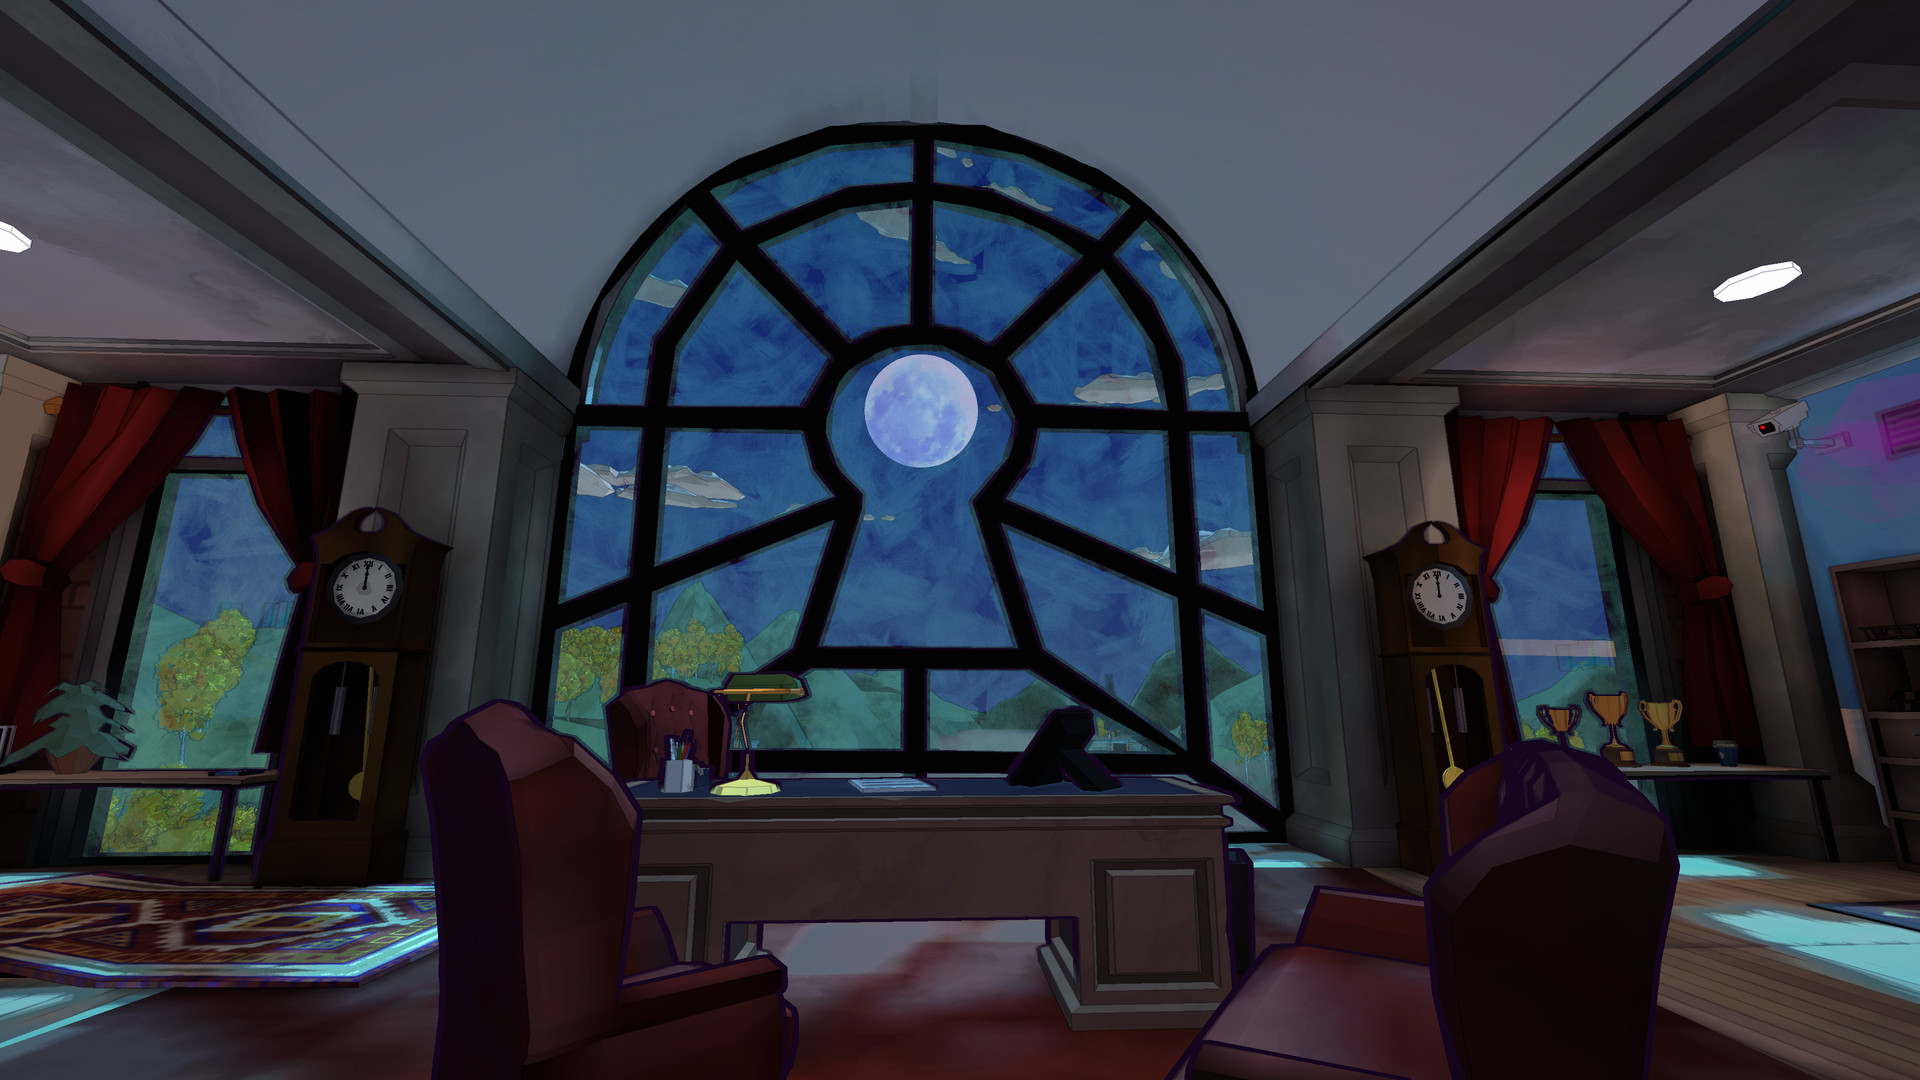
Escape Academy Walkthrough: Puzzle Solutions, DLC Rooms, and 100% Cleanup
Escape Academy is at its best when you can still do some of the deduction yourself, so this walkthrough is built as a practical reference rather than a wall of copied room text. Use the quick tables when you only need the next code, then open the room notes when a puzzle chain is unclear. The guide covers the base campaign, the Escape from Anti-Escape Island DLC rooms supplied in the reference set, the Old Rivals room from Escape from the Past, and achievement cleanup notes that are safe to use before you lock yourself out of an easy replay route.

How to Use This Walkthrough
- For a first clear: read the room objective and the next one or two key answers only. The game is built around environmental clue chains, and spoiling an entire room at once can make it feel smaller than it is.
- For A+ cleanup: replay rooms after learning the route, avoid hints, and keep a small note of multi-part answers before starting a timed room.
- For achievements: talk to campus characters between rooms, read newspapers as you go, and keep the co-op achievements for a planned second-controller or online session.
- For DLC: Anti-Escape Island is covered from the supplied room references. For Escape from the Past, only Old Rivals had a detailed supplied walkthrough, so the later Escape from the Past rooms are not invented here.
| Official data point | Verified value |
|---|---|
| Steam AppID | 1812090 |
| Developer | Coin Crew Games |
| Publisher | iam8bit Presents |
| Steam release date | Jul 13, 2022 |
| Genre listed by Steam | Adventure |
| Modes listed by Steam | Single-player, online co-op, shared or split-screen co-op, cross-platform multiplayer, Remote Play Together |
| Steam achievement total shown in appdetails | 40 |
Before You Start: Missables and Save Advice
There is no complicated save-scumming route required for the main story, because rooms can be replayed. The main thing to protect is cleanup efficiency. If you want a smooth completion run, make a habit of checking the campus between rooms, because the conversation and newspaper achievements are easiest when you treat them as a routine instead of a final scavenger hunt.
| Cleanup target | Best time to handle it | Practical note |
|---|---|---|
| Chatterbox | Between escapes | Talk to faculty and students whenever a character marker appears on campus. Readable guides disagree on how forgiving older builds were, so overdo the conversations instead of counting exactly eight. |
| Extra, Extra! | During each room | Read newspapers as you encounter them. A list is included later in this guide. |
| Honor Roll / Overachiever | Replay cleanup | Finish rooms quickly and avoid hints. A clean replay after learning the route is easier than forcing A+ blind. |
| Thresher Rusher | Under Pressure replay | Memorize the five words: FEAR, WILL, SLOW, YOUR, MIND. |
| Spin Specialist | The Rival Room | Use the seven-rotation chamber route in the Rival Room section. |
| Dead-Volt | The Confrontation | Use the battery-lock move sequence below to stay under the move limit. |
| Co-op achievements | Planned co-op or second-controller session | Study Buddies, Exchange Students, and Groovin’, Baby! are simpler when you deliberately set up co-op rather than hoping they happen naturally. |
Base Campaign Fast Solution Index
This table is the short version. It is deliberately compact, so use it when you already know where the puzzle is and only need the answer.
| Room | Key solutions and route notes |
|---|---|
| Introductions / Prologue | Clock chest: 1230. Goblet safe word: FREE. TV remote: Up, Right, Down, Up, Right. Fish flyers: JEB, ALLIE B’S, EEL. |
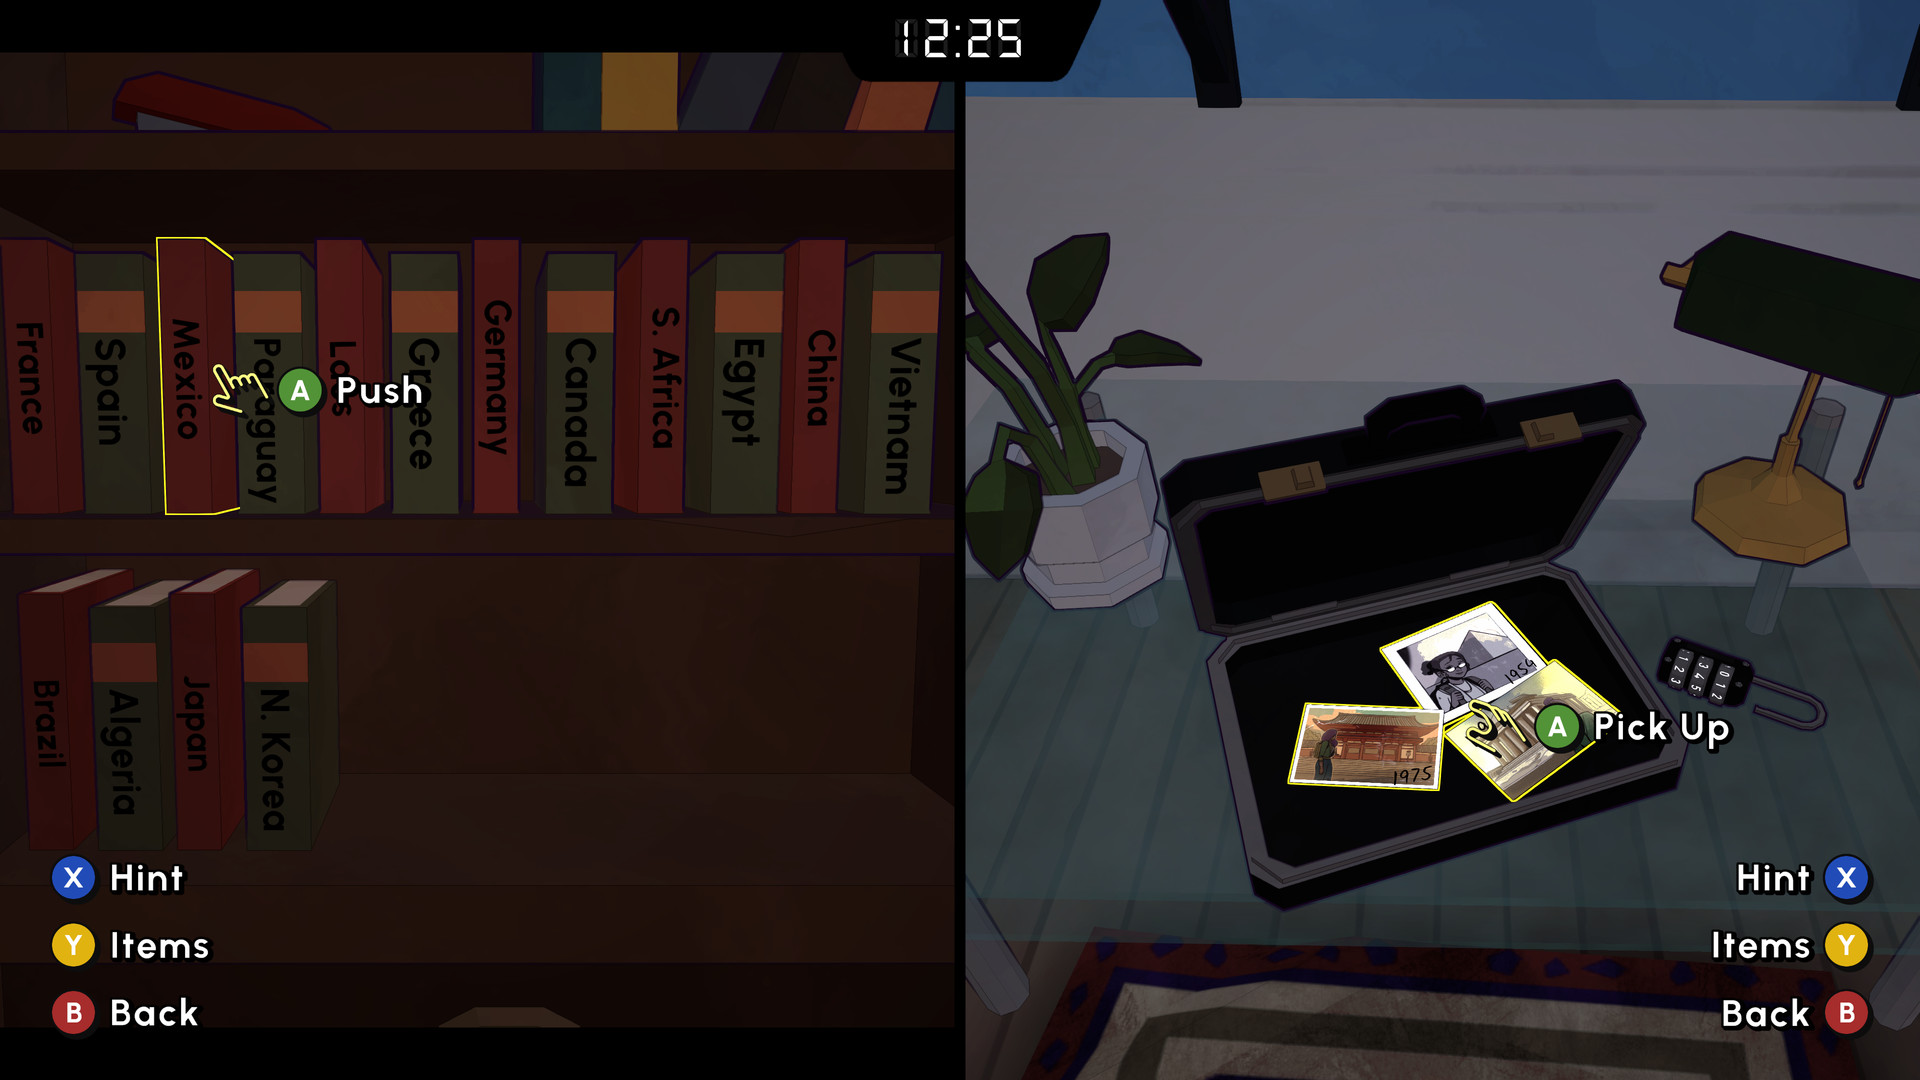
| The Entrance Exam | Briefcase: 253. Books: Egypt, Japan, Greece. Phone: 952-4242. Piano/computer clue: DEAD. Final name: Sandra Jacqueline Solange. |
| Under Pressure | Floor words: FEAR, WILL, SLOW, YOUR, MIND. Valves: Yellow 3, Blue 4, Red 6. Acrylic code: 510. Final phrase: FEAR WILL SLOW YOUR MIND. |
| Escape Artist | Still-life cabinet: 139. Color door: Red, Purple, Yellow, Green. Shredded arrows: Right, Up, Down, Down, Right, Left, Right. |
| The Breakout | Radio replies: 10-4, 10-10, deck 02, 10-10. First serial: 160. Cell: 503. Key pattern: 24213. Switches: C-H-G-R-G-E. Final serial: 713. |
| The Tea Kettle | Tree/necklace gate: A-B-K-Z. DNA-style container: GTT-TAG. Plant order: D-C-A-B-E. Butterfly letter route: B-A-D-B-E-E. |
| Trial By Taste | Microwave: 335. Bun lock: Square, Circle, Half Circle, Square. Specials buttons: Top, Right, Bottom, Top. Case colors: Red, Yellow, Purple, Blue. Antidote: 1 Belladonna, 3 Calabar, 1 mineral water, then shake. |
| Lab Rat | Vending: C4. Monitor password: Square, Circle, Square, Triangle, Circle. Security answers: Dell, Ilah, Sprocket. Laser password: SAFER. Virus: 1101. Server switches: E-B-D-H-F-G-C-R. |
| The Rival Room | Busts: Max, Timmy, Wyatt. Weights: Red 1, Blue 2, Green 3, Orange 4, White 5. Bells: G-E-A-E-D. Pig clue arrows: Up, Right, Up, Left, Down. Word wheel: BANE. |
| Tea ‘N Tea | Bomb radio switches: A up, B down, C down, D down, E up, F up. NaNO box: 1178. Red bouquet grid: 2D, 4A, 6B. Tea crate: 143. Door buster mix: RDX 60%, solvent 10%, plasticizer 30%. Cut yellow left and green right. |
| Where There’s Smoke | Secret door: turn THROUGH upside down. Tablet box: Right, Right, Up, Left, Down, Up, Left, Left. Chest: 2257. Globe ring: Sun, Air, Fire. Upside-down skull code from your view: 6869. Tiles: anvil, lion, bird, scale. |
| The Confrontation | Battery lock route: right to middle, left to right, left to middle, right to left, middle to right, right to left, left to middle, right to left, middle to right. |
| What Lies Below | Dial lock: 10 right, 25 left, 15 right. First test: ACE. Test sheet answers: B-C-D, A-D-E, B-D, D. Quanty screens: STOP, WIPE, REFRESH, UNDO, SHUT DOWN. |
Introductions / Prologue
The opening escape teaches the game’s habit of hiding direct answers in plain sight. Treat every prop with a label as part of a sentence, not just decoration.
- Use the broken clock note as the first combination. Pretend the time is 12:30, so the chest code is 1230.
- Match the clue colors to the letters on the goblets. The safe word is FREE.
- Use the T-shirt direction pattern for the TV remote: Up, Right, Down, Up, Right.
- Decode the TV letter groups with the wall poster, then scan the flyers in this order: JEB, ALLIE B’S, EEL.
- Use the Key of Lies and follow the final doors to leave for the train.
The Entrance Exam
Your goal is to discover the Headmaster’s full name. The room has several name fragments, and each one is gated behind a different kind of clue.
| Step | Answer | Why it matters |
|---|---|---|
| Briefcase | 253 | Count clocks, plants, and trophies. |
| Book order | Egypt, Japan, Greece | The photos point to places and dates. |
| Phone | 952-4242 | The vent crawl reveals the number. |
| Computer and piano | DEAD | The disk gives the word, and the piano gives the lightbulb route. |
| Final name | Sandra Jacqueline Solange | Enter the three verified name pieces in the machine. |
For Musical Prodigy, play Mary Had a Little Lamb on the piano in these groups: E-D-C-D, then E-E-E, then D-D-D, then E-G-G, then E-D-C-D, then E-E-E-E, then D-D-E-D-C. A shorter community notation writes the same melody more tightly, but the important part is the note order.
Under Pressure
The Thresher is the first big difficulty spike because the room floods upward and the timer carries forward. Do not try to admire the scenery on a replay. Grab tools, solve the floor, climb, and keep each password in order for the final panel.
| Floor | Core answer | Notes |
|---|---|---|
| 1 | FEAR | Briefcase, breaker, hidden handprint, then hammer the board. |
| 2 | WILL | Valve values are Yellow 3, Blue 4, Red 6. Lower the Handicam to read the word. |
| 3 | SLOW | Acrylic sheets form 510. The UV light turns it into SLOW. For the safe, use the manual pattern; my cross-check favors Circle, Circle, Square, Spin, Square, while one readable text source lists a different first pair, so verify against the in-room manual if it refuses. |
| 4 | YOUR | The cipher phrases decode to UNDER PRESSURE and OVER WEIGHT. Put devices in the matching display positions and read the two fragments as YOUR. |
| 5 | MIND | Use the old map and powered displays to pull the word. The final escape phrase is FEAR WILL SLOW YOUR MIND. |
For Thresher Rusher, memorize only the fast route: 123 style tool grab, FEAR, 3-4-6, WILL, 510, SLOW, YOUR, MIND, final sentence. The fewer times you open your inventory to reread notes, the more forgiving the run becomes.
Escape Artist
This room is longer than it looks because it keeps moving you from color logic to spatial art puzzles. The safest approach is to solve each gallery section completely before leaving it.
- Place the still-life items on the table. The visible number becomes 139.
- Use anti-invisible ink to reveal the color path. The door colors are Red, Purple, Yellow, Green.
- Assemble the shredded Open Sesame painting, then copy the arrow route: Right, Up, Down, Down, Right, Left, Right.
- For the canvas-symbol lock, press the first symbol in row one, the last in row two, and the first in row three.
- For the face door, imitate the eyes of the first sculpture, eyebrows of the third, and mouth of the sixth.
- Use numbered keys by addition, then set statue directions Left, Right, Left, Right.
- For the beheaded-statue check, mark the first, third, and fifth statues.
- For the height order, use: cowboy hat, bald figure, girl with glasses, guy with glasses, girl with long hair.
The Breakout
The Breakout is really a remote-support puzzle. Keep the map, radio code sheet, and monitors separate in your head. Most mistakes happen when players answer a radio question with map information from the wrong deck.
| Prompt | Answer |
|---|---|
| Initial radio reply | 10-4 |
| First turret serial | 160 |
| Computer terminal on deck 01? | 10-10 |
| Terminal deck | 02 |
| After ship signal loss | Move the scan to the shifted ship position, then answer 10-10 when asked if you lost contact. |
| Eel’s cell | 503 |
| Cell key pattern | 24213 |
| Power switch order | C-H-G-R-G-E |
| Second turret serial | 713 |
The Tea Kettle
The Greenhouse room is a sequence of botany-flavored locks. The biggest trap is carrying too many visual clues at once. Finish the gate, tool wall, seed container, tile cabinet, plant chamber, and butterfly lock as separate stages.
- Use the tree carving and necklace to open the house gate with A-B-K-Z.
- Set the tool wall to wrench, brush, brush, plumber wrench, plumber wrench, brush, brush, wrench. Some sources compress the two plumber-wrench slots differently in text, so use the cup silhouettes in the room as the final visual check.
- For the seed container, combine microscope and scale information into GTT-TAG.
- Arrange the plant display D-C-A-B-E.
- Use the butterfly clue as B-A-D-B-E-E. The extracted text around the color list is compressed, so follow the letter order against the butterflies if a color count looks off.
Trial By Taste
Trial By Taste starts like a small kitchen gag and turns into a poison-antidote chain. If you are replaying for grade, ignore flavor props unless they directly connect to a lock.
| Puzzle | Answer |
|---|---|
| Microwave | 335 |
| Bun lock | Square, Circle, Half Circle, Square |
| Specials buttons | Top, Right, Bottom, Top |
| Cake briefcase colors | Red, Yellow, Purple, Blue |
| Poison identified | Belladonna |
| Antidote mix | 1 Belladonna, 3 Calabar, 1 mineral water, then shake |
Lab Rat
Lab Rat has two different tempos: the early room is a search-and-repair puzzle, while the second half is a password and sequence gauntlet. Keep the rat, the power pipes, and the terminal questions separate.
- Solve the vending machine as C4, use the donut to bait the rat, then cage it.
- Repair the pipes to restore power.
- For the terminal monitor pattern, enter Square, Circle, Square, Triangle, Circle.
- Answer the security questions with Dell, Ilah, Sprocket.
- Use SAFER for the laser password.
- Quanty model 13 converts to binary 1101.
- For the server switches, press E-B-D-H-F-G-C-R.
For Groovin’, Baby!, the readable achievement guide cross-checks the Lab Rat co-op route around C4, the monitor pattern, SAFER, and 1101. Do it in co-op or with a second controller rather than trying to trigger it in a solo run.
The Rival Room
The Rival Room is a skill check for everything the game has taught you: perspective, weights, rotation, and multi-step safe logic. Your rival adds pressure, but the real enemy is losing your place in the safe chain.
Ballista, Busts, and Weights
- Place the large gear on the lower-left peg, the small gear between the darker gears, and the medium gear on the rightmost peg.
- The shared-visible busts are Max, Timmy, and Wyatt.
- The weight values are Red 1 kg, Blue 2 kg, Green 3 kg, Orange 4 kg, White 5 kg.
- For the target bars: 7 kg uses Red in x1 and Blue in x3; 9 kg uses Green in x3; 14 kg uses Orange in x1 and White in x2.
Spin Specialist Route
To solve the rotating chambers in seven rotations, use this route:
- Press right purple.
- Press right green.
- Enter and press Circle, Spade, and Club.
- Press right green.
- Press right purple, then press Triangle.
- Press left green, then press Square and Diamond.
- Press right orange, then press Heart.
Double-Sided Safe
| Safe mini-puzzle | Answer |
|---|---|
| Dark-square panel | Match the four corners and center tile to get the cabinet key. |
| Bells | G-E-A-E-D |
| Animal wheel | Pig head, wings, pig tail |
| Arrow panel | Up, Right, Up, Left, Down |
| Coins | Use 1, 5, 10 / 1, 10, 1 across the two rows while satisfying the row and column totals. |
| Card clock | Heart to K, Spade to 7, Diamond to Q, Club to 3 |
| Word wheel | BANE |
| Marbles | Yellow, Yellow, Orange, Yellow, Orange, Orange |
Tea ‘N Tea
Tea ‘N Tea is a bomb room, so work methodically. You need both van keys, several chemical ingredients, a dictionary, the map, and the projector clue before cutting wires.
| Bomb or support puzzle | Answer |
|---|---|
| Radio direction switches | A up, B down, C down, D down, E up, F up |
| NaNO box | 1178 |
| Red bouquet coordinates | 2D, 4A, 6B |
| Tea crate for one cup | 143 |
| Door Buster Bomb mix | RDX 60%, solvent 10%, plasticizer 30% |
| Final wire cut | Yellow cable on the left, green cable on the right |
Where There’s Smoke
The library room is less about speed and more about orientation. Several answers depend on rotating your interpretation: upside-down text, altered globe letters, mirror-like skulls, and tile placement.
- Turn the word THROUGH upside down in the wall phrase to reveal the secret door.
- Use the direction tablets for the box: Right, Right, Up, Left, Down, Up, Left, Left.
- The framed-paper chest code is 2257.
- The globe room answer is Sun, Air, Fire.
- For the upside-down skull chest, enter 6869 from your current view.
- Place the four secret-door tiles as top-left anvil, top-right lion, bottom-left bird, bottom-right scale.
The Confrontation
This is short, but it matters for Dead-Volt. Use this move sequence on the battery lock:
Right to middle, left to right, left to middle, right to left, middle to right, right to left, left to middle, right to left, middle to right.
After the door opens, unplug Eel, take the keycard, and use it on the slot.
What Lies Below
The final room tests whether you can reuse a tool across several chambers. Keep the test sheet, Headmaster’s pin, charged battery, and water tank D, because the room expects you to bring answers back into Quanty’s core.
| Final exam stage | Answer |
|---|---|
| Opening dial lock | 10 right, 25 left, 15 right |
| First test-sheet word | ACE |
| Disco/tile chamber | B-C-D |
| Pipe chamber | A-D-E |
| Morse pillar chamber | B-D |
| Gas chamber | D |
| Core grid | Use the completed test sheet to spell the shutdown grid path. |
| Quanty monitor 1 | STOP |
| Quanty monitor 2 | WIPE |
| Quanty monitor 3 | REFRESH |
| Quanty monitor 4 | UNDO |
| Prime Directive | SHUT DOWN |
The important logic is that Quanty asks for opposites and transformations, not just direct transcription. STOP is the opposite of start, WIPE comes from rotating the highlighted M into W, REFRESH comes from numbered placement, UNDO comes from letter shifts, and SHUT DOWN is the opposite of the derived phrase open up.

Escape from Anti-Escape Island DLC
The supplied DLC references cover five Anti-Escape Island rooms. Some visual puzzle solutions were present as images in the source pages and did not fully extract as text, so those spots are marked as visual-check steps instead of pretending the image-only data was readable.
Take To The Skies
| Puzzle | Answer |
|---|---|
| Pilot cabin password | AIRHEAD |
| Lever order | Lima, Oscar, Charlie, Kilo |
| Dotted suitcase | 1-4-2-5-3 |
| Stamp suitcase | Rectangle, Hexagon, Triangle, Octagon, Circle |
| Fuel-box step | Move the marked fuel box close to the hatch, then fuel the ejection seats. |
A Juicy Discovery
| Puzzle | Answer |
|---|---|
| Cabin statue mouths | Red, Yellow, Green, Blue |
| Instrument repeat | Red, Yellow, Blue, Green |
| Drink | Pineapple, banana, milk, cherry |
| Office name password | SAM |
| Fish panel | Red 2, Blue 6, Orange 5, Yellow 4 |
| Radio frequency | 450 |
| Encryption code | A-E-D |
| Circuit totals | Top 5-32-13, middle 13-28-9, bottom 17-15-18 |
Ventilation Infiltration
- Yellow-cable box: 5-4-7.
- Table/computer password: CONTROLS.
- Blue-cable room password: 2-6-5.
- Elevator switches: turn off everything except the call button. The readable text gives a quick route of switch 6, then switch 5.
- Final ID cards: Yusuf, Violette, Hachiro.
The Experiment
- Middle turret passwords: TONIGHT and FORGIVE.
- First repair wheels: top 7×3 / 3×2, middle 5×3 / 4×1, bottom 6×4.
- Third turret memory buttons: alpha, pi, eta.
- The right door, left door, second turret antenna pattern, and tile repair are visual solutions in the captured reference. Use the in-room review images for those rather than relying on a text-only transcription.
Into The Capture Dimension
| Room | Answer |
|---|---|
| Laser room left keypad | 1-3-2 |
| Laser room right keypad | 2-3-7 |
| Mines gate | BLAST |
| Crane paths | 7 up, 2 right, 5 down; then 7 up, 5 right, 6 down; then 6 up, 5 right, 2 down, 2 left |
| Science Juice lock | 2-6-4-7 |
Escape from the Past: Old Rivals
The supplied detailed Escape from the Past source covers Old Rivals, the first room of that DLC. A hub page confirms additional rooms exist, but without supplied detailed pages I am keeping this section limited to Old Rivals.
Fire the Cannon
Hang the oversized cards by suit: Jack of Hearts, Queen of Spades, King of Diamonds, Ace of Clubs. The hidden message tells you to ignore the odds, so use the even cannon code 2-8-4-8.
Dress the Mascots
| Person | Correct outfit |
|---|---|
| George | Make him the volleyball player: yellow jersey plus bear mask. |
| Sarah | Give her the baseball setup: red jersey plus herring mask. |
| Esteban | He takes the basketball setup: green jersey plus eagle mask. |
| Magnolia | She is the soccer player: blue jersey plus tiger mask. |
Dice, Safe, and Rescue
- First gear-die route: counterclockwise 3, clockwise 7, counterclockwise 2.
- Second gear-die route: counterclockwise 4, clockwise 5, counterclockwise 1, clockwise 2, counterclockwise 1, clockwise 2, counterclockwise 2, clockwise 2, counterclockwise 1.
- Roll both dice to 1.
- Safe code from upside-down HELLO: 07734.
- Shape button presses: black 4, white 6, black 3, white 4.
- Compass order: S, NE, W, N.
- Final safe word: HARDEST.
- Scoreboard equations: Red 1, Green 8, Pink 5, Blue 4; then Orange 7, Black 2, Purple 3, Yellow 6.
Achievement Cleanup
Steam appdetails currently reports 40 achievements for Escape Academy. The public Steam achievement schema endpoint returned HTTP 400 during research, so this article does not pretend to have an official full schema dump. The readable achievement references verify the base-game story achievements, several miscellaneous achievements, and co-op notes; newer or DLC-specific achievements should be checked against your in-game list.
Base Story Achievements
The base story clear achievements line up with the major rooms: Next Stop: Escape Academy, Entrance Examined, Paint Outside the Box, Ticket to Breathin’ Town, Remote Rescue, Don’t Cry Over Spilled Milkshake, Tea Hot to Handle, Machine Learning, Apex First Year, Stop, Drop, and Solve!, Detonation Denied, School Sleuth, and You’ve Escaped! These unlock naturally as you finish their corresponding rooms.
Useful Non-Story Achievements
| Achievement | Cleanup method |
|---|---|
| Lock Buster / Key to the Campus | Open locks normally instead of skipping directly through a guide-only route. |
| Honor Roll / Overachiever | Replay rooms for B+ or A+ after learning the answers. Avoid hints. |
| Killer Cardio | Sprint until the distance requirement clears. |
| Musical Prodigy | Use the Entrance Exam piano sequence listed above. |
| Thresher Rusher | Replay Under Pressure with the five-word route memorized. |
| Spin Specialist | Use the seven-rotation Rival Room route. |
| Dead-Volt | Use the nine-move Confrontation battery sequence. |
| Groovin’, Baby! | Complete the Lab Rat disco-related co-op path with a partner or second controller. |
| Exchange Students | Pass at least five items to your partner in co-op. |
| Study Buddies | Complete three escapes in co-op. |
Extra, Extra! Newspaper Checklist
| Room | Newspaper location |
|---|---|
| Introductions | Near the train area before boarding, by the phone booths or blue desk area depending on your exact view. |
| The Entrance Exam | On the floor near the room’s seating/rug area. |
| Under Pressure | On a shelf near the start, before you begin solving the room in earnest. |
| Escape Artist | On the desk in the spray-paint office. |
| The Breakout | On a desk near the door. |
| Trial By Taste | On a long dining table near the cake or milkshake route. |
| The Tea Kettle | On a bench below the central tree. |
| Lab Rat | In the rat room, around the TV and shelving. |
| The Rival Room | Inside an orange box near the start. |
| Where There’s Smoke | On a desk in the library side area. |
| Tea ‘N Tea | Inside the white truck, on the desk. |
| The Confrontation | In the trashcan near the desk. |
| What Lies Below | In the first locker or cabinet shortly after entering the final area. |

Verified Video Reference
The supplied YouTube reference was verified through YouTube oEmbed as Escape Academy – All Achievements/Trophies Walkthrough – 100% Puzzle Solution Guide (Xbox Game Pass) by Maka91Productions. It is embedded here as a visual companion for players who want a full achievement/trophy route on screen.
Sources and Credits
Official metadata and public screenshots were checked against the Escape Academy Steam page and the official Escape Academy website. The video embed was verified through YouTube oEmbed for Maka91Productions. Puzzle details were cross-checked against readable community walkthrough references; no third-party walkthrough images are reproduced here.