
Enshrouded progression becomes much easier when every expedition closes one dependency. A useful trip does more than clear a marker: it recruits a Survivor, activates a launch point, retrieves a tool that changes crafting, or raises the Flame enough to cross the next deadly Shroud. If none of those states changes, the quest log may be busier while the route is no stronger.
This matters more on the current Early Access client than it did in older walkthroughs. Keen Games’ April 21, 2026 Forging the Path update, version 0.9.1.0, reworked the opening, separated main and side quests, and significantly reduced the number of individual quests. The latest official client note found at the July 24 research cutoff is Hotfix 42, version 0.9.1.2, dated June 29, 2026. Enshrouded is scheduled to leave Early Access on October 15, 2026, so use the current Journal, map marker, recipe acquisition hint, and Flame Altar menu when an older quest title no longer appears exactly as written.
The route below is therefore a dependency guide, not a promise that every pre-Update-8 quest name still appears as a separate card. It takes a new world from the first Flame Altar through the classic Survivor and workstation chain, then gives each region a completion proof so you know when to move on.
Track four locks, not forty quest names
Before leaving a base, identify which kind of lock is stopping progress. Different locks need different answers, and crossing the map for the wrong one produces the familiar feeling of having completed several tasks without unlocking the recipe you wanted.
| Lock | What actually opens it | Proof before the next expedition |
|---|---|---|
| World access | Strengthen the Flame, clear an Elixir Well, or establish a safe approach around dangerous Shroud | The Flame Altar shows the new level and the target route is no longer blocked by lethal Shroud |
| Travel access | Reach and solve an Ancient Spire, or place a legal Flame Altar near a long return route | The Spire or Altar is selectable as a fast-travel destination |
| Craft access | Recruit the correct Survivor, shelter them, and recover or build their required station | The recipe appears at the Survivor or station, not merely in the quest history |
| Regional combat access | Upgrade gear, food, weapons, and Shroud time enough to finish the region’s gate encounter | You can clear the objective and return with resources without spending the whole trip recovering a corpse |
Update 8 added acquisition hints to most crafting resources and a Bases section that can report factory progress. Use those interfaces. A web page may remember an old quest label, but only the current client can prove that your character knows a recipe, that a factory has completed, or that a particular world has advanced.
Close the Springlands circuit before chasing side markers
The opening circuit has five linked results: place the first Flame Altar, establish basic crafting, recruit the Blacksmith, clear the first Elixir Well, and activate the Springlands Ancient Spire. Treat them as one loop because each result makes the next safer.
- Follow the current marker out of the Cindervault and place the Flame Altar in the indicated plains. The exact stone requirement is visible in personal crafting; collect nearby loose stone instead of committing to a large building first. Interact with the Flame after placement so the world state advances.
- Build for travel before decoration. A Workbench, pickaxe, axe, ranged option, basic armor, and food create the minimum exploration kit. Collect Shroud Wood from a true Shrouded area and make the basic Glider. Small isolated patches may yield ordinary wood, so check the item name before assuming the material step is complete.
- Reach the Blacksmith’s Ancient Vault north of the first base. The approach crosses the Shroud near Braelyn Bridge and eventually climbs out through a mineshaft. Activate Return Beacons on the way. Open the glowing pod, return to the base, craft the summoning tool shown by the current recipe list, place the Blacksmith inside the Flame boundary, and give him shelter.
- Use the Blacksmith to remove the next movement lock. Metal Scraps become nails and the early Grappling Hook route. Do not leave for an Ancient Spire just because its marker is visible; the interior traversal expects a Grappling Hook.
- Clear the nearby Elixir Well while the route is still local. Activate its Return Beacon before descending. The Fell Thunderbrute blocks the chamber containing the Shroud Root. The old route uses the descent stairs as a spacing advantage for ranged attacks; regardless of build, preserve enough Shroud time to destroy the Root after the boss. The reliable completion signals are the destroyed Root, cleared local Shroud, quest-state update, and available skill point.
The Springlands Ancient Spire comes next because its value is not the loot inside. It converts the high tower into a reusable departure point. Bring the Grappling Hook, a ranged weapon, and enough consumables to survive traps. Spire rooms use buttons, locks, timed floors, and teleporters; when a door looks final but stays shut, scan above and behind the route you just crossed before repeating the trap. The run is finished only when the summit interaction adds the Spire to fast travel.
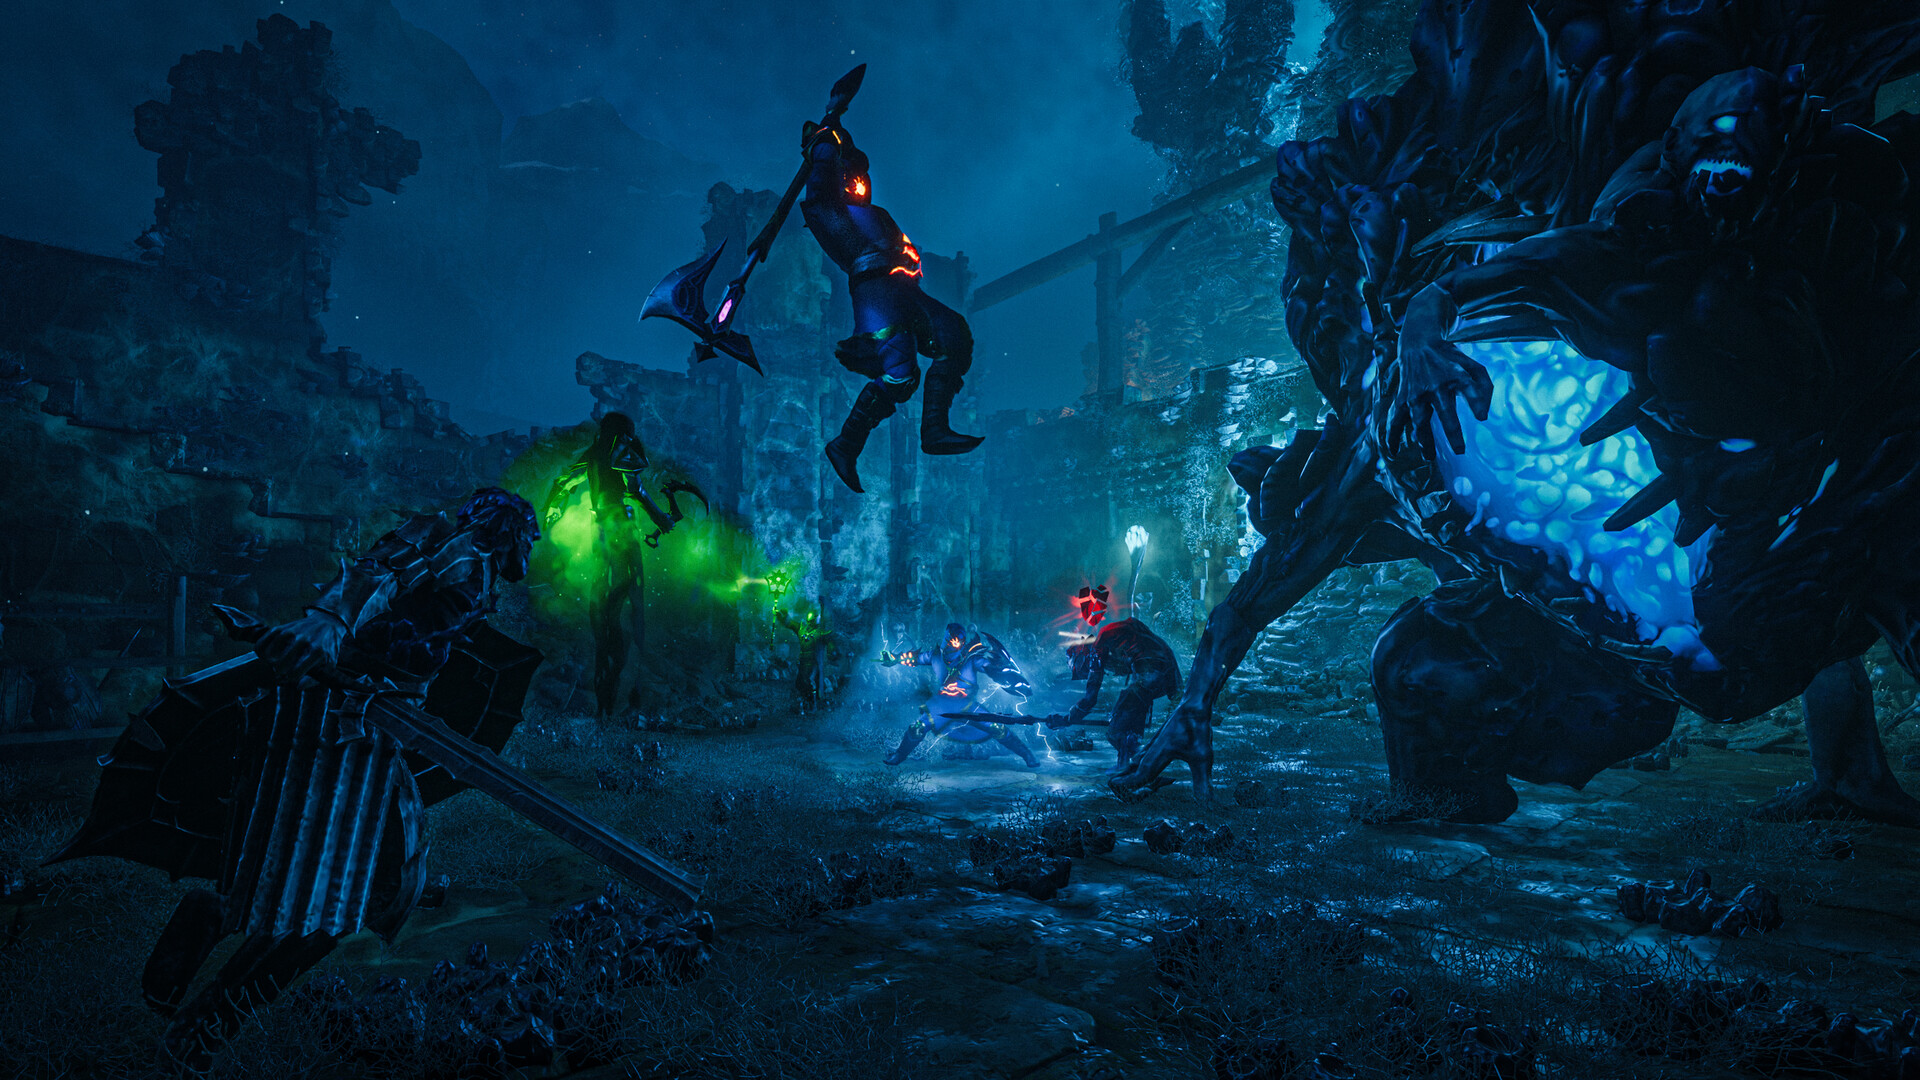
If the Elixir Well is repeatedly consuming the whole timer, do not farm the same descent. Repair equipment, add food and a ranged answer, verify that the Return Beacon is active, and enter with the Root as the final objective. Killing every enemy above the pit does not advance the Well.
Recruit Survivors as regional handoffs
After the Blacksmith, the useful order follows geography and movement rather than the order in which every side card appears. A Survivor expedition should end at either a nearby Spire or a second objective on the same line. Fast-travelling home immediately after opening a pod can waste the best elevation you have reached.
| Survivor handoff | Efficient pairing | Return proof |
|---|---|---|
| Hunter | Reach her Ancient Vault northeast of the starting region, then continue from the Vault roof toward the Low Meadows Ancient Spire | The Hunter is available to summon and the Low Meadows Spire is a fast-travel point |
| Alchemist | Open his Ancient Vault, then check the nearby northeast route for the Salt objective before going home | The Alchemist is sheltered and Salt has been acquired or its mine is confirmed on the map |
| Carpenter | Launch from Low Meadows, carry a pickaxe and ranged weapon, and use the Grappling Hook on the broken approaches to his Vault | The Carpenter is placed inside shelter and his initial recipe list is visible |
| Farmer | Continue north through the Revelwood route, solve the three-lock Ancient Vault, then place an Altar in a legal nearby meadow before returning | The Farmer is sheltered and the remote return point shortens the next Revelwood expedition |
The Hunter trip is the easiest place to save a full commute. Her Vault sits near the Low Meadows Spire, and the Vault roof supplies launch height. Finish the pod, climb rather than teleporting home, and activate the Spire while the path is already open. Bring a bow and arrows because the Spire includes a lock that needs a ranged hit.
The Alchemist route can share its return with Salt. The older route places the Salt Mine northwest of the first base and treats the mine northeast of the Alchemist’s Vault as the efficient follow-up. On the current client, follow the Hunter’s map objective if the label differs. The proof is the Salt item and its acquisition location, not the exact wording of the card. Salt supports crafting and Flame progression, so this is a functional detour rather than map cleanup.
The Carpenter and Farmer finish the essential settlement roster. When a Survivor is present but recipes appear missing, test settlement state before assuming a broken quest: place the Survivor within the active Flame boundary, give them a sheltered assignment, speak through new dialogue, and inspect both their personal interface and any station they require.

Update 8 also made the combat role of this roster more explicit: the Blacksmith upgrades warrior equipment, the Hunter handles ranger equipment, and the Alchemist handles mage equipment. If armor, shields, wards, rings, or tools show upgrade levels after the update, take them to the matching specialist instead of searching for a universal upgrade bench.
Turn Revelwood into a material-conversion hub
Revelwood is where several independent-looking errands become one workshop tier. The Hand Spindle converts the Hunter’s fiber route, the Crucible enables the Blacksmith’s Smelter path, the Circular Sawblades enable the Carpenter’s Table Saw, and the Alchemist’s Mortar advances his production line. These jobs should be grouped by launch point and inventory space, not completed in the order their names were added to the Journal.
- Hunter’s Hand Spindle: the older location chain runs from ruined Wescott into the Revelwoods and benefits from having the Revelwoods Ancient Spire and a nearby Altar available. Follow the active Hunter marker, and treat the recovered station item or recipe as the completion proof.
- Crucible for the Smelter: Mark of Sameth lies west of the Revelwoods Ancient Spire and is held by Scavengers. Carry a pickaxe, ranged answer, lockpicks, and free inventory slots. Recovering the named Crucible matters; merely clearing the mine does not prove the Smelter dependency is solved.
- Table Saw: the Carpenter points toward Circular Sawblades in the Scavenger camp at Fawnsong Frontier. The camp includes heavy resistance, including a Matron in the older route. Use the Grappling Hook approach to avoid turning the entrance into a prolonged frontal fight.
- Alchemist’s Mortar: Lone Thistle is a Shrouded, enemy-held objective near the older Queen’s Tomb route. Enter with Shroud time and an exit plan. Return to the Alchemist and verify the new station or recipe state rather than assuming the pickup alone has installed it.
Run the conversion test at home after every two or three recoveries. Place the station if the recipe requires placement, talk to its Survivor again, and craft one representative output. This catches a missed pickup immediately. Carrying the Crucible in a chest while wondering why the Smelter recipe is absent is a storage problem, not a world-progression problem.
Do not overbuild a remote Revelwood outpost before the Spire is active. A small legal Altar can serve as recovery and construction support; the Spire supplies the long-term launch height. If a temporary Altar must be removed later, first prove another fast-travel point covers the same expedition line.
Use Pikemead to test readiness for the Nomad Highlands
Pikemead’s Reach is not another shopping stop. It is a regional stress test with a boss conclusion. The old Blacksmith route sends you north through the ruined capital and ends in the courtyard against the Fell Wispwyvern. Prepare for a fight that punishes a build with only one range, one damage type, or no sustained healing.
Separate three jobs while moving through the capital:
- Preserve the objective path. Open shortcuts and activate nearby return points before exploring side rooms. A capital full of loot is still a failed trip if the boss corpse is unreachable after death.
- Keep boss supplies untouched. Reserve food, healing, ammunition or spell charges, and durability for the courtyard. Ordinary enemies should be bypassed or pulled into controlled spaces when possible.
- Read the Flame Altar after the kill. The boss completion and current Flame menu together show whether the next Shroud passage is available. Do not copy an old offering quantity when the live menu can state the exact requirement for this world version.
The next practical target is the Nomad Highlands travel network. The Carpenter’s Masonry Tools route explicitly leaves Revelwood for this biome, while the Blacksmith’s older request leads through the Shrouded Umber Hollow. Those are different jobs but the same expedition stage: establish access, collect profession-changing tools, and activate the Nomad Highlands Ancient Spire before returning for repeated resource runs.
If the road ends in red, lethal Shroud, the route is not asking for a better sprint. Return to the Flame Altar and inspect the next strengthening requirement. If ordinary Shroud is survivable but the enemies erase the whole loadout, the lock is equipment and food. If the region is survivable but every trip begins from the ground, the missing lock is the Spire.
Leave the Nomad Highlands with three working stations
Once the Nomad Highlands Spire is active, its height turns separate Survivor errands into controlled launch routes. The objective is not to empty the biome; it is to return with the production tools that make later gear and materials possible.
- Masonry Tools: follow the Carpenter’s active regional marker and verify the tool pickup unlocks the intended masonry work at home. This is the bridge from Revelwood building options into the next material tier.
- Black Cauldron: the Alchemist uses it for the Alchemy Station. The older route launches west from the Nomad Highlands Spire into an enemy-held town. Recover the named Cauldron and then complete the home-side placement or crafting step.
- Tanning Station: the Hunter’s route begins by gliding southwest from the Spire, continues along the road to Raven’s Keep, and follows the Scavenger Matron Lupa. The required station parts, not a general camp clear, are the dependency.
- Farmer’s Almanac: the older marker lies at an abandoned caravan camp southwest of the Spire, with further travel south on foot. Treat new seeds or farming recipes as the functional proof after returning.
These routes share two risks. First, gliding from a Spire can land you behind a camp with no safe climb back, so place the landing marker on a road or elevated exit before jumping. Second, a workstation pickup can consume a precious inventory slot. Leave low-value trophies behind and protect the named tool on the return.
Finish this stage at the settlement, not at the loot chest. Place the new stations inside the active base, speak to their Survivors, check the Bases menu for any factory state, and make one new output. Only then does the Nomad Highlands become a completed production tier.
Make the Kindlewastes Spire your sorting point
The Kindlewastes Ancient Spire is the central checkpoint for the classic late Early Access route. Activate it before accepting every distant marker as a separate expedition. Its exits support four distinct loops, and mixing them into one oversized trip increases the chance that a station item is lost in an unrelated fight.
| Loop from the Spire | Primary dependency | Abort signal |
|---|---|---|
| East to the mountain camp | Follow the Alchemist’s Loraine Crim clues toward Scientific Instruments for the Laboratory | No free inventory slot for the Instruments, or no safe road back from the mountain |
| Southwest toward the marked mine | Confirm the Blacksmith’s iron vein and extract enough Iron to prove the resource tier | The mine is reached but the pickaxe cannot work the vein efficiently or durability is already low |
| North and northeast | Reach East Lapis and recover the Hunter’s Loom for the padding production chain | The route enters deep Shroud without a return anchor or reserve timer |
| Northwest to Brittlebush | Handle the Haunted Sun Temple and trace the Farmer’s Beehive Smoker clues from Emily Fray’s Tavern | Missing lockpicks, no ranged answer for the floating Fell Sicklescythe, or boss supplies spent before the temple |
The Scientific Instruments route begins east of the Spire and climbs to a camp on a tall mountain. Take the southern road around the mountain instead of trying to force a vertical shortcut with no reliable return. The iron route is simpler: the older Blacksmith marker lies southwest and completes its location step on arrival, but a useful run also mines enough material to confirm that the resource can feed the new equipment tier.
East Lapis is a production trip, not a town-clear challenge. The Hunter’s Loom supports padding for high-level equipment. Enter the Weaver’s Cottage objective with room for the station item, then leave once the dependency is safe. Enemies that do not block the pickup or exit are optional.
Brittlebush combines two different risks. The Haunted Sun Temple ends with a floating Fell Sicklescythe, so columns and line-of-sight control matter more than chasing it with melee attacks. The Beehive Smoker trail begins with clues at Emily Fray’s Tavern and continues along a honey shipment route. Keep those objectives separate in the Journal even if they share the same launch. A clue read is not a Smoker recovered; a temple boss kill is not a Beehive recipe.
The southeast Sun Temple near Scatterborne is a later cleanup run. The older Among the Bluejays route places it in a level-30 area, uses three exterior door lights and four interior buttons, and awards the Ghost Glider from the golden chest. Go there after the central workstation loop, not as the first Kindlewastes landing. Missing one ranged button can make the temple look bugged, while entering undergeared can turn a traversal reward into a corpse-recovery cycle.
Let the current Journal overrule the old route
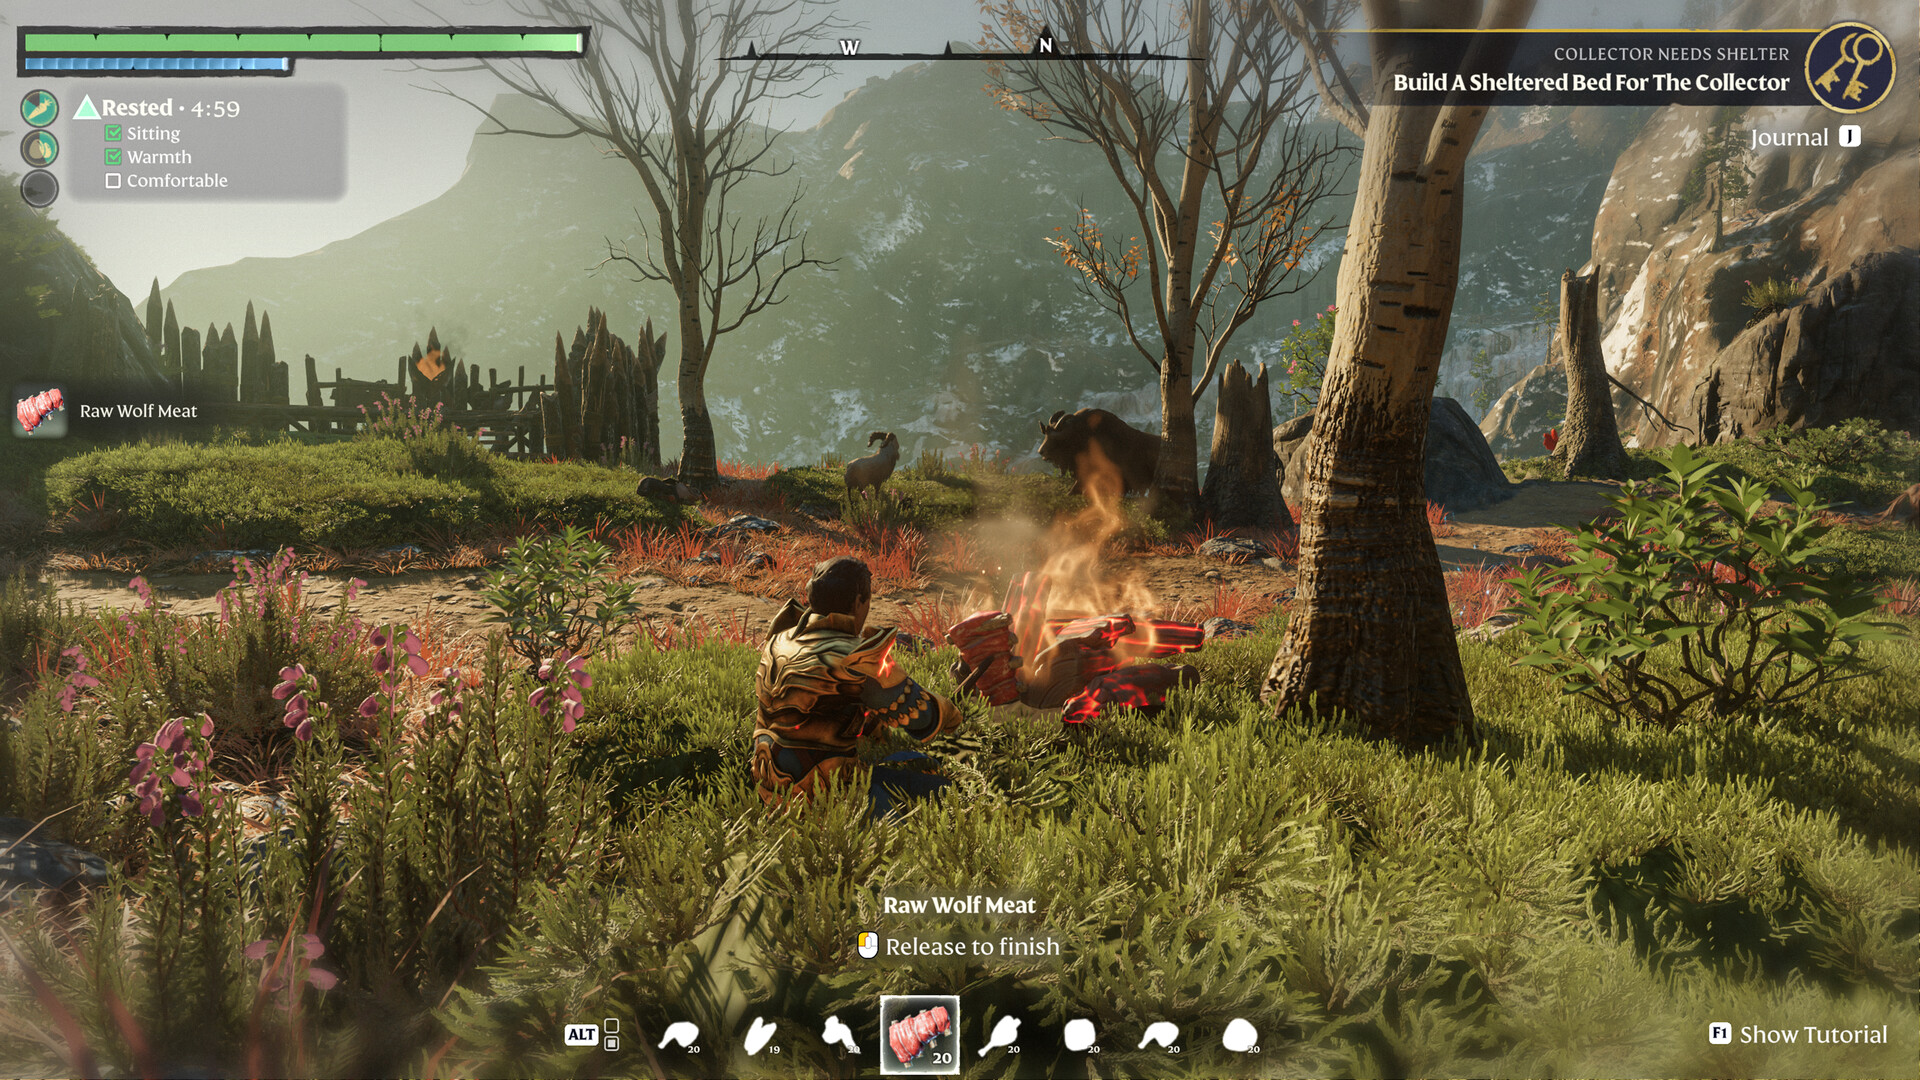
Forging the Path changed exactly the system that old linear walkthroughs depend on. Main quests and side quests now have separate categories, quest-giver portraits help identify the dependency owner, and many old collection-style tasks were reduced or moved into item sets. An objective can therefore remain valid as a location or station chain even when its 2024 or 2025 title is no longer a separate 2026 Journal card.
Resolve disagreements in this order:
- Current objective text and marker. If the Journal tells you to retrieve a named object, that object outranks an old guide’s room-clear instruction.
- Current item acquisition hint. If a resource moved, its item description is newer evidence than an old static map paragraph.
- Current recipe and station interface. A visible recipe proves the unlock. A completed quest title without the expected recipe means another dependency remains.
- Current Flame Altar requirement. Use its displayed offering and Shroud passage level rather than an unverified fixed quantity.
- Older walkthrough location. Use it to recognize the Vault, mine, town, or temple, then let the current marker finish the route.
This order also protects multiplayer worlds. A world objective may already be advanced by another player while your character still needs to talk to a Survivor, learn a recipe, or collect an item. Check both world state and character state before repeating a cleared dungeon.
Diagnose the lock before repeating the trip
When progression appears stuck, name the missing proof and test only that layer.
- The Survivor was rescued but is absent at home: craft or select the current summoning tool, stand inside an active Flame boundary, place the Survivor, provide a sheltered assignment, and speak to them.
- The Survivor is present but the recipe is missing: finish all new dialogue, place the required predecessor station, move the named quest item out of storage if the interface expects it, and inspect the recipe at both Survivor and station.
- The marker lies beyond lethal Shroud: inspect the Flame Altar’s next strengthening requirement. More health does not grant passage through a Shroud tier the Flame has not opened.
- The Spire summit does not register: look for the final interaction or teleporter state. Reaching the roof physically is not the same as unlocking the fast-travel node.
- A camp was cleared but the task remains: search for the named tool, note, pod, Root, boss, or button. Enemy count is rarely the completion proof.
- A station item was recovered but nothing changed: return to its specialist, craft or place the station, and make one output. The pickup and the installation are separate states.
- An old quest name cannot be found: check main quests, side quests, item sets, quest-giver portraits, and the map. Update 8 may have merged or retired the label while preserving the location dependency.
A strong Enshrouded route leaves a visible trail of changed systems: a new fast-travel node, a sheltered Survivor, a working station, a confirmed resource tier, or a stronger Flame. Plan each expedition around one of those proofs, pair only objectives that share the same launch and exit, and stop the detour as soon as it threatens the dependency you came to solve.
Sources & credits: the official Steam listing supplied AppID 1203620, Keen Games metadata, the Early Access state, and the untouched article images. Keen Games’ Forging the Path update notes establish the 2026 Journal, early-game, skill, equipment, and crafting changes; the Hotfix 42 notes set the client boundary used here; and the 1.0 announcement sets the October 15, 2026 release date. Specific Vault, Spire, workstation, mine, and temple locations were cross-checked against readable community guides and verified walkthrough references, with blocked or warning-marked pages excluded from current-version authority.