
To reach the ending of Feed The Forest, build a Juice-producing forest, merge its plants to start making Rot, then combine Mega Ancients for Gasoline and sacrifice helper snails for Blood. Keep the earlier resources flowing as you advance. Finish by purchasing ASCEND! in the Worm’s last tab.
This route follows the full Steam release of Feed The Forest from the first bushes through ascension, with a separate cleanup section for the remaining upgrades and resource milestones. It contains ending spoilers.
Start a forest beside the Water
Visit the Worm and buy Bushes with your starting Juice. Select Bushes in the plant hotbar and paint the bare ground beside the blue pool. Stay close enough to water the planted area until the bushes finish growing, then move among them to collect berries. Those berries provide the Juice for your first upgrades. A freshly painted patch does not produce immediately: the plants must be fully watered before they bear fruit.
Refill at the Water when the blue meter runs low. As the forest expands, buy Water Capacity to carry more between refills, Water absorption to refill faster, and Watering Speed to finish growing plants sooner. If your meter empties midway through a new patch, add capacity. If you spend most of your time beside the pool, improve absorption. If you still have water while the new plants remain unfinished, improve watering speed.
Buy Sprinting at the Water before making longer trips across the clearing. It unlocks the snail’s roll, but you cannot paint while rolling. Roll back to the Water or to a distant planting area, then stop sprinting to plant. Water Balls become another refill option: collect the balls around the Water instead of relying entirely on passive absorption beside the pool.
Add Trees without filling every planting space
Unlock Trees at the Worm, select them in the plant hotbar, and plant them on open ground. At first, trees cannot replace bushes or share their occupied spaces. The white rings on the ground show where existing plants block another planting. Leave some bare ground for Trees and Dragon Trees while you build the early berry patch.
If you have already filled the map with bushes, buy Scissors at the Worm. Equip them in the tool hotbar and hold the Use action while moving through the area you want to clear. They remove growth and return it to bare desert, giving you room to plant a different type. You can repair an overcrowded layout within the same game.

Happy Tree Friends changes how you use that space. Once purchased, it lets you mix the Idyllic plants, including bushes and trees, in already planted areas. Switch between the plant types and paint along the white boundary lines to fit the other species into gaps. This also helps you prepare mixed groups for merging later.

Keep buying the Worm’s fruit-value upgrades as you add Trees and Dragon Trees. At the Water, hire Helper snails and improve Helper speed and Helper storage when fruit collection falls behind production. The first helpers collect from Idyllic plants: Bushes, Trees and Dragon Trees. You will need different helpers for later families, so a large early workforce does not automate every plant you eventually unlock.
Use the Ritual of Merging to make your first Rot
Buy Ritual of Merging in the Worm’s Idyllics tab, then equip Merge from the tool hotbar. Move among the plants and watch the circles above your snail. Bringing enough plants of one type into range fills that type’s circle. When arrows appear around a filled circle, activate Merge to combine the plants. The required number differs between plant types; use the circles to position yourself before activating the tool.

Make a Mega Bush, a Mega Tree and a Mega Dragon Tree. Next, buy MERGE: Rot Lanterns in the Worm’s Mushrooms tab. This recipe combines one of each of those three Mega plants into a Rot-producing plant. Keep the three ingredients close enough to bring them into your Merge range together. If the recipe is not ready, check that all three are Mega plants and that you have bought the mixed recipe, then reposition to include them.

The first Rot Lantern starts a second resource chain. Collect its output and spend Rot on the new Mushroom options instead of clearing away the entire Juice forest. Juice continues to pay for important upgrades, while Rot buys new tools and plant options. Replacing every early producer at once can leave you waiting for a currency you still need.
The Mushrooms tab lets you unlock Tyrians, Slime Molds and direct Rot Lantern planting. Buying Rot Lanterns lets you plant them without rebuilding the original mixed recipe each time. Buy the relevant Mega upgrades when available, then merge groups of those plants into their Mega forms. Merge three Slime Molds into one Mega Slime Mold, or three Rot Lanterns into one Mega Rot Lantern.
Replant for Rot and hire Mushroom helpers
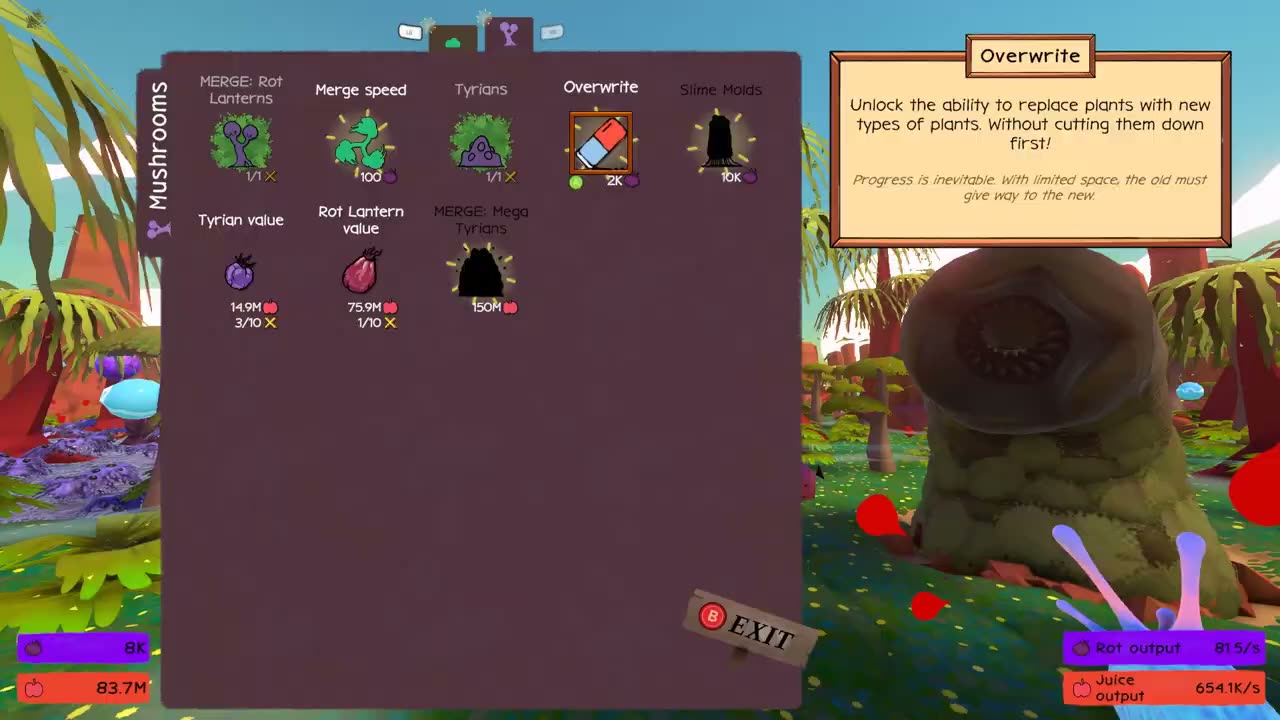
Buy Overwrite in the Worm’s Mushrooms tab when you want to replace older growth. It lets you paint new plant types over existing plants without cutting them down first. Use the Overwrite action while painting the selected type, and reserve Scissors for areas you want completely empty. Keep the Juice-producing patches you still rely on outside the area you are replacing.
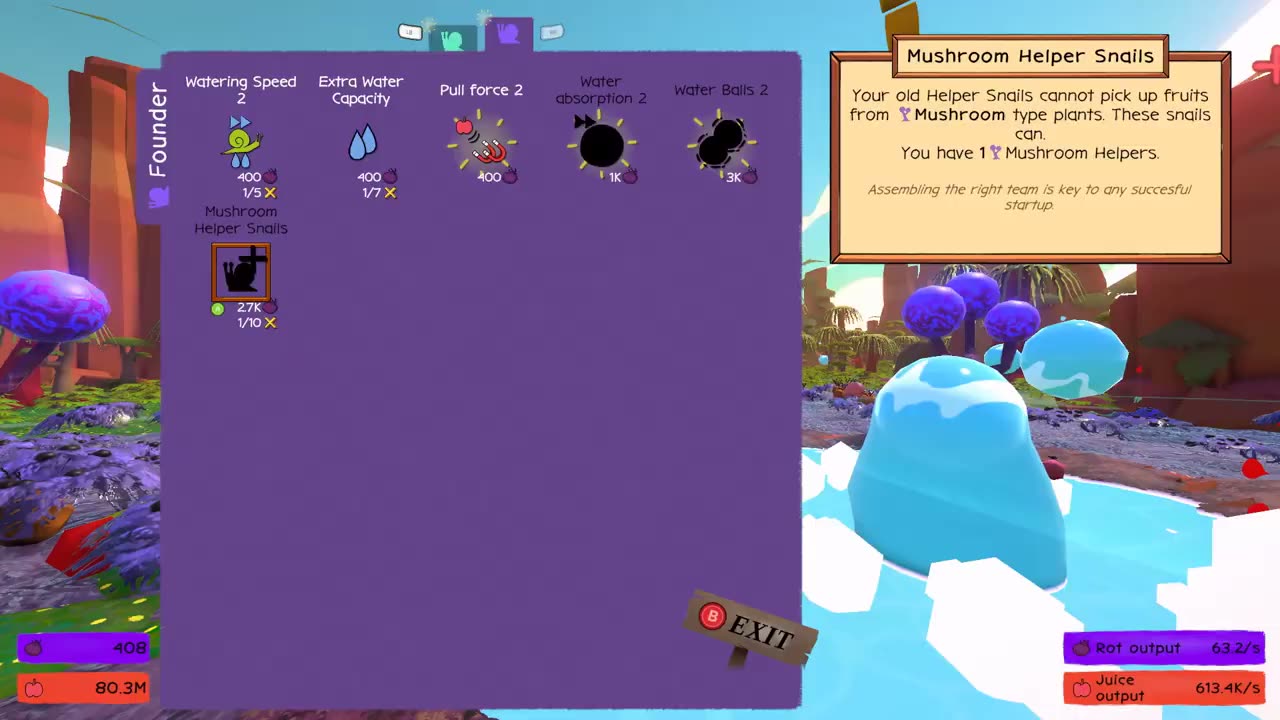
Return to the Water when the Founder tab becomes available. Mushroom Helper Snails collect from the Mushroom family; the original Idyllic helpers cannot pick up those fruits. Hire the new helpers while adding the next watering, capacity and collection upgrades. If Rot fruit remains on the ground while the early berry patches are being cleared, check the helper family before buying more of the original snails.
Increase Tyrian, Slime Mold and Rot Lantern value at the Worm, then revisit their production-speed and Mega upgrades. The next family opens in the Ancients tab. When the Worm announces new items there, buy Ferns for a much larger Juice source and Ponds for Water. Pond fruit provides Water instead of Juice, so planting only Ponds will not replace the income from your earlier forest. The Water’s Angel tab sells Ancient Helper Snails for this family; hire them when Fern or Pond drops pile up.

Combine the Ancients to unlock Gasoline
Build a patch of Ferns and Evergreens for Juice, with Ponds to supply Water. Unlock their Mega recipes in the Ancients tab. A Mega Pond specifically needs three ordinary Ponds; bring enough Ferns or Evergreens into range to fill their Merge circles. Keep room for one Mega Fern, one Mega Pond and one Mega Evergreen close together.
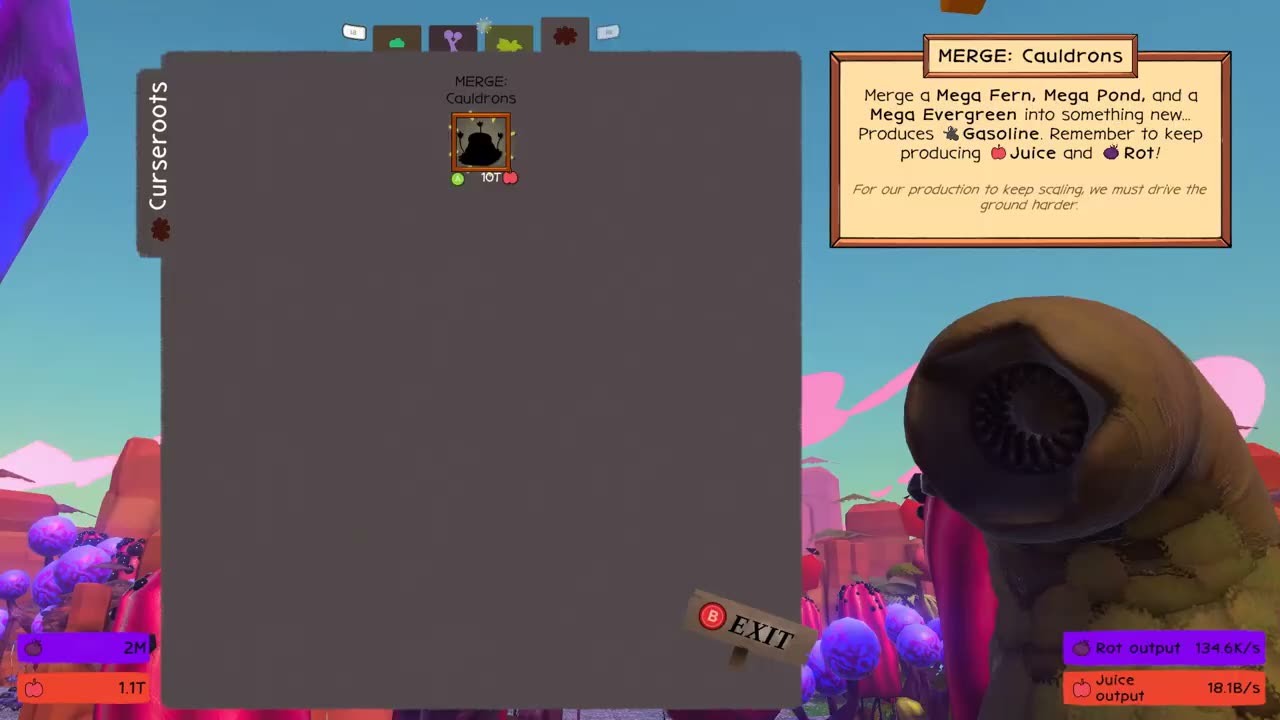
Buy MERGE: Cauldrons in the Worm’s Curseroots tab. Bring those three Mega Ancients into Merge range and activate the tool to create a Cauldron. Its fruit produces Gasoline. If you can merge individual Ponds but cannot make a Cauldron, confirm the mixed Cauldron recipe is purchased and that all three different Mega ingredients fit inside the same range.
Expand Gasoline production with Corpse Lilies, Chimneys and direct Cauldron planting. Their value upgrades and Mega recipes improve this new supply. At the Water, the Oil Baron tab has Curseroot Snails for collecting this family’s fruit, plus stronger collection and watering upgrades. Continue to keep a Juice patch and Rot producers: the Cauldron recipe itself warns that both currencies remain necessary.
Gasoline also buys upgrades for the earlier parts of the forest. Gasoline Merging shortens the time a merge takes, while Fuel-powered Mushrooms increases Mushroom production. Ancient value uses Gasoline to strengthen the Ancients. When a late purchase needs much more Juice or Rot than you are earning, check these upgrades before replacing another whole planting area.
Place HexNets and Monolithiums around working plants
When the Nü-Plants tab opens, buy HexNets for a stronger Rot source. They also increase the fruit value of plants within their range. Select HexNets in the plant hotbar to show the pink boundary on the ground, then place them where that boundary includes the producers you want to improve. Plants outside the boundary do not receive that local boost.
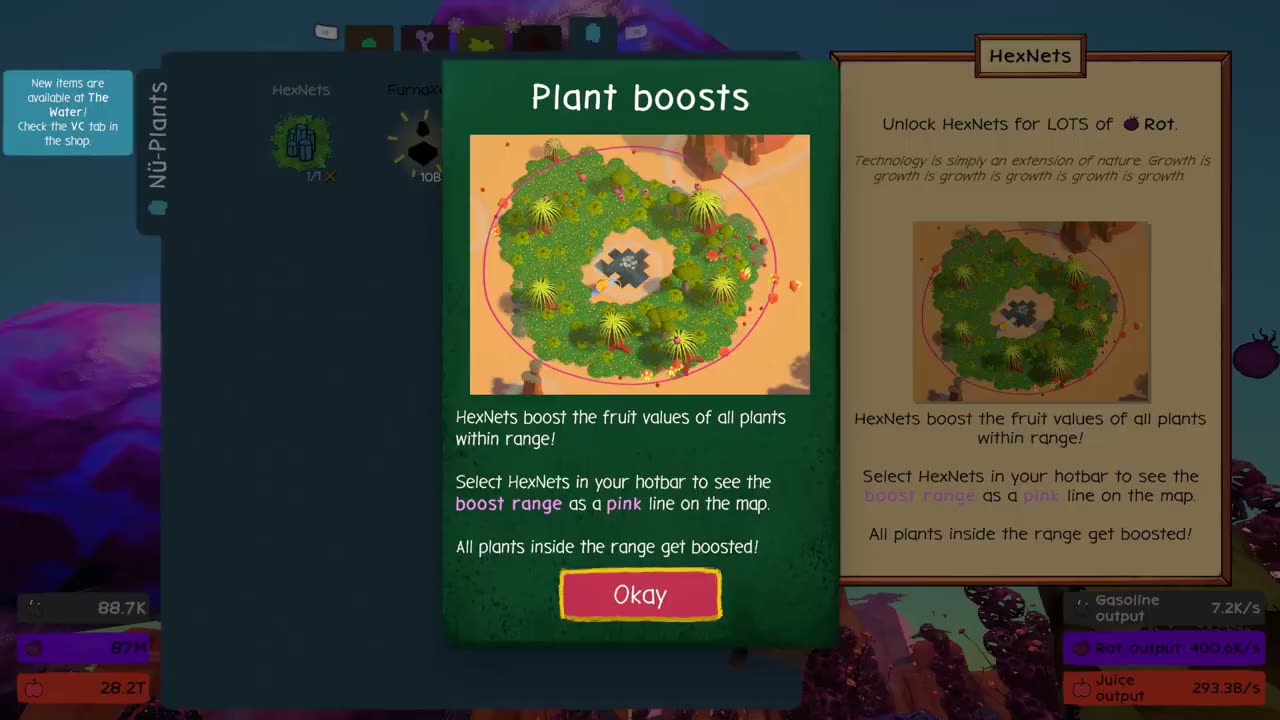
FurnaXes add another Rot producer. Monolithiums, unlocked farther along the same tab, increase the output speed of nearby plants as well as producing Rot. Equip Monolithiums to see their range before planting. A HexNet increases fruit value, while a Monolithium makes nearby plants produce faster. Place them within reach of the producers whose fruit you still need.
Buy the corresponding Boost+ upgrades to improve those effects, and unlock the Mega versions as your supply grows. If a newly unlocked plant seems weak after replanting, first let it finish watering, then check whether your other productive plants are actually inside the relevant booster range. Replant the producers inside the bonus area if the pink boundary misses them.
At the Water, open the VC tab and buy NüSnails to collect fruit from Nü-Plants.

Use bombs and dice when production needs a push
Buy Bombs from the Wizard and throw them near producing plants to make fruit drop immediately. The launch version’s bombs create burnt fruit; use Scissors when you want to clear land.
Magic Dice make nearby plants drop more valuable golden fruit. A higher roll reaches a larger area, and a natural 20 produces the jackpot effect. Stand near the planting patch you want to harvest before throwing. The first dice only affect Idyllic plants. Buy Better dice at the Wizard as you progress so the effect can reach more advanced families; throwing an unupgraded die in a Mushroom patch will not do the same job.

Dice are spent when thrown. Return to the Wizard for more when the Dice count reaches zero, and use Max Dice to increase how many you can carry. Dice Gold Boost improves the golden fruit’s value. If you are trying to fund the next Worm upgrade, throw near the appropriate producing family and collect the resulting fruit instead of rolling in bare ground.
Collect Blood with the Ritual of Sacrifice
Buy Ritual of Sacrifice in the Worm’s Pandæ-moniums tab to add the Sacrifice tool. Select it, read the snail-family icons above your character, and move close enough to bring matching helper snails into range. Activate Sacrifice and collect the resulting meat for Blood. The current icons determine which families the Worm will accept.

Buy Expanded Taste to make more advanced helper families eligible. The Worm’s appetite changes after each sacrifice. If a group of helpers is in range but the tool will not take them, reread the icons above your head before chasing the same group again. Expanded Taste gives you more possible targets, but it does not make every helper acceptable on every activation.

Sacrificed helpers are lost. At the Water, open Thought Leader and buy the Automatic Snail upgrades for the families you are sacrificing. Each family has its own purchase, such as Automatic Snails for Idyllic helpers and Automatic Mushroom Snails for Mushroom helpers. With those upgrades, replacement snails launch from either Water shop at intervals. Without replacements, repeated sacrifices reduce the workforce that was collecting your fruit.

Increase Blood multiplier to extract more Blood from meat. Pieces of meat per snail increases the drops from each helper, and Sacrifice Range makes it easier to catch eligible groups. Use these purchases when Blood is the shortage holding up the Worm’s last tab, while continuing to produce the Juice and Gasoline that pay for the rest of the upgrades.
Buy ASCEND! and follow the ending
Develop the final plant family in the Pandæ-moniums tab: NOSTALGIAS, PERFECT TREES and GOLD DREAMS. Their fruit-value upgrades and Mega recipes support the large late purchases. Bloody Pandæmonium and Oily Pandæmonium further improve the family using Blood and Gasoline respectively.
ASCEND! costs 50K Blood in the recorded release. Once it is available, collect that amount and buy it at the Worm to start the ending. If you spend Blood on another upgrade first, refill the meter before trying to ascend. The ending purchase is a separate action; reaching a full Blood meter or planting the final trees does not start it by itself.

Let the cinematic finish, then advance through the illustrated pages with Next and allow the credits to play. After leaving the credits, the main menu offers Continue, which returns to the developed forest for optional cleanup.

Continue for unfinished upgrades and resource achievements
Perfect Forest requires buying every possible upgrade. Finishing the story is therefore only part of that objective. Use Continue after the ending and revisit every shop and tab, including the Wizard’s consumable-related upgrades, the Water’s later helper and utility tabs, and the Worm’s earlier plant families. Check each upgrade’s purchased count against its maximum; having the final plant family does not fill the earlier tabs automatically.
Fashionista requires all skins. Keep cosmetics on the cleanup list even if they did not help you reach ASCEND!. For the longer economic achievements, preserve the producers of the currency you are still collecting. Rotten to the core requires ten quadrillion Rot, while I’m an oil man, ladies and gentlemen! requires ten billion Gasoline. Removing the corresponding plant family to make room for the last trees can turn those goals into a much longer wait.
For output achievements, watch the production figures as well as your stored resources. Diversified Portfolio requires more than 1,000 per second of every resource, Industry Magnate requires more than 1,000,000 per second of every resource, and Vertical Integration requires more than 1,000,000,000,000,000 per second of any resource. Keep both Juice and Rot production active while growing Gasoline, and check the output figures when rearranging your forest. A huge banked total does not establish that you have reached a production-rate requirement.