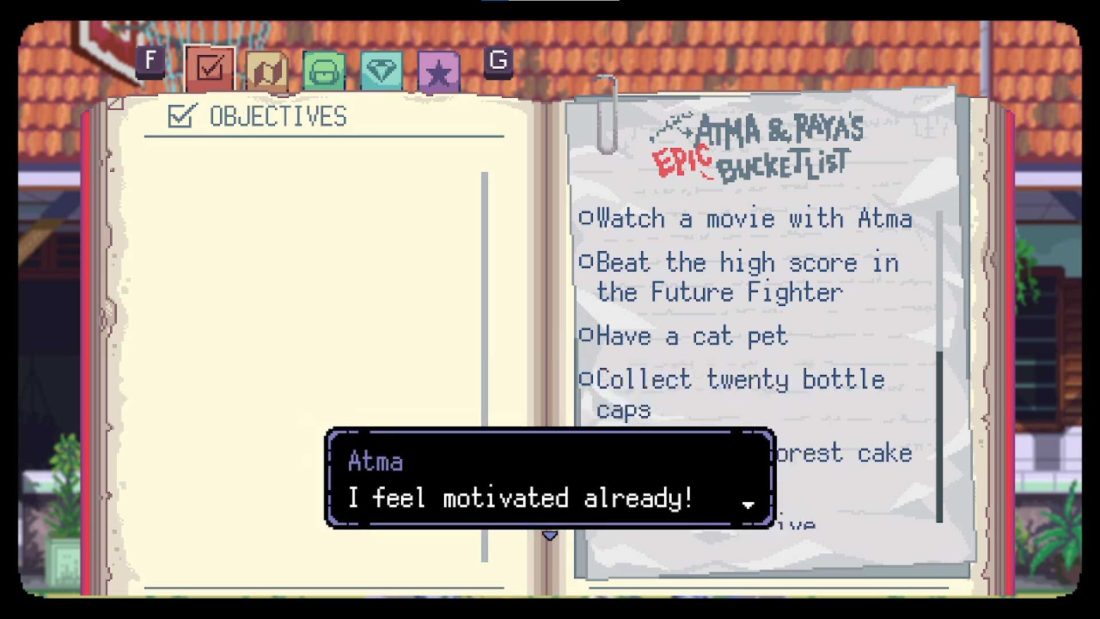

Spoilers begin here. This roadmap is for the 2023 retail game, Steam App ID 1201270, not the separate Prologue app. A safe run keeps five optional Bucket List lines moving together and checks them before four irreversible transitions. The target before returning to Loka High is 20 bottle caps, all five YOMAN letters, 27 animals, 1500 in Future Fighter, and the completed three-musician chain. Those checks, alongside the six story objectives, produce an 11-item Bucket List and enable the post-credits epilogue.
Read the Bucket List as four cutoffs
The optional objectives do not share one cleanup window. Check the relevant count before each transition; a later total cannot repair an NPC or collectible that has already disappeared.
| Do not cross yet | Proof that the run is safe | What a mismatch means |
|---|---|---|
| Leave the Cinema in Chapter 1 | Manta Soda Strawberry is collected, the chapter total is nine caps, and YOMAN O is in the inventory. | An eight-cap total after the movie means the only permanently missable cap was left inside the Cinema. |
| Order the cake in Chapter 2 | YOMAN A and M are secured, Future Fighter has reached 1500, the Violinist has been helped, and all seven Chapter 2-only animals have been petted. | Finishing the Pastry Chef’s mind or ordering the cake can close the animal and musician openings needed later. |
| Enter the General Store in Chapter 3 | The counters show 18 caps and 25 animals; O, M, A, and Y are held; Setiawan has completed the musician chain. | A short counter points back to an earlier chapter-specific check, not to a hidden item beyond the store. |
| Enter Loka High street in Chapter 4 | The final state is 20 caps, five letters, 27 animals, Future Fighter complete, and the music line checked. | This is the endgame point of no return. Do not cross it with any optional Bucket List line open. |
The Bucket List only needs 50 consecutive kick-ups for YOMAN M and 1500 points in Future Fighter. The separate achievements ask for 70 kick-ups and 1700 points, so achievement hunters should continue to the higher target during the same attempt. Future Fighter awards 100 points per defeated opponent; accurate moving-cursor guards preserve the one life bar more reliably than rushed attack inputs. For kick-ups, an English-tagged community guide suggests an 84–86 BPM pulse with two beats per kick. Treat that as an optional rhythm aid, not a rule: discard it if the ball and exclamation cue are easier to follow.
Move all five optional lines together
Caps and YOMAN letters
In Chapter 1, trade the mailbox Stamp to the dejected youth beside the Newsstand for YOMAN O. Use the Library TV and strike the kentongan near the Swamp entrance three times if you also want the nearby missable achievements. Do the town sweep before buying the movie ticket, then take Manta Soda Strawberry inside the Cinema. It is the cap that makes nine and the only bottle in this route that cannot be recovered after Chapter 1.
Chapter 2 supplies YOMAN A and M. Inspect Rahmat Arkade until the inventory holds 14 tickets, including three inside the broken machine at the far right, then trade the set to the children outside the Net Cafe for A. Reach 50 kick-ups at Community Center street for M. In Chapter 3, pass the Quiz Trio’s randomly selected questions for Y. The letter checkpoint before the General Store is therefore O, M, A, and Y.
Carry 18 caps into the Chapter 3 cutoff. In Chapter 4, take Teh Buah outside Basecamp and Java Ginger near the public payphone on Internet Cafe street to reach 20. YOMAN N comes from taking the Old Bicycle in the Garbage Area and using it inside the dejected father’s Spacedive.
Animals and musicians
The dangerous animal window sits around the Pastry Chef. Pet Admiral’s four black-cat underlings during the summon route, free the rat inside the General Store, and pet both the rooster and hen after reuniting them at the Swamp. The four cats disappear after the Pastry Chef’s Spacedive, and the rat, rooster, and hen also do not survive the Chapter 2 window. If any of those seven interactions is uncertain, make another town circuit before using the Cooking Oil, Chili Sauce, and Bitter Melon to finish the chef’s mind.
Reach 25 animals before the Chapter 3 General Store cutoff. The remaining side events in that stretch use Catnip on the unfriendly cat, a raised scarecrow before chasing the lost duck, and the dog’s toy to expose the cat beneath the box. After the Chapter 4 Swamp fight, pet Kebo Bule; that interaction makes the Barong Puppet Mask appear. Spacedive into the mask and interact with the figure inside for animal 27. If Kebo Bule cannot be petted, the missing requirement is an earlier animal, not a new Chapter 4 trigger.
The musician route begins with the Violinist outside the Cinema in Chapter 2. Complete her Spacedive before ordering the cake, help the Pianist in Ria Cafe later, and finish with Setiawan at the River Bank in Chapter 3. Pick up the Kopi Bir cap before Setiawan completes his performance because the crowd can cover it afterward. The music line should update when the River Bank Spacedive ends.
Three inventory chains hide their own failure signal
Cinema: poster, Broom, Key, Axe
- Spacedive into the female staffer on the left side of the hall. Restore all four posters, note the number on the horror poster, and inspect the ticket office to take the Broom.
- Enter the mind of the employee crouched at the counter. Sweep the mess with the Broom, then take the Cinema Door Key from the hotspot the cleanup reveals.
- Return to the hall and enter the current horror-poster number at the Fire Axe Case near Studio 3. Use the Axe on the boards in the final employee’s mind, then unlock the revealed door with the Cinema Door Key.
A rejected axe-case code means the first mind’s poster must be read again. Broken boards with no progress mean the key hotspot was missed after sweeping the second mind. During the movie, the simultaneous-popcorn achievement has only a few attempts before Raya stops reaching, so act when her hand moves instead of mashing through the scene.
Weredog kitchen: Sugar before delivery, oven before Sugar
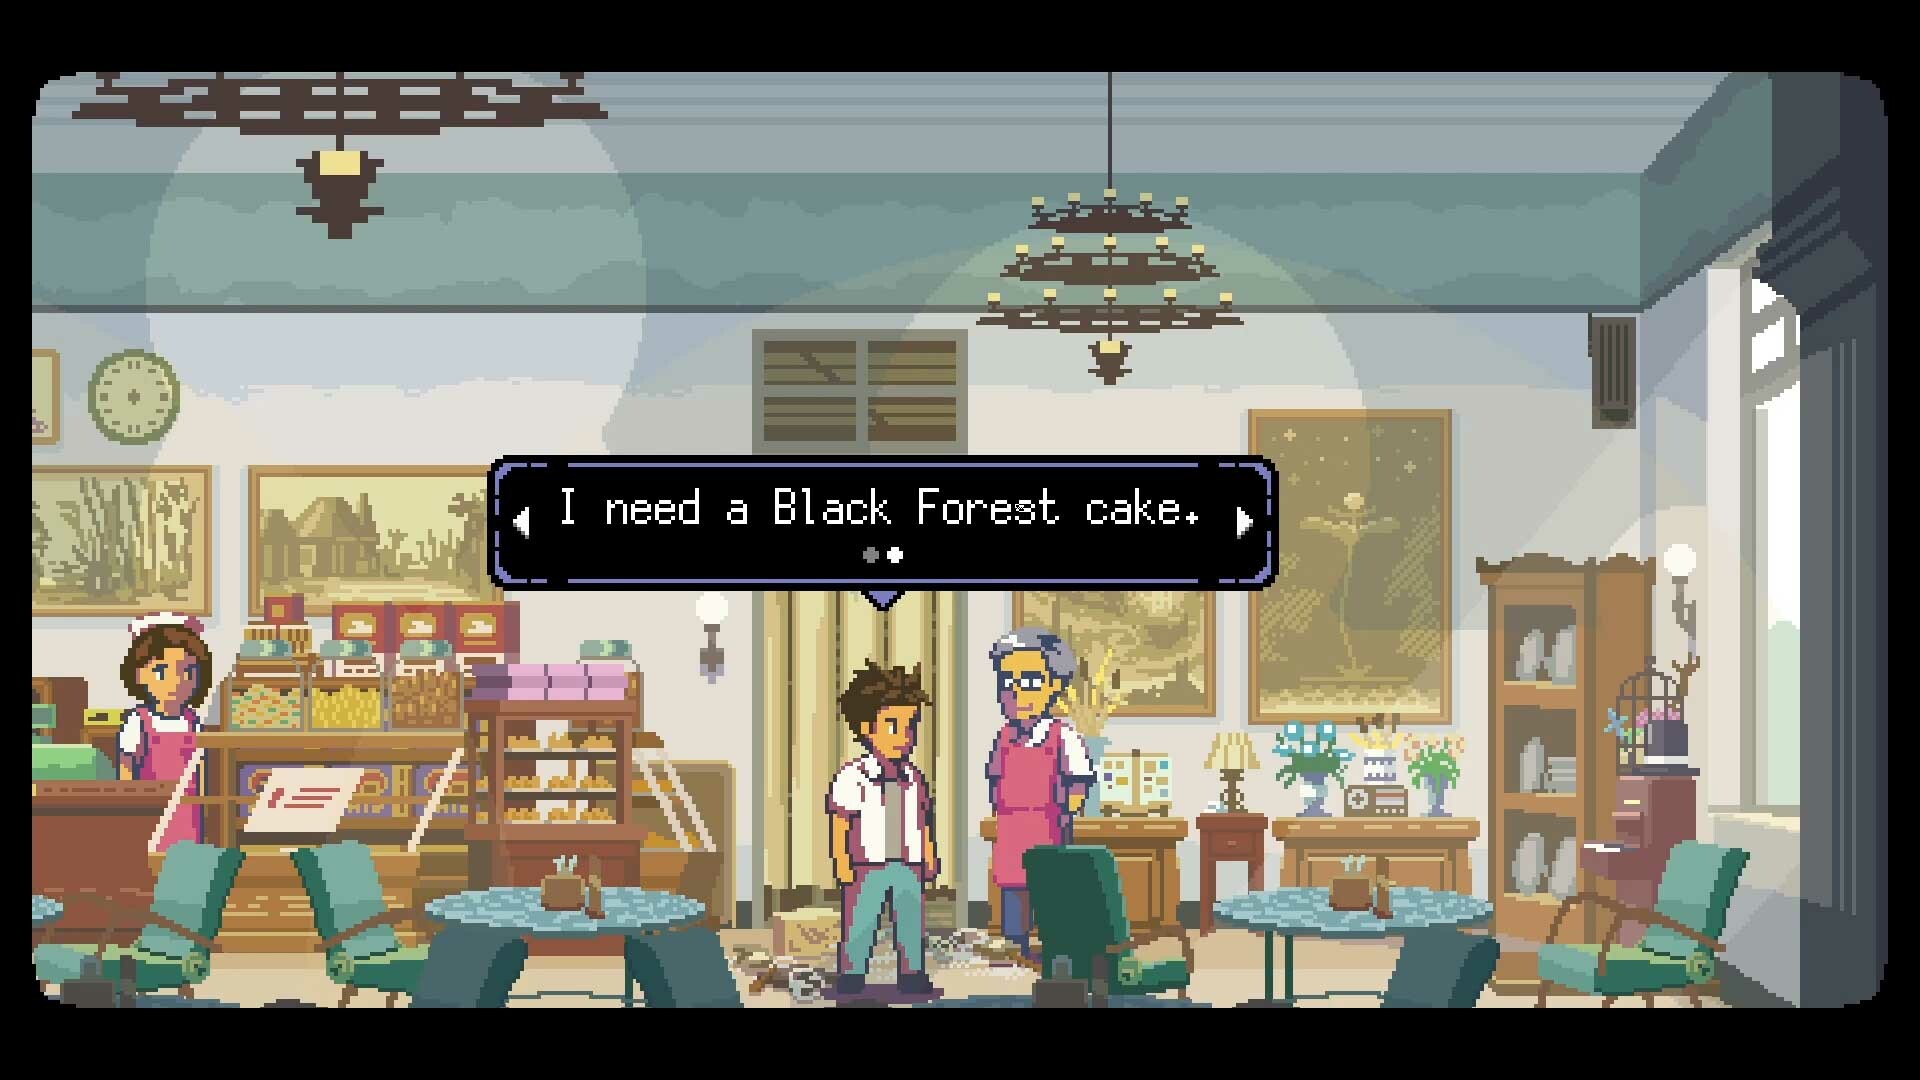
Ordering the Black Forest cake commits Chapter 2 to its final sequence. In the first corridor, sneak right and collect the Sugar before moving left. Flip the far lever to stop the dropping claws, then take the Bone. Read the kitchen recipe and set the oven temperature before adding Sugar to the batter; Sugar triggers the chef’s delivery, while a wrong oven setting resets the batter.
Install the Small Gear in the Gearbox. Pull the Wrench from the dog statue and immediately use the Bone on that statue to neutralize its trap. Use the Wrench on the dumpster component to obtain the Big Gear, install it, and interact with the Gearbox again to lower the Cage Key. A high cage means one gear is still missing; reset batter means the oven was not set before the Sugar interaction.
Queen’s Trophy Room: two Small Orbs, one carried Large Orb
The Chapter 3 lamp puzzle must leave Small Orbs in the first two lit lamps, the third lamp empty, and the Large Orb in the inventory. Carry the Large Orb to the unlit lamp in the Queen’s Trophy Room. Use Ginger Candy for Uncle Budi, Lily Flower for Madam Puspa, and the Medallion for Mr. Agung. Reaching the last lamp without the Large Orb means the earlier swaps must be walked backward until the first two lamps each contain a Small Orb.
Trials only accept evidence after the testimony moves

Agung’s three changing statements take three different pieces of evidence:
- Answer the claim that he is an esteemed soldier with the Newspaper Clipping.
- Answer the claim that there is no proof he was a teacher with the Signed Counseling Form.
- Answer the later claim that he has proof of military service with the Torn Photo.
Puspa’s cross-examination follows the same rule. Match the fireworks statement with the Asoka Flower, the later claim that the fire was only a beginning with the Article, and the complaint about the city’s lack of appreciation with the Trophy. A correct item offered too early can be rejected because the testimony has not yet advanced to the line it answers.
Inside Puspa’s Crossdive, put the first two Pipe Wheels on valves 2 and 11. Sprinkler B raises the Wet Key in the well; use that key on the locked box to obtain the third wheel. Remove the first pair, then install wheels on 3, 8, and 10 so Sprinkler A extinguishes the fire. A dry well points to 2 and 11. An open box with a live fire points to an incomplete 3/8/10 layout.
Derive 49614, then read movement instead of memorizing it
The Library safe uses the variables in N-I-K-E-N order. The Paper Scrap in Raya’s bag gives n = 4. The classroom whiteboard gives 2k = 3n, so k = 6. The present-time desk gives 3 − 3n = −i; substituting 4 produces −9 = −i, so i = 9. The consultation form gives 11 = 2e + i, so e = 1. Reading N-I-K-E-N produces 49614, which opens the safe and supplies the Crowbar.
A Steam community formula guide reaches the same answer but renders the sign in its third equation inconsistently. Use the negative-sign equation above if the notes appear contradictory; the derivation matters because it explains why the digit order is 4-9-6-1-4.
The later door memory sequence is a movement-reading problem. Copy the background NPC’s door and terrain. After the second correct choice, one background version is upside down, so mentally rotate its movement because the playable room begins from the opposite side. The fixed door sequence is the only available door, third from the left, middle, second from the left, then far left. After five correct doors, sit in the far-left chair. A loop back to an earlier room means the most recent transformed direction was misread.
The endgame reverses the rules it taught you

The special street opponent reverses normal fighting. Let every offensive input timer expire and complete only the moving-cursor guard checks until the game gives an explicit attack cue; land that one attack to finish the encounter. Repeated failed attacks are the signal to stop using the ordinary offensive rule.
During the larger fight, falling debris is telegraphed by shadows while stalagmites announce themselves on the ground. Read both layers before moving: a clear shadow lane can still contain an emerging stalagmite. Later phases also move the guard target, so do not carry the earlier fixed-target timing forward.
The six-digit Spacedive code is generated by the current room rather than drawn from one universal answer. Read the doodles on the three loan notices to establish their order, then take the circled month/date pair from the calendar for each doodle in that order. If the door rejects the six digits, recheck the notice order before changing a calendar value. The next six-door route follows the first six Story Pages in the Tales section of the inventory, in displayed order.
If the post-credits epilogue does not appear, first separate the six story objectives from the five optional ones. Check 1500 in Future Fighter, all three musician encounters, 20 caps, five YOMAN letters, and 27 animals against the earliest cutoff where the count stopped matching. Random late-scene replays cannot restore an NPC or collectible lost in an earlier chapter. Once all 11 Bucket List lines are checked, the run has reached the completion state this roadmap protects.
Official retail game page: A Space for the Unbound on Steam.