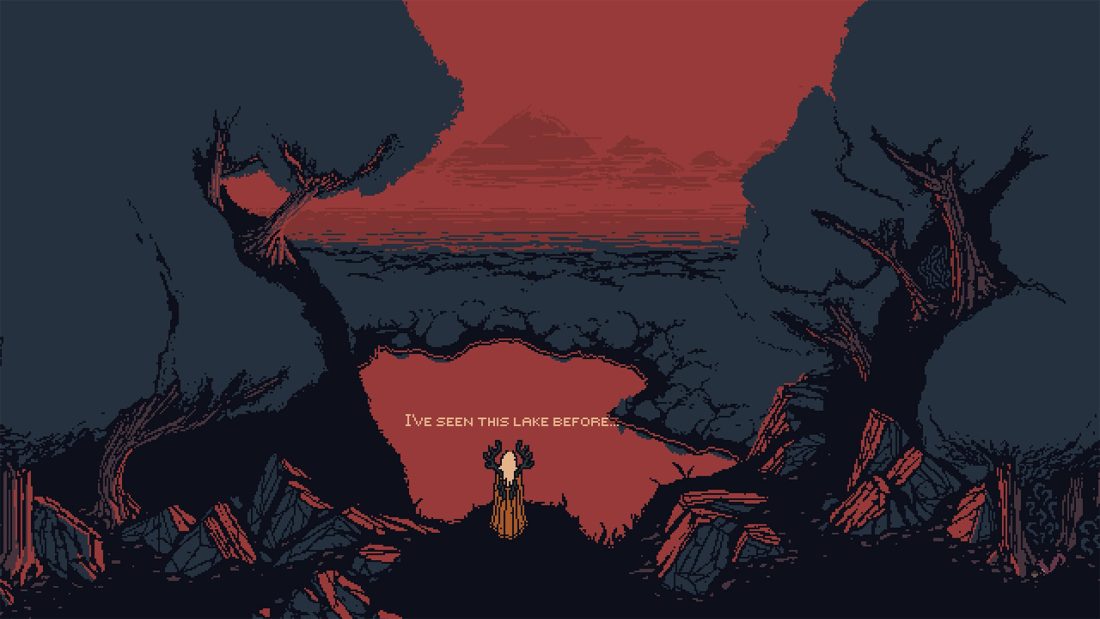

Plan Death Howl around its resting points. Every Sacred Grove heals Ro and banks held Death Howls as Teardrops, but it also revives the encounters already cleared. The base campaign then asks for four realm-specific rebuilds before a mountain gauntlet split into three-, four-, and five-fight stretches and the linked Moon Eel and Sorg finale.
This walkthrough follows the retail base campaign from the first Forest grove through Cantharsis, Tradontoz, Cephagloom, Exorath, Moon Eel, and Sorg. It was checked on August 5, 2026. The May 4 update added separate REBIRTH and Custom modes and changed balance, so this route uses observable mechanics and recovery signals instead of prescribing one permanent deck. Rebirth-specific builds, exhaustive collectibles, and the separate demo are outside this route.
Use each Sacred Grove as a resource decision
A grove does three jobs at once: it restores Ro, converts held Death Howls into Teardrops, and brings defeated enemies back. That makes the order of operations important. If you need a card before the next boss, craft it before resting. Once the Death Howls have become Teardrops, the nearby fights are available again, but you must repeat them to rebuild the crafting currency.
Entering a new realm is the other major reset. Each realm has its own Teardrop tree and its own card pool. Cards imported from a different realm carry a higher Mana cost, while Realmless cards avoid that realm penalty. Do not cross a realm boundary with an empty wallet and assume the old deck will remain efficient. Carry spare Death Howls, unlock the first local tools, and keep a small Realmless core that can still move, defend, or reach at range.
Use this check before leaving any grove:
- Craft first: buy the card needed for the next known phase before converting currency.
- Rest second: heal and bank the remaining Death Howls as Teardrops only when you accept the encounter reset.
- Test the opening hand: if off-realm cards are stranded by Mana cost, return to a short grove-adjacent farming loop rather than forcing the next corridor.
- Preserve two ranges: keep both adjacent and ranged damage so a boss target or kiting spirit cannot invalidate the whole deck.
- Read the exclamation mark: if an enemy still shows that it can attack Ro, spend the last action on movement or Block unless the current hit ends the threat.
Realm of Distorted Hollows: activate the route before chasing the bridge
After the introduction, follow the Stag and Fawn and defeat the first Grimsnout. The first Sacred Grove is the square of four stones beside the wounded Moose. Activate it before exploring. The map appears, the Moose recovers, and previously defeated creatures return; together, those changes show that a grove is both a rest point and an encounter reset.
Move north to the next grove. After the Moose marks the eastern bridge, approach that objective and let the bridge collapse. The collapse is the route change, not a cue to keep searching the blocked bank. Continue through Meadows of Delusion and then Creek of Spectral Falls. Your target is the grove immediately before Cantharsis. If the map is still hidden or the Moose has not marked the bridge, an earlier grove was skipped; backtrack to the unactivated four-stone site rather than probing later paths.
Cantharsis: damage the face without owning the front tile
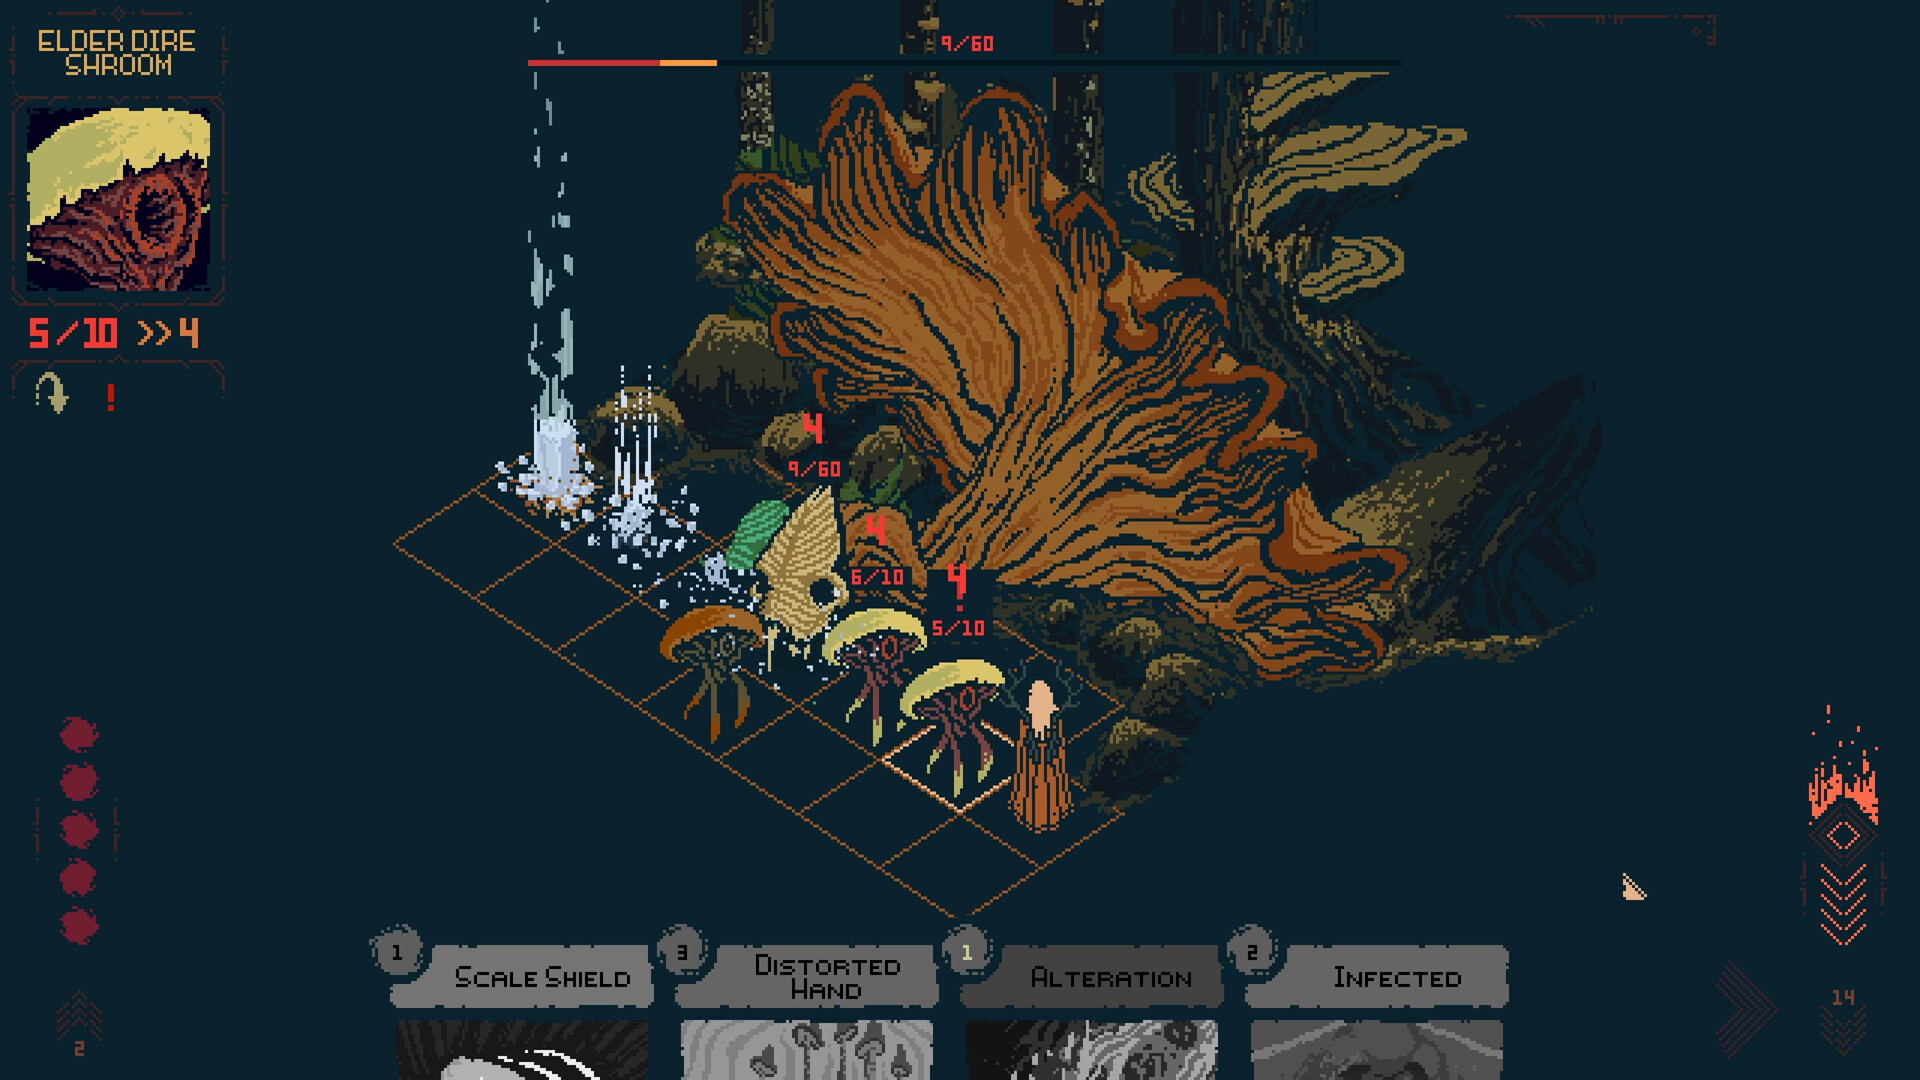
Cantharsis has 60 HP, but the number is less important than the angle. The face is the damage target; the adjacent tile directly in front of it is also the trigger for the heavy attack. Start and end from a side angle whenever possible. When the head burrows, adjacent units are pushed and damaged, so do not treat a temporarily buried face as a safe place to camp.
The fight becomes unstable when the mushrooms and problem cards accumulate. Spores can add cards such as Infected and Fungal Manipulation, while new mushrooms consume space and actions. Clear the dangerous summons before they become a second front. Ranged attacks keep Ro out of the face lane, and displacement can turn a mushroom into incidental boss damage without sacrificing position.
You are losing control when Ro is standing in front of the face, Elder mushrooms are multiplying, or the hand is filling with effects you cannot clear. Spend the next turn on movement, cleansing, or add control. Resume face damage only when those problems are gone. Defeating Cantharsis awards A Stream of Thoughts and opens a path into the Howling Mountain, but that opening is not a recommendation to finish the mountain now. Leave it for later; the remaining three realms provide the tools and sustain needed for its encounter stretches.
Realm of Piercing Winds: arrive with currency and build around Chill
The first Hidden Vale grove lies to the northeast after the opening Spirit encounter. Bring spare Death Howls into the realm, because leaning on the Distorted Hollows deck can leave otherwise useful cards unaffordable. Activate the Vale grove, traverse the Breathing Chasm, then continue north into The Glacial Maw.
In the Maw, clear the first Elder encounter and the following Spirit fight to reach the first grove. Continue north to the second grove immediately before Tradontoz. Before crossing that threshold, unlock the realm’s Light a Fire tool. If the opening fights are consuming health because foreign cards cannot be played on time, that is a build failure, not a navigation mystery: return to the prior realm, farm near a grove, and buy Piercing Winds or Realmless replacements.
Tradontoz: break the hands, leave the red tiles, then burst
Choose a starting tile on the left or right in front of one of Tradontoz’s hands. Each hand has 10 HP and restores 2 Block each turn. The boss’s 20-HP body cannot be damaged until both hands are destroyed, so random chip across the arena only gives their defense more chances to refresh. Keep the second hand within follow-up range, remove both, and save the highest-value attacks for the collapse.
Two environmental signals control survival. Red floor tiles mark where ice will land on the next resolution; leave them before impact. Chill steadily drains health; Light a Fire creates the local answer. The moment both hands fall, Tradontoz drops face-down and the body becomes vulnerable for one turn. Spend the stored burst, then back away when it rises. If the hands return, nothing has broken: rebuild the same opening and repeat it.
A stalled fight usually means one of three things: hand Block is outpacing scattered damage, Ro is trading on red tiles, or body damage cards were spent before the stun. Fix exactly that problem on the next cycle. Do not change the whole deck when the board already tells you which resource is missing.
Realm of Gloomy Waters: recognize the loop before the timed opener
The main route crosses Dead Roots and Wailing Marshes before reaching Shores of Darkness. The first Shores encounter includes a Totemite and must be finished within seven turns, so enter with a way to focus the timed target instead of spreading damage. After that fight, remain on the main path. When the route splits and the right branch loops back toward Dead Roots, take the left branch.
The first Shores grove reveals the remaining approach. Clear the three Elder encounters leading north to the second grove. Cephagloom waits beyond it. If you arrive back in Dead Roots, that is an unmistakable navigation signal: return to the split and use the other branch. If the Totemite timer expires, rebuild for faster target removal before repeating the shoreline approach.
Cephagloom: synchronize four tentacles
Cephagloom begins behind four tentacles with 5 HP each. A tentacle returns one per turn, so killing them in a slow circle never exposes the real target. Reduce their health together, then remove all four in the same cycle. Area pressure and poison are useful because they keep the health totals aligned without forcing Ro to spend four separate setup turns.
Do not stand directly under Cephagloom; that position triggers a 10-damage attack. The boss also adds Heavy Thoughts and later brings in Woeful Seashrooms. Clear a summon when it threatens the synchronized tentacle turn, but keep the goal visible: four dead tentacles at once.
When the fourth tentacle falls, Cephagloom’s 30-HP bar appears. You have three turns to damage the body. Once the third turn ends, a balloon carries the body away and the tentacle phase returns. A disappearing health bar is therefore a phase reset, not a bug or a failed route. Realign the tentacles, control the summons, and earn another three-turn window.
Realm of Hostile Plains: take the no-rest reward before the mountain
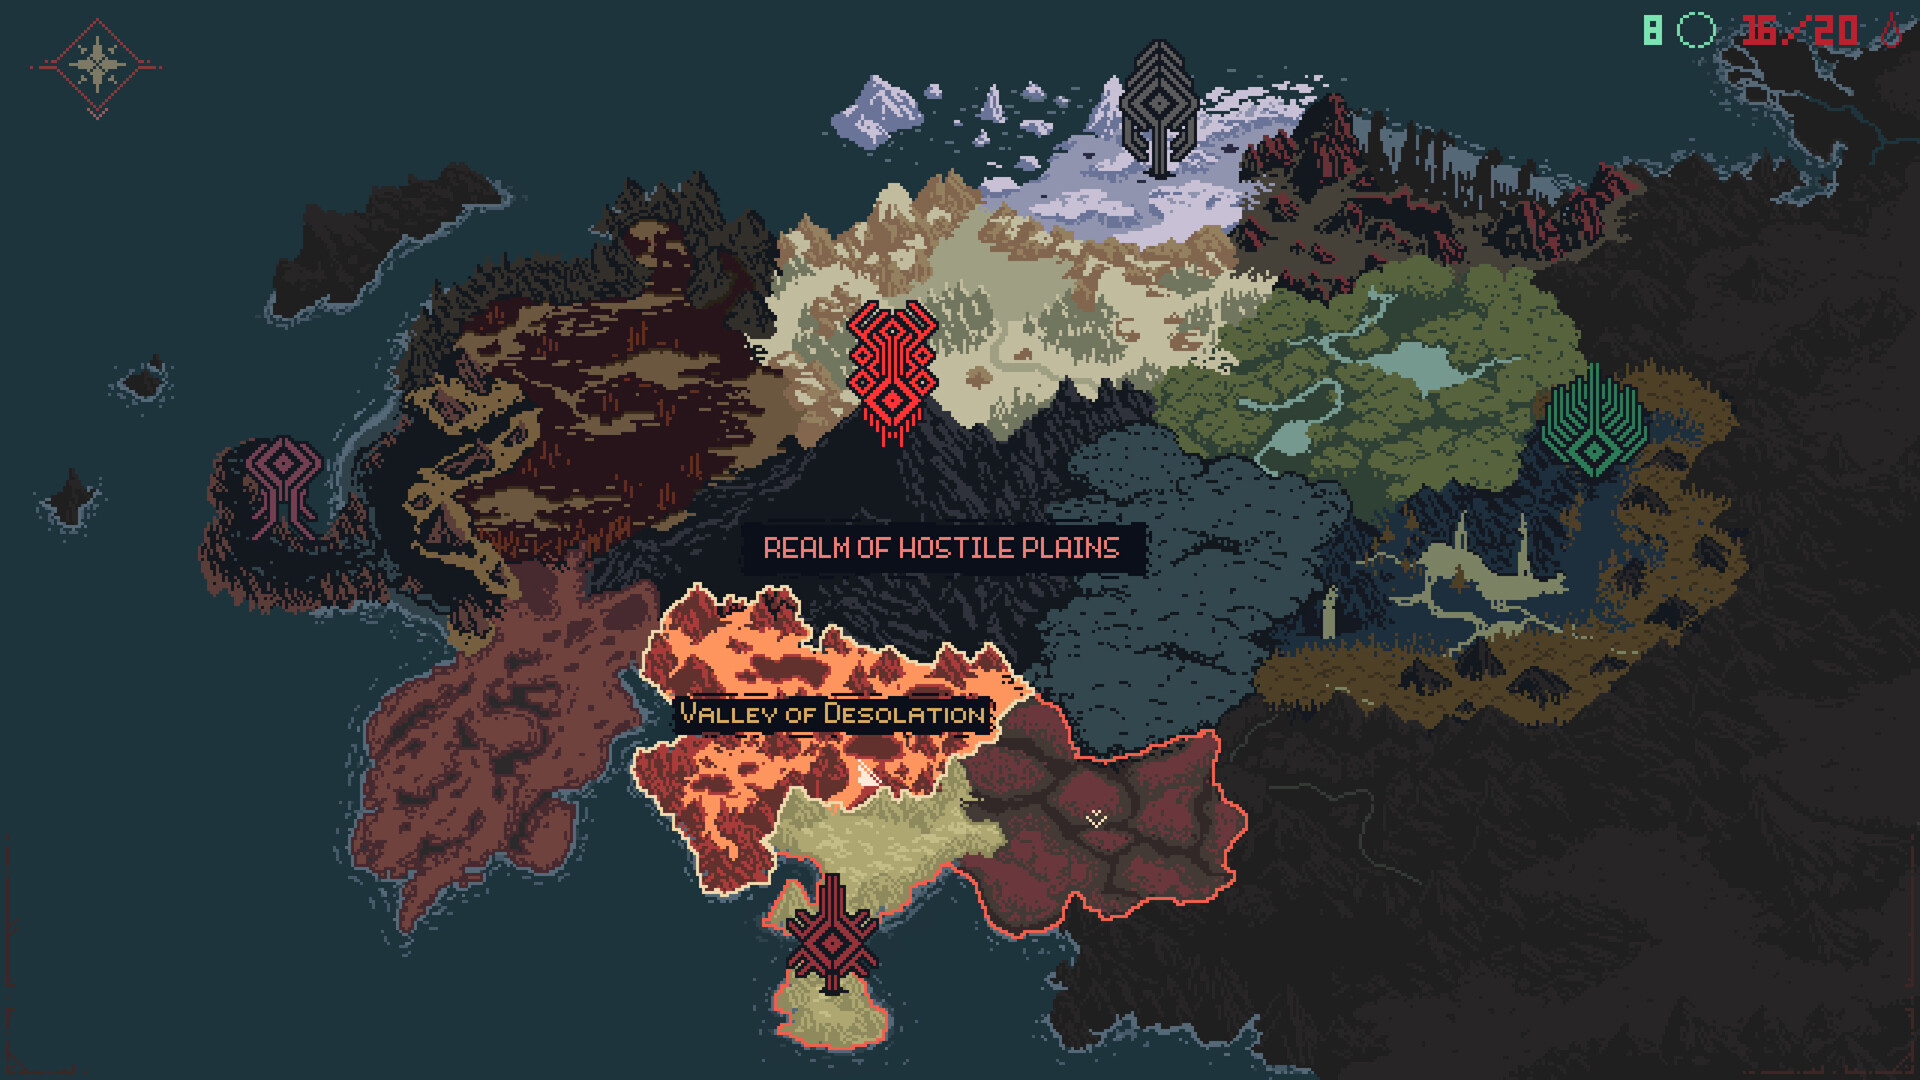
In Moors of Withered Memories, defeat the first two encounters and activate the first grove. The nearby Seed starts Uninvited Sorrows and gives Ro the Ox Heart quest card. This is the right time to do the optional preparation sweep: eliminate every visible Spirit encounter on the Moors map without resting, then return to the Seed.
Resting during the sweep revives cleared targets and breaks the useful continuity of the route. If that happens, begin again from the respawned visible encounters. Completing the quest awards the Crystallized Ox Heart Totem. After a battle, it can return as many as 3 HP, capped by the health Ro lost in that fight. That small recovery matters more in the mountain than it does in a single boss room. Quest cards can also disable grove fast travel while carried, so finish or return a quest card before planning a cross-realm jump.
After the Moors sweep, take the northeastern route into Valley of Desolation and continue to the final grove before Exorath. If health is already collapsing on the approach, do not spend the boss attempt hoping for a lucky draw. Farm the shorter Moors fights and return with a working sustain plan.
Exorath: attack the backs and bank damage for one turn
The first phase presents four Carapace targets. Every shell carries 12 HP and renews a 2-Block layer each turn. Rear attacks deal double damage, which makes movement and Backstab effects the intended way to beat their renewal. Avoid ending between the rear sides of multiple shells; their collapse can punish that apparently efficient position.
Once all four shells are gone, Exorath appears with 20 HP. The body remains open for one turn, then returns to the Carapace phase. Bank burst cards while circling the shells and spend them only after the body appears. If the shell Block keeps resetting, stop attacking the front. If the body recloses with your strongest cards still in the discard pile, use the next shell cycle to prepare rather than rushing it.
Enter the Howling Mountain only when the encounter stretches are sustainable
The mountain can be entered after Cantharsis, but the reliable campaign order is to finish all four realm Great Spirits first. The mountain is a gauntlet rather than another exploration loop. Its first grove comes after three encounters. Four more fights lead to the second grove, and five more lead to the third. Moon Eel waits just beyond that final grove.
Think in stretches, not individual victories. A fight that costs too much health can make the next four unwinnable even if the current board is technically cleared. At each grove, craft before resting, choose the realm Overwhelmed effect that supports the next stretch, and decide whether the sustain plan can survive the full count. Crystallized Ox Heart helps by returning some battle damage without forcing an immediate grove reset.
If Ro reaches critical health midway and another threat marker remains active, retreat while the last grove is still a useful boundary. Repeating a short stretch with a revised deck is cheaper than dying after the fifth fight and learning nothing about which encounter consumed the run.
Moon Eel: four eyes, three turns, six Roe
Do not begin on the center tile between the pincers. The Moon Eye laser owns that line until the four Small Eyes have been destroyed. Remove all four side eyes first. Their disappearance is the observable permission to move into center and attack the Moon Eye, the only target that reduces the boss’s health.
After three turns of Moon Eye attacks, the arena exposes six Roe, three on each side. All six must die in a single turn; any survivor becomes a Spirit and complicates the next cycle. Ordinary ranged cards cannot solve the split by themselves. Carry teleport movement such as a leap, or damage that does not require line of sight, and reserve it for this phase instead of spending it on the four eyes.
The Small Eyes reform after the Roe turn. Leave center, rebuild the four-eye opening, then earn another Moon Eye window. If the laser still fires, at least one Small Eye remains. If Roe become adds, the failure was action coverage across the two sides; save the cross-arena tools for the next reveal rather than adding more ordinary damage.
Sorg: reassess after every single action
Defeating Moon Eel moves directly into Sorg, but Ro begins the second fight with health restored. Sorg is a 30-HP target that does not heal. The unusual rule is tempo: every card play or one-tile movement also advances Sorg. A planned three-action combo can therefore become unsafe after its first card.
Read the red danger tiles again after every action. The lateral pattern covers horizontal and vertical lanes; the slam threatens the surrounding tiles. When you press End Turn, Sorg teleports and deals a smaller unavoidable hit that can be absorbed with Block. Keep an exit square available before attacking, and do not queue the next move from stale board information.
Sorg’s HP only moves downward while Ro stays out of the newly marked lanes. The dangerous moment is the second action of a planned sequence: the safe tile may no longer be safe after the first card. Break the sequence, read the board again, block when required, and spend burst only from a square that still has an exit.
Keep that one-action rhythm until Sorg’s 30 HP reaches zero. Ro enters this fight healed, Sorg never restores health, and the board redraws danger after each card or step; those are the final checks for the base-campaign route covered here. Do not speed up for the last hit. If the new lane is unsafe, move or block first, then take the next damage window.
The verified retail page is Death Howl on Steam.