
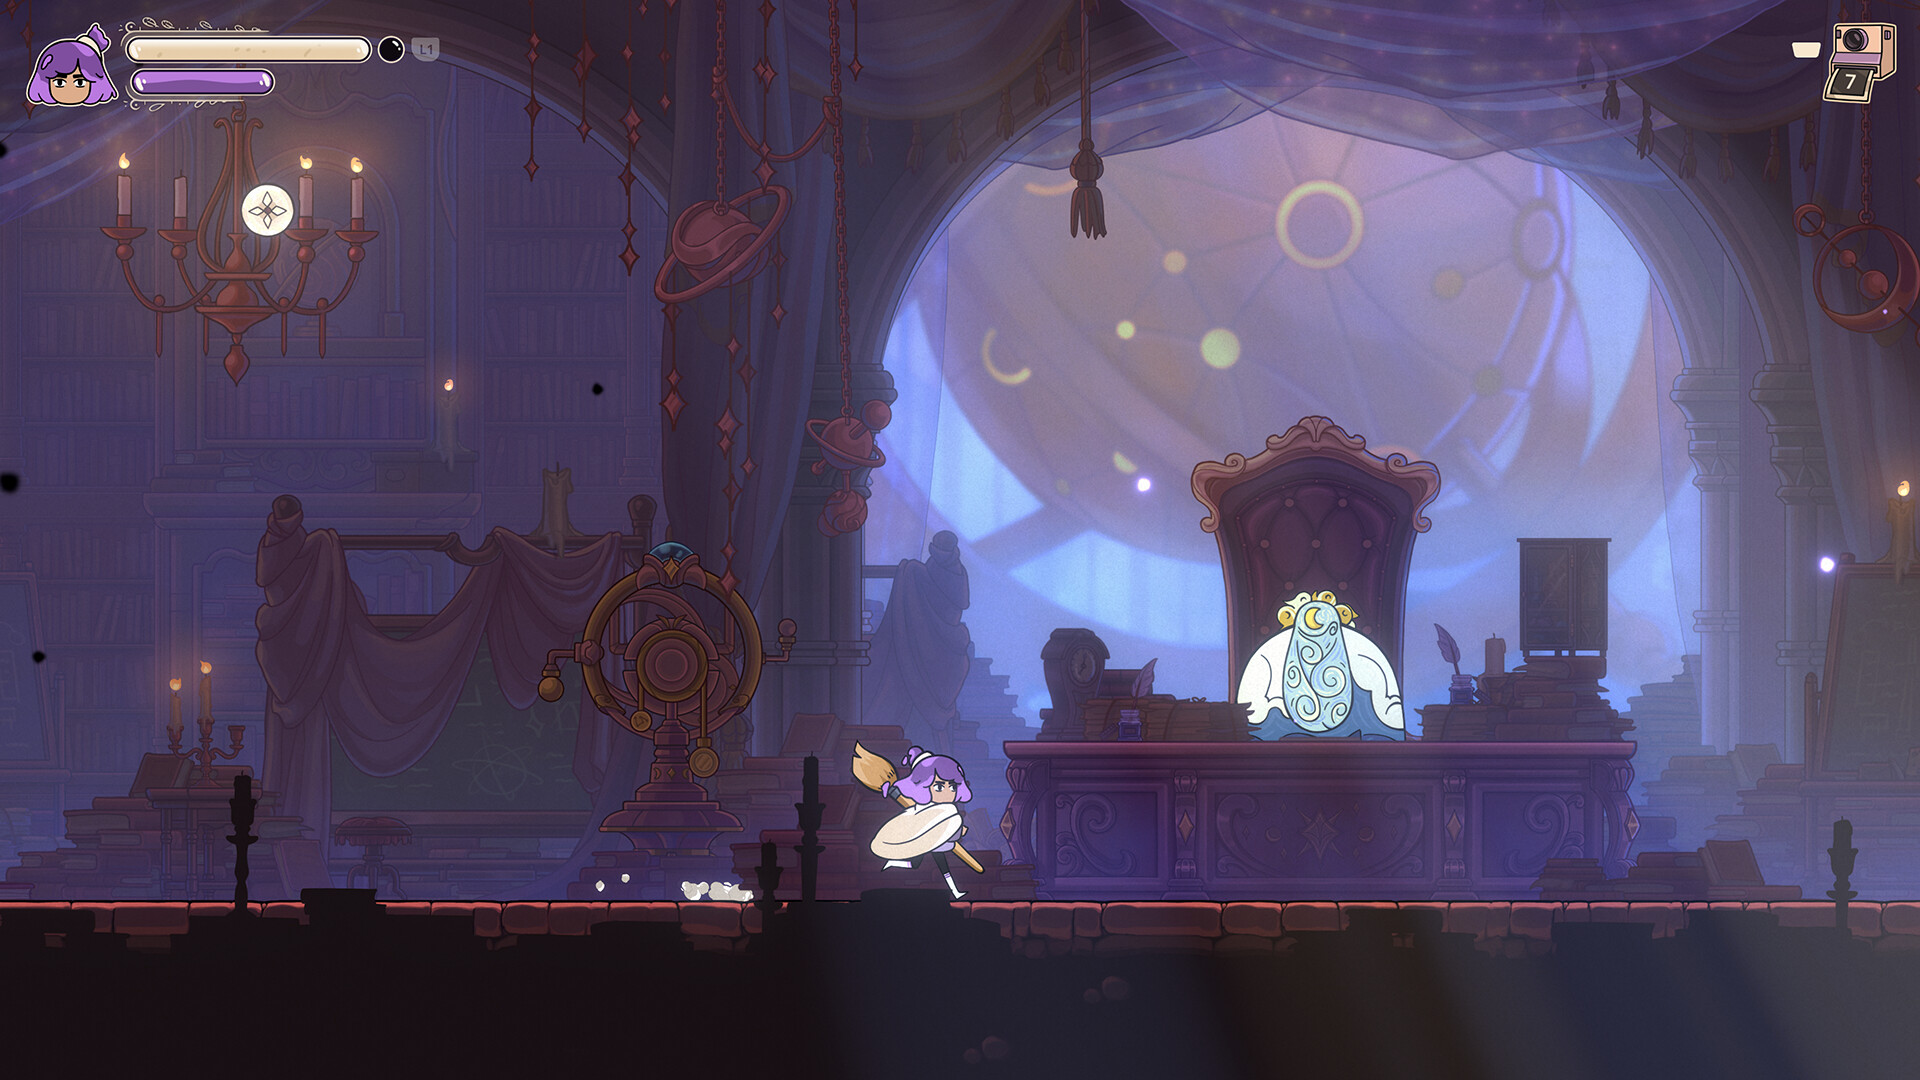
Route checked on August 9, 2026 against the Steam PC build through Patch 1.1.2. This walkthrough follows the required story path from the Paintbrush to the departure train. It does not claim every collectible, Favor, Inspiration, or achievement.
For the separate completion task, use the Constance achievement roadmap.
The short route: get Paint Dive in the opening Vaults, take Paint Stab from Floral Foundry, power both pipes and defeat Brian for the Tear of Resurgence. The next three Tear branches can be completed in different orders; the route below goes Astral Academy, Vanishing Vaults, then Chaotic Carnival so each new movement tool is learned before the finale. Return all four Tears to Frida, clear the three marked Void chambers, defeat Constance, and board the train in Janky Junction.
Patch 1.1 matters. The chase now has an unlocked camera and adjusted timing. Jester and Jester Encore now expose attackable cards in every pattern, and Encore’s cards are visible. Lord Koba and several other bosses also received timing or presentation changes. If an older guide tells you to read invisible Encore cards or treats the chase as a fixed on-rails sequence, that advice describes the pre-1.1 game.
Constance route map and required abilities
| Checkpoint | Required gain | Progress signal |
|---|---|---|
| Opening Vanishing Vaults | Paintbrush, Paint Dive, Map | The Citadel objective appears in Janky Junction |
| Floral Foundry and Citadel | Paint Stab, Lifeline | Brian awards the Tear of Resurgence |
| Astral Academy | Paint Stroke | The album sequence awards the Tear of Relation |
| Vanishing Vaults return | Wall Dive | Lord Koba leads into the Tear of Remembrance |
| Chaotic Carnival | Plunge | Cornelis awards the Tear of Reflection |
| Frida and the Void | Visage of Hope | Three Void victories start the final fight |
Paint is both a movement resource and a risk gauge. Paint Dive, Paint Stab, Paint Stroke, Wall Dive, and Plunge solve different gates; repeatedly forcing a Paint technique after the meter is exhausted costs health. When a route seems mechanically possible but keeps killing you, the problem may be resource timing rather than the direction. Reset at the nearby Shrine, identify the one required technique, and leave enough Paint for the final input.
Opening: Paintbrush, first Shrine, and Paint Dive
At the broken bridge, do not keep trying the gap. Drop to the lower route, climb the floating platforms on the right, and continue through the cave and storm. The purple bud platforms close when lightning strikes, so the safe cue is the bud reopening, not the flash itself. Speak to Frida at the end to receive the Paintbrush.
In the first broad chamber after Frida, descend to ground level and strike the wall on the left. The hidden passage climbs to a lever that opens the door on the right. Clear the arena beyond it; the golden side doors release only when every enemy is gone. In the green-spring room that follows, take the bottom-left exit. The prompt to descend through a platform is the route marker. Frida and the first Shrine wait after the diagonal-moving enemies.
From that Shrine, go west through the thorn-filled path and activate the easel to learn Paint Dive. The training loop brings you back to the Shrine. A nearby optional Paint Flask requires starting from the higher ledge before diving through its gap, but the story route only needs you to return to the Shrine, dive through the thorns, and speak to Quip for the Map.
Cross the glowing thorns to reach Janky Junction. Descend into the starry chamber, then climb northeast through the hub. Ignore the black-and-yellow barriers for now; they belong to a later ability. Rest at the upper Shrine and clear the arena on its right. Neolardo marks the Citadel objective, but the local elevator is broken. The correct continuation is left from the level above the Shrine, then north into Floral Foundry.
Floral Foundry: power both pipes
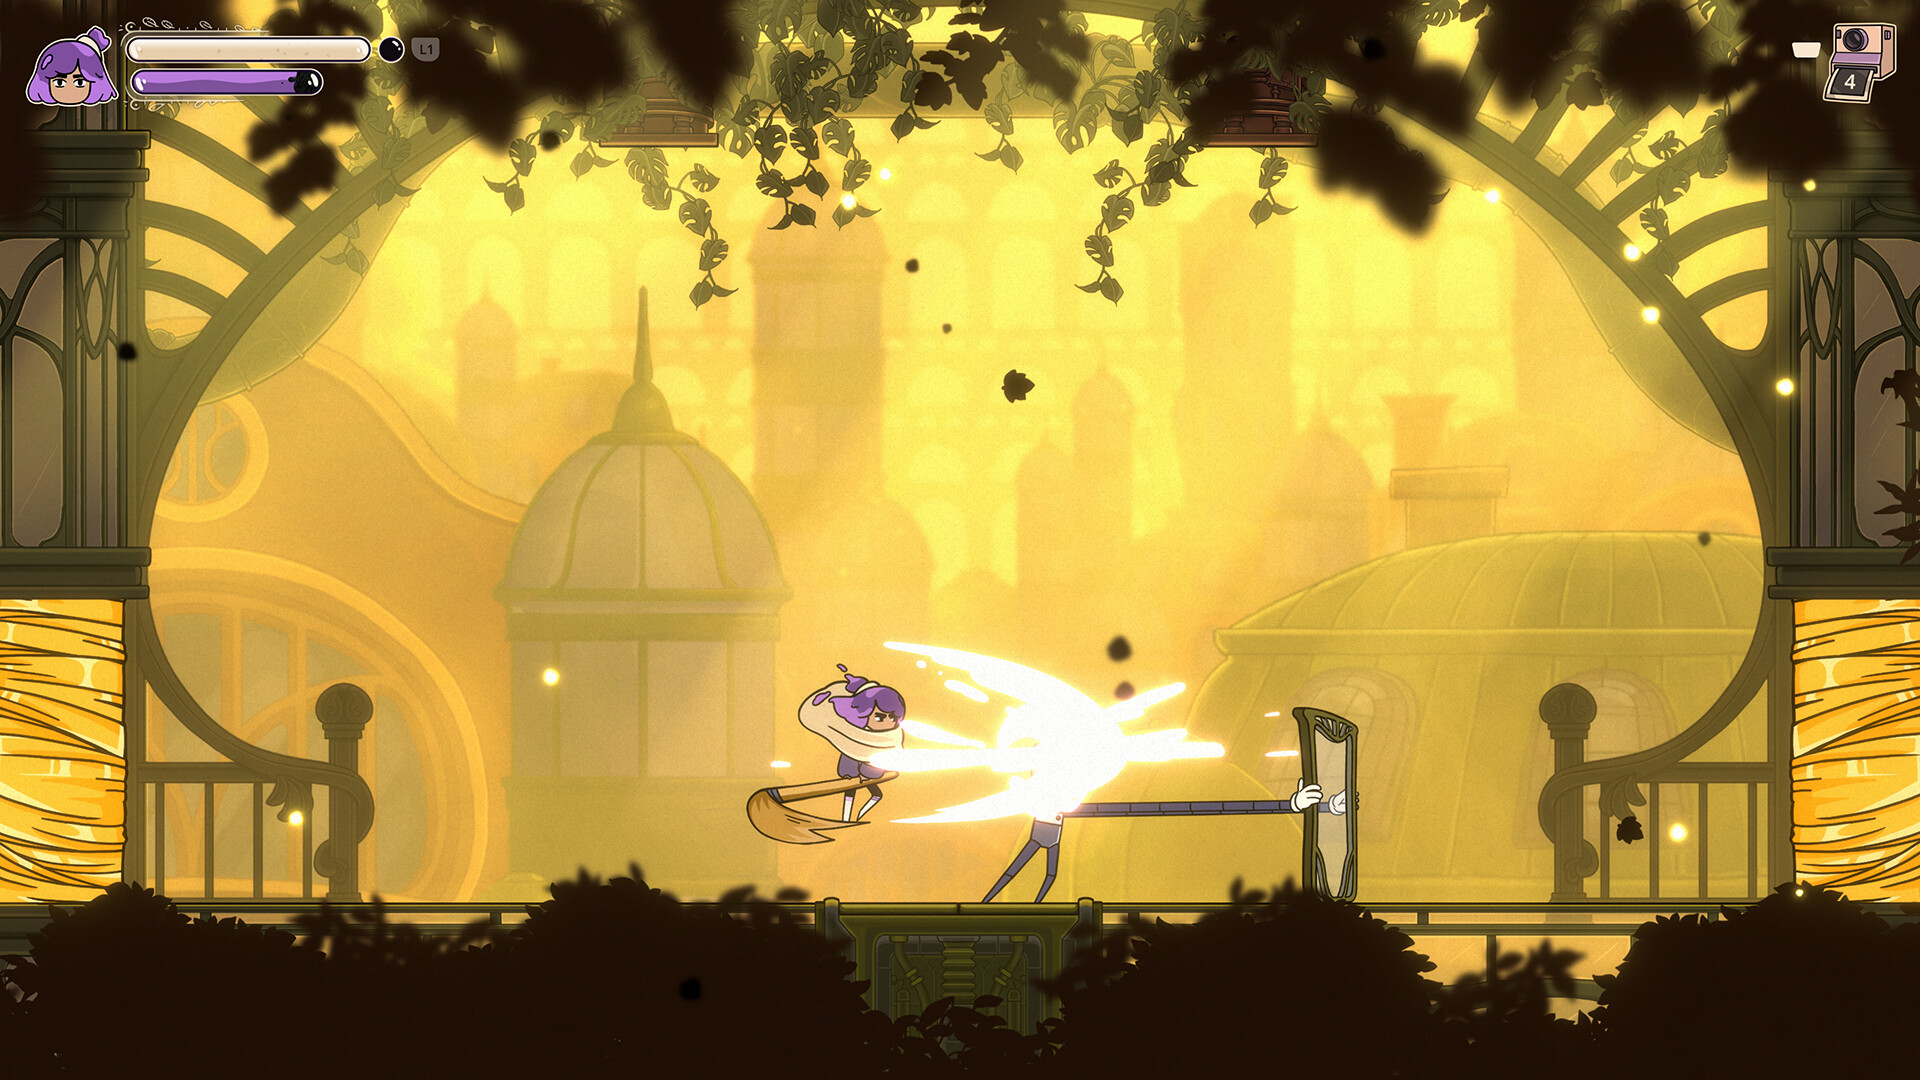
Meet Robert near the Foundry entrance for the Camera, then stay on the main path until the Greenhouse easel. It grants Paint Stab, the directional strike that breaks Corruption barriers and activates distant switches. Loop left and down from the easel to reopen the route beside it.
The first important timing gate has two buttons wired to a door. Hit the bottom button first and the top button second so their active windows overlap. If the door closes before you reach it, do not reverse the order; restart from the bottom button and shorten the delay between Stabs. Beyond the cogs is a Shrine beside an elevator with two unpowered pipes.
Right pipe and Cubicus
Take the right branch and use Paint Stab to clear the Corrupted floors and walls around the saws. The glass-carrying robot is protected from the front; wait for it to turn, attack its exposed side, and use the upper platforms to avoid the push. Continue upward and west until a descending chamber curls into a shortcut lever. Open that shortcut before dropping into Cubicus.
Cubicus is not a constant-damage fight. During the off-screen sequence it slams three times; the pause after the third landing is the reliable punish window. Below roughly half health, a Corruption shield appears and regenerates after a short interval. If normal hits stop moving the health bar, spend the window breaking the shield first. After the victory chest, enter the room on the left and activate the exposed pipe. Visible paint flowing toward the elevator confirms the right side is done.
Left pipe and the Citadel elevator
Return to the elevator; the left door is now open. Climb past the Corruption cannons. At the three-button door, trace the wires before attacking: trigger the longest route first, then the shorter routes so all three arrive together. An optional side path beyond this door contains a Paint Flask, but it is not required.
Deeper in the branch, use the lever beside the large background painting. This shortcut is your recovery point before the lower cannon arena. Clear that arena and activate the second exposed pipe. If the elevator remains dead, one pipe was not actually triggered; follow the visible pipe lines back rather than replaying both branches. With both flowing, select Foundry Citadel.
Brian and the Tear of Resurgence
Brian stays inside its machine until the arena’s three buttons are active. First avoid the four Corruption volleys, then watch the charged electrical reticle. Dash just before the charge completes. When electricity remains on the floor, hit one button and return to defense. Trying to take two buttons in one window is the usual reason this phase collapses.
After all three buttons light, Brian emerges and can be damaged. When most of the arena electrifies, move to the single safe section instead of trying to tank the pattern. The later cycle combines walls, cannons, enemies, and a saw, but the win condition is unchanged: survive until the electrical sequence, press the buttons, then attack the exposed Brian.
Victory awards the Tear of Resurgence. After the story scene, the objective divides into three other Tear branches. Visit the elevator before leaving; it grants Lifeline. Lifeline is especially useful when a later fight asks for repeated Paint Stabs, but it does not remove the danger of emptying the Paint meter.
Astral Academy: Paint Stroke and the Tear of Relation
From the Shrine by Clara and the shop in Janky Junction, descend through the gap on the left and head southeast. Paint Stab clears the Corruption doorway. In the next vertical rooms, favor the lower route, then the door on the right; the left arena is optional. Continue downward through Astral Academy until the first Shrine and its inactive white circles.
Keep descending until the large room with diagonal projectiles and fire enemies. Climb through its northern door, drop in the adjacent room, pass the giant telescope, and activate the easel for Paint Stroke. White circles now launch Constance, but direction depends on where she stands: the burst sends her away from her position relative to the circle. If a circle repeatedly fires you into a wall, change sides before changing your timing.
Use the circles to reach the lever, then take the central route to the elevator and Shrine. Vincent waits above and needs two sheets. Follow his upper-left route, clear the arena path, open the shortcut beside the next Shrine, and enter High Patia.
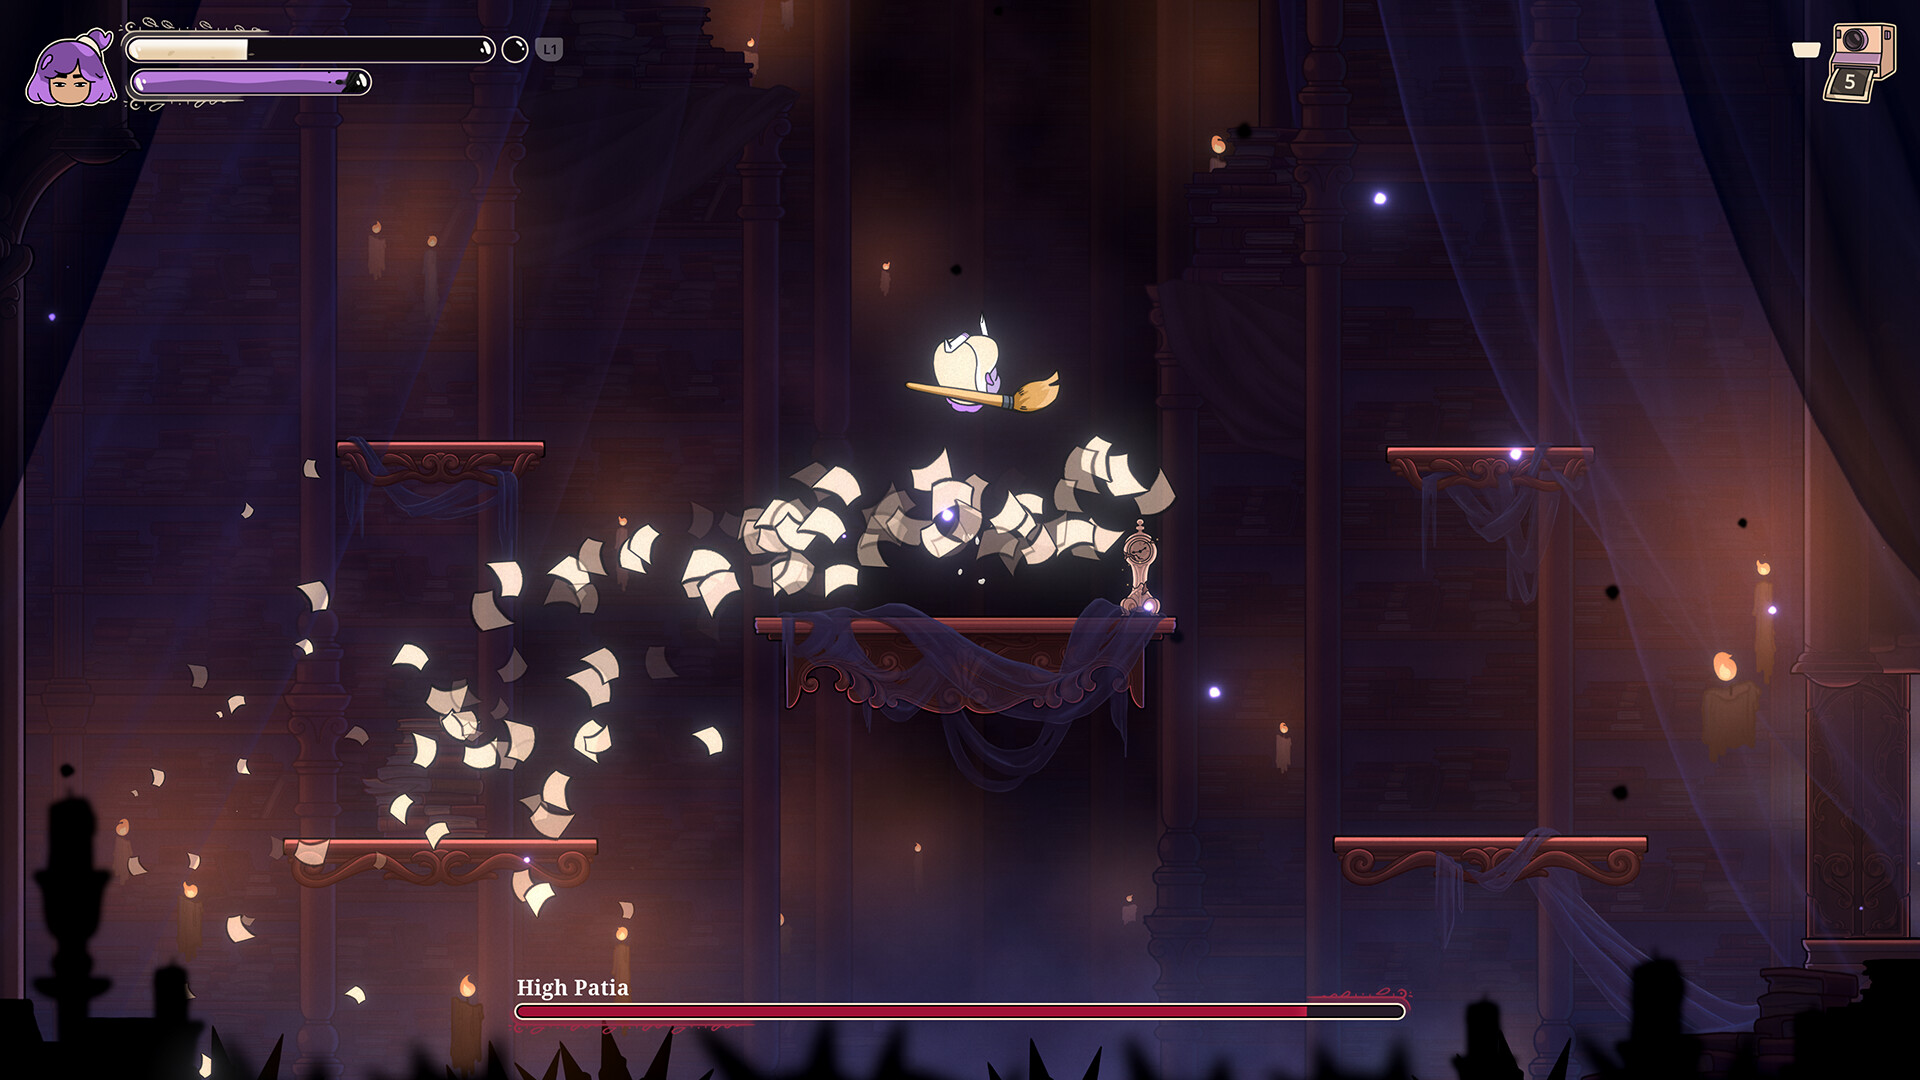
High Patia can be struck during the normal rotation, but the decisive check comes when the boss hangs from the ceiling and begins healing. Patch 1.1 made this heal clearer. Use Paint Stroke on the launch circles and connect before too much health returns. If the fight feels endless, the problem is the heal interrupt, not low damage. Preserve the breakable health objects until you actually need them, then return the first sheet to Vincent.
For the second sheet, take the northwest route above Vincent. In the portal rooms, Paint Stroke toward the ceiling after a conveyor-like warp catches you, and dash through the thorn gaps where required. A lever midway down the later chamber opens an optional Shrine. The route continues through the bottom exit to Awe King.
Awe King stops its portal projectile sequence when you use the portals to reach it and land one hit. That interrupt creates the damage window. When beams cover the upper or lower half of the arena, use the portals and Paint movement to stay on the open plane rather than chasing from the floor. Return the second sheet to Vincent after the fight.
The following chase was reworked in Update 1.1: the camera is unlocked, the level timing is fairer, and the boss can be outrun. Use every learned movement tool, but treat a failed landing as a local timing error, not proof that an old fixed-camera line is mandatory. The end of the chase leads to the photo album. Match each photo by the sketches on its exterior; if the album does not advance, recheck those visible marks instead of filling empty spaces by shape alone. Completing the sequence awards the Tear of Relation.
Vanishing Vaults: Wall Dive and the Tear of Remembrance
Enter the western Vault branch from Astral Academy or descend from the Citadel. Speak to Emilie, investigate the trash on the left, and accept the fall. Talk to Bertram, then travel all the way right for the easel that grants Wall Dive. Use it on the left wall to escape the pit and loop upward through the slime rooms. The Shrine and elevator before Sir Barfalot are the confirmation that the recovery loop is complete.
During Sir Barfalot’s first pattern, either pop or avoid the explosive bubbles and attack between the boss’s jumps. When green goo fills the floor, climb the walls into the middle and wait for the liquid to descend before committing. The armored phase is a survival check: evade the side waves and the boss’s reappearances until the earlier damage pattern returns.
Beyond Barfalot, Warp Boxes can move along their highlighted directions or carry Constance through a route. Use them to open the yellow doors and hit the shortcut levers. If a corrupted tablet touches you in the water rooms, the section resets; that is a speed failure, not a missing item. Respawn the box from the floor button after opening the internal lever when that produces a cleaner line to the upper exit.
Lord Koba is a mechanism fight. Wall-jump above the opening slides and survive the bubbles and adds until a Warp Box enters the arena. Move the box across an eye and drop it there. The arena fills with goo and the eyes become the damage targets. When three eyes settle, electricity covers the floor except for one safe space, so drop the box and dash clear. Patch 1.1 changed Koba’s timings and some attacks, but the stable check remains the same: if the boss health does not move, you have not begun the eye phase. Victory leads through the musical flashback to the Tear of Remembrance.
Chaotic Carnival: Plunge, three Eyes, and the Tear of Reflection
The Carnival lies east through Astral Academy. Follow the linear approach to the carousel, speak to Cornelis, and rest outside the first tent. In the current build, Jester’s cards can be attacked in every pattern. Keep moving through the suit attacks, use Paint Stab on the card targets, and damage Jester when it appears. Do not wait for the invisible-card cue described by old guides; Update 1.1 removed that state from Encore.
After Jester, the next easel grants Plunge, a bounce from enemies and hazards. Activate the Carnival elevator, use Plunge on the red balloons, and enter the first Manipulator fight. Destroy one rabbit branch at a time so its copies do not fill the arena. Balloon sharks can be cleared for space but are not the phase target. When red exploding balloons fall, Plunge upward and hit Manipulator once to knock it down. Repeat through the faster balloon animal patterns, then activate the first Eye outside.
Continue to Jester Encore. Its cards are now visible, and every pattern can be attacked; focus on surviving long enough to strike the exposed target rather than searching for the old sparkle-only tell. Activate Eye two after the fight. At Manipulator Encore, the large falling hazards are a waiting phase. Attack when the boss descends to mid-arena height, evade the circular fire stream, and punish the next descent. Activate the third Eye beside the Shrine and twisting slide.
Cornelis opens with wall-to-wall slams that send spikes along the ground. Wait for the impact, Plunge from the hazard to clear the shockwave, and take one or two hits rather than extending the combo. When the boss becomes a tornado, bounce from the spiky rocks and strike from above. The later tear patterns favor Paint Stab and constant movement; wait for Cornelis to reappear before spending Paint. The final phase combines the slam and tear signals. Defeating Cornelis awards the Tear of Reflection.
Four Tears to the three Void chambers
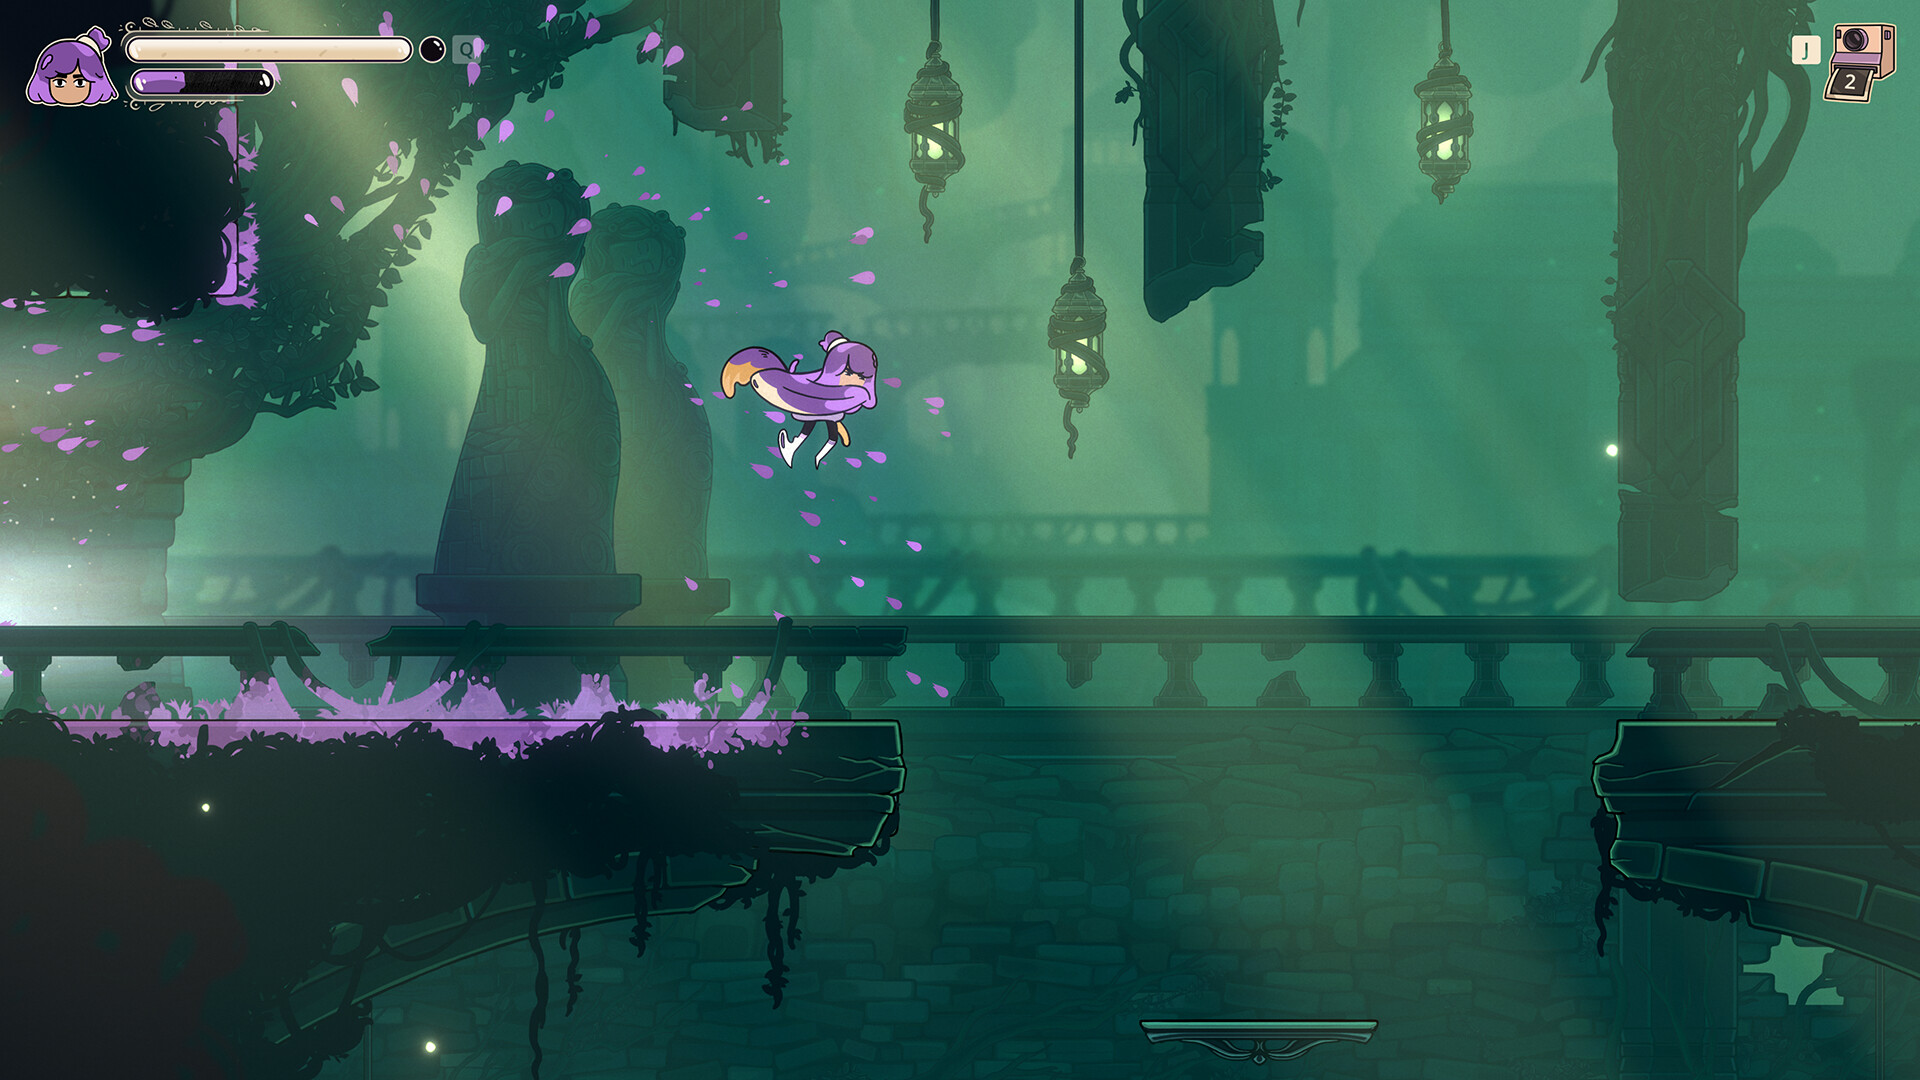
With Resurgence, Relation, Remembrance, and Reflection recorded, return to Frida in Vanishing Vaults. After the scene with Neloardo, walk left in the dark tunnel and take the Visage of Hope. It prevents the drained Void regions from simply consuming your health. Three chambers are now marked: Citadel, Astral Academy, and Chaotic Carnival. Their order does not matter.
Corrupted Mind at the Citadel
The entrance is left of the Citadel elevator. The platforming check uses Plunge and Paint Stab. During the fight, dodge individual orbs, then use an upward Paint Stab against the horizontal orb lines. When Corrupted Mind crawls across the arena, stab the boss and the Corruption puddles it leaves. If the floor becomes progressively unusable, you are preserving damage on the boss but ignoring the puddle-clearing part of the cycle.
Wounded Vessel at Astral Academy
The chamber is at the bottom of Astral Academy. Reach it with Wall Dive, Plunge, and Corruption clearing. Unlike many earlier bosses, Wounded Vessel can be damaged throughout the fight. Keep pressure on during the alternating fist slams, move with the falling debris after the center punch, and Paint Stab through the missile phase. When the boss pulls debris sideways, Paint Dive through the dangerous line instead of racing it on foot.
Forsaken Will at Chaotic Carnival
The final chamber is at the bottom of the Carnival and tests Plunge, Paint Stroke, and the teleporters. In the arena, the spawned enemies are not distractions: hitting Cubicon, the ghost, and the later Void target damages Forsaken Will. When the room turns into a laser field, move into or Dive through the larger safe opening. If the main health bar seems frozen, stop attacking empty space and switch to whichever damageable enemy is currently present.
Final Constance fight and ending trigger
Clearing the third Void immediately starts the final fight. The first cycle repeats the three patterns you just learned, so use the same diagnostic rules: clear Corruption, maintain pressure on the always-damageable phase, and strike the spawned targets between laser fields.
After those three phases, the platforms disappear and the floor becomes a set of Plunge hazards. Bounce from them to reach Constance and deal damage. The boss later retreats into a vertical ascent; keep climbing and striking until it falls for a larger punish window. The pattern then repeats with a changed laser during the Plunge section. If the boss becomes unreachable after the floor change, the hazards are launch points, not ground to avoid completely.
After the victory cutscene, Constance returns to Janky Junction. Exploration is still possible, so the cutscene alone is not the ending input. Approach the waiting train and interact with it to depart and roll the ending. Once that interaction starts the ending, the route is complete; the verified PC release is listed on Constance’s Steam page.