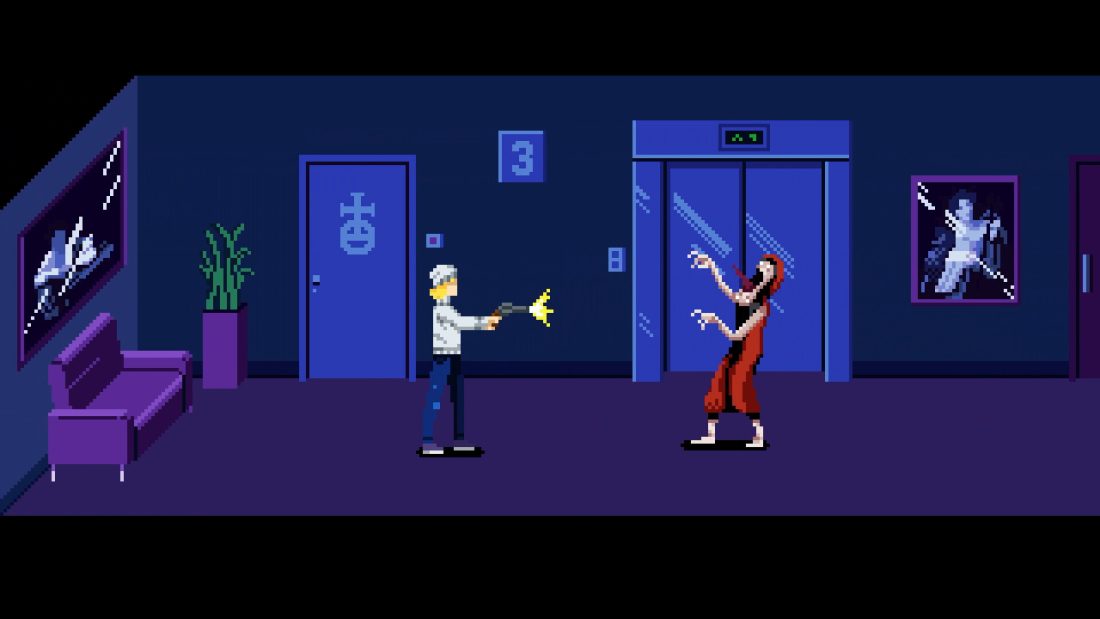
Open Apartment B on Floor 3 with the Apartment Key, then make Auritsatio from blood, developing chemical and sunlight to dissolve the Study seal. Keep the Old Book: it records clues for the changing puzzles, and its later pages explain how to make the weapon needed for the finale.
This Tenebris Somnia walkthrough follows the main route through both versions of the apartment, the film school and Desiderium. It includes the two main final bosses and the two endings available after finishing both main branches. Puzzle solutions and ending conditions follow below.
Floor 3: dissolve the Study seal
The opening elevator ride ends on Floor 3. Take the door to the right into Apartment B, using the Apartment Key when Ivan does not answer. Pick up the Old Book beside the Bedroom entrance. Page 9 is readable even though most of the book is not.
Collect the Glass from the left bedside table in the Bedroom. Take Developing Chemical from the Kitchen refrigerator, then pull back the Bathroom shower curtain to find the Wrench. Stand at the broken Bathroom mirror and use the Glass to collect blood. Combine Glass with Blood and Developing Chemical in your inventory.
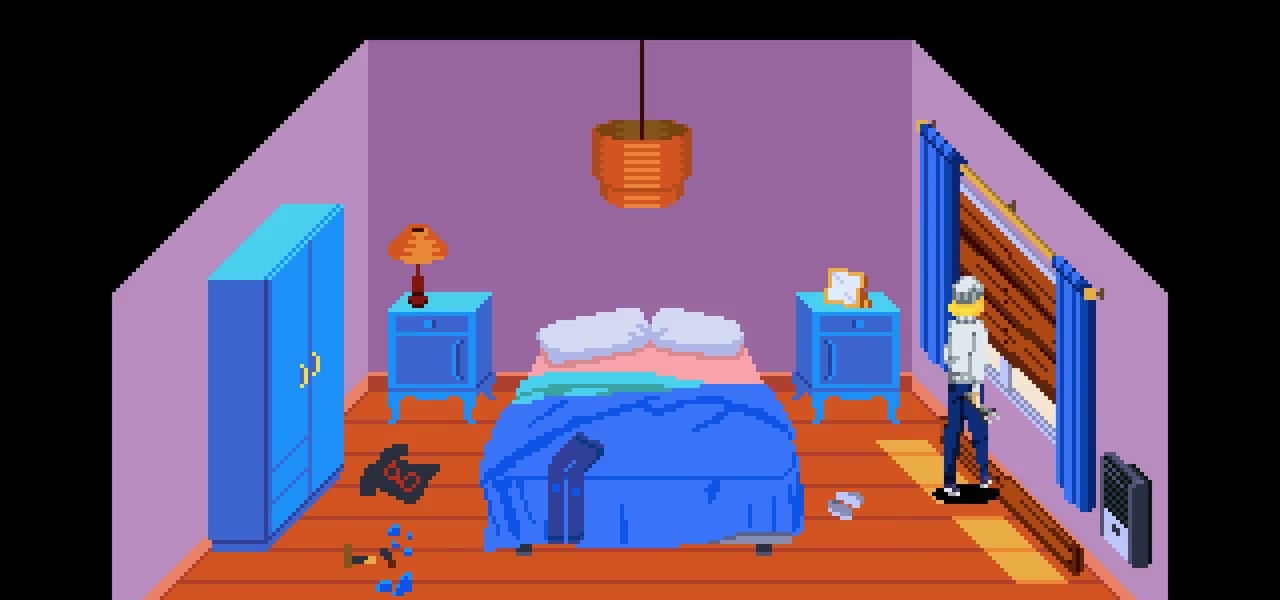
Return to the Bedroom, open the curtains and strike the lowest window board with the Wrench. Use the blood-and-chemical mixture beside the sunlight coming through the gap. The resulting Auritsatio dissolves the red seal on the Study door.
Inside the Study, save at the flame on the left. Inspect the powerless TV Remote, discharged Cellphone and writing on the wall; Julia takes the Green Candle. When you return to the Living Room, the other doors have changed. Collect the healing bottle beside the bookcase, approach the apartment exit and defeat the creature that enters after the cutscene. Leave for the elevator and descend to Floor 2. The next scene gives Julia a Lighter.
Floor 2: restore the TV and enter the A.S. studio
Defeat the hallway enemy and enter Apartment B on the right. Collect the X-Ray near the bookcase and the Scissor Blade from the Kitchen counter. The Floor 2 Study contains a chest with a Revolver, ammunition and the first Film Canister. Search the clothes rack in this same Study for the Glove.
The TV puzzle needs two Batteries. One is behind the Bathroom shower curtain, where an enemy ambushes you. The other is inside the running washing machine. Use the Glove at the Kitchen fuse box to cut the power properly, then take the Battery from the stopped machine. An ordinary attempt at the fuse box does not stop it.
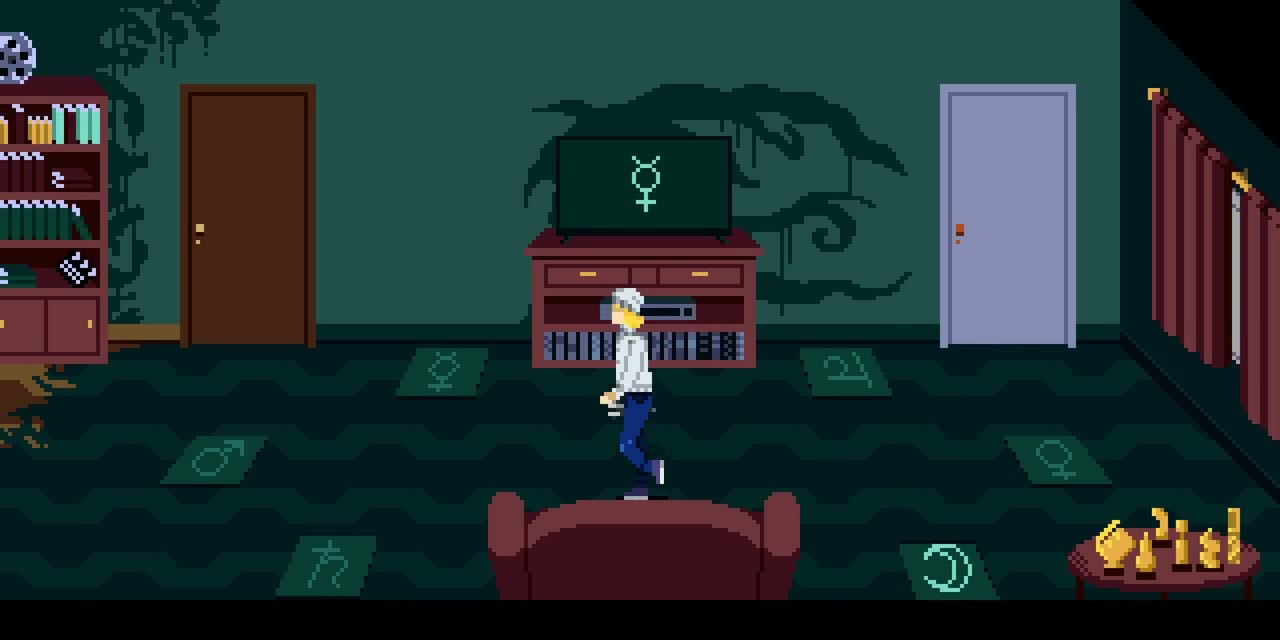
Bring both Batteries to the TV Remote in the Floor 3 Study. Use each Battery at the remote, then interact with it. Return to the Floor 2 Living Room and watch the symbols on the TV. Step on the matching floor plates in that order to unlock the Bedroom. The sequence changes between games, so copy the TV rather than a screenshot’s particular arrangement.
Speak to Sanguis in the Bedroom and collect the healing item he offers. Climb through the window beside him. You cannot take the Red Candle yet, but you can take the blue Triangular Stone lying nearby. Return through the window, leave the apartment and use the stone on the blue door left of the Floor 2 elevator.
In the production-company lobby, approach the locked A.S. door. Slide the X-Ray underneath it, then use the Scissor Blade to push the key out of the far side of the lock. Retrieve the A.S. Key, open the door and follow the chair-lined corridor. Break the glass partition with the Wrench. The wooden door at the far end leads to the Director’s Office.
Save in the office and collect the other Scissor Blade. Join the blades to make Scissors. Cut a picture piece from each of the six cardboard figures along the corridor. Bring all six to the empty poster frame in the office. Rotate and fit the pieces to rebuild the Devora poster, then use the Lighter on the completed picture. Take the Bathroom Key revealed behind it.
Unlock the nearby Bathroom and collect the Mop Handle beside the sink. On your return through the long corridor, run past the pursuing crowd until you reach the lobby. Fighting through that chase only delays your exit.
Obscuratus, the Red Candle and the bar’s glass pitcher
Return to Sanguis’s Bedroom on Floor 2 and save before climbing through the window. Insert the Mop Handle into the rectangular slot beside the window, then operate it to close the blinds. This begins the Obscuratus fight.
Obscuratus disappears while the room’s candles are lit. Run to each burning candle and interact to extinguish it. Once every candle is out, the boss becomes visible and vulnerable. Shoot it during that opening, then resume extinguishing candles when it lights the room again. Attacking its invisible form wastes ammunition.
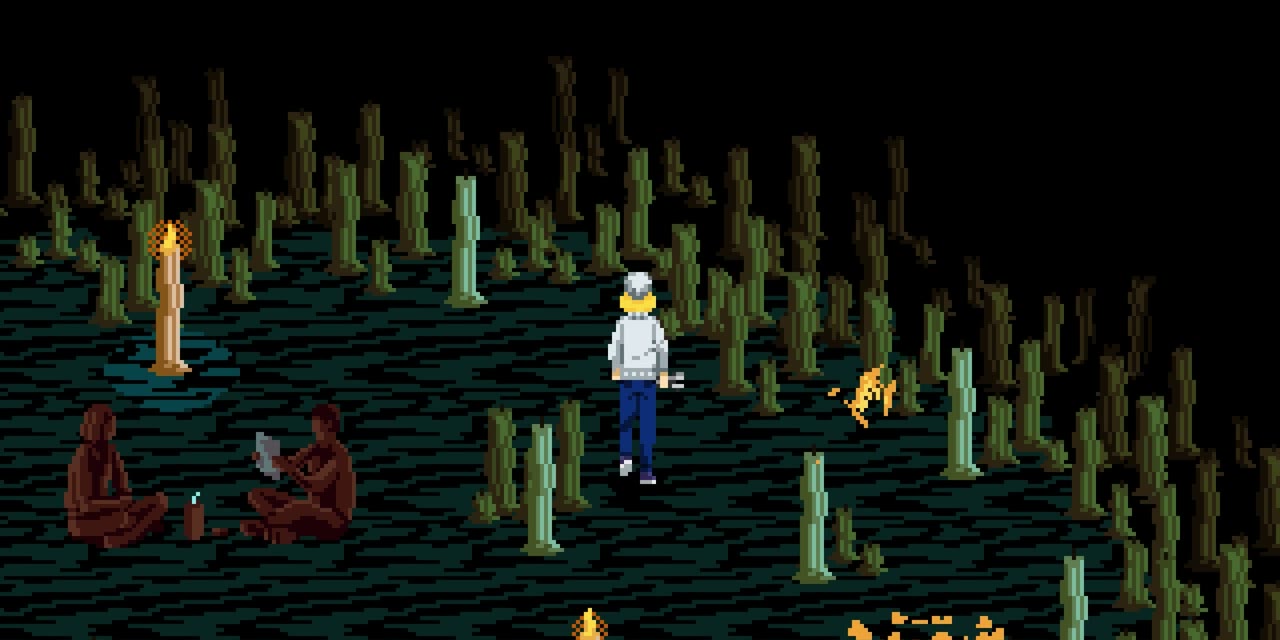
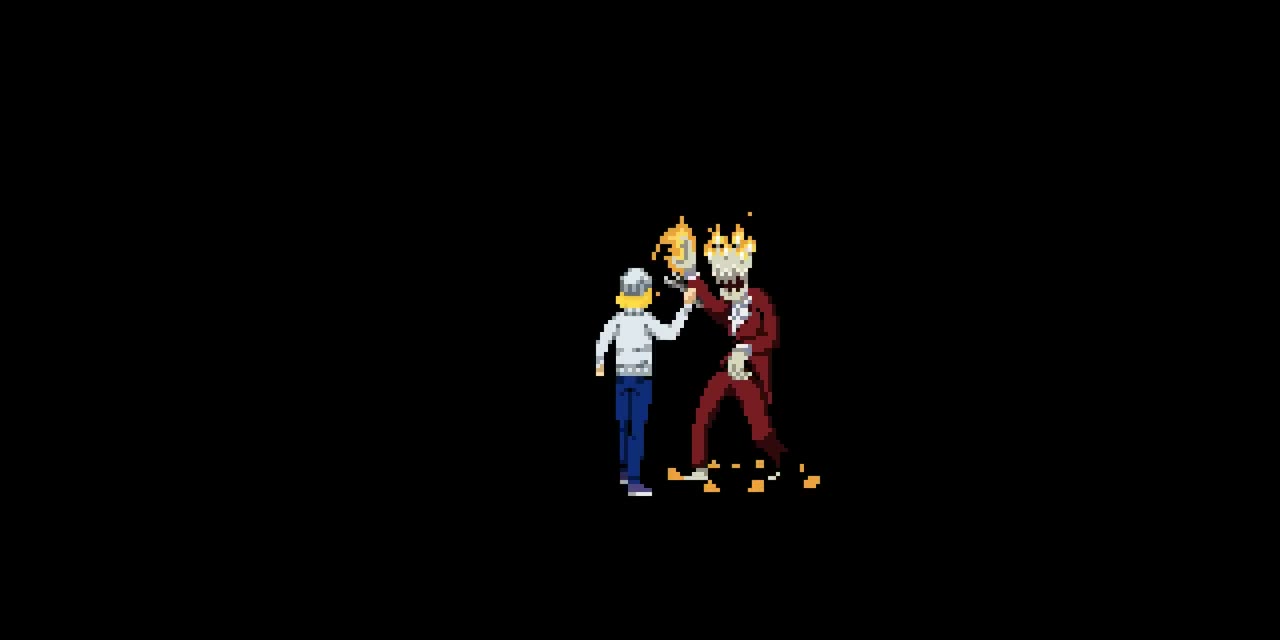
After the fight, inspect the remains and collect the Red Candle and Lapis Fictus Pill. Open the blinds to return to the Bedroom. Speak to Sanguis; he takes the pill as you leave. Combine the Red Candle with the Lighter and use the lit candle inside the elevator when you are ready to unlock Floor 1.
Before descending, use the Triangular Stone on the blue door left of the Floor 3 elevator. Outside, walk left toward the bar and pick up the Bottle on the outdoor table. Collect the other three Bottles inside: one from a table, one behind the counter and one from the Bathroom sink. Note the pipe fixed to the Bathroom wall. You can remove it after finding a Screwdriver.
Ring the bell at the counter and listen to its pitch. Use Bottles at the large glass pitcher to add liquid, then strike the pitcher with your Wrench to hear its tone. Empty Bottles let you remove liquid again. Adjust the mixture until the pitch matches the bell, then ring the bell to crack the glass. Strike the cracked pitcher and collect the USB Cable.
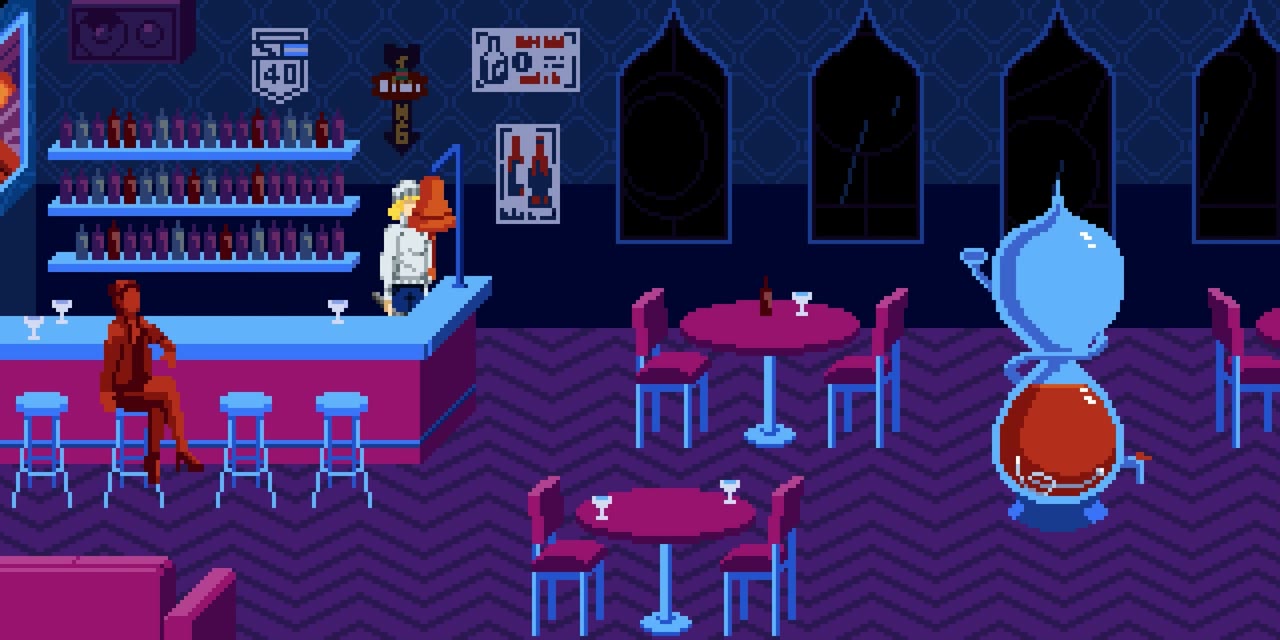
The required liquid amount is randomized. Keep the bell’s note as your reference while changing the pitcher, rather than treating a particular pair of bottle numbers as a universal solution.
Floor 1: the projector, dining table and White Candle
Use the lit Red Candle in the elevator, then travel to Floor 1. Move away from the bloated hallway enemy after killing it because its body explodes. The left-hand entrance, Door A, goes to the theater. Use Door B on the right for the dining-room film set.
Enter Door B and follow the passage into the dining set. Of the three doors along its north wall, the rightmost leads to a staircase. At the first landing, enter the side corridor and pick up Black Tape near the door with a hook. Continue to the top of the stairs for the USB Adapter beside the boarded door.
Combine USB Cable and USB Adapter into a USB Charger. Take it to the discharged Cellphone in the Floor 3 Study and use it beside the phone. Read the four-digit code and check the Old Book if you need it again. Return to Floor 1 Door A and enter that code at the locked projector-room entrance.
Pick up the Photo Roll in the theater lobby and the Screwdriver on the stairs to the projector. Use the first Film Canister at the projector and watch Devora’s first part. Down in the theater, the first box is now open. Take its Plate with X.
Back at the dining set behind Door B, put Black Tape over the upper-left plate, then place Plate with X in the empty position immediately below it. The middle doors open. Follow the passage behind them to the green Square Stone.
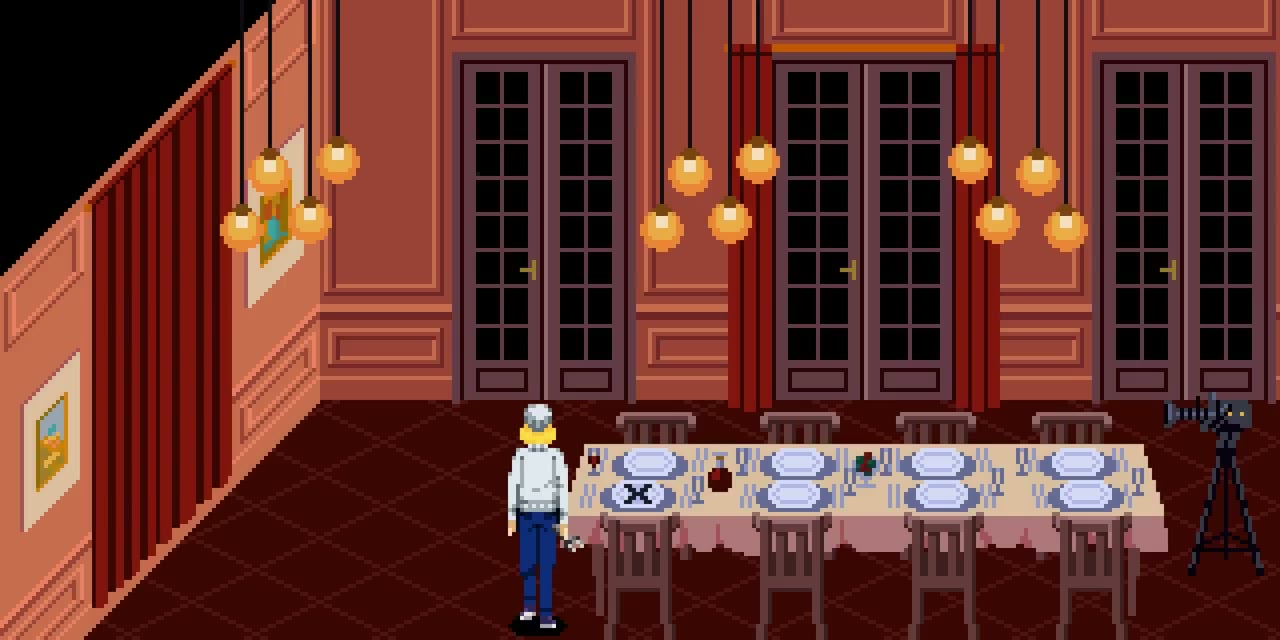
Use the Square Stone on the Bedroom door in the Floor 3 apartment and take the White Candle from the left bedside table. The right bedside drawer remains locked beside an empty photograph frame. On the way back, visit the Floor 3 bar Bathroom and use the Screwdriver to take the Iron Pipe from the wall. Light the White Candle and use it inside the elevator to gain access to Floor 0.
The film school: electricity, camera scenes and the Black Candle
At Floor 0, the glass entrance leads into the film school. Its own staircase connects classrooms on several storeys. The colored classroom doors are separate from the apartment building’s numbered elevator floors.
On the school’s ground floor, enter the blue Screenwriting classroom and collect Photo Paper. The green Cinematography classroom contains a Shotgun and a camera facing a TV, but the camera needs an RCA Cable. The red door at the far end is locked from the other side.
Take the school staircase up one storey. In the red Photo Developing room, remove the White Bulb from the lamp at the lower left. The room goes dark, so return to the doorway. Farther along the hallway, the green door opens into Equipment Storage, while the blue door leads to Film History. Note the green vase at the hallway’s far end and leave the Film History canister until you are ready for its curse.
- In Equipment Storage, turn on the lower-left switch and let the grille on the right rise completely.
- Switch it off again to stop the white cable’s current. Cross while the blue cable is between electrical pulses and reach the right-hand switch before the grille closes.
- Activate the right-hand switch to open the upper cabinet. Take the Piece of Cable.
- Use that piece at the upper-left switch, then activate the repaired switch.
- Return to the lower-left switch and activate it. The mannequin collapses, exposing the box with the RCA Cable.
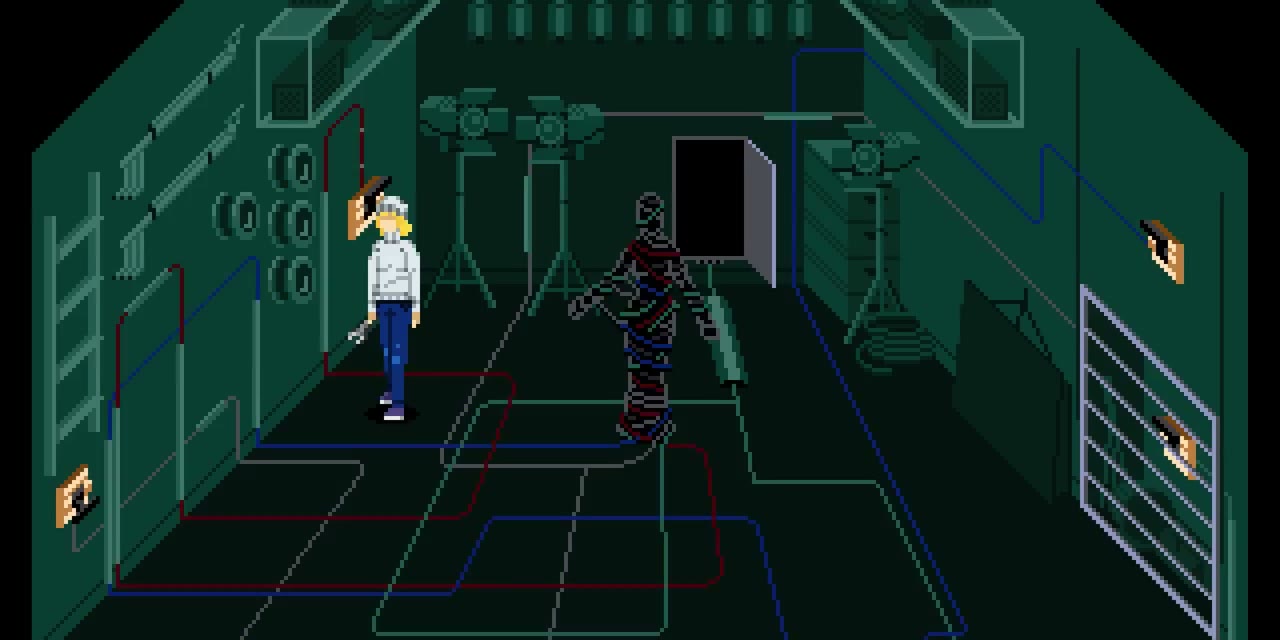
If the grille closes before you reach the right switch, return to the lower-left switch and raise it again. Switching off the white cable does not make the intermittently flashing blue cable safe at every moment.
Connect the RCA Cable to the camera in the ground-floor Cinematography classroom. Operate the camera again whenever you need a different scene on the TV. Complete the following actions as the relevant scenes appear:
- Stand in the white outline until it fills in.
- Break the glass where the TV shows a pane blocking the scene.
- When the blue bird lands on the branch, take the Copper Seed from its beak.
- Plant the seed in the green hallway vase upstairs and collect Copper Poppy Flowers.
- Return to the camera room and give the flowers to the kneeling figure when that scene appears.
- Keep changing the scene until a Copper Key is left on the chair. Pick it up, display the green doorway on the TV and use the key at the corresponding door.
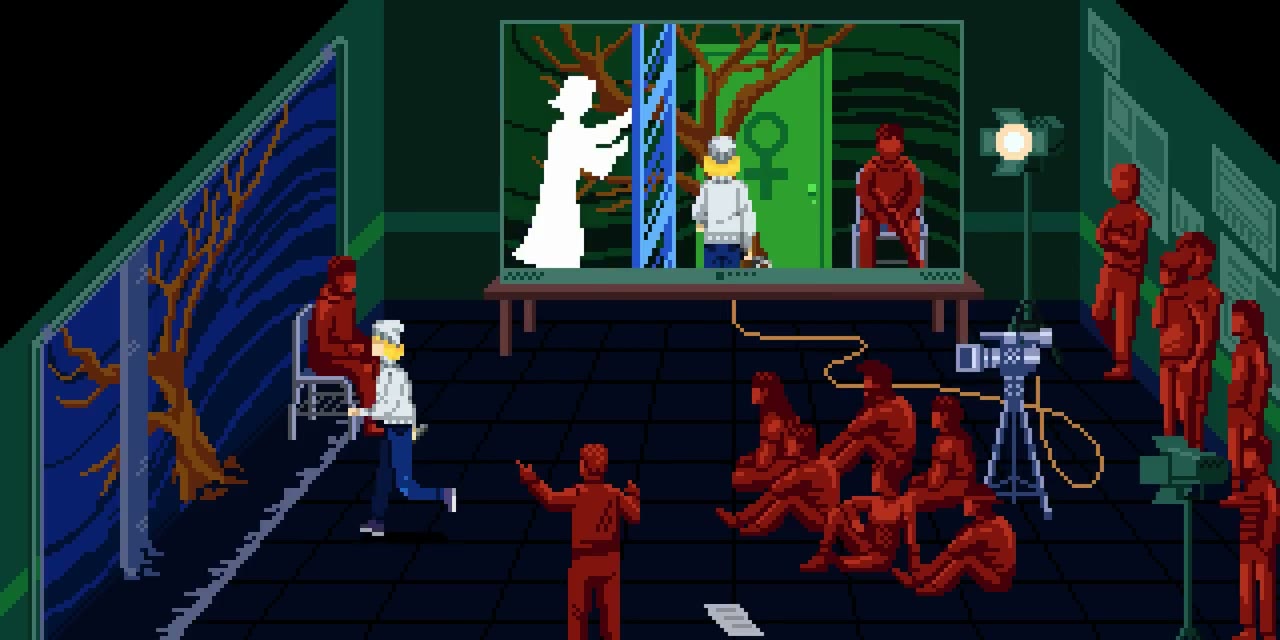
Beyond that door, move north through the dark TV room and interact to switch on its screens. Turn on the screens along the left side as well, defeat the enemy that appears and finish illuminating the room. Julia records the displayed color sequence in the Old Book. Collect the Black Candle before leaving through the southern door.
Reach Floor -1 and recover the second film
Light the Black Candle and use it inside the elevator. Follow the color list recorded in the Old Book, starting with its first entry. Visit the matching floors in order: blue is Floor 3, green is Floor 2, red is Floor 1 and white is Floor 0. After completing the colored-floor sequence, select Floor -1 when it appears on the panel.
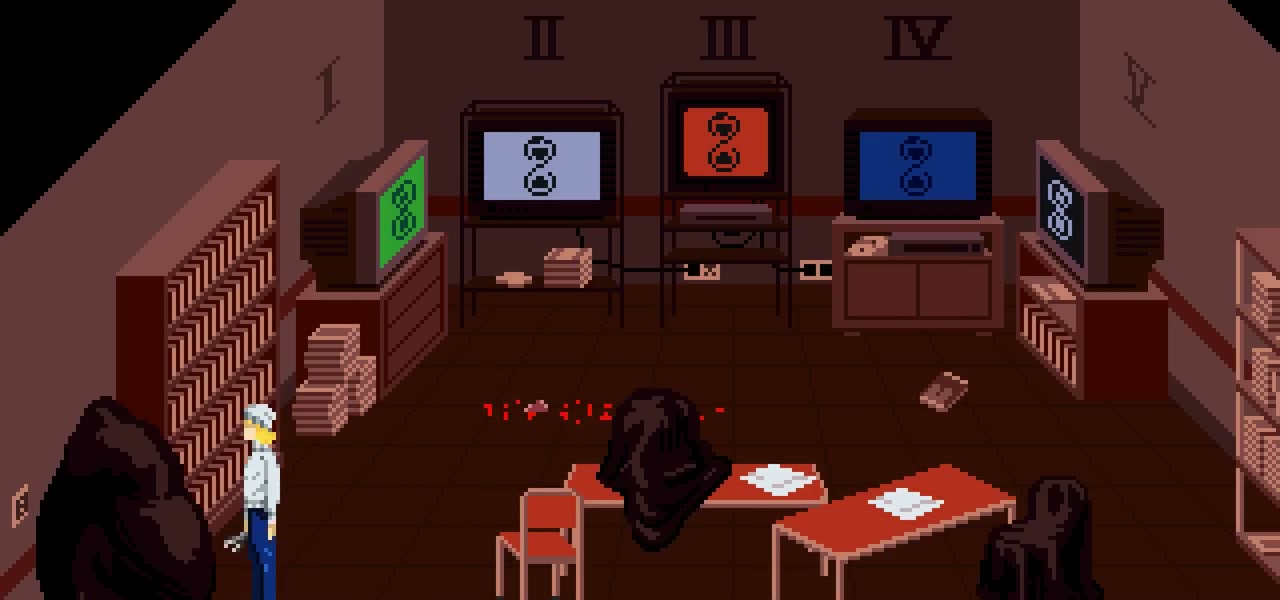
If the elevator does not reveal -1, reopen the Old Book and repeat its actual color order using those floor assignments. The sequence is randomized; a code taken from another playthrough can send you to the wrong floors.
On Floor -1, follow the passage to the right, smash the two glass barriers and push the round blocks to the right to open a gap through the corridor. Continue to the room containing Ivan as a child and collect the Film Canister beside him. Retrace the corridor to the elevator. It takes you back up; defeat the creature inside when it becomes active.
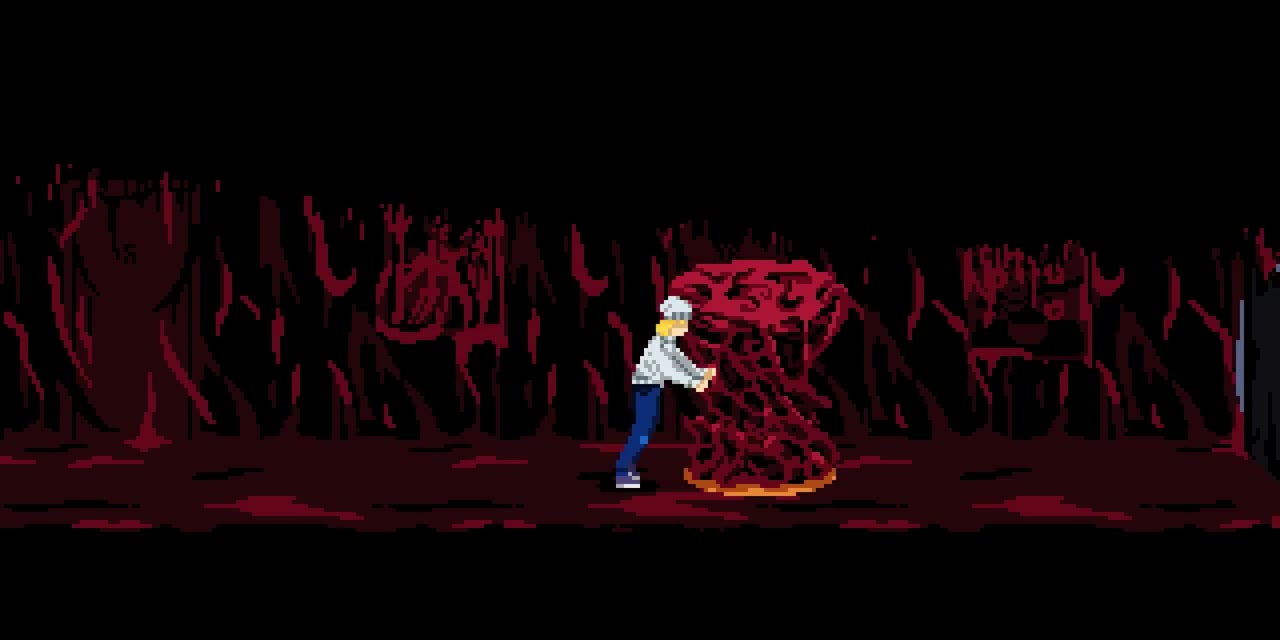
Return to the projector through Floor 1 Door A and play Canister 2. The second theater box opens and contains the Cow Skull. Carry it into the dining set behind Door B, take the right-hand staircase and enter the side corridor at the first landing. Hang the Cow Skull on the hooked door at the left end to open the Fumus arena.
Fumus, the cursed canister and three lost save points
Fumus can reach Julia with extended arms. Keep moving while the red protection symbol is beneath the boss, then attack when it disappears. As the battle continues, damaging red circles occupy more of the floor.
These circles also punish the weapon Julia is holding: a loaded firearm can cause an instant death when she turns it on herself. Unequip your weapon before deliberately crossing a circle to clear it, then equip your weapon again for the boss’s vulnerable window. Avoid backing into a circle while firing. Defeat Fumus and collect the red Pentacle Stone.
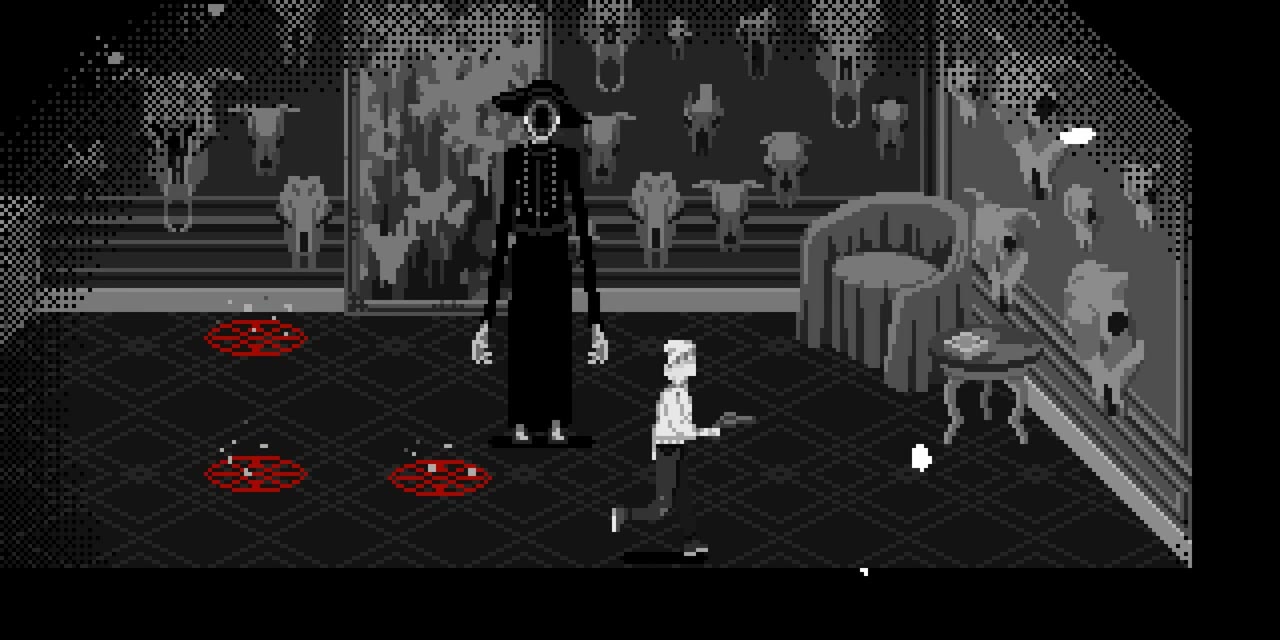
Visit the Film History classroom upstairs in the film school and try to take its canister. It teleports you to the production-company lobby. Return and try a second time. After the second teleport, Sanguis is waiting in the lobby. Exhaust his dialogue, including the spell explanation, to receive the Silver Key and the instructions for cleansing the canister.
Use the Silver Key on the cabinet in the Floor 2 apartment Bathroom to obtain the Silver Bottle. Fill it from three save flames. Save before taking a dose because each flame goes out permanently afterward. A route that keeps the later areas’ flames available uses these three:
- The Floor 2 apartment Bedroom.
- The Floor 3 apartment Study.
- The Director’s Office inside the Floor 2 A.S. studio.
Before consuming the Pentacle Stone’s remaining use, open the sealed Bathroom in the Floor 3 apartment and take the Chemicals from the table near the entrance. Then use the stone on the red-marked door in the Floor 2 production-company lobby. Inside the vacation room, use the bottle containing three doses beside Julia’s statue at the moonlit window. You receive Purified Water.
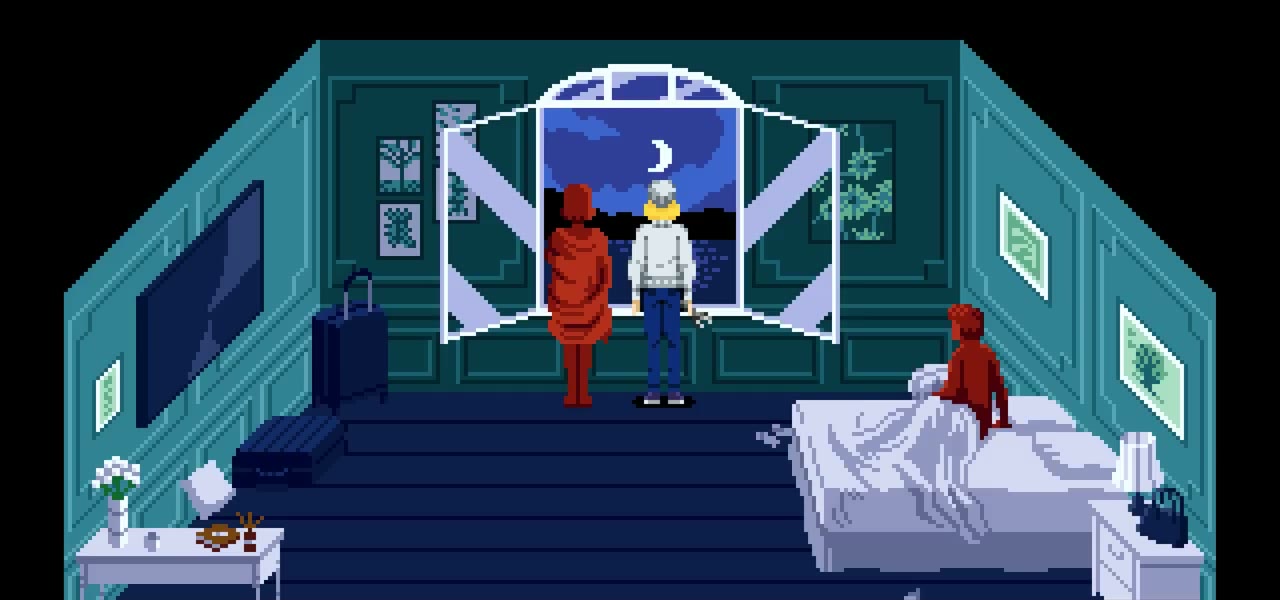
Take the water back to the cursed Film History canister and use it before attempting to pick the canister up. Play this third canister at the Floor 1 projector, then collect the Cold Chisel from the last theater box.
Develop the photograph and open the mirror room
Return to the dining-set staircase behind Floor 1 Door B and climb to the boarded door at the top. Insert the Cold Chisel, then hit it with a melee weapon to remove the boards. Beyond the door, follow the hallway and push the shelf out of the way.
Inside the final film set, use the White Bulb at the blood-covered table to make a Red Light Bulb. Trying to leave triggers a cutscene and an ambush. The attackers here fall to one Pipe strike; intercept them before several can surround you. Leave when the wave ends.
Bring the Red Light Bulb, Chemicals, Photo Roll and Photo Paper to the school’s Photo Developing room. The paper came from the ground-floor blue classroom; the roll was on the theater-lobby floor.
- Put the Red Light Bulb into the lower-left lamp.
- Use the Chemicals at the developing trays above that lamp.
- Use the Photo Roll at the table along the north wall to obtain a Negative.
- Use the Negative at the enlarger on the upper-left table, then use Photo Paper there to obtain a Printed Photo.
- Use the Printed Photo at the chemical trays. After the scene, you receive the developed Photo.
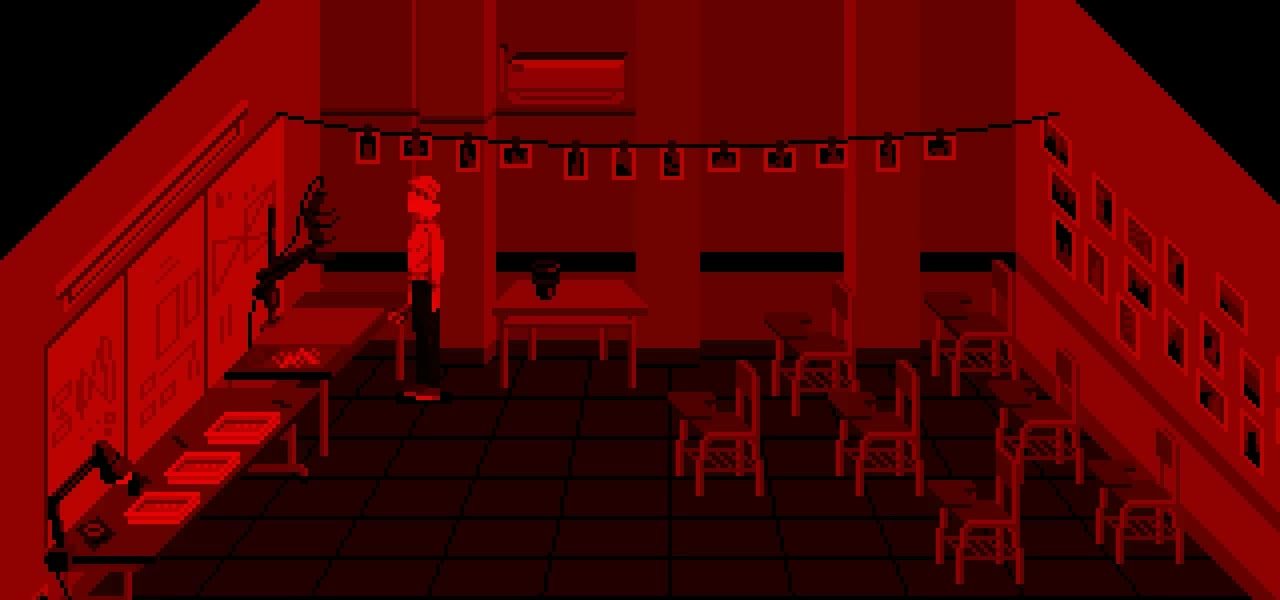
The blood trail leads upstairs toward a locked school door, but its key is back at the apartment. Take the Photo to the Floor 3 Bedroom and place it in the empty frame on the right bedside table. Open the drawer for the Hexagonal Stone. Return to the top of the film-school staircase, speak to Sanguis and use the stone on the sealed door. Save beyond it before approaching the curtains.
Vitria: use the reflection to expose the tentacles
During the first phase, the tentacled creature attacks straight ahead, vertically and diagonally. Step close enough to draw out the vertical strike, retreat before it lands and hit the boss with the Pipe during the recovery. Repeat until the encounter moves to the mirror phase. Keep Revolver ammunition for the short openings that follow. If a tentacle catches Julia by the throat, rapidly press the interact button to break its grip before it drags her in.
In the second phase, Vitria is protected while the red symbol is visible. Move around the arena until a tentacle rises that you can see only in the mirror. Use its reflection to locate the tentacle in the room, then strike that position until the boss is stunned. Shoot Vitria during the stun to crack the mirror section above the boss. Keep firing until a portal opens.
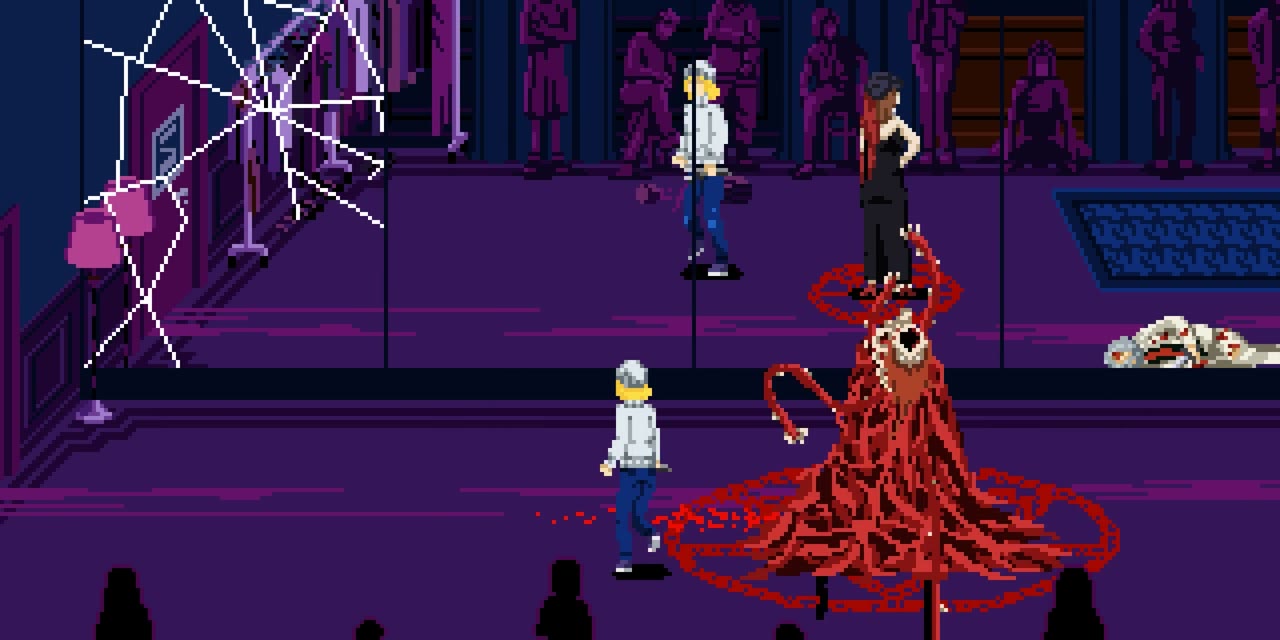
Enter the opening in the broken mirror. Julia’s movement controls reverse on the other side, so allow space to turn before approaching a tentacle. Avoid the emerging tentacles and strike them during openings until Julia returns to the outer room. Repeat the reflected-tentacle, stun and portal sequence for the remaining mirror sections. Later cycles add more tentacles, so keep moving between attack windows.
After Vitria falls, speak to Sanguis for the Iron Key and the returned Lapis Fictus Pill. Unlock the door on the left, save in the next room and enter the film set to the north. Interact with Ivan to begin the ritual.
Sanguis’s pursuit and the route into Desiderium
After the ritual scenes, run through the corridor while Sanguis pursues Julia. Move out of his charge path as he lunges. When ordinary mannequins block the route, position them between Julia and Sanguis so his charge breaks them. Red mannequins survive the charge, so steer around those and watch the spike sections.
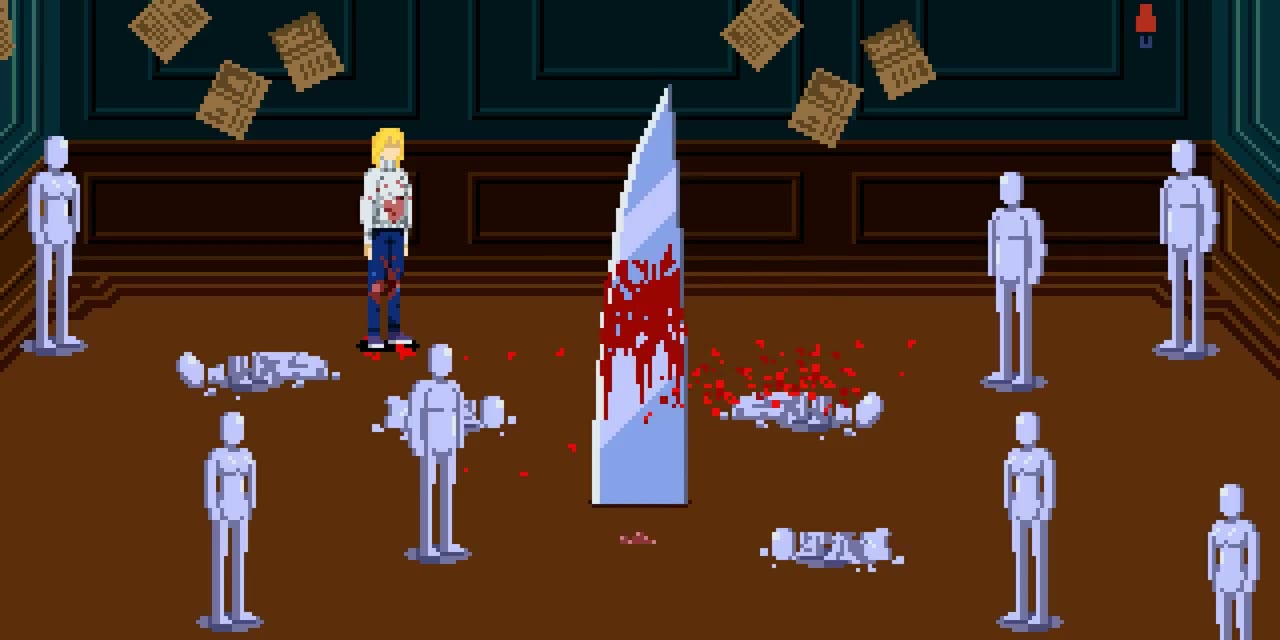
At the large retracting blade, lure Sanguis into its strike as it extends. Once it impales him, follow the passage left and take the dark door. Descend the stairs, let Julia bandage her hand and save near the school stairwell. You begin the next section without your earlier equipment, apart from the Apartment Key.
Desiderium: invert the cable and recover your belongings
Enter the film school’s ground floor and take the red door at the far end into the dark TV room. Switch on the screens and collect the Blue RCA Cable. Return toward the staircase. When the blue classroom opens and an enemy emerges, lead it away from the entrance, slip inside and take the Black Bulb.
Go upstairs to the red Photo Developing room and put the Black Bulb in its lamp. The world’s colors invert and the cable becomes yellow. Avoid the enemies that appear, return to the ground-floor green Cinematography classroom and attach the Yellow RCA Cable to the camera. Interact with the rope visible in the set to climb into Equipment Storage.
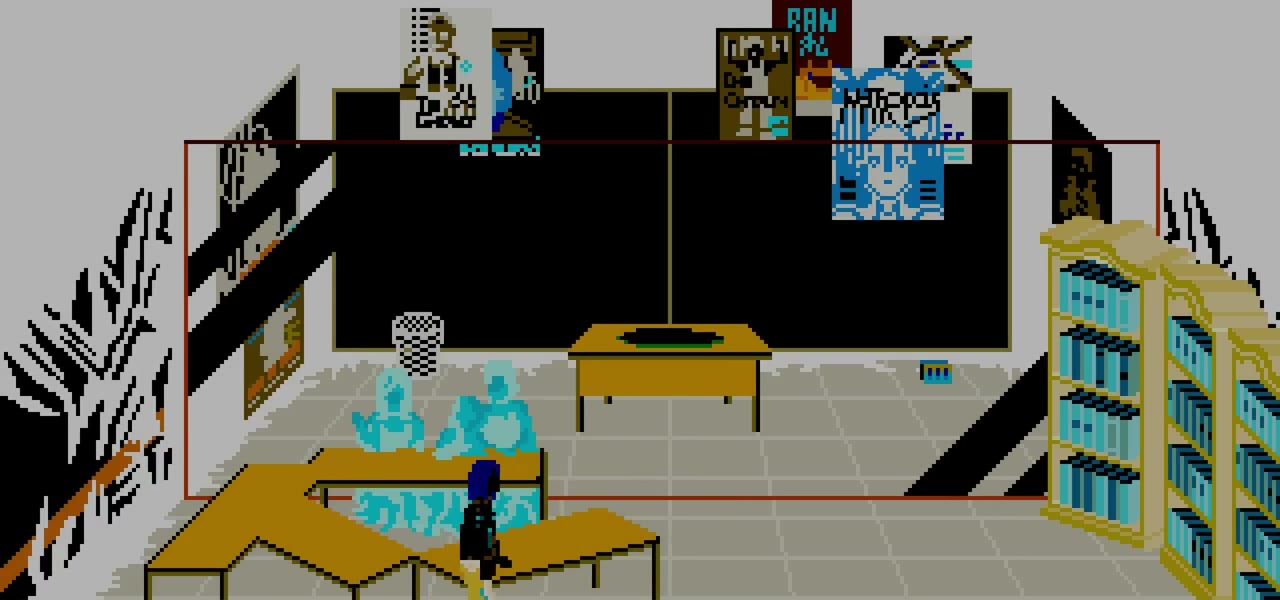
Raise the grille with the left switch, wait for it to reach the top, then turn the switch off. Cross to the right-hand switch before the grille drops and open the chest to recover Julia’s belongings. Return to the upstairs blue Film History classroom and smash its glass barrier. Use the Apartment Key in the pool of Purified Water.
Purifying the key makes more Old Book pages readable. Return to the ground-floor blue classroom and inspect the statues around the table. After the memory, take the Red Candle that falls from Julia’s statue. Exit the school and use the stairwell door beside the elevator. Light the Red Candle and use it at the red symbol blocking the stairs, then continue up to Floor 1.
The Lead Fly path, three statues and the Tin Key
Save in the Floor 1 hallway and enter Door A. Giant fly statues block the theater entrance. Take the side door on the left and follow the floor path toward the small Lead Fly. Watch the route across the tiles: the statue acquires a sulfur coating as you approach. Break it once it is fully coated.
Back in the hall, clear the enemy and reproduce that same tile path toward the second small fly. A correct step adds more sulfur; a wrong step resets the coating, so return to the start and retrace the route. The path changes between games. Once the fly is fully coated, break it to clear the theater entrance. Take the Lead Fly from Julia’s seated statue inside.
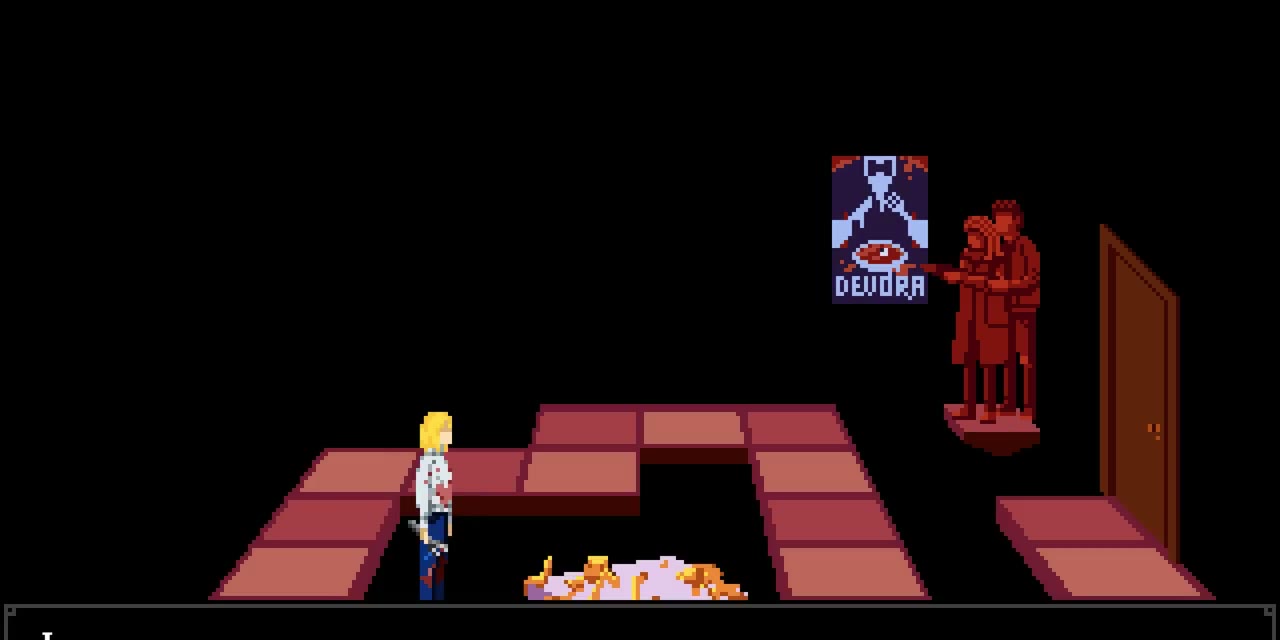
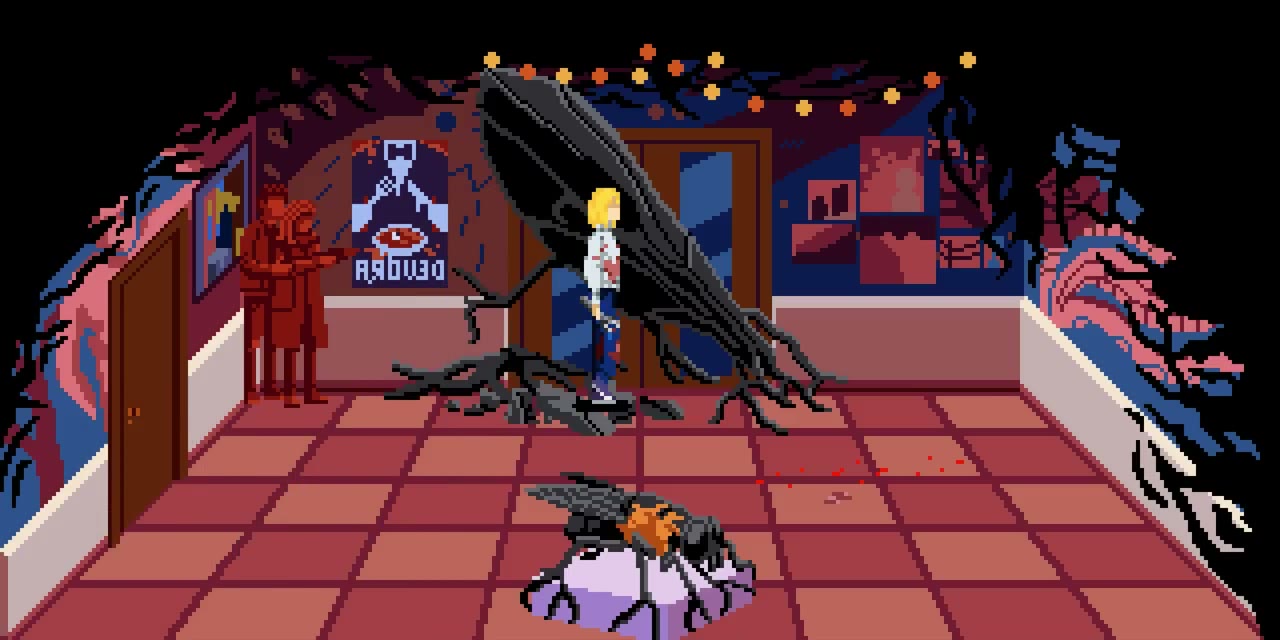
Use the Lead Fly on the matching sealed door in the Floor 1 hallway. Follow the stairs to the dining set and interact with Julia’s sulfur-covered statue. Enemies now attack the statue; its destruction kills Julia. Intercept attackers with the Pipe, which kills these small enemies in one hit. The bright studio lights around these arenas can also be struck to burn nearby attackers.
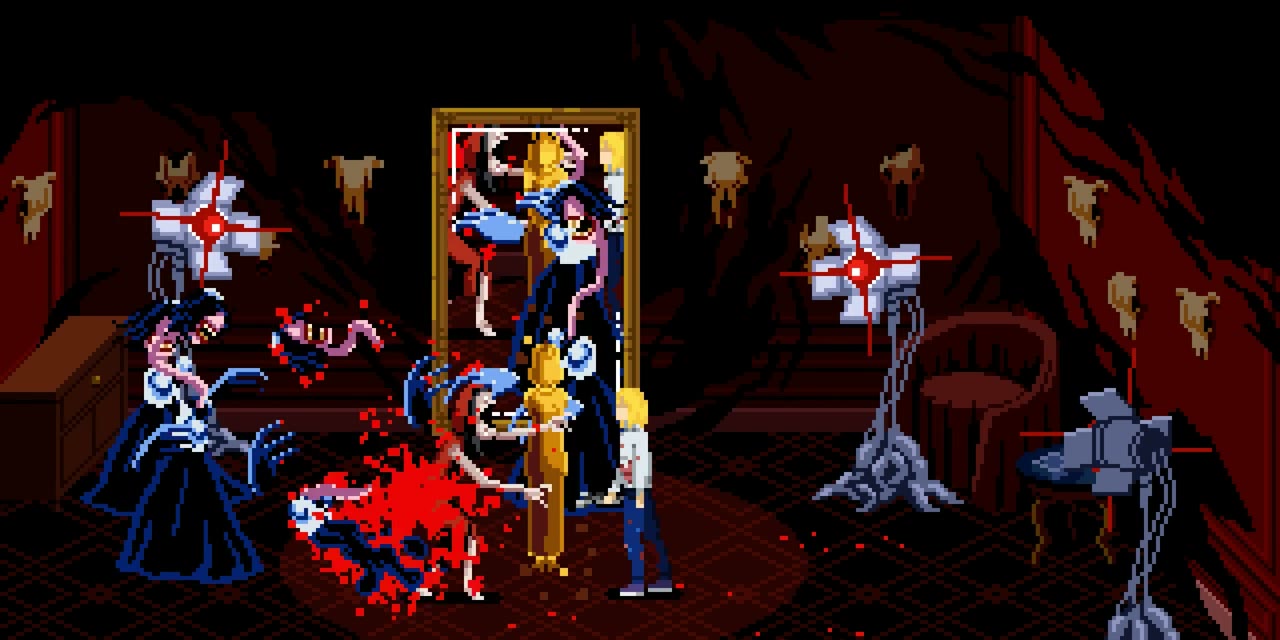
After the wave, leave through the middle door on the north wall and climb to the Cow Skull room for the second defense. After clearing it, pass through the broken mirror and continue upstairs. Push the broken shelf aside to reach the third defense. Use firearms if several enemies reach the statue together. Once the last wave is defeated, take the northern exit, read the newly legible book pages and collect the Tin Key.
Unlock the upside-down exit with the Tin Key to reach the Floor 1 hallway. This same key opens the remaining theater chest, which holds the Green Candle. Light that candle and use it at the green stairwell barrier. Floors 2 and 3 are now accessible.
The apartment photographs and the second Auritsatio
Enter Apartment B on Floor 2. Read the chemistry page in the Living Room and inspect Ivan’s statue holding the knife. In the Bathroom, turn the faucet on your side of the room; the cracked wall beyond it begins leaking. Collect Photographs from the Study clothes rack and the Glass Box from the Bedroom bedside table.
Leave for the stairwell and break the leaking wall with a melee weapon. This opens the far side of the Bathroom. Move the shower curtain and pass through to the previously blocked side of the Kitchen, where you can reach the oven and fuse box.
Go upstairs into the Floor 3 apartment Study. Take the Glass Vase from the table; Julia adds her blood. Combine the blood-filled vase with the Film Canisters. Carry the mixture through the broken-wall route to the Floor 2 Kitchen, use it at the oven and light the oven with the Lighter. Recover the mixture and pick up the Circular Plate produced by the process.
Return to the Floor 3 Study. Read the poem and use the Photographs at the four Roman-numeral panels. The opening line identifies which arrangement you need. Place the following pictures in panels I through IV:
| Poem begins | I | II | III | IV |
|---|---|---|---|---|
| “You’re dead” | Cross necklace | Feet | Sunglasses | Black veil |
| “He nestles in her hand” | Hand with ring | Ear with earring | Shiny dress | Pearl necklace |
| “I’m dreaming” | Lips with lipstick | Sunglasses | Ear with earring | Black dress |
| “Adorned with the blue of silver” | Feet | Shiny dress | Closed eyes with long eyelashes | Black glove |
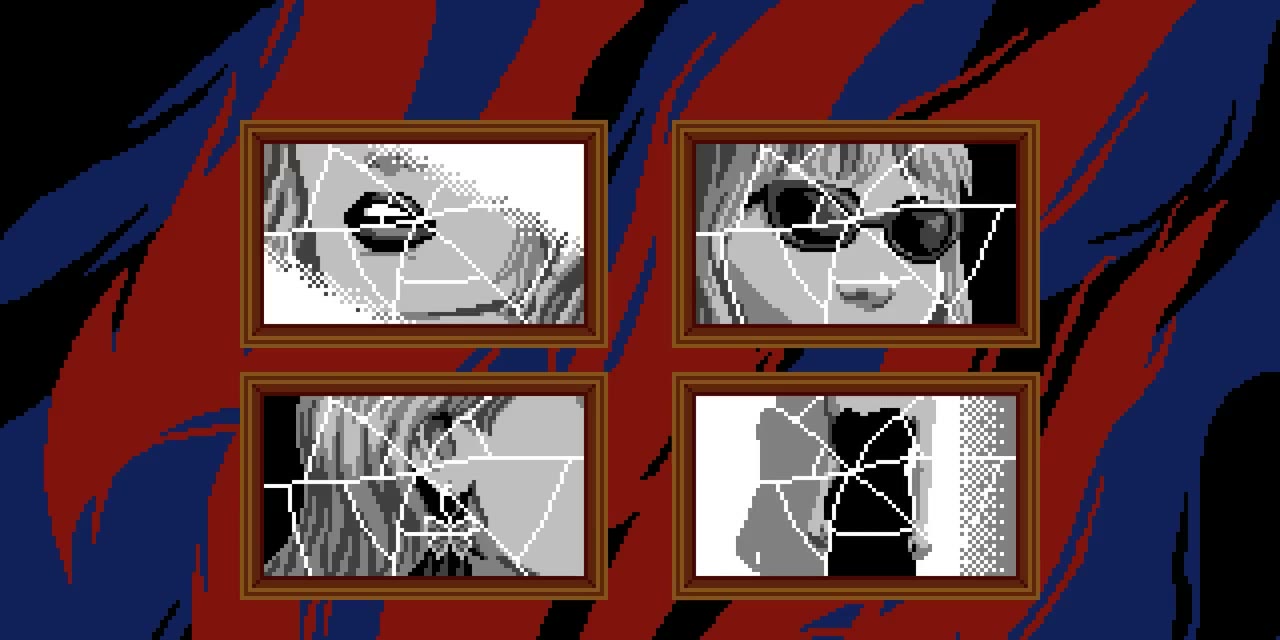
The correct pictures crack in sequence, and Julia hears glass break downstairs. Return to the Floor 2 Study and collect Julia’s Figurine beside the broken display. Use the Circular Plate at the chest on the left to obtain the VHS Tape.
Play the tape on the Floor 3 Living Room TV. Enemies are invisible in the room but visible on the screen, so watch the TV to locate and fight them. Once the wave ends, collect Ivan’s Figurine from the TV. Combine both figurines with the Glass Box to make the Memento.
Enter the Floor 2 production-company lobby through the blue door and pass through A.S. Put the Memento into the hole in the statue’s chest, then break the sulfur-coated statue. When Julia gets up, continue left through the distorted corridor to the stage light near the Bathroom. Use the vase’s prepared mixture at that light to obtain Auritsatio. Bring it to Ivan’s statue in the Floor 2 apartment and dissolve the coating to collect the Lapis Fictus Knife.
Transform the knife with electricity, mercury and moonlight
Use the Lapis Fictus Knife at the fuse box in the Floor 2 Kitchen, reached through the broken stairwell wall. It becomes the Melanosis Knife and the building loses power. Return to the Floor 2 hallway, enter the open elevator shaft and descend the ladder until Sanguis causes Julia to fall.
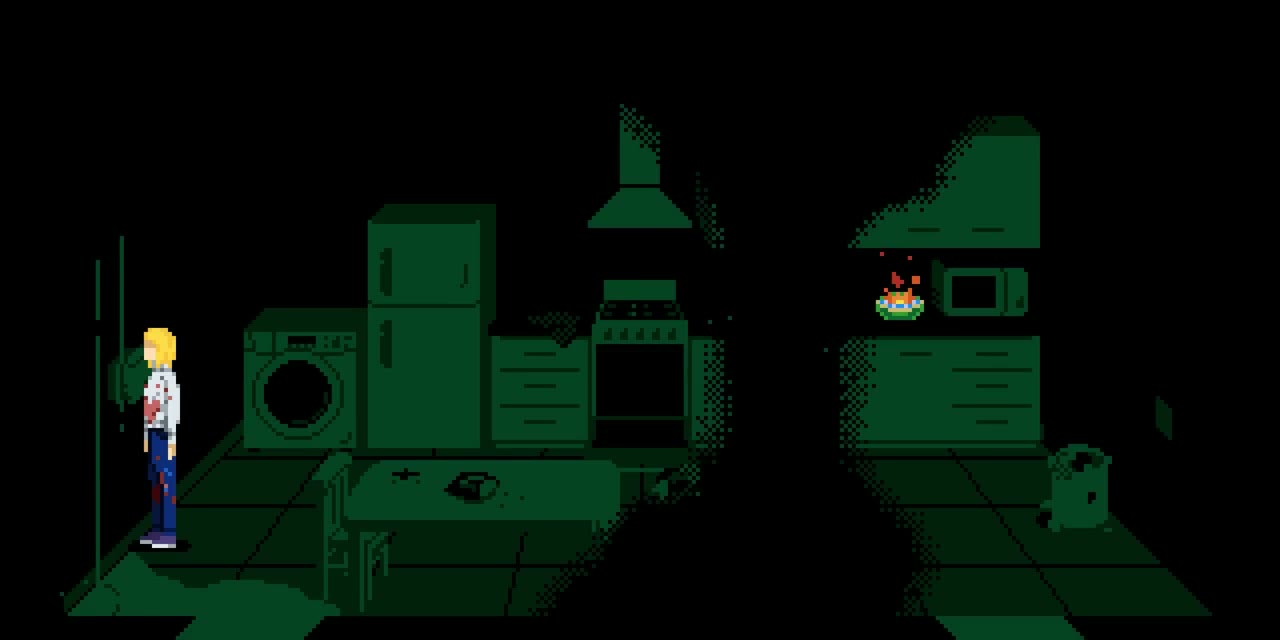
After the scene, flee left and down from the Relicta ghosts. Take the doorway at the passage’s far end. The door on the right leads to a room with two statues on the bed. Use the Melanosis Knife in the mercury pool near the TV to turn it into the Viridis Knife.
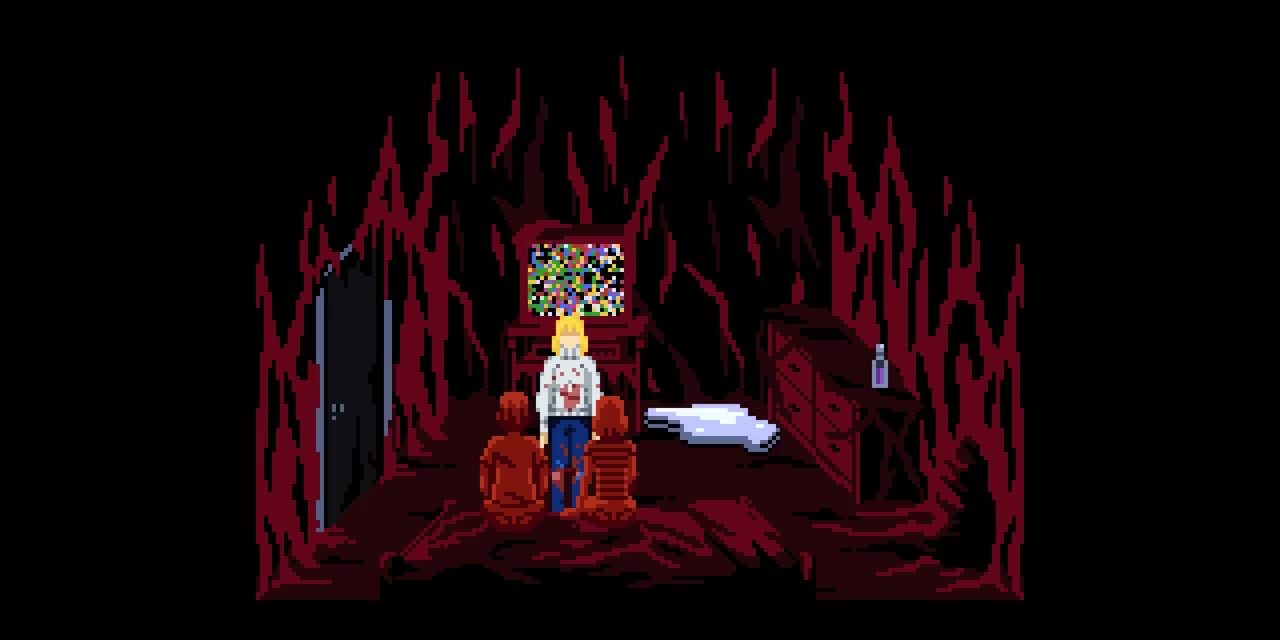
Inspect the hole at the lower right to make the TV eject a Lead Key. Retrieve the key, then leave by interacting with that hole once more. Take the staircase up to the ground-floor lobby and use the main stairwell to reach Floor 2.
Enter the production-company lobby left of the elevator and use the Lead Key on its northern symbol door. Continue north through the hotel rooms until you reach a save flame and a sealed door. Save, then use the Viridis Knife at the door to expose it to moonlight. The finished weapon is Aurifer. Save again before attacking any Relicta.
Solve et Coagula and Magnum Opus: choose before the finale
| Ending | Unlock condition | Route |
|---|---|---|
| Solve et Coagula | Obtain Aurifer and leave every Relicta alive. | Return to Septimo Arte and defeat Lacuna. |
| Magnum Opus | Kill at least one Relicta with Aurifer. | Return to Septimo Arte and defeat Hermes. |
| Renuntiatio | Record both main endings, then start a new game. | Use the Apartment Key on the building’s exit at the beginning. |
| Vivus Ex Mortibus | Record both main endings, then collect the Bible on a new game. | Complete its three rituals, collect three Iron Crosses and finish the church fight. |
After obtaining Aurifer, leave every Relicta alive for Solve et Coagula, or kill at least one with Aurifer for Magnum Opus. The ghosts now flee from Julia. Keep the save made before your first possible kill so you can finish one branch, reload it and finish the other.
For either route, go south back through the hotel rooms to the production-company lobby. Return to the main staircase, climb to Floor 3 and take the left-hand door to the street. Walk left into Septimo Arte. Inside, inspect the sealed door at the far end, then walk back toward the entrance and speak with Vitria to start the finale.
Solve et Coagula: defeat Lacuna without killing a Relicta
On the no-kill branch, Lacuna is the final opponent and Julia loses Aurifer. Use the Revolver or Shotgun to attack from outside her tentacle range. When she disappears, keep moving to avoid her landing attack. During the mouth-swarm attack, move close to her to avoid the flies’ spread.
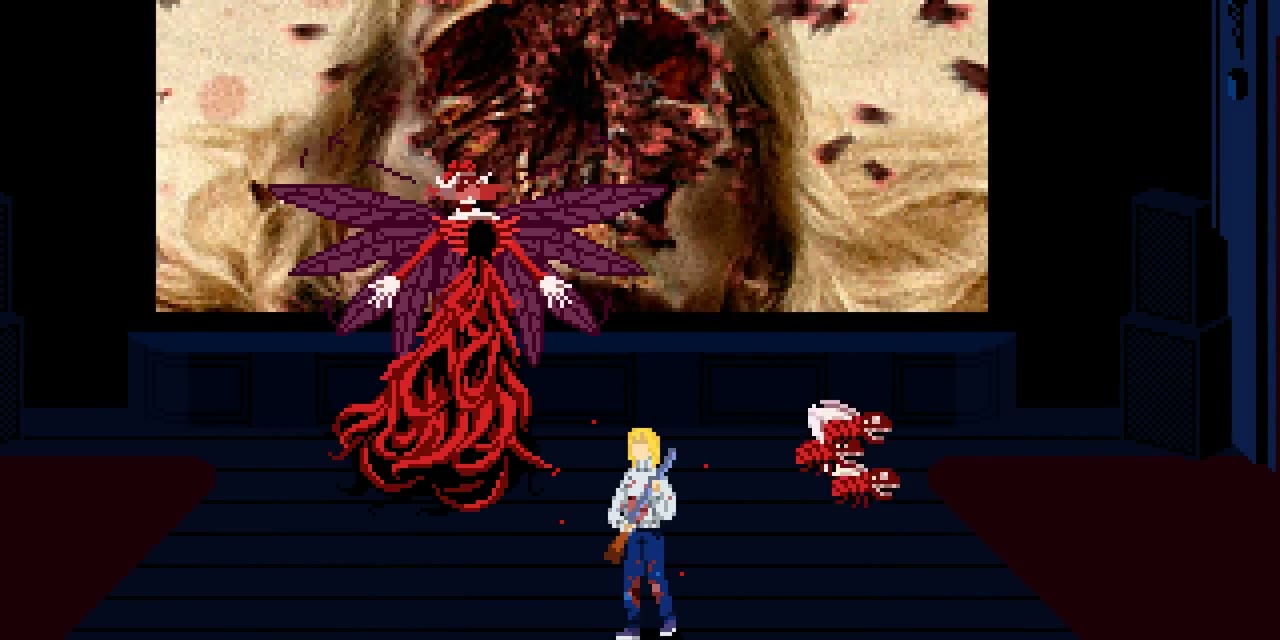
In the next phase, use the cinema screen to locate Julia’s attacking doubles and kill them. When Lacuna returns, avoid the damaging trail she leaves while moving around the arena. Kill the flies emerging from the screen with a quick hit, dodge her stream of flies and keep shooting during openings until the ending begins.
Magnum Opus: defeat Hermes after killing a Relicta
On the kill branch, Hermes summons hands from the floor. Their emergence points are marked by symbols. Attack the hands with Aurifer or firearms, and watch the eye’s flash before each vertical or horizontal blast. Between rounds, the movie screen previews the sweeping hand pattern; move into a gap before it crosses the arena. The hand rounds increase from one attacker to two, then three.
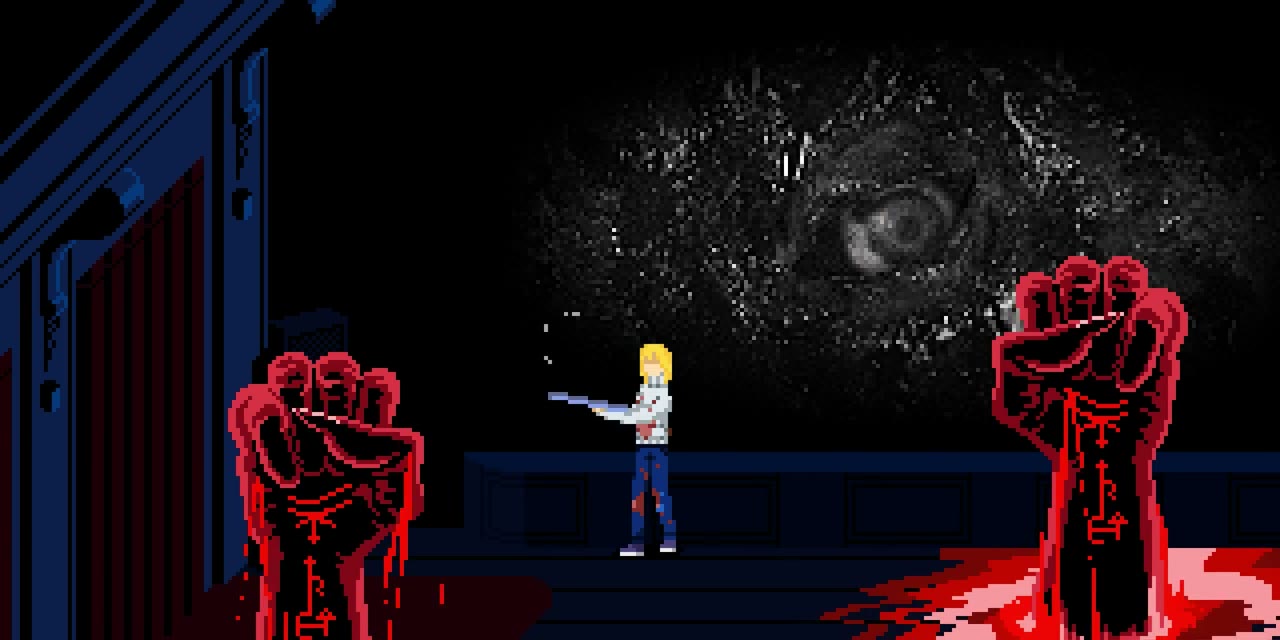
In the second phase, a large face comes out of the screen. Retreat when it inhales because being pulled into its mouth kills Julia. Approach to attack after the inhaling stops, then withdraw before the next cycle. Avoid the red eruptions on the floor, kill small summons and keep clear of emerging hands. When Hermes is weakened, finish it with Aurifer to reach Magnum Opus.
Renuntiatio and Vivus Ex Mortibus on a new game
Finish both Solve et Coagula and Magnum Opus before starting these routes. They become available on a new game after the two main endings are recorded.
Renuntiatio: leave at the beginning
Start a new game and use the Apartment Key on the building’s exit door at the beginning. This lets Julia leave instead of continuing upstairs and triggers Renuntiatio.
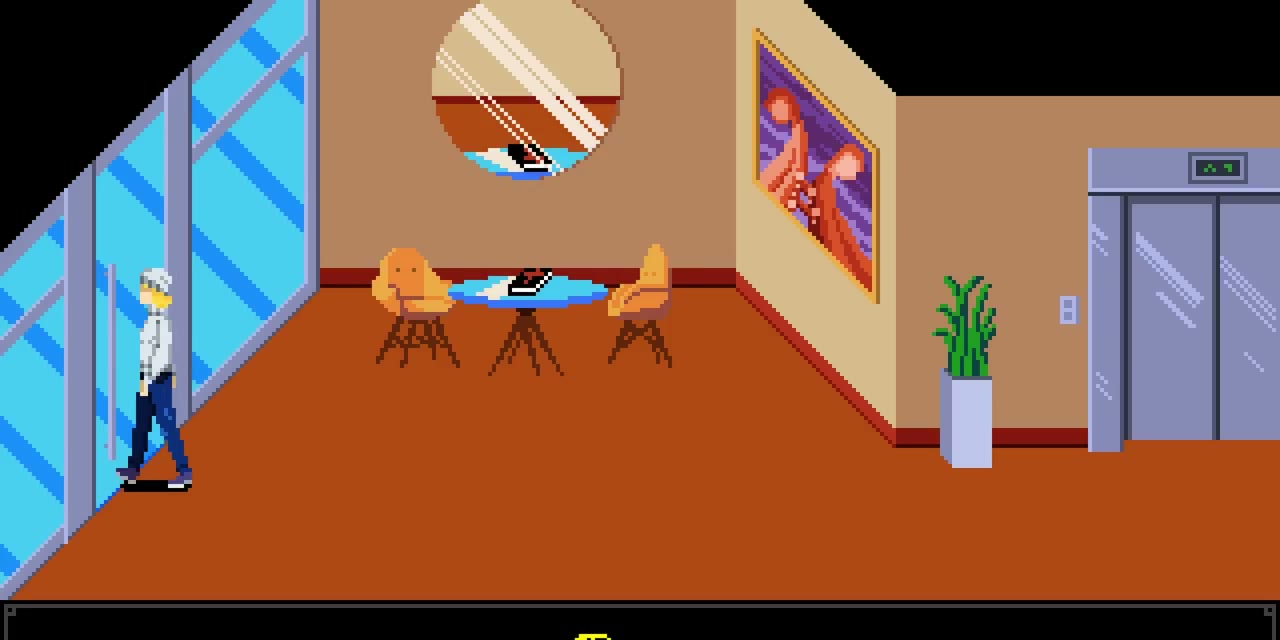
Vivus Ex Mortibus: collect the three Iron Crosses
On a new game after both main endings, collect the Bible from the table beside the building’s ground-floor entrance. Keep it for three altered puzzles and perform each ritual before completing the ordinary version of that puzzle:
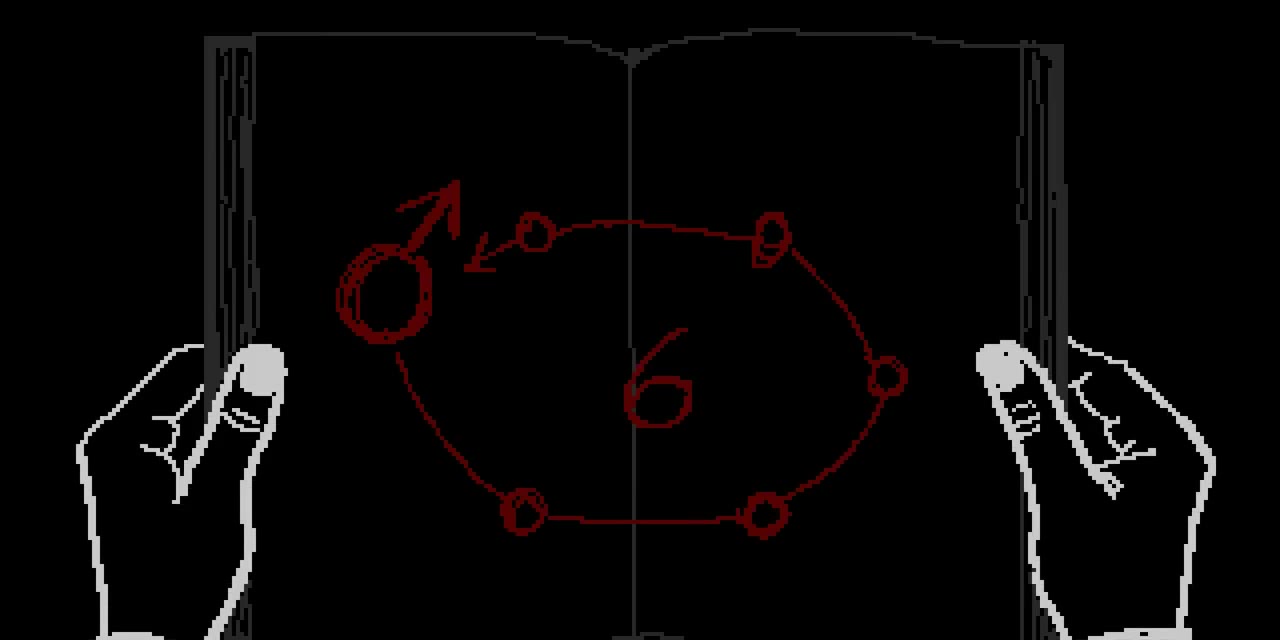
- In the Floor 2 apartment, use the Bible before solving the TV pressure-plate puzzle. Start on the male/Mars symbol and make six counterclockwise circuits around the symbol plates. The room turns red and enemies appear. Defeat them and collect the first Iron Cross.
- At the Floor 1 community-center lock leading toward the projector, use the Bible and enter 6666. Do this before unlocking it with the phone’s ordinary code. Defeat the enemies in the altered red room and collect the second Iron Cross.
- In the film school’s ground-floor green Cinematography classroom, use the Bible, attach the yellow RCA Cable at the camera and cycle through its scenes until enemies appear. Complete this before passing through the Copper Key door. Defeat the enemies in the red version of the classroom and collect the third Iron Cross.

Take the blue door left of the Floor 3 elevator to the street. Use the three Iron Crosses at the marked church entrance and go inside. After the church scenes, Julia fights a possessed woman alongside a priest named John.
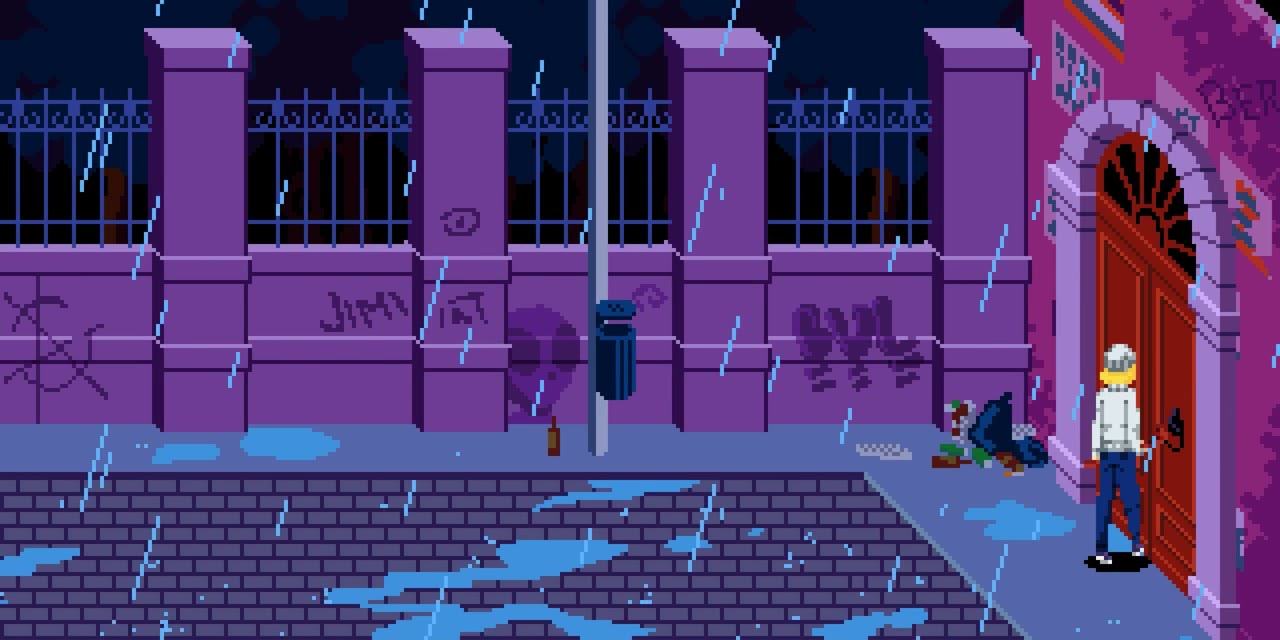
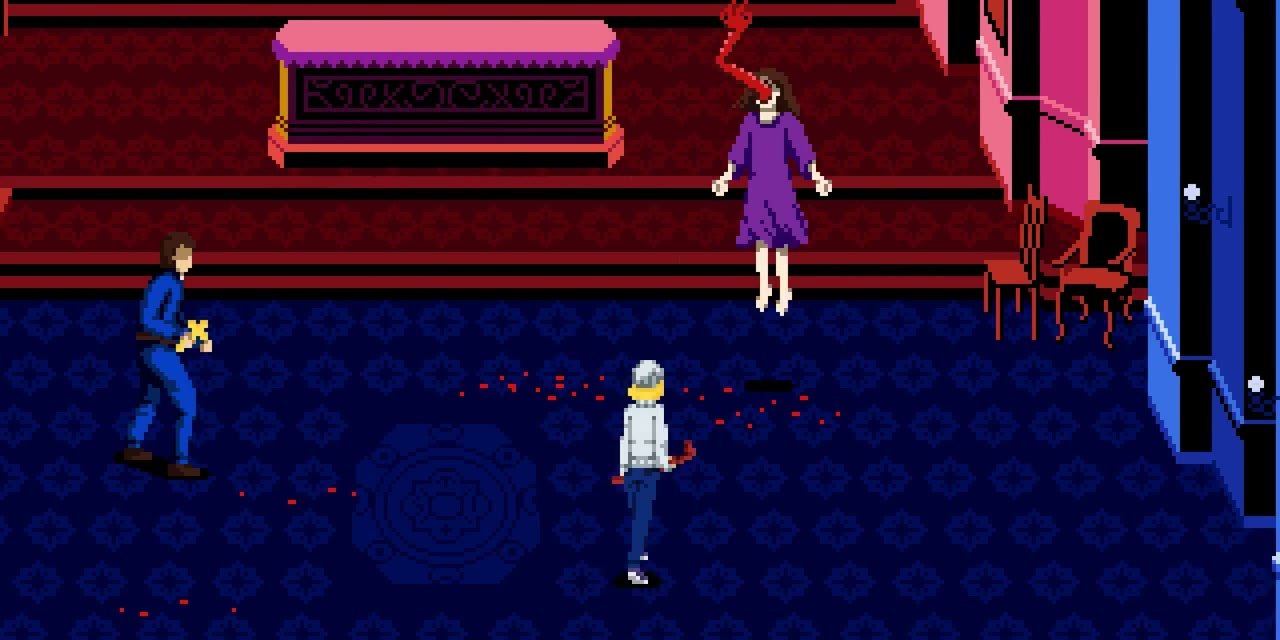
During the church fight, keep away from the woman’s lunges and green projectiles. Kill the red creatures she summons, then attack her between summons with the Pipe or Revolver. John fights beside Julia, so leave room to move around him as you change sides of the church.
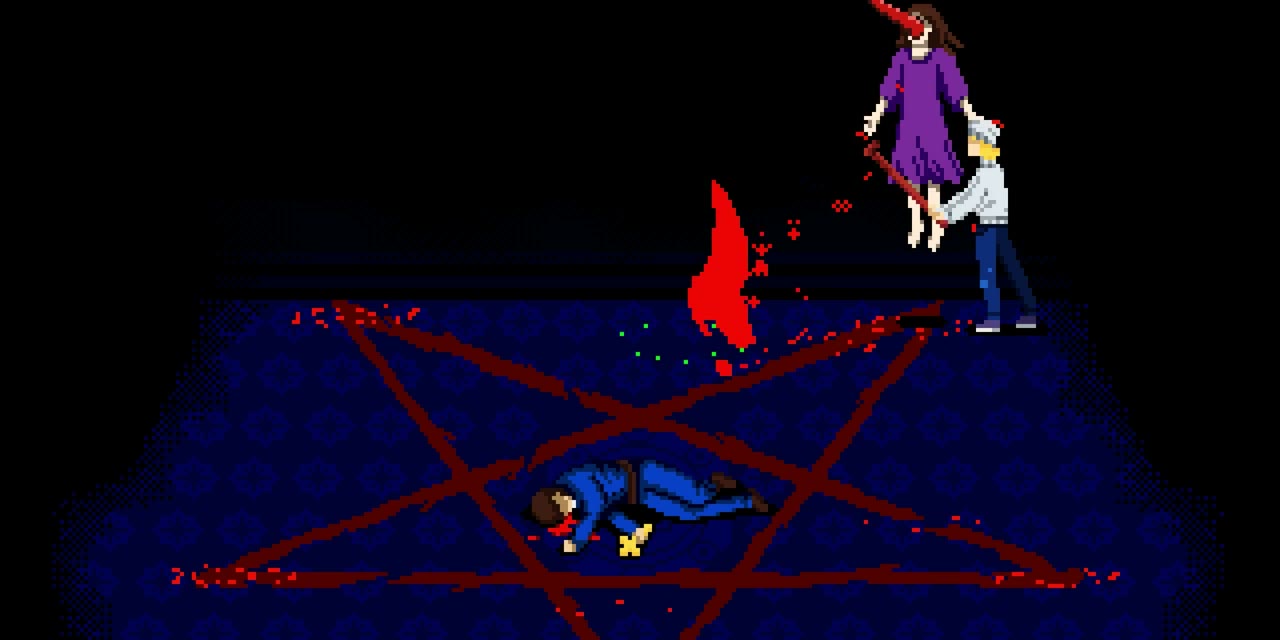
When the arena changes to a dark pentagram and John falls, continue attacking the woman while avoiding the red spikes rising around the edges. Move through the gaps between the spikes while staying out of the projectiles’ path. Defeating her returns the scene to the church; let the final conversation and ending play to complete Vivus Ex Mortibus.