Climb from Storm Drain to the cannons that connect each area, then keep going after Recycling Core. The final stretch includes a spike-lined passage, a timed climb through the Server Room and one last outdoor route before the credits. Reaching the top of the Playground only finishes the opening part of Flipping is Hard.
This walkthrough follows the main route in the full PC game. Choose Chill Mode for checkpoints if your goal is a first finish. NPC trials, phone games and cosmetic detours can wait until you have cleared the climb. Ending spoilers follow.
Storm Drain and Cardboard Fort: reach the first two cannons
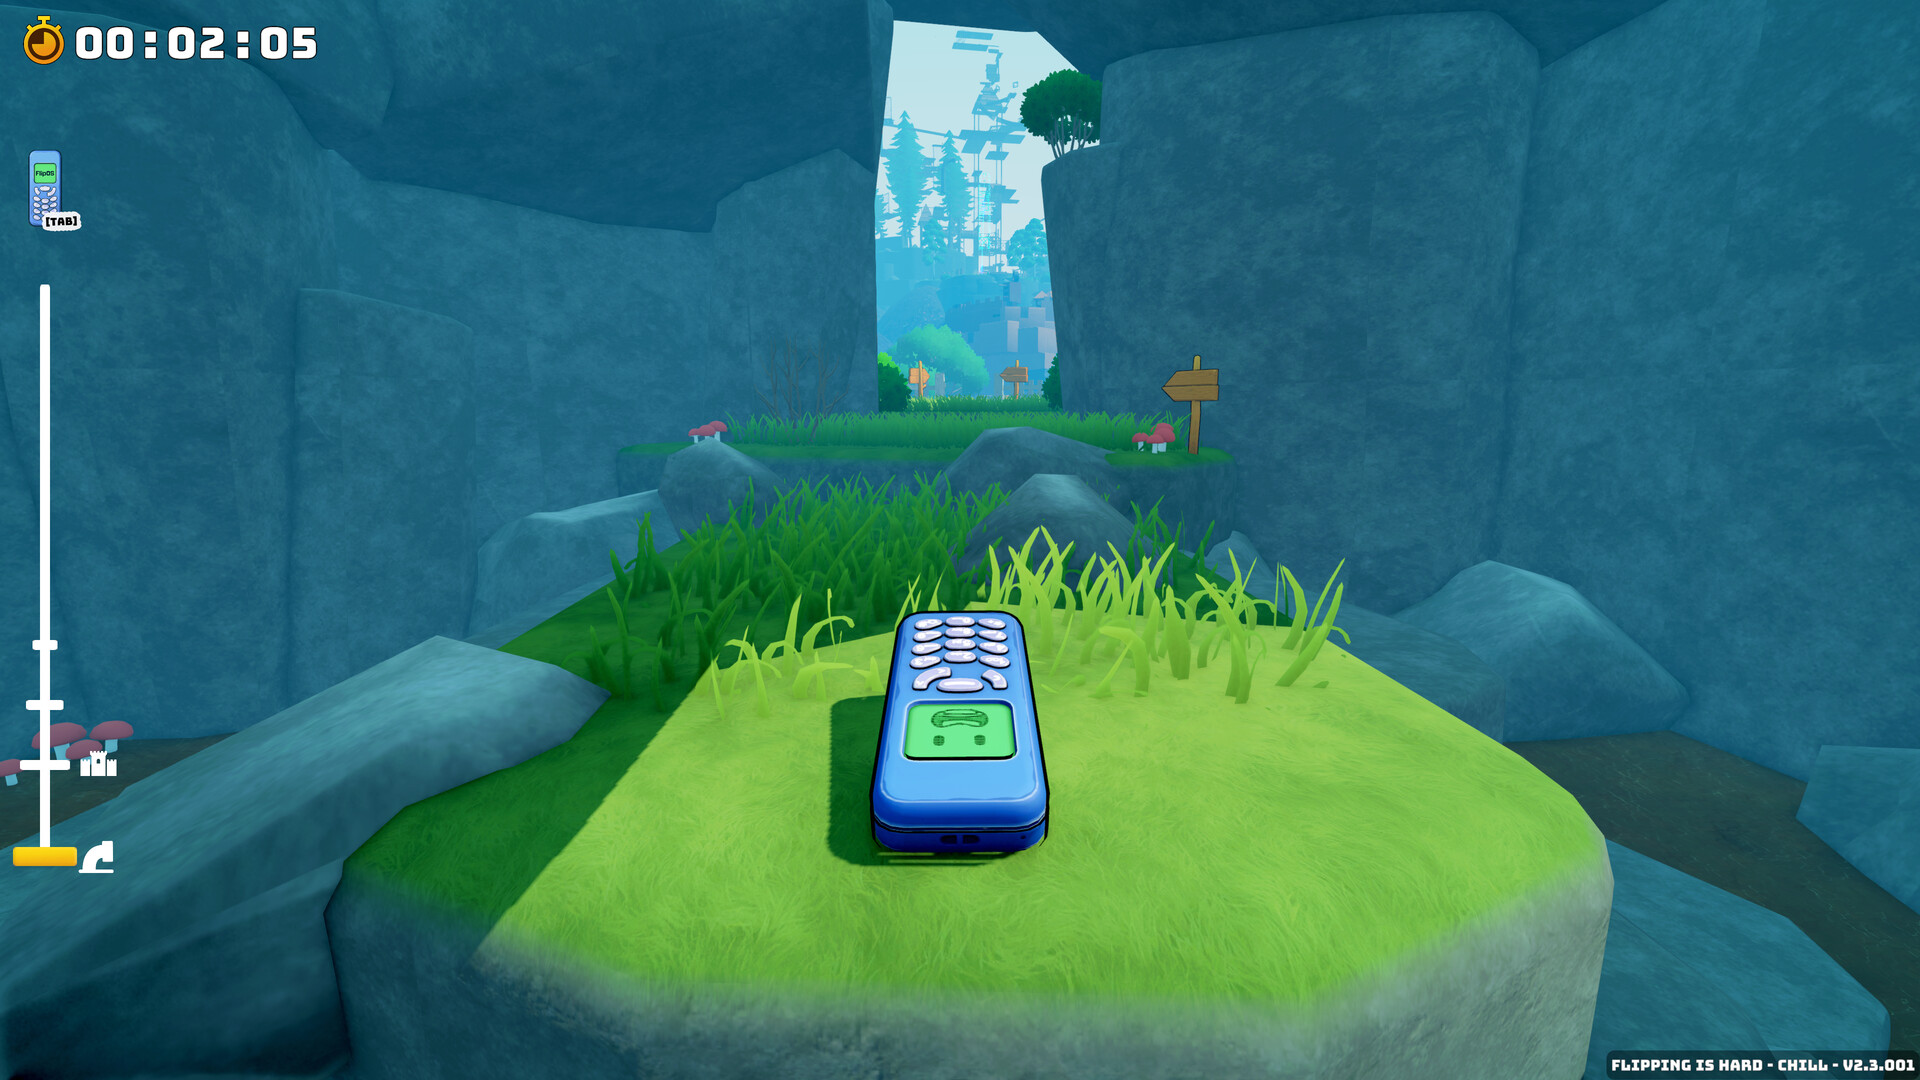
Leave the narrow gap between the blue stone walls and climb the grassy rock shelves outside. The short route heads up beside the bushes and tree, then across the raised grass toward the large purple-edged slab. Work around its side to the small grassy landing with a cannon. The cannon’s red-and-yellow pad and blue wheels distinguish it from the loose household junk around the route.
Get onto the landing before lining up with the cannon. Move close enough for the E prompt, then interact to enter it. Let the launch carry you to Cardboard Fort. Trying to jump the entire distance yourself adds an unnecessary gap when the cannon already points toward the next area.
In Cardboard Fort, head into the cardboard castle rather than taking a collectible detour outside it. The route passes the green toy soldier and the tall arched doorway. Beyond that doorway, climb onto the raised square block beside the next cannon. The soldier’s challenge is a separate activity; you can continue through the fort without completing that trial.
Approach this cannon from its pad, wait for the interaction prompt and enter. Its launch takes you to the Playground. If you land below the cannon’s block while approaching it, return to the surrounding cardboard floor and line up the short climb again. Leaping from the lower floor straight into the barrel is harder to judge than first reaching the platform beside it.
The Playground: lift, spring platforms and the wooden tower
At the Playground entrance, follow the large yellow arrow toward the wooden structure inside the glowing blue spiral. Ride this lift upward and leave it onto the wooden landing. From there, climb around the timber frame to the grassy shelf with the red spring pad marked by yellow chevrons.
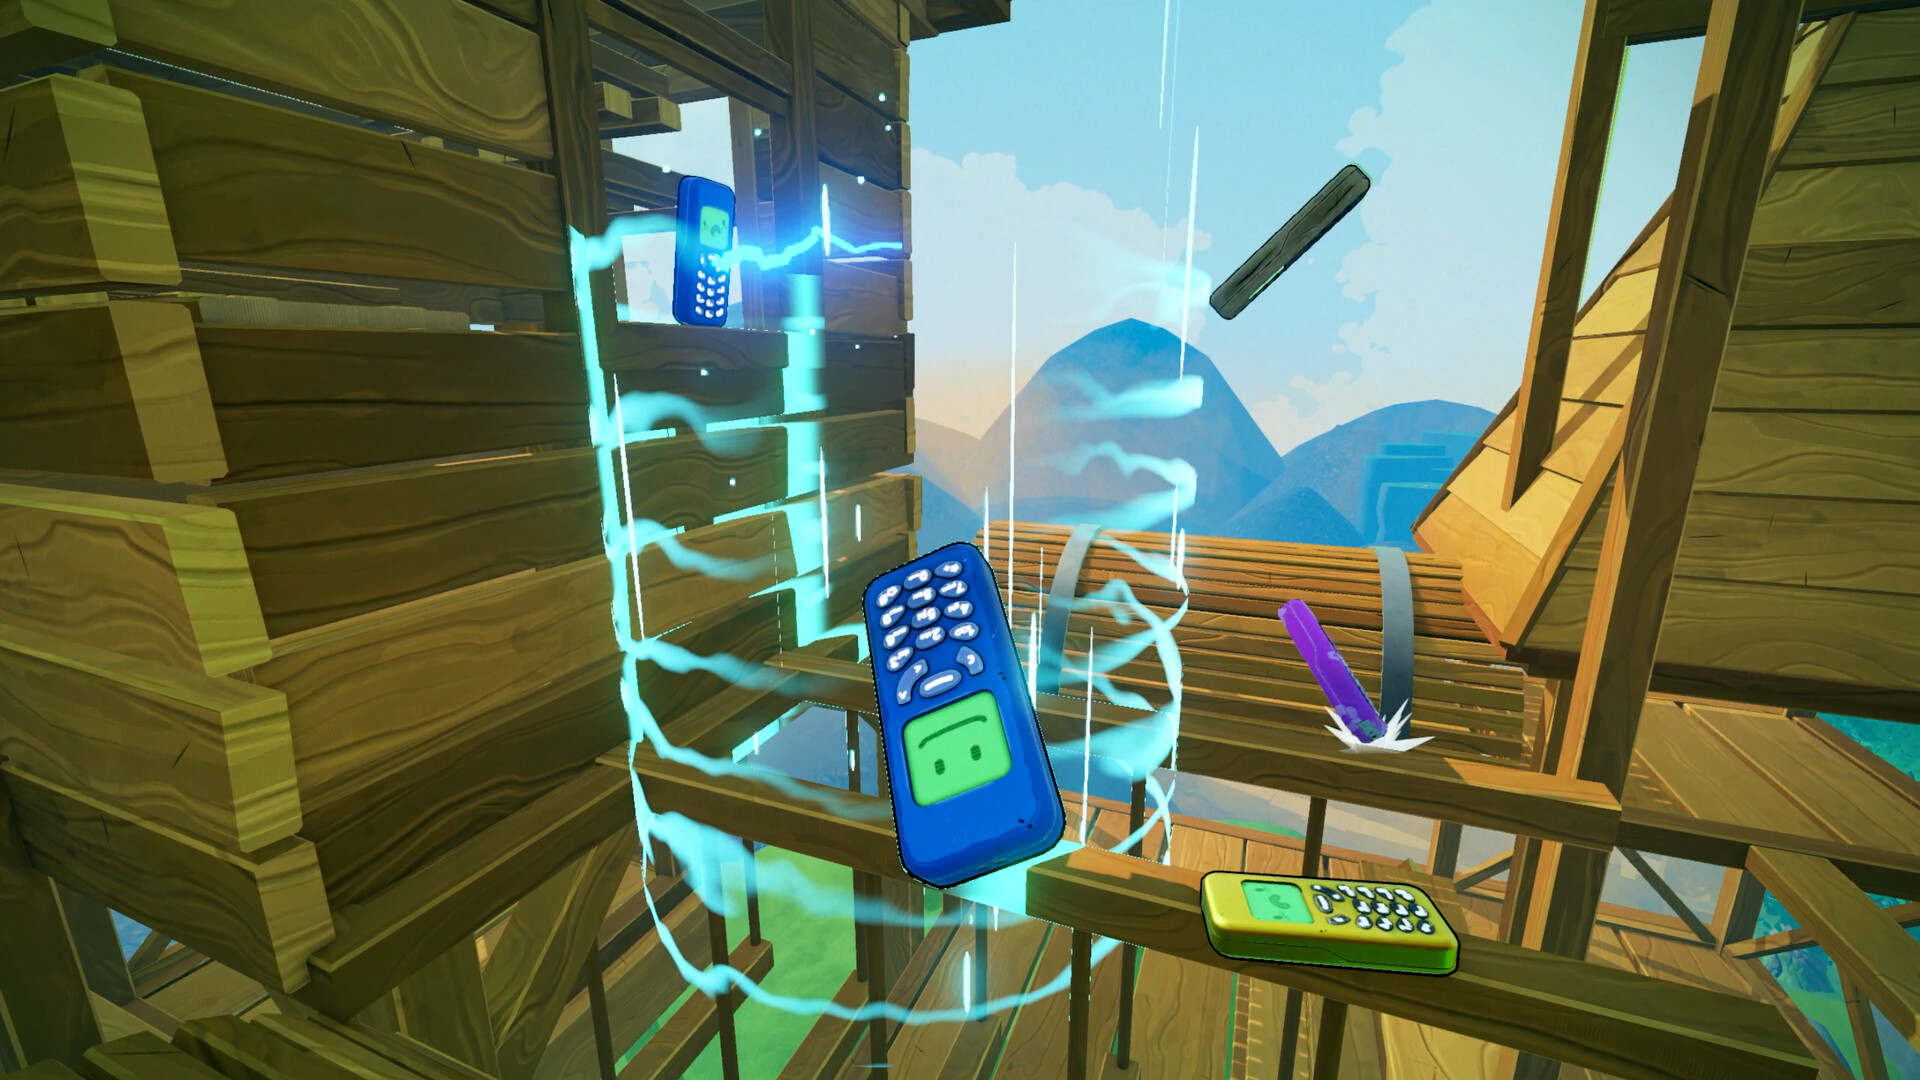
The spring route continues across small wooden platforms beside the upright mesh panels. Turn toward the next platform before committing to a spring launch. Land on the wood around its pad, settle your phone and line up the following launch. Arriving sideways across the edge leaves little room to correct your next takeoff.
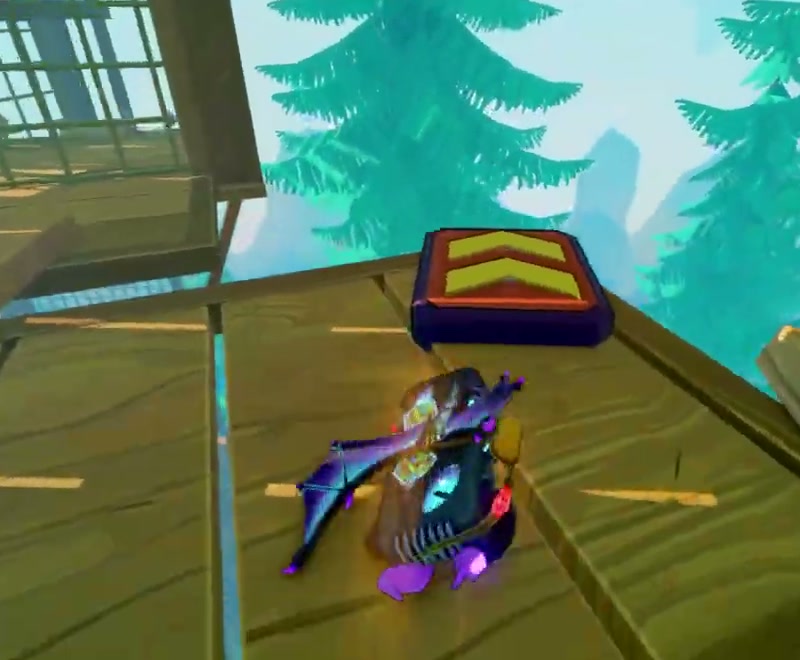
After the spring platforms, reach the long yellow plank leading toward the wooden tower. At the tower, use the ledges and sloping boards around the outside to gain height. The route winds around the structure: a landing beneath an overhang is useful even when the cannon above is visible. Move around the projecting board before jumping upward, or its underside will stop your climb.
Near the top, cross the staggered wooden shelves toward the cannon on its own broad platform. The yellow arrow beside the upper shelves points toward it. Reach the platform, interact with the cannon and launch onward to Candyland. The wooden tower and this cannon are part of the main climb; the optional challenges elsewhere in the Playground are not required for this route.
Candyland: frosting shelves, wafers and the upper cake platforms
Start by climbing the chocolate-colored blocks with bright green frosting on top. The pink candy sticks protruding from their sides help distinguish the small shelves from the larger blocks above them. Aim for a frosting-covered landing before turning around the next corner. A block’s flat brown side can look close enough to land on while its usable top is still above you.
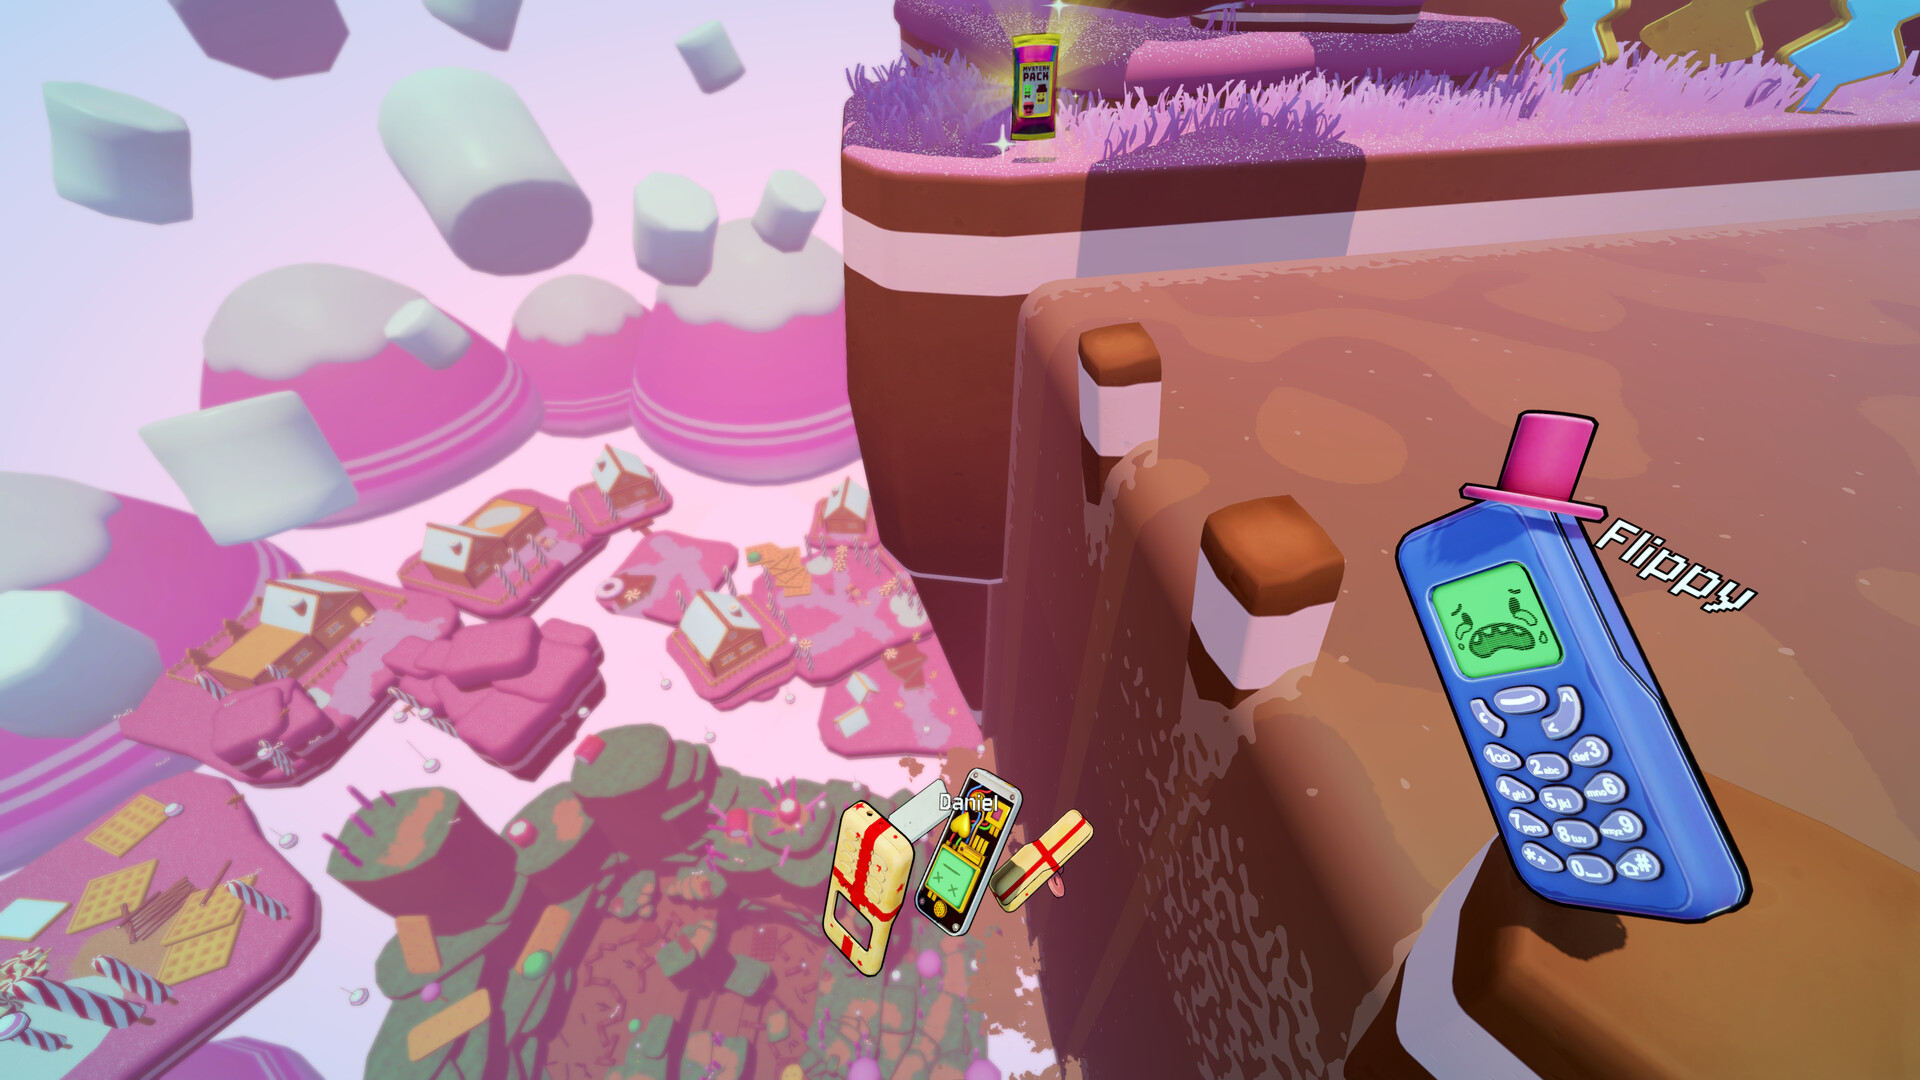
Work upward through these green shelves until the route opens onto the larger wafer and cake platforms. Cross the yellow wafer surfaces between the striped candy-cane posts. At a gap, point the length of the phone toward the next wafer before taking off. The thin supports below it offer much less landing space than the broad yellow top.
The later Candyland route alternates between pink cake ledges, narrow chocolate shelves and larger circular platforms. Follow the ledges around the sides of the tall cakes to get above them. When a higher platform blocks a direct jump, use the smaller side shelf to change your approach rather than repeatedly striking the same vertical face.
Continue across the upper pink platforms, using the candy-cane uprights and white marshmallow shapes to keep the next landing in view. The exit cannon sits on a small pink platform beyond this upper sequence. Stop on that platform before entering it. Its launch brings up Toy Chest, so you can leave the surrounding sweets and optional pickups behind.
Toy Chest: climb the brick walls and take the narrow tracks slowly
Cross the opening toy platforms toward the blue building-block walls. The green protruding bricks form small steps on the wall faces. Approach each from the ledge below it, rotate upward and land on its flat top before moving to the next. Jumping outward too early sends you away from the wall and removes the next brick from reach.
The route then moves through the open block arches and onto the narrow tracks between them. Use the straight track sections to line up your phone lengthwise. At a bend, turn from a wider landing or junction before advancing onto the next strip. A sideways phone spans more of the track’s width and is easier to knock off while rotating.
At the television marked Super Long Jump, move the phone over the platform edge and rotate it until its feet touch the wall below the lip. Jump from that contact to launch across to the next brick landing. The demonstration beside the gap shows this setup. Starting from the middle of the platform leaves out the wall contact that the demonstration asks you to make.
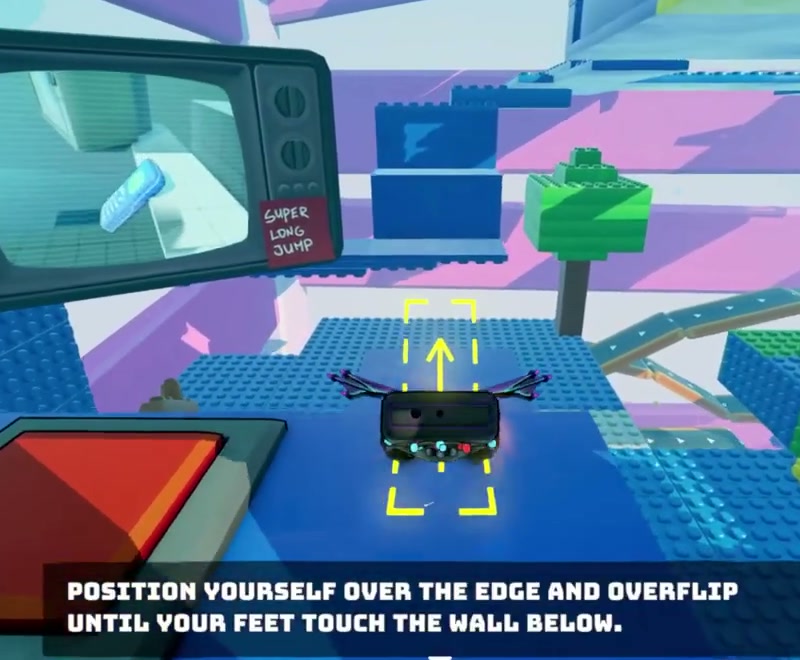
Beyond the long jump, the projecting bricks take you around the larger studded structures. Turn on the platforms between the walls, then approach the tall toy hammer along the narrow track. Wait until the hammer clears your landing, cross beneath it and follow the track around the next structure.
The final Toy Chest section passes beneath and around the large clock-like face, then returns to red platforms and open block frames. Move through the square openings and climb to the cannon above the final frame. Enter it to reach The Grid. If you have fallen onto an earlier track, identify the nearest studded wall and rebuild the climb from its protruding steps.
The Grid: momentum jumps, magnetic panels and yellow rails
Climb the dark platforms inside the cyan borders toward the metal supports. Check the top of each platform before jumping: some of the large glowing outlines stand above or behind a much smaller landing. Keep the phone over the dark surface as you move through the opening frames.
The opening television explains the momentum high jump: flip forward, release the directional controls, then jump. Use that sequence to reach the conveyor above the monitor, then cross to the small cyan platforms and spring pad. Holding forward throughout the jump leaves out the release shown by the tutorial.
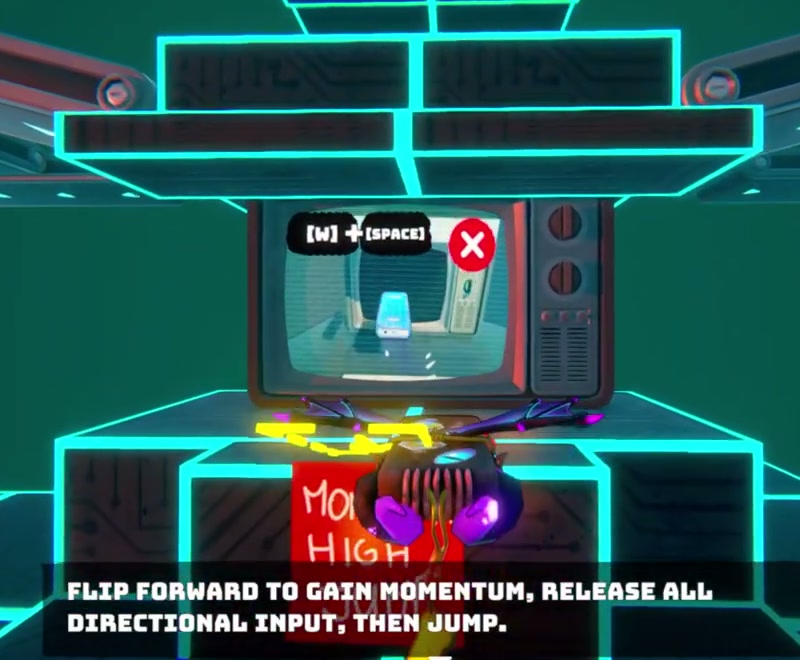
Climb past the metal supports to the yellow rail. Land on the glowing line and ride it through the turns toward the green-outlined platforms. Leave the rail for the broad green landing. The next section uses orange vertical panels beneath horseshoe-shaped magnets: jump toward a panel’s face, then launch away toward the next green landing or yellow rail. These orange faces are part of the route, so avoiding every glowing orange surface prevents you from making this crossing.
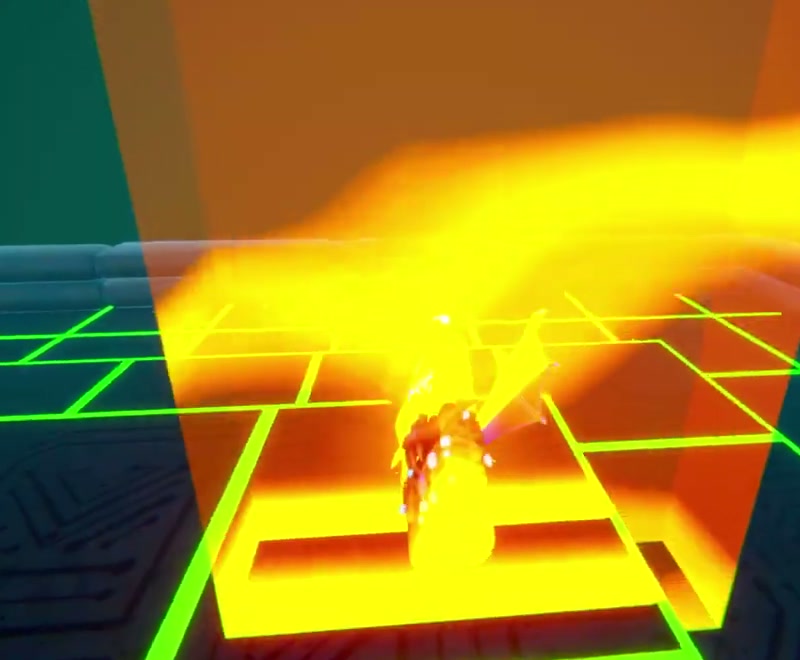
After this section, follow the arrow-marked gray conveyor and rejoin the cyan platforms. Use the spring pad to climb the small landings beside the wall. The later yellow rail brings you back to another conveyor and the high-jump sequence. Follow the conveyor arrows, use the momentum jump at the rise and pass through the cyan-framed opening beyond the High Jump sign.
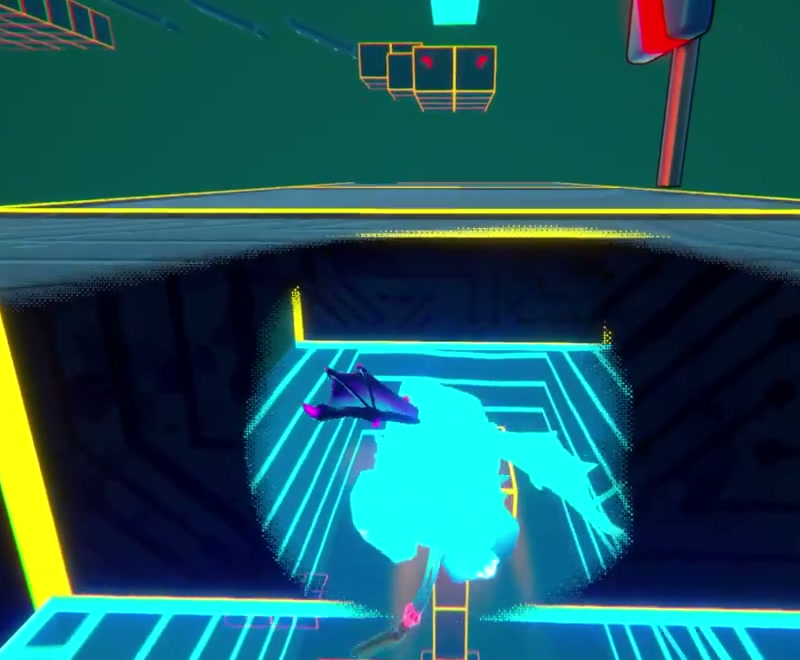
After the last narrow yellow route, reach the cannon on the dark square platform. Enter it for the launch into The Fridge. A STOP sign or a framed opening encountered earlier in The Grid is an obstacle along the course; the cannon is the transition to the next area.
The Fridge: shelves, food containers and narrow bars
Start across the pale refrigerator shelves and the tops of the food containers. Several of the white surfaces sit at different heights despite blending into the blue background. Aim for the horizontal shelf or container lid, then turn toward the next one after landing. The bottle and can shapes give you clearer landmarks than the surrounding ice-blue walls.
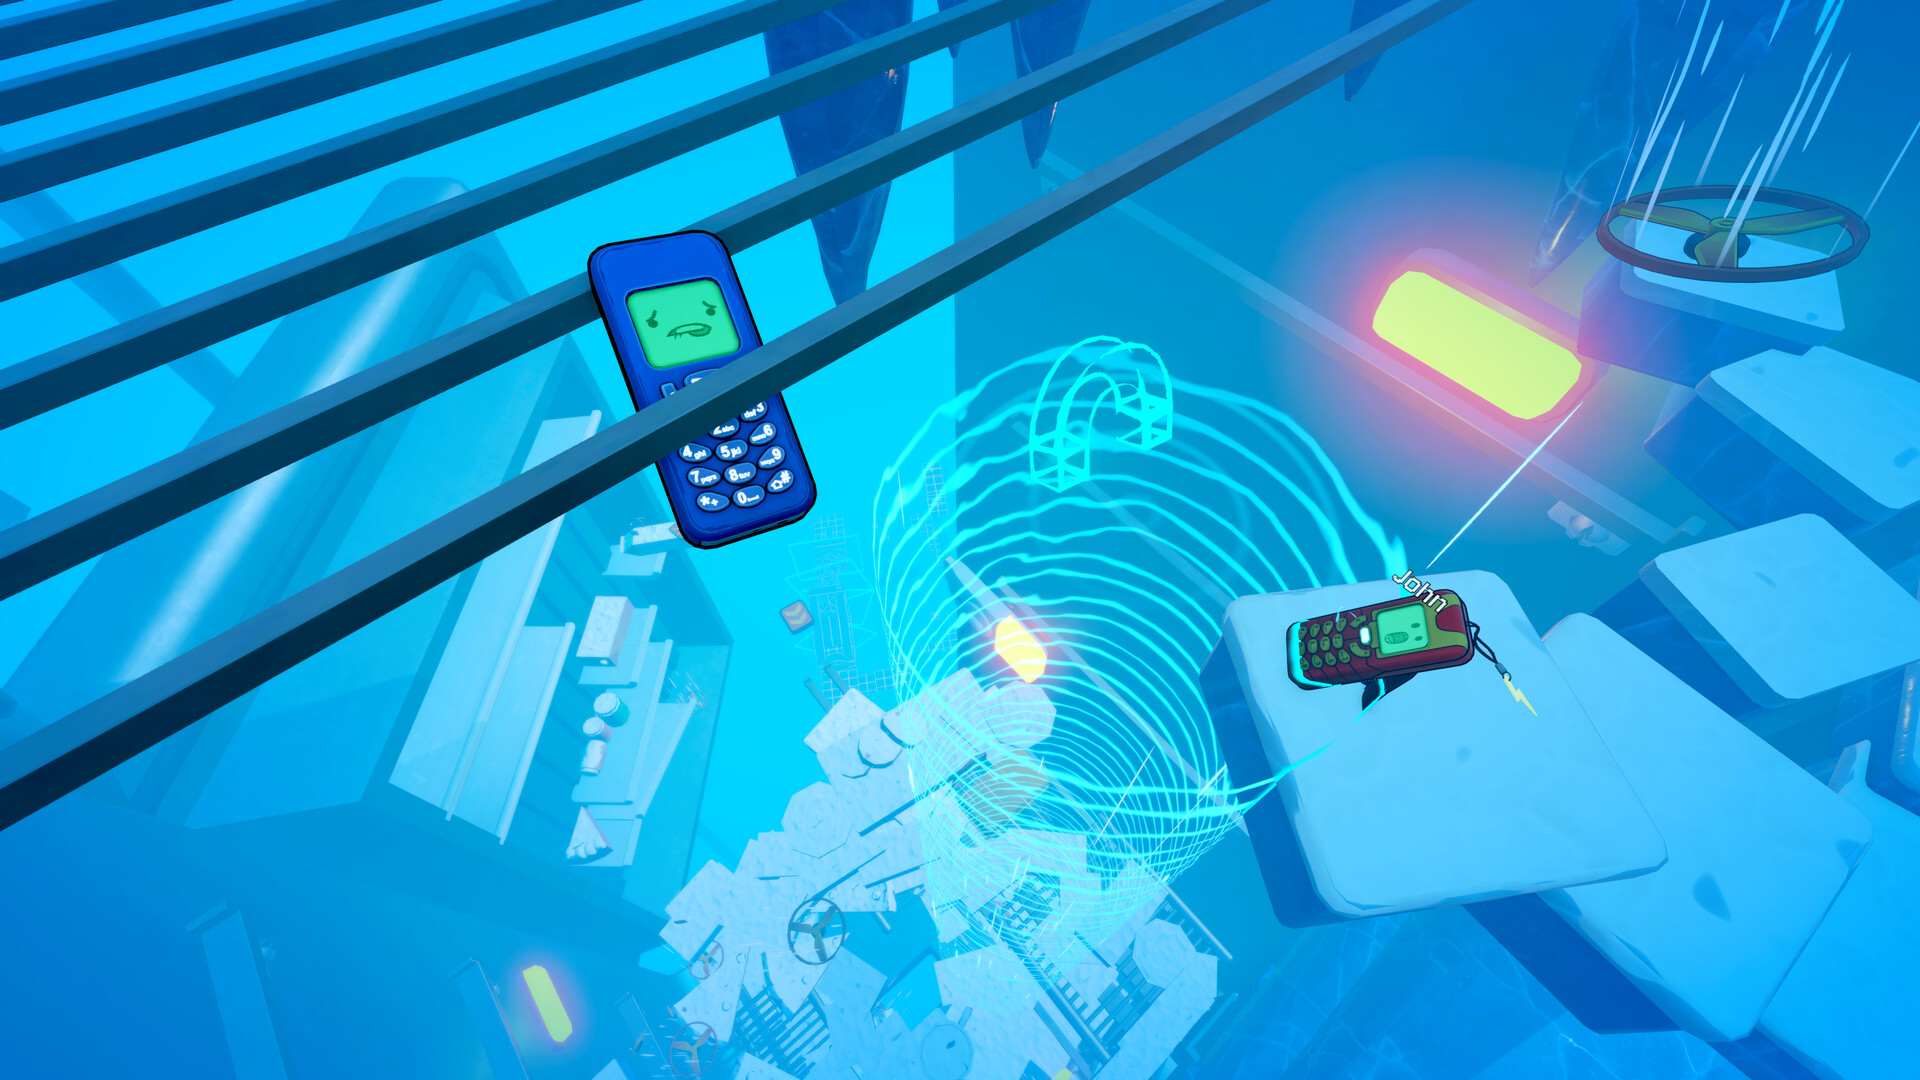
The orange-rimmed fans create visible upward streams between the shelves. Move into a stream to rise, then steer onto the white shelf beside it. Continue from the container lids and narrow bars toward the next fan. Before leaving a bar, pick out the pale landing beyond the stream; the tall bottles can hide it when the camera sits low behind the phone.
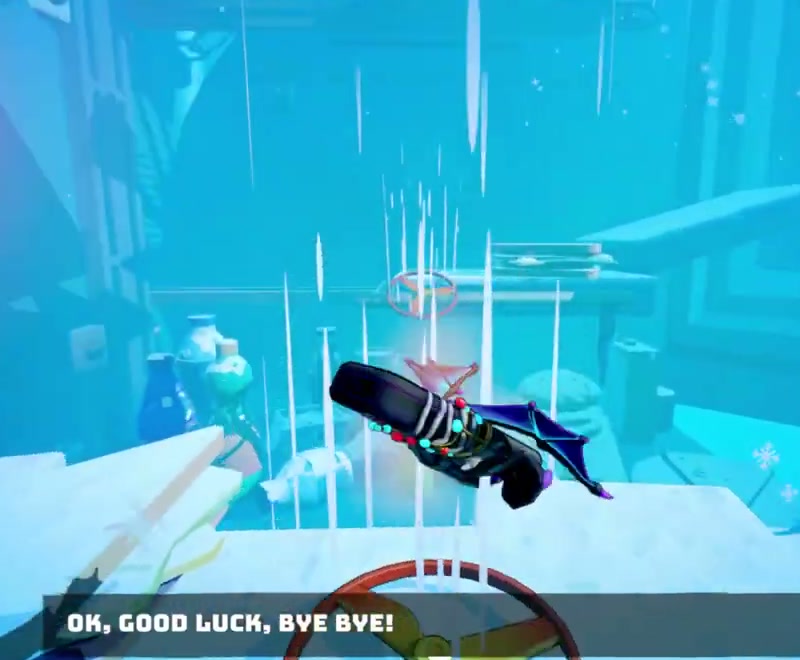
The upper route crosses the small white platforms, the blue cake-like ledge and the final narrow approach to a cannon. Keep the next solid landing in sight through this sequence. If a jump leaves you below the upper shelf, try to catch a lower white surface and return around the container rather than jumping repeatedly against its underside. The cannon at the end sends you into Blanket Fort Kingdom.
Blanket Fort Kingdom: follow the lights to the castle towers
Begin on the red cushion and follow the trail of large yellow lights upward through the purple platforms. Keep the next lit circle in front of the phone as you rise. The light trail leads between the cushions and furniture, so use it to choose a direction when several purple surfaces overlap in the camera.
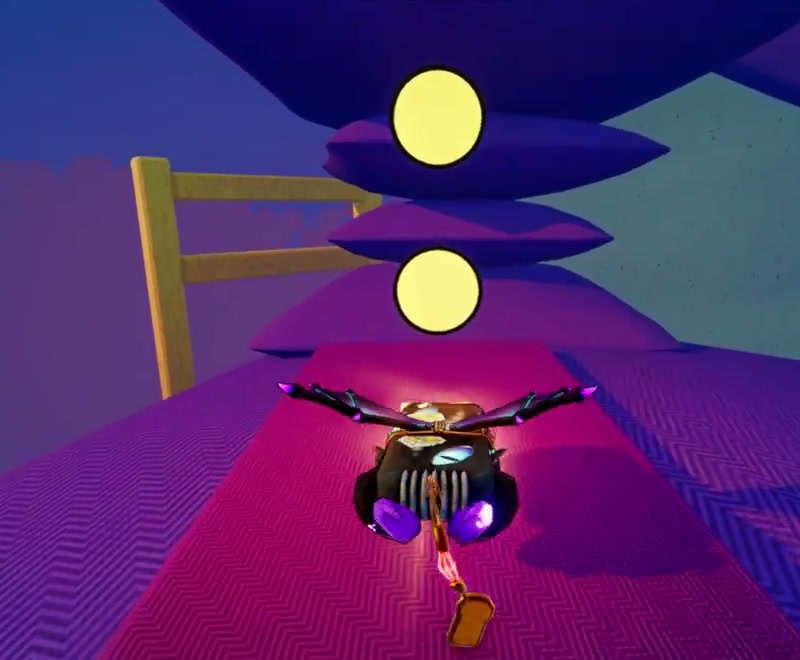
The lower route passes a lamp, chair-shaped platforms and the wooden furniture supports. Where the climb takes you beneath a table, return to the tabletop by using the projecting purple ledges beside its legs. From above the table, the next lights lead toward the padded wall and the higher purple platforms. A landing below that wall is part of the approach; aim upward along the lights instead of back toward the lamp.
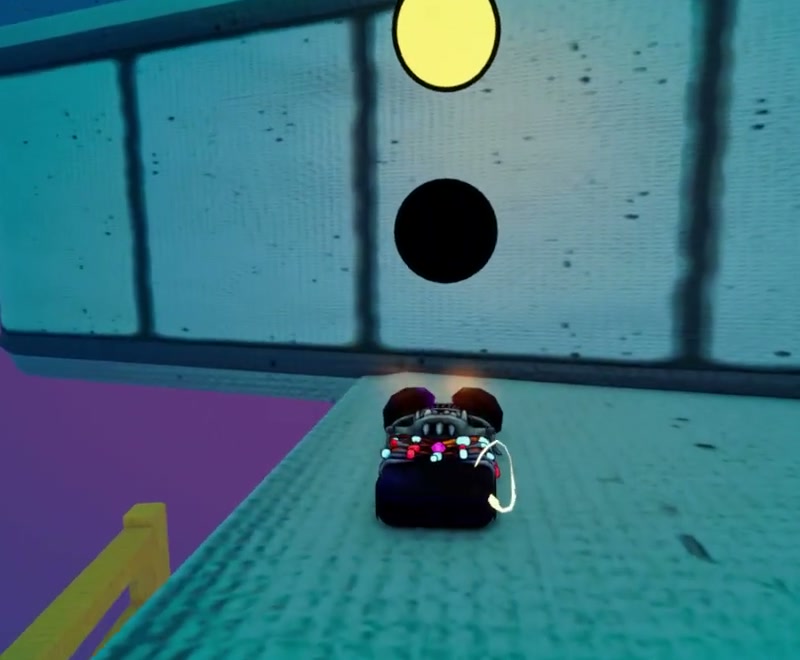
Continue toward the small yellow cardboard houses. Their flat roofs provide room to line up the gaps between them. Cross the roofs toward the crescent moon and the next line of yellow lights, then climb the purple platforms beyond the houses. The crescent is a useful landmark for this part of the route, but the flat roofs and purple ledges are the surfaces you need to reach.
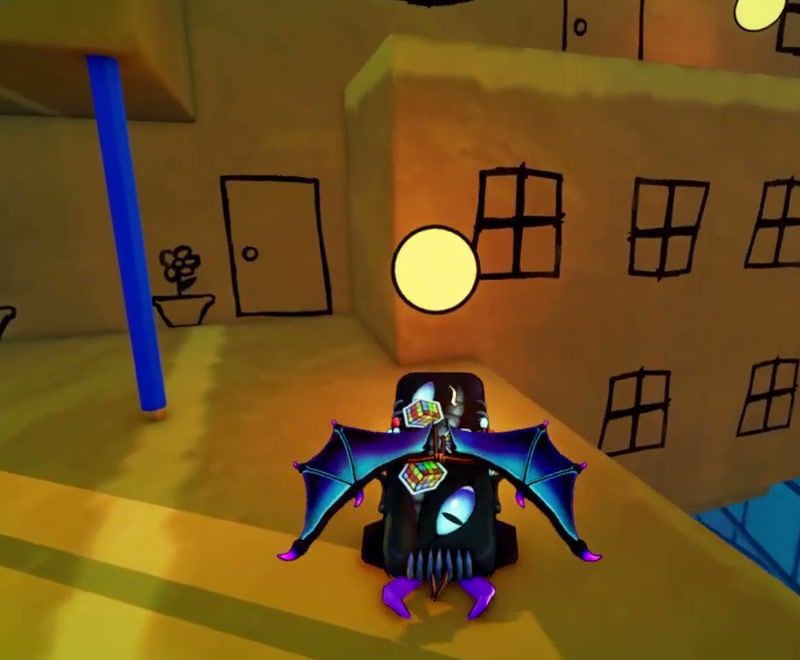
Cross the red pencil-like beams near the top, using their intersections to turn toward the purple landing beside the castle. From that landing, follow the last rising light trail into the castle doorway. The red carpet leads inside the yellow structure.
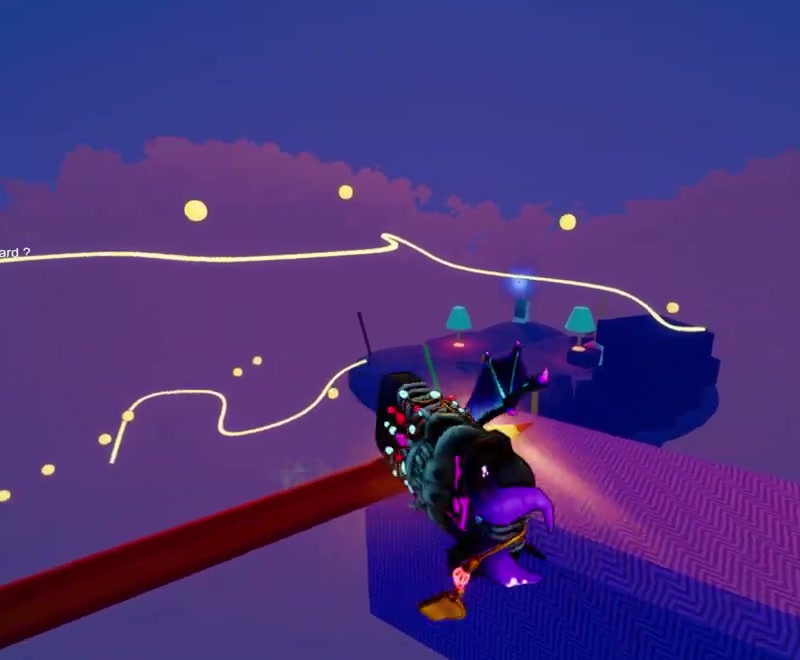
Inside, turn toward the vertical line of yellow circles. Climb beside that wall and out onto the purple shelf wrapping around the exterior of the tower. From the shelf, work upward along the yellow tower toward the next purple landing. If you miss an upper jump but land on a purple shelf below it, reorient toward the tower face and rebuild the same ascent. The exit cannon is on the upper purple platform beside the tower.
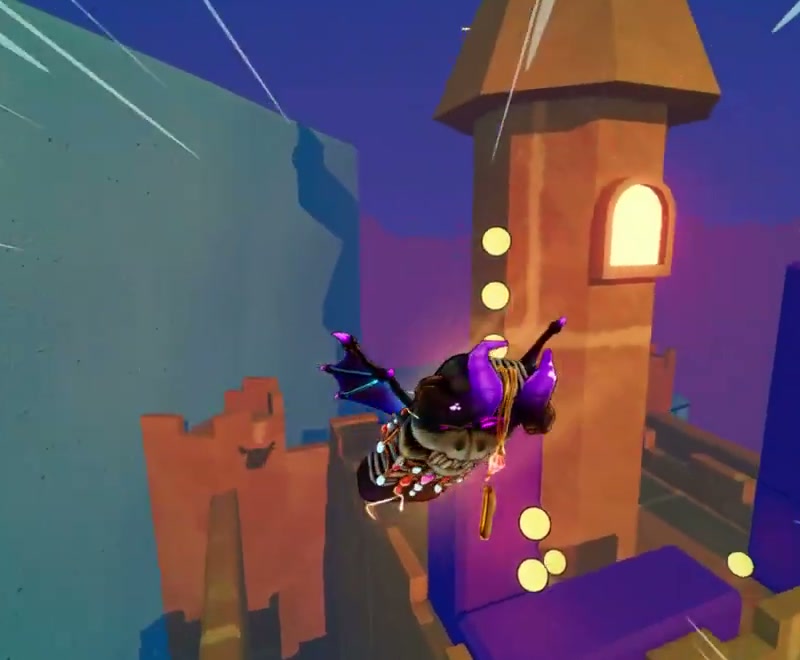
Recycling Core: moving mesh platforms and the yellow structure
Cross from the arrival platform onto the metalwork inside the blue-brick shaft. Move between the mesh platforms and the narrow tops of the beams, turning the camera until you can see the next beam from above. Its broad vertical face can hide how little space there is to land on the top.
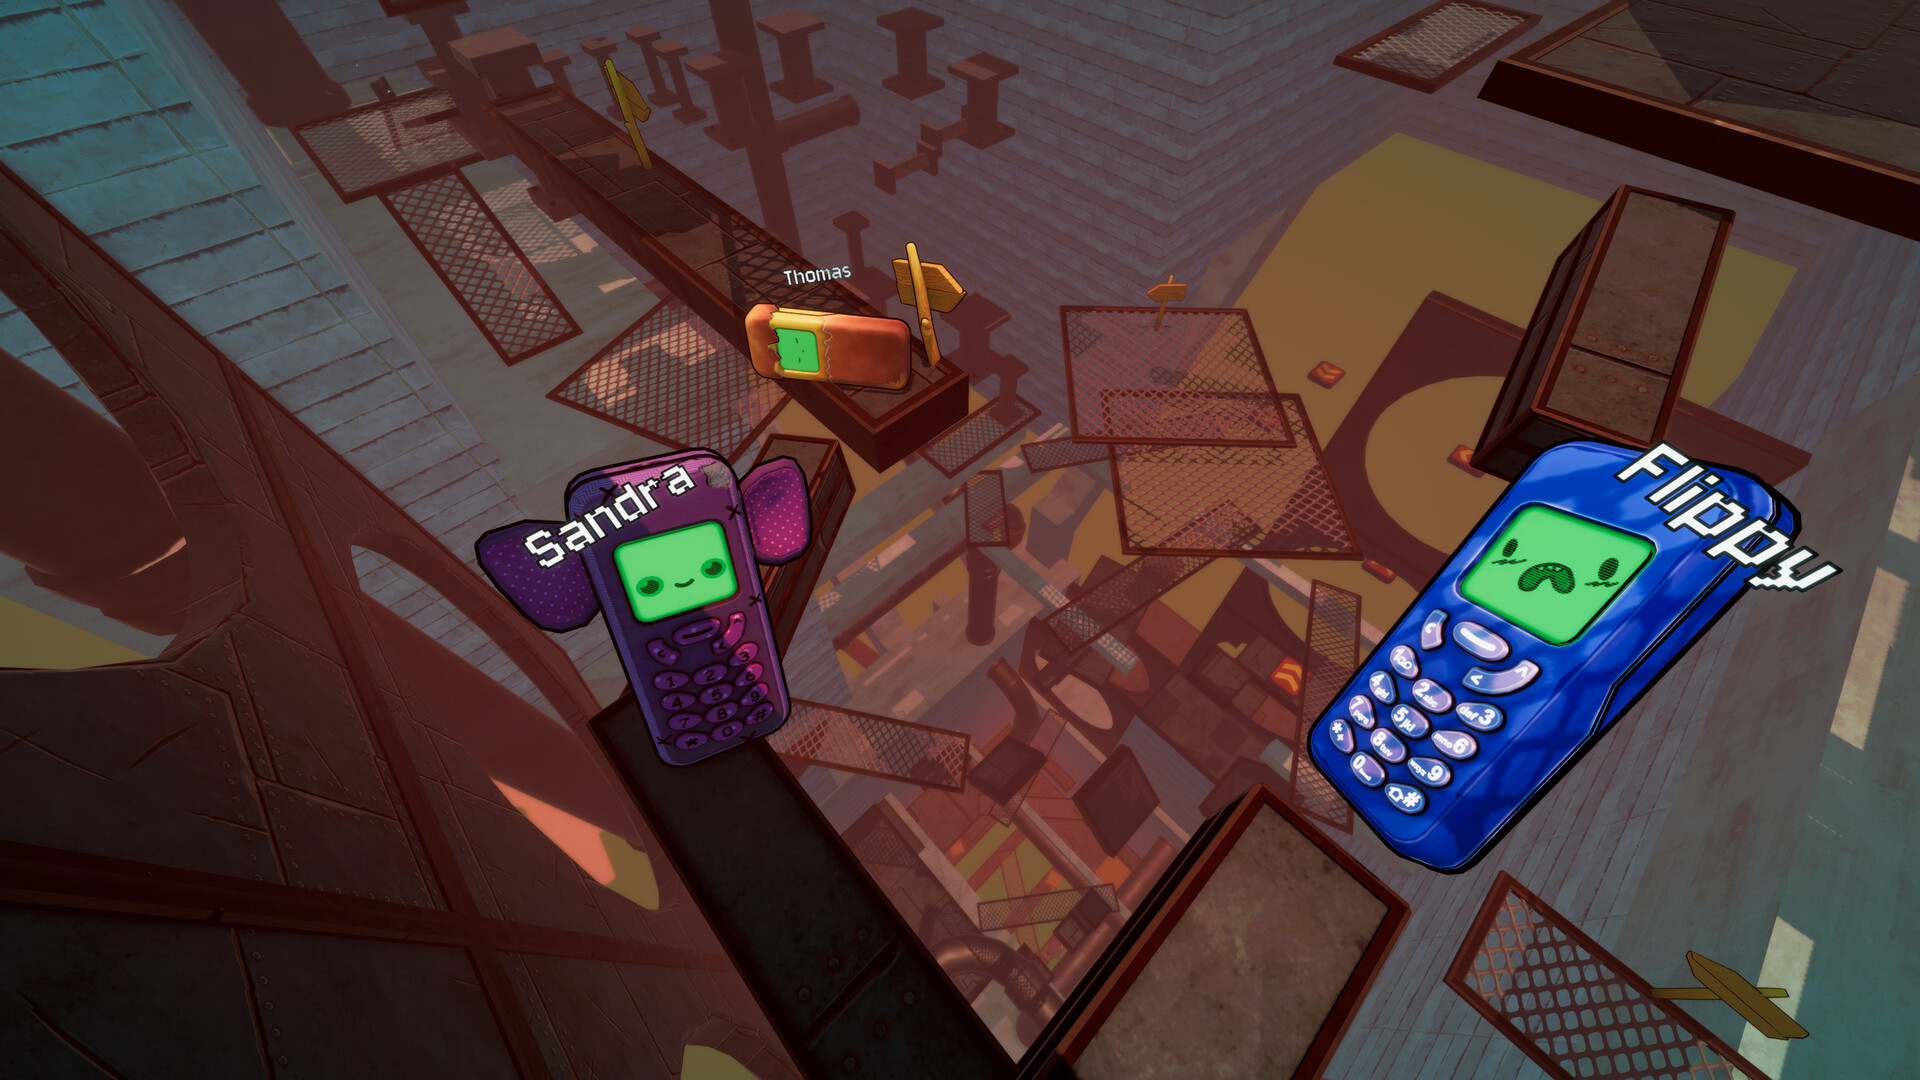
Follow the mesh route upward around the shaft. Some panels rotate between a usable landing and a steep face. Wait on the preceding solid surface until a panel presents its top, then cross it toward the next beam or frame. If a panel is already steep when you reach it, wait on the preceding beam for its flat surface to come around again.
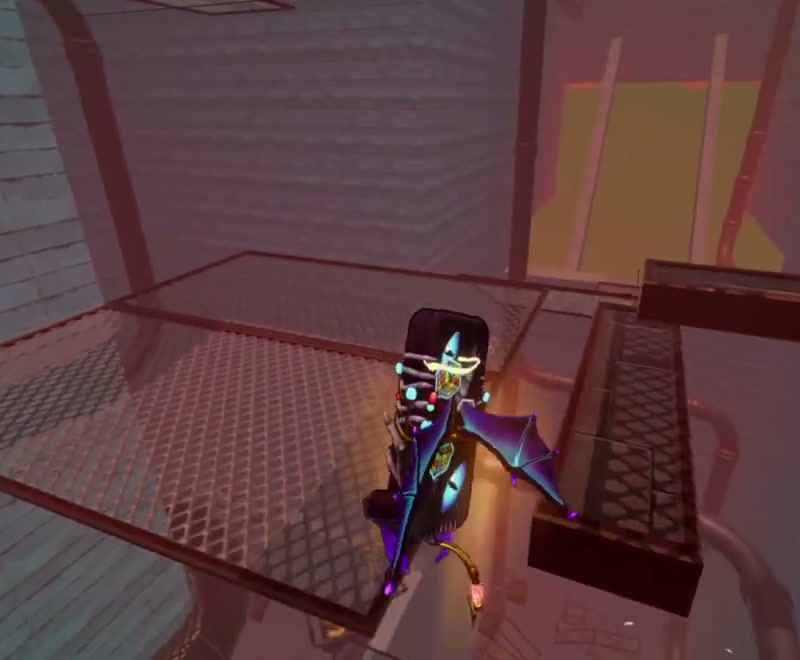
The climb eventually reaches the tall yellow structure. Move from the mesh landing onto its small yellow ledge, face the dark metal frame mounted against the yellow wall and climb along it. Keep your jumps close to the wall here. A long outward launch carries you away from the next frame rather than up to it.
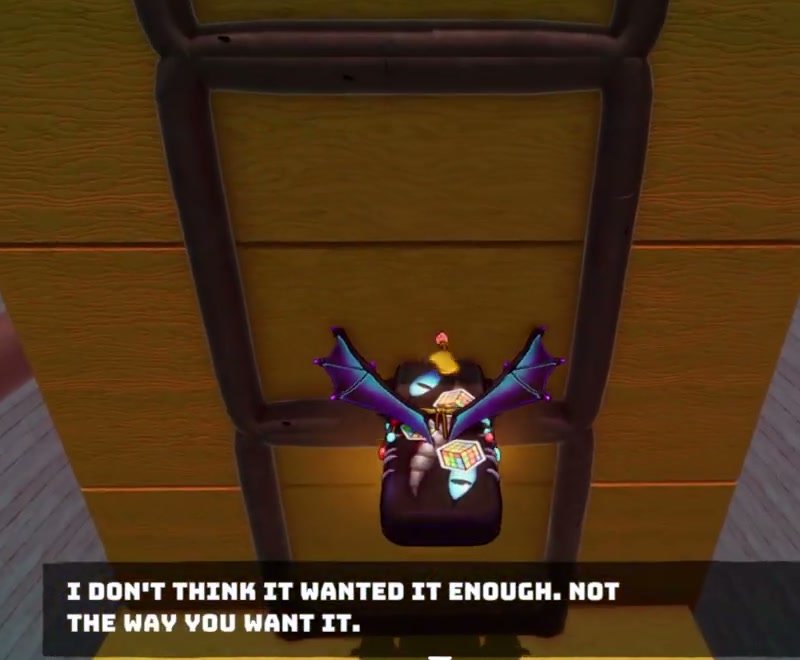
Above this wall, use the suspended frames and yellow platforms to reach the large square metal plate with a circular hole. Line up with the hole from the yellow approach and pass through onto the platform beyond. Climb the staggered yellow shelves after it, then cross the mesh landing toward the next tall yellow column.
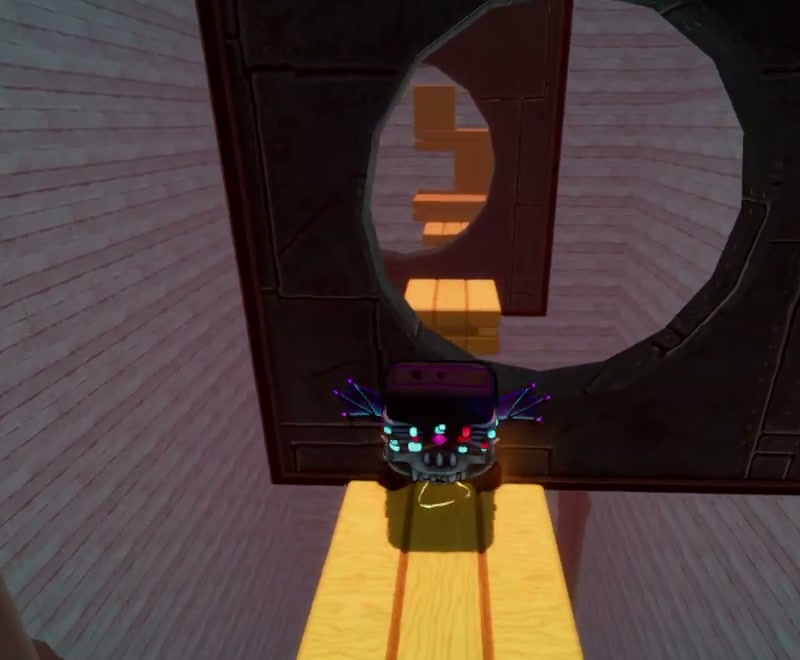
The final sequence alternates between yellow ledges, a vertical face and the mesh platforms beside it. Move around the side of an overhanging yellow block before jumping to its upper shelf. Continue onto the long mesh walkway leading into the round tunnel. The title The End appears here, but the timed Server Room and the closing route still lie ahead.
The End and the timed Server Room
Follow the metal walkway toward the green exit signs, then enter the narrow passage bordered by orange spikes. Stay on the central mesh path. At its bends, turn over the wider mesh sections before moving onto the next narrow stretch. The spikes leave little room for a sideways landing near the edge.
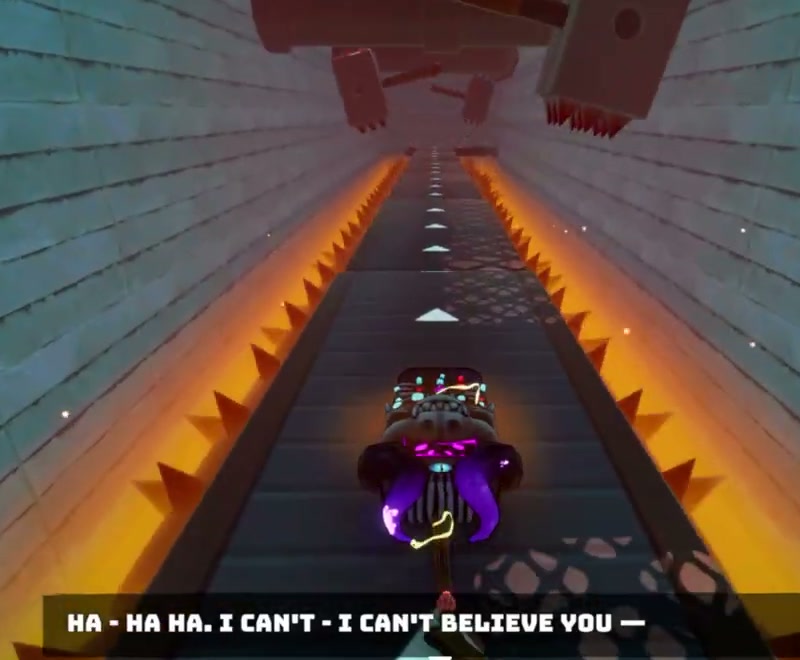
After the spike-lined passage, climb the small metal platforms beside the brick wall. Use the red-and-yellow spring pad to reach the higher mesh landing and continue to the large doorway. Entering it brings up The Server Room and a short countdown. From here, take the glowing battery-shaped pickups marked with a clock as part of your upward route. Collecting them increases the remaining time.
- Cross the opening floor toward the low platforms and climb to the first clock-marked pickup beneath a wall-mounted timer. Make contact with it, then check that the countdown has increased before leaving that side of the room.
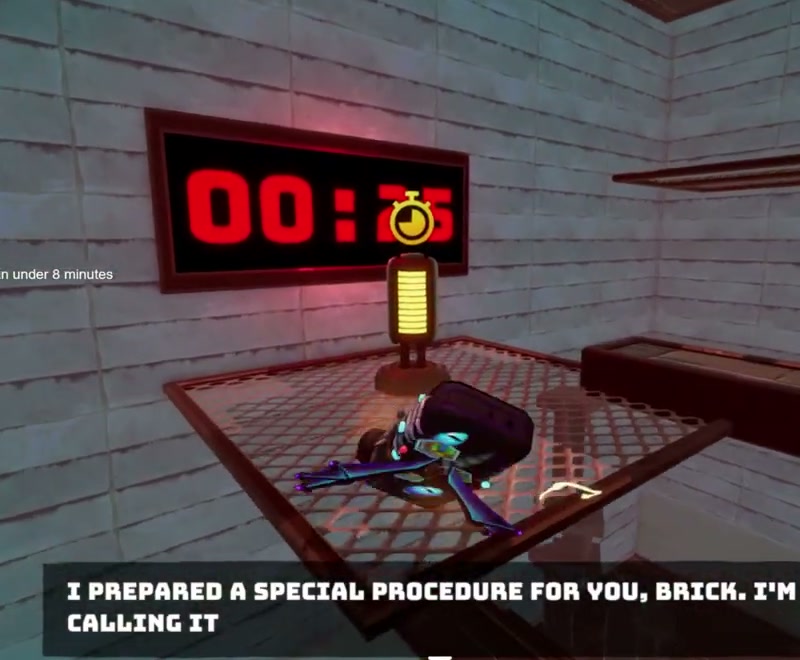
Collect the clock-marked pickup beneath the wall timer. Gameplay: Novasov. - Climb the projecting dark trays and metal frames beside the wall. The route passes the large dark opening in the wall and continues up the mesh and suspended frame landings. Use the horizontal portions of the frames as steps to gain height.
- At the upper frame, turn toward the glowing pickup on the tray beside the large horizontal pipe. Reach that tray and collect it before crossing farther into the room. Its added time gives you room for the next climb.
- Cross the narrow pipe and the dark platforms toward the next clock-marked pickup on the opposite side. Climb onto its tray, collect it and continue up the projecting platforms along the brick wall.
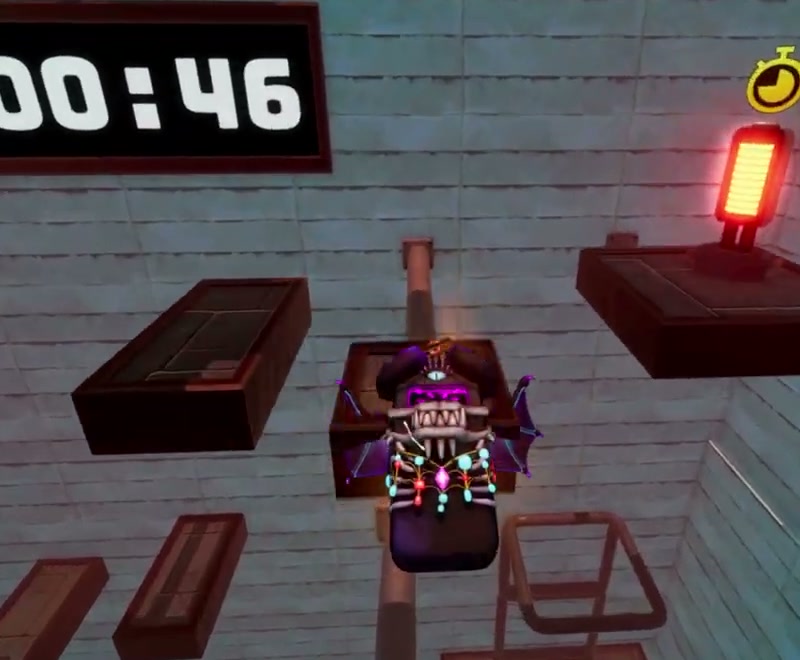
Take the upper clock pickup before continuing to the final platforms. Gameplay: Novasov. - Take the upper mesh panels and suspended trays to the gate platform. Cross the narrow mesh walkway and reach the glowing object at its far end, in front of the machine. Reaching it ends the timed climb and starts the confrontation.
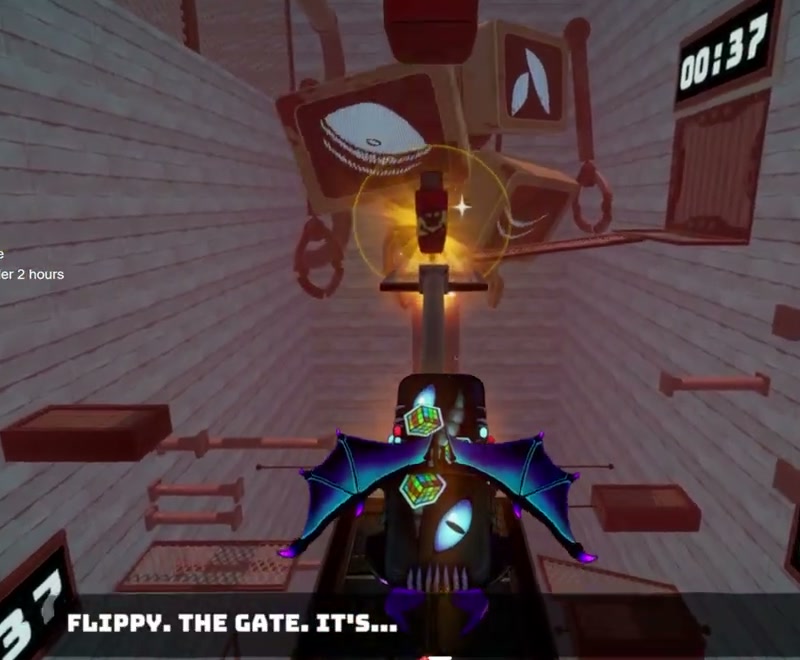
Reach the glowing object at the far end of the upper mesh walkway. Gameplay: Novasov.
Keep the pickups in your route even when a nearby platform looks like a faster way upward. The countdown continues while you line up jumps, and bypassing a clock pickup removes the extra time available for the trays above it. After a missed jump, look for a solid landing underneath you before trying to recover against the wall; the timers and pipe help you identify which part of the room you have returned to.
Let the confrontation finish after reaching the glowing object. Once you can move again, reach the cannon below the defeated machine and enter it. Its launch takes you out of the industrial room and into the final blue-lit passage.
The last outdoor platforms and the credits
Follow the arrow-marked path between the large pipes toward the bright opening. Jump from the end of the path onto the grass-topped rock ledge, then continue across the small grassy islands. One of the islands has a red spring pad; use it to cross the next gap and keep moving toward the broader outdoor path.
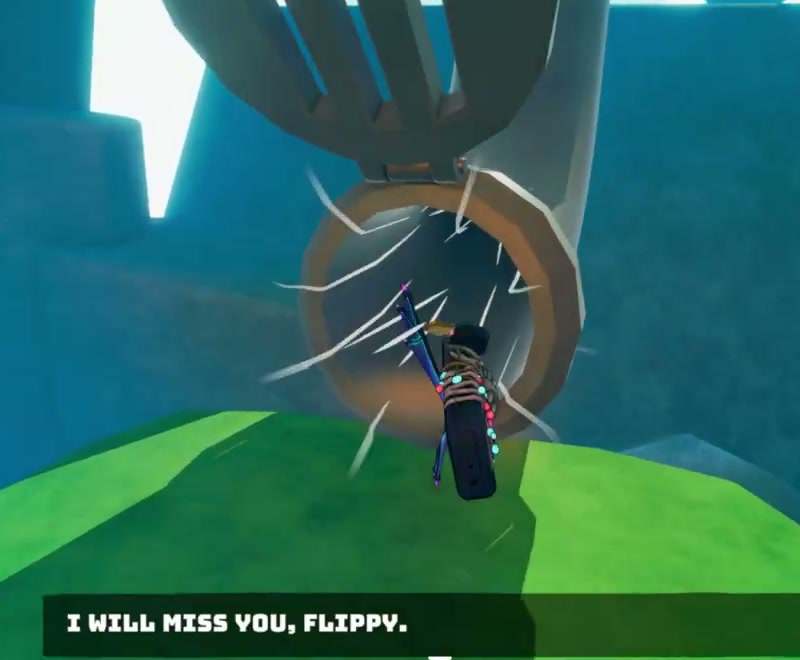
Pass the signboard and follow the dirt path between the rock walls. Continue past the wooden direction signs and through the white fence opening. The final grassy platform faces a round drain with a metal grabber-like structure above it. Move into that opening to trigger the closing sequence and credits. The game displays The End after the credits; the earlier area title alone does not mark the finish.