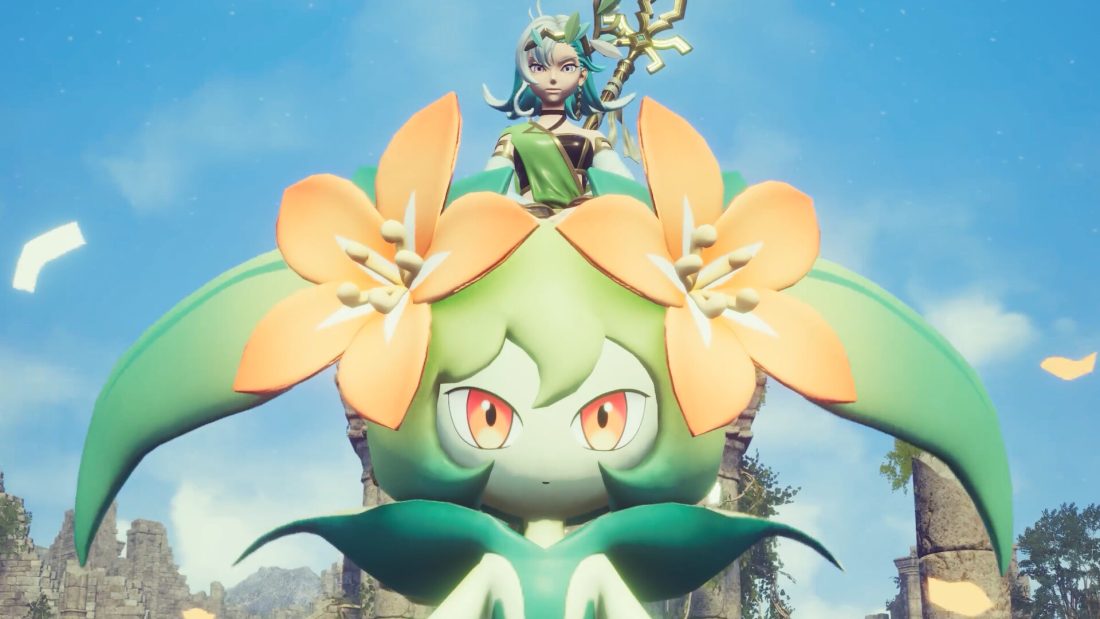
Official patch feed checked on August 8, 2026 for Palworld 1.0 through v1.0.2.101103. You do not need nine unrelated teams for the Hard Mode towers. Keep one damage engine, reserve one party slot for the current counter, and move burst damage to the heal, summon, teleport, or charge that can actually ruin the attempt. A team that is still healthy at 0:00 needs more firing uptime; a team that collapses early needs protection or earlier recalls.
Unlock the rematches, then identify what is losing the run
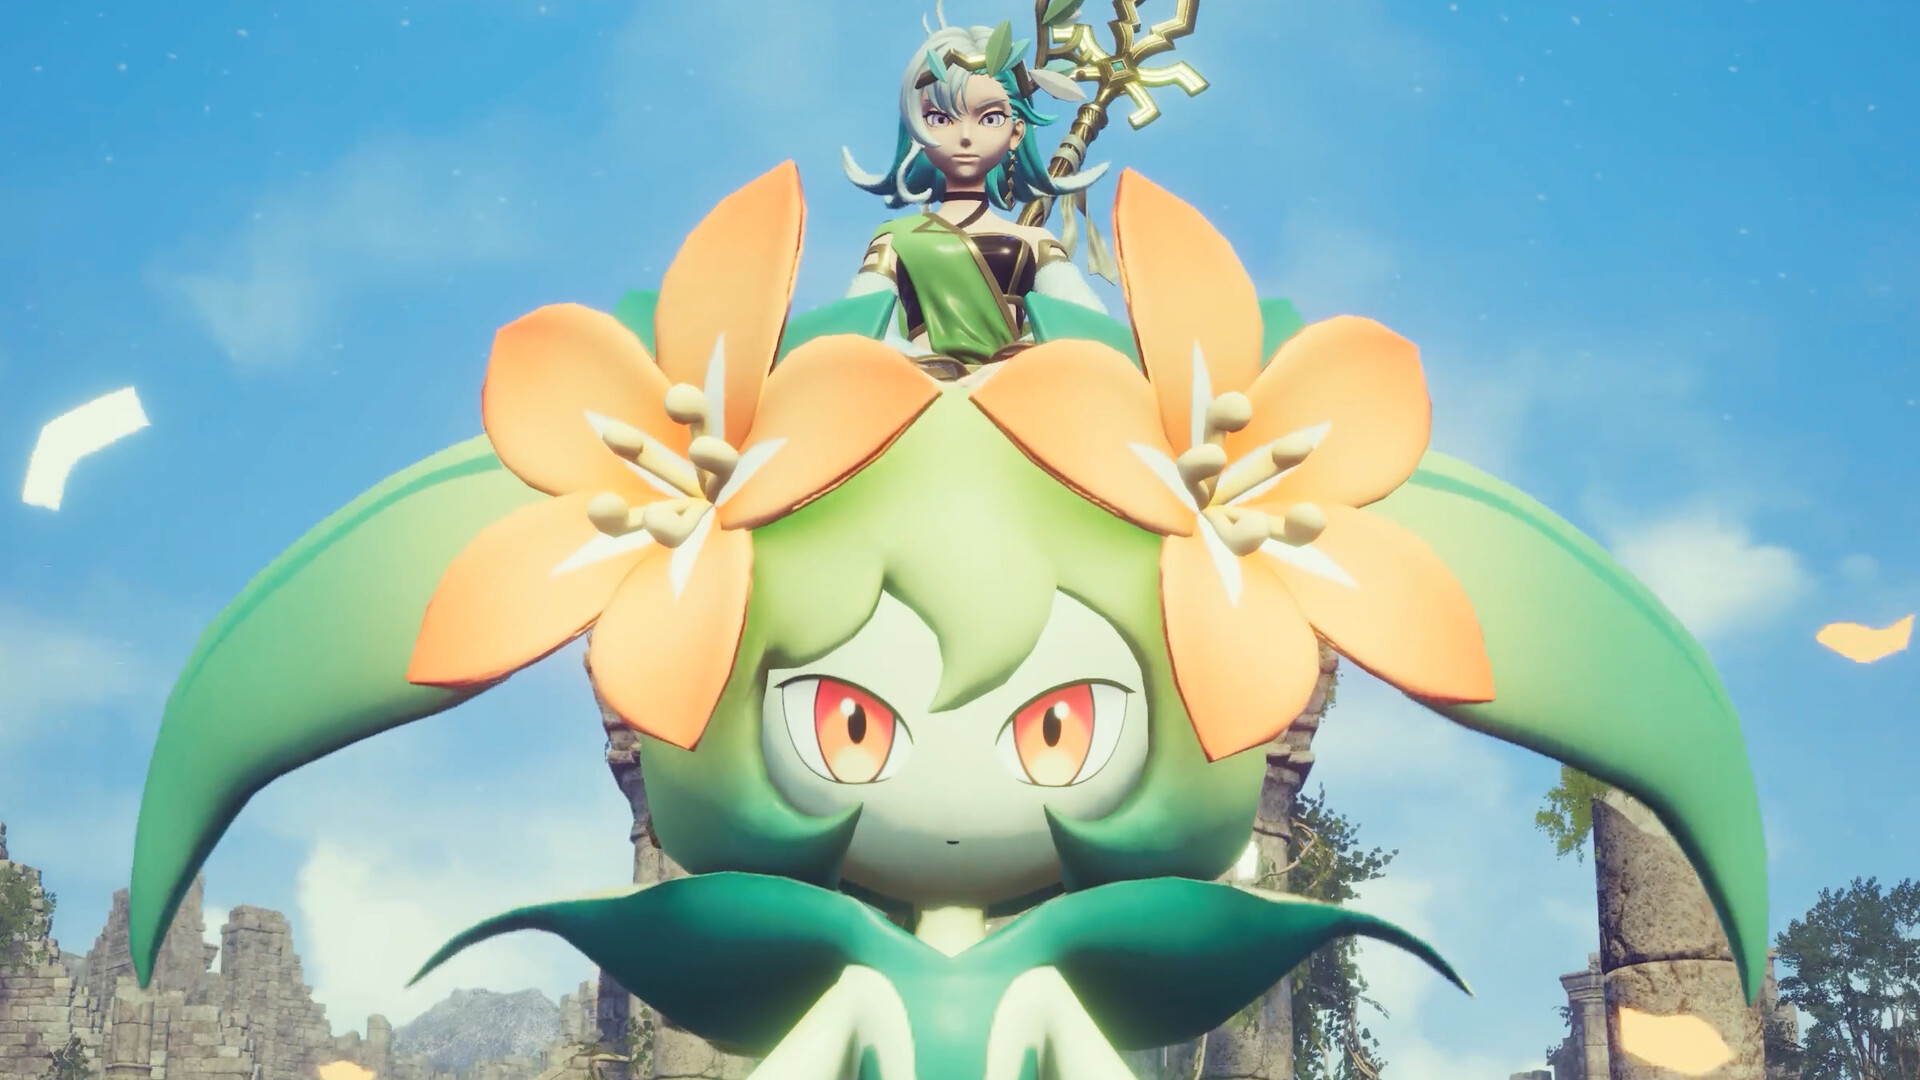
Palworld 1.0 opens the Hard Mode tower battles after you defeat the Azure Covenant Tower boss. If that fight is not complete, use the normal Palworld tower route first. Hard Mode uses a five-minute limit rather than the older ten-minute format, and several bosses have changed attacks. Old clear videos and pre-1.0 team lists can therefore point at the wrong unlock rule or damage target.
Give the first rematch one job: expose the scarce resource. If the boss bar stops moving whenever your Pal is recalled, the missing resource is player damage or a safe firing lane. If Pals disappear from the rotation before their next Partner Skill, the problem is survival. If the run is stable until Lily heals, Saya summons enemies, or Zenara begins charging, the party is usable and the cooldown schedule is wrong.
Victor has a separate version check. The official v1.0.2 notes fixed a multiplayer bug that could make Victor and Shadowbeak disappear after a teleport attack. When the target vanishes and never returns, update the host and every client before rebuilding the team.
Keep the damage engine and change only the flex slot
Choose the way your five-minute damage will continue while Pals move or recover. The counter species, elemental conversion, or resistance piece can change between rooms; the part that keeps the health bar falling should not.
Player-fire with a lifesteal anchor
Felbat or Lovander can anchor a weapon-focused party by returning health while the player keeps shooting. Fill the supporting places with different species that improve the same plan, then use the remaining flexible place for the current element or defense. Palworld 1.0 changed almost all same-species Partner Skill stacking, so the old four-Gobfin recommendation is not a current foundation. Different species may still contribute to the same player-fire plan without relying on duplicate copies of one Pal.
This engine is working when boss health continues to drop during Pal recalls. If the active Pal is doing nearly all the damage, improve the weapon, ammunition reserve, or safe shooting time before changing the lifesteal anchor.
Knocklem as a rotating Pal engine
A Pal-led party can cycle Knocklems, activate their Partner Skills, and recall each one before lethal pressure removes it. The player still fires between skill windows. Recall earlier if two Knocklems are lost in quick succession; preserving another deployment and skill cycle is worth more than finishing one risky animation.
Bellanoir Libero for burst
Bellanoir Libero has a documented community burst route for the rematches, but it is an alternative rather than a permanent best team. Its status layer must change against Marcus: Faleris is a Fire target, so a Burn-dependent package stops contributing. Use Water pressure or a non-Fire status such as Poison for that fight.
Match each tower to the moment that deserves burst
Bring strong available armor and shield, a late-game ranged weapon with enough ammunition, healing supplies, buff food, and resistance for the incoming element. Do not treat those upgrades as interchangeable. More offense will not repair a team that loses every Pal, and more defense will not repair a calm timeout.
| Boss | Counter or adjustment | Do not spend your reserved damage until |
|---|---|---|
| Zoe and Grizzbolt | Ground pressure and continuous lateral movement | A tracking attack has passed and the firing lane is clear |
| Lily and Lyleen | Fire plus sustained player damage | Lyleen begins healing |
| Axel and Orserk | Ground and Ice coverage | The dangerous Dragon sequence finishes |
| Marcus and Faleris | Water; replace Burn-dependent status damage | The airborne target settles into a reliable line |
| Victor and Shadowbeak | Dragon and deliberate retargeting | The real boss is visible after a clone or teleport |
| Saya and Selyne | A fast add-clear tool | The summoned enemies enter the arena |
| Bjorn and Bastigor | Fire, resistance, and conservative recalls | A safe opening will not break the Pal rotation |
| Auri and Shaolong | Ice or Dragon | The incoming sequence ends |
| Zenara and Astralym | Raw damage; no elemental weakness | The wing-charge parts become the target |
Tracking fights: Zoe, Axel, Marcus, and Auri
These four punish damage that begins at the wrong time. Against Zoe, circle instead of treating one object as permanent cover; tracking attacks can still catch a stationary player. Break aim when a chain connects, restore movement, and only then resume Ground damage.
Axel’s Ground and Ice coverage matters after the Dragon sequence, not while you are trading into it. Dodge first, then punish the recovery. If the shield disappears during that sequence, shorten the attack window and recall the exposed Pal instead of assuming the counter element is wrong.
Marcus turns accuracy into timer economy. Track Faleris with cheaper, steadier fire and keep rockets or equivalent heavy shots for a settled line. Use Water, and move any Burn-dependent status place to Poison or another non-Fire contribution. A missed heavy shot costs both damage and the opening in which it could have landed.
Auri follows the same commitment rule with Ice or Dragon. Start the burst only in a visible opening and leave before the next sequence. Repeated shield loss at the end of an attack is a signal to stop the burst earlier, not to extend it in an attempt to recover time.
Mechanic fights: Lily, Victor, and Saya
Lily is a scheduling check. Keep ordinary Fire and weapon damage moving, but hold one high-output tool until Lyleen starts to heal. The correct response removes the recovered health without exhausting the rest of the clock. When every heal lands into empty cooldowns, delay the next opener.
Victor is a target-identification check. After clones or a teleport, confirm that the real health bar is moving before committing Dragon burst. Stop firing when hits land but the actual bar remains still. If the boss never reappears in multiplayer, use the v1.0.2 version fix rather than treating the disappearance as a combat mechanic.
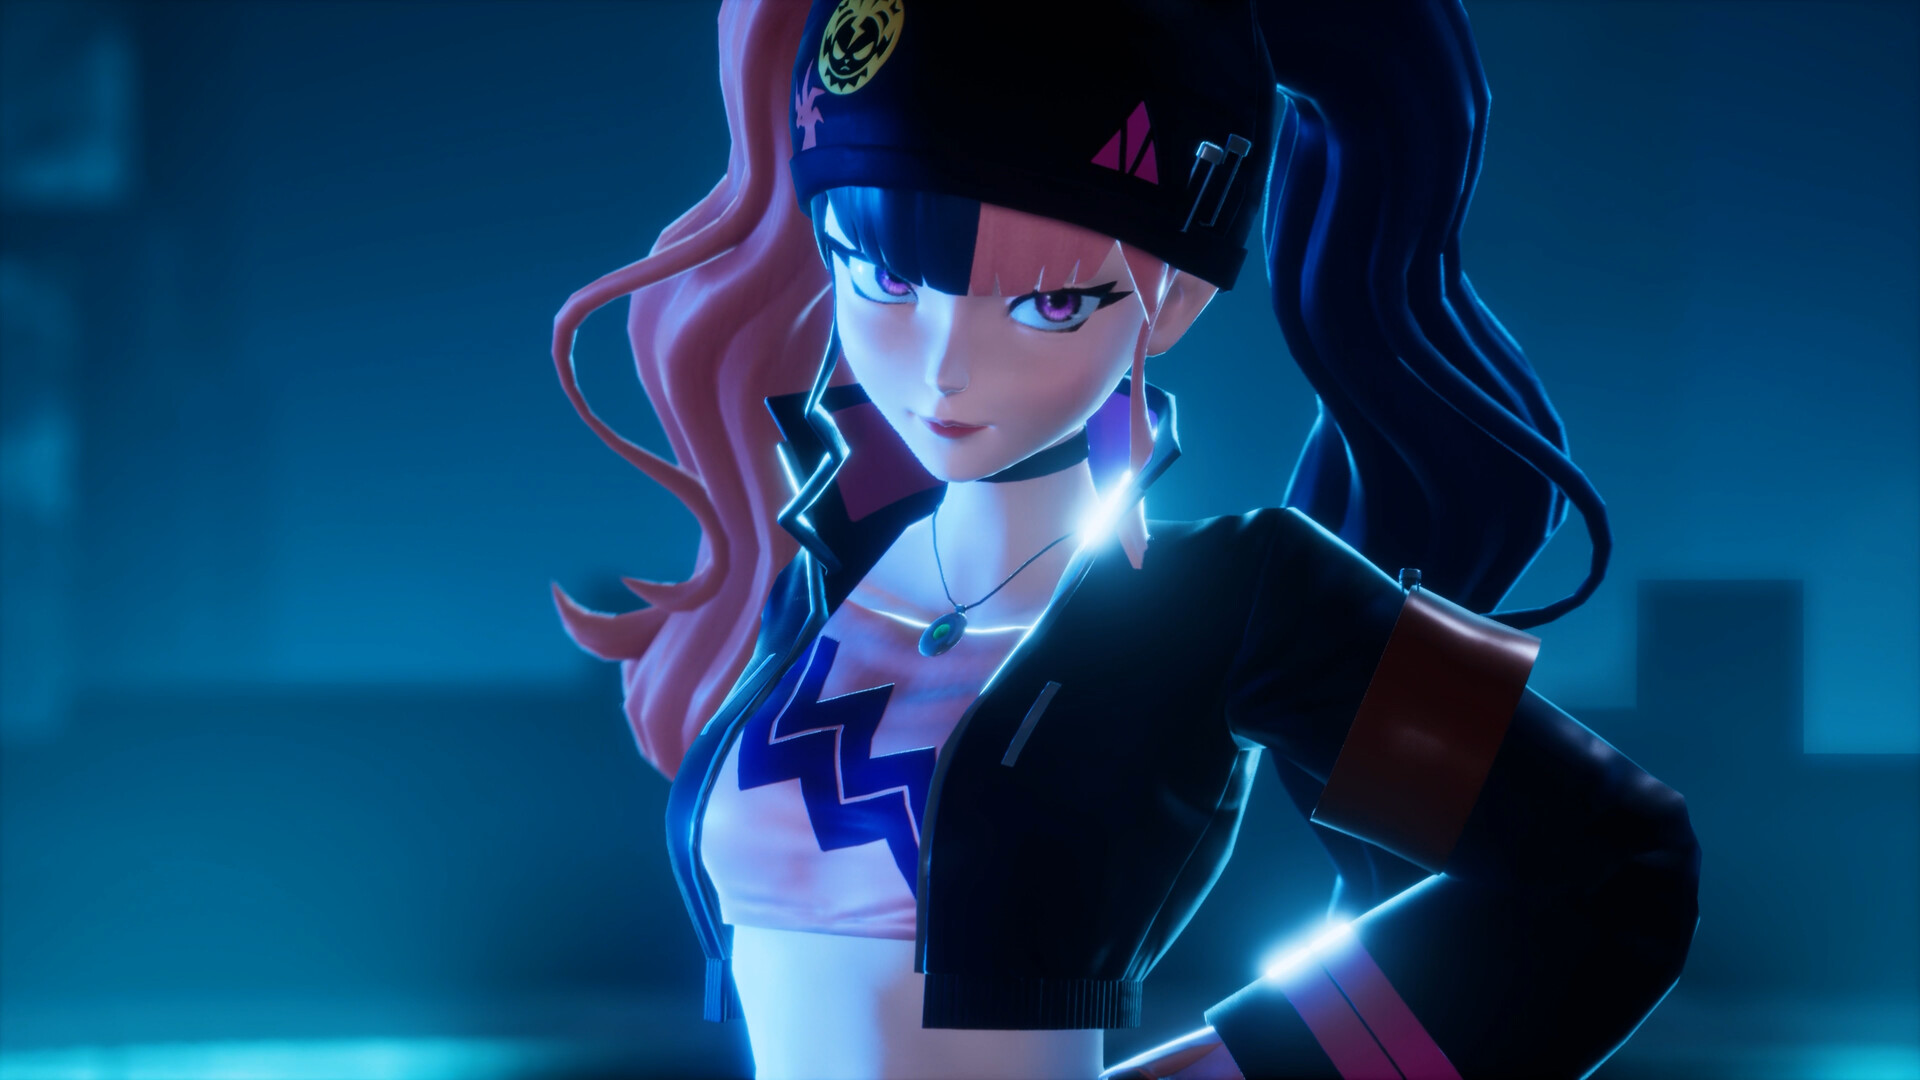
Saya is an add-clear check. Do not empty every rocket and Partner Skill into Selyne at the start. Keep one fast tool ready for the summons, remove them, and return to the boss. If they remain active long enough to split aim or close the movement lane, the lost run began when the reserved tool was spent on the opener.
Attrition and final burst: Bjorn and Zenara
Bjorn and Bastigor test whether the team remains functional through a long health bar. Use Fire, suitable resistance, and an early-recall rule. When Pals are lost faster than they can cycle back, recall at a safer health threshold and trade an offensive accessory for resistance. More aggressive opening damage will not replace a missing combatant later.
Zenara and Astralym have no elemental weakness to exploit. Enter with a level-80 endgame build, a heavy shield, and raw output that can continue through movement. Preserve major cooldowns for the wing-charge sequence. When it begins, redirect damage to the wings and leg orbs. A completed charge, or a charge that begins while every major tool is unavailable, means the next attempt should delay burst until that telegraph.
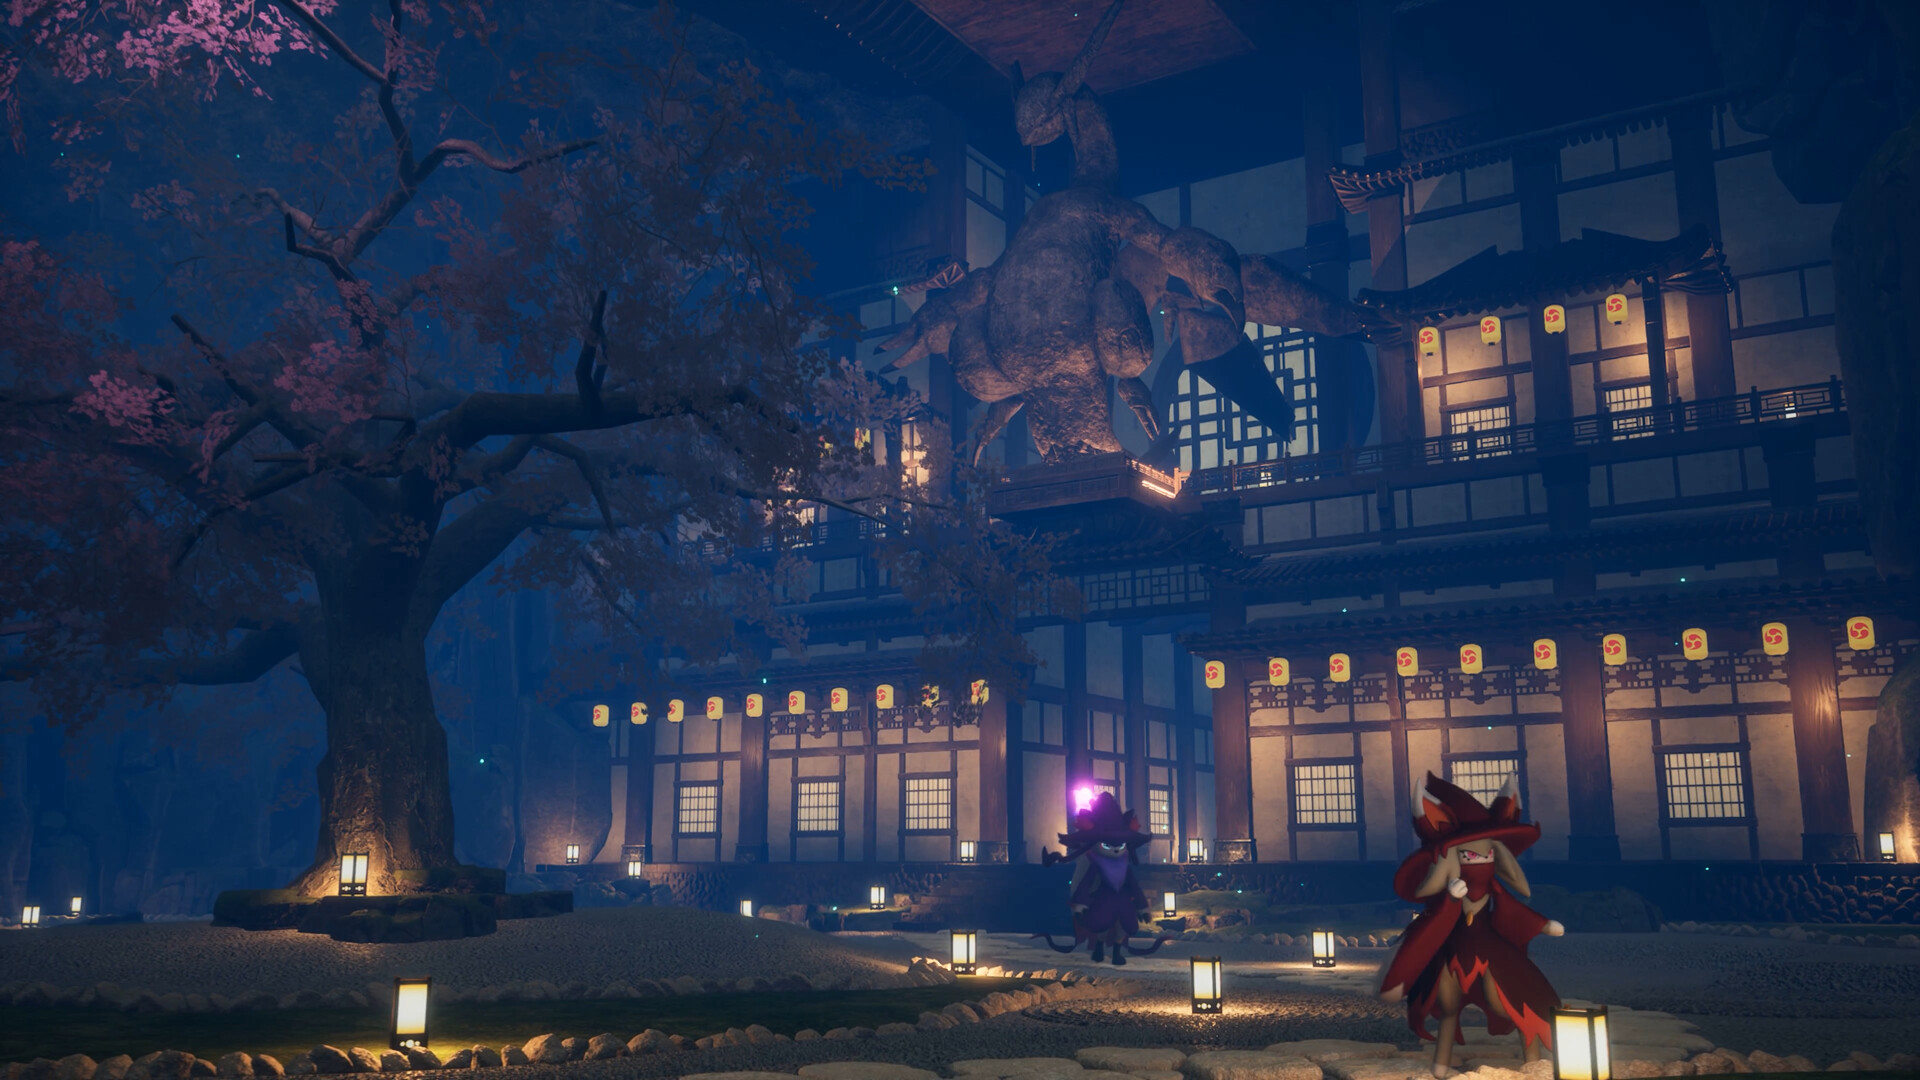
After each clear, keep the engine that worked and change only the counter or the timing that the next boss demands. The full nine-boss set is under control when player fire continues during recalls, injured Pals survive to rotate again, and one burst answer is still available for the room’s decisive mechanic. If one of those three signals disappears, repair that layer instead of rebuilding all five party places.
The official 1.0 notes confirm boss-appearance headgear from these battles. Community sources also report Training Crystals and rare schematics, but the available evidence does not establish exact drop rates or guaranteed repeatability. Plan around the clear rather than an assumed farming rate.
Current game and platform reference: Palworld on Steam.