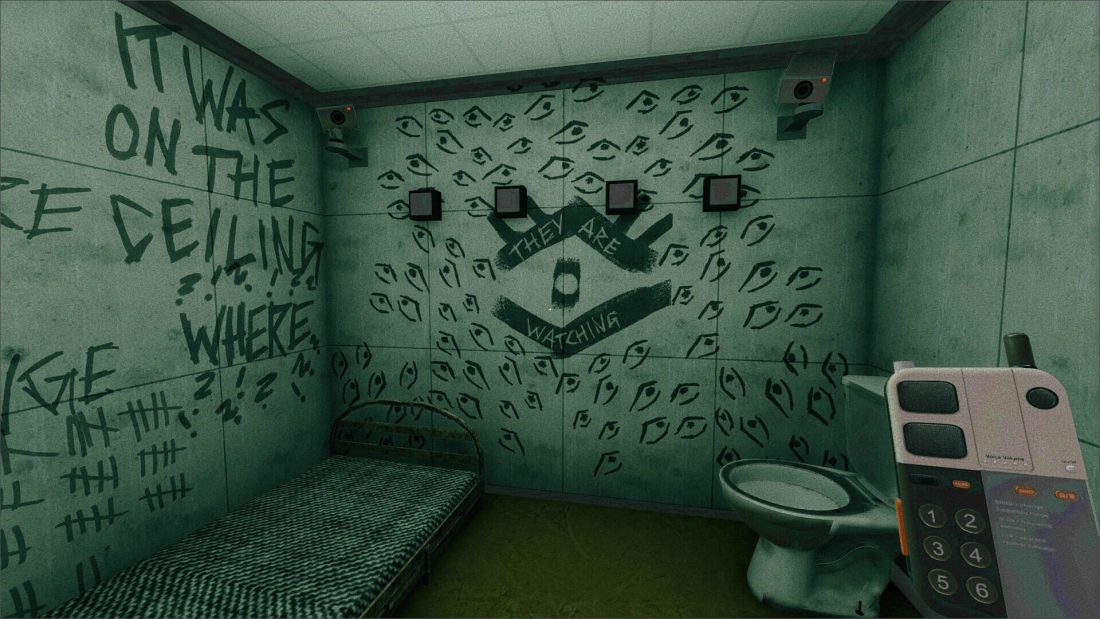
After crossing the pit in both directions, enter the repeating apartment to start Anomaly. This is the first section beyond the demo in United Heist: Facility Zero. From there, you must align the battlefield statues, clear the submarine infections, solve the Hacking rooms and earn a ring from the large cube. The time machine then sends you through a second chapter with swapped roles before the final choice in the forest.
This walkthrough begins at the Anomaly rooms and follows the route to the sacrifice ending. For the opening boxes, generator, card gate and first pit crossing, use the opening and demo walkthrough.
The game randomizes its puzzles when you load into it. The secret ending is the exception: its puzzles are the same for every player. Use the codes, cube IDs and layouts from your own session for the steps below.
Anomaly rooms: choose the pin for the change
The Thief walks through the same apartment repeatedly while Central has a model of its rooms and three kinds of pin. The Thief must describe both the changed object and its location. Central places the appropriate pin at that location, then operates the two confirmation buttons.
Choose the pin by the kind of change. Blue means something has appeared, red means an existing object has changed size, and green means something has disappeared. Blood added to a radio is a blue-pin anomaly. The pin does not match the color of the object or the blood.
| What the Thief finds | Pin |
|---|---|
| Food attached to the ceiling | Blue |
| Blood on the radio | Blue |
| Eyes inside the picture frames | Blue |
| Plants growing over a door | Blue |
| Blood behind a window | Blue |
| Switches added to the entrance door | Blue |
| Enlarged books | Red |
| Reduced tables | Red |
| A missing bookshelf | Green |
| A missing refrigerator | Green |
Check the ceiling for food and inspect the pictures for eyes before leaving an apparently unchanged room. When furniture is missing, tell Central which room it belongs to and where it normally stands. Central needs that location to place the green pin on the model.
The anomaly order varies. If you cannot identify the current change, keep going through the loop until you recognize one of the recurring anomalies. When a report fails, check its position and category before changing the entire answer. A larger book needs a red pin even though the book itself may have an ordinary color. Continue until the apartment lets you leave for the next section.
Battlefield: lift, position and rotate the statues
The Thief’s battlefield has statues, a marked floor and three mode controls on the wall. The modes are 0 for flying, 1 for moving and 2 for rotating. Select flying first so you can see the floor information beneath the statues.
Read the triangular floor symbols to Central. Central enters those symbols into the stone control beside the reference table. This reveals the placement information for the statues. Each statue also has its own symbol and an arrow underneath; report both, rather than identifying statues only by their appearance.
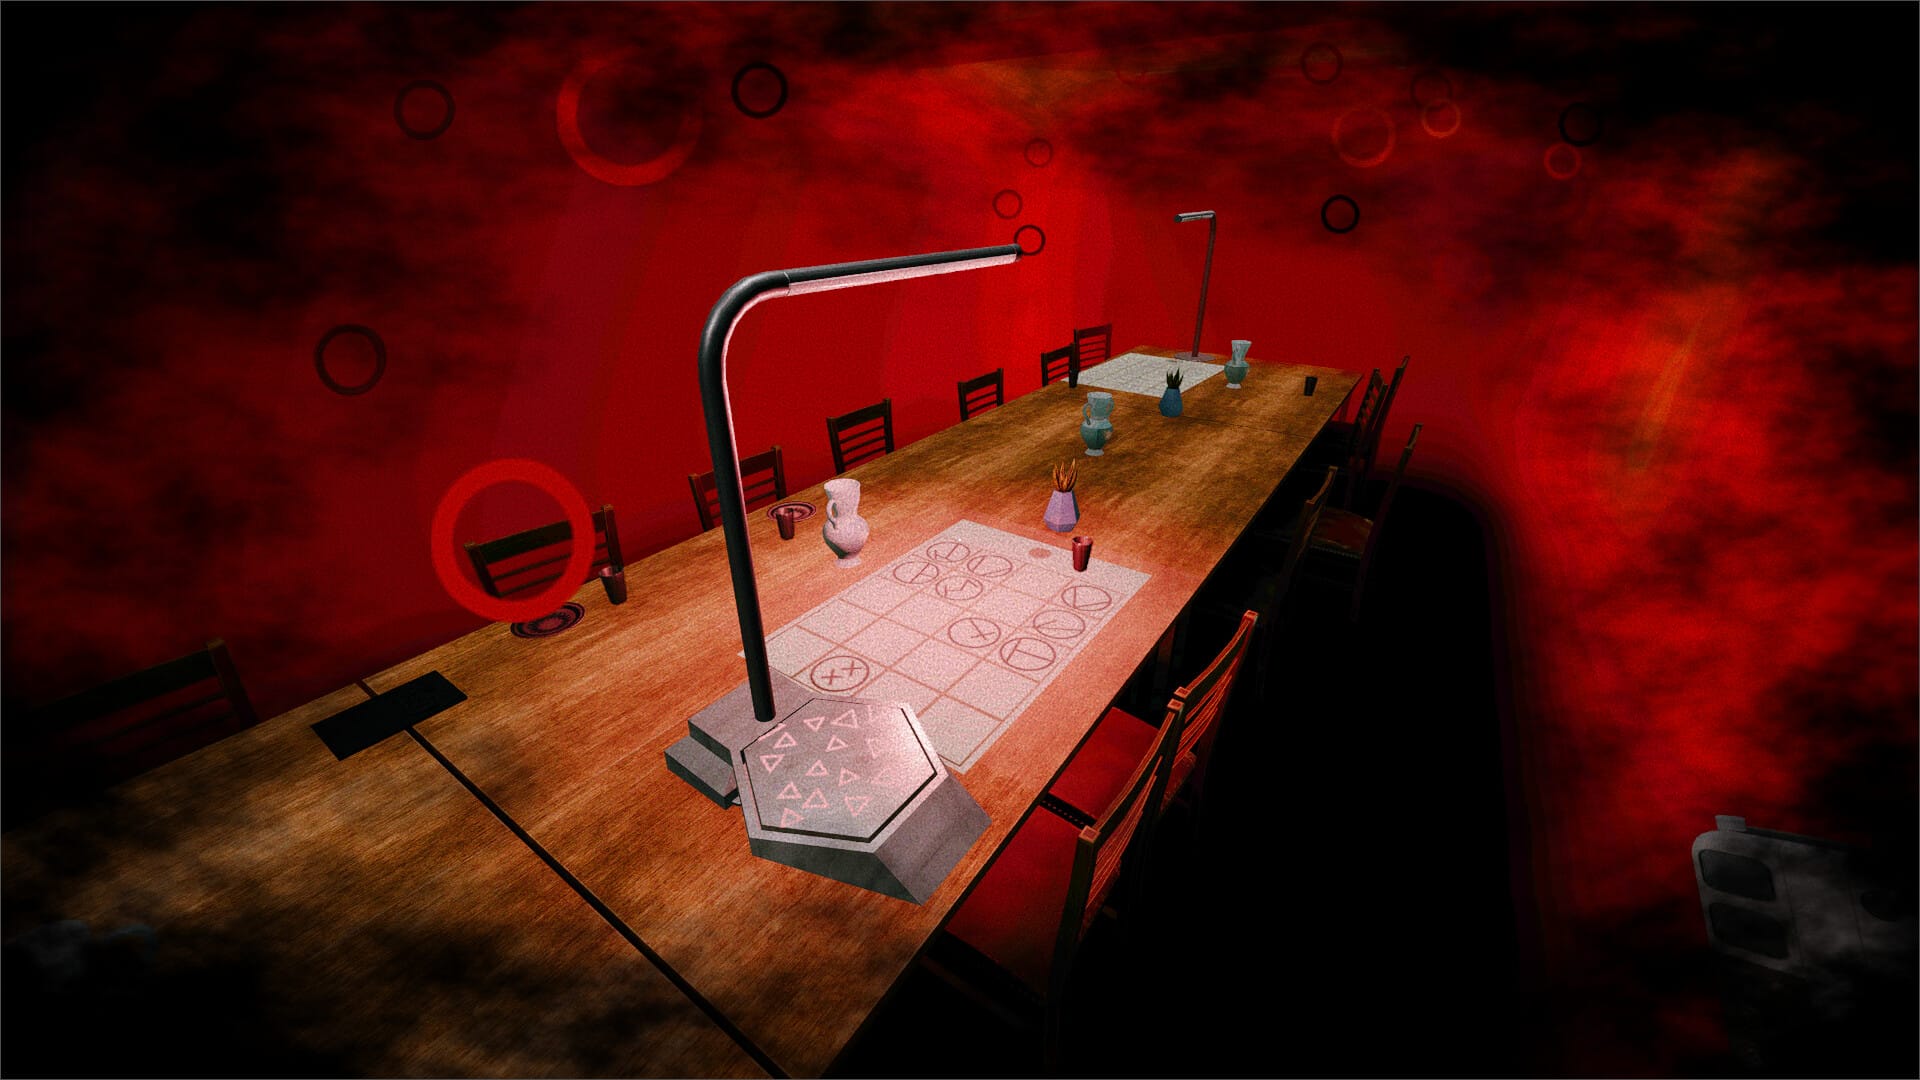
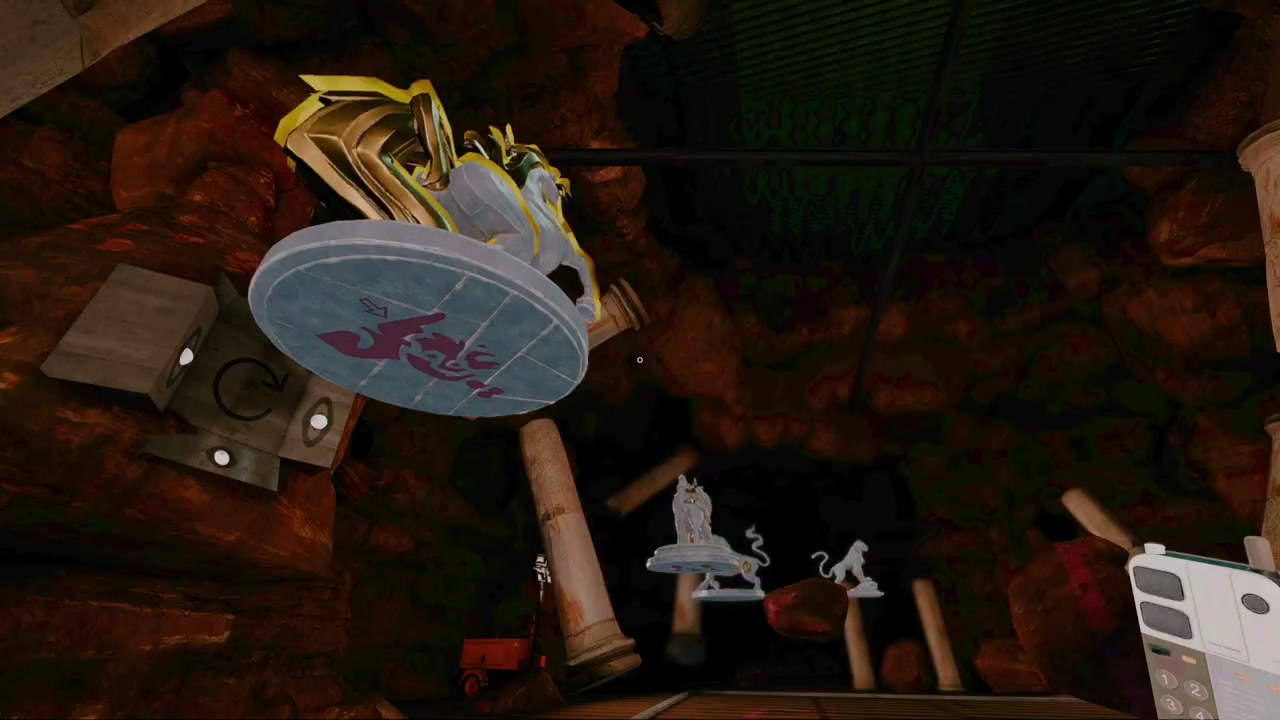
Central now calls the destination and arrow direction for each statue symbol. Use moving mode to put the statue in its assigned place, then rotating mode to turn its arrow to the required direction. Keep referring to the symbol underneath the statue: placing a different statue in that spot still gives the wrong arrangement.
If the arrangement does not complete, check placement and rotation separately. Lift the relevant statue again to read the symbol and arrow at its base, compare its destination with Central’s table, then correct its facing. Re-entering the floor symbols is useful only if Central’s reference was based on the wrong triangles.
At the following card lock, the Thief reports the color along the bottom of the card and the triangle directions in their printed order. Central changes the keypad color with its middle control and enters the directions from left to right. This is another shared clue, so a card shown on the Thief’s side must be read to the player with the matching keypad.
Submarine: match each infection before firing
Submarine has no internal checkpoints. Set aside enough time to finish the section together, and be prepared to repeat it if a partner disconnects. Where you resume after reconnecting is unconfirmed.
Both players must start the submarine from their own side. The Thief drives it; Central follows its position on the table map and uses the camera feed to describe the tunnels and infections. The Thief’s cockpit displays X and Y coordinates, which let Central locate the boat when a turn is hard to describe from the camera alone.
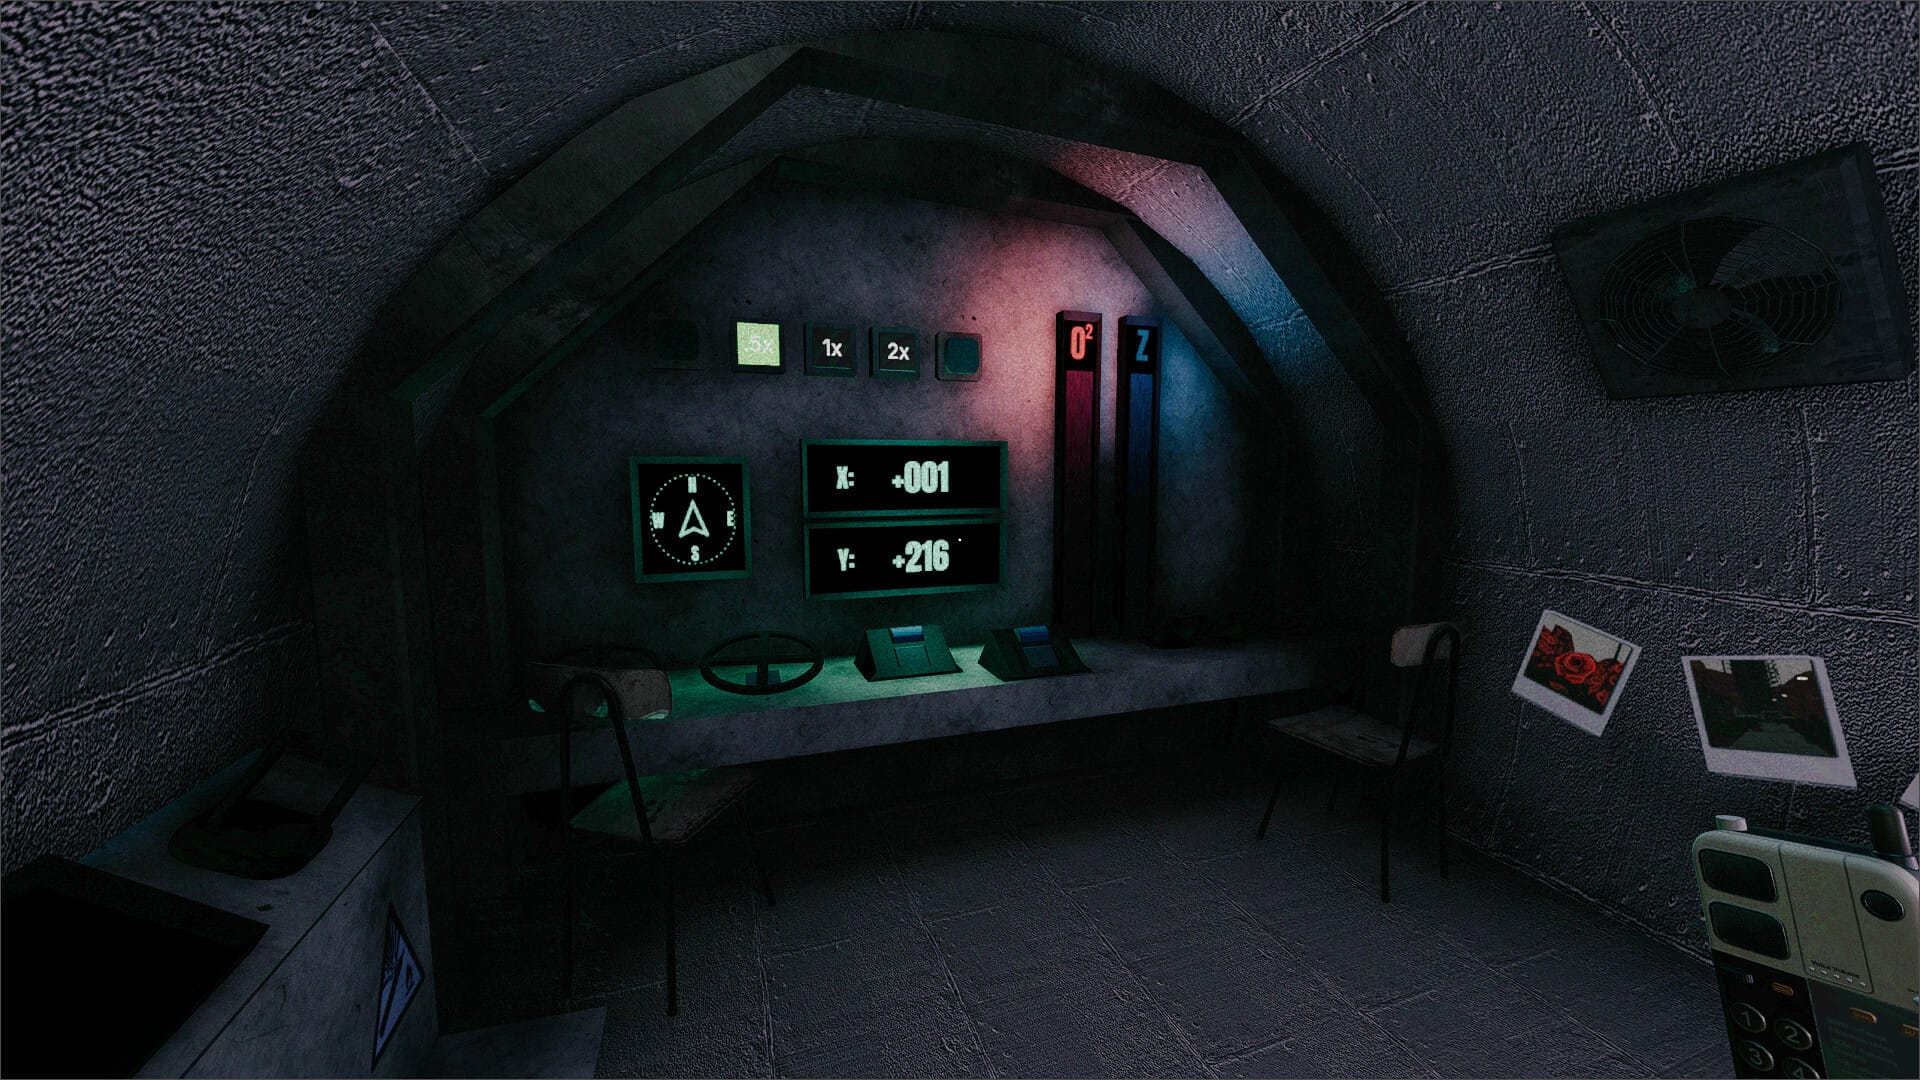
Stop beside an infection so both players can work out its recipe. Central describes the shape and color visible on the camera. The Thief finds the matching appearance and color in their references, and listens for the infection’s sound. All three clues go into the recipe.
- Listen to the sound at the infection. The Thief compares it with the samples on the sound machine and reports the symbols for the matching sample.
- Match the infection’s appearance and color with the local references, then send those values to Central as well.
- Central enters the three values in the computer and reads the resulting bottle requirements.
- The Thief puts the requested bottles into the submarine’s loading slots and fires at the infection.
Match the bottles to the recipe Central has just read out, using their labels and shapes to tell them apart. Reusing the previous infection’s bottles skips the sound, appearance and color match for the current target.
Check that the infection disappears after the shot. If it survives, stay beside it and compare the sound sample, appearance and color again, then check the loaded bottles against Central’s recipe.
Destroy the remaining infections using the same three-clue process. Once all are gone, have Central guide the boat to the green pin marking the exit on the map.
Hacking: open the doors and move the cubes
Hacking also has no internal checkpoints. Leave enough time for the whole sequence of rooms, since an interrupted session may mean playing it again.
Hacking alternates between symbol-chain doors and rooms with movable cubes. For each door, the Thief describes the connected shapes on the screen, including their colors. Central begins at the white ball and clicks the next shape in the chain until the displayed route has been reproduced. Say both color and shape, since a ball and a pyramid of the same color are different targets.
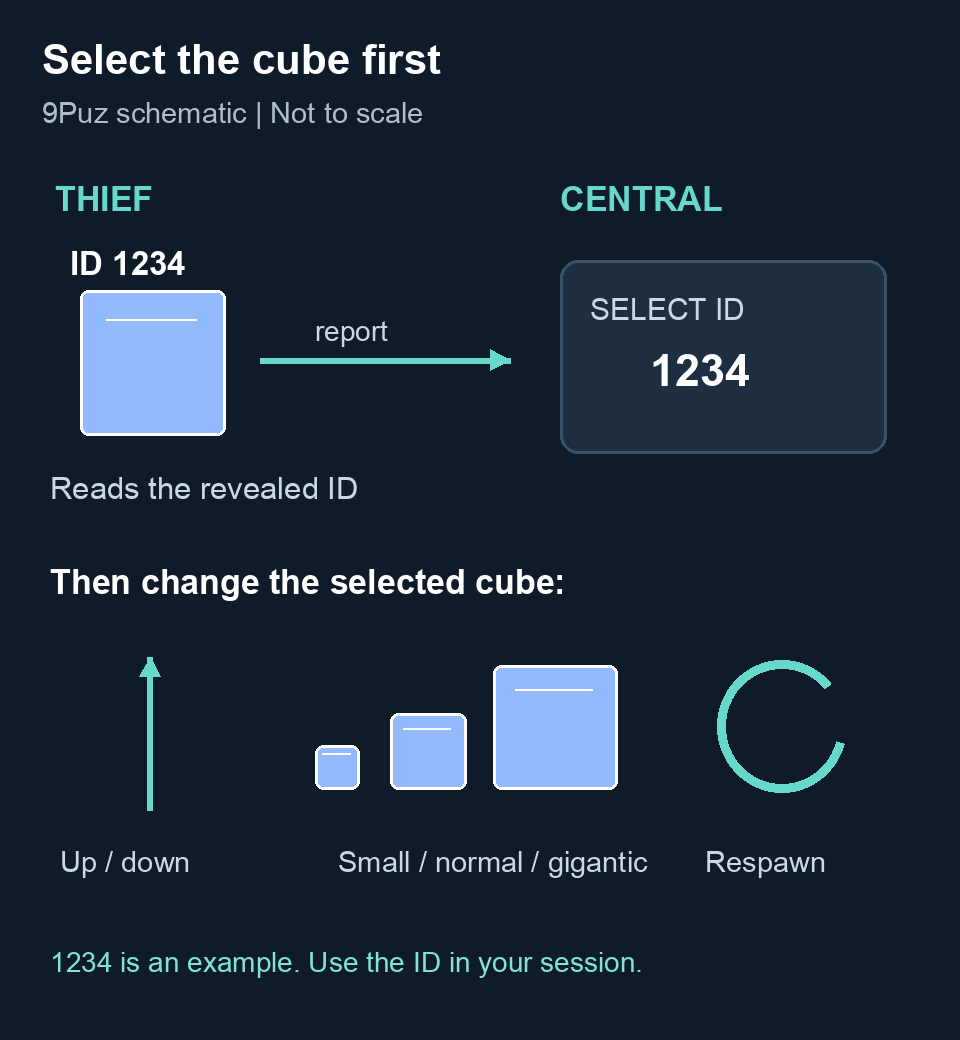
Central also controls the cubes’ gravity and size. To identify a cube, Central enters the beam in the middle of their area. Numbers then appear above the cubes on the Thief’s side. The Thief reads the number over the required cube, and Central uses that ID to select it. The IDs vary, so label the cube by its purpose in the room as well as its current number.
Use the selected cube’s controls to send it up or down, change it to small, normal or gigantic, or respawn it. The Thief should call when the lasers are disabled and the cube is lined up with the opening before Central changes its gravity. If another cube moves, check the ID before trying again.
Room 0: the introductory floor button
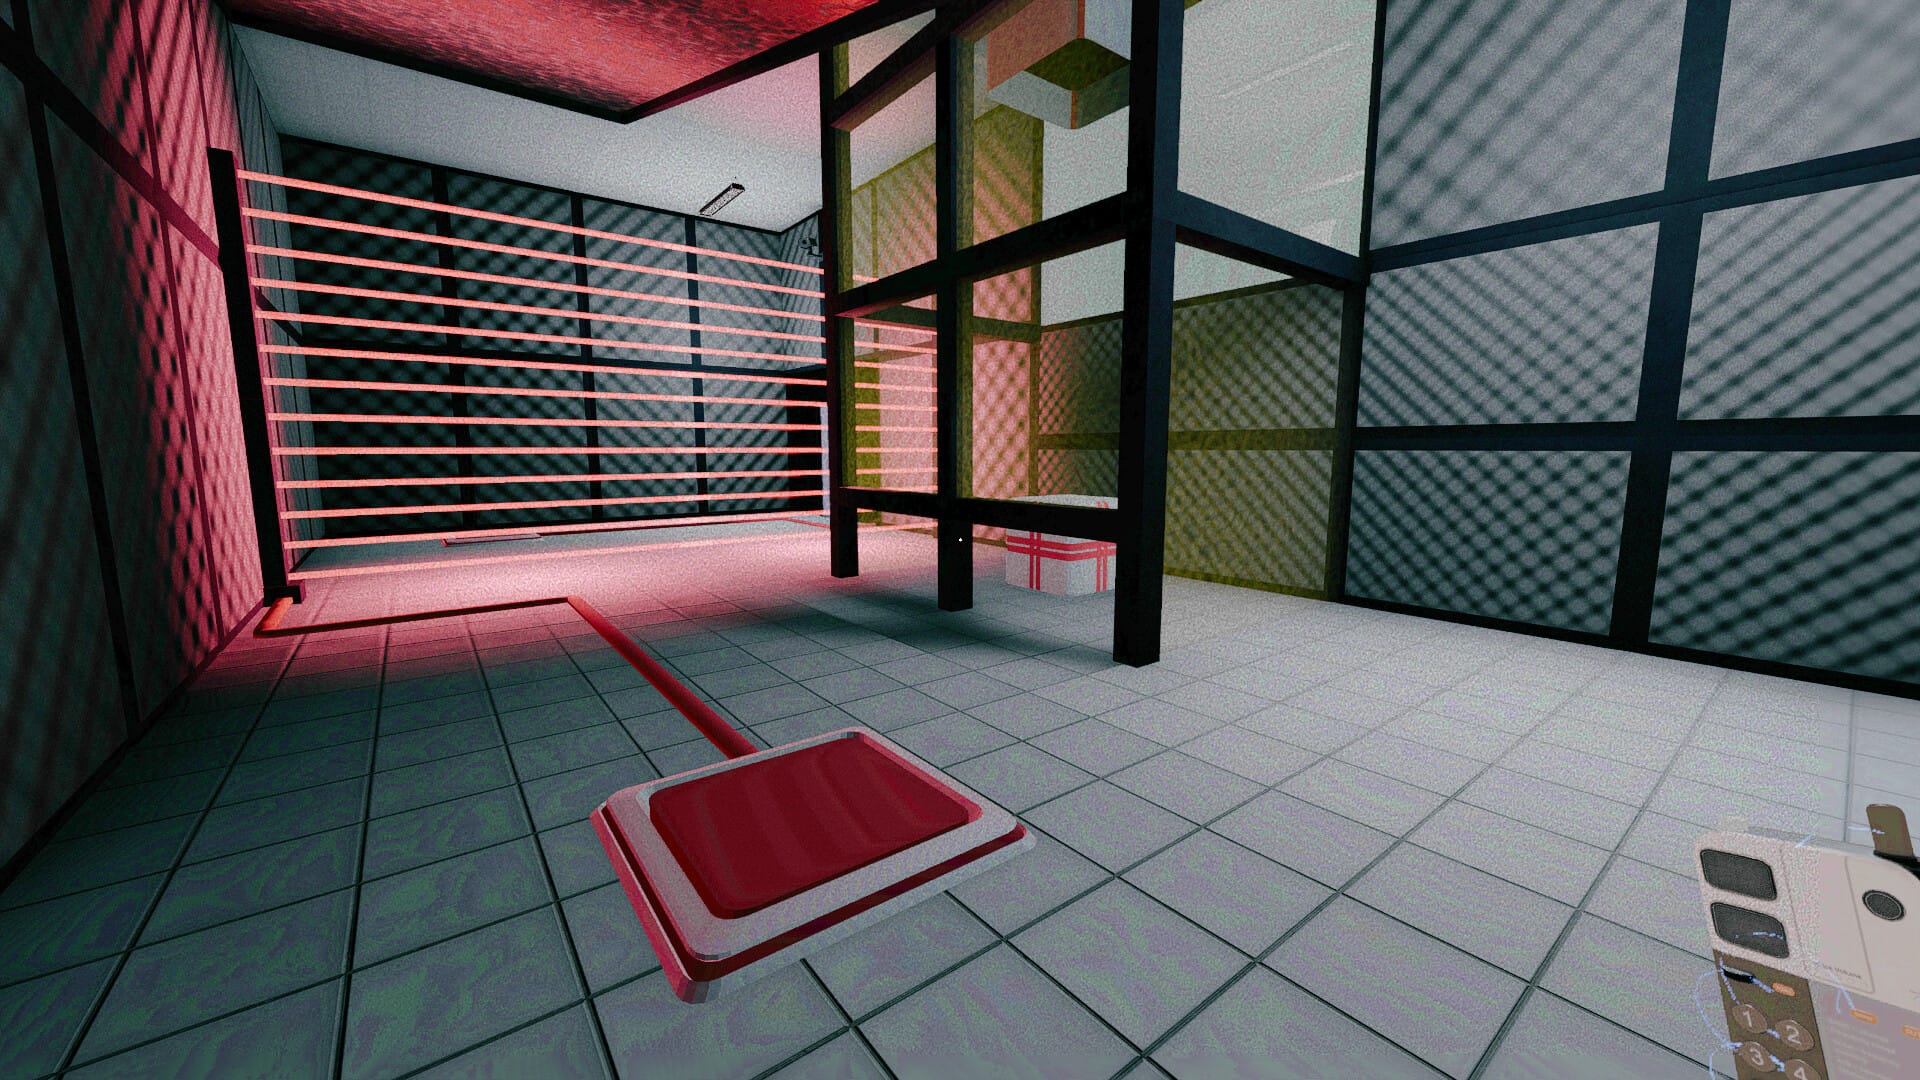
Pick up the cube by clicking it and place it on the floor button. This introduces the interaction used throughout the next rooms. Use the door’s symbol chain when you reach its screen, then proceed to the next chamber.
Room 1: raise the cube through the laser opening
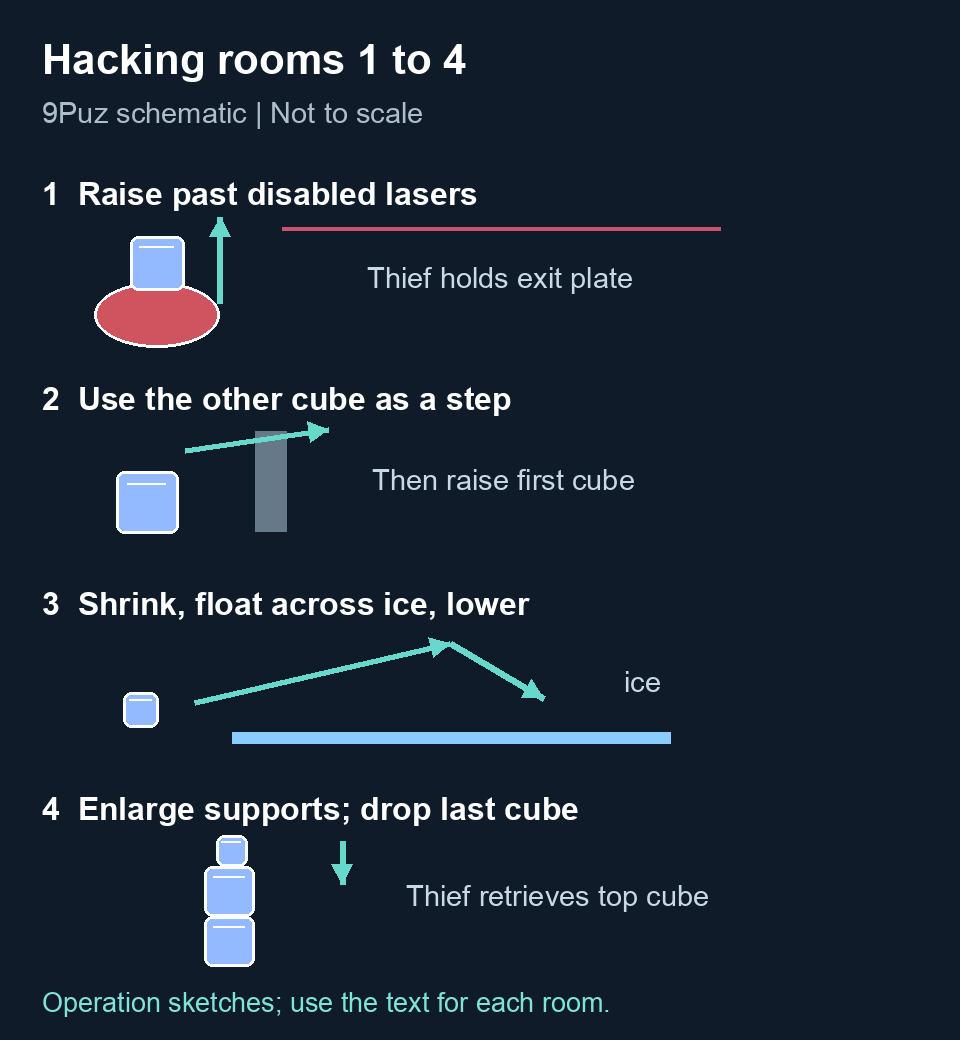
Set the cube down on the floor’s red circle. The Thief stands on the button by the exit to turn off the lasers. While that button is held, Central raises the cube until it activates the elevated button. Keep the lasers disabled for the cube’s movement; putting the cube in the right starting place alone does not complete this room.
Room 2: use the second cube to cross the wall
Position the first cube on the floor circles. Use the other cube to climb over the dividing wall and reach the button that disables the lasers. Hold that button while Central lifts the first cube. Then move the second cube onto the remaining floor button and leave. Give the two cubes distinct names during the callout so Central raises the one beneath the upper button, not the one being used as a step.
Room 3: shrink the trapped cube and slide it across
Central first makes the enclosed cube small enough to remove it from its containment. Put it on the button and move the Thief through the laser passage. Central then changes its gravity so it can slide across the icy section toward the Thief. Lower it when it has reached that side, pick it up and place it on the next button. The cube must reach the Thief’s side before it becomes useful for opening the onward route.
Room 4: recover all three cubes and build the stack
Use the accessible cube as a step to reach the control that disables the lasers around another cube. Recover the remaining enclosed cube by shrinking it and bringing it underneath the obstruction, as in the preceding room. You need all three cubes for the next part.
Stack the cubes using the ramp, then go to the other side. Central makes the two lower cubes gigantic and drops the last cube onto them so the Thief can reach it. If it remains too high, check the size of both support cubes and the position of the cube above them before lowering it again.
Room 5: move the first cube between two buttons
Shrink the first cube and push it under the glass onto the button. Go around to the other side, use the second cube to reach the upper level, and stand on the upper button while Central floats the first cube across. Both cubes must end up on this side before you can complete the final button sequence.

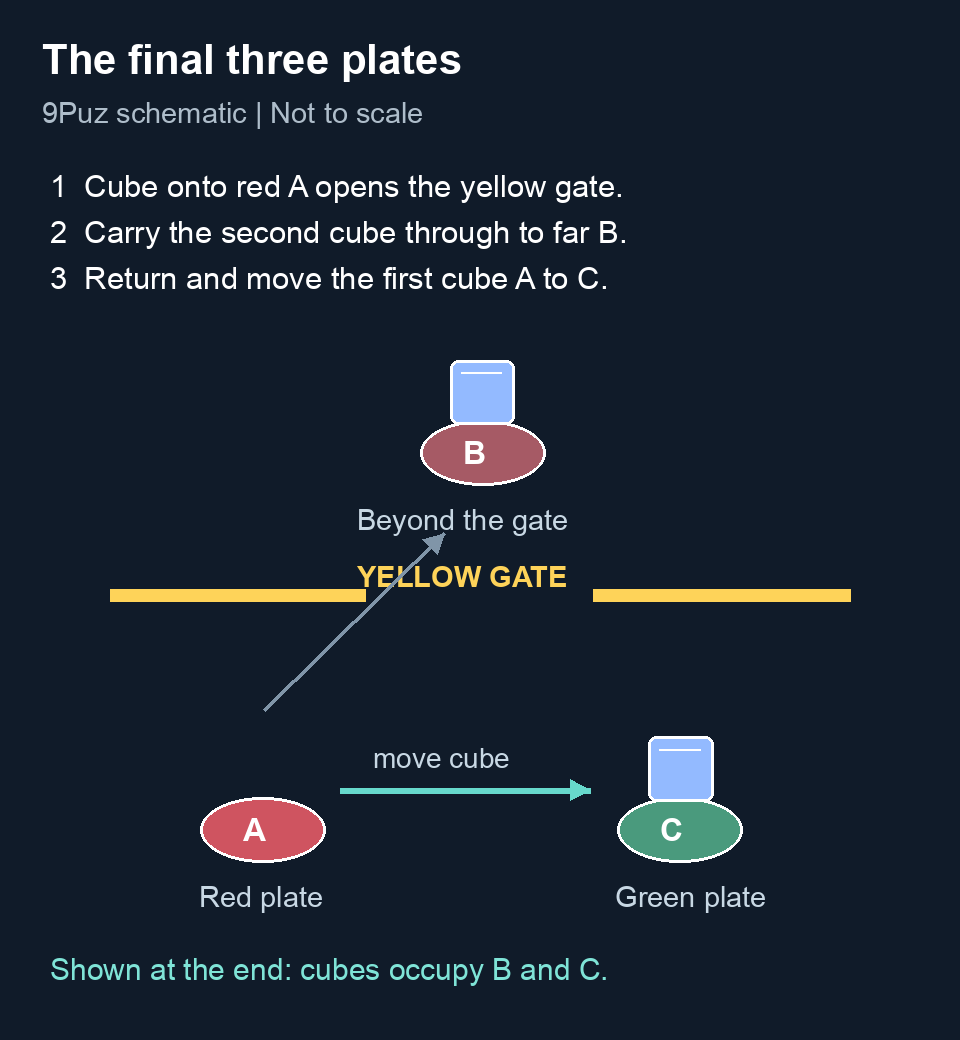
Put the first cube on the red plate outside the yellow doorway, opening the gate. Carry the second cube through and set it on the plate beyond the gate. Come back for the first cube and move it from red to the nearby green plate. The far plate and green plate must be occupied at the end; keeping the first cube on red leaves the exit unfinished.
The large cube: five puzzles for the first ring
After Hacking, the large cube has five shared puzzles. Some require interacting with controls, while the memory puzzle responds to where you look. Complete the puzzles below before trying to obtain the ring inside.
Colored levers
Start the lever puzzle and tell your partner which raised levers are colored. Each player enters the colors shown on the other player’s side. Reading your own display and copying it onto your own levers sends the information to the wrong place. Agree on a left-to-right order before either person enters the answer.
Mirrors and wheels
Press the large button to start. One player watches the beam arrangement while the other rotates the wheels under their direction. Rotate left in 90-degree steps and let your partner call where to stop. Work through the beam arrangement together until the mirror puzzle completes.
Memory lights
Start this puzzle with the button at the bottom right. Watch the points on your partner’s side. Respond by looking at the matching point on your own side, rather than searching for another pressable button. Keep the cube’s orientation consistent while describing upper, lower, left and right positions; turning the whole view during a call can make two matching points sound different.

The climb
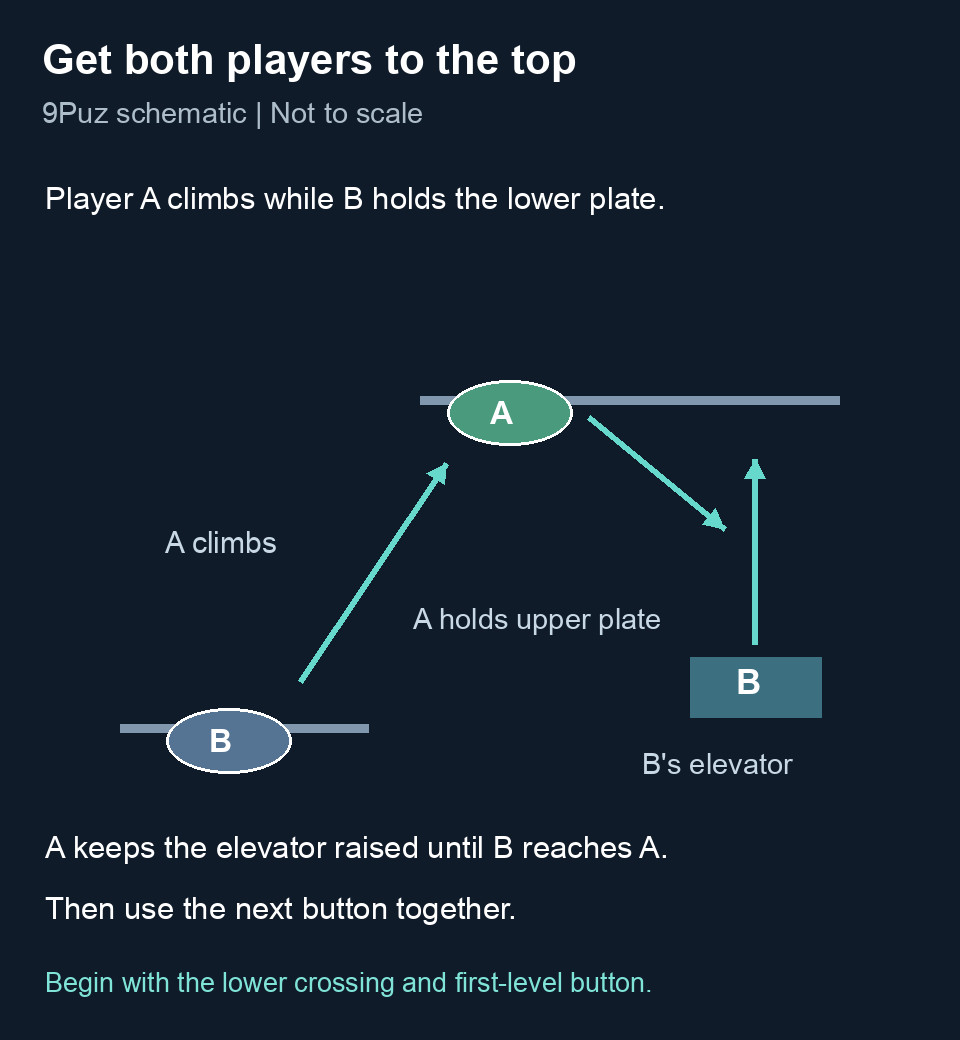
Both players must reach the top. Hold the lowest pressure plate so the opening crossing is available, then use the next button to move up a level. At the later plate, one player stays behind while the other climbs higher. The higher player must then stand on the upper plate to raise the elevator for the partner below. Once both are together, use the next button to continue upward.
If your partner is still below, stay on the upper plate that raises their elevator. Leave it only after they reach you, then use the next button together. This is the handoff that gets both players to the top.
The maze
One player sees small pyramids without the full route. The other sees the maze, with blue balls to collect and red cubes to avoid. The player with the map calls movements from the current position, steering the partner through the blue balls without touching a red cube. A red-cube collision fails the attempt and generates a new maze, so discard the previous directions after a reset.
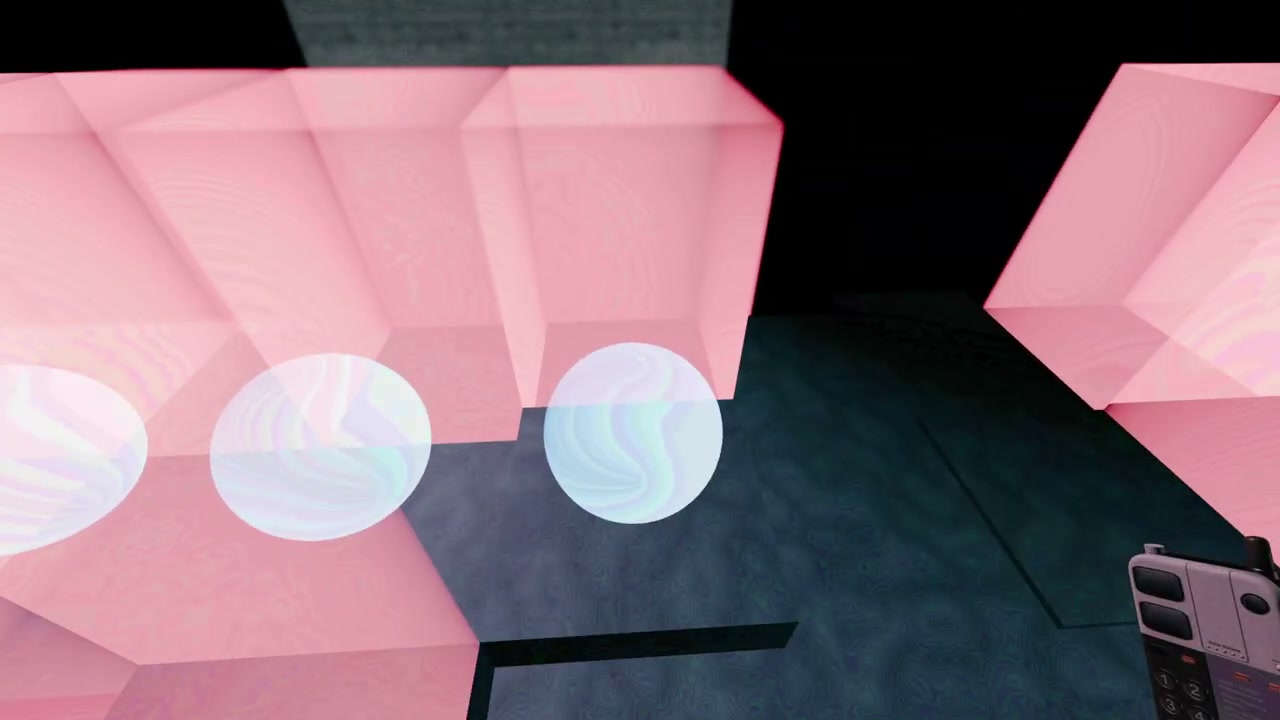
After completing the five puzzles, enter the cube to collect the ring. Both players need one for the time machine. If the ring room has opened but its ring is invisible, update the game: patch 1.0.10 fixes a visibility bug there.
The time machine and Chapter 2
Go to the time-machine platform with both rings collected. Both players stand on it, and one activates the machine. The chapter-completion screen leads into Chapter 2. Your roles are reversed automatically, so the player who previously drove the Thief’s route now handles Central’s clues, and the previous Central player takes the physical route.
You retain the rings, but the second chapter changes several puzzle rules. Follow the opening, generator, pit, anomaly, battlefield, submarine, Hacking and cube progression again using the changes below.
Opening codes: lamp flashes and the wall cipher
Central’s button now makes a lamp flash the Thief’s box combination. Count the flashes in each group, with the pauses separating digits, then send the resulting code to the Thief. For example, three flashes, a pause, two flashes, a pause and four flashes would mean 324. That example explains the counting method; it is not a code to reuse in another session.
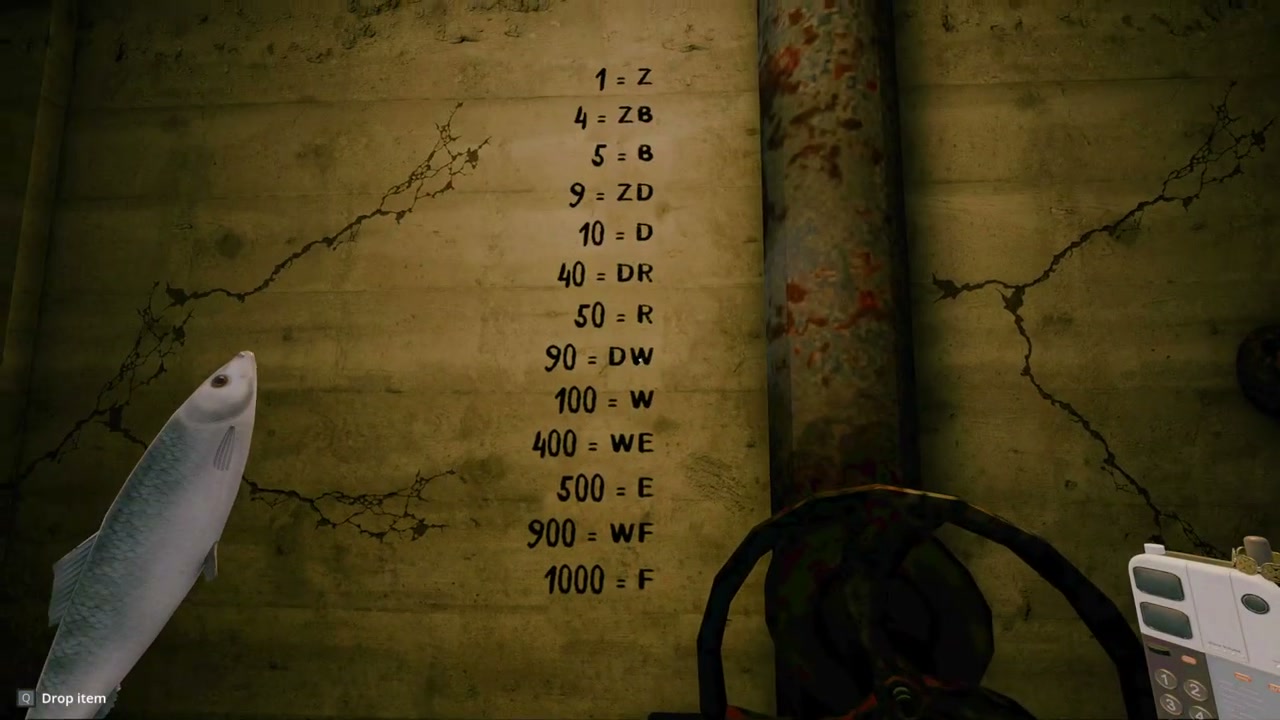
After opening the box and getting through the local barrier, the Thief finds a paper in the hut with a string of letters for Central. Central’s wall provides the values of those letters and combinations. Decode the string in order using that wall, then add the decoded groups to obtain Central’s code. In the pictured wall, Z is 1 and B is 5, but ZB is 4: the smaller value is subtracted from the larger one. Use the letters and combined values shown on your own wall.
Once both routes are open, solve the elevator’s three dials by matching Central’s arrangement and having Central confirm the call. Use the new observations in this chapter rather than the positions from the first elevator.
Generator: make the requested bottles
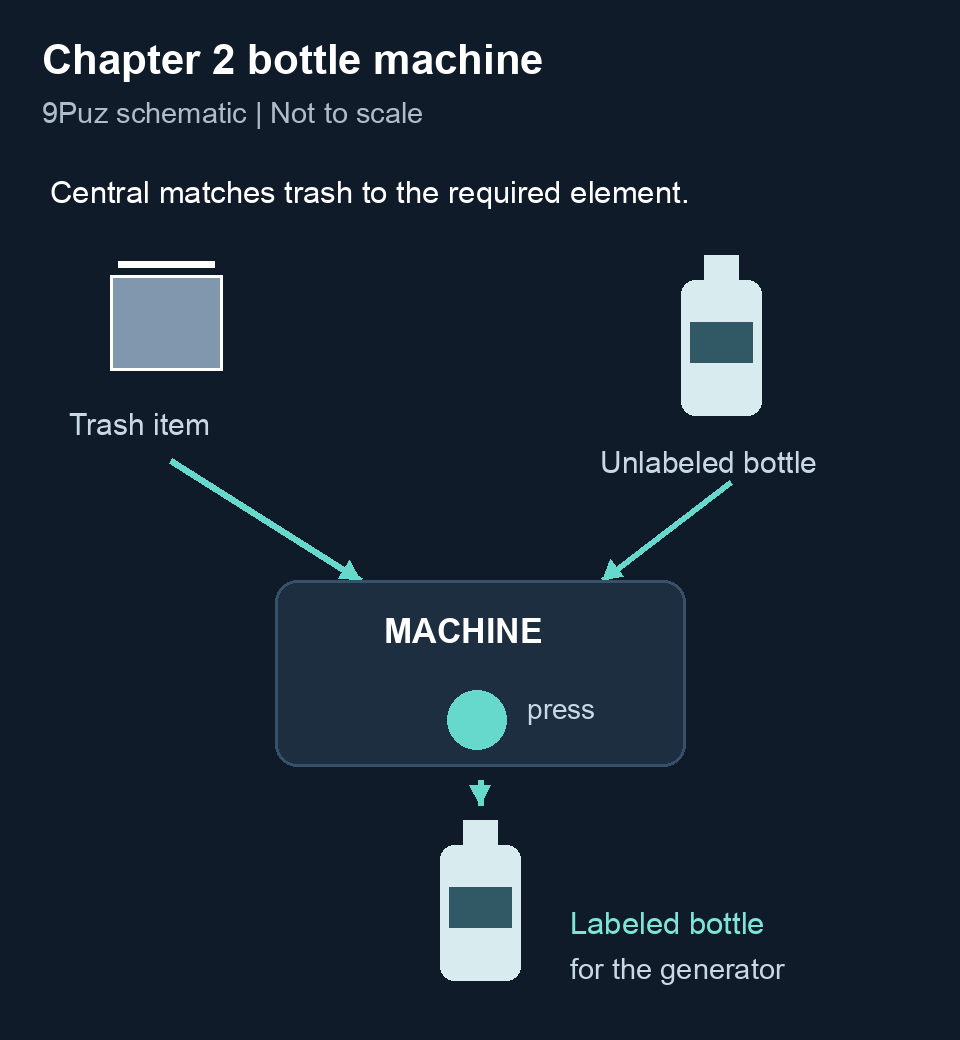
Identify the generator through its front and rear symbols and machine profile, then let Central read the bottle requirements and button order. The added task is manufacturing the bottles. Central’s computer shows which discarded item corresponds to which element.
Put the required trash item into one input of the Thief’s machine and an unlabeled bottle into the other. Press the machine’s button to label the bottle with that item. Make the bottles requested for the generator, load them, then enter the generator’s front-button sequence. If the loadout does not match, recheck the trash-to-element mapping before changing the generator identity.
Pit: avoid the balls and keep track of your partner
The outward crossing still reveals the route one step at a time, but blocking balls can knock the Thief off. Wait for a clear jump rather than committing while a ball occupies the landing route. Central should advance the displayed path only after the Thief has landed.
On the return, Central sees only the red fields. The green and stable fields are hidden from that display, so Central must remember the Thief’s current location. Each jump still flips the ordinary tiles. Call the currently red destination, let the Thief jump, then record the new position before choosing another destination. The absence of a green marker does not mean the Thief has left the safe route.
Anomaly: mark two changes before confirming
The second apartment puzzle has two simultaneous anomalies and two additional rooms. Central must place two pins for the current pass. Use the same blue, red and green categories as before, and have the Thief finish describing both changes before operating the confirmation controls.
The added rooms introduce missing candles, which need a green pin, and enlarged biomass, which needs red. The earlier rooms retain the earlier anomaly possibilities. If only one change has been found, inspect the additional rooms as well as the familiar apartment before submitting the pair.
Battlefield: clear the electrical barrier first
A wall creature creates an electrical field that prevents the Thief from entering the battlefield. Central uses the remote to turn the laser toward that creature and presses the firing button when it is lined up. Once the obstruction is destroyed, solve the floor-symbol, statue-position and arrow-facing puzzle as before.
Submarine: navigate through camera outages
There are more stretches without a camera view. When the feed shows No signal, the Thief reports the cockpit’s X and Y coordinates and Central follows the position on the coordinate table. Use short movements and another coordinate report at the next turn until the camera becomes available again.

Central now has the sound-sample machine. The Thief listens at the infection and describes the sound while Central tries the samples. Replay a candidate and have the Thief compare it with what they hear in the boat before accepting its symbols. Add the appearance and color match, then read the resulting bottle recipe back to the Thief.
If an infection survives, check the sound match and bottle loadout before leaving it. After destroying all infections, use the coordinates and any available camera view to reach the green exit pin.
Hacking: put the cube down before jumping
The cube-room solutions still use resizing, gravity, floor buttons and the final two-cube sequence. This time the Thief cannot jump while holding a cube. Put it down before using it as a step, cross the obstacle, then recover or reposition it with Central’s help. Repeating a jump while carrying the cube will not reproduce the first chapter’s move.
The second cube: two timed changes
For the lever puzzle, each player enters two levers from the partner’s display. The clue is visible for five seconds before it disappears, so read and remember it during that window. The memory puzzle requires five lights in sequence, with five seconds to respond to each one. Both players must watch the partner’s lights and react without waiting for a long description between every response.
The mirror, climbing and maze procedures remain the same. Finish all five puzzles, take the new ring and go to the end portal together. The forest beyond it is the final chapter.
Heaven: the sacrifice ending
Choose your ending before using the owl’s table. Sacrifice is one route: one player stays and the other escapes. A separate secret ending lets both players leave. This section covers only the sacrifice route; it does not include the secret-ending solution.

Cross the wooden bridge to the owl above the table. It offers a trade: one player gives up their rings and stays behind, allowing the other to leave with Hannes. Decide which player will stay before interacting with the table.
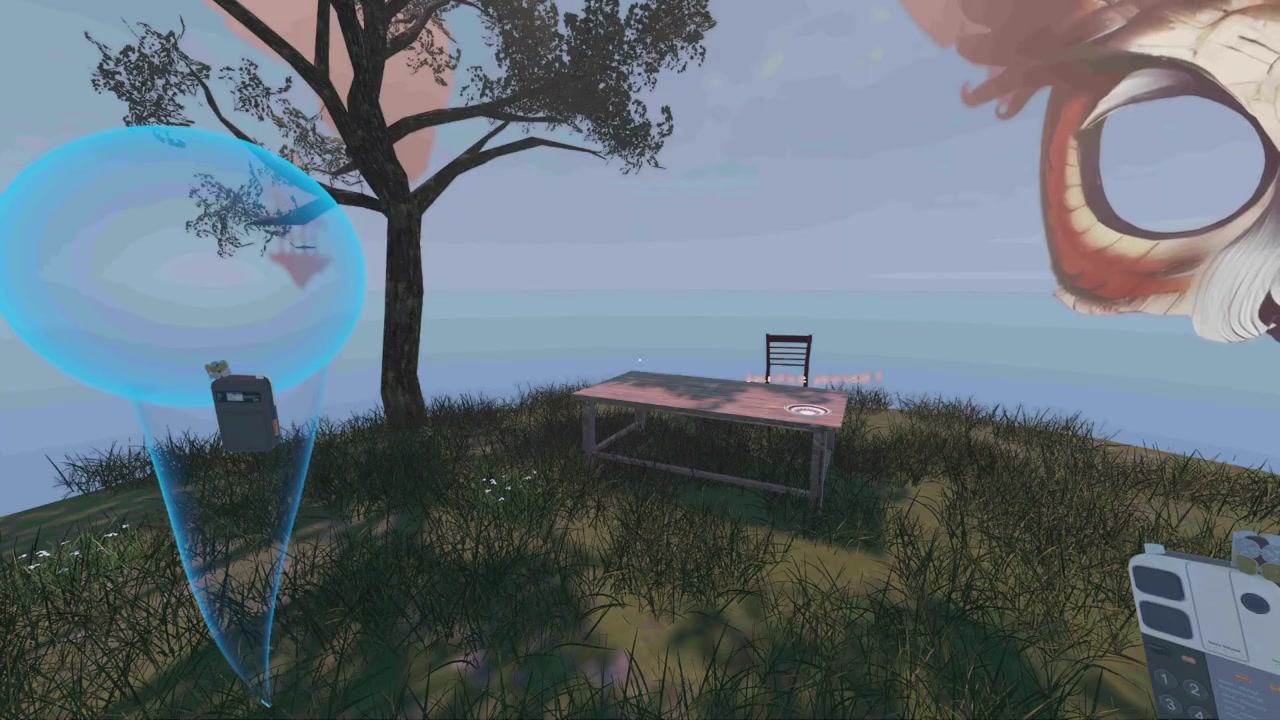
The player staying behind activates the circular control on the tabletop, where the prompt reads “Sacrifice yourself?”. The other player then returns across the bridge and enters the large ring portal near the arrival area. This leads to the escape sequence and credits; the player who sacrificed themselves remains on the owl’s side.
You can leave the glass container near the forest entrance unopened for this ending. Continue across the bridge to the owl, complete the trade, then have the departing player return through the portal.